Cutting the Plexi Glass Windows and Light Covers
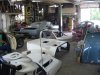
While waiting for our trailer to arrive so we could transport the car to the painter, several additional jobs were completed, like fitting the glass. In retrospect, doing this before painting is a really good idea. Scratching the paint would be hard to avoid. Fitting the side windows was accomplished as follows:
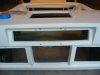
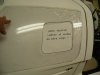
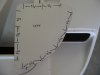
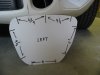
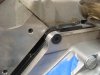
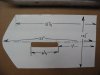
1. Make a pattern for the door glass The pattern was not used for fitting the windows, per se, but rather to assure that the small opening was located the same distance from the rear and bottom on both sides. Reference marks were then made with the pattern to locate the lower and rear edges.
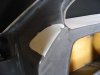
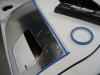
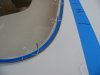
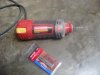
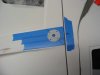
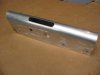
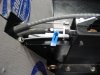
2. Set the plexi glass in place and, using a Sharpie, mark a series of dots along the bottom and rear edge to approximate the edge of the opening. Then use Scotch vinyl tape to mark the cut lines, about a sixteenth inch larger than the final dimension.
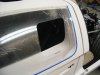
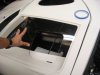
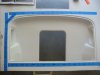
3. Cut the rear and lower portions along the vinyl tape. Test fit it. Using a long sanding block with 40 grit paper or a rasp to even the edges until a good fit of the rear and lower edges is achieved. Do not cut all four edges at one time. Initially cut only the rear and lower edges. This is important. If one tries to cut out all four sides at one time there will likely be problems with the final fit.
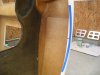
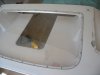
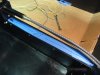
4. Once a reasonably good fit of the rear and lower edges is accomplished, make a series of dots for the top and leading edges, than run the vinyl tape to mark the cut line. Cut only the top edge, slightly oversized, and then sand it down to an exact fit.
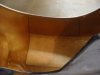
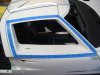
5. Next cut the forward edge, a bit over size, and sand it down. The plexiglass was set in place, removed, a bit more sanded, repeatedly, until a very good fit was achieved all around.
6.Taper the edge inward with fine grit paper. We sanded the edges the final time using fine grit paper in our hand rather than a block. This smoothed the sharp edges a bit
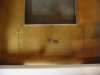
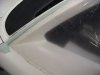
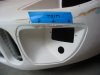
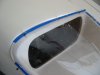
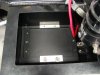
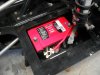
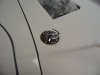
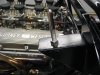
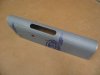
7. The same technique was followed on the headlight and driving light covers.
8. A bit of sanding was needed on the body at the top of the driving light recess to properly seat the plexi glass cover. This discovery was yet another reason to fit the glass before painting the body.