

You are using an out of date browser. It may not display this or other websites correctly.
You should upgrade or use an alternative browser.
You should upgrade or use an alternative browser.
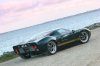
Who owns this 40?
- Thread starter albanygt40
- Start date
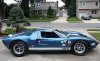
I don't know the car, but looks like Guardsman Blue...
1043 is currently in that color and it is very pretty...
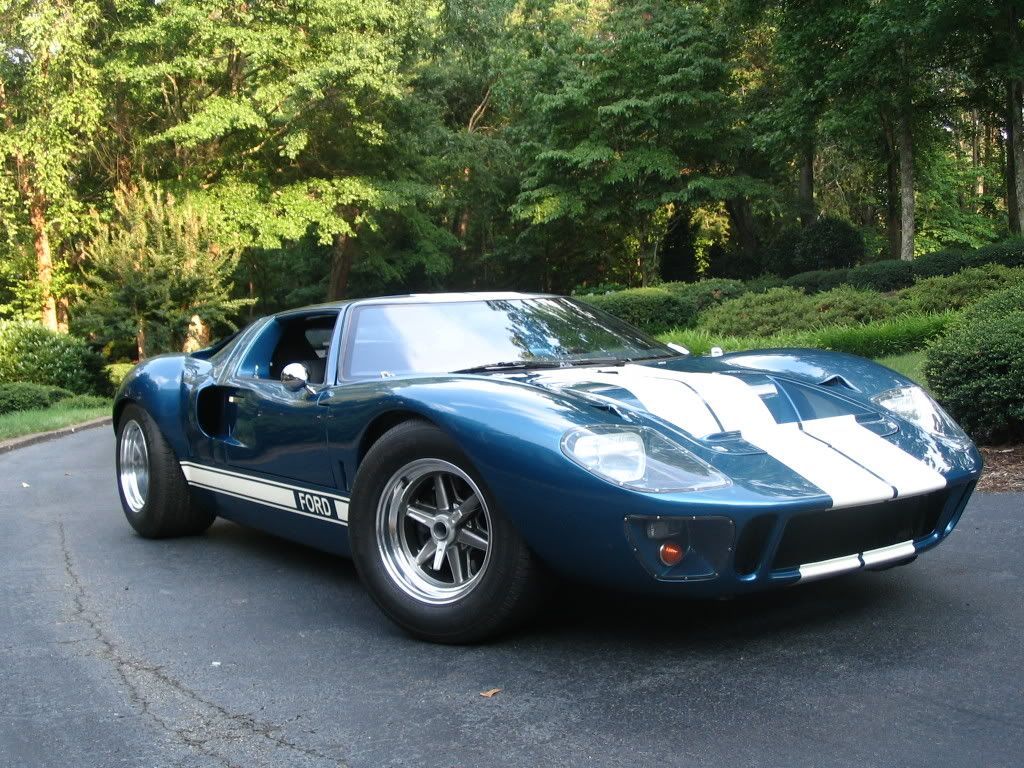
1966 Ford GT40 P/1043 at Colin's Classic Auto
1043 is currently in that color and it is very pretty...
1966 Ford GT40 P/1043 at Colin's Classic Auto

Brett James-McCall
Moderator
Is that BillD's old car?
Check this thread
http://www.gt40s.com/forum/gt40-tech-exterior-interior-ac-trim/23674-colour-codes-1078-a.html
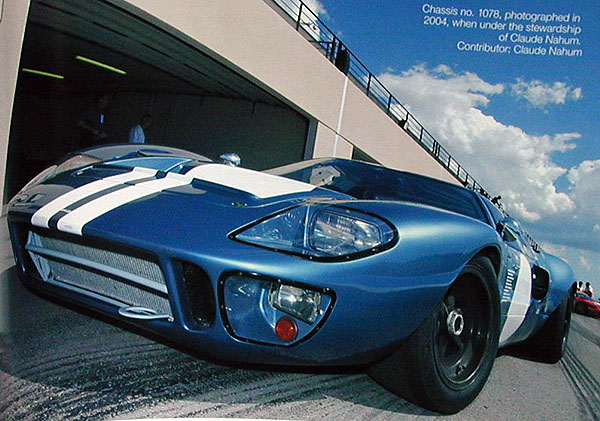
in the beginning of my gt40 carreer i asked for the color of this car ( claudes)
Chuck send me once the info that it could be guardsman blue Ppg 12832
Claude confirmed to me that it is guardsman blue, but gave me the colour code PPG F0419 Guardsmen Blue
I heard more than once, that there are different color shades of guardsman blue.
my current favorite blue would be that one

indigo ink blue pearl ( lexus)
tom
http://www.gt40s.com/forum/gt40-tech-exterior-interior-ac-trim/23674-colour-codes-1078-a.html
in the beginning of my gt40 carreer i asked for the color of this car ( claudes)
Chuck send me once the info that it could be guardsman blue Ppg 12832
Claude confirmed to me that it is guardsman blue, but gave me the colour code PPG F0419 Guardsmen Blue
I heard more than once, that there are different color shades of guardsman blue.
my current favorite blue would be that one
indigo ink blue pearl ( lexus)
tom
Last edited:
There's a LeMans blue that came on a lot of CAV cars that looks very similar if not the same. I can probably dig up that color code if helpful.
I can't figure out how to effectively search this site, but there is a PDF that has the color codes for both CAV and Superformance colors.
I can't figure out how to effectively search this site, but there is a PDF that has the color codes for both CAV and Superformance colors.
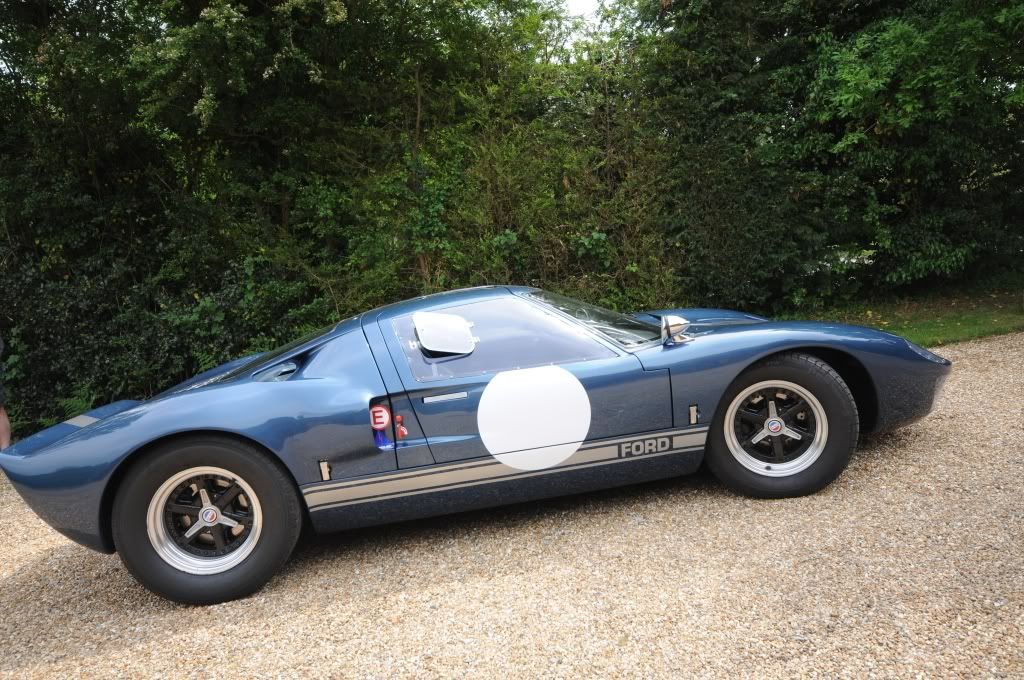
Thanks for the link to 1043....that is exactly how i want to finish the car even my seats have the same pattern. Only change is white stripes down the centre and centre shift. Has anyone got pics of 1043 that can be saved ? copy right is stopping me saving the pics off the web page .
My Painter got a Colour code for Guardsman ,he will blow some on a panel and we will decide then.
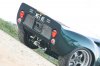
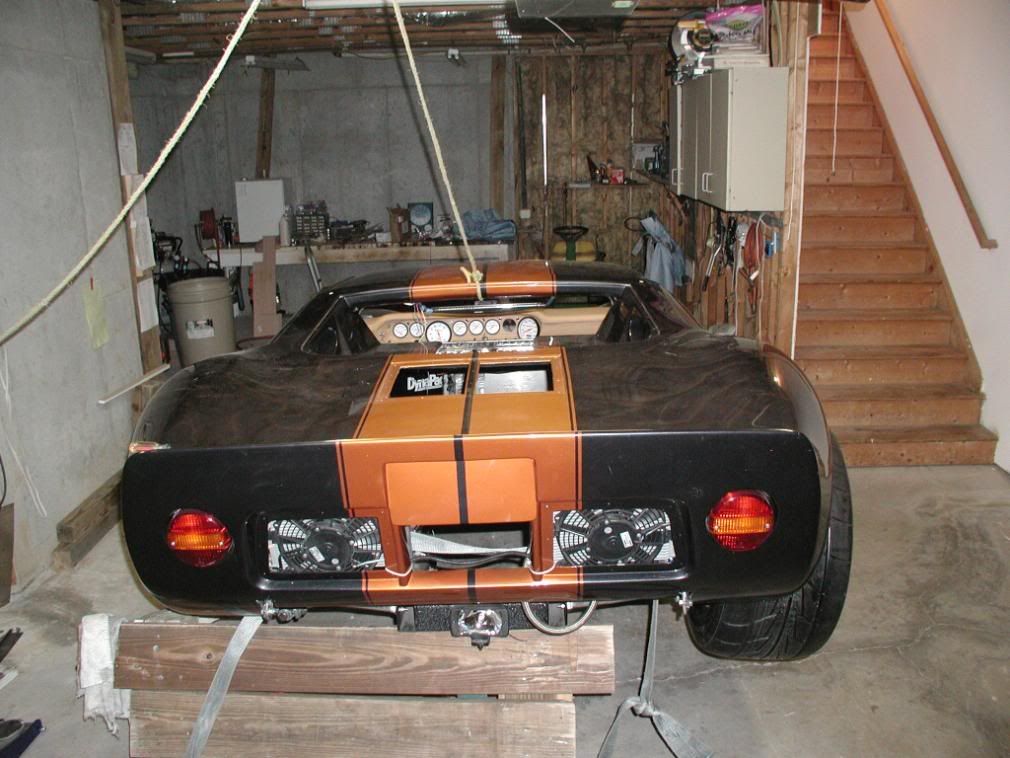
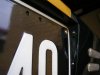
Currently recessing the rear number plate mount, DRB have a flat section tail that number plate lights look funny on, DRB Guys will now what I mean.
My Painter got a Colour code for Guardsman ,he will blow some on a panel and we will decide then.
Currently recessing the rear number plate mount, DRB have a flat section tail that number plate lights look funny on, DRB Guys will now what I mean.
Attachments
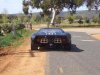
Frank, That pic in the dark with the lights ablaze is very nice IMO. Are you at the wheel? Kudos to the photographer. The car is perfectly centered in the road, a nice reflection of light from the road the green embankments....I could get so lucky to have one of me in a shot like that. Sorry for the thread diversion....
Jimmy, owner Andrew Fordyce driving that time - that is my permanent computer desktop background picture, Frank
Seymour Snerd
Lifetime Supporter
....a PDF that has the color codes for both CAV and Superformance colors.
http://www.gt40s.com/images/howto/LynnMiner/Reference/Paint.pdf
Well guys, if you don'r like it ..... change it, like Greg and I have done
Bill
Bill
mine too is guardsman blue. Be sure it does not have too much (or any) flake in it. the CAV websight should have the codes for the color.
There is not much room to recess the top of the number plate and here in QLD back in 2001 you had to use the full size plate on the rear.
To find a light small enough to fit was a major problem until I came upon these Hella LED's which had only been in use a short time back then.
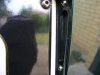
The tear-drop shape of the cutout for the light was because that was about as large as I could make it and I thought it looked good and with a light on both sides there is more then enough light from the LED's to illuminate the plate.
I used Hella number plate light inserts - the light appears to be under LED licence plate lamps part number 9.2559.01 in the Hella online catalogue.
Mine did not have the black surround but I don't think that should be a problem.
I just linished the flange off until it was level with the rectangular section of the light - when you see one you will know what I mean - filled one of the holes with filler (can't remember whether it was top or bottom) and then redrilled to take M3 button head screws as the light had to be off-set to fit the angle of the rear clip.
Some more photos - hope this helps.
To find a light small enough to fit was a major problem until I came upon these Hella LED's which had only been in use a short time back then.
The tear-drop shape of the cutout for the light was because that was about as large as I could make it and I thought it looked good and with a light on both sides there is more then enough light from the LED's to illuminate the plate.
I used Hella number plate light inserts - the light appears to be under LED licence plate lamps part number 9.2559.01 in the Hella online catalogue.
Mine did not have the black surround but I don't think that should be a problem.
I just linished the flange off until it was level with the rectangular section of the light - when you see one you will know what I mean - filled one of the holes with filler (can't remember whether it was top or bottom) and then redrilled to take M3 button head screws as the light had to be off-set to fit the angle of the rear clip.
Some more photos - hope this helps.
Attachments

Similar threads
- Replies
- 5
- Views
- 321