Waterpump theory

Due to the recent posts about Waterpump failures i would like to bring in some pump basics.

In my proffessional career i designed a lot of liquid transporting systems with capacities from 2000 l/h to 100000l/h. A lot of them incorporated centrifugal pumps. This is the same working principe as our wp´s.

Generally this pumps are not ment to create high pressure ( max app 8 bar in multistage pumps) and usually not designed for high suction capabilities ( npsh = net positive suction height = app 5 - 6 m in multistage application). To achieve this the pumps need to have a proper impeller and housing design with low tolerances, which is defenitely not the case with our wp´s.

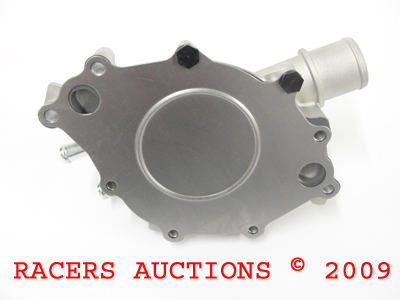
The general working princip: Liquid is entering towards the center of the impeller by the means of the inlet channels
edelbrock_8841.jpg

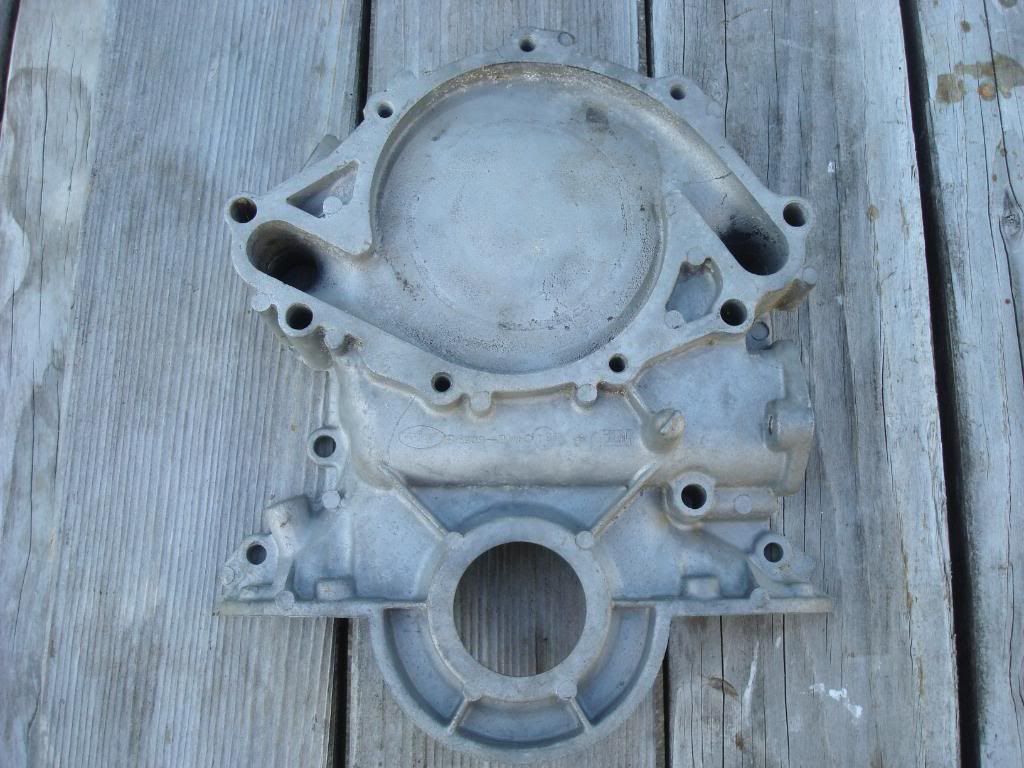
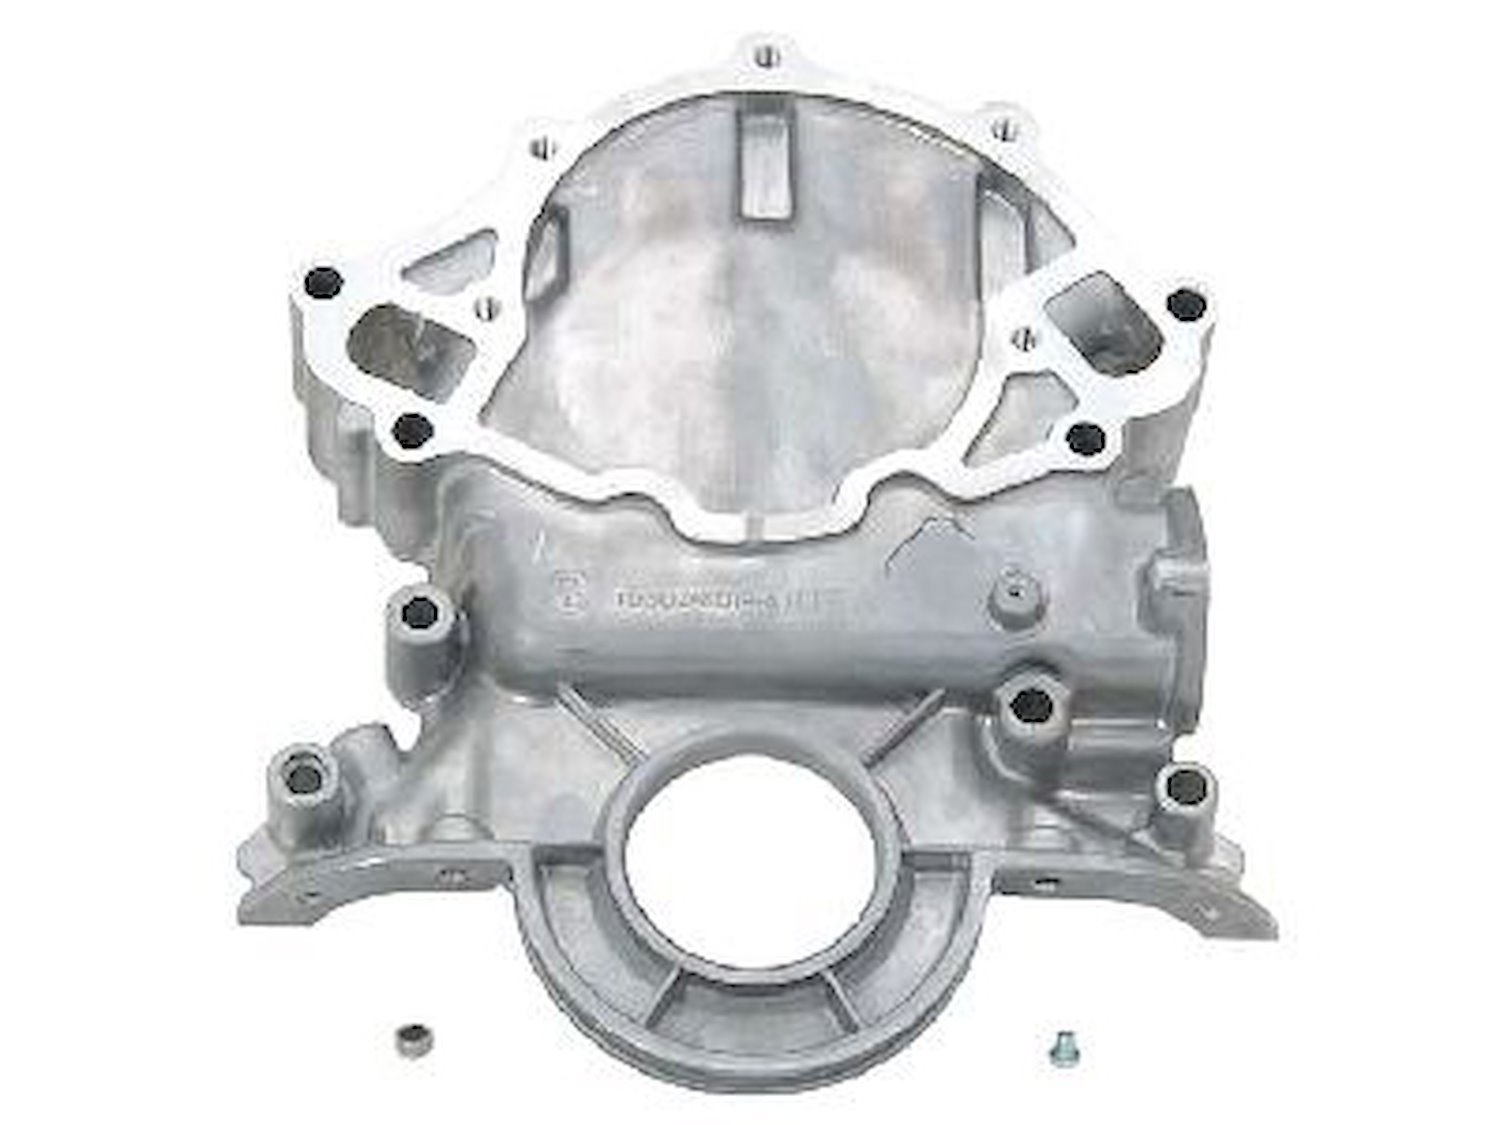
The liquid is than accelerated along the vanes and transported towards the outside of the housing. THis is rather a fan design than a pump design ( like on typical positive displacement pumps, like piston pumps, eaton pumps , membran pumps). The liquid is than transported towards the engine leaving the pumphousing by the two holes in the backplate
WP302Lf.jpg


Here is a typical graph of an industrial pump
mxa-leistung.jpg


you can see that the Flowrate (MXA) drops pretty quick in relation to the pressuredrop ( pressure resistance). This is a typical property of this pumps. This makes this pumps also very prone to cavitation, because the impeller is still turning at the same speed but the liquid moves less, thus local vacuum spots and steam explosions ( cavitation) can be created.

Our WP´s with the high tolerances from impeller to housing and often poor impeller design will have no suction capabilities at all. So all relies on the pressure capablities which are not high also. This easily explains why wp failures or issues are more frequent on midengine application than on frontengine cars.


Don´t underestimate the pressuredrop effect in our cars due to the longer pipe length:
  • a typical GT40 system uses around 20 - 24 ft of 1,5" pipe with around 12 to 14 90° elbows. Additionaly it is often a combination of pipes and rubber tubes, with each step adding to the pressure drop. One elbow is an equivalent to 2,5ft of pipe length. this leave us with a total pipelength of around 54 ft. which at a lfowrate of 55 gpm generates a pressuredrop of 5 PSI
  • A typical frontengine application uses around 5 - 6 ft of pipe and 4- 5 elbows which adds up to a total pipelength of 16 ft . pressuredrop is 1,5 psi
  • if you want to calculate it by yourself Pressure Drop: Calculation of pressure drops in pipes
  • this is only the drop generated by the pipes . Add to that the drop of the radiator which will be another 5 PSI .
  • in accumulation this can add up to as much as 15 psi. Which is probably already half of our wp´s pressure capability ( i´ve never seen a flowrate vs pressure drop diagram of our wp´s , anyone out there ?)
Most of the failures we see are assumed to be based on cavitation . This cavitation is likely generated by the framework set by our midengine application and by the probably higher performance use of our cars compared to the standard street rods, vehicles this pumps are usualy used in.


This leaves us with the following options:
  • Optimise piperouting with max diameters and less length and elbows as possible ( for example for front installation use 4 45° elbows instead of 4 90° elbows )
  • reducing pressuredrop wherever possible ( wp to engine transferopenings, high flow thermostats, head to intake transferports, block to head transferports)
  • high quality high flow radiator
  • Looking for high quality pumps with lower tolerances and higher pressure capabilities
  • reducing wp speed even further than on a comparable front engine application
  • perfect bleeding of the system is a must
Any proven input is very welcome on this post ( what works, what does not work)

THanks
TOM
 
Last edited:

Kevin Box

Supporter
Tom

Excellent presntation
Sounds like we need to look at Impellor design and optimisation to suit our applications also.
Maybe a re-designed impeller would do a better job ????

cheers

Kevin B
 
For anyone interested in the engineering aspects, this site has a lot of design and application information for centrifugal pumps, piping, and heat exchangers, some interesting off-site links, and several calculators. But I haven't found a formula for the max impeller tip velocity prior to cavitation. Tom, do you have one for that?
Engineering Page
 
John

Dont think that is so simple. max tip speed is very much related to the suction conditions

Which in our case very much depend on the pressure drop generated by our piping. So one would need to know what positiv pressure our pumps are capable and what incoming pressure is left over.

For example:

The page you linked is recommanding a max tip speed for cold water of 55m/s

This site has a tip speed calculator tip

I guess our impeller size is max 4" , so at 7500 RPM we end up at 39 m/s. so we should be fine according to that, but for sure thats half the truth.

In the cases i used to calculate i always had a good idea of the NPSH available at the pump, because in 95 % of the cases they where feed by gravity from a tank.

Tip speed is also only one factor the other are the number of vanes and there flowing angle.

Still think the best would be to collect informations about proofen designs instead of trying to engineer it.

Agree that an electrical pump with temperatur controlled pump speed would probably be the best solution ( you could get rid of the thermostat as well), but thats to easy.

TOM
 
Tom, excellent data and write up. Thank you, very helpful.

My poor and uneducated $.02 is that there are a lot of guys driving around with poorly bled systems. And, when the system is poorly bled it's much easier to sit in the arm chair and stew over how it might be the WP or some other feature of the system that is causing low performance. Properly bleeding a GT40 cooling system is no joke, and take a lot of care and time to do right. Personally, I have a step-by-step process that involves a lot of mucking around using various methods (steep hills) and tools (my airlift tool) to get it bled properly. The one change I made on my car that made the biggest difference however is the installation of a forward bleed screw at the top of the radiator. This little bleed screw lets out a surprising amount of air after the car has been heat cycled a few times. The bleed screw is near the very top of the system and seems to get rid of all the air in the system in the forward part. This is a little idea ripped off some european mid-engined cars I have worked on. There may still be air in the manifold and rear part however (that's where the airlift comes in).

I have found the cooling on my car is dramatically better after a proper bleed sequence. I would consider this a preliminary step prior to re-engineering a whole system...just my personal approach.

Thank you again for the information, very informative.

Amazon.com: UView 550000 Airlift Cooling System Leak Checker and Airlock Purge Tool Kit: Automotive
 
Cliff

absolutly agree, any air mixed into the fluid lends itself to increase cavitation.

Also location of the expansion tank is critical.

I found this example from a closed loop heating system, which in basic is the same princip as a cooling system of a car. Unfortunately it is in german. But you could take the "Heizkreis" = "engine" and "Kessel" = "cooler".

http://www.grundfos.at/web/homeat.n...6b74ead9ea2c1256bc700455ef5/$FILE/Aufsatz.doc

In PICTURE 12 the expansion tank is located before the cooler and therefore the generated overpressure ( 10m) is reduced by the cooler loss (3m) with only 7m arriving at the pump. As this pump in this example requires a NPSH of 9m the pump will start to cavitate at a temperatur of 83°C.

In Picture 13 the expansion tank is located after the cooler directly in front of the suction side and thus fully supplying the generated overpressure of 10m to pump and thus avoiding cavitation.


What does this imply for us:
  • locate and connect expansion tank as close as possible to inlet side of pump.
  • expansion tank fluid level in cold should be at highest point of system to avoid air coming back into system.
  • main feed line from expansion tank to pump should enter/leave the expansion tank at lowest point and defenitely below the lowest cold fluid level, so beeing alway submersed in fluid.
  • bleed lines from cooler and engine should enter expansion tank below lowest cold fluid level to avoid air going to be sucked back into system during cool down. If this is done wrong the system need to bleed itself over and over after every heating and cooldown cycle.
  • avoid any airtraps (heater core) in your system
Thanks
TOM
 

Trevor Booth

Lifetime Supporter
Supporter
Tom,
The original cooling system and header tank is set up that way with a 16mm (?) Inside Dia hose from header tank to pump inlet.
The bleed lines are above water level on the car I built and include a line from the radiator.
As you would know you always get some entrained air which collects and comes out bleed lines. If the bleed lines are below water level the entrained air may not surface.
Your thoughts ?
I used a Standard FORD Pump (CI impellor) , original vertical flow radiator , demineralised water no glycol, engine cranks out 490 FWHP. No problems in 6 years of competition use
 
Playing devils advocate a bit here...

Not real keen on the alloy/anodised impellor idea, alloy expansion rate greater than steel shaft plus keyway invites a coolant into bearing area leak possibility which would require an O-ring on shaft plus a bolt/washer to keep the whole thing tight etc...

There is no one solution to fit all possibilities as a reverse rotation impellor simply will not work in the early RH rotation pumps, also I would like to see some test results between early & late model front covers with regard to flow amounts to both left & right banks on the later type 'mixing bowl' front cover /pump assy's
 
Trevor

I think that air will surface quickly (think about you bathtube experience, when you where a kid of course). So the risk of air beeing sucked back and requiring a bleed again seems to be higher to me. Have to agree that my tank is exactly set up like yours and i have no problem at all, but will change it , may be it get even better. Will cap the above water level inlets, that leaves both options to choose from.

Jac Mac: agree, than we will make it from stainless steel. My english was missleading again. Of course we will make on version for clockwise and one for anticlockwise rotation. It is just a matter of mirror imaging the vanes.

Would you mind to explain a little more the details of the different front covers, may be with pics without waterpump ?

is this the early style you are talking about ?

DSC01448.jpg


And this the later one ?
555-50300.jpg


19039d1313959284-water-pump-ccw-vs-cw-pump.jpg


seems to be that flow channels are in the pump for this style cover


this one is also a later one (94 - 95 Mustang 5.0)
lrs-6019e_4942.jpg


Thanks
TOM
 
Last edited:

Trevor Booth

Lifetime Supporter
Supporter
The offending tin impellor type, apart from comng loose or breaking, is more akin to a paddle wheel than a pump impellor. YUK !!

Tom,
some clear vinyl hose in the line to pump from header will reveal all. The flow rate in that line would dictate any re-entry of air and its flow rate will be dictated by the inflow from the bleed lines. Let me know the results - interesting
There would be nothing wrong with an alloy impellor the interference shrink fit is proportional and if it gets that hot that it comes loose , that will be the least of your worries. A blind keyway will not interfere with the sealing which should be a ceramic insert in the impellor face.
I would use bronze in any event , it polishes to a mirror finish just with the water, I would not use stainless
 
Thanks Jac

THis pump
19039d1313959284-water-pump-ccw-vs-cw-pump.jpg

should fit to this timing cover
555-50300.jpg

the two center lower bolts are only for holding the tin plate (see threads in pump housing) , the cover has recesses for them. This way the cover can be used for cw and ccw rotation pumps.

This cover
lrs-6019e_4942.jpg

is using this pump without tin backing plate
water_pump-WP4087.jpg


which is to my knowledge the very same as in this KIT Ford Racing Ford Racing Serpentine Belt Short Water Pump Conversion Kits - M8501A50

To my knowledge it is also the combination which is the shortest and gives the most clearance to the firewall. As pointed out from you only available in ccw rotation. But this comes very close to the old style cover and will probably have the same fow characteristics ( but also the same drawback in terms of corrosion). So if we make a decent impeller for this version, that would be a good solution in more than one aspect.

This is actually also the pum and cover i have on my car
serpentinesetup.jpg

this picture is still with 1:1 driving ratio which i replace with 1,2:1 (20% slower wp rotation). The reduction in speed gave me a decrease of almost 15° F. Even on hot days and driving hard i run around 195°F ( only in dense and long city trafific it goes up to 205°F). I´m running a 40% glykol/watermix for corrosion prohibition and freeze protection ( car is placed in an unheated place during winter).

TOM

TOM

spacer.gif
 
No, for this pump to fit that cover the cover would need to be changed as per red areas.
 
Last edited:
No, for this pump to fit that cover the cover would need to be changed as per red areas.

You had better write to Mr Ford then as they do market that pump as fitting the '79 - '85 front covers,( ie the one in your photo ) with "minor modifications " If you look at the steel back plate in the background you can see it has round ports instead of the more usual oval ones. Those holes DO match the ports in the early cover. They also market the same pump in right hand rotation for V belts for the same, early cover. Confused ?
The CORRECT cover for that left hand pump is from an '87 - '96 truck, the ports do point in the correct direction and it IS available as an aftermarket piece.

Mike

The key in that message is' with minor modifications', the problem there is most guys throw the instructions away before even unwrapping the part!... as for 'writing to Mr Ford'.. I gave that up a long time ago, in fact I doubt that they-Ford- actually employ people capable of reading & or writing anymore.... why did I write to Ford.... because way back in 1973 I had built a 351 w & managed to fit a 400 cleveland crank & rods & thought they might have been interested in how to do the conversion, I got a letter back from someone @ SVO telling me that it was not possible:huh:, five years later what did we get, stroker options for Africa... no I did not write them & quote the letter...:evil:

Me, Confused, no I am 'old school' dont use any reverse rotation pumps or work on crap with EFI etc....
 
my mistake, because i took the pictures available.
this is a picture with all the different covers
RTCF302.JPG


the RTCF-351RF should be the correct one for the pictured pump.

But one gets the idea.
Jac what you think ? Except the ccw rotation the 94-95 cover should be almost equal in terms of flow distribution compared to the early style cover.

THanks
TOM
 
Last edited:

Howard Jones

Supporter
Tom. The pump you pictured in the first post is the pump I am having trouble with. I find it interesting that my "system" is nearly exactly as you describe as optimal.

1. high as possible surge tank.
2. inlet to surge tank at bottom of tank and comming from inlet side of pump and very near pump inlet port.
3. bleed lines at all high points in system and returnibg below water levell in surge tank.
4. nicely done piping of at least 1.5 inchs in diameter. Min number of corners and radiaused turn into the thermostste housing. No changes in diameter througout system.
5. restrictor plate instead of thermostat to reduce turbulance in housing.
6. No heater or heater lines.

Water temps when pump is normal is within good operating range. 170F at easy street usuage and max temp of 210F at race speeds on 105F air temp days.

The one thing I may have wrong is pump speed. I am running pump at about 95% of engine speed. With a max engine speed of 5800 revs. Usual engine speed of 3500- 5500.

Would reducing pump speed help? if so best guess at reduction ratio 80%? 70%?.

Very good information. It's a wonder these cars work at all. The best solution does seam to be a variable flow electic pump with speed/flow temp governed.
 
Back
Top