
<SUP>
Merge collector
by Jim Cowden
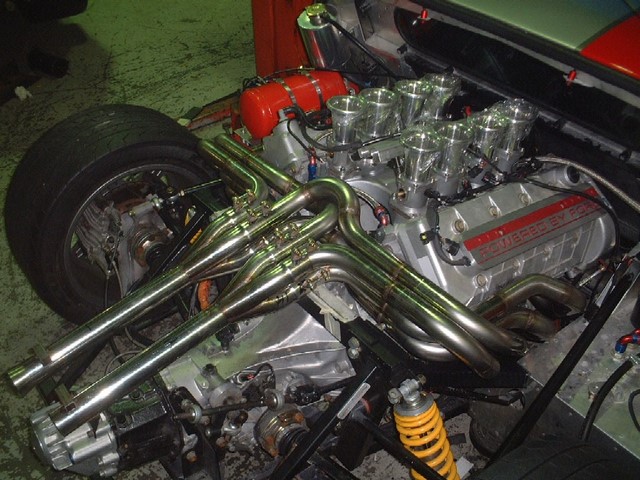
Over the years I have seen different technics used to manufacture merge collectors, this is a tecnique that I came up with. It does require some equipment but most on this site do. It requires a milling machine and a rotary table.
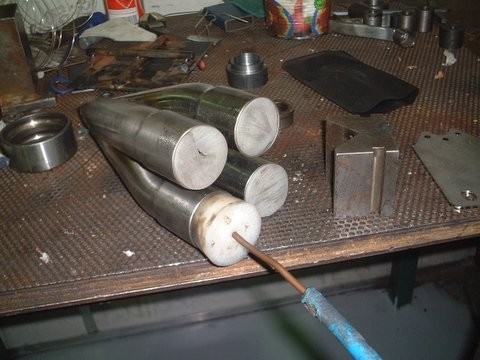
The bends I selected have a 20 deg bend a 45mm slip joint and a 200 mm tail. The collector would work better with less angle but you generally can’t afford the space in a GT40.
Mount and set rotary table.
Ensure chuck is centred.
Set to zero.
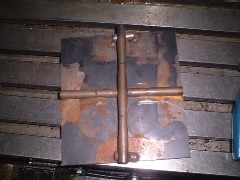
This is an assembly jig to aid in putting the collector together. The bars have been ground down to 8mm. This distance must be set into the mill in the next stage.
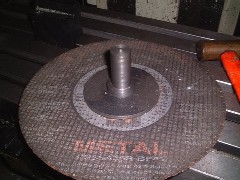
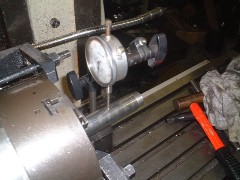
The metal cutting disk is held with an arbour that I machined to fit into my collet chuck. You are basically simulating the head of an angle grinder to support the disk.
Place pipe in the chuck bend down, start the mill and bring the bed up for a touch on the slip joint. Once you have come up for a touch drop the bed 4 mm.
This is half the distance of the 8mm assembly jig.
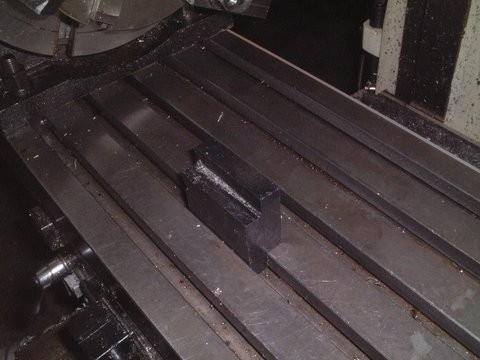
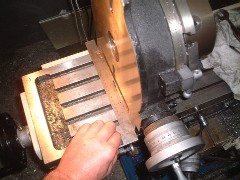
This is a plastic block that I have milled that fits into my bed slots. It is very handy for squaring things up on the bed. This will be used to put the 90deg face plate against to set the pipe in the chuck.
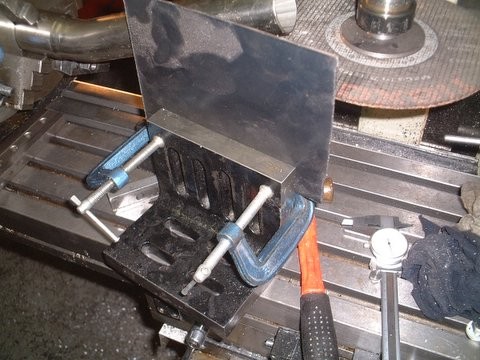
I clamp a flat piece of metal to the 90 deg plate to give it more height.
Set the rotary table to 0 and lock it.
Put a pipe in the chuck held by the slip joint and the bend up. Push the 90deg plate up against the plastic block. By eye you can rotate the pipe in the chuck until you get a consistant gap between the pipe and the plate. Do not rotate the table to do this.
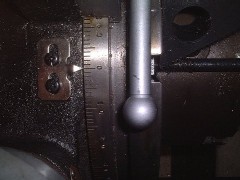
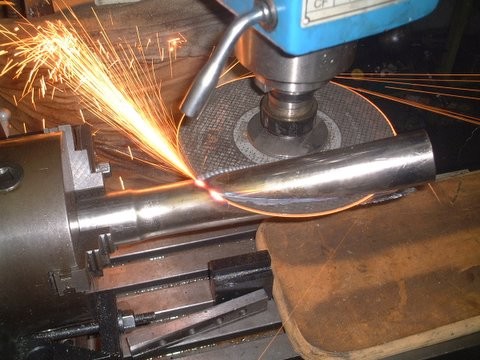
Once the bed is set up rotate the chuck 45deg. I set my mill to 2400rpm the feed rate is slow. My auto feed has 1-10 and I set it on 2. Cover your bed with something to stop grindings getting in.
At this point you will find out how long the tail on the pipe should be.
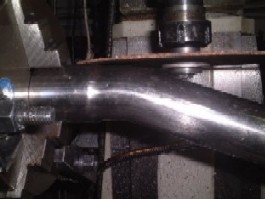
What you are looking for is the disk to enter in on the end off the pipe not on the ide, as this deflects the disk and an inaccurate cut will occur.
Dock all the pipes to the same length.
Cutting in from the end.
Completing cut 1
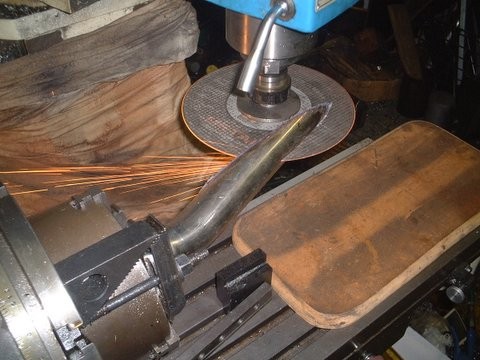
Rotate the table back to 0 then 45deg in the opposite direction.
Lock the table the do the 2nd cut.

Debure while it is still in the chuck.
Be very very carefull as this is like a knife.
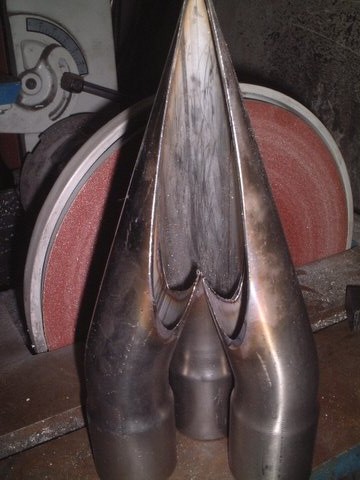
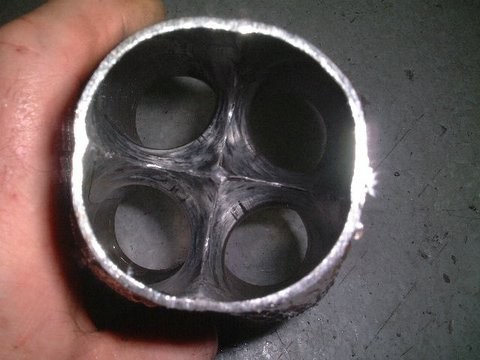
You can start to see the merge appearing.
Cut the end off the tips on each pipe so you can look down inside the collector to line the merge up.
Place parts on the jig.
This is just to keep the spacings between the pipes equal.
I place a ring on the top and move around to get a good fit.
Tack weld 2top and bottom
Purging the collector before welding will save a lot off clean up.
I have a tap and an on off valve T off my gas bottle.
I regulate via the tap and on off by the ball valve.
Weld down the sides off the collector.
Cut the top off to above the required height.
Using a dolly tap the merge together and spot weld on the tip.
This torch is the best thing since sliced bread; it has a swirler in the cone and allows gas to spiral down around the electrode.
They specify up to 19mm but in the back of a collector I can generally go to 25mm due to the gas pocket that forms.
This is probably the most difficult part off the job, it is restrictive I often bend the electrode and the welding wire to aid in getting in.
Back off the collector.
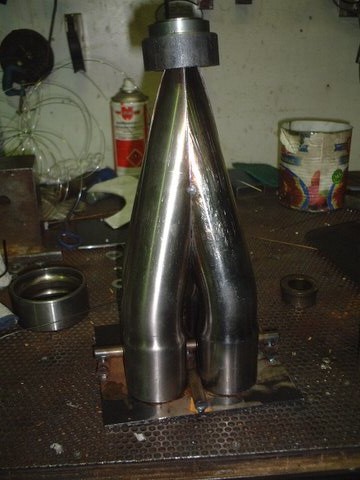
Do a tidy up inside and you are done.
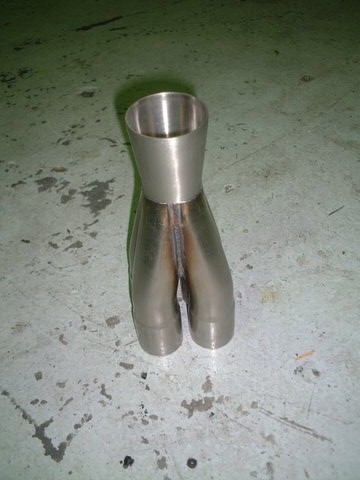
Cut the back to suit your needs to cone up ect ect.
Hope this helps those who like making their own parts.
</SUP>
Merge collector
by Jim Cowden
Over the years I have seen different technics used to manufacture merge collectors, this is a tecnique that I came up with. It does require some equipment but most on this site do. It requires a milling machine and a rotary table.
The bends I selected have a 20 deg bend a 45mm slip joint and a 200 mm tail. The collector would work better with less angle but you generally can’t afford the space in a GT40.
Mount and set rotary table.
Ensure chuck is centred.
Set to zero.
This is an assembly jig to aid in putting the collector together. The bars have been ground down to 8mm. This distance must be set into the mill in the next stage.
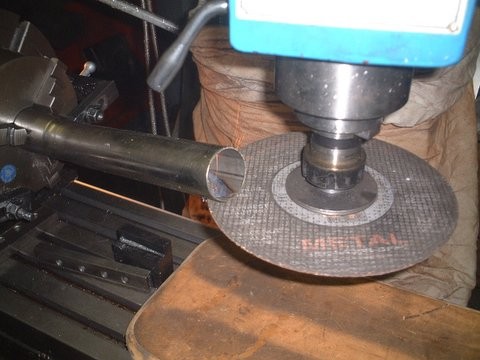
The metal cutting disk is held with an arbour that I machined to fit into my collet chuck. You are basically simulating the head of an angle grinder to support the disk.
Place pipe in the chuck bend down, start the mill and bring the bed up for a touch on the slip joint. Once you have come up for a touch drop the bed 4 mm.
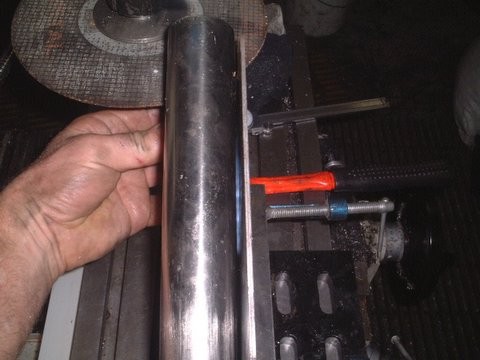
This is half the distance of the 8mm assembly jig.
This is a plastic block that I have milled that fits into my bed slots. It is very handy for squaring things up on the bed. This will be used to put the 90deg face plate against to set the pipe in the chuck.
I clamp a flat piece of metal to the 90 deg plate to give it more height.
Set the rotary table to 0 and lock it.
Put a pipe in the chuck held by the slip joint and the bend up. Push the 90deg plate up against the plastic block. By eye you can rotate the pipe in the chuck until you get a consistant gap between the pipe and the plate. Do not rotate the table to do this.
Once the bed is set up rotate the chuck 45deg. I set my mill to 2400rpm the feed rate is slow. My auto feed has 1-10 and I set it on 2. Cover your bed with something to stop grindings getting in.
At this point you will find out how long the tail on the pipe should be.
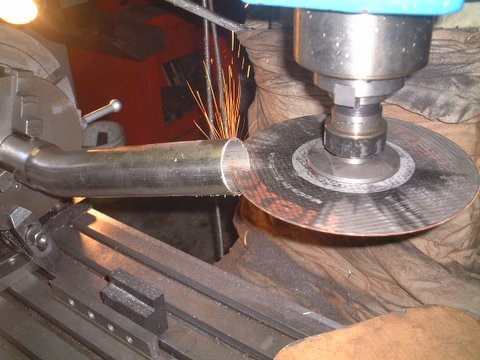
What you are looking for is the disk to enter in on the end off the pipe not on the ide, as this deflects the disk and an inaccurate cut will occur.
Dock all the pipes to the same length.
Cutting in from the end.
Completing cut 1
Rotate the table back to 0 then 45deg in the opposite direction.
Lock the table the do the 2nd cut.
Debure while it is still in the chuck.
Be very very carefull as this is like a knife.
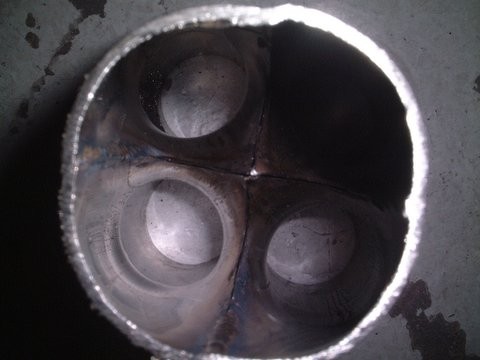
You can start to see the merge appearing.
Cut the end off the tips on each pipe so you can look down inside the collector to line the merge up.
Place parts on the jig.
This is just to keep the spacings between the pipes equal.
I place a ring on the top and move around to get a good fit.
Tack weld 2top and bottom
Purging the collector before welding will save a lot off clean up.
I have a tap and an on off valve T off my gas bottle.
I regulate via the tap and on off by the ball valve.
Weld down the sides off the collector.
Cut the top off to above the required height.
Using a dolly tap the merge together and spot weld on the tip.
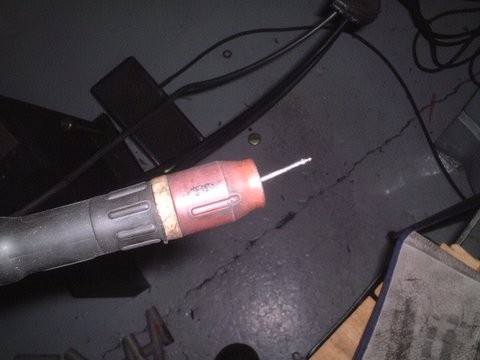
This torch is the best thing since sliced bread; it has a swirler in the cone and allows gas to spiral down around the electrode.
They specify up to 19mm but in the back of a collector I can generally go to 25mm due to the gas pocket that forms.
This is probably the most difficult part off the job, it is restrictive I often bend the electrode and the welding wire to aid in getting in.
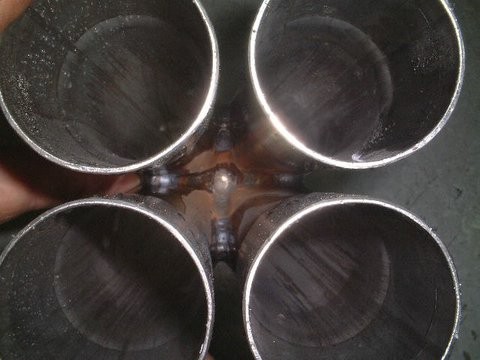
Back off the collector.
Do a tidy up inside and you are done.
Cut the back to suit your needs to cone up ect ect.
Hope this helps those who like making their own parts.
</SUP>
Last edited: