Hi All
Seeing as Ron has started a Lola T70 section, let me be first in. I have been lurking on this site for a while, and have found a lot of extremely useful and interesting info here.
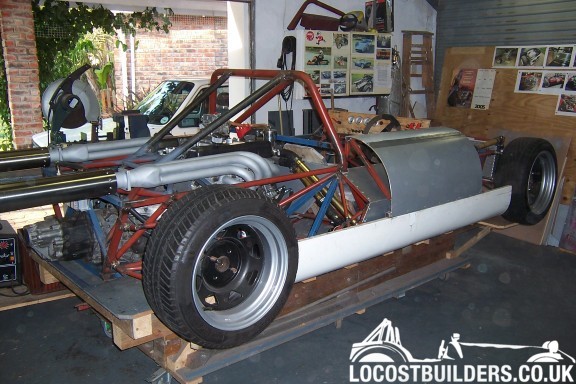
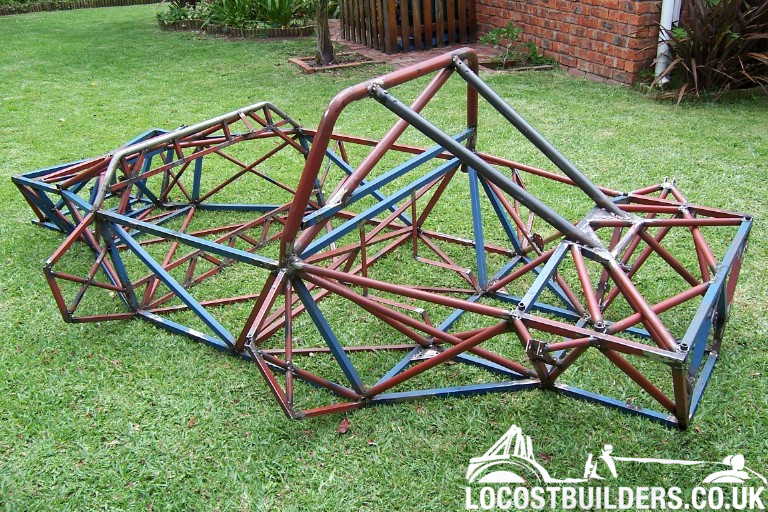
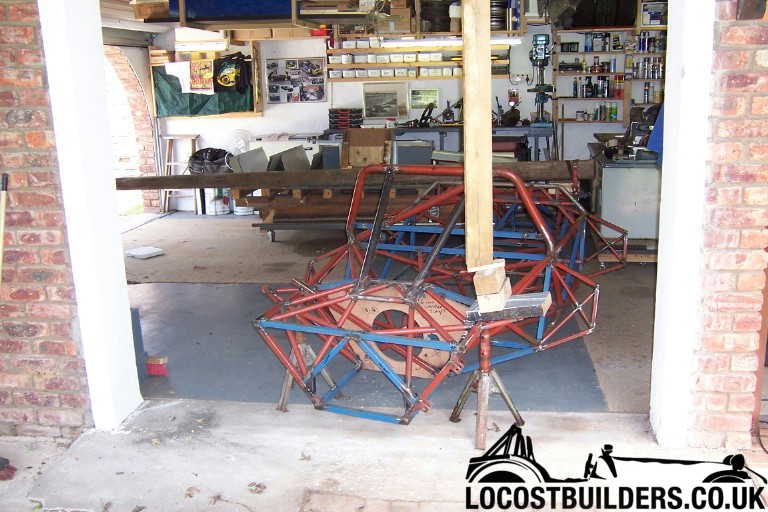
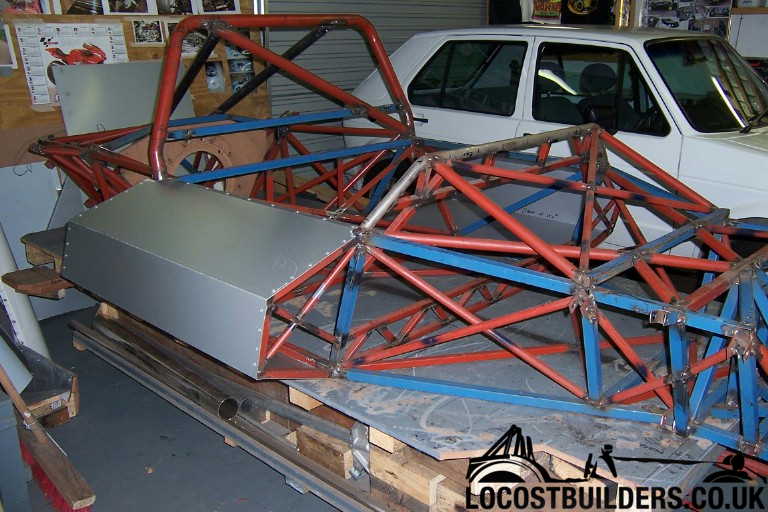
I am a 43 year old mechanical engineer and motor sport enthusiast in Port Elizabeth, South Africa and am building up a self designed space frame two seater mid engine sports car from scratch, that I want to look like a late 60's CANAM style car. I will use it on the road for fun and possibly do some track racing, in our "classic" class out here.
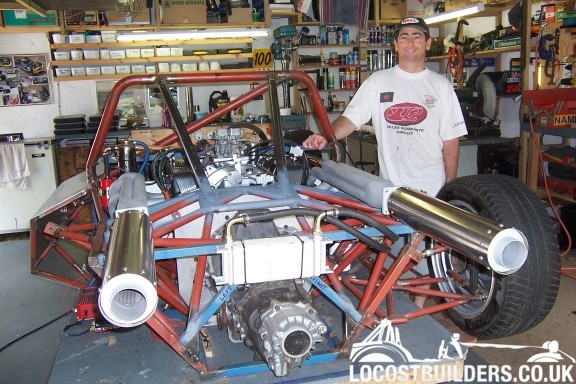
So far I have a prototype chassis complete, all the running gear figured out, and the engine running in the proto chassis.
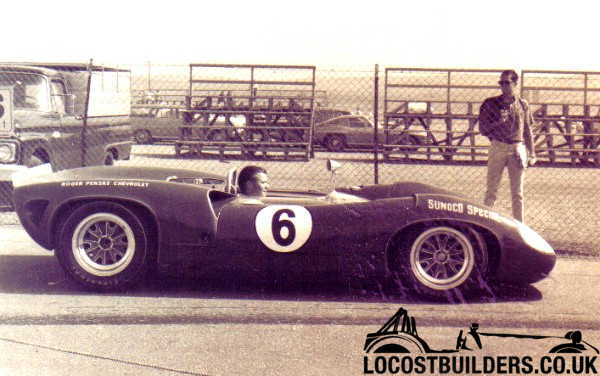
With regard to body work, I have decided to make my own buck, moulds and bodywork and am inspired by the Lola T70 sypder. To me, this is one of the prettiest cars ever build.
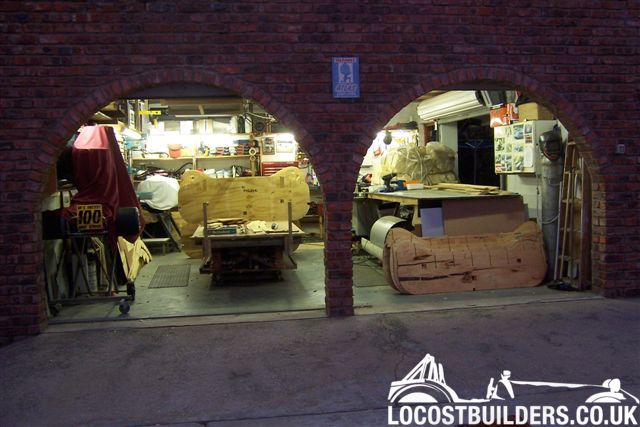
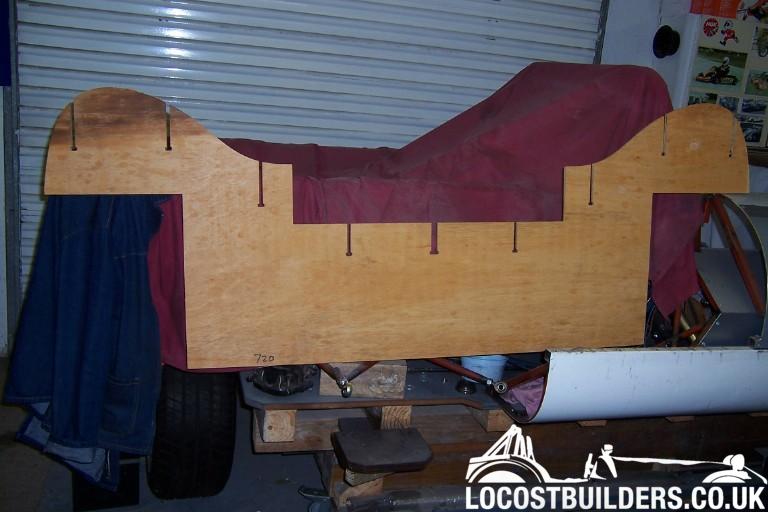
I will try to attach some pictures to illustrate where I am now on the body work.
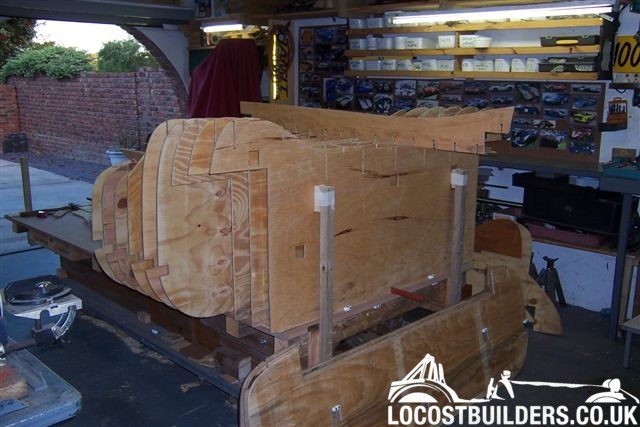
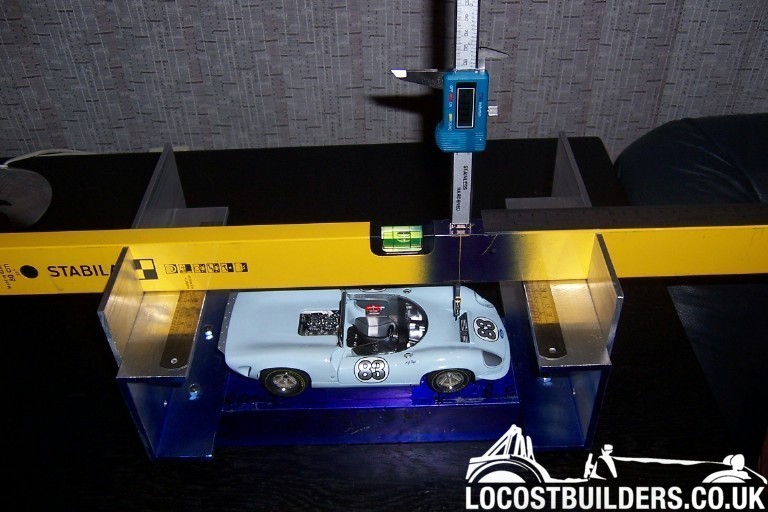
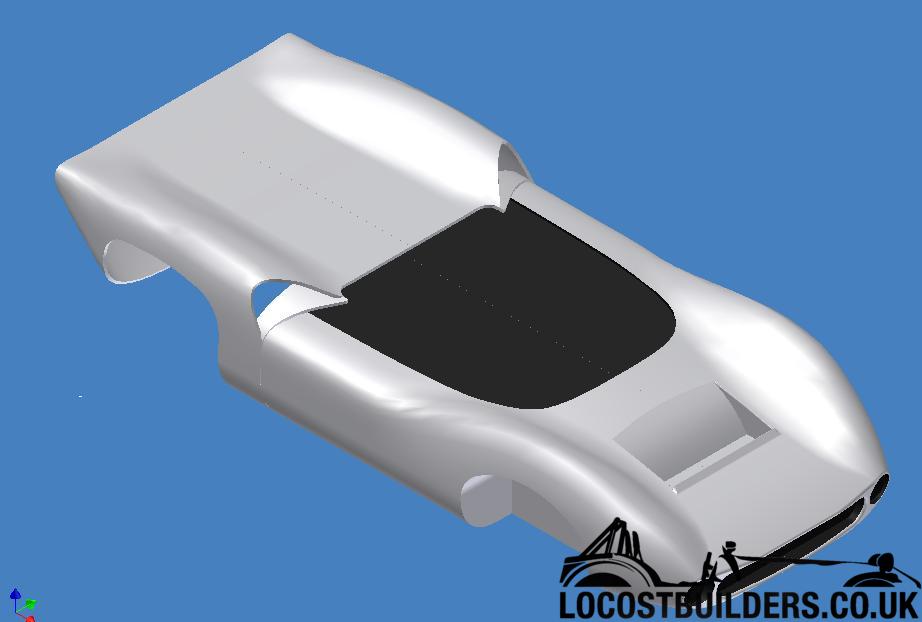
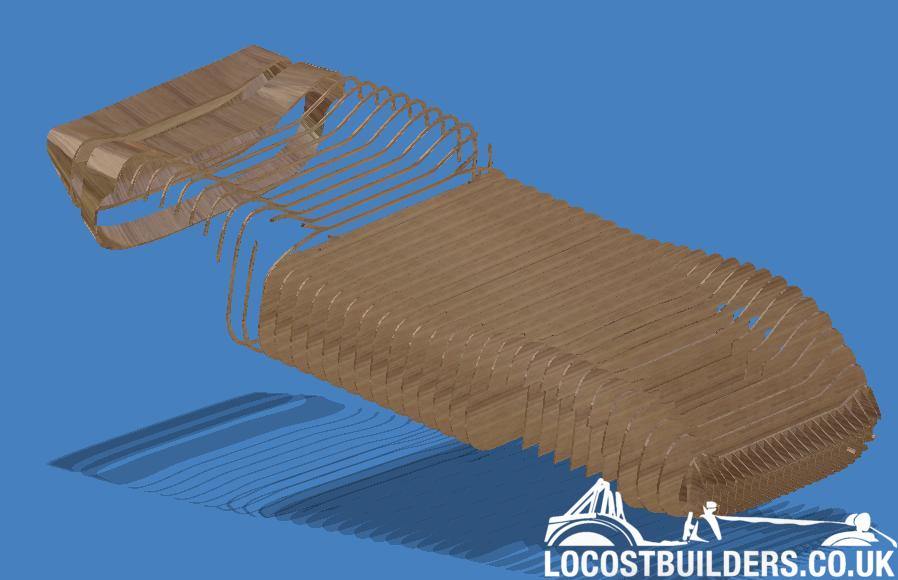
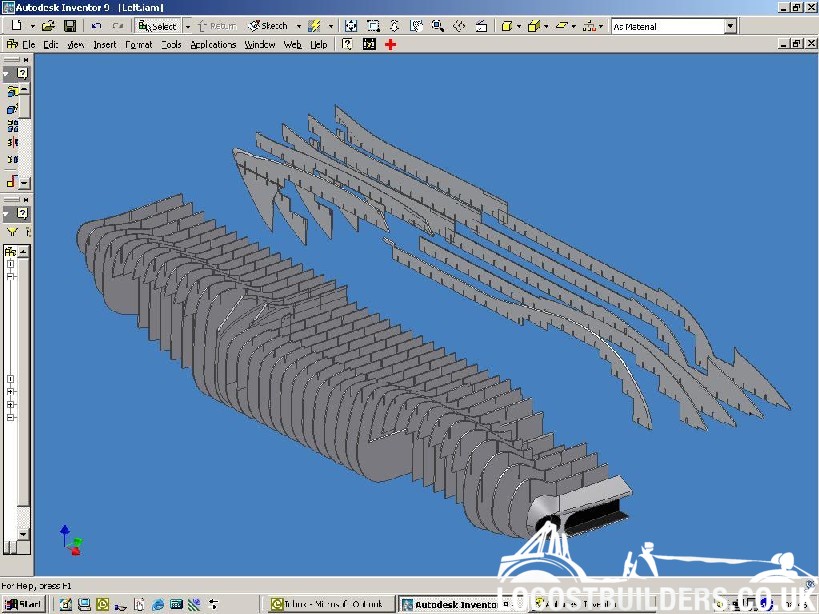
I had purchased a 1:18 scale model of a Lola T70 Spyder and made up a 3 axis measuring jig in order to measure it, on a 5 mm x 5 mm grid. This data and some reference photo's were then used to draw the body surface in Inventor. That data was then used to produce many flat body sections and some longitudinal stringers on a CNC router from 8 mm plywood sheet. I now have all 67 wooden parts in hand, and can start to put the buck together. The parts were drawn with slots so that they will clip together and self align. The rib I show in the picture is a test piece. The real ones have additional alignment holes. I have also had 350 polyurethane foam blocks cut, to glue into the spaces to form the surface. The foam will be sanded to shape and then covered with a layer of chopped strand mat and resin, to give a solid base. This will then be sanded to fair it, then coated with polyester auto body filler, and sanded again. Then the whole lot will be sprayed with surfacing compound and finally finished to give a suitable surface for moulds. Sounds easy when you say it like that, but I am sure it will take ages.
It seems that people who build car body bucks often end up designing and redesigning the car as they go, which takes up a lot of time. I am hoping that going to all this trouble to produce a good framework with profiles that are exactly what I want will reduce the surfacing pain somewhat.
Originally, I did not plan to attempt to create an exact replica, but now that I am going to all this trouble, it seems a pity not to get it as right as I can.
I will update when I make some more progress.
Regards
Fred W B
Seeing as Ron has started a Lola T70 section, let me be first in. I have been lurking on this site for a while, and have found a lot of extremely useful and interesting info here.
I am a 43 year old mechanical engineer and motor sport enthusiast in Port Elizabeth, South Africa and am building up a self designed space frame two seater mid engine sports car from scratch, that I want to look like a late 60's CANAM style car. I will use it on the road for fun and possibly do some track racing, in our "classic" class out here.
So far I have a prototype chassis complete, all the running gear figured out, and the engine running in the proto chassis.
With regard to body work, I have decided to make my own buck, moulds and bodywork and am inspired by the Lola T70 sypder. To me, this is one of the prettiest cars ever build.
I will try to attach some pictures to illustrate where I am now on the body work.
I had purchased a 1:18 scale model of a Lola T70 Spyder and made up a 3 axis measuring jig in order to measure it, on a 5 mm x 5 mm grid. This data and some reference photo's were then used to draw the body surface in Inventor. That data was then used to produce many flat body sections and some longitudinal stringers on a CNC router from 8 mm plywood sheet. I now have all 67 wooden parts in hand, and can start to put the buck together. The parts were drawn with slots so that they will clip together and self align. The rib I show in the picture is a test piece. The real ones have additional alignment holes. I have also had 350 polyurethane foam blocks cut, to glue into the spaces to form the surface. The foam will be sanded to shape and then covered with a layer of chopped strand mat and resin, to give a solid base. This will then be sanded to fair it, then coated with polyester auto body filler, and sanded again. Then the whole lot will be sprayed with surfacing compound and finally finished to give a suitable surface for moulds. Sounds easy when you say it like that, but I am sure it will take ages.
It seems that people who build car body bucks often end up designing and redesigning the car as they go, which takes up a lot of time. I am hoping that going to all this trouble to produce a good framework with profiles that are exactly what I want will reduce the surfacing pain somewhat.
Originally, I did not plan to attempt to create an exact replica, but now that I am going to all this trouble, it seems a pity not to get it as right as I can.
I will update when I make some more progress.
Regards
Fred W B
Last edited:

")
")