

(I put re-shaping in quotes because I'm not entirely certain that's the word I'm looking for...)
Anyways, if one wanted to convince the body to take on a slightly different shape, are there any tips or tricks to follow? I've read a lot of weird things with Cobra bodywork (like putting 100lbs worth of weight plates ontop of it to force it to settle, heat lamps, etc...), just not certain what would be best.
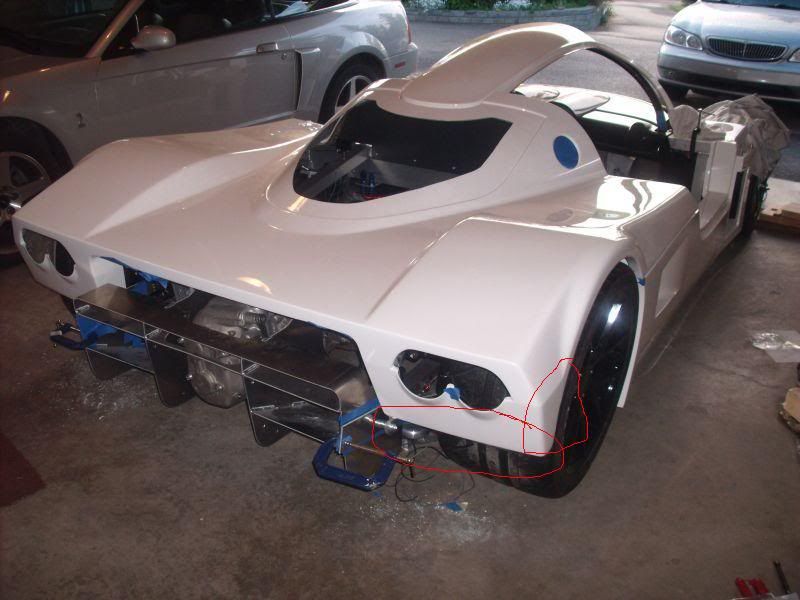
More specifically, I'm working on centering my spyder section. I've got it pretty close at the moment (my front is still a little bit off, but I'm working on it), but the rear is giving me trouble - it's riding very very close to the back of the tire (I can't get a 12mm wrench through there, not touching, but almost). I can't shift the spyder backwards, or else my front tire gets phsyically wedged into the front clip.
I circled the area in question.
So what I did was grab the underside of the body, pulled it back and placed a wooden board between the tire and the body. Then I bolted the rear clip (in that position) to a jig I have clamped on the diffuser (jig is there temporarily so I don't have to drill the mounting hole to locate the hinging setup yet...so it's basically the same thing as bolting it right to the diffuser).
Release the board from the tire, and the rear clip kept its shape (i.e., has sufficient clearance between tire and body now, and the gapping is even).
So that's the summary - I guess my question is what can I do at this point to help convince the fiberglass to mold to that shape? Right now if I remove my jig or unbolt the hinge from the jig, the bottom of the rear clip will sag forward into the tire, so I'd like to convince him to 'loosen' up a bit so he naturally takes on that shaping.
Thoughts from the fiberglass experts? =)
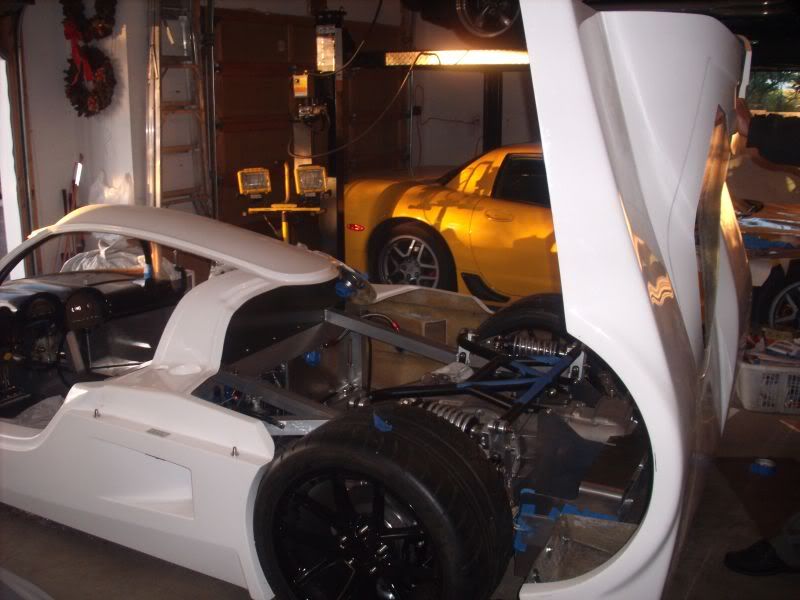
Btw, proof it actually hinges 90* now, eheheh
Anyways, if one wanted to convince the body to take on a slightly different shape, are there any tips or tricks to follow? I've read a lot of weird things with Cobra bodywork (like putting 100lbs worth of weight plates ontop of it to force it to settle, heat lamps, etc...), just not certain what would be best.
More specifically, I'm working on centering my spyder section. I've got it pretty close at the moment (my front is still a little bit off, but I'm working on it), but the rear is giving me trouble - it's riding very very close to the back of the tire (I can't get a 12mm wrench through there, not touching, but almost). I can't shift the spyder backwards, or else my front tire gets phsyically wedged into the front clip.
I circled the area in question.
So what I did was grab the underside of the body, pulled it back and placed a wooden board between the tire and the body. Then I bolted the rear clip (in that position) to a jig I have clamped on the diffuser (jig is there temporarily so I don't have to drill the mounting hole to locate the hinging setup yet...so it's basically the same thing as bolting it right to the diffuser).
Release the board from the tire, and the rear clip kept its shape (i.e., has sufficient clearance between tire and body now, and the gapping is even).
So that's the summary - I guess my question is what can I do at this point to help convince the fiberglass to mold to that shape? Right now if I remove my jig or unbolt the hinge from the jig, the bottom of the rear clip will sag forward into the tire, so I'd like to convince him to 'loosen' up a bit so he naturally takes on that shaping.
Thoughts from the fiberglass experts? =)
Btw, proof it actually hinges 90* now, eheheh
 ... I wasn't aware you could trim the area, I thought you had to use it as is ) I got the driver-rear even using the factory mounting points (which make the most sense to use) - I have 1 finger width all the way around (front to back of tire). Not a huge amount of clearance, but I don't think the wheel should be wandering around too much there, otherwise I'm going to have a problem, lol. Since it's 1finger width even all the way around, only other way to increase room at this point would be to knock out the wheel well itself, lol.