Don't laugh, I've never done any clutch work before so I'm terrified of messing this up, especially since this isn't like install a corvette clutch onto a corvette flywheel, heh.
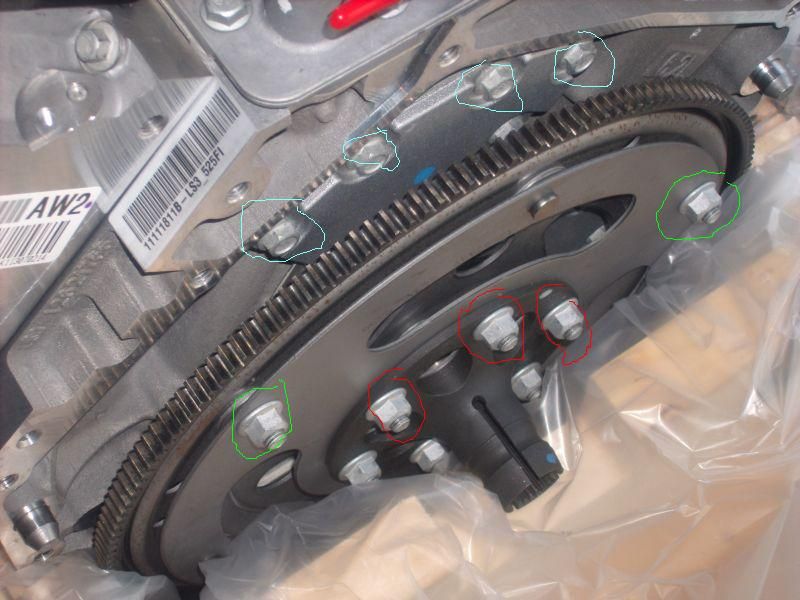
1 - Does the flywheel install just like an LS flywheel? Meaning use the appropriate LS flywheel bolts (e.g., LS3 flywheel bolts) and torque to normal specs? Is there anything to be aware of?
2 - Does the clutch install similar to the ford-GT? i.e.,
http://www.stillen.com/product_files/FGT402000~inst.pdf
i.e., get special ford GT clutch bolts (9 of them) and bolt it in using 19ft-lbs+blue loctite? Is there anything to be aware of?
3 - What is the general order of steps? E.g., install adapter plate to engine, press bronze bushing into flywheel, install flywheel, etc....?
4- Is bleeding the clutch just like bleeding the brakes - i.e., have somebody push down while you crack the bleeder screw on the Ricardo until no air comes out? I assume you can use DOT 3 brake fluid for clutch fluid as well? (I do in my z06 anyways)