SL-C #50 Allan's Build

So just in time for the New Year I made the 13 hour drive from <?xml:namespace prefix = st1 ns = "urn:schemas-microsoft-com
FONT><FONT color=black><FONT face=Verdana> everything was ready to go and off I went into the drizzle, at least the ice had melted from the night before. <
<o:p></o:p>
<o:p></o:p>
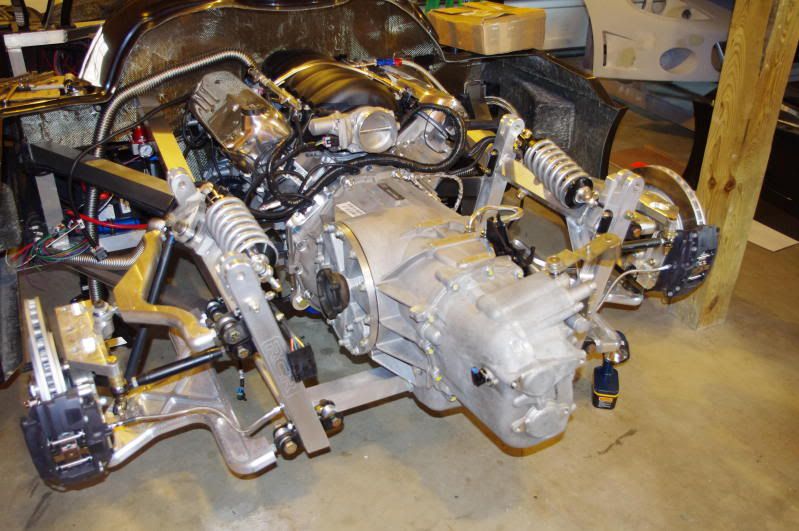
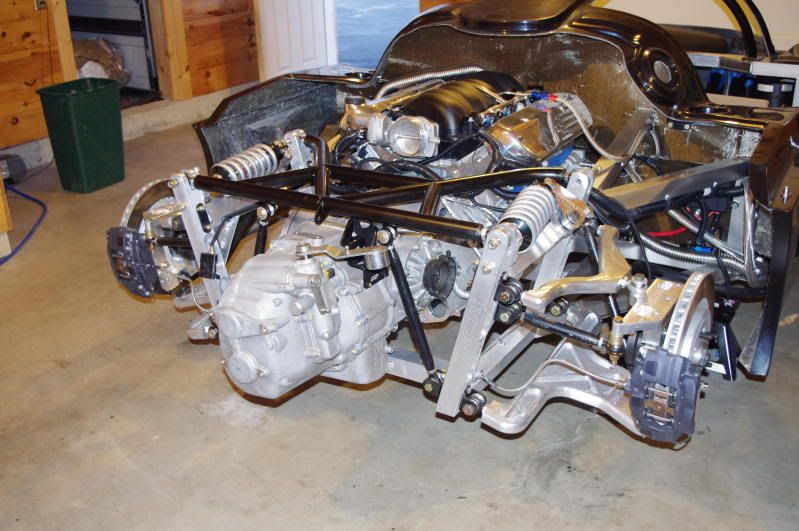
For anyone contemplating making the trip to RCR it is well worth it to see all the cars, projects and to spend some time with Fran and his staff. Amazing people and cars!<o:p></o:p>
IMGP0736.jpg


IMGP0735.jpg


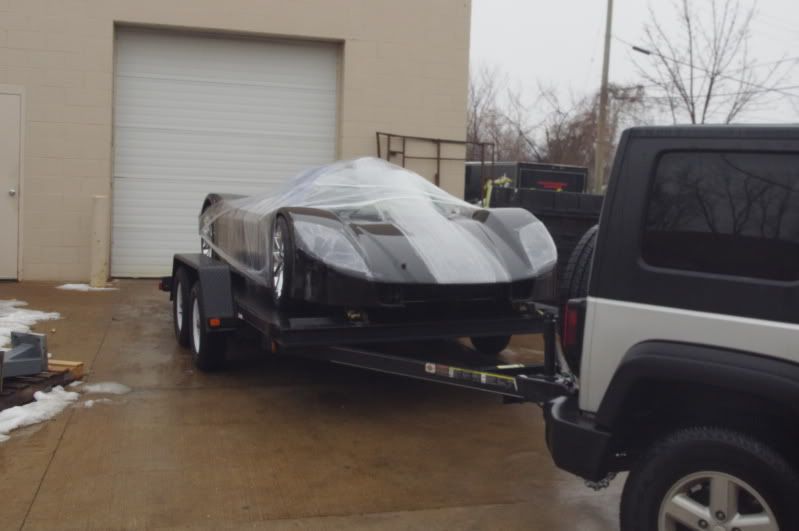
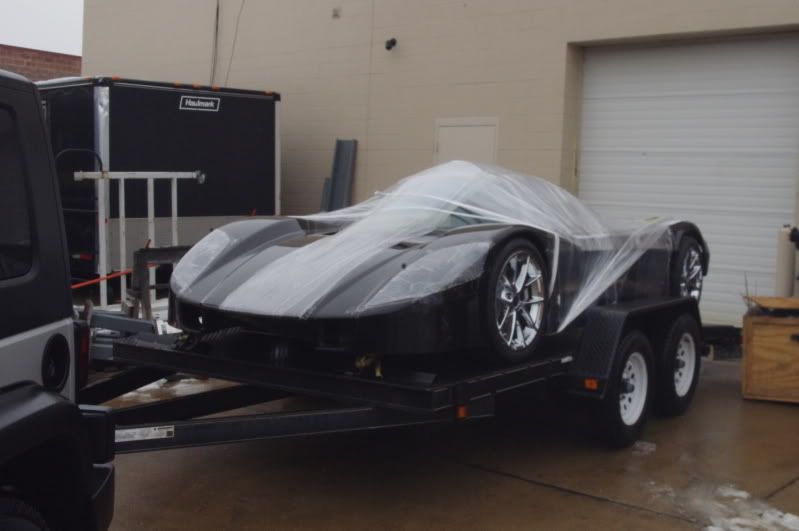
So all packed up I set off for the 14.5 hour trip back home. Nothing like a long road trip with a car in tow and all the eighteen wheelers to deal with.
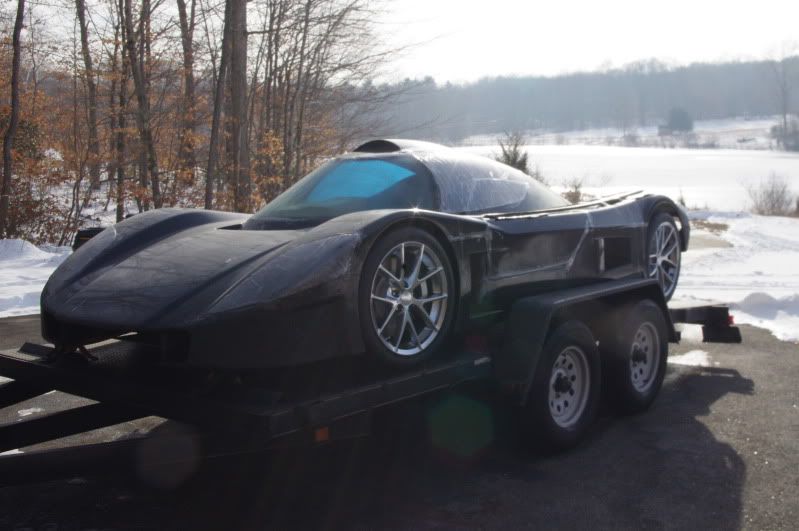
Even on the trailer the car got incredible attention. People were taking pictures, yelling out their windows asking what it was and someone even followed me off the highway to the gas station to talk to me about it.

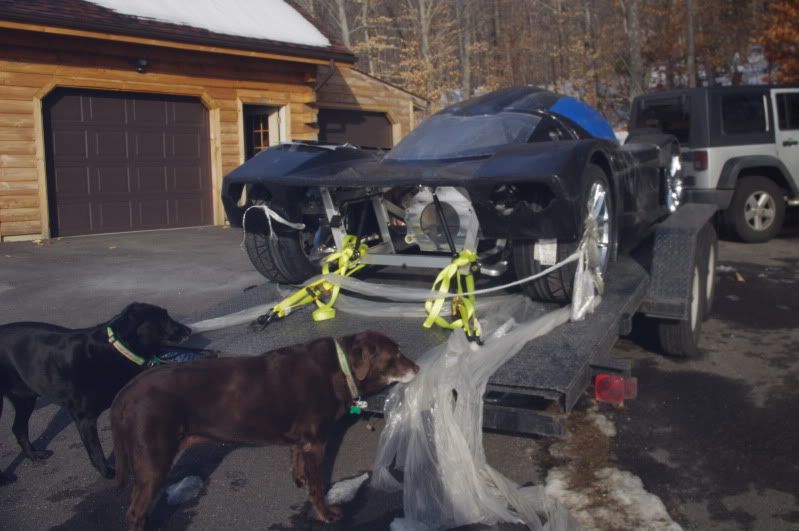
Here's what it looked like after the trip.

IMGP0737.jpg


IMGP0740.jpg


IMGP0750.jpg


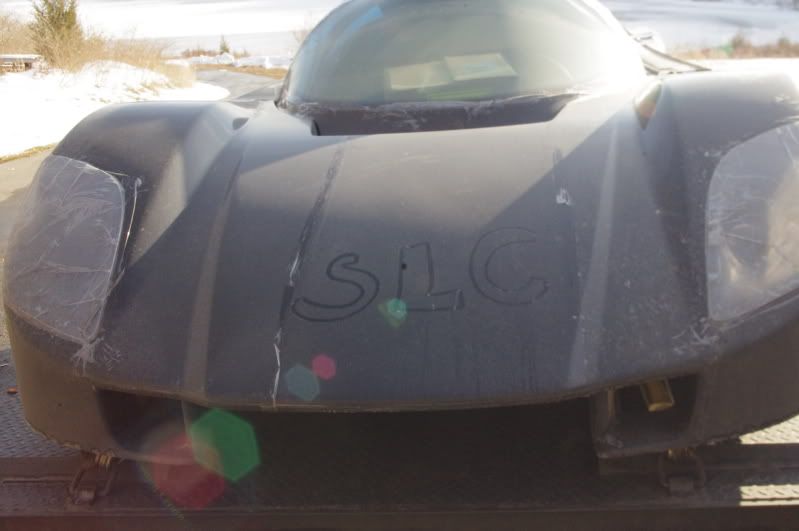
Spent some time unloading the next day and giving it its first bath.
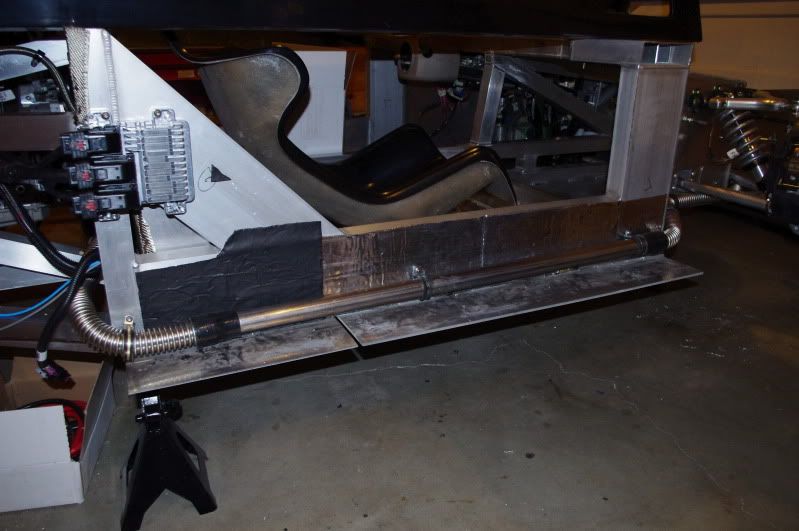
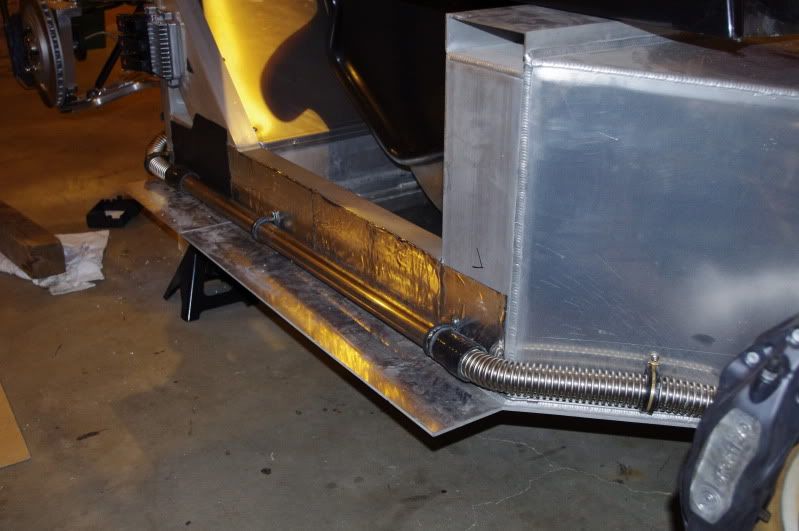
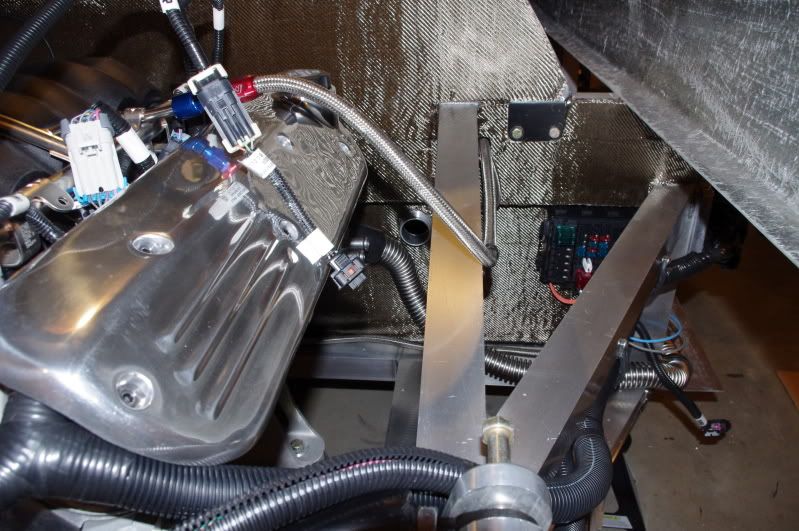
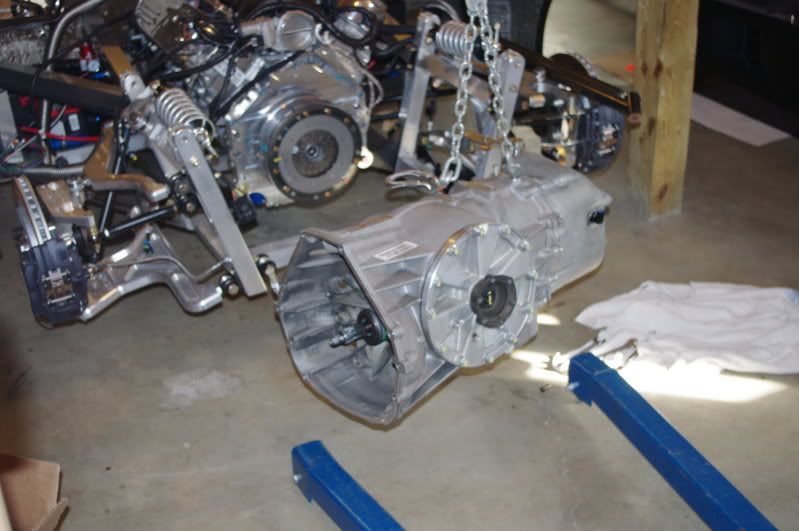
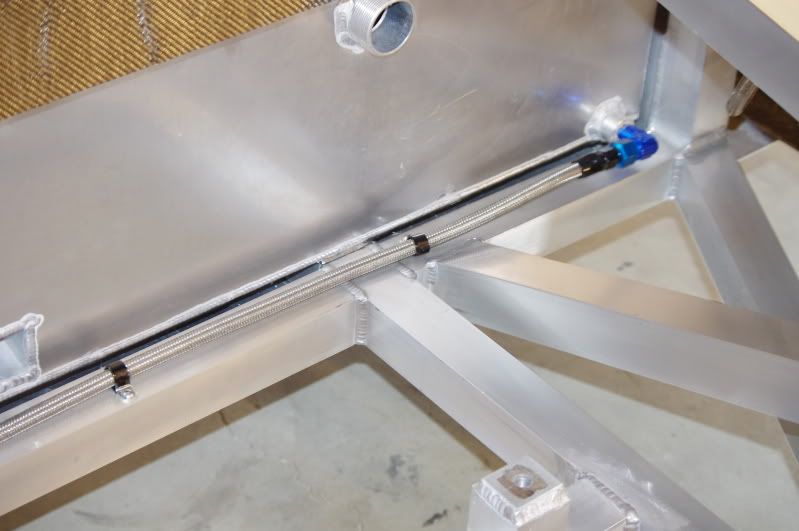
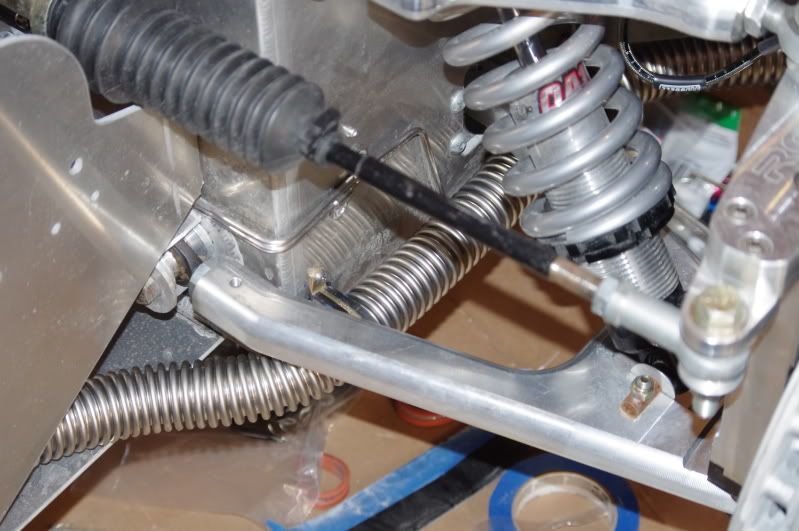
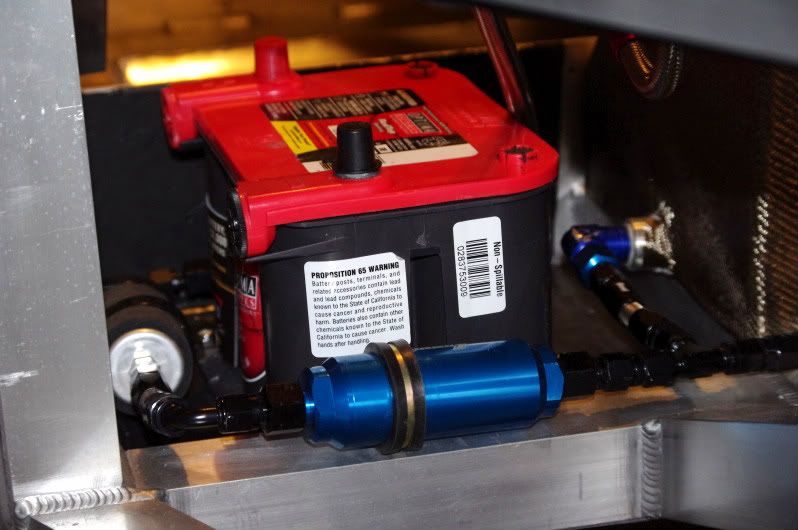
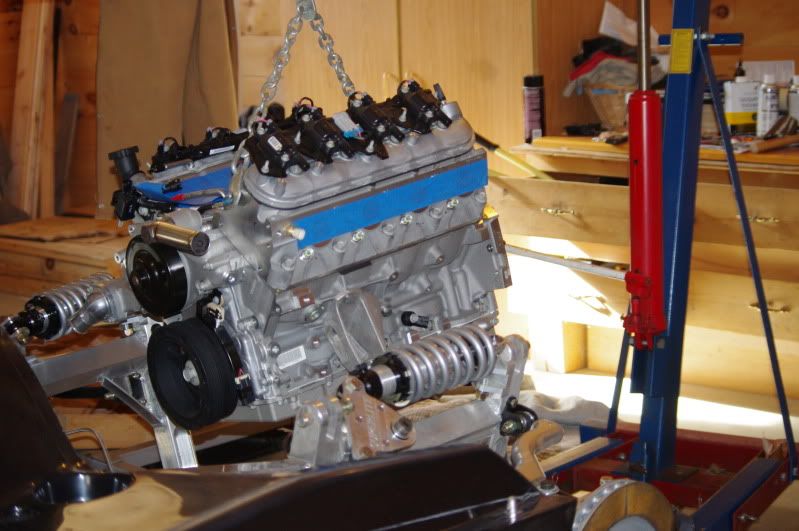
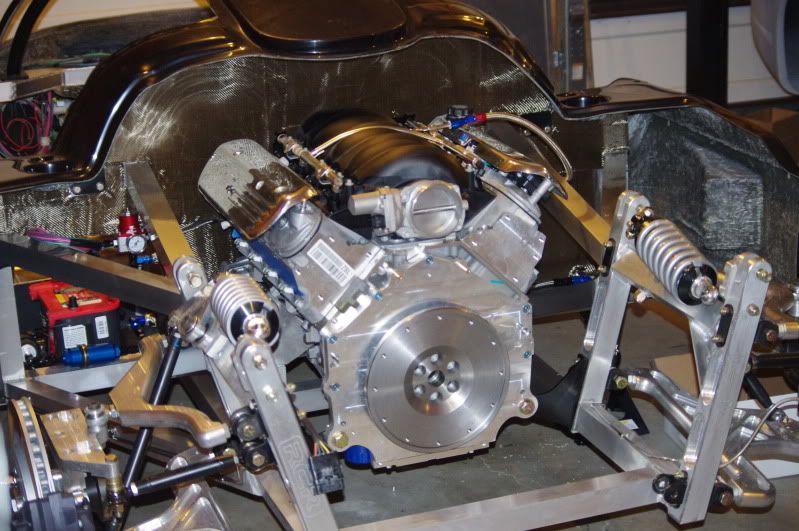
Everthing looks great and the SL-C is definitely an extremely well designed super car.
 
Congrats, Allan!

I know you'll enjoy the build as the rest of us are.

Nice to see the dogs are helping to unwrap the car!

What drivetrain are you planning to use?
 
Thanks everyone.

I've been busy over the past two weeks working on the SL-C.

I took the body back off, got all the suspension torqued, got the brake lines all run, started on the coolant lines, got the fuel system all plumbed, fit the pedal box, scotch padded the aluminum in the engine bay and sprayed with Alumiclear, put in a lot of sound deadening, ran some wiring, prepped the engine for install and then put the engine in yesterday.

It's a LS376 and I'll be using a Riccardo transaxle.


IMGP0758.jpg


IMGP0759.jpg


IMGP0772.jpg


IMGP0760.jpg


IMGP0773.jpg
 
Nicely done Alan. Screeming right along...<!-- google_ad_section_end --> (Jack)

I should say so! Is that "Cool Flex" radiator hose or another variant? Looking very well done.
 
You're really scooting along Allan!

Just some food for thought that I came up with when building mine

- I'm not certain you want the battery there (difficult to access when completed - that was my original location as well)

- I'm not certain you want to run your fuel that close to the battery. After 3 leaking pumps on my cobra, I'm hesitant to run fuel stuff anywhere near a battery, or in an enclosed area for that matter - if it leaks I want to see it immediately on the ground away from everything

- You may want to look at some type of check-valve if you're tee'ing the tank together - if you get low enough and it sloshes, one of the pickup points could become uncovered

- I don't see a carb ontop of the engine.... ;)
 
Allan, Thanks for the pics. Are you running 335-19's in the rear? where did you get that corrected flex coolant line? High $?
 
Allan, Thanks for the pics. Are you running 335-19's in the rear? where did you get that corrected flex coolant line? High $?

Somewhat ironic. Builders of the FFR cars are looking for options to replace the corrugated flex coolant lines that come with the kit.
 

Fran Hall RCR

GT40s Sponsor
We provide stainless tubing with the SLC kit but obviously people use whatever they feel comfortable with...and as Allan has built FFR cars he knows what he likes..and its obviously stainless corrugated tubing..
 
Last edited:
Are there any advantages to choosing one over the other (stainless vs corrugated)? For example, better heat dispersion?
 
I've been using the ss flexible lines for years and have had success with it. I used the solid tube the length of the door openings then switched back to the flexible to the engine. It easily conforms to the frame and is strong enough that I feel confident about its integrity in the exposed areas. It's a little pricey but I had enough left over from past builds for the whole system. The solid tubes will be getting a brush on ceramic coating then insulation over that.

Tires, 325/30/19 and 275/35/18 front.

IMGP0793.jpg


IMGP0794.jpg


IMGP0795.jpg
 
Thanks everyone.

I've been busy over the past two weeks working on the SL-C.

I took the body back off, got all the suspension torqued, got the brake lines all run, started on the coolant lines, got the fuel system all plumbed, fit the pedal box, scotch padded the aluminum in the engine bay and sprayed with Alumiclear, put in a lot of sound deadening, ran some wiring, prepped the engine for install and then put the engine in yesterday.

Allan, can you elaborate on the sound deadening, such as material used and where you are installing it?

Thanks,
Chris
 
Allan, can you elaborate on the sound deadening, such as material used and where you are installing it?

Thanks,
Chris

I used Second Skin Damplifier - CLD Automotive Sound Deadening Vibration Mat
It's easy to apply, cut, shape and once it's attached it stays on.
I used it on the engine side of the firewall, then covered it with Lava Mat. All sides of the gas tank, the floor where I put the battery and fuel pump, both sides of the inner rear panel that covers the gas tank, the inner footwells, floor of the passenger compartment and on the frame where the coolant tube run along.

I also use their product, Spectrum, that you can spray or roll on. 3 coats of it and you get good sound deadening and heat protection. I plan on painting the underside of the body with it also.

Allan
 
Ricardo going in

Here's some progress pictures. I've haven't worked on my SLC in a few weeks because I have 2 other builds going on for other people.

But I did manage some time today and put in the Ricardo.

IMGP0901.jpg


IMGP0906.jpg


IMGP0912.jpg
 
Back
Top