

This modification represents my solution to the problem of holding the front hood open.
Some form of prop is recommended. As delivered, the hinges on some of the cars are very tight making one think they don't need a prop. This is true for the first few months but as the hinges "get loose", their ability to hold the hood open goes away. There certainly are other ways to do this but this works good and is easy to do. The assembly is based on the Lokar # 0401014 or 0401024 prop. These are available from several sources for about $60. I bought mine from Jegs. This technique is more advantageous than the hood props that are like “hinges” because the weight of the Lokar prop is distributed at both ends where the hinge style props are cantilevered from one end. This causes the dreaded stress on the fiberglass that must be reduced.
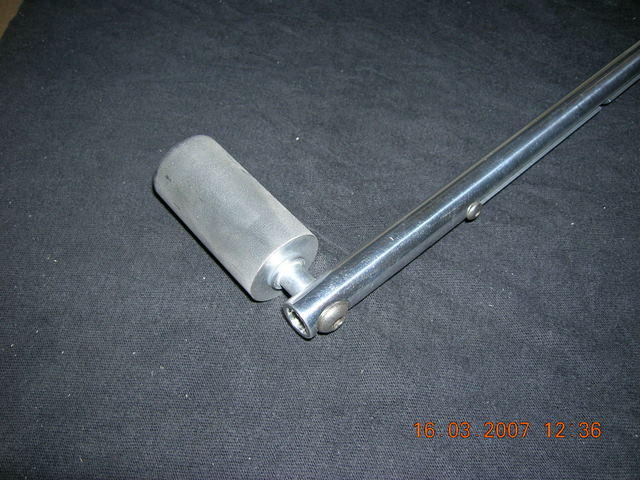
The first thing to make is the standoff that mounts to the inside of the fender well. See the photo below. This is a piece of 1 inch diameter aluminum that is two inches long. It is tapped on both ends at with 1/4-20 threads, then one end is tapered at 6 degrees. This is very important. Due to the compound angles associated with the fiberglass panels, as one opens the hood and makes the prop transit though its' angle of rotation, there is a differential angle that is perpendicular to the angle of rotation. By not allowing for this, the prop rod is under stress making it hard to actuate but even worse it stresses the fiberglass which over time will cause stress cracks By tapering the end of the standoff, the stresses are reduced to zero and everything operates smoothly.

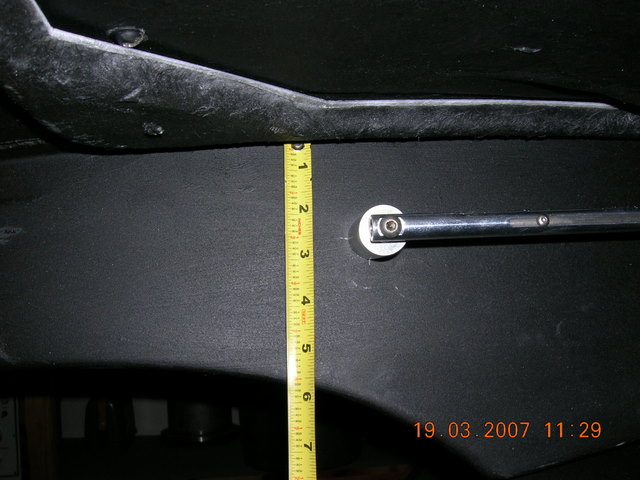
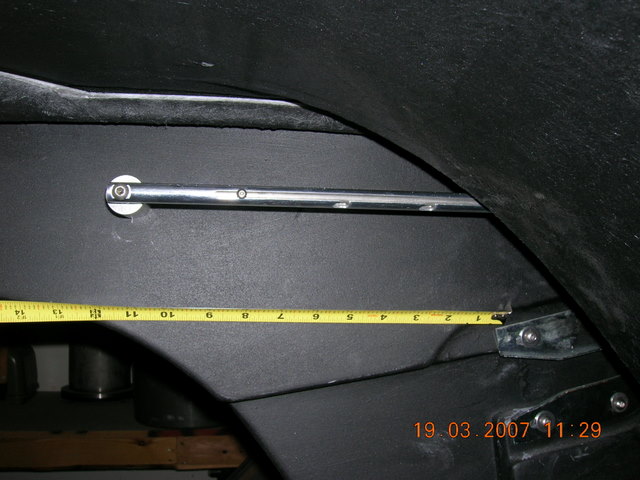
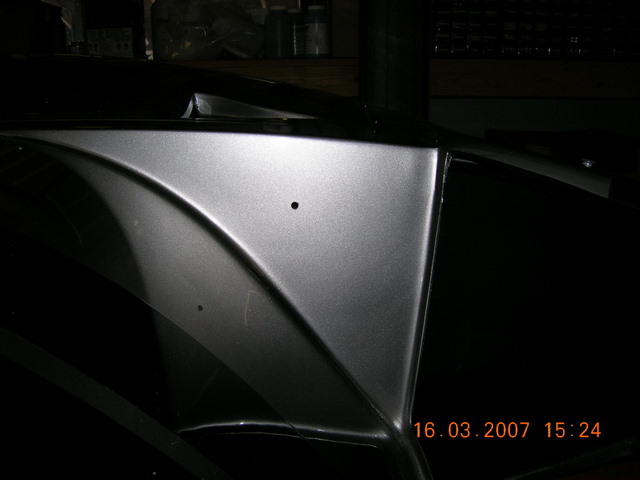
Locate the hole in the fender well as shown below.
It is important to use as large a fender washer as practical. The biggest problem people run into when installing something in fiberglass is not using fasteners that distribute the load across a large area. The weight and stress that this prop causes is negligible but after years of service, even tiny loads cause stress cracks if not dealt with from the start.
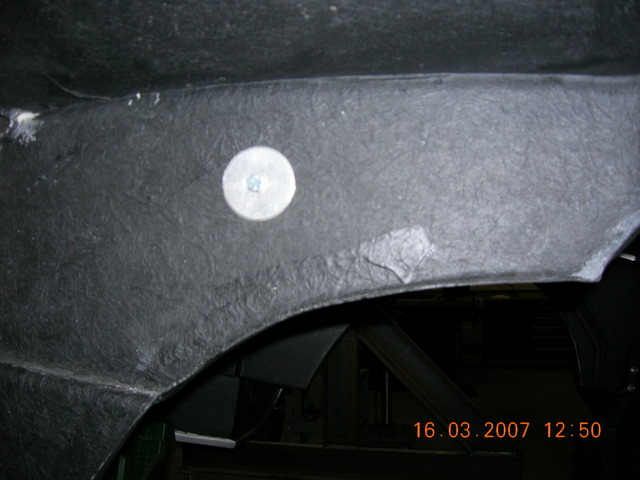
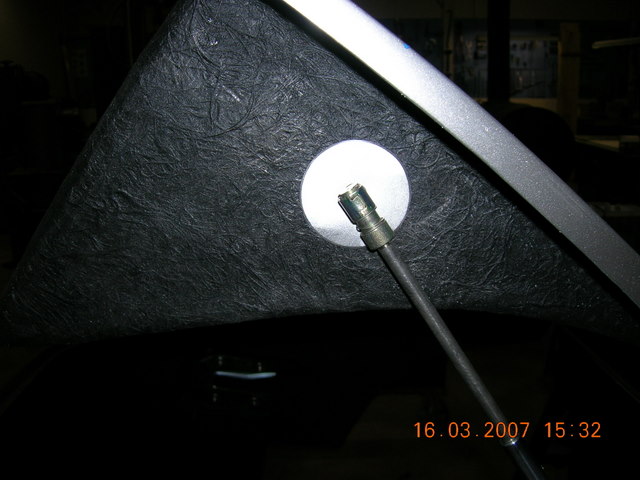
The above photo shows the other side of the fender well. This is a two inch fender washer that I made using a 2 inch hole saw in 1/16th inch aluminum. Then a split lock washer and finally a 1 inch 1/4-20 hex bolt holds the standoff in place.
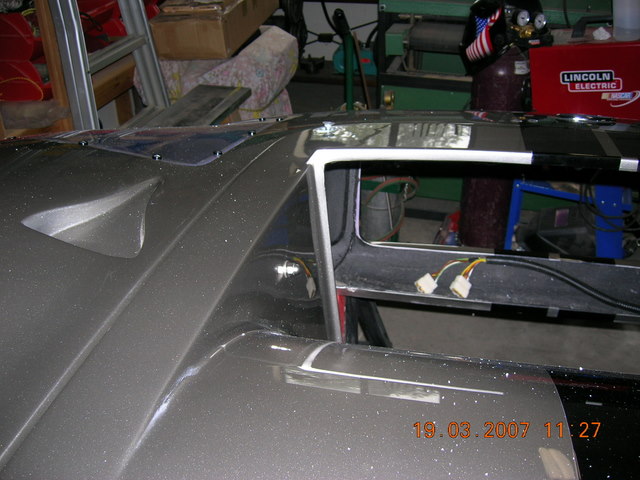
The other end of the prop that mounts to the hood is similar but no standoff is needed. It is critically important to get the placement correct or the hood will not close all the way because you didn't leave a little free play in the prop length. Test your placement several times BEFORE you commit to drilling a hole in the hood!
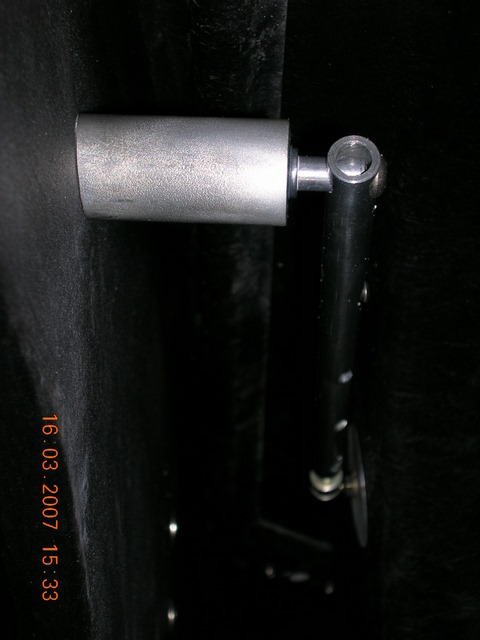
Note the 6 degree taper on the standoff above.
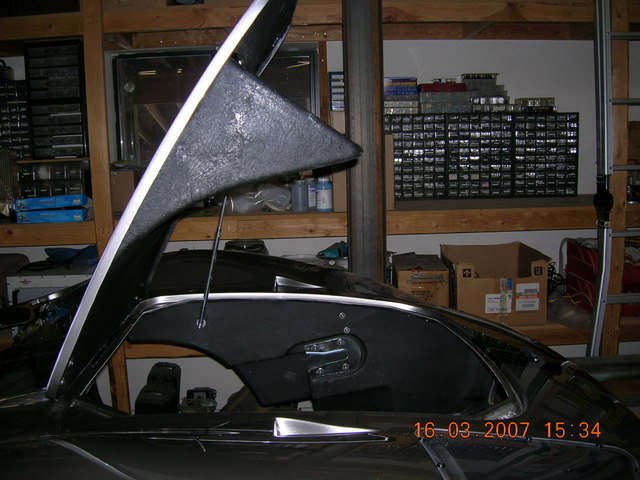
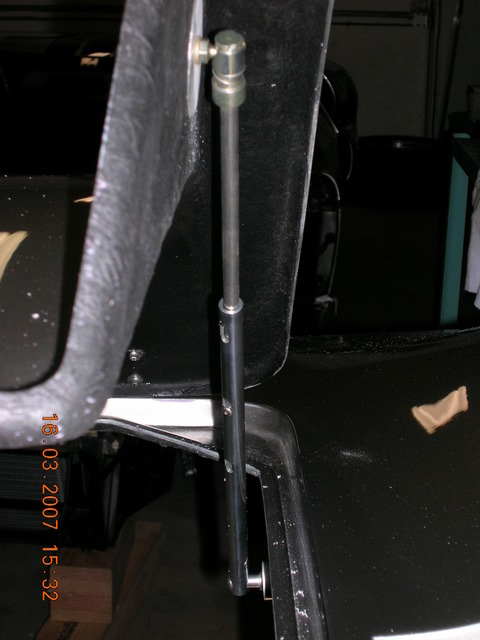
Note in the photo above the acorn nut. Some may not like this “look” because it disrupts the low profile appearance. The Lokar prop comes with “L” brackets and may be used in lieu of the acorn nut. However, use the bracket with care because it uses countersunk screws. These screws of course have no surface profile, however using countersunk screws in fiberglass is a bad idea. Use this technique with the understanding that after some period of time, possibly a few weeks, stress cracks will begin to form around the holes. Another option is to use pan head screws with washers (with the “L” bracket), this works fine and may be more pleasing than the acorn nut.
Some form of prop is recommended. As delivered, the hinges on some of the cars are very tight making one think they don't need a prop. This is true for the first few months but as the hinges "get loose", their ability to hold the hood open goes away. There certainly are other ways to do this but this works good and is easy to do. The assembly is based on the Lokar # 0401014 or 0401024 prop. These are available from several sources for about $60. I bought mine from Jegs. This technique is more advantageous than the hood props that are like “hinges” because the weight of the Lokar prop is distributed at both ends where the hinge style props are cantilevered from one end. This causes the dreaded stress on the fiberglass that must be reduced.
The first thing to make is the standoff that mounts to the inside of the fender well. See the photo below. This is a piece of 1 inch diameter aluminum that is two inches long. It is tapped on both ends at with 1/4-20 threads, then one end is tapered at 6 degrees. This is very important. Due to the compound angles associated with the fiberglass panels, as one opens the hood and makes the prop transit though its' angle of rotation, there is a differential angle that is perpendicular to the angle of rotation. By not allowing for this, the prop rod is under stress making it hard to actuate but even worse it stresses the fiberglass which over time will cause stress cracks By tapering the end of the standoff, the stresses are reduced to zero and everything operates smoothly.
Locate the hole in the fender well as shown below.
It is important to use as large a fender washer as practical. The biggest problem people run into when installing something in fiberglass is not using fasteners that distribute the load across a large area. The weight and stress that this prop causes is negligible but after years of service, even tiny loads cause stress cracks if not dealt with from the start.
The above photo shows the other side of the fender well. This is a two inch fender washer that I made using a 2 inch hole saw in 1/16th inch aluminum. Then a split lock washer and finally a 1 inch 1/4-20 hex bolt holds the standoff in place.
The other end of the prop that mounts to the hood is similar but no standoff is needed. It is critically important to get the placement correct or the hood will not close all the way because you didn't leave a little free play in the prop length. Test your placement several times BEFORE you commit to drilling a hole in the hood!
Note the 6 degree taper on the standoff above.
Note in the photo above the acorn nut. Some may not like this “look” because it disrupts the low profile appearance. The Lokar prop comes with “L” brackets and may be used in lieu of the acorn nut. However, use the bracket with care because it uses countersunk screws. These screws of course have no surface profile, however using countersunk screws in fiberglass is a bad idea. Use this technique with the understanding that after some period of time, possibly a few weeks, stress cracks will begin to form around the holes. Another option is to use pan head screws with washers (with the “L” bracket), this works fine and may be more pleasing than the acorn nut.
Last edited: