Stack's Active Power GT40 Build

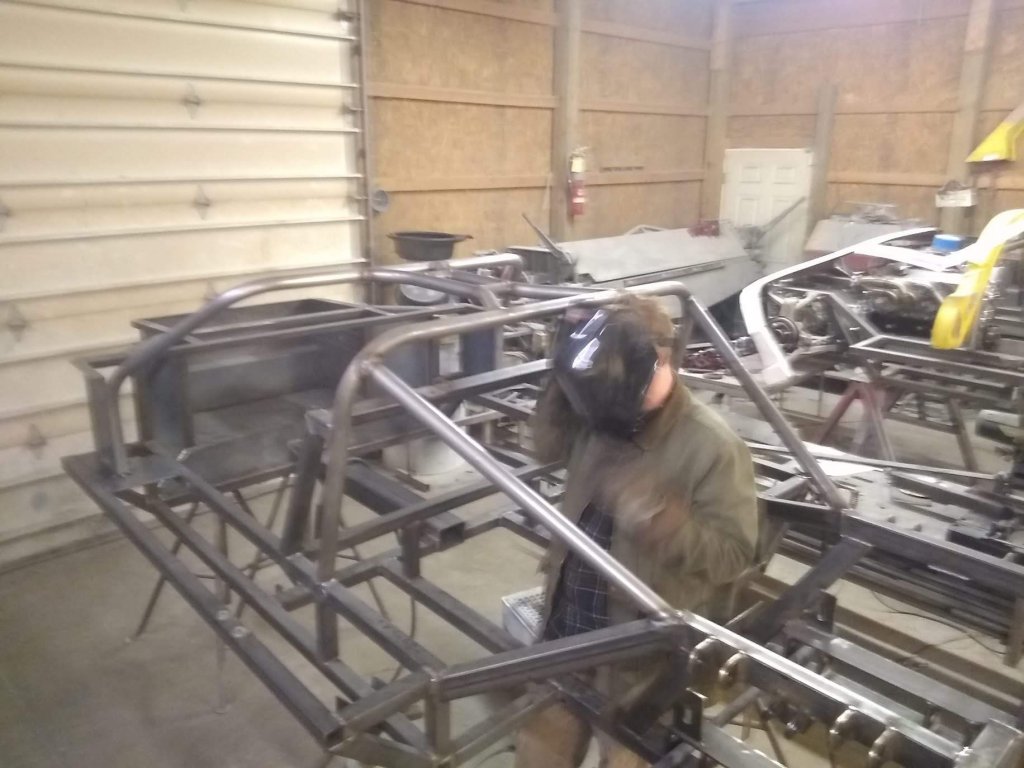
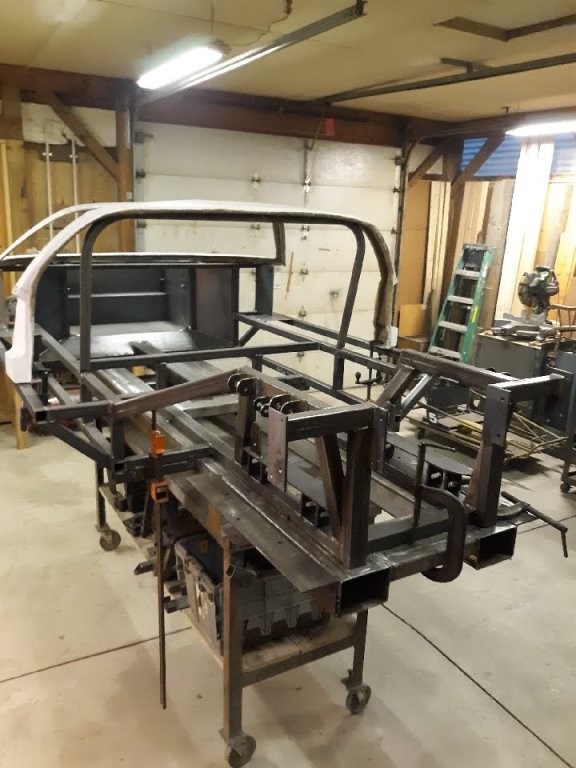
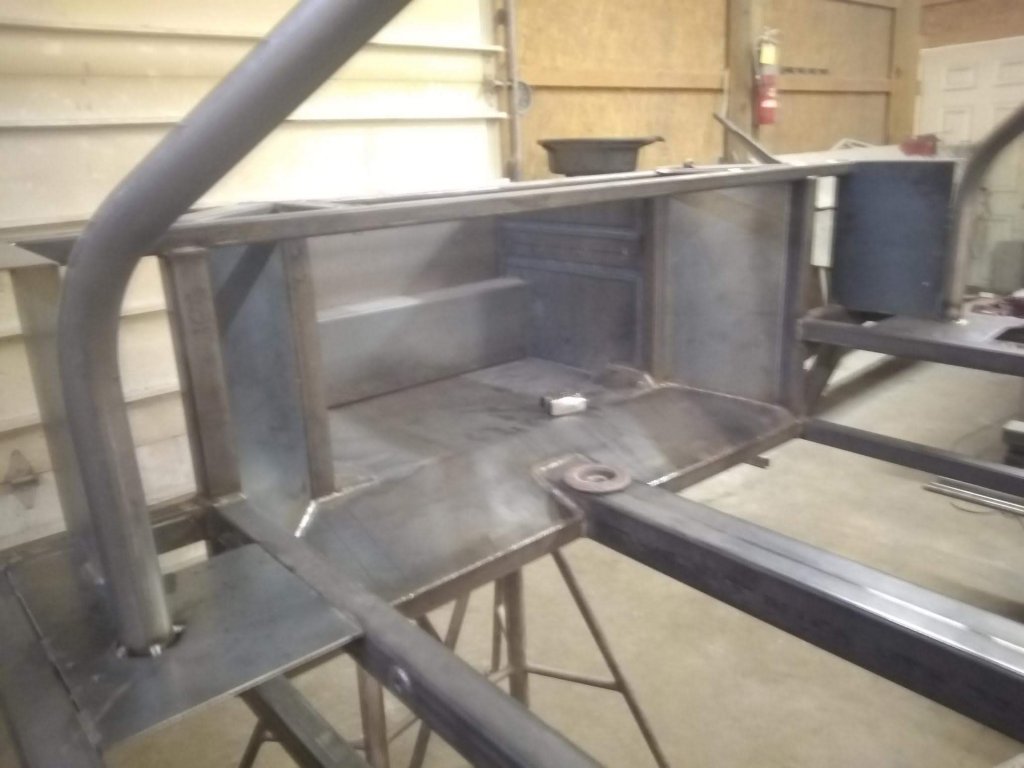
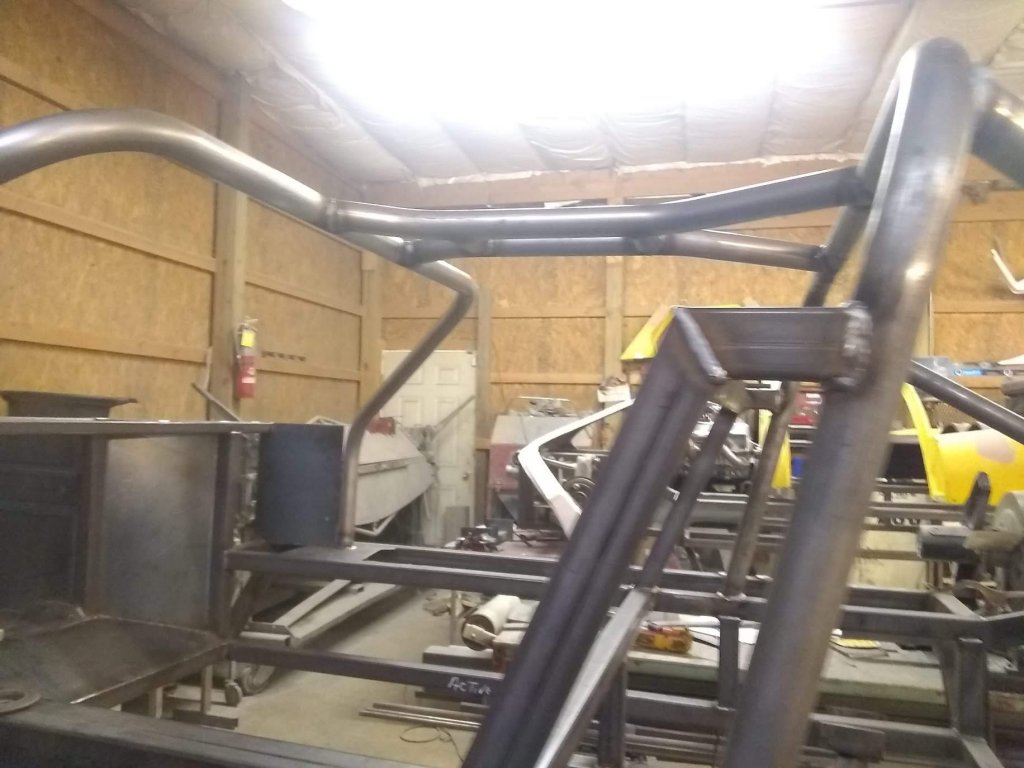
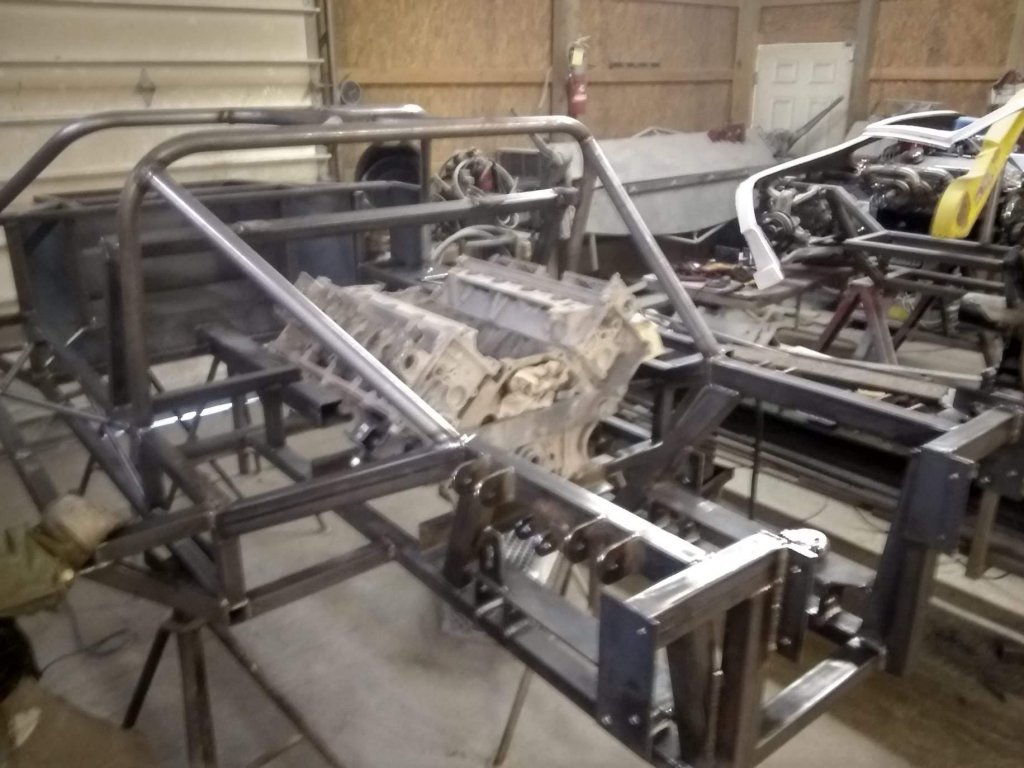
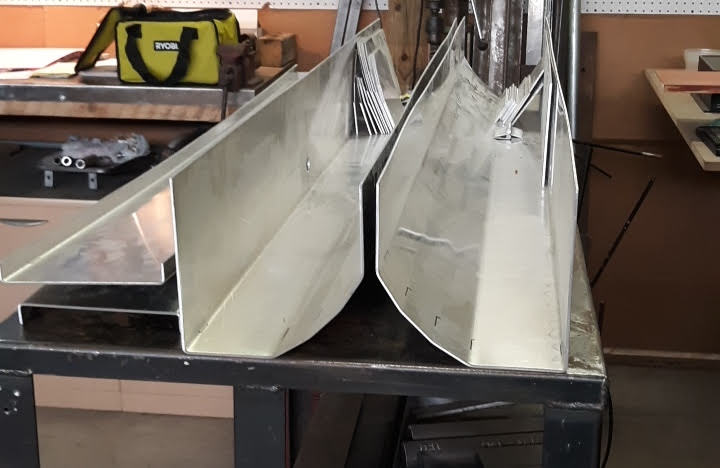
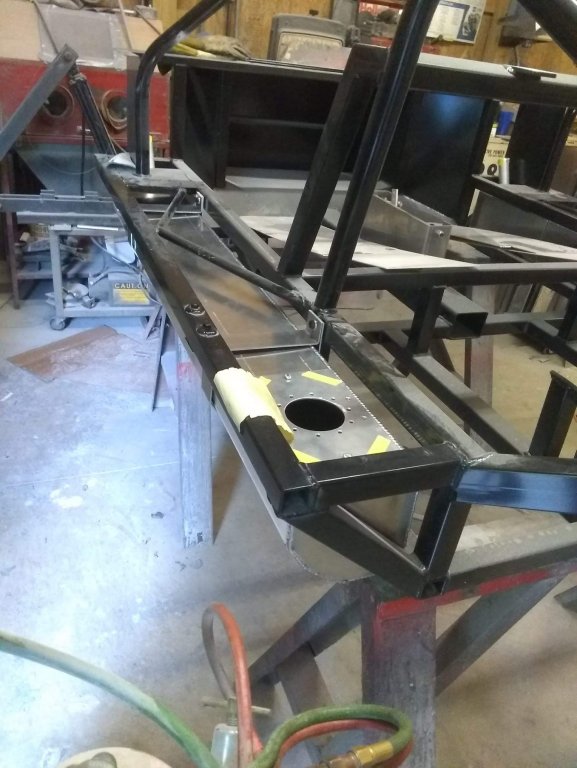
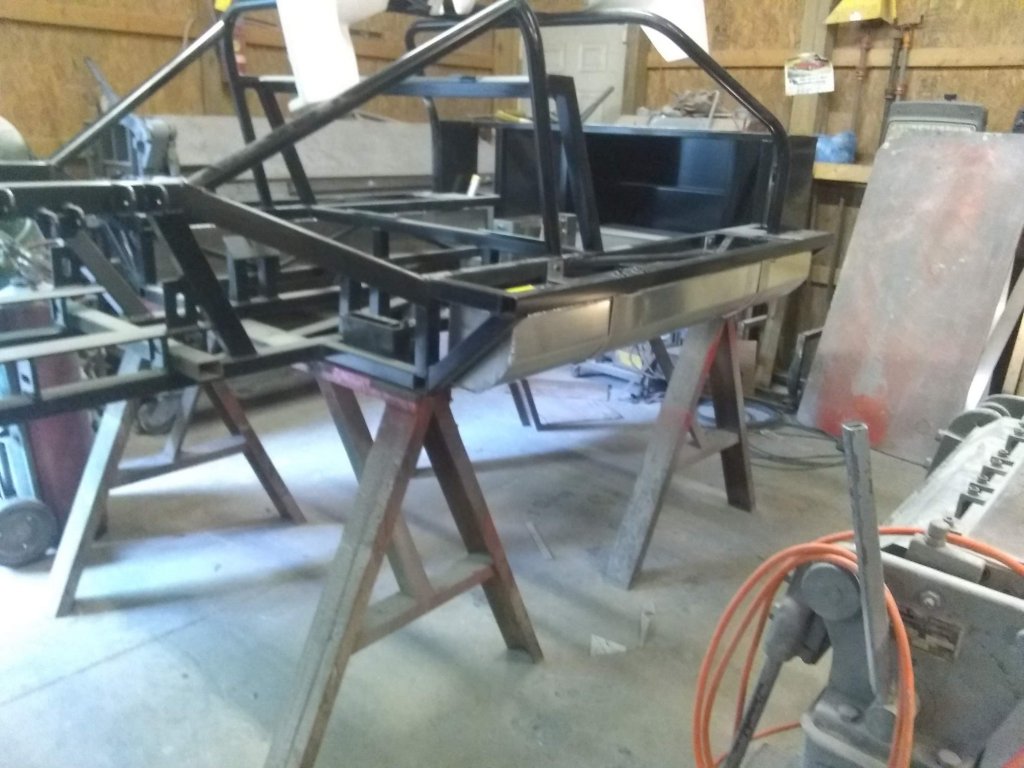
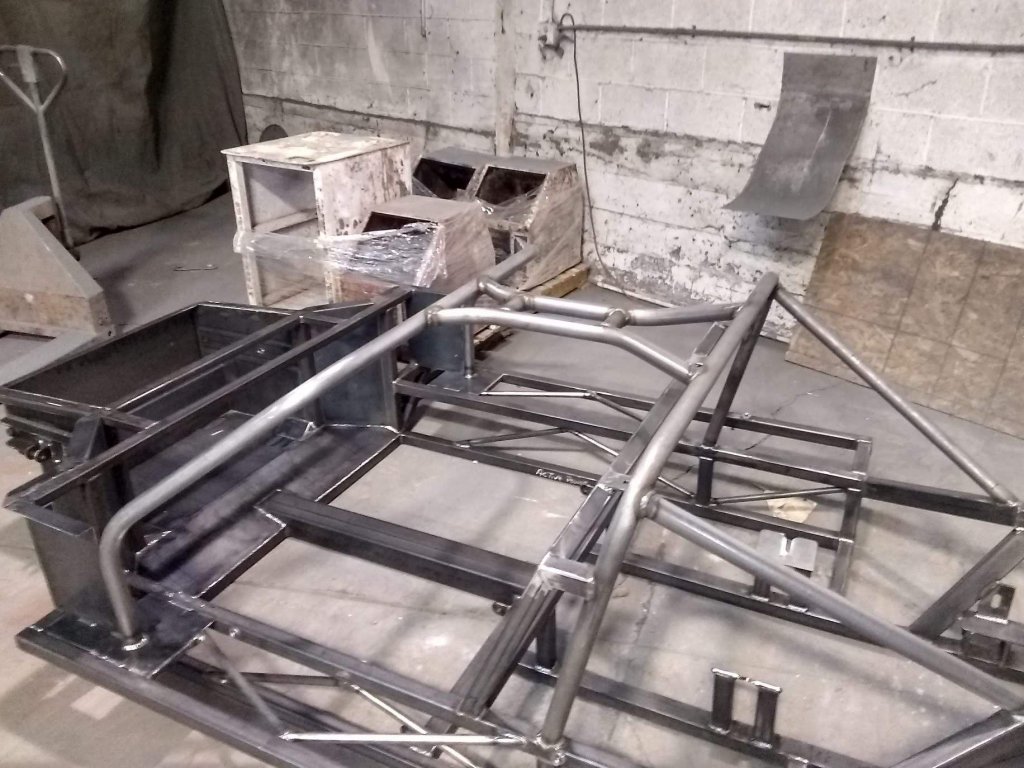
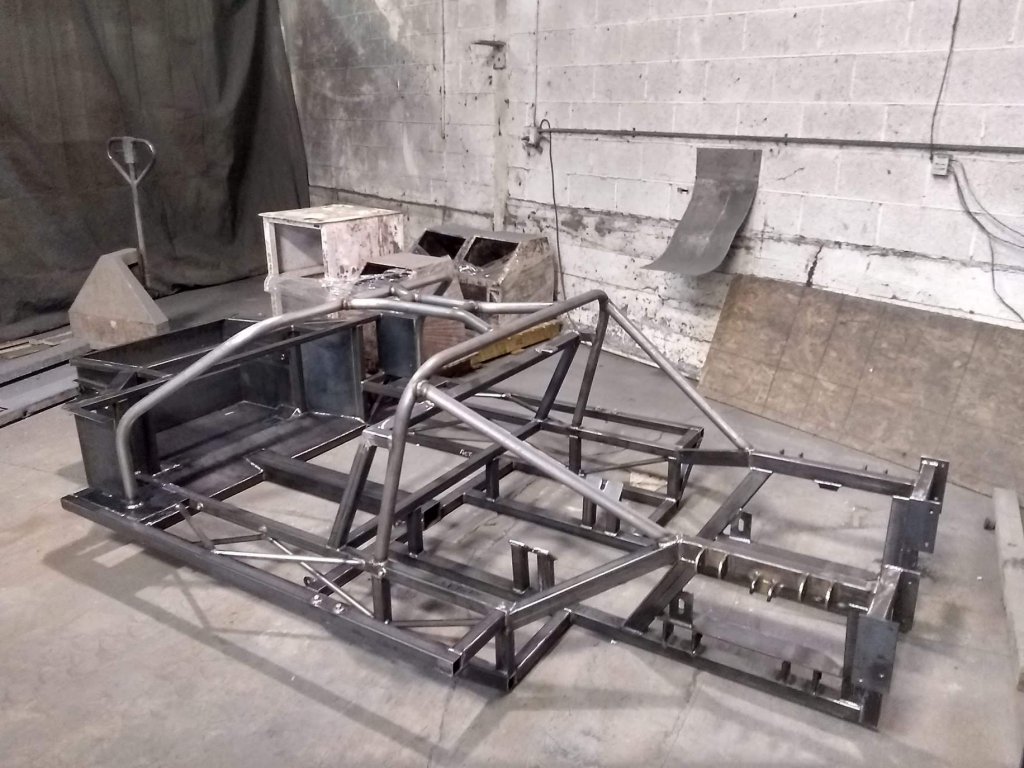
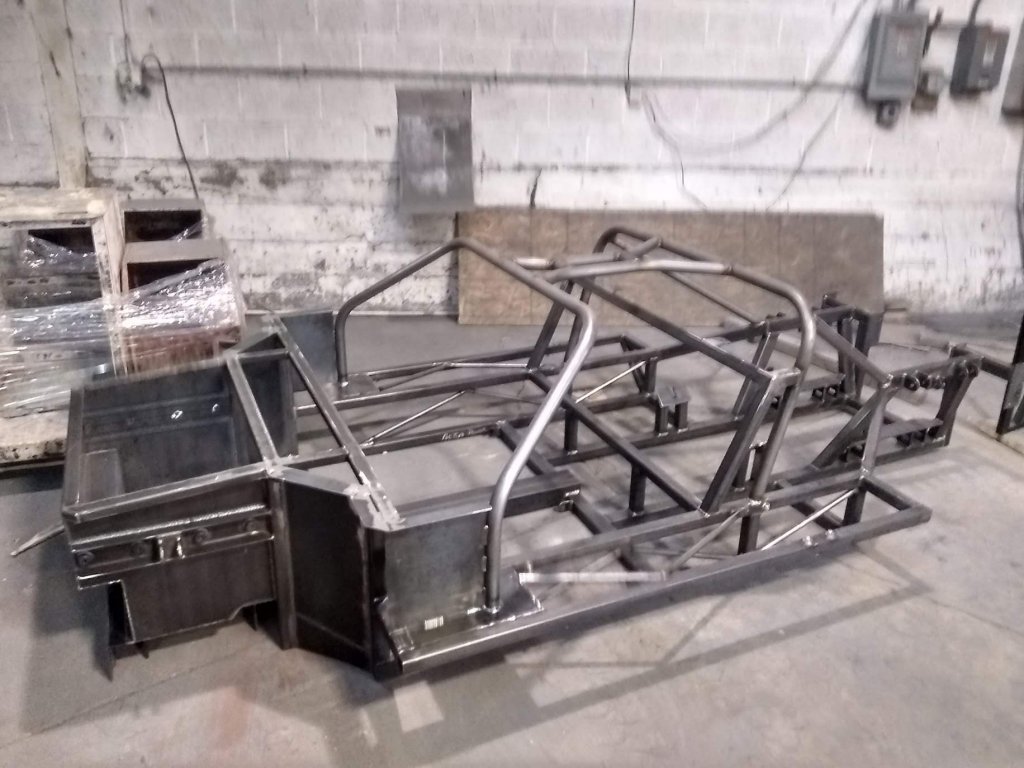
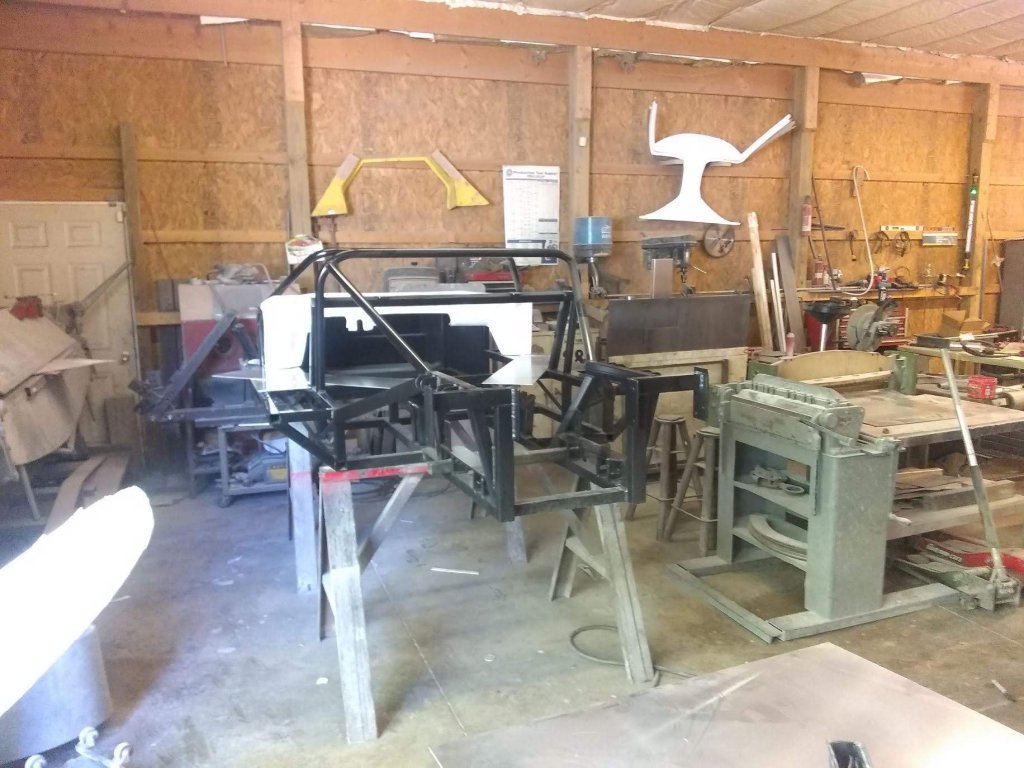
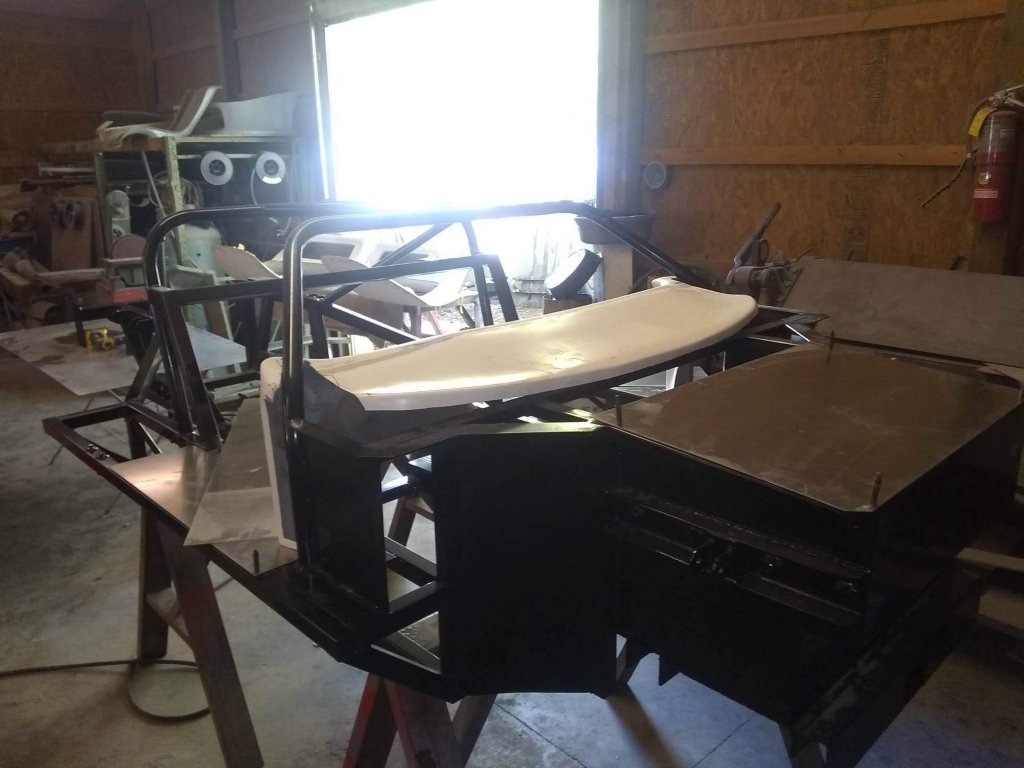
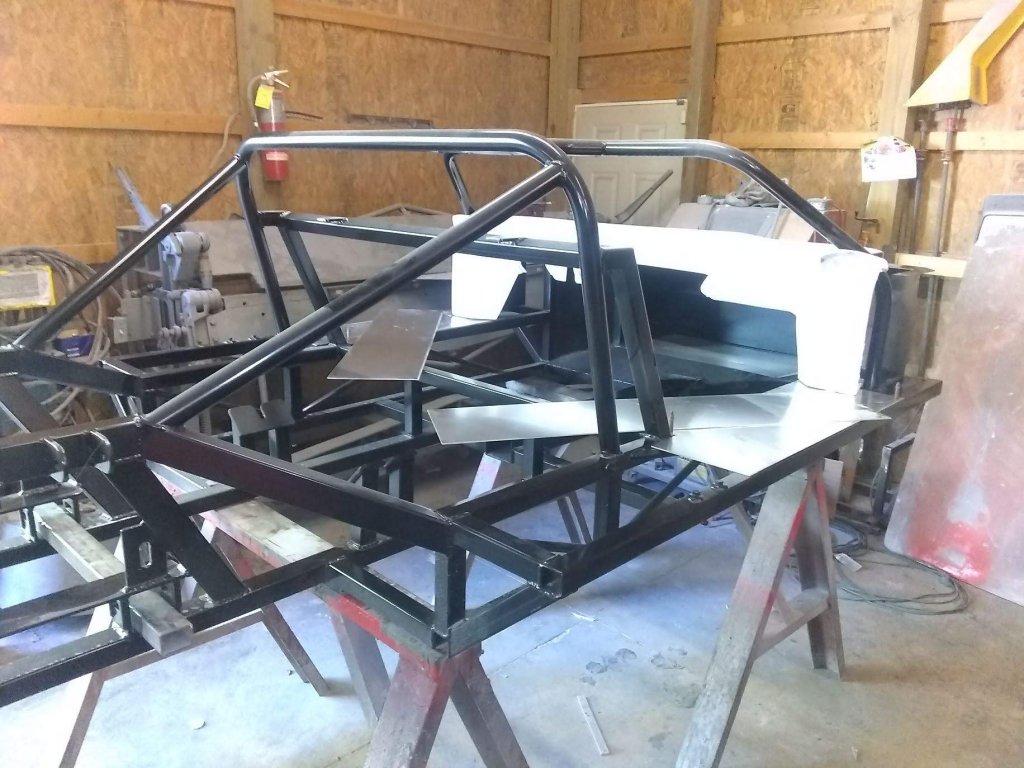
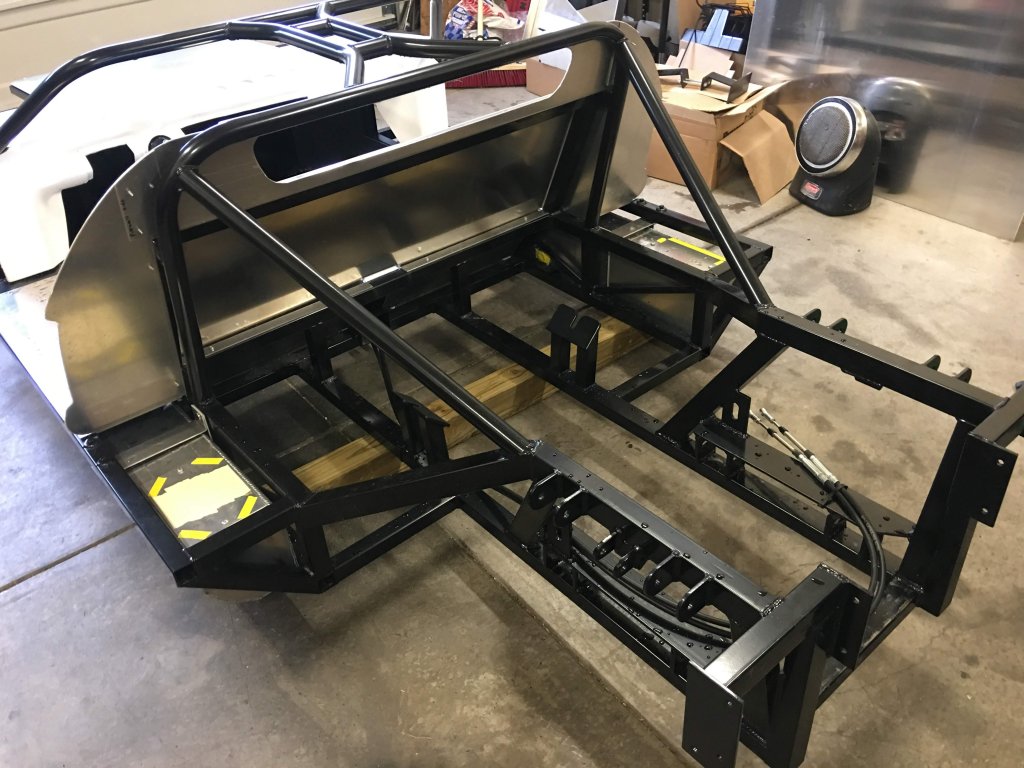
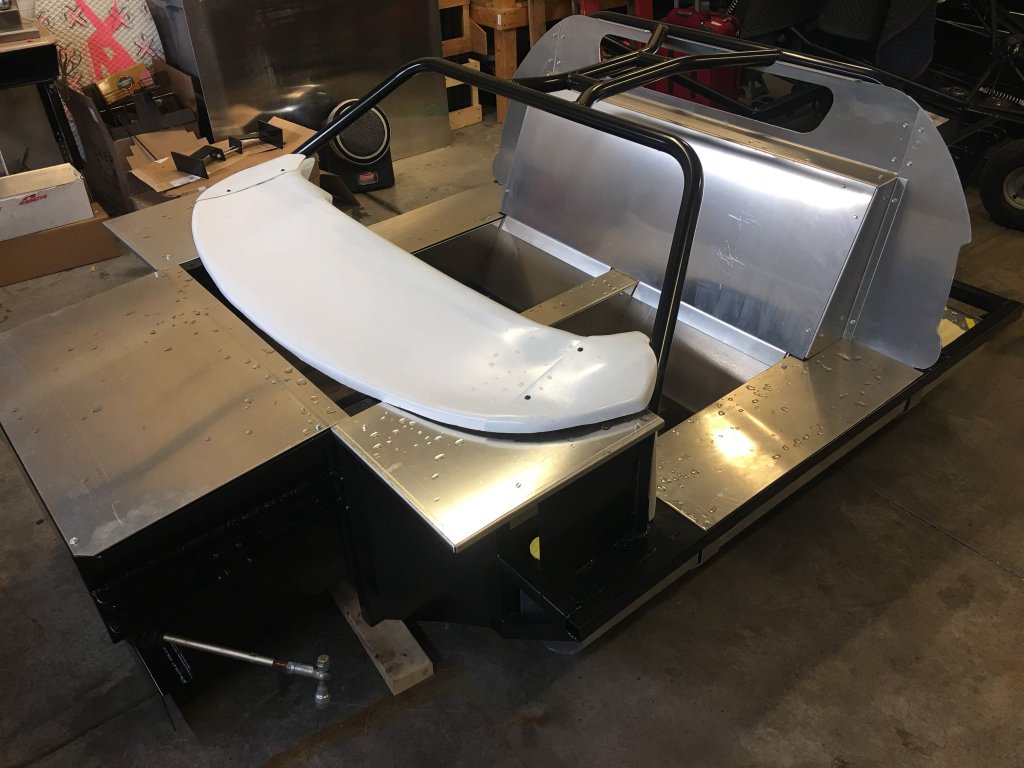
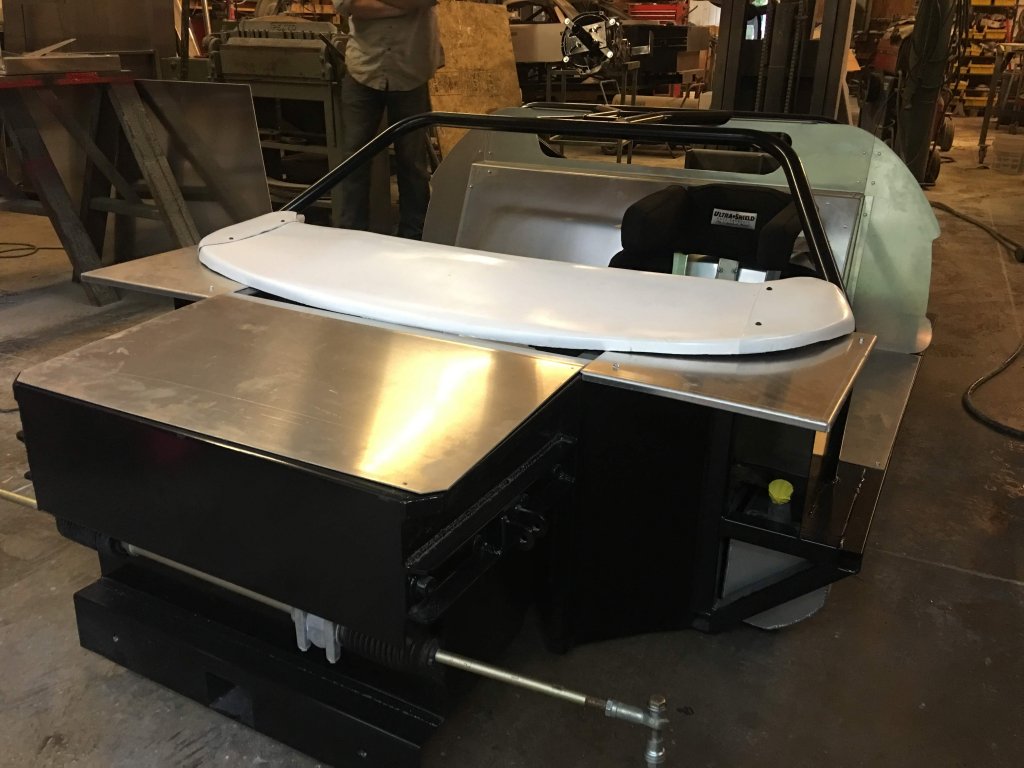
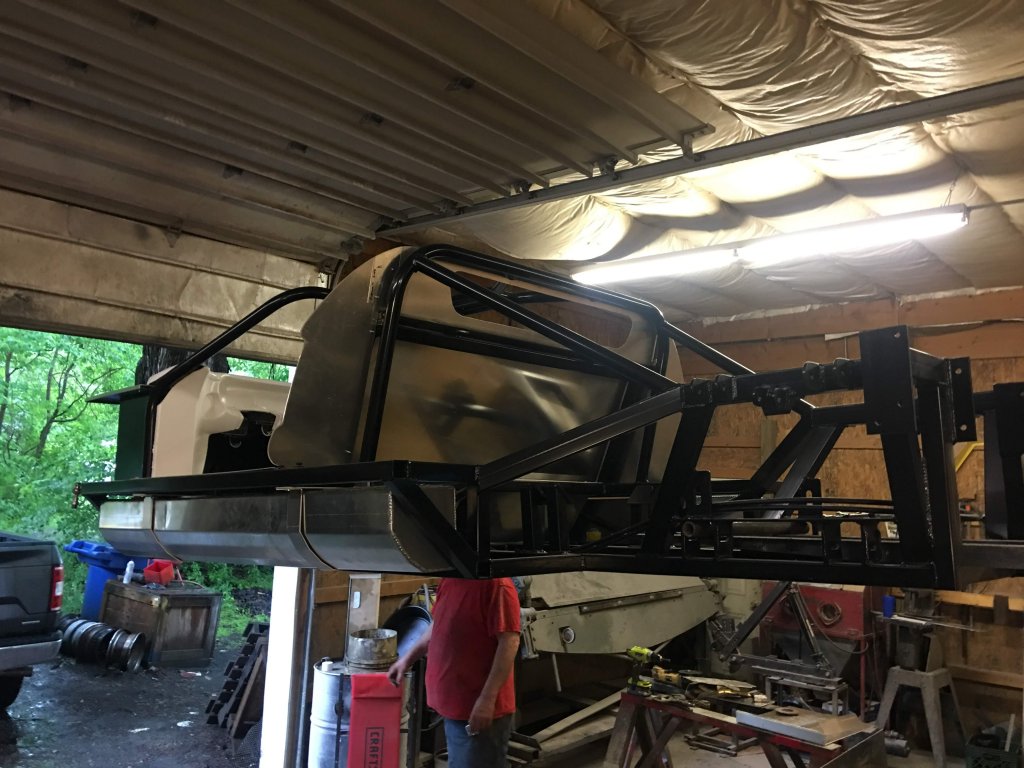
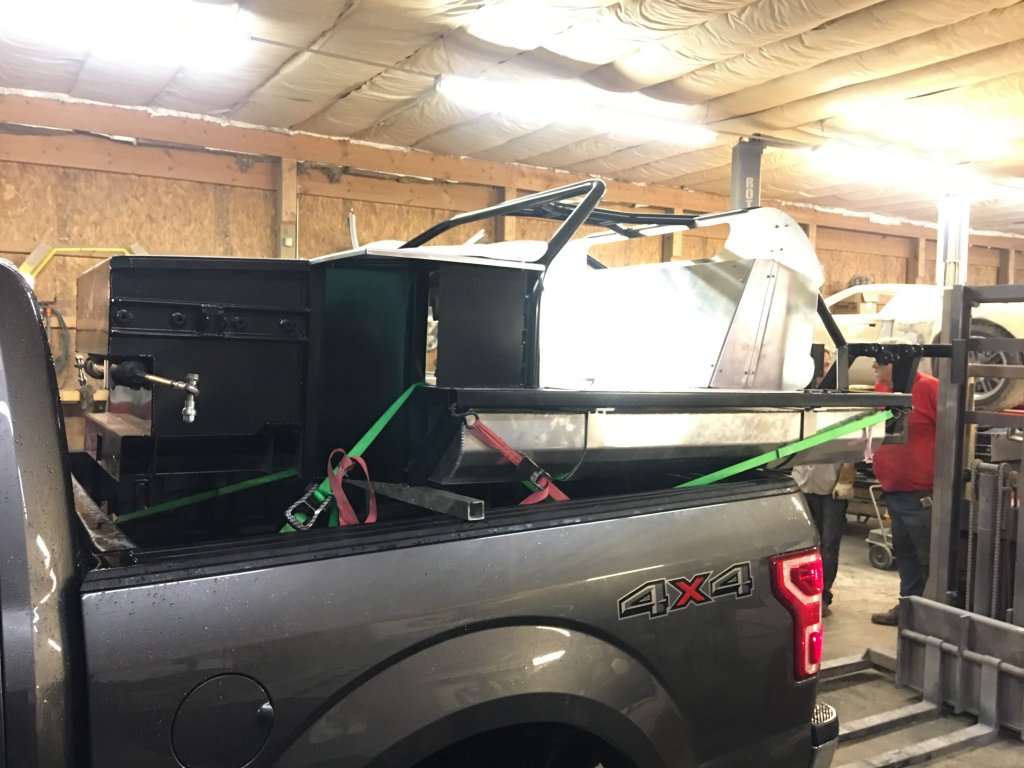
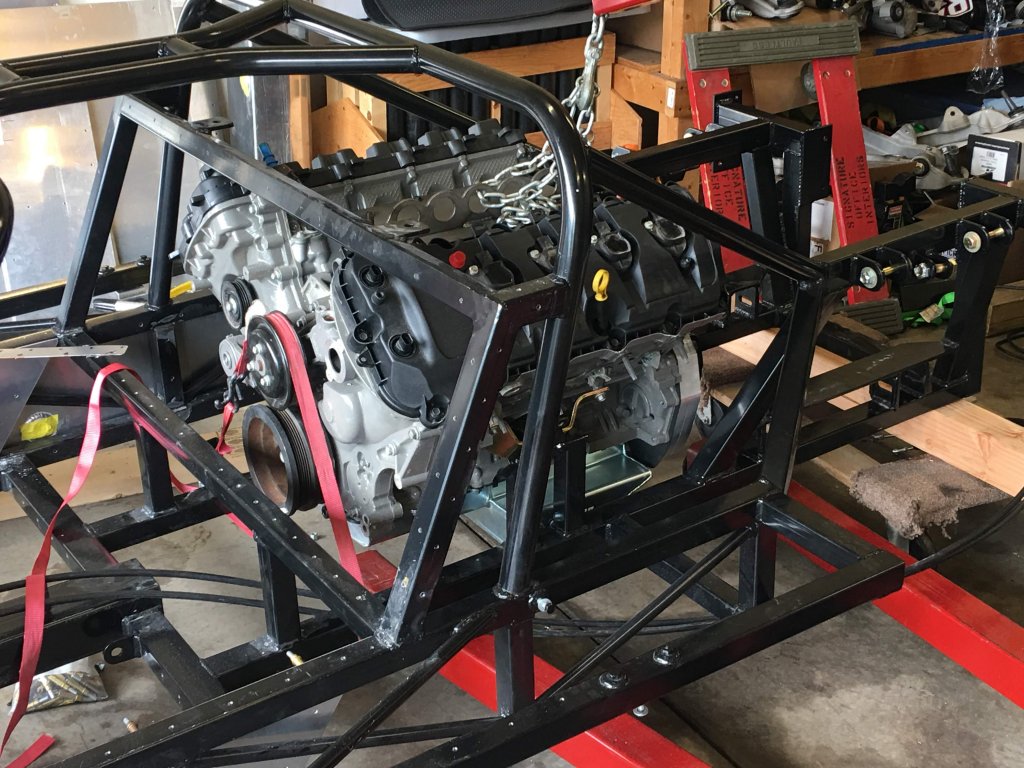
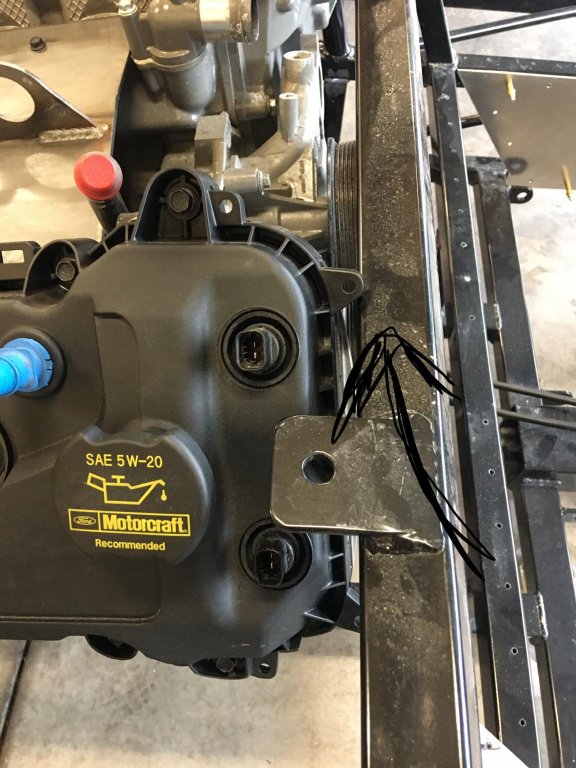
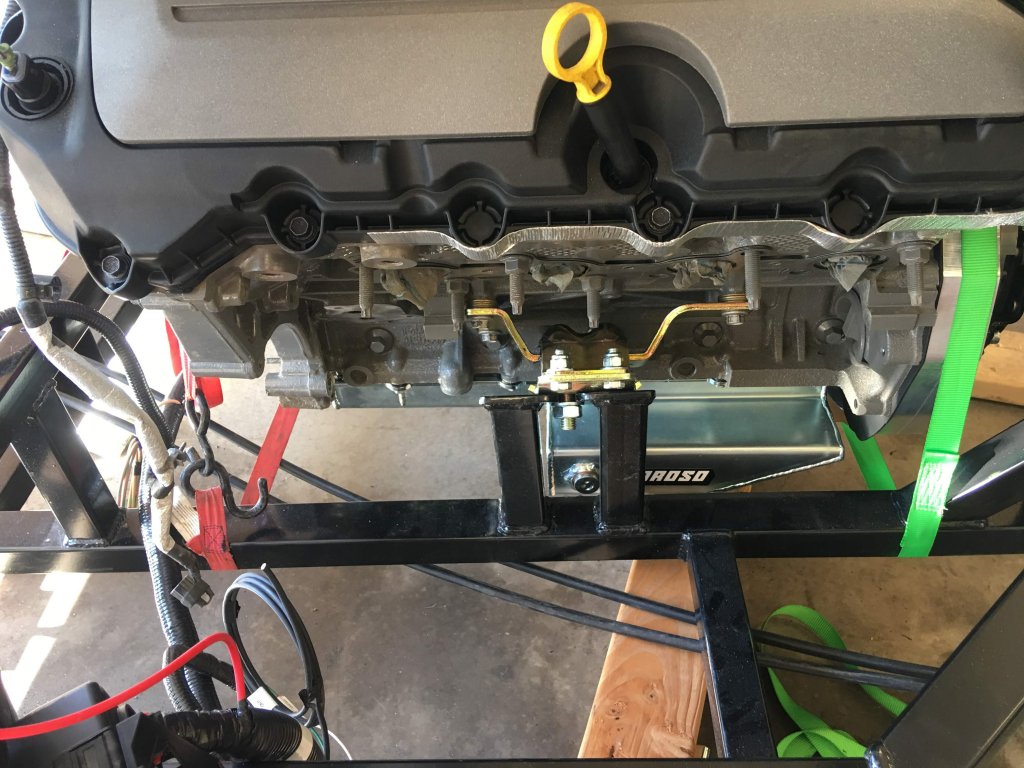
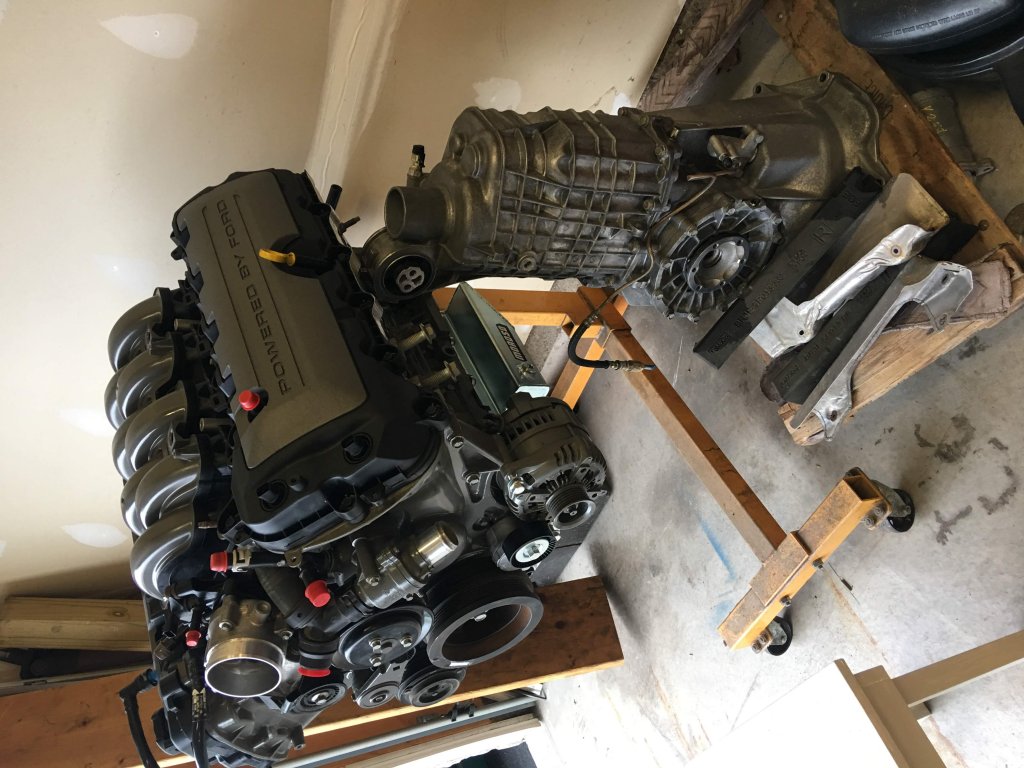
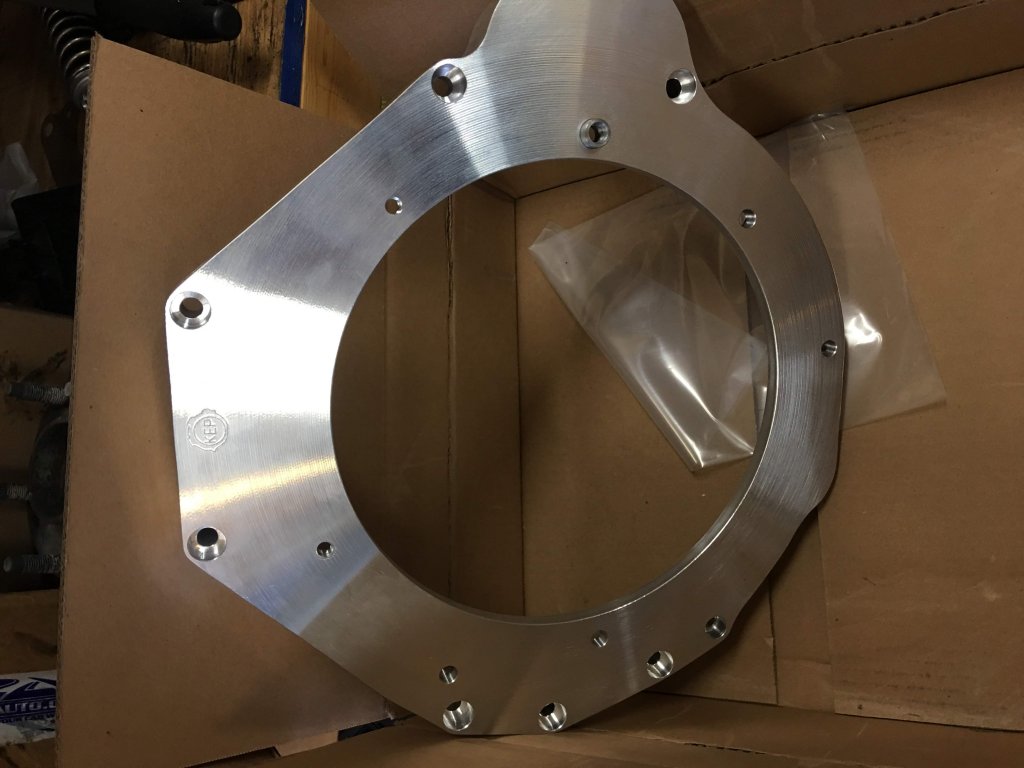
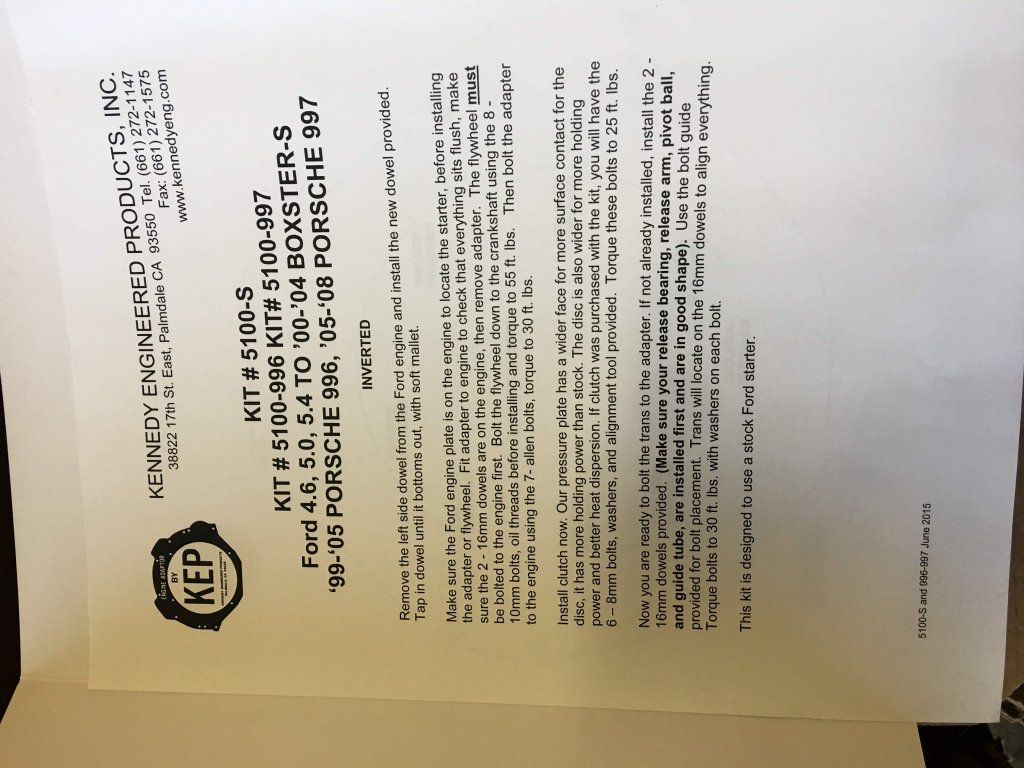
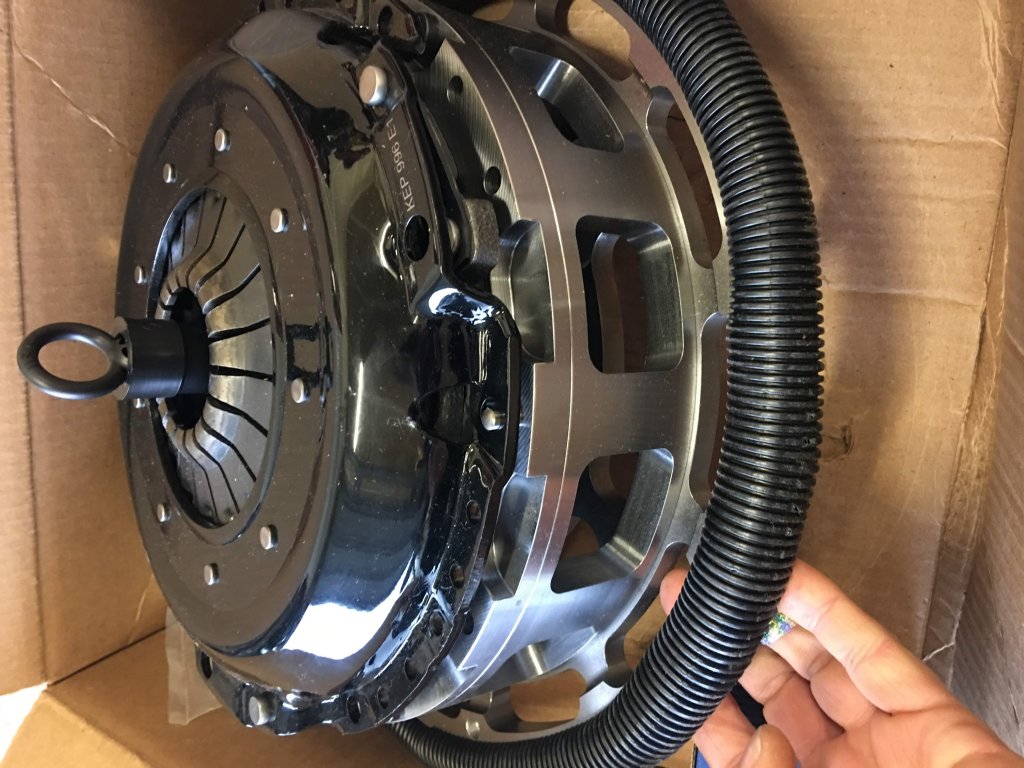
I took the plunge a little over a year ago and purchased a GT40 kit form Chris over at Active Power, and I am finally getting around to starting a build thread. I will be building a 1969 LeMans Gulf P1075 replica but using a Ford Coyote engine, along with the Porsche 996 transaxle and Corvette C5 suspension components the chassis was designed for.

I have built 5 cars before starting this one, all of them from Factory Five Racing, so I am familiar with building a component or kit car. This car seams a little different however as there is not a massive customer base and large internet forum backing the at home builder. That fear or reservation went away as soon as I met Chris. He was very helpful and able to answer every question I had. I probably talked to him a dozen times and toured his shop before making my purchase. We worked out the details of my kit, and made custom changes to accommodate the coyote engine and add a roll bar. We made changes to the fuel tank to allow more fuel and prevent the fuel from sloshing forward during braking. It was a really good experience being able to incorporate some of my design ideas into my own car.

I hope you all enjoy following along, and if my project inspires you to start one of your own you can live out this dream with me.

stack
 
It all starts with a frame. Each frame is welded on a jig and built for a specific customer. I was able to several frames during my visit to the shop, each in various stages. When it was my turn Chris sent me pictures of the progress.

Starting from a pile of aluminum panels and steel tube and ending up on the frame jig for welding


Hi Mark, congratulations on your purchase. You will not be disappointed with the product or dealing with Chris. I too purchased a roller from him a couple of years ago and finished the build earlier this year. The build went smooth and Chris was a great help. Enjoy
 
Once the frame made it home, the first step was to test fit the engine. The coyote engine is very large and the clearance is very tight in several areas. I used a 1996 Ford Mustang 4.6 motor mount and modified it to work in the Active Power Chassis. In this case i had to cut off the locating pin and grind the area flat.
I had an interference issue with the frame as the cam covers stuck up to high and would not let the motor drop down into position. I spoke with Chris and we decided to remove the seat belt harness bar and will build a new external one when we fit the body.
Here is the bar i removed. This would not be an issue with small block motors
Finally i was able to get the engine test fit. Now the engine sits in the frame properly and with the Moroso Oil pan it does not hang below the frame

stack
 
Here is my engine and transaxle combo. I am using a coyote engine sourced from a 2014 F150. There are a few minor differences between the F150 and the Mustang or Crate engine version of this engine. The most notable is the intake cams and the compression ratio. These differences account for the majority of the difference in the horse power rating of the motors. To solve this i have replaced the intake cam on the motor with mustang spec cams.

Other differences include the oil pan and windage tray. I replaced the oil pan with one from Moroso part number 20570, and then ordered the mustang spen oil pan gasket with windage tray.

The front timing cover, and alternator are different but will work. I will need to have a remote mounted oil filter as the F150 version will not work.

The Transaxle is from a Porsche 996 and is an early version. I hear these are prone to a few problems, but will get the car running with this gearbox and then send it out to be rebuilt by California Motorsports and add an LSD unit.


The Transaxle/Engine adapter was sourced from Kennedy Engineering. I had them provide the clutch as well. The adapter is designed to use the coyote starter as well. Make sure you use the Mustang version as the F150 starter will not fit.


Stack
 
I picked up a set of used C5 Corvette control arm assemblies from ebay. They came complete on a pallet with upper and lower control arms front and rear, hub and spindle assemblies, and brakes. These units clean up really nice and can be painted, powder coated or left raw aluminum. I cleaned mine in a tube with simple green cleaner. This removed most of the grease and grim then sand blasted them.

57110530201__6D9E87FC-6213-47F9-A197-BB739D124689.jpg


Once cleaned up they can be bolted on the chassis. The CV joint assembly needs to be modified to attach to the Porsche transaxle. The inner CV is removed and the correct one is installed for the Porsche gear box
ERXD8743.JPG

The rear control arm is modifeid to accept the coil over shock. The rubber isolator is removed, and Chris provides a machined aluminum spacer to take its place.

58897626129__53E690E2-71D1-4BFA-83EB-41884B01B0C5.jpg


Stack
 
Brakes

The Active Power Kit is designed to use the corvette front and rear brakes. Thes brakes are included when you purchase your control arm assemblies, but you can also use any brake kit designed for the C5 or C6 corvette. In my case i chose to use the Wilwood 4 piston front and rear calipers. The parking brake will remain as the drum style from the corvette.
IMG_0048.JPG
 
After test fitting the engine I flipped the chassis to attach the aluminum floor panels. I decided to make some additional panels to cover underneath the engine and transaxle as well. Panels get a bead of silicon adhesive to prevent rattling and then are attached with 3/16 rivets. I will make the engine and transaxle panels removable and use 1/4-20 screws and tap the frame.
IMG_6170.jpg
IMG_6171.jpg

IMG_6172.jpg


Stack
 

Neil

Supporter
Stack, I hate to beat a dead horse but why not prime the aluminum panels before attaching them to your chassis tubes?
 
Working on the wiring. Using a coyote motor requires a ton of wiring. I mocked up several different computer mounting locations and came up with in front of the passenger rear tire. I mounted the battery right next to it. The Fuse panel for the Ford Racing Control pack went on the opposite side. These mounting locations allowed me to keep almost all of the wiring stock with out extending everything.

The wiring i did have to extend was Cooling Fan, Throttle Peddle, Clutch Switch, O2 Sensors, Throttle Body, MAF Sensor. This was mainly because the engine is now in the rear and the intake is reversed.

IMG_0012.jpg

I found the gold heat shied on ebay. It took several weeks to get it, but gives the engine compartment a neat look. Not sure how much it will help with heat, but the inside of the panels will get sound and heat treatment as well.


IMG_0013.jpg
IMG_0019.jpg


stack
 
Brakes

The Active Power Kit is designed to use the corvette front and rear brakes. Thes brakes are included when you purchase your control arm assemblies, but you can also use any brake kit designed for the C5 or C6 corvette. In my case i chose to use the Wilwood 4 piston front and rear calipers. The parking brake will remain as the drum style from the corvette.
View attachment 111301

Hey Mark,

Awesome build so far! I have a few questions as I am planning a active power kit right now...

The first few are on your brakes.

Would you be willing to share the part numbers for the brake parts you ordered?

Did you order the pedal kit from Chris and plan to hook it up to the wilwood master cylinder?

What wheels are you running? I have heard that the halibrand style wheels have a very tight clearance to aftermarket brakes and require a spacer. Just curious what you did for this. I also heard that 18" wheels are required at a minimum.

Regarding your transaxle choice...

Did you buy a turbo 996 box or the standard? Do you have any upgrades planned to help it hold the power of the coyote?

Thanks in advance!
Nick
 
Back
Top