KCC Restoration

I just realised it's been ages since the last blog update, so it's well and truly time... Unfortunately, the past month or so has been slow for progress with Tim heading on an ultimate man's trip of the world (Monaco GP, Nurburgring and Montreal GP), Dad heading to India for work and then a baby shower thrown in the middle (5 weeks until our baby is due).

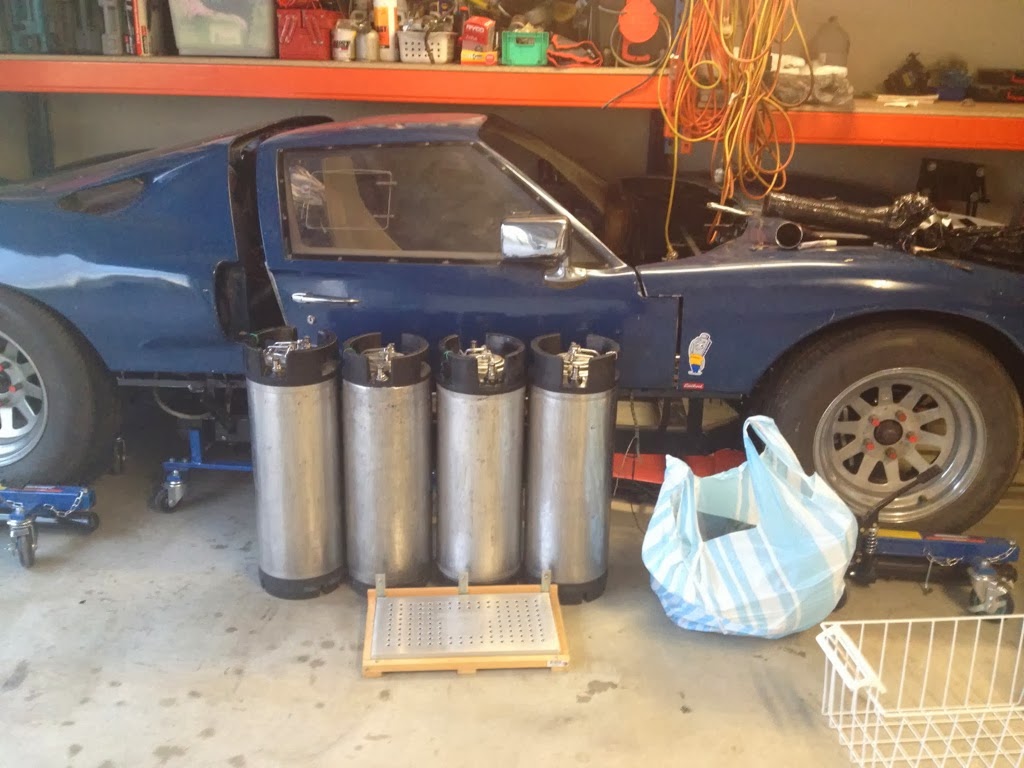
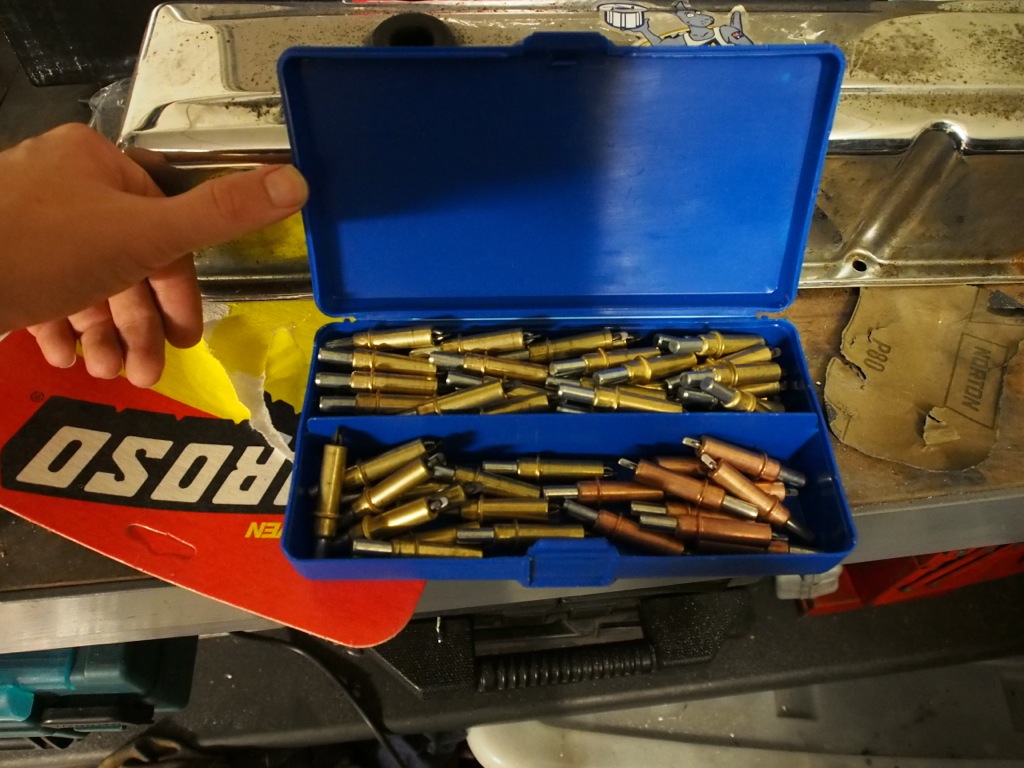
Anyway, work has progressed slowly. First up, this load of toys arrived from the US. Cleckos are in preparation for the panelling work.

P5280013.JPG


P5290020.JPG


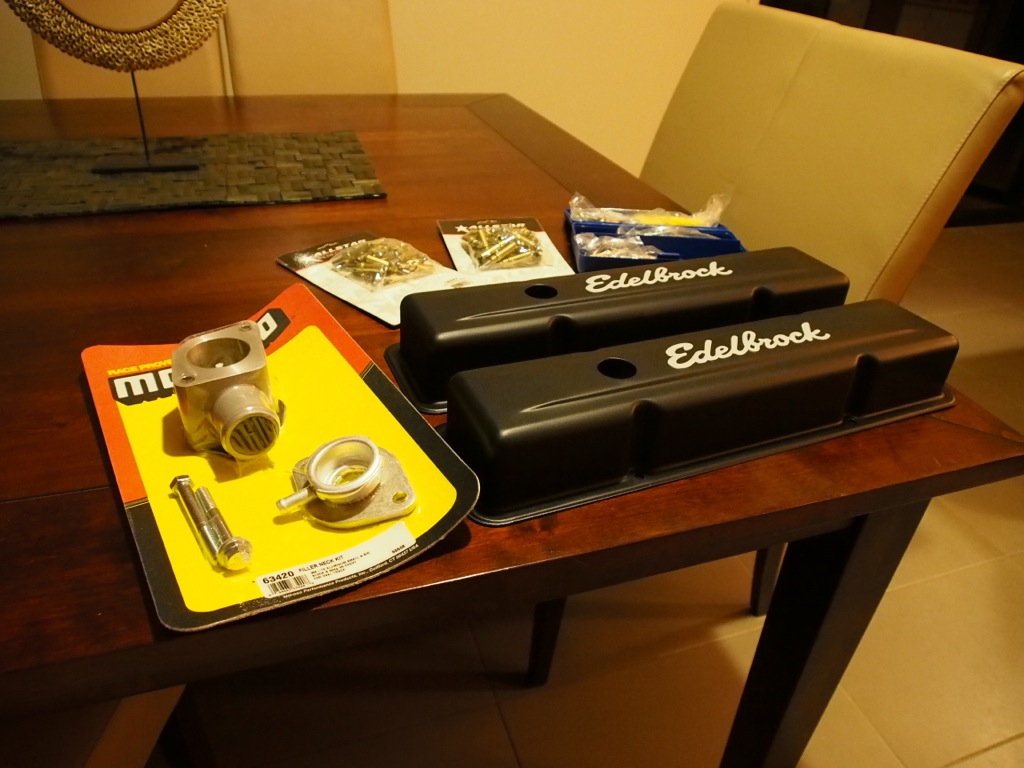
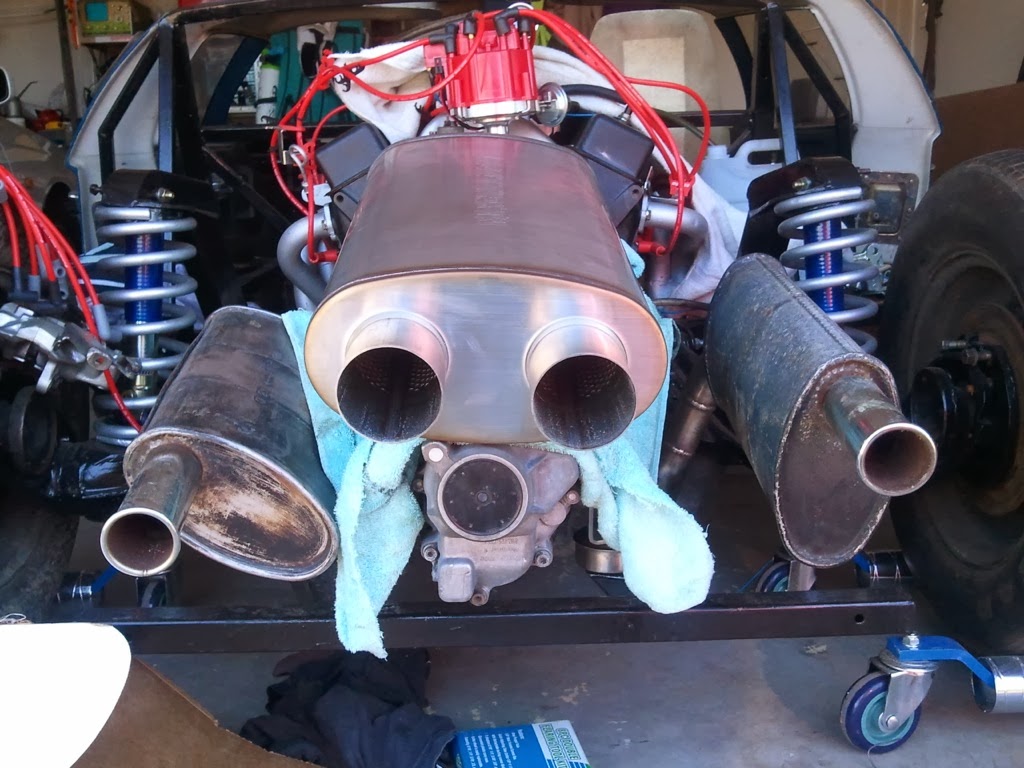
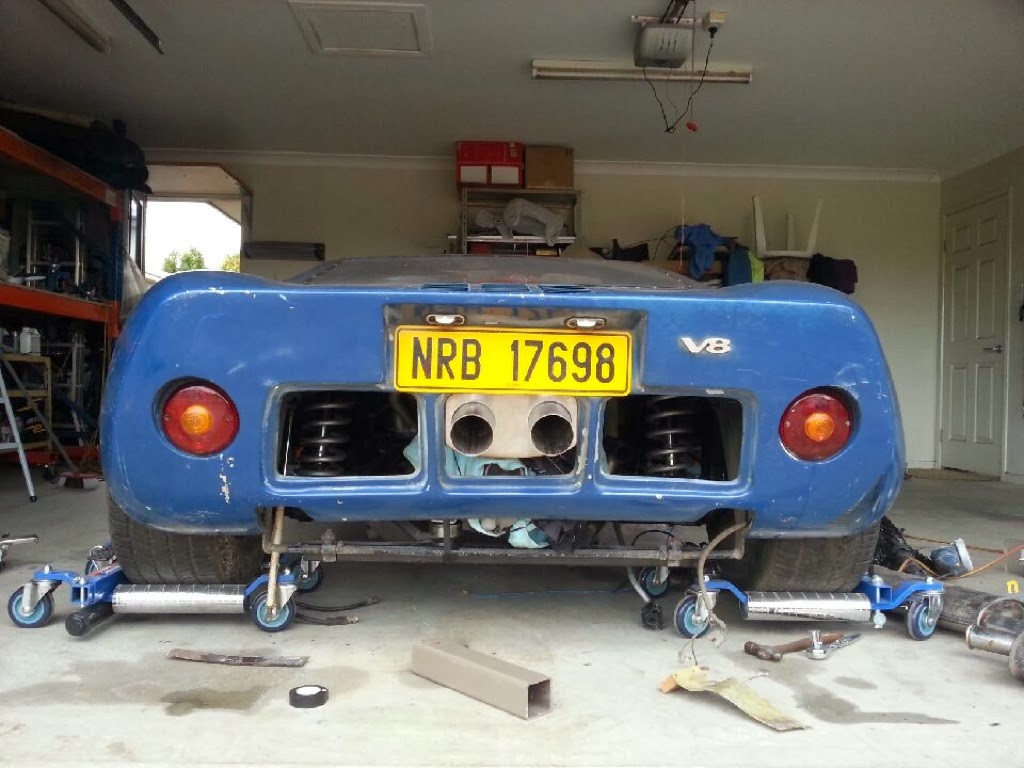
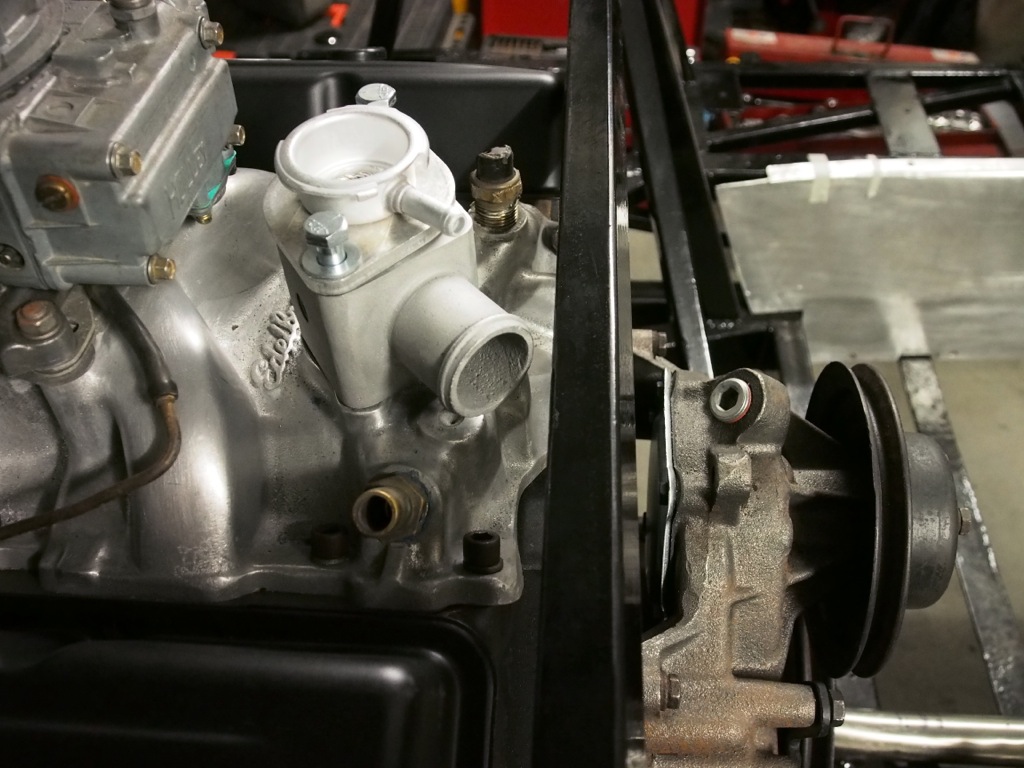
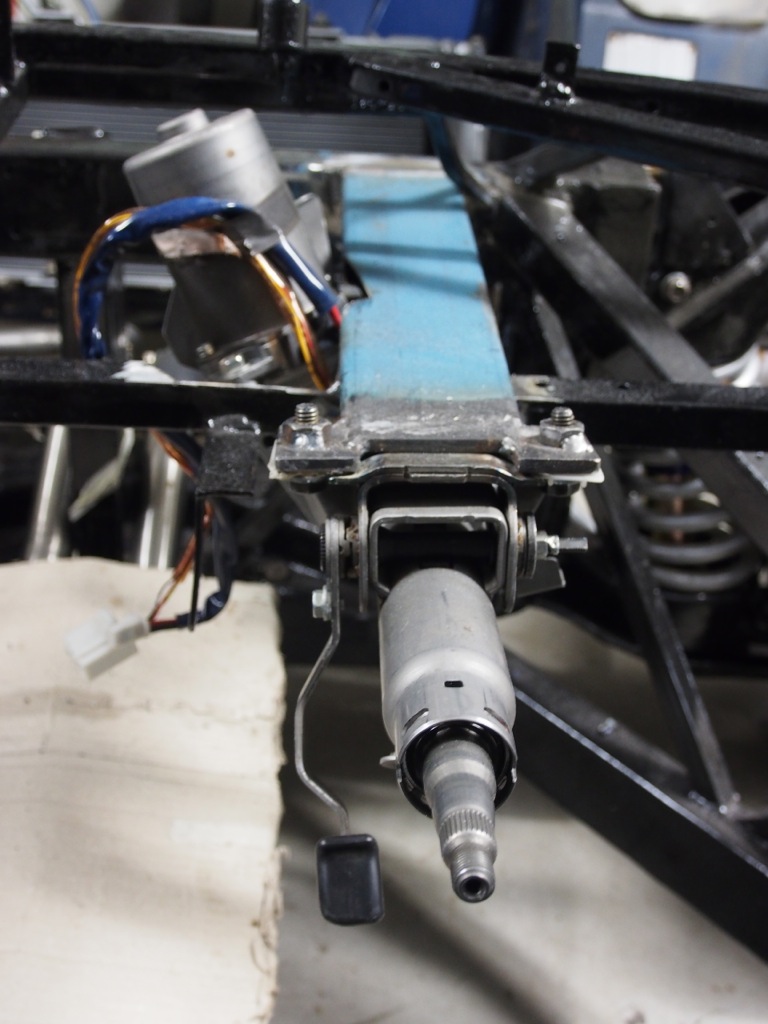
We decided to change the thermostat housing to a filler since this is the highest point of the cooling system. One slight problem. The outlet is pointing straight at the new horizontal bar we added behind the seats.

P5290025.JPG


P5290017.JPG


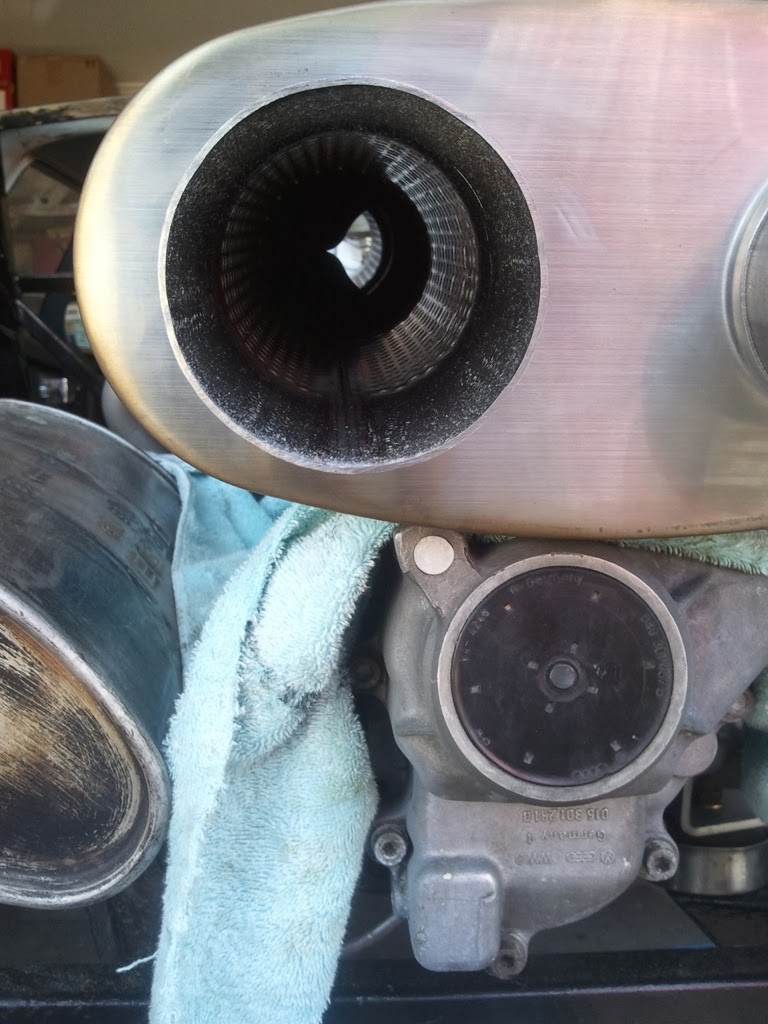
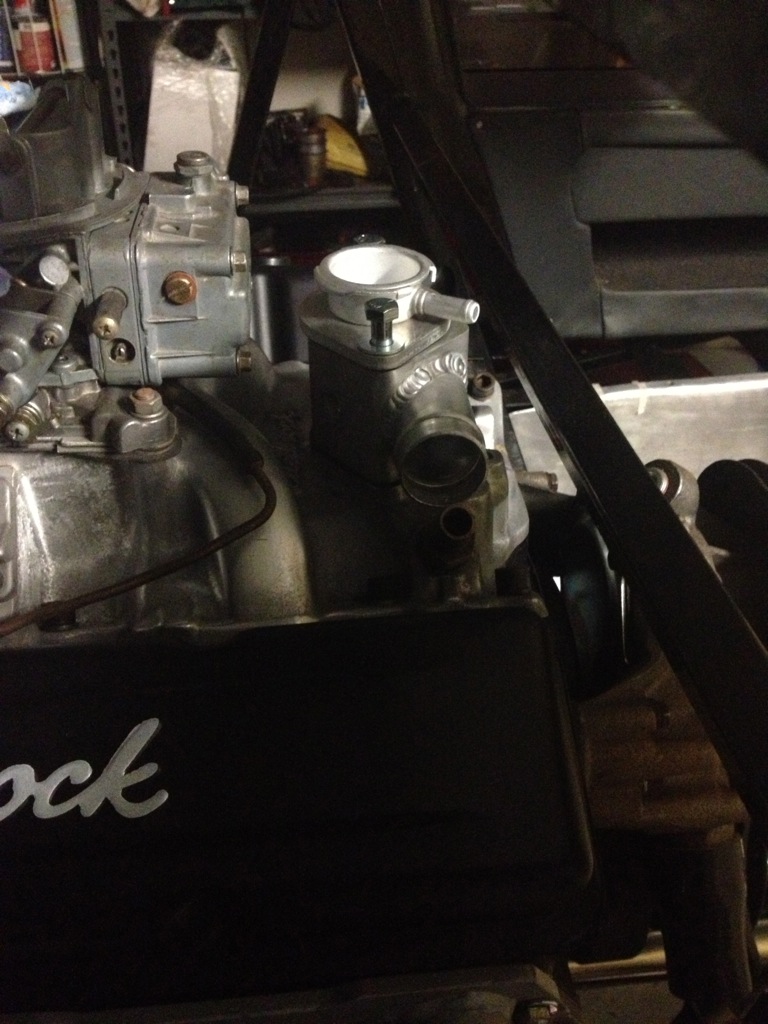
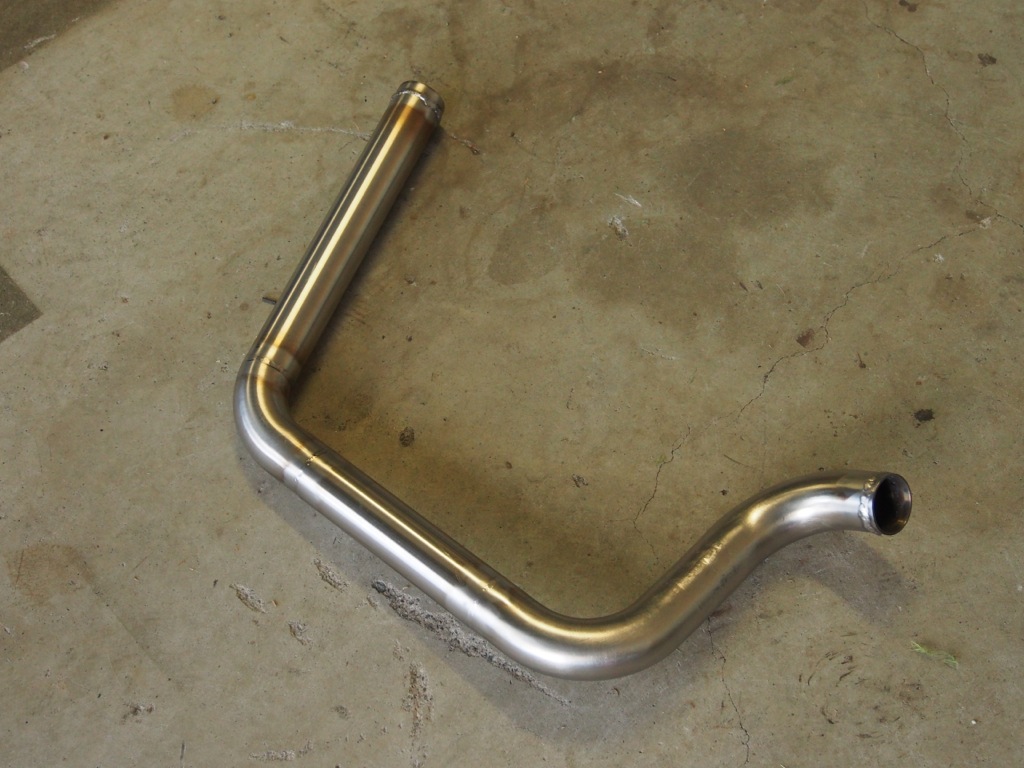
Fortunately, my mate Jim offered to drop it into Scott at Cleveland Exhaust to get the outlet direction changed (apologies for the dark photo). Scott did a great job and thanks to Jim for sorting it out for me.

IMG_1073.jpg


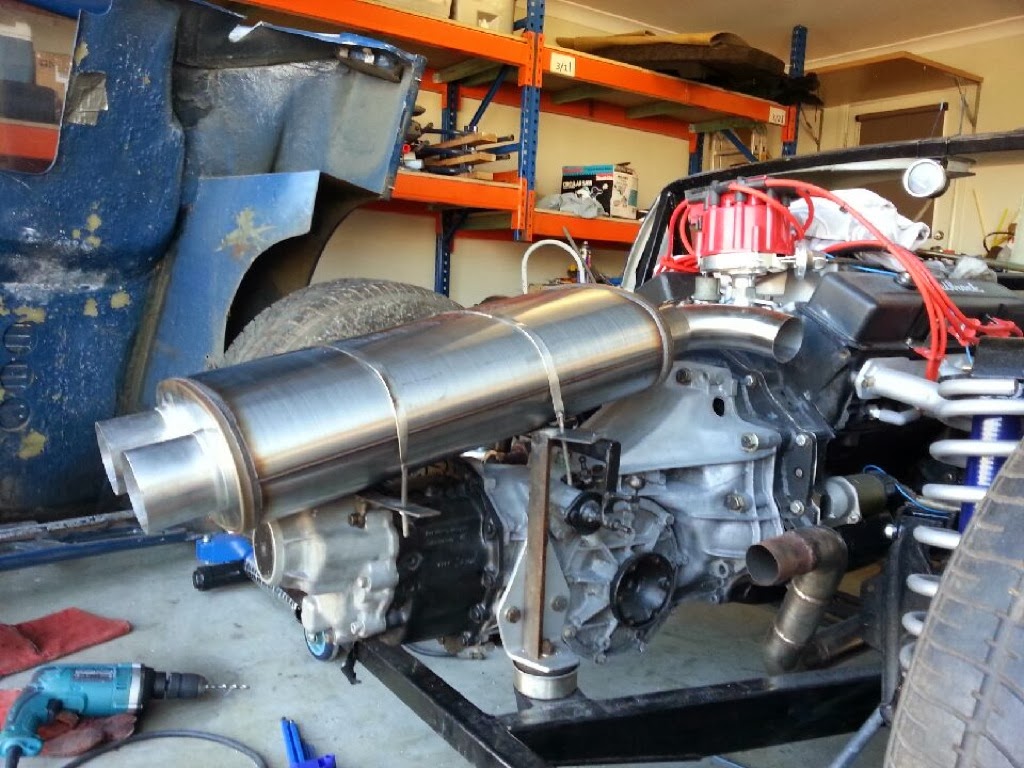
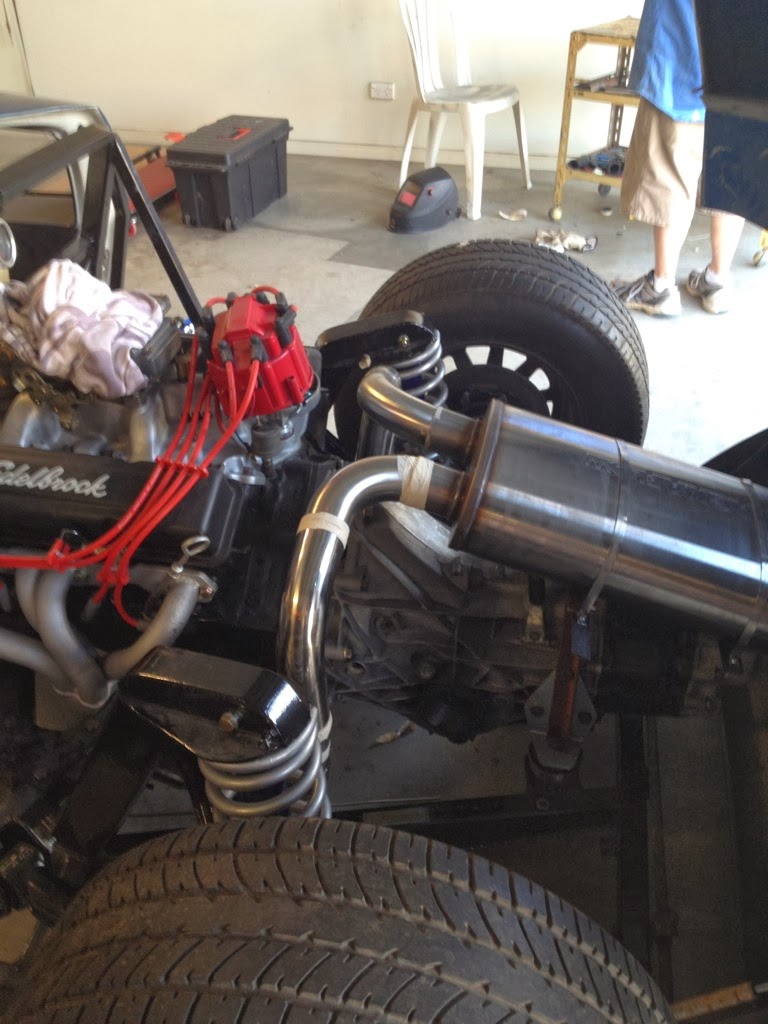
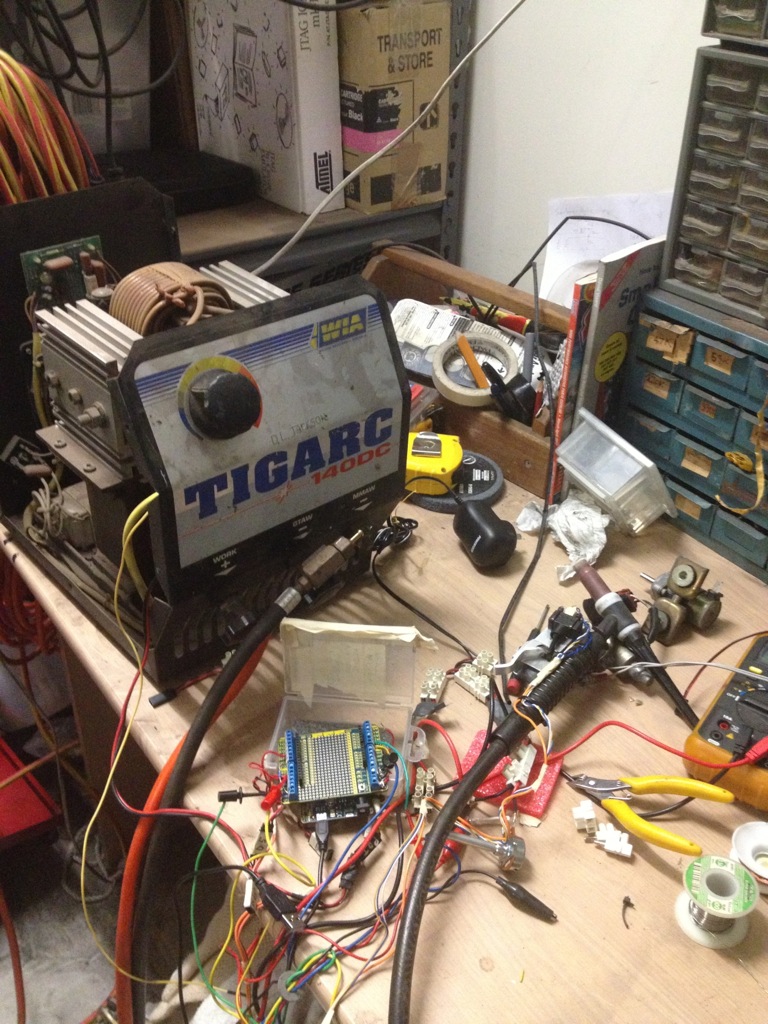
Next job, I started tackling the coolant piping. This is my first attempt at TIG welding stainless. The TIG welder I have is an old WIA DC unit I bought off a guy at work. It doesn't have the ramping, post gas-flow and current control pedal of the modern units. I soon discovered that current control while welding would be a useful feature.

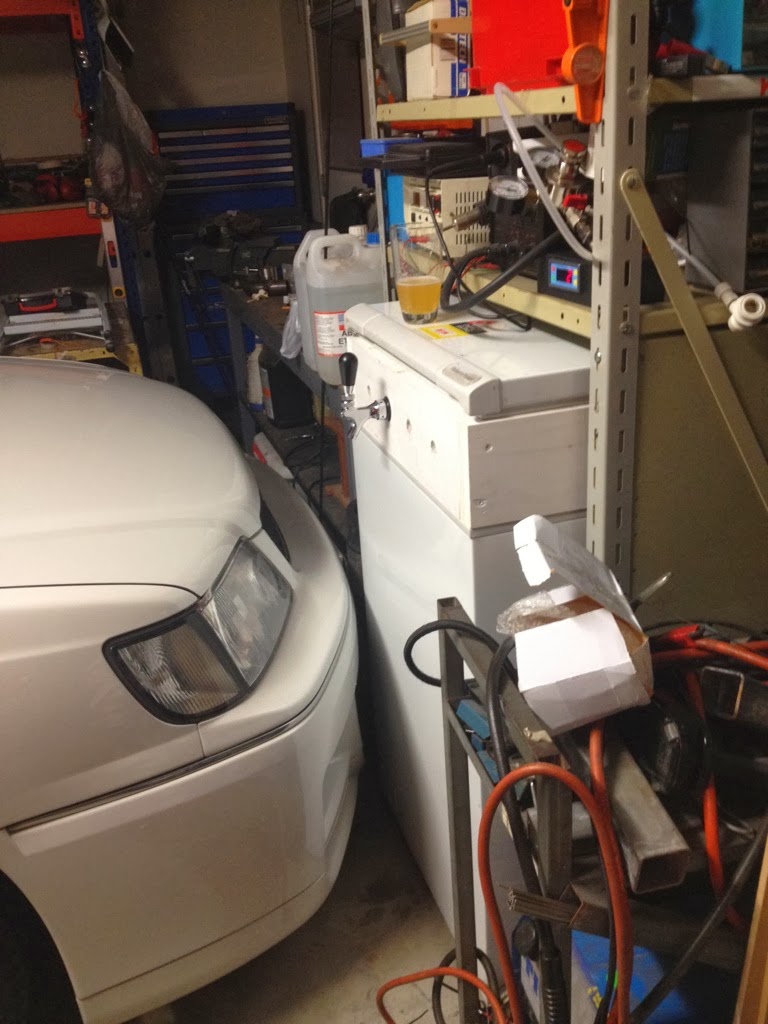
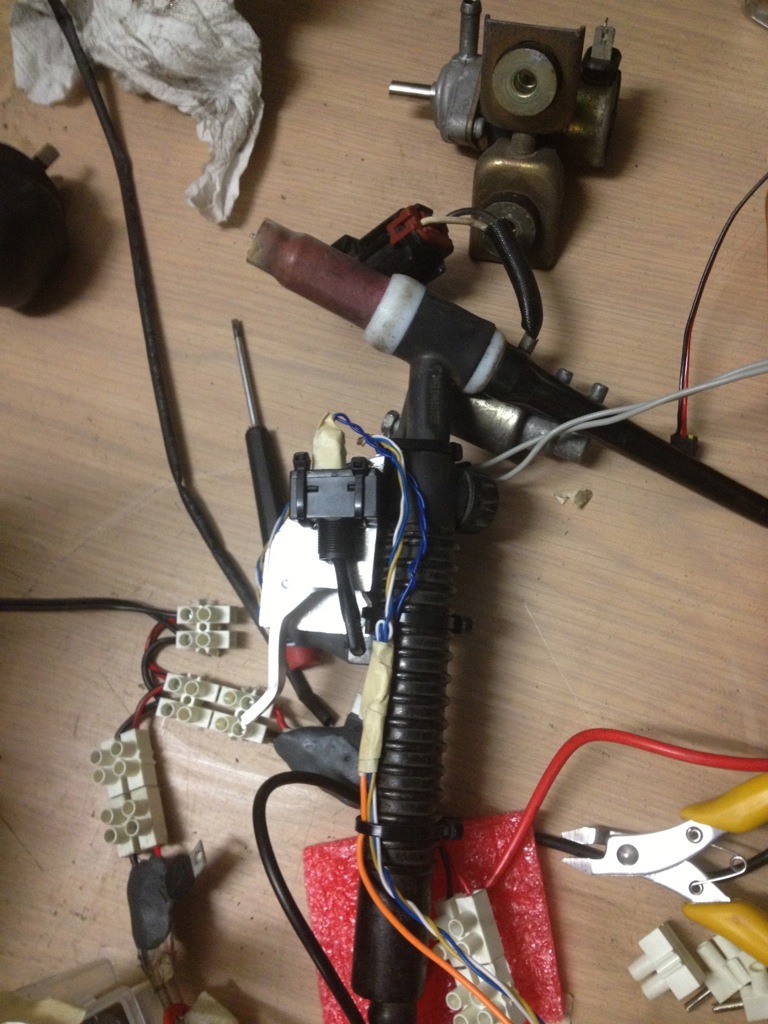
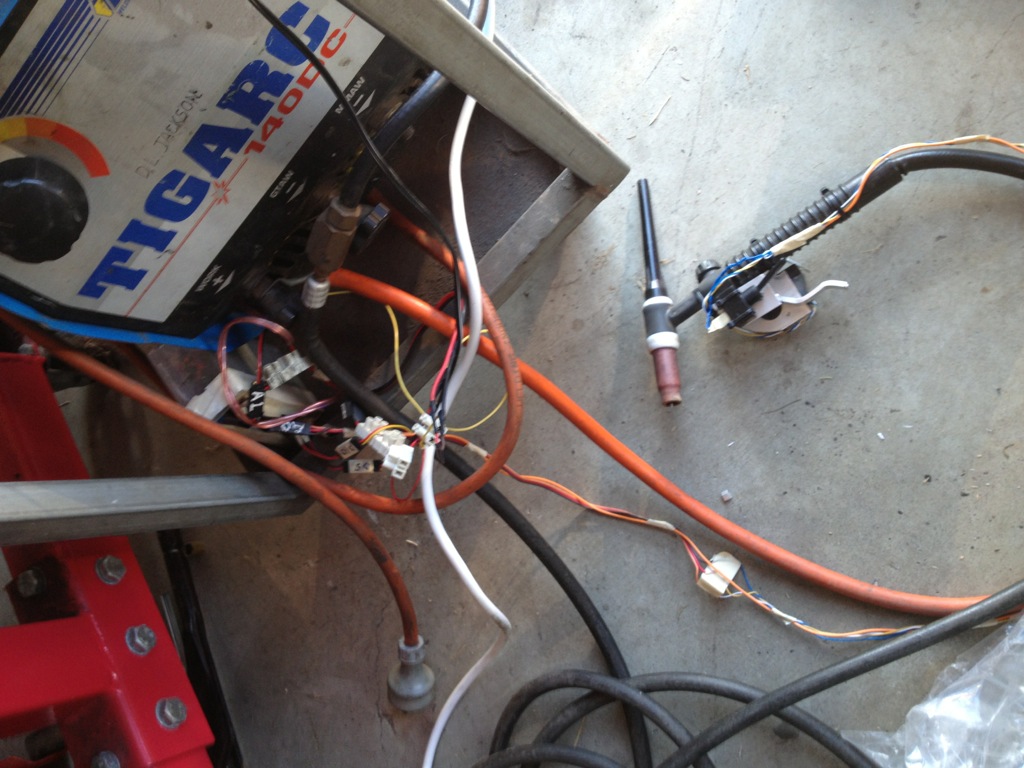
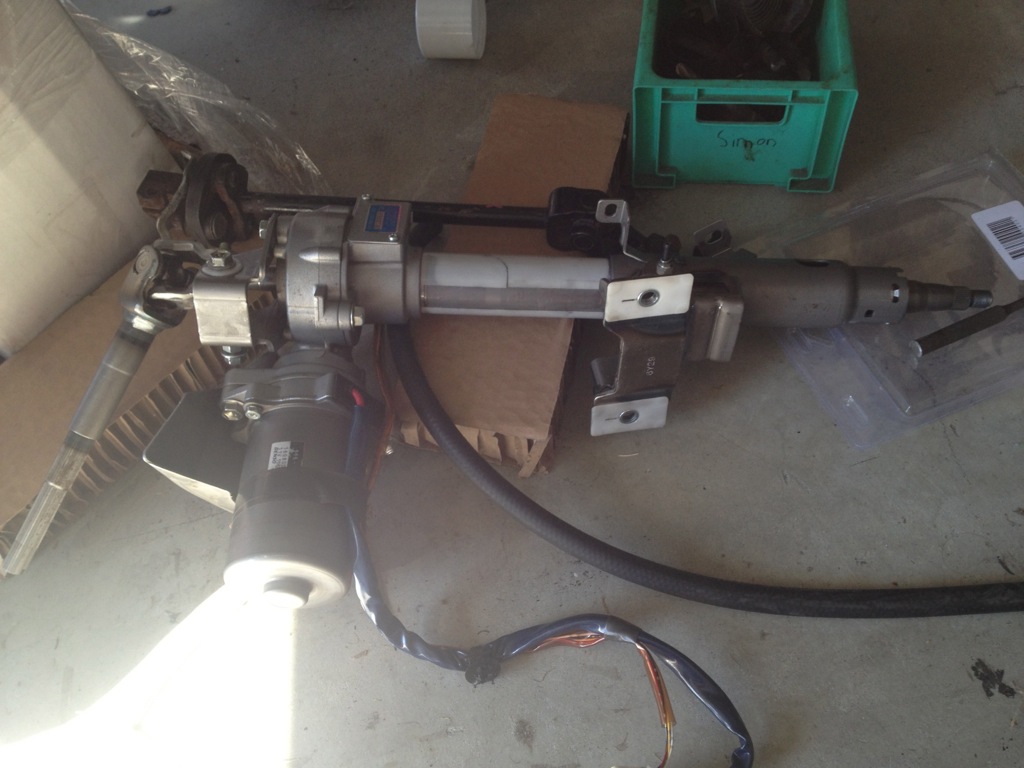
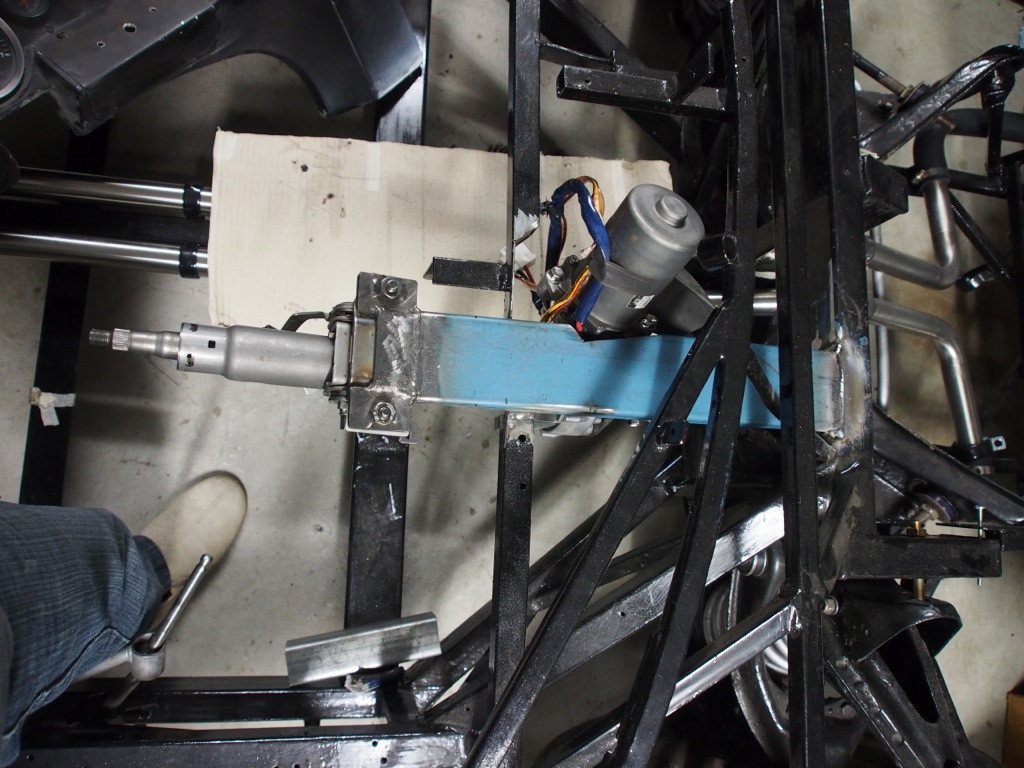
After opening up the welder, I discovered that it could be easily and safely altered for remote operation from a pedal or hand control. I had a bit of a chat with Jim about my ideas for modifying the welder and before I knew it, he was on my door step with a prototype Arduino circuit and hand controller made from a throttle position sensor. After a few hours in the garage, we had it up and running with basic current control from the hand controller. For the next phase of the upgrade we will add automatic gas stop/start using an old boost control solenoid and probably a foot pedal. Since it's controlled by an Arduino, it's easy to add current ramp up / ramp down, gas post-flow time and current shut-off. I'd really like to add HF starting and AC functionality, but these aren't so easy. These are photos of the prototype. Don't worry, we'll upgrade the cables and tidy the installation when it's all up and running. I'll post more on this once it's finished.

IMG_1089.jpg


IMG_1090.jpg


On Saturday Tim came around and I really wanted to get on with some welding. So for now, I put the system back together with the basic hand control only. It worked fine. Being able to vary the current made the welding much easier.

IMG_1095.JPG


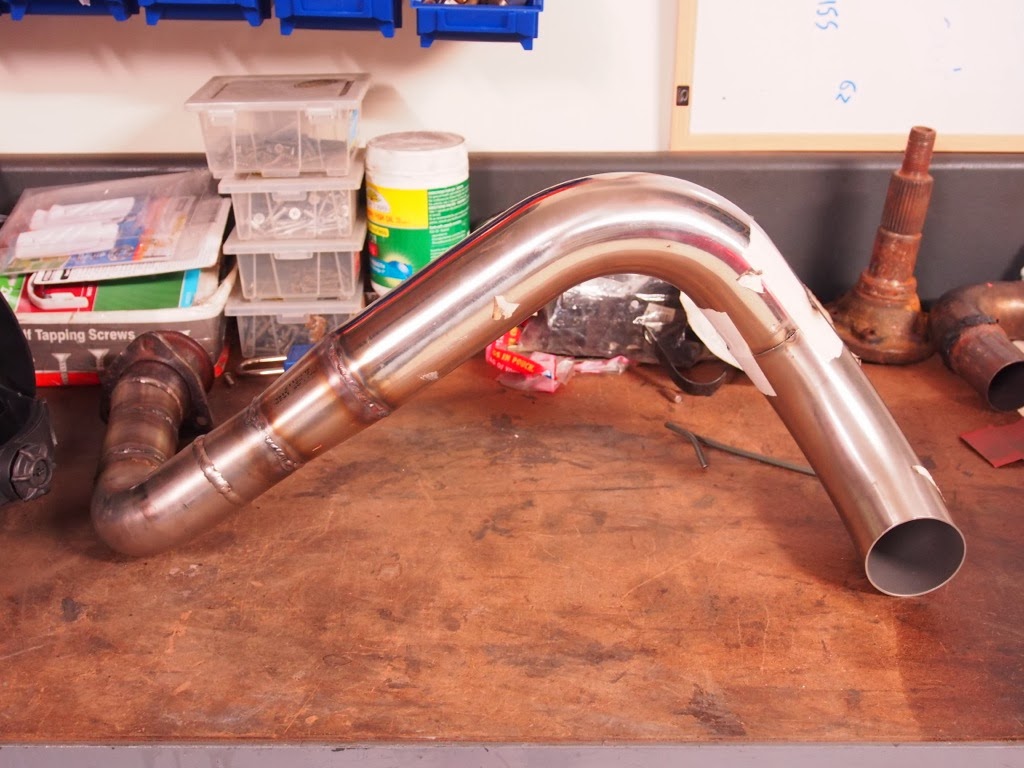
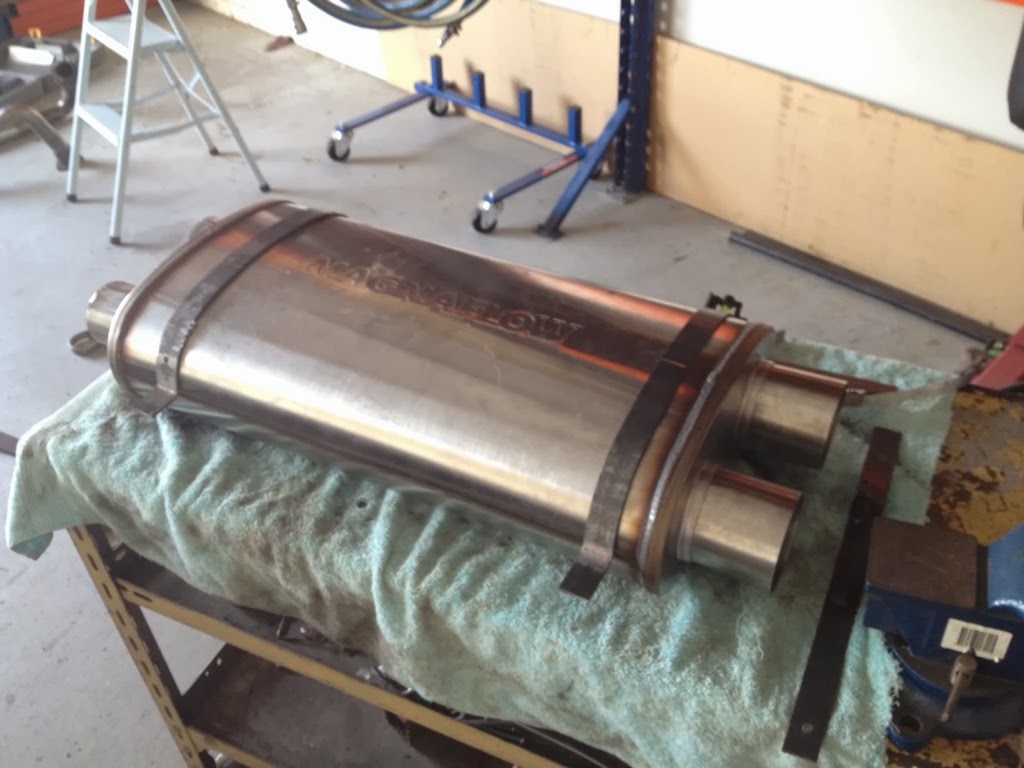
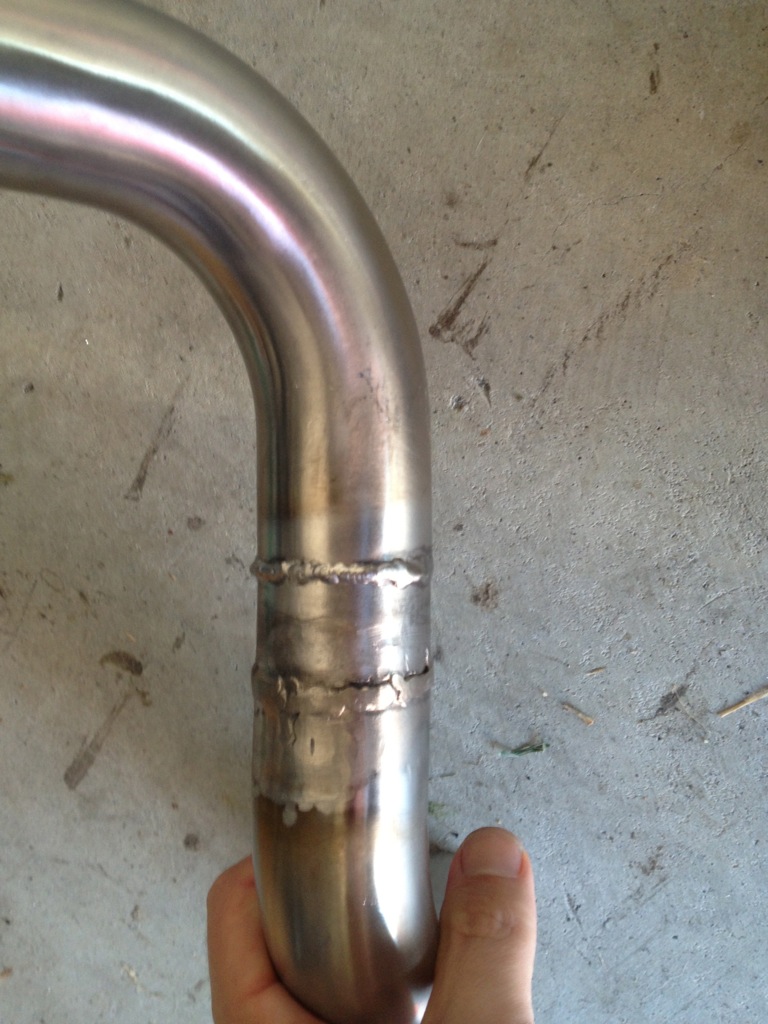
This shows my first bit of pipe. The bottom weld was done before the new current control system. The top weld was done afterwards. I'll admit, the welds are far from perfect, but they'll do the job.
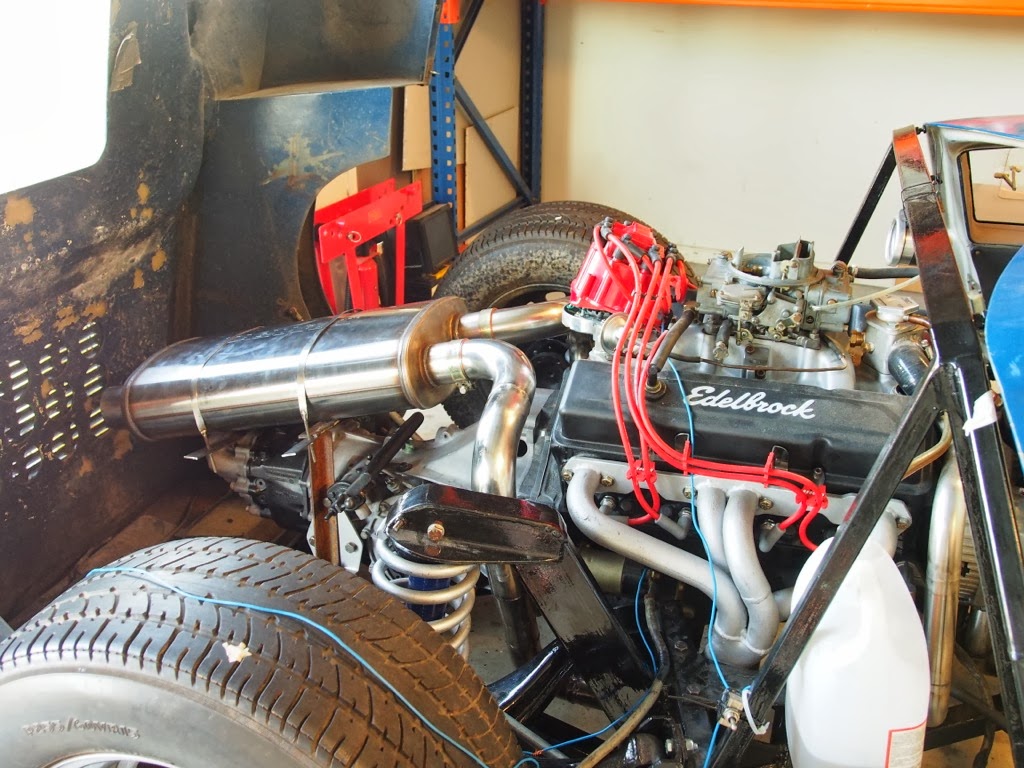
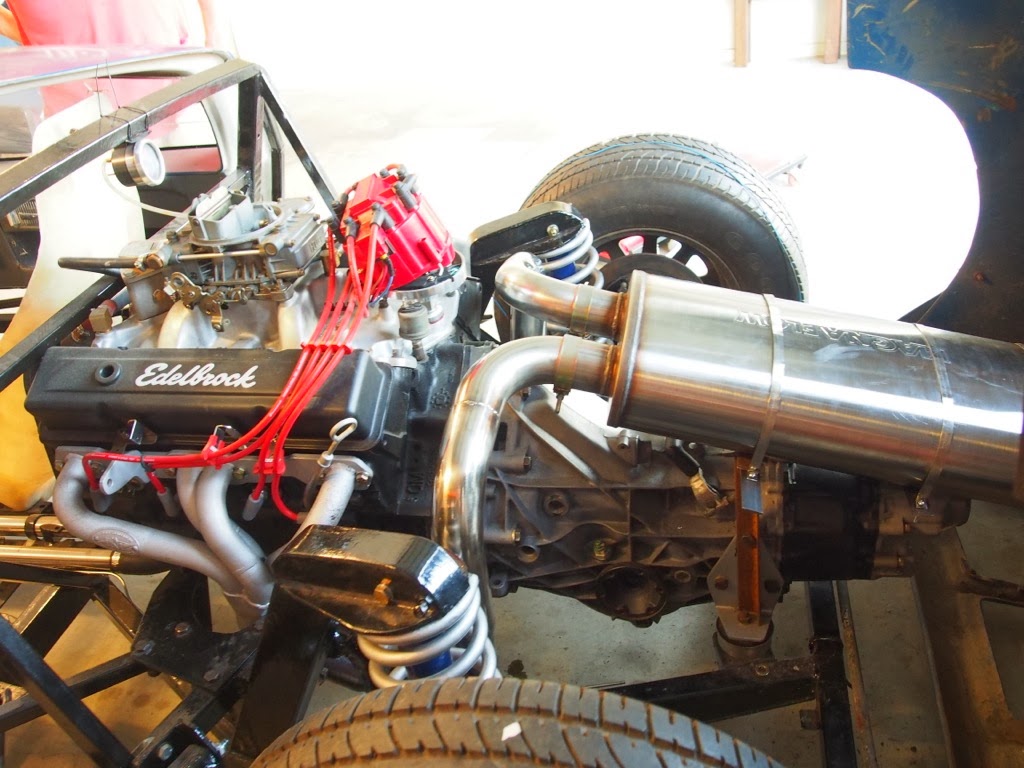
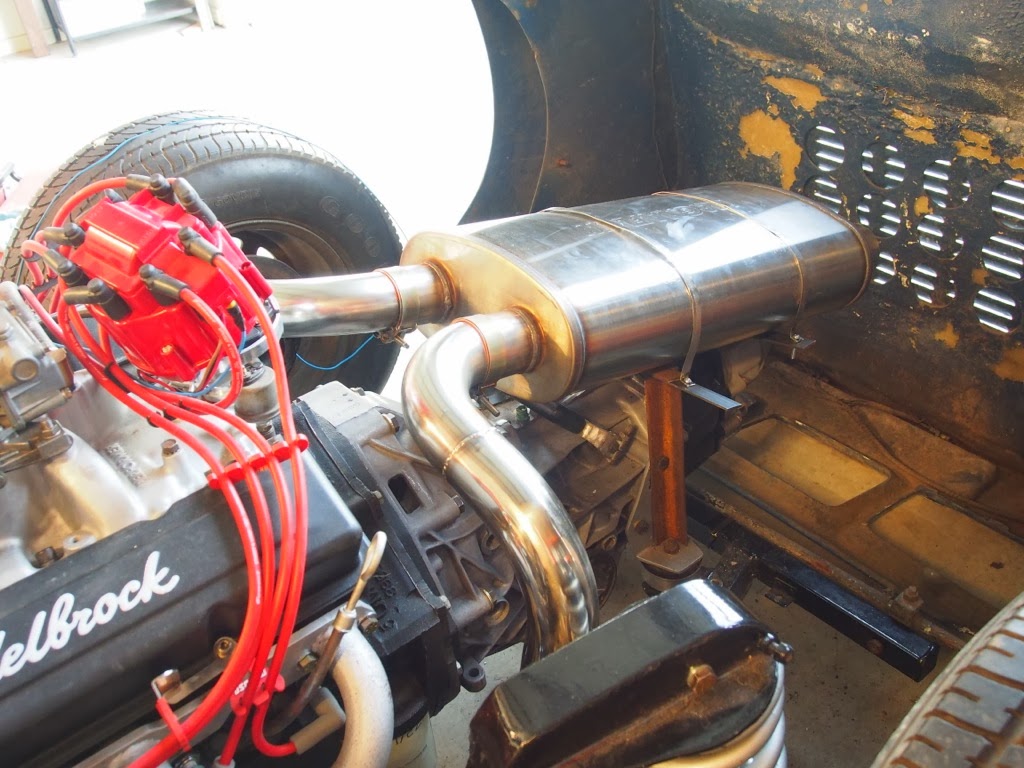
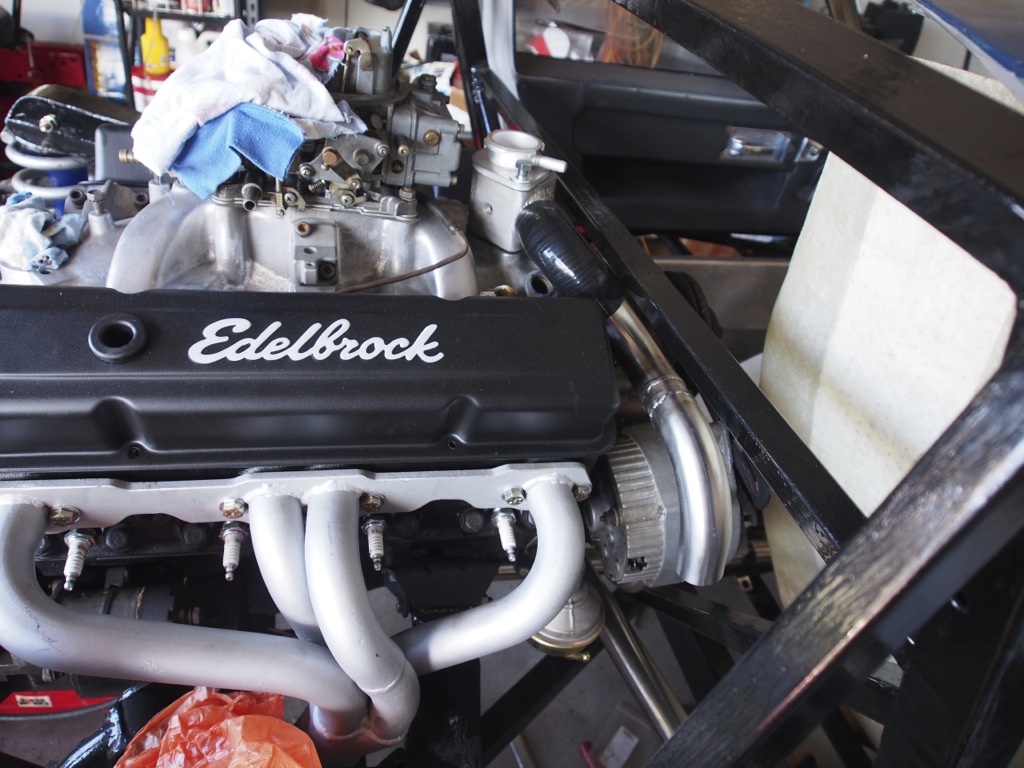
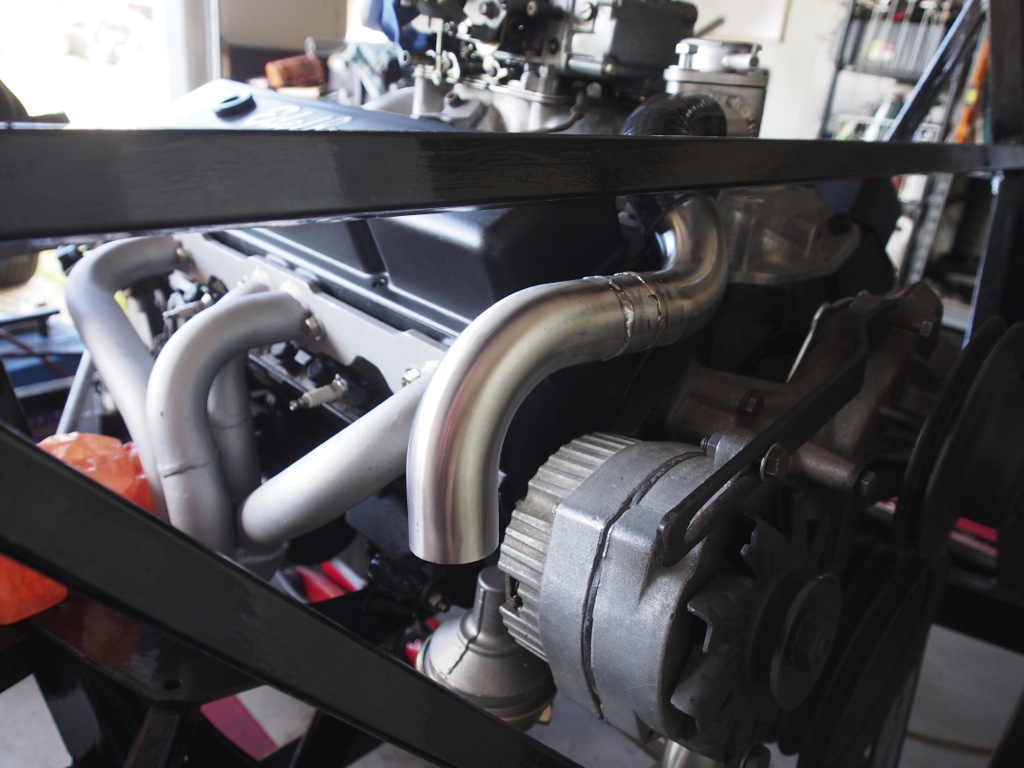
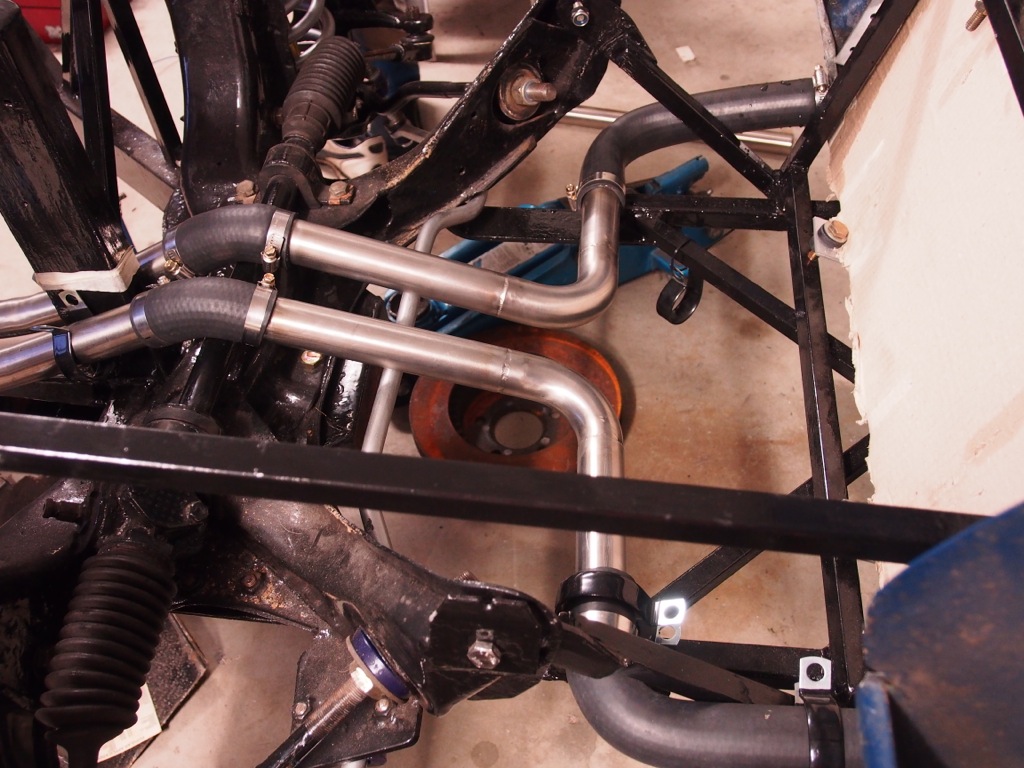
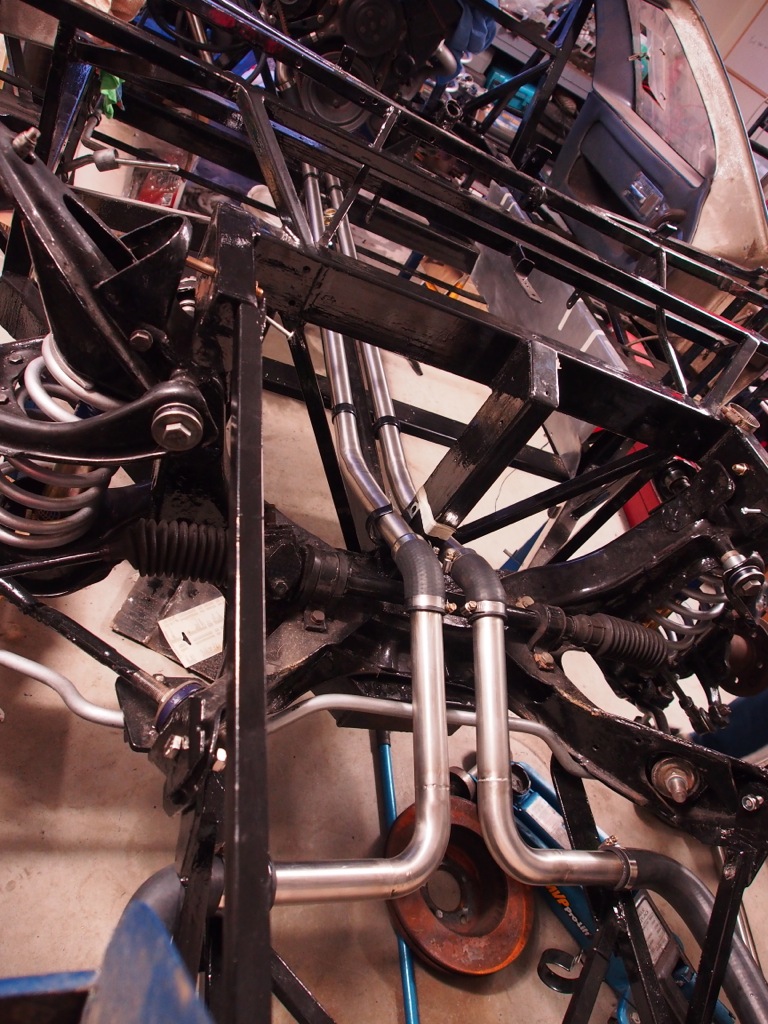
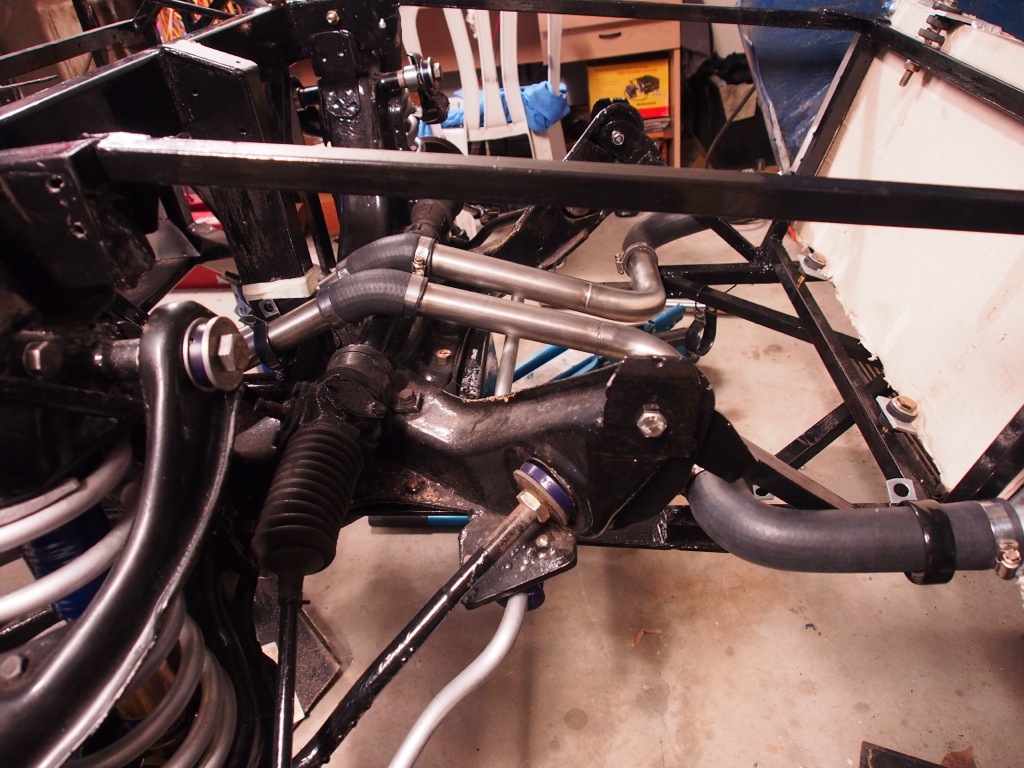
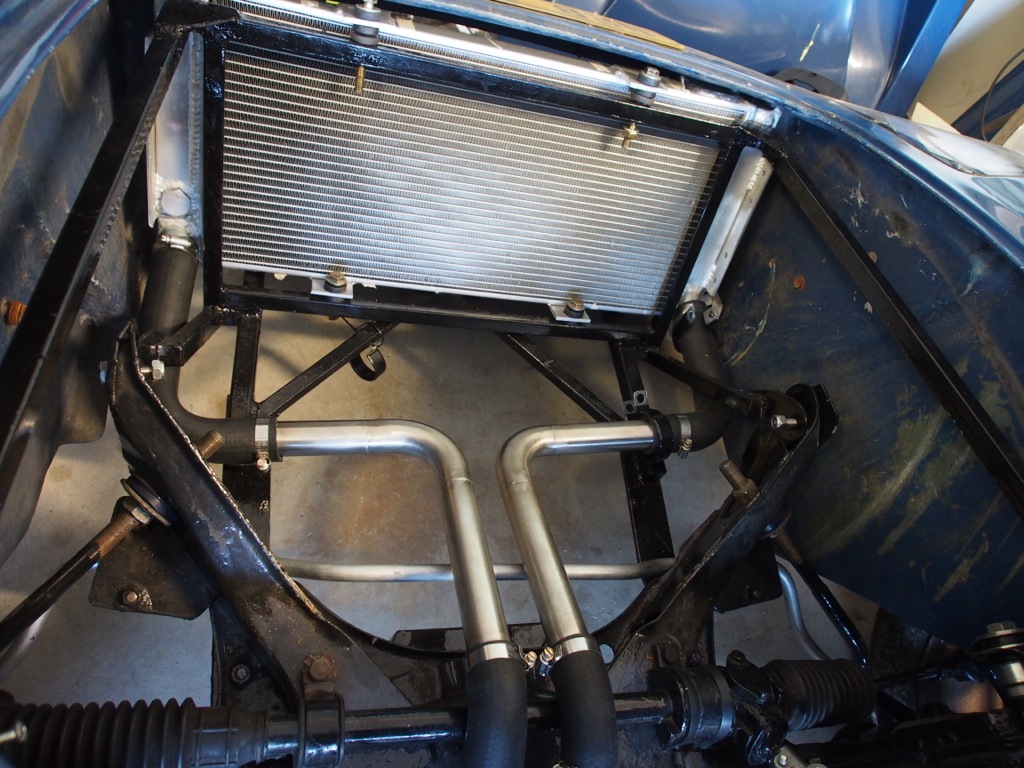
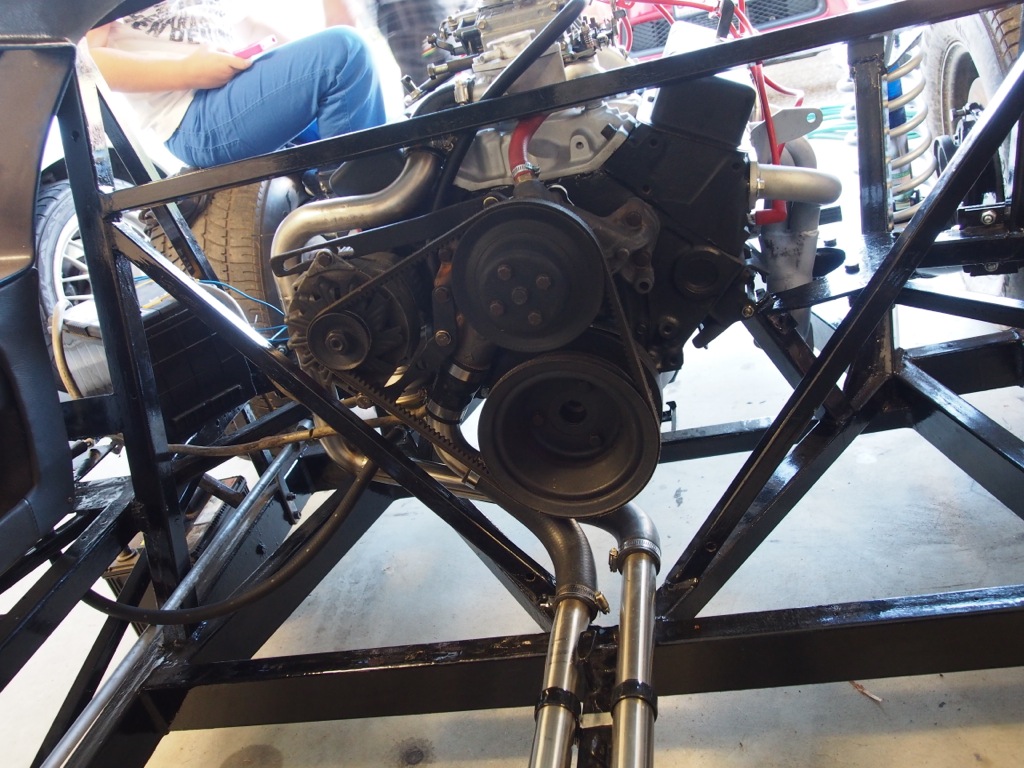
IMG_1096.jpg


New pipe in place.

P6220001.jpg


P6220002.jpg


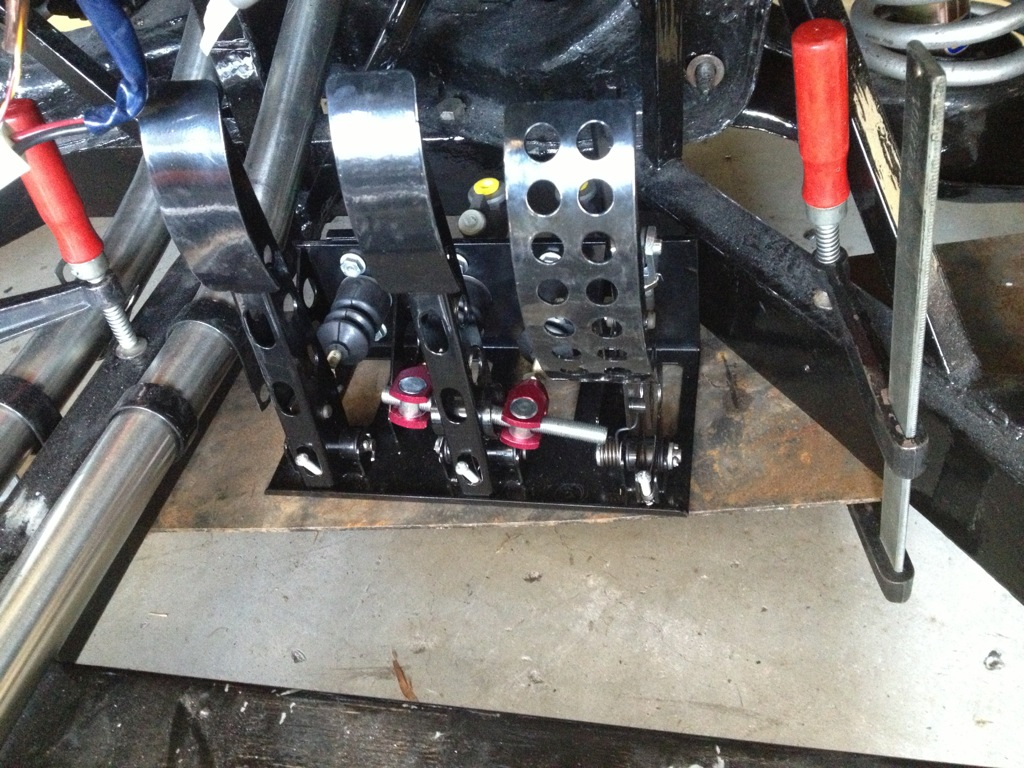
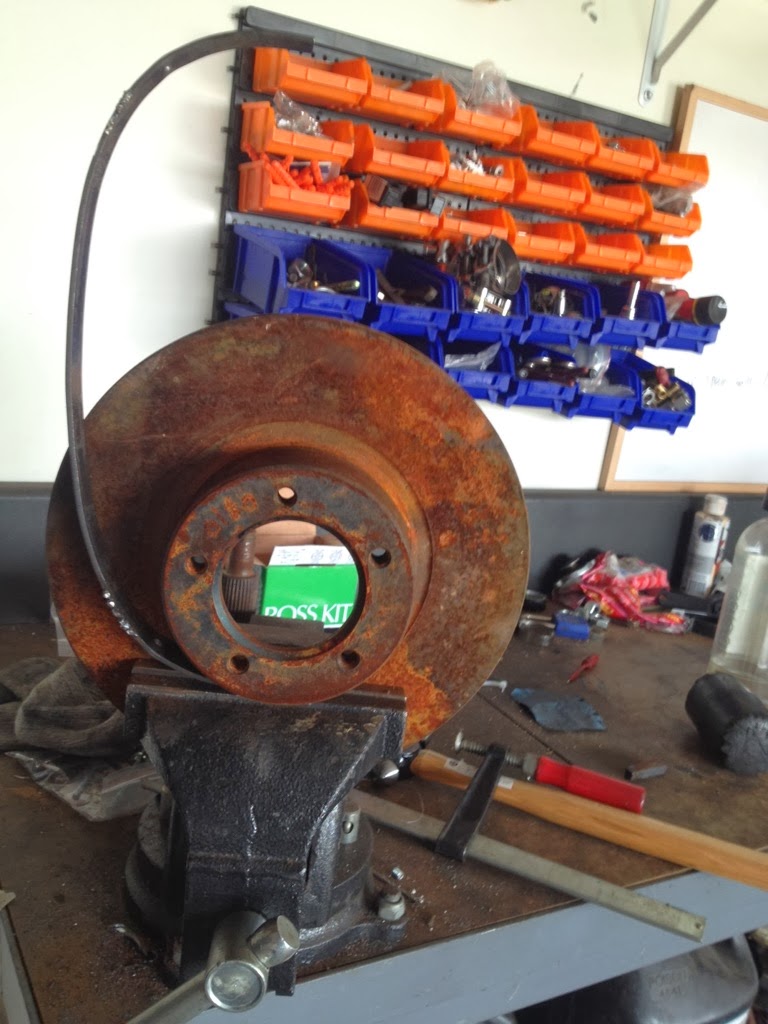
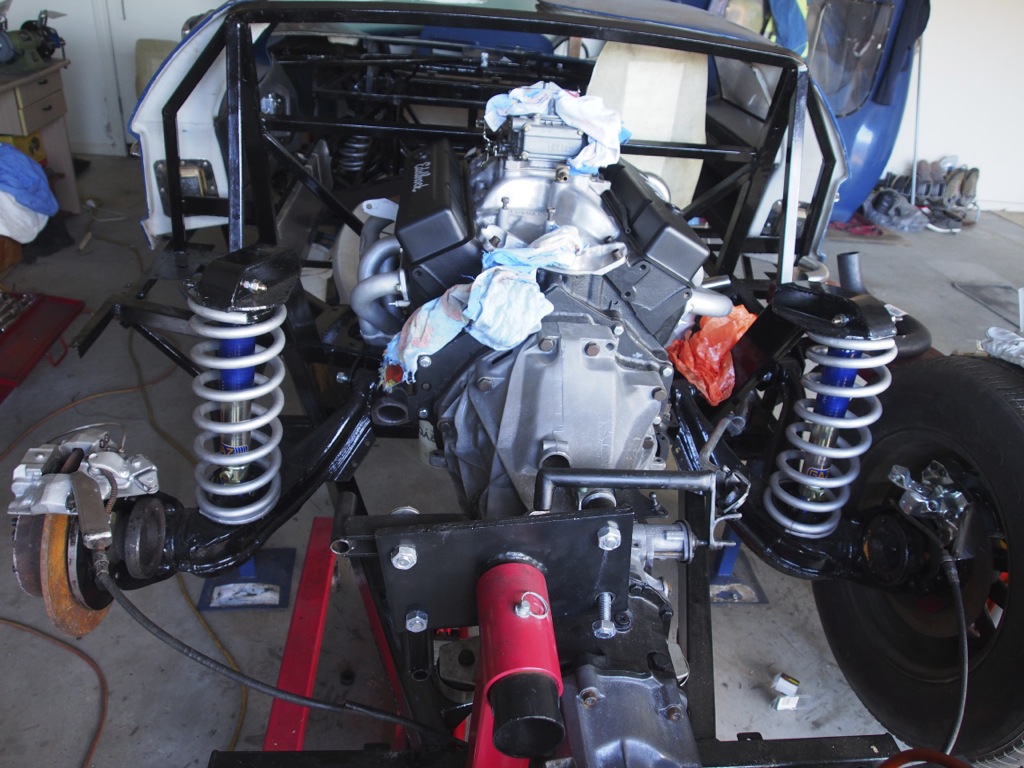
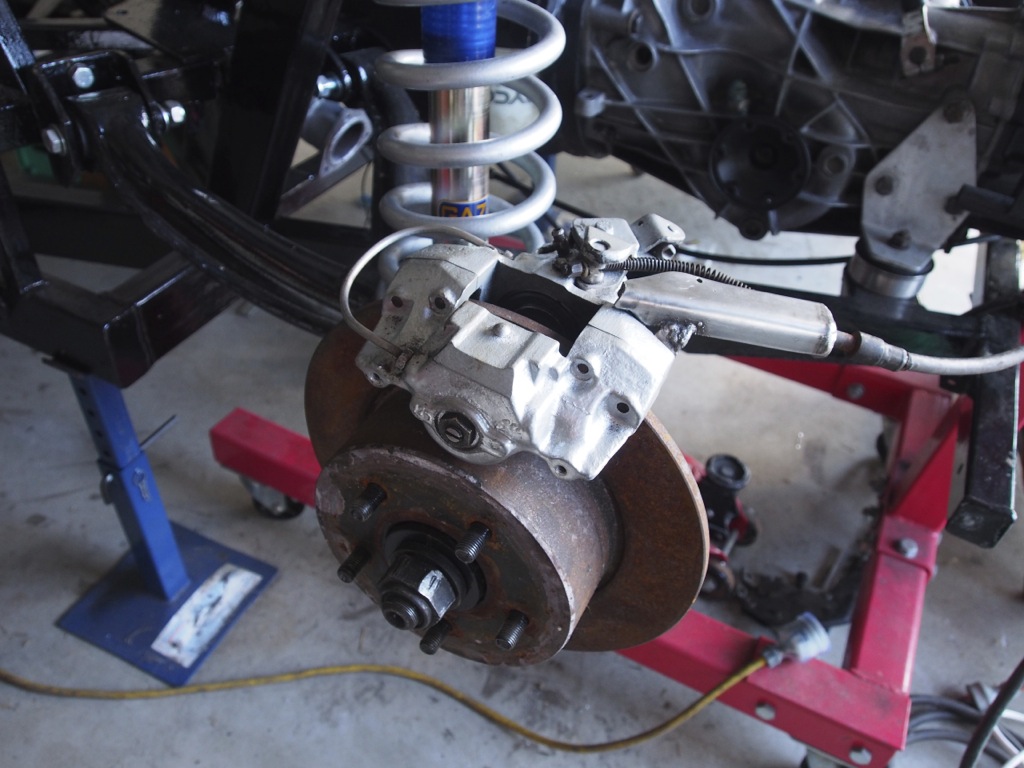
While I messed around with the welder, Tim fitted the reconditioned rear brake calipers. These are actually the calipers that came with the car. They are originally the front brakes off an Alfasud (who the hell puts a handbrake on the front?). Tim tells me these are also used on the rear of a Ferrari 308 GTS, so they can't be that bad.

I dropped them into BrakesPlus Capalaba to be reconditioned. The owner of the store also owns a GT40 and was very helpful. Unfortunately, one of the calipers was missing a part of the handbrake mechanism. Luckily I tracked down a new caliper in the UK and had it delivered to our Grandmother's place. While Tim was visiting, he chucked it in his bag (taking him to 0.5kg below his luggage limit) and then lugged it through the US and Canada. Haha. Thanks Tim.

P6220003.jpg


P6220006.jpg


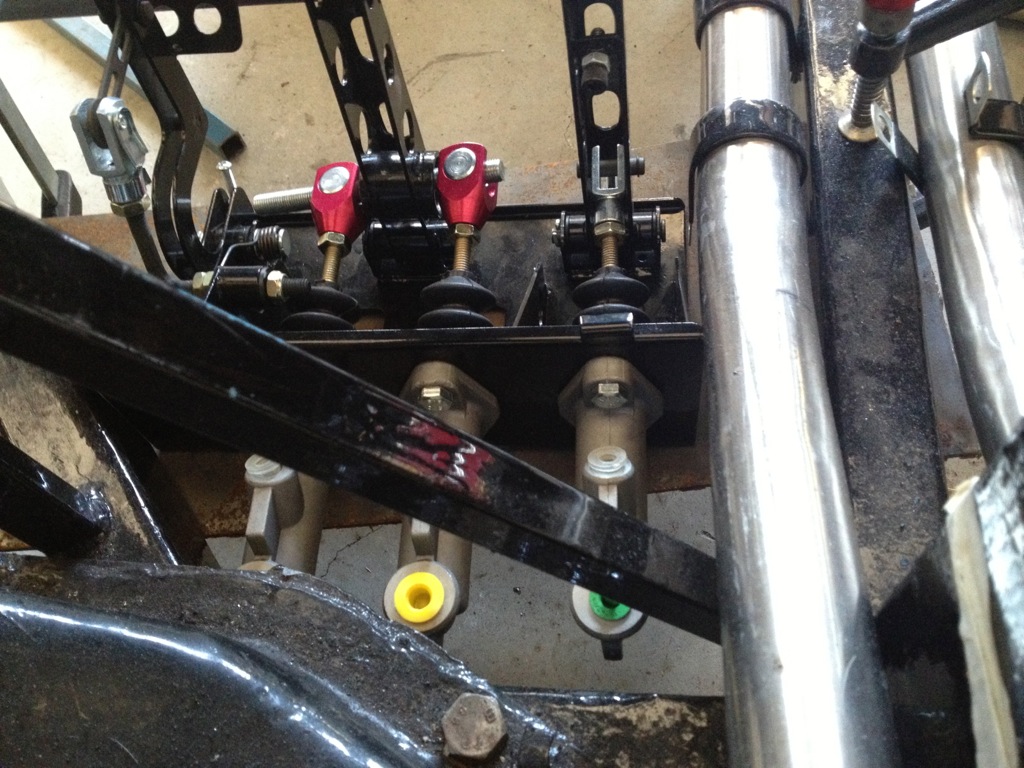
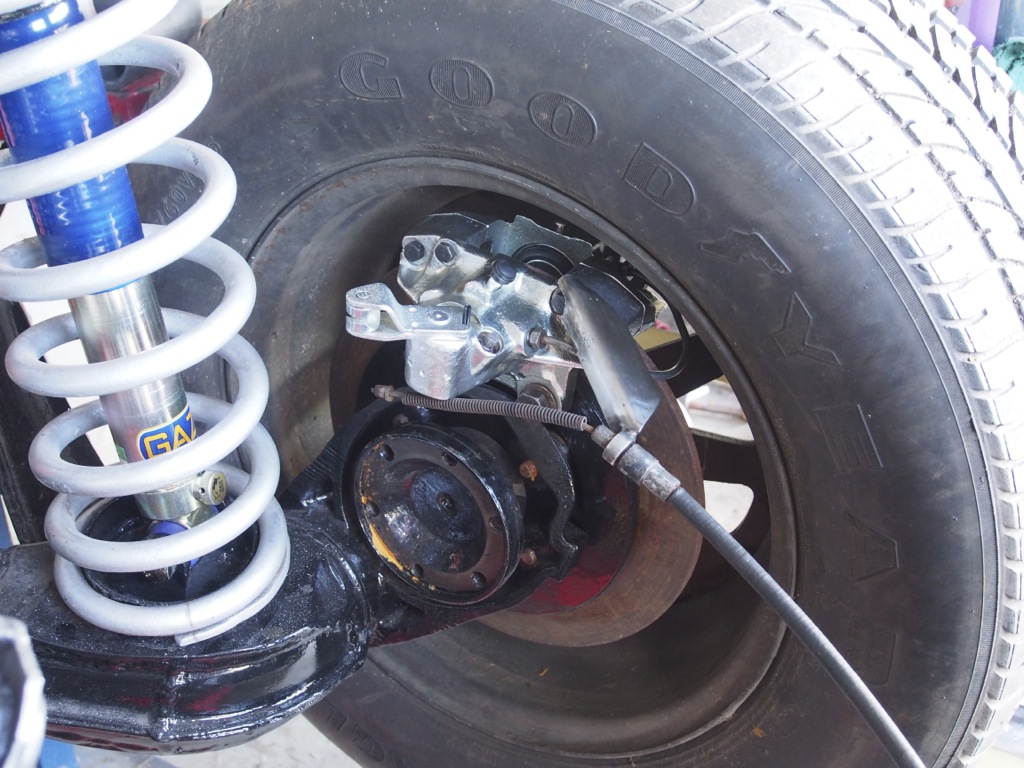
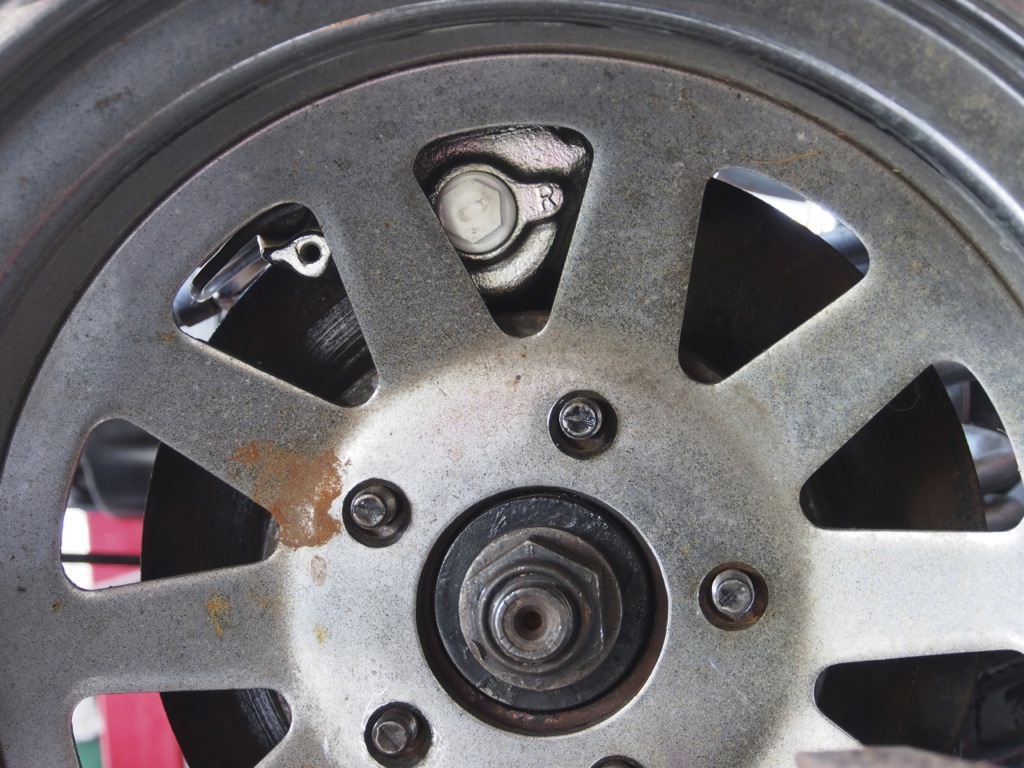
It's a pretty tight fit. The cable will need to be replaced.

P6220004.jpg


P6220007.jpg


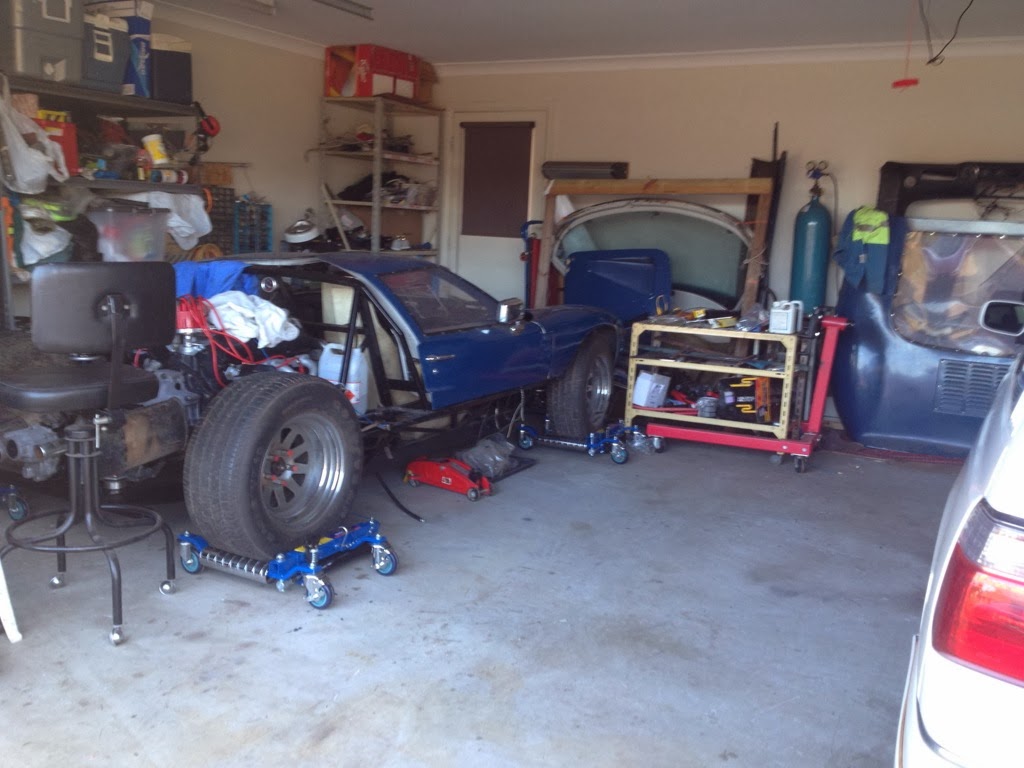
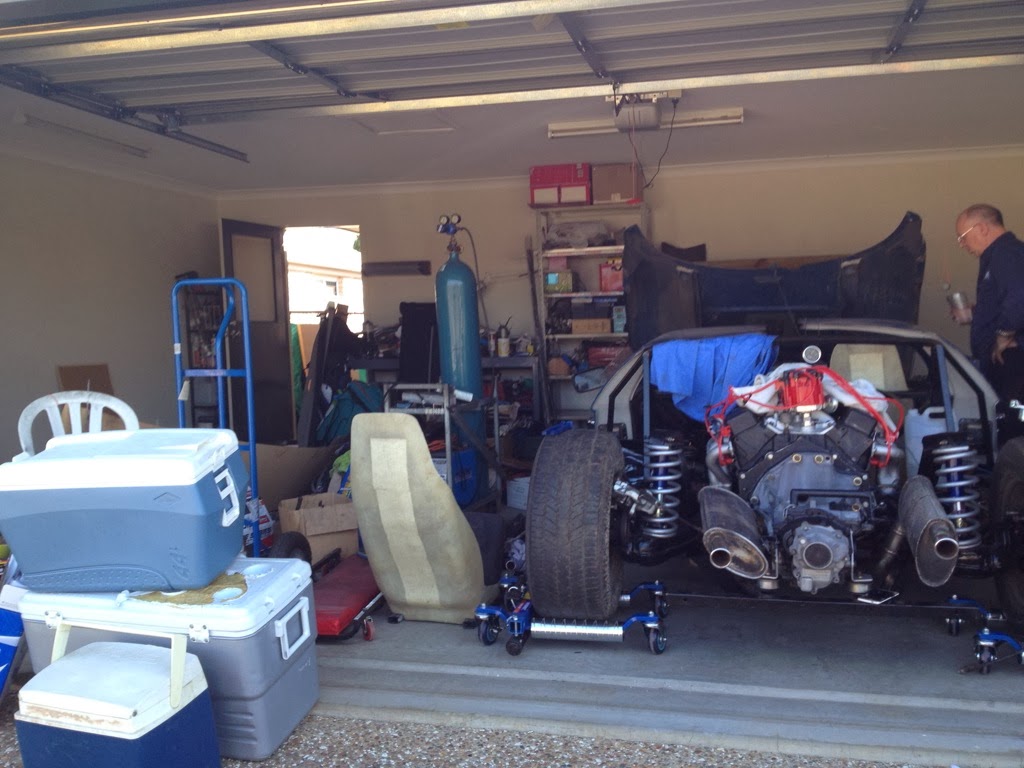
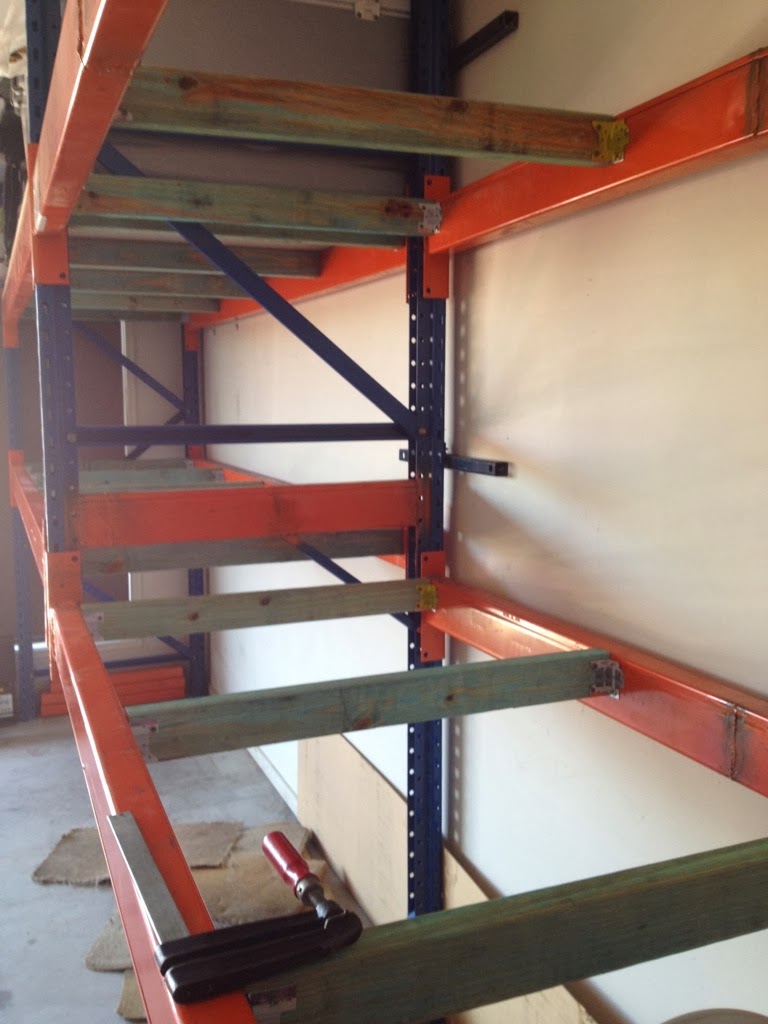
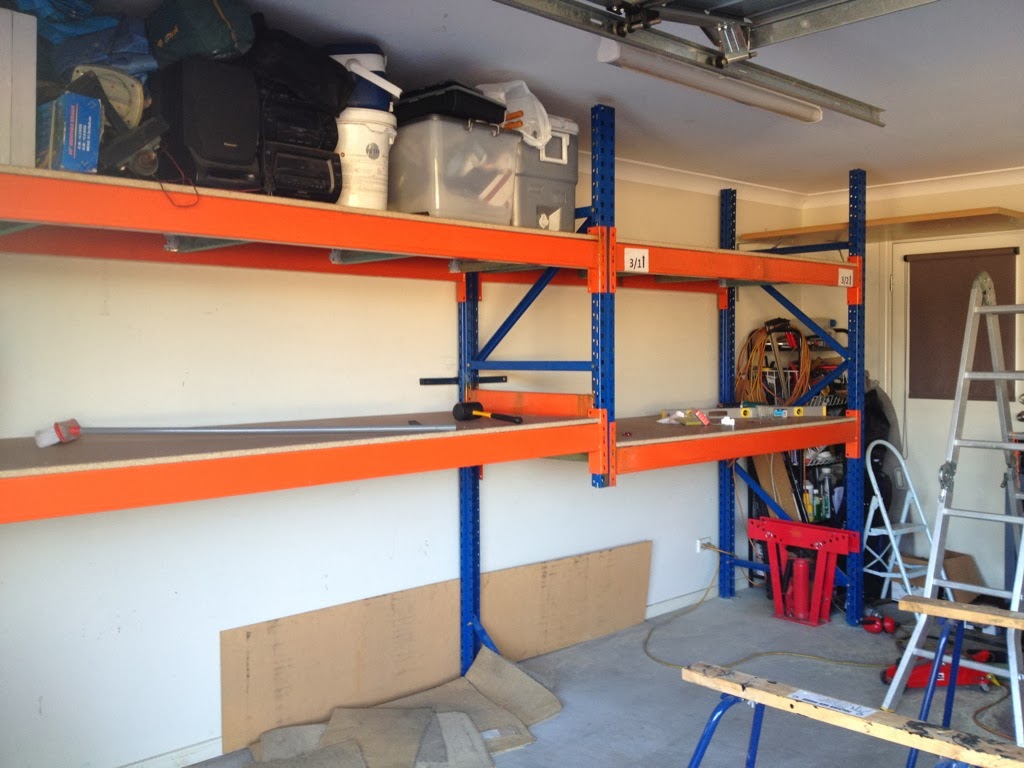
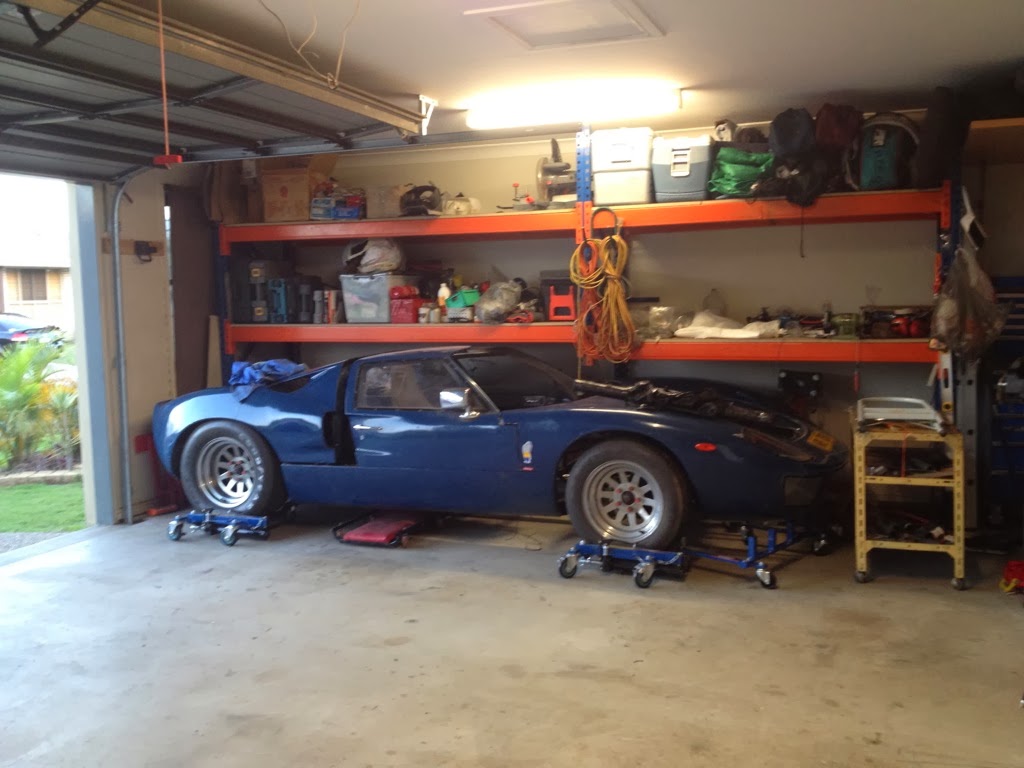
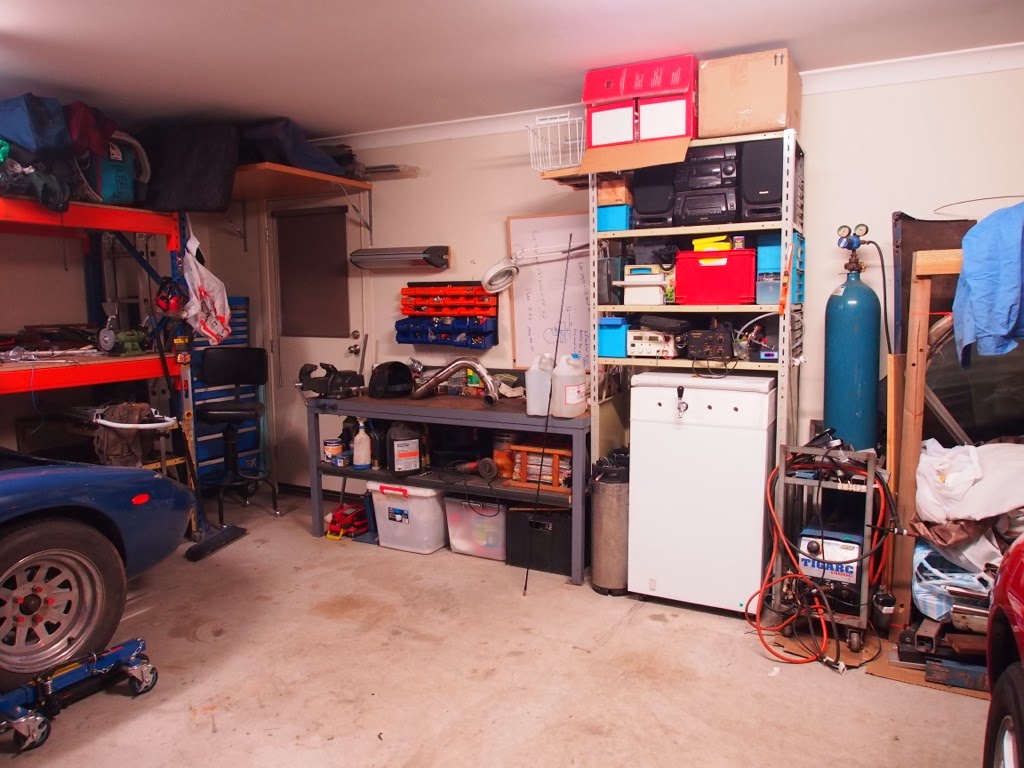
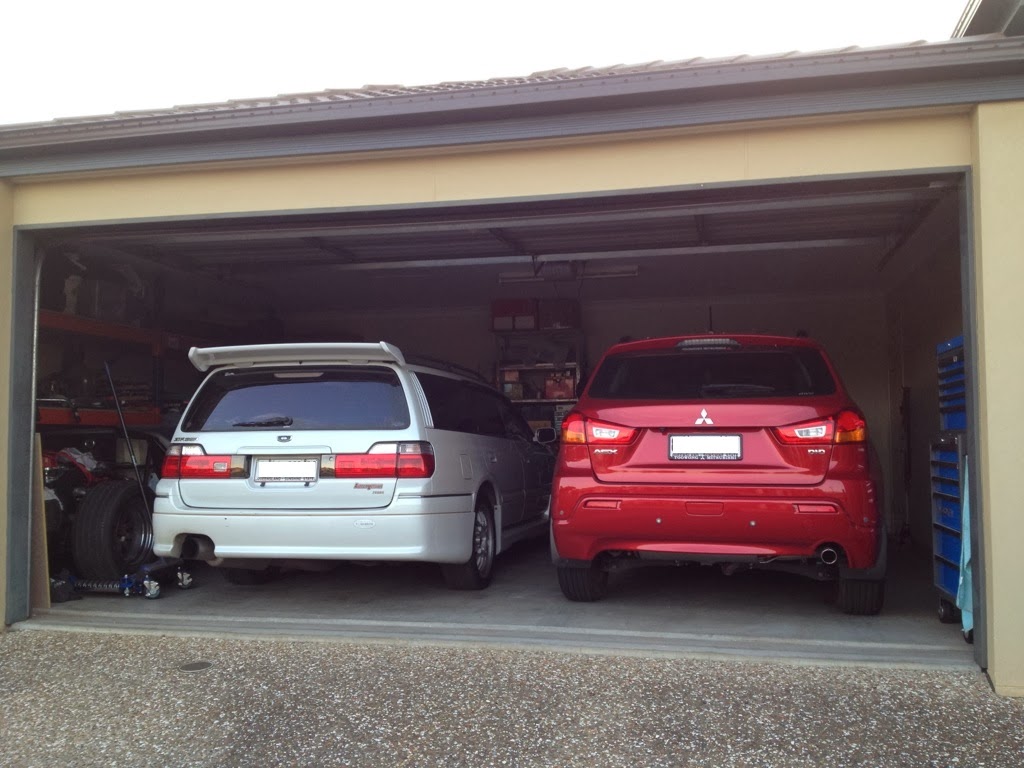
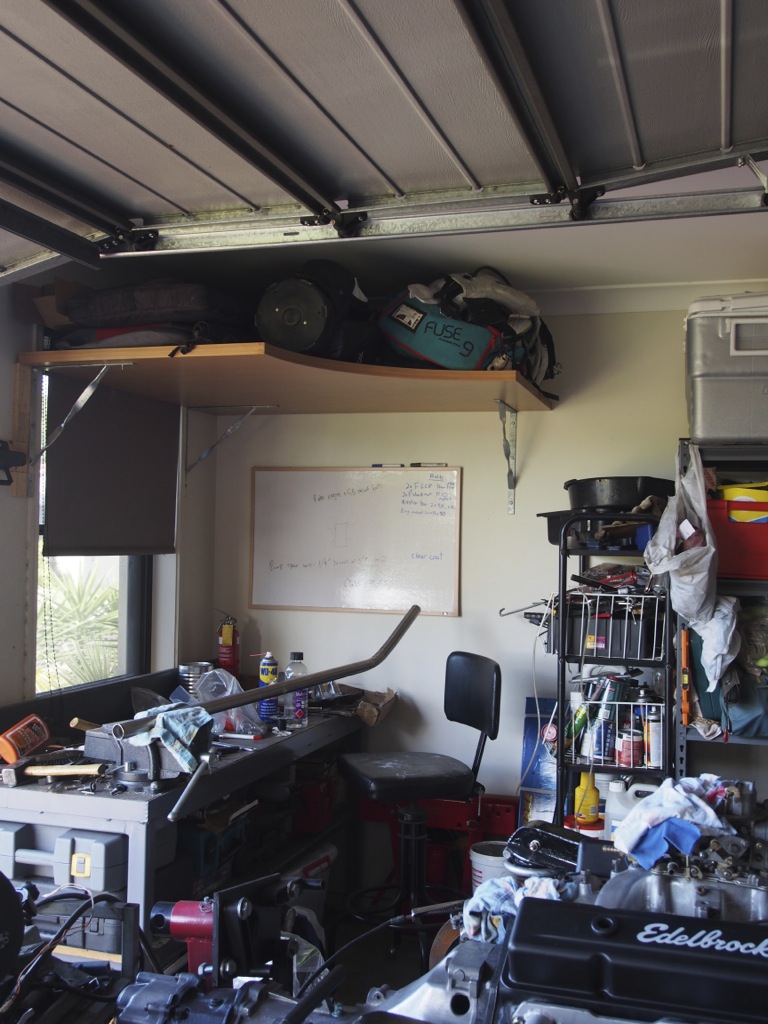
As you may have noticed, the garage is getting pretty cramped. What do you with an old desk corner? Well, it makes a perfect shelf to store tall items like gold clubs and kite surfing gear. It's given me a good 1.5m of wall space.

P6220008.jpg


Anyway, that's it from me. Hopefully we can keep making decent progress.
 
Last edited:
The past month has been quite hectic, in particular with the birth of our baby daughter, Bianca.

P7160178.JPG


Despite everyone telling me the baby would mean the end of the GT40 project, we've actually managed to make quite a bit of progress lately.

Since my Father-in-law John was in town to see the baby, we thought we'd put him to work. He's been welding and fabricating since before I was born, so it was awesome to get his help. We managed to sneak into the garage on quite a few occasions. A job that takes him 1 hour would take me 1 day. What a champion!

One of the jobs we wanted to get started was fitting the steering column. The old column was looking pretty ordinary and was not fitted particularly well.

IMG_1235.jpg


After a trip around the wreckers with a tape measure, we discovered that a 2007 Toyota Yaris steering column would be a good fit.

IMG_1247.jpg


Now, before you flame me for the sacrilege of fitting a Yaris rack to a GT40, allow me to explain. First up, this rack has tilt AND reach adjustment. Secondly, it is collapsible in an accident. Thirdly, as a bonus, it has power assistance. For the grand total of $150 (including the steering computer) it was something we couldn't knock back. When you consider a Yaris weighs 1045kg, but has the engine over the front wheels, it shouldn't be too much stress to steer the GT40 which weighs about the same, but has bugger all weight over the front wheels.

The power assistance will take a bit of work to get it going since the steering computer requires speed and RPM signals sent via CAN bus. This will be a bit of a challenge for me, but is something I'll enjoy doing. Having power assistance is not completely mandatory and the car can easily be driven without it. Therefore, it can be turned on later down the track. No problem.

Fitting the column took a fair bit of trial and error on John's part, but didn't take that long to have it in and welded in the right position.

P8080418.JPG


P8080416.JPG


P8080415.jpg


On to the next hurdle. The cooling system is done! Fortunately, my TIG welding skills seem to have improved enough for me to be able to braise with no filler rod. However, adding filler rod to the equation still leads to ugly welds. I'm getting better, but still more practice needed. I've managed to modify an old sewing machine pedal for use with the welder. This has made the welds much easier to control.

P7240352.JPG


P7270357.JPG


P7270358.jpg


P7270360.JPG


P8040419.JPG


P8040420.JPG


While I was doing the welding, Tim got cracking with the remaining jobs on the engine with the aim of firing her up ASAP. In goes the first oil. We gave Tim a hard time about his very 90s shorts. :)

P8030396.JPG


P8040414.JPG


The engine was then ghetto-wired to an old battery and hooked up to a jerry can. Pushed out to the driveway and attempted to start. The good news was that it cranks, has oil pressure, is getting fuel and fires occasionally. The bad news is that it's pretty much firing on one cylinder only. We tried different coils, checking the timing, checking the firing order, adjusting the carby, but have had no real improvements. In the end, we've put this down to a dodgy distributor. It's still the original distributor, so it's no surprise. Fortunately, John has a brand new one in Townsville that will be here this weekend for our second try. Fingers crossed I have videos soon.

P8040405.JPG
 
My Brother-in-law Jaimen brought down a new distributor from Townsville on the weekend, so Saturday we got to work on getting this thing started. The new distributor was on pretty quickly. Backed her down the driveway, crank it over and... damnit. It's doing exactly the same thing as last weekend. Just firing on one cylinder. We soon realised that some cylinders had no compression and put this down to incorrect lash adjustment. So in not time, we readjusted the lash and she fired up... Certainly running rough, but we're definitely closer. Here's a video of it.

Youtube Video


After starting it up a few times the starter motor gave up! We pulled apart the starter motor and discovered one of the plastic brush supports had given way and chewed up the internals. Doh! No surprise really. This starter motor hasn't been used in at least 12 years and god knows when it was last rebuilt. The moral of the story... don't re-use old parts without reconditioning them.. Learning the hard way.

IMG_1277.JPG
 
Well, for the first time in at least 12 years, the old 350 is back to life and the GT40 has a running engine once again. The starter motor arrived on Friday just in time for the weekend. Saturday rolled around and as luck would have it, Tim was called in to work!! Bugger. Jason, Jim and I were kicking around the garage and so the question was posed "Do you think Tim will mind if we start it?". A quick text to Tim revealed "Yep, I guess, as long as you take videos". So in a flash, the old girl was pushed down the driveway and the jerry can hooked up.

Here's one of the first starts. Jason nearly loses his eyebrows from a backfire.

KCC GT40 with 350 Chevy - Startup 2 - YouTube

It was running pretty rough and we noticed the exhaust on some cylinders was cooler than the others. After re-adjusting the valve lash we were in business.

KCC GT40 with 350 Chevy - Startup 5 - YouTube

KCC GT40 with 350 Chevy - Startup 3 - YouTube

It sounds absolutely fantastic (shame we have to put mufflers on) and I'm really quite happy that it idles and revs so cleanly with very little adjustment to the carby or timing.

So next up is to tidy up the leads, etc, find a fitting radiator cap and move on to the brakes. This next phase has already started with Tim picking these up last week.

IMG_1297.JPG


IMG_1298.jpg


They look great, but our main concern at the moment is that they may be too close to the driver. For short arses like ourselves it isn't a problem, but anyone much taller than a midget may have problems. The main cause of the problem is the master cylinders. More thoughts and more sitting in the car required.
 

Ian Anderson

Lifetime Supporter
Great news on the start up.

what is above the pedals?
Could you return the pedals and change them for a "hanging " set?
See post 30 on my Bulid Log
http://www.gt40s.com/forum/gt40-build-logs/17398-dax-build-up-2.html
4 bolts and the whole assembly can be slid fore and aft to accommodate different leg lengths.(In my case at 6'3" I need them as far forward as possible.

Sure not as per originals but there is always more than one way to skin a cat!

Ian
 

Ian Anderson

Lifetime Supporter
Simon

If I were to do it again I would mount the pedal assembly on a set of seat runners so adjustment would be lift a lever and slide.

Simple enough to do at build stage but more difficult to change now system is up and working

Ian
 
Dad returned last week from a short trip to the UK so we started it up for him. It took about 2 revolutions on the nearly-dead battery before starting. Pretty happy with that. Dad hadn't heard the car yet and was pretty impressed with it.

After that we thought we'd put the old mufflers back on to hear how it sounds. It may also help to keep the neighbours friendly. Here's how it sounds. Sorry for the iPhone sound quality. Sounds pretty crap on this video. It's hard to say, but Tim thinks it may be too loud for roadworthy purposes. We're gonna have to choose new mufflers carefully. We're planning to change the exhaust setup so that the mufflers exit in the centre like they should. Perhaps the 180 degree can of worms manifold may happen in the future, but not just yet.

KCC GT40 350 Chevy with old mufflers - YouTube

Unfortunately, we haven't been able to run this for long because we don't have a radiator cap! Yep, something that simple... We used a Moroso filler neck installed at the thermostat. I've now tried the 2 standard height caps (22mm and 27mm) and neither of them fit. Damn it! I'll have to order a Moroso cap.

While Dad was over, we got him to test out the pedals. He thinks the position is fine for him, so we'll push on and fit them where they are.

IMG_1308.jpg
 
I finally updated my blog and thought I'd copy/paste it here. Sorry for any repetition.

Time for a new Muffler and some Reorganisation
It may have been a while since the last update, but things have progressed slowly. Firstly, let's talk about the garage. You may have noticed from my previous pictures that the garage was turning into a bit of a mess. I really was lacking storage space. Not only this, but with a new baby and summer coming on, my wife was starting to get sick of her car being out in the Sun.

IMG_1430.jpg


When we built our house, one of the best things we ever did was specify an extra 1.5m on the side of our garage (7.5m x 6m). So I came up with a hair-brain idea of fitting all 3 cars in our 2.5 car garage by making a shelf down one side that the GT40 would slide under (notice the new go-jacks in the picture above). Everyone told me that this would not work, so I was determined to prove them wrong. First, time to clean out the old shelves...

IMG_1437.jpg


Thanks to my mate Jason, I picked up some old pallet racking from a warehouse that was down-sizing. Notice the middle leg has been removed (rear leg is braced to wall) and the height is about 40" + 2 ;-)

IMG_1470.jpg

IMG_1471.JPG


Yep, GT40 fits under there perfectly. Now we have heaps more storage room. I'm really happy with how it has turned out. Much better!

IMG_1524.jpg


OK, so now the garage was re-arranged. I had an itching to get back into home brew. A home brew setup popped up cheap in the neighbourhood. Included a converted chest freezer, 4 kegs and a load of gas lines. So the conversation to the wife went like this.... "I'd like to get a home brew setup", the reply "if you can fit it in the garage it's a deal". Sounds like a challenge to me! Yep it fits (just)

IMG_1506.jpg

IMG_1526.jpg

PC070037.JPG

proxy


Job done. 3 cars in a 2 car garage, plus a home brew fridge, a workbench and a pile or storage space.

IMG_1477.jpg


On with the car already!

OK, enough talking about the garage. Let's talk GT40s. So late last year a new muffler arrived :) We were determined to get rid of the poxy mufflers on each side and go to a proper twin tip in the centre setup.

IMG_1464.JPG

IMG_1466.jpg


Yep, that looks MUCH better.

IMG_1500.JPG


Damn, she's a big sucker! The mounts here are just a proof of concept.

IMG_1502.JPG


As much as we'd like to build a proper 180 degree "bundle of snakes" exhaust system, we all know it'll take us 6 months and many headaches. So this'll do for now. Gets us closer to driving this thing. Tim picked up a few 2.5" bends and away we go.. Our TIG welding skills are improving, but we still have a long way to go. Oh yeah, you may remember that I have an Arduino-modded TIG welder. Well a few months back I programmed in a pulse function. It seems to have improved the welds :)

IMG_1521.jpg

PC070040.JPG

PC090041.JPG

PC090045.JPG

PC090046.JPG


So, how does it sound? Pretty damn good! This video was taken at my Daughter's Christening after-party. The men had defaulted to the garage where there is home brew and a GT40. Needless to say, the car was gonna be started and it was gonna see some RPM.

It's still probably too loud for roadworthy, so we'll to do something about that, but it's getting closer. There are a few exhaust leaks around the connection to the muffler, so we'll be sorting that soon.

[VIDEO]https://www.youtube.com/watch?v=_5MhV4WFCHI[/VIDEO]

What else has been happening?

Since then, Tim has been doing most of the work as I've been pretty busy with the family. I managed to escape to the garage last week and do a bit of work. The muffler was sitting on a "proof of concept" cradle. I wanted to bend the flat bar to match the shape of the muffler. I was trying to figure out how to bend the flat bar with the gear I've got. After scrounging around, I managed to do it using an old brake disc. It worked perfectly. Clamp the brake disc in a vice, bend the bar around the hat part.

image-1.jpeg

image.jpeg


Meanwhile, Tim has been working on brake lines and the gear shift linkage (which now works). Pics coming soon.
 
Sounds good. Not sure if you knew but you can buy a set of 180 degree headers from Shoenfeld here in the states not to expensive. You would have to modify them to go down the center though as they are built to go out the right side of a stock car.
Love the bending fixture! Cheers
 

Randy V

Moderator-Admin
Staff member
Admin
Lifetime Supporter
Great to see you posting on this Simon. Good progress and nice work in the reorganization of available shop space! I'm on the same trail myself in the reorganizing department..

Dave those over the top 180s were actually quite cheap, but I found them to be very tall and the heat introduced to the distributor would quite literally bake the electronic triggers and cabling.. Still at under $300 for a set of them, they were a bargain. The rest of the time and money was spent in trying to fit them to the cars..
 

Attachments

  • image.jpg
    image.jpg
    14.4 KB · Views: 306
Thanks for posting these guys. They certainly look like a good base to start from. We'll have to keep them in mind. I can imagine the distributor would get quite toasted, but perhaps a ceramic coating on the headers, plus a distributor heat shield would do the trick. To be honest, we don't know if we'll keep the 350 Chevy for the long term, so we'll see what happens down the track...
 
When I first saw this and the way the suspenssion was done I was a little sceptical, but after looking through the log you have me captured and I believe you will end up with a nice drivable car for a lot less money than most on this forum. You guys are living proof you can make a silk purse out of a pigs ear and I will be following this to the end. You are doing a great job. Cheers Leon.
 
I must say that I also work the rigs and spent all of 2011 offshore in the Gulf of Thailand, I was on "Seadrill T10" and then on Trans Ocean "Key Gibraltar" I'm an ES Engineer for M-I Swaco. What is it that you do and what rigs do you work on, it would be a laugh if we had been on the same jobs, I now work in Australia in the Kimberly north of Broome but have just come back here after 7 months with Origin in Qld on the CSG projects. Cheers Leon
 
I must say that I also work the rigs and spent all of 2011 offshore in the Gulf of Thailand, I was on "Seadrill T10" and then on Trans Ocean "Key Gibraltar" I'm an ES Engineer for M-I Swaco. What is it that you do and what rigs do you work on, it would be a laugh if we had been on the same jobs, I now work in Australia in the Kimberly north of Broome but have just come back here after 7 months with Origin in Qld on the CSG projects. Cheers Leon

Hi Leon,

Thanks for your kind words. We're certainly enjoying the restoration process and learning new skills. I'm sure the car will be great fun to drive in the end.

Regarding the rigs, I worked on Seadrill T11 for a 3 months or so. This was my first time offshore. We installed a trial kick-detection system. It involved quite a lot of instrumentation and IT work. Was very interesting and I enjoyed the work. I'm based in Brisbane now. Mainly doing mining-related projects.
 
Back
Top