

Brett James-McCall
Moderator
Ian,
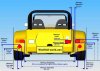
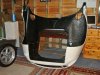
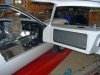
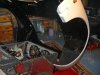
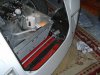
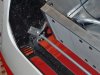
Have you checked the angles on those indicators for IVA, looks a little tight on the inside angles for visibility.
Brett
Have you checked the angles on those indicators for IVA, looks a little tight on the inside angles for visibility.
Brett
")


![DSCF0045[1].jpg](/data/attachments/40/40043-904aae874b03c629c8eb373759be4eb9.jpg)
![DSCF0046[1].jpg](/data/attachments/40/40044-d159902b9fa84222d539c42013fe5a2a.jpg)
![DSCF0047[1].jpg](/data/attachments/40/40045-413d45b4d06fd4e616631da9a2a6fdaf.jpg)