Re: Rcr40-31
Thanks guys. Bill- if I'm in the neighborhood, I'll drop you a line and invite myself over. Feel free to do the same (Phoenix).
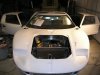
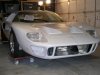
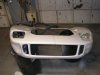
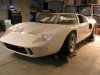
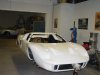
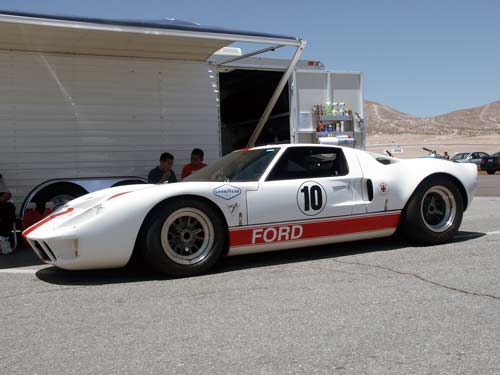
Plans for the car are a 350hp XB3 302 w/EFI through a ZF. Color scheme is going to look an awful lot like the opposite of Dean's car- white with red sill stripe. I'm not certain about the over the top stripe yet or if it'll get a red mustache yet either. Wheels will be 15" BRM's which I am strongly thinking of blacking out, ala Ron McCall. I think it'd all look pretty good.
Actually, I just remembered John Brice's car, #1043. It will look a lot like that one. Imagine this with completely black BRM's (I have no Photoshop skills):
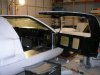
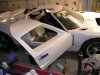
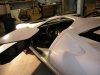
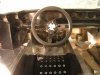
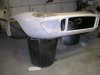
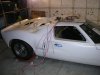
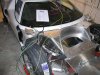
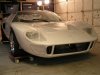
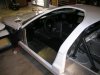
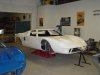
The theme for the build will be very basic. Except for AC and the EFI, it'll be pretty raw. I'll save complex paint jobs and intricate things for my "next" build. I ripped into a 67 Fastback with my dad while in college, but this will be my first build of something from the ground up. Thankfully it looks like a very strong platform to start with so I can already see it going well.
The only other thing I will be doing with it is putting in a robust and practical cage as I do want to see some track time with it. I had been corresponding with a local NASA inspector and things look like they can be worked through. The next step is to get the chassis here and work through a plan for the OK. They were open-minded about the whole thing though so I should be able to get something approved.
So things are coming together- except for my bike Tim. I need to replace a few things after my antics last week (helmet, shifter) and there were a few additional things (rims, brakes) which have been leading me to replace it altogether. Long story short- not riding until I get all that figured out. Once the car shows up, I doubt I'll be leaving my garage until it's finished!

")
")