KCC Restoration

First Paint!

Well we just had an awesome weekend of GT40 activities. Saturday was a good working session and on Sunday we met up with the guys from Club GT40 for their monthly cruise.

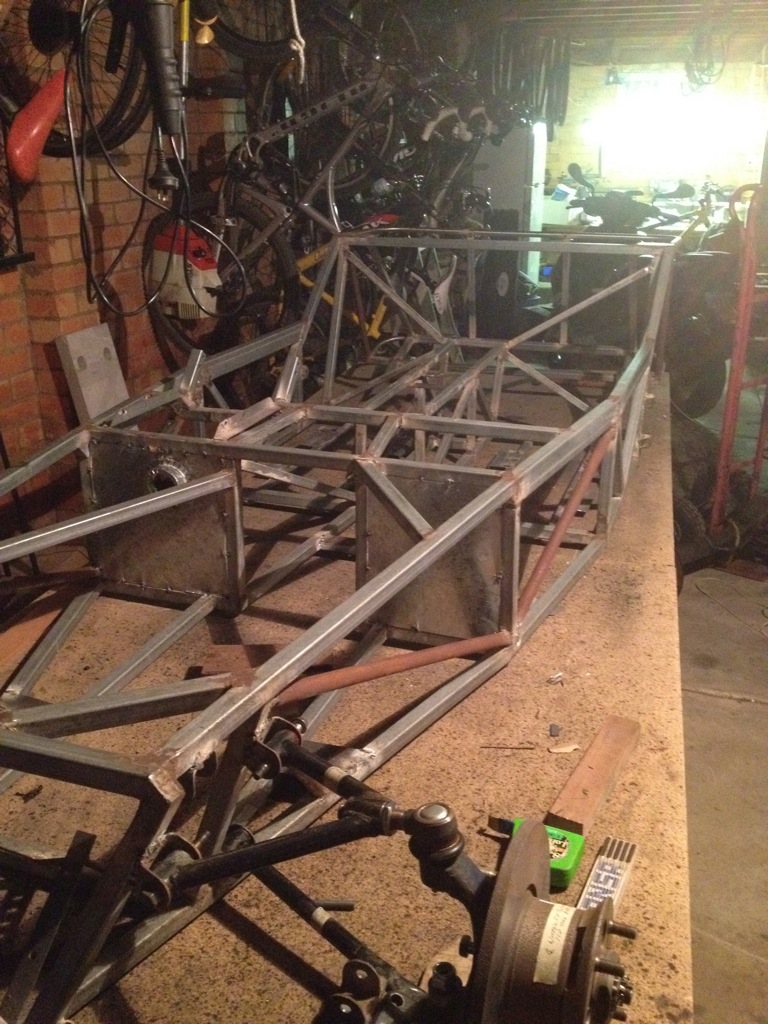
OK Saturday first.... This was a turning point for the GT40. It saw its first paint!! OK, it was only some chassis parts, but for once we were not pulling things apart. The plan was just to test out the chassis paint that we have purchased. It was a good feeling to make some progression in the forwards direction.

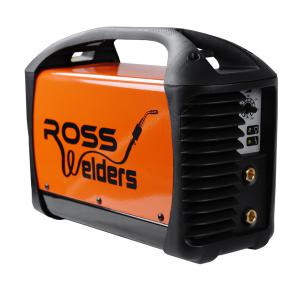
The paint we are using is from KBS Coatings, which is a 4 step preparation and painting process. We have purchased the Chassis Coating Kit from their website. It was highly recommended on the Performance Forums.

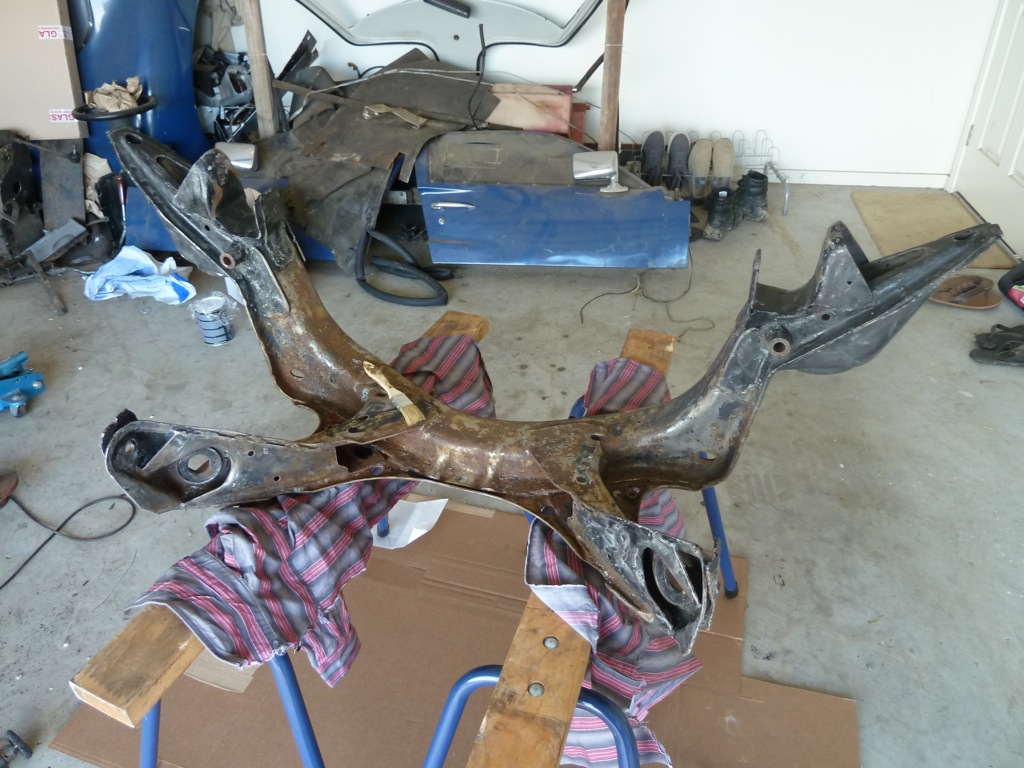
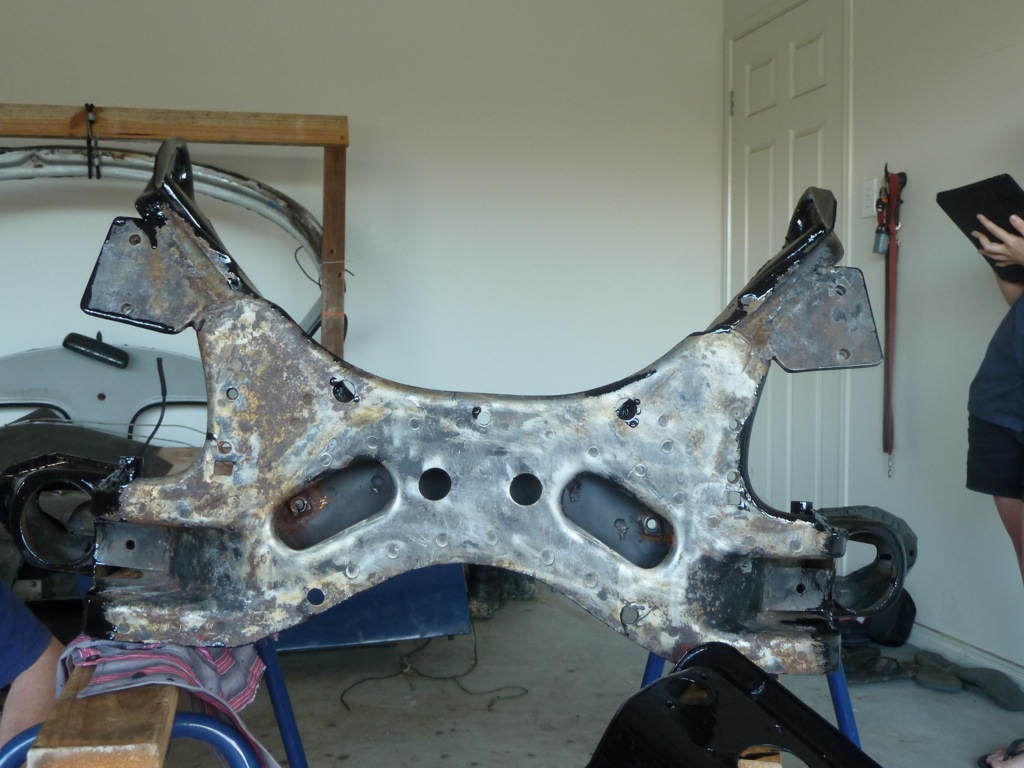
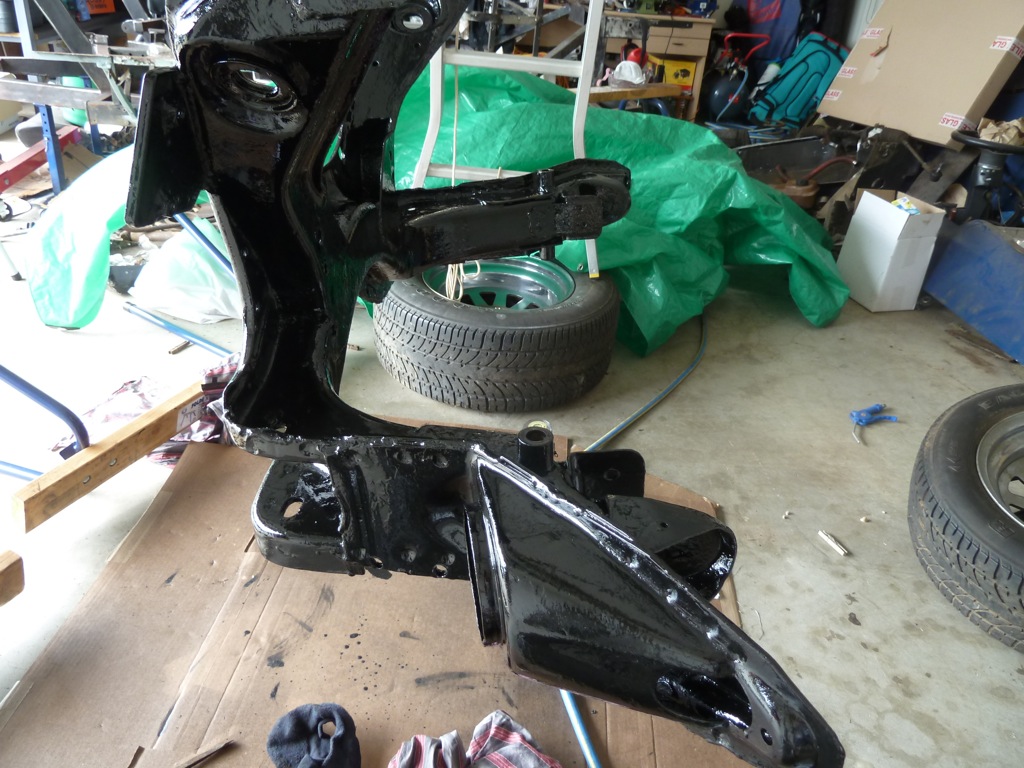
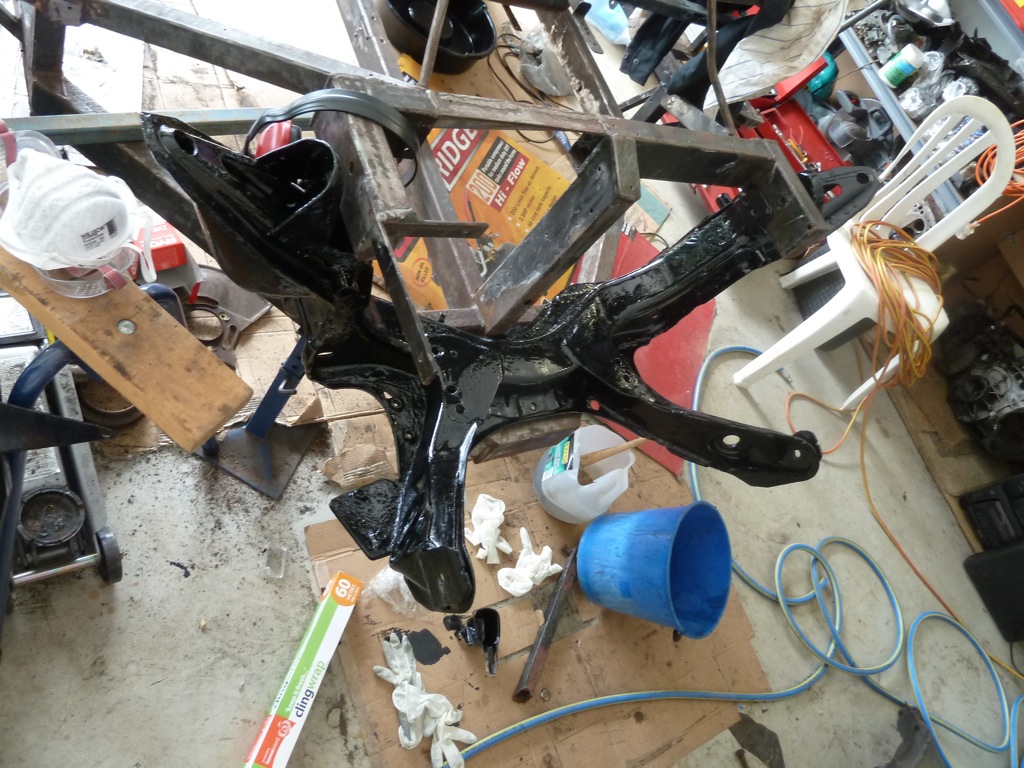
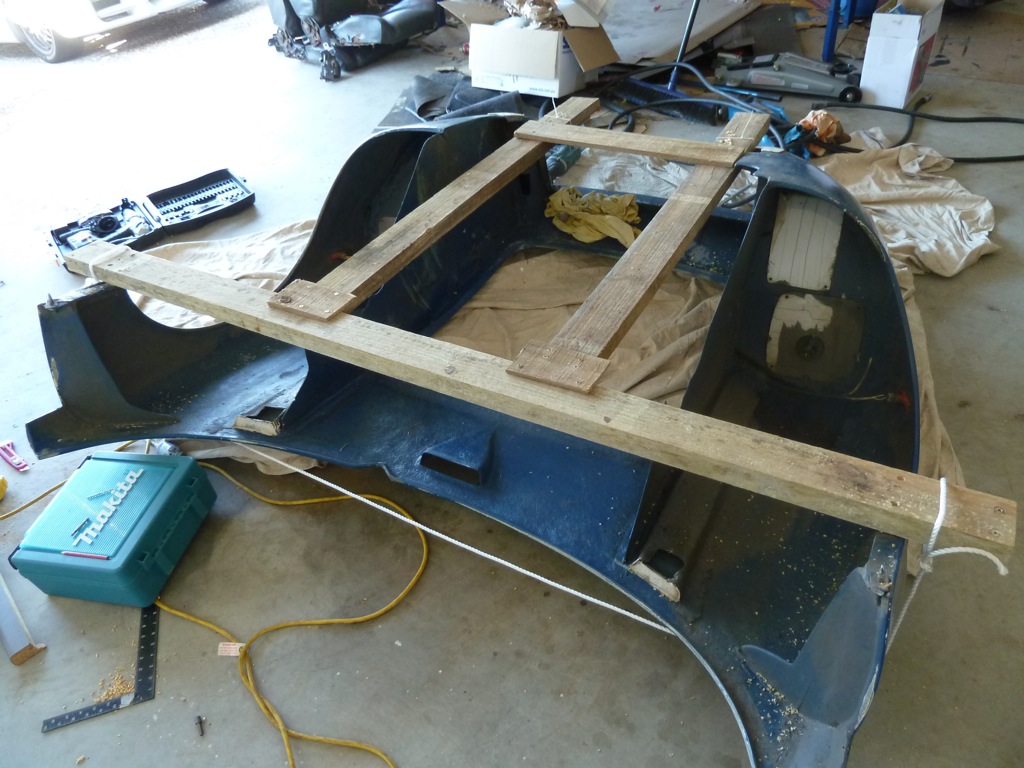
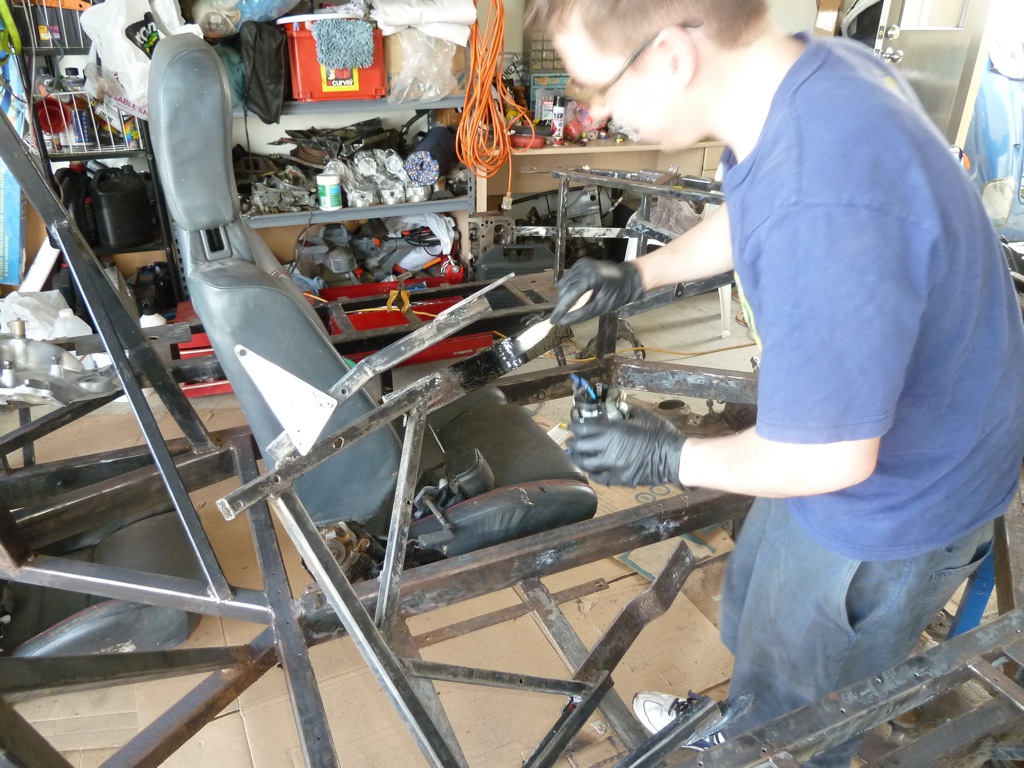
Tim at work with the paint (step 4) after prepping the front chassis, which we have named the Cow Catcher. Being a med student, it was only right that he should be the one nominated to wear the rubber gloves...

P1050441.JPG


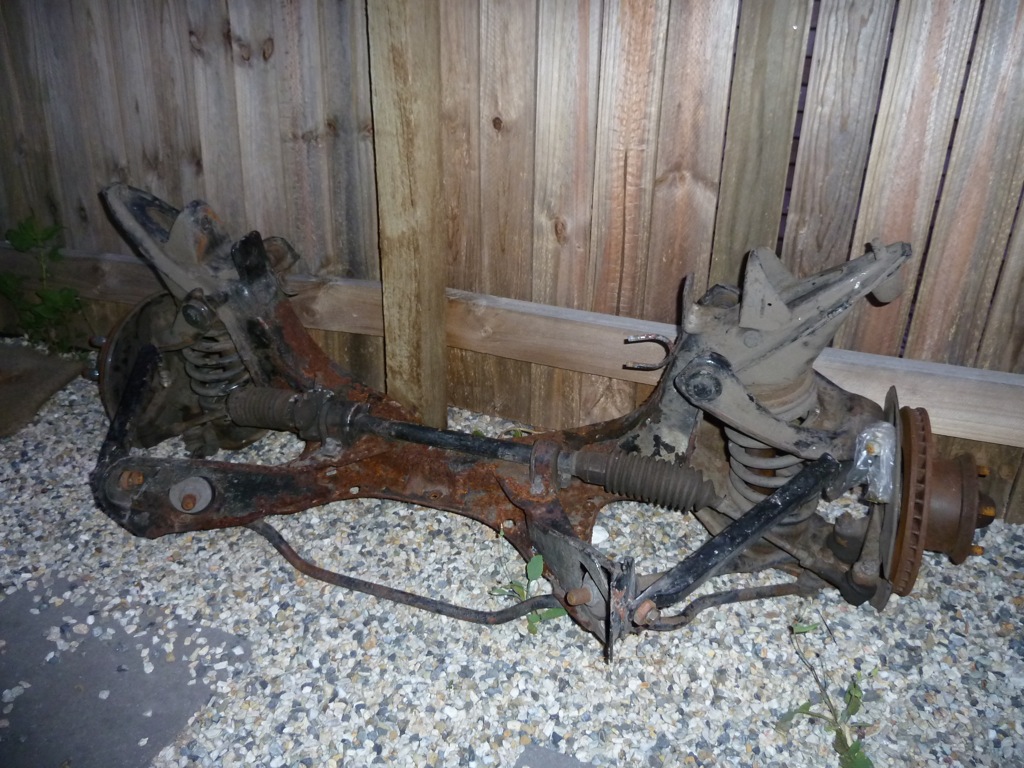
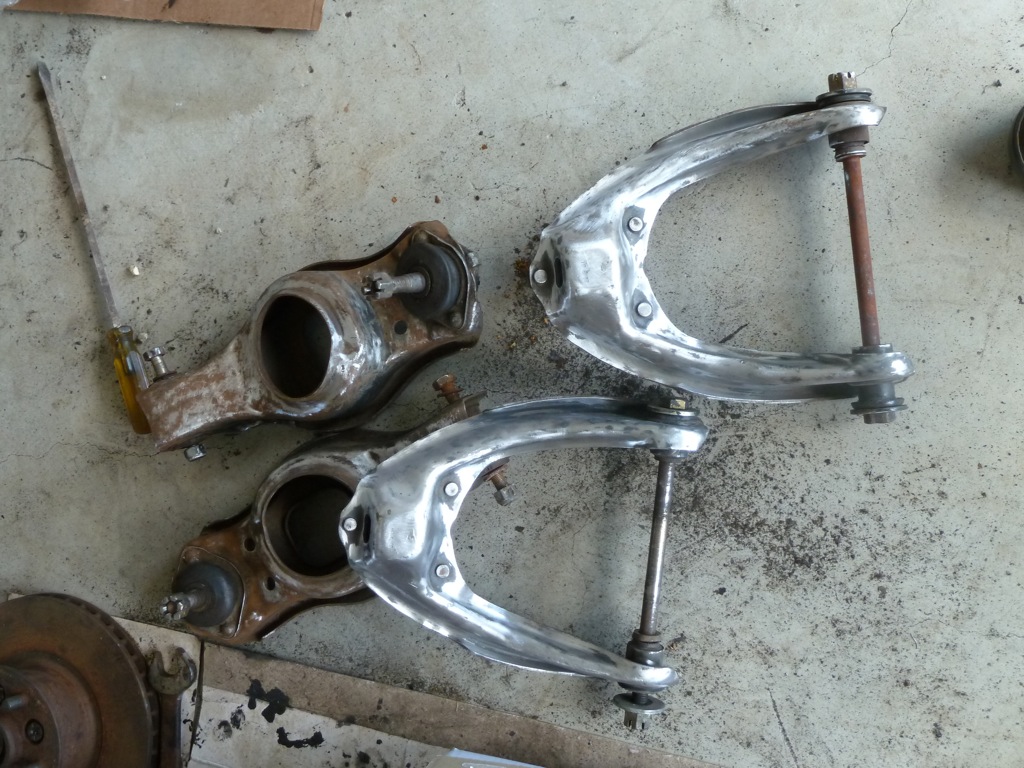
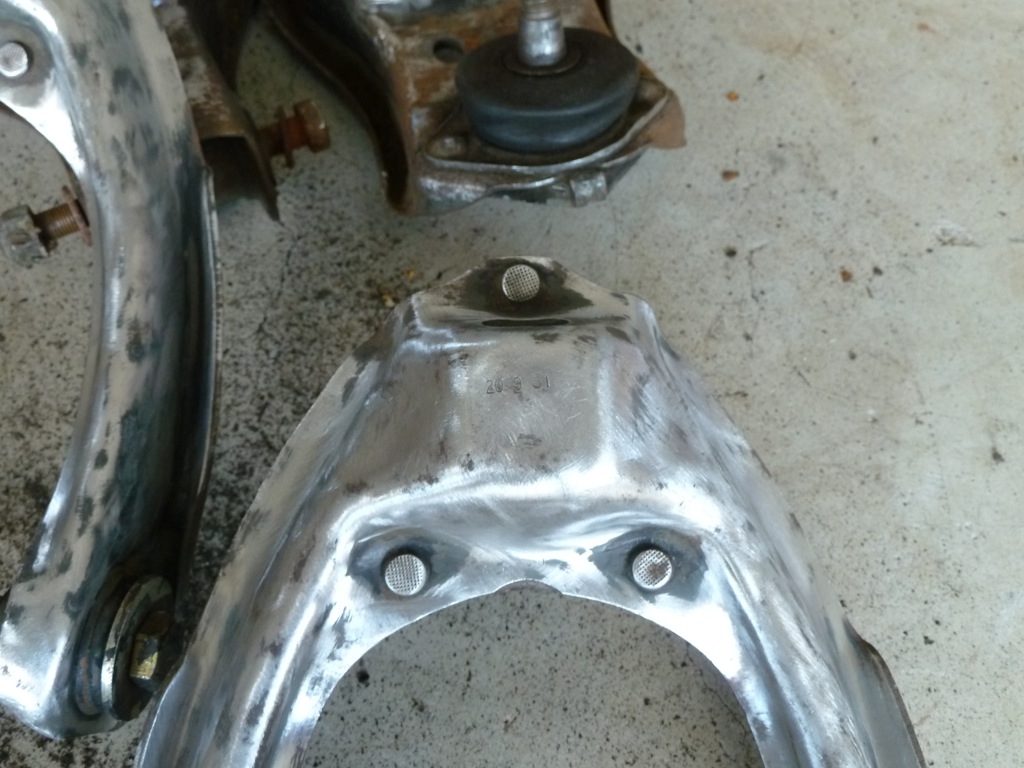
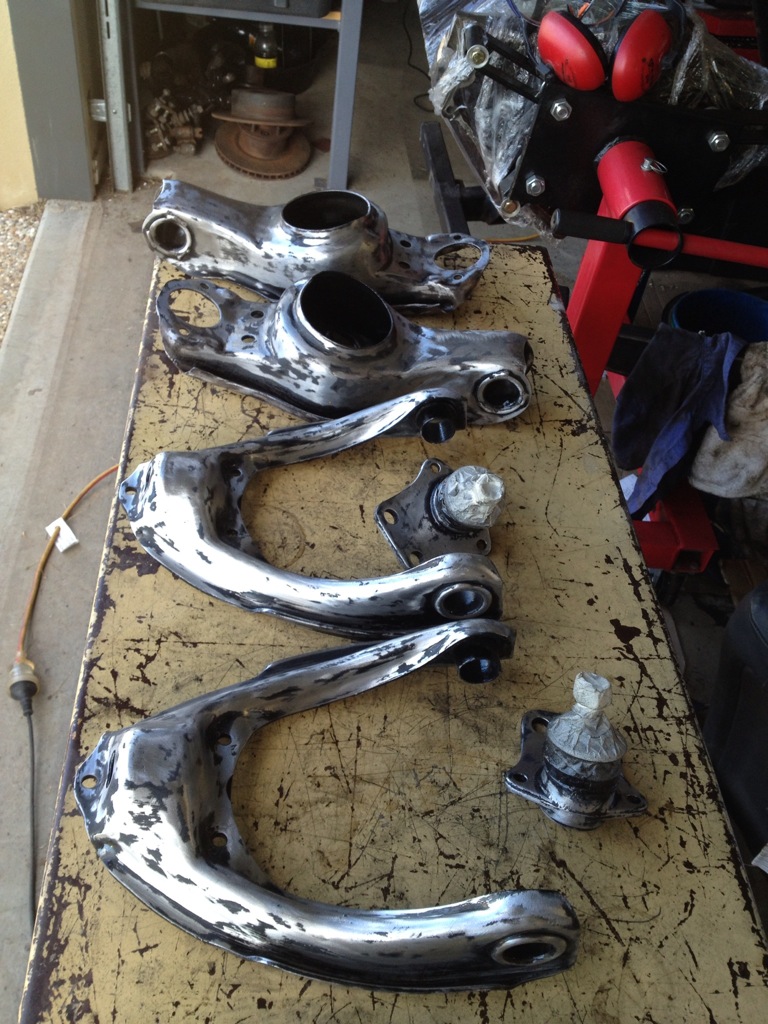
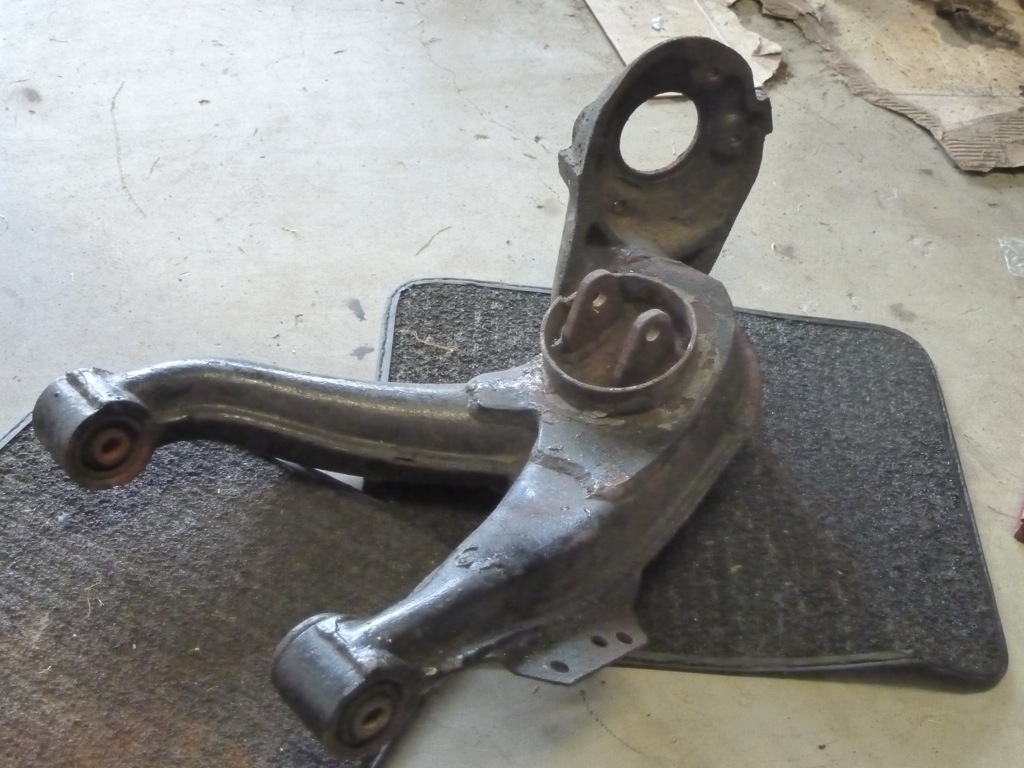
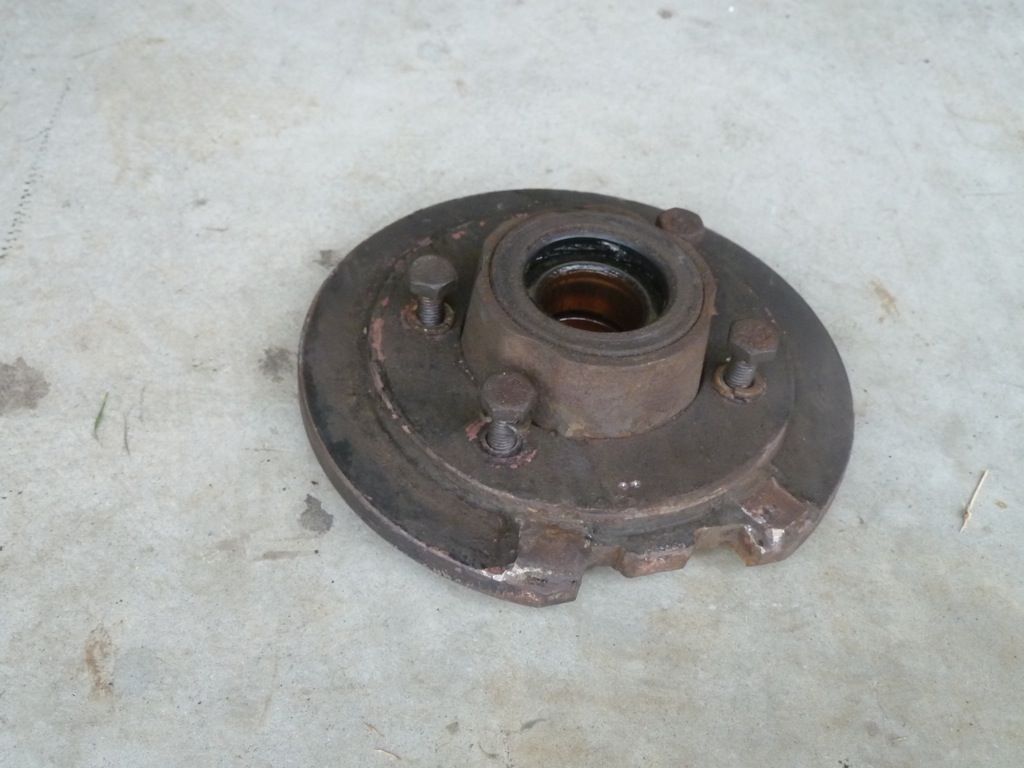
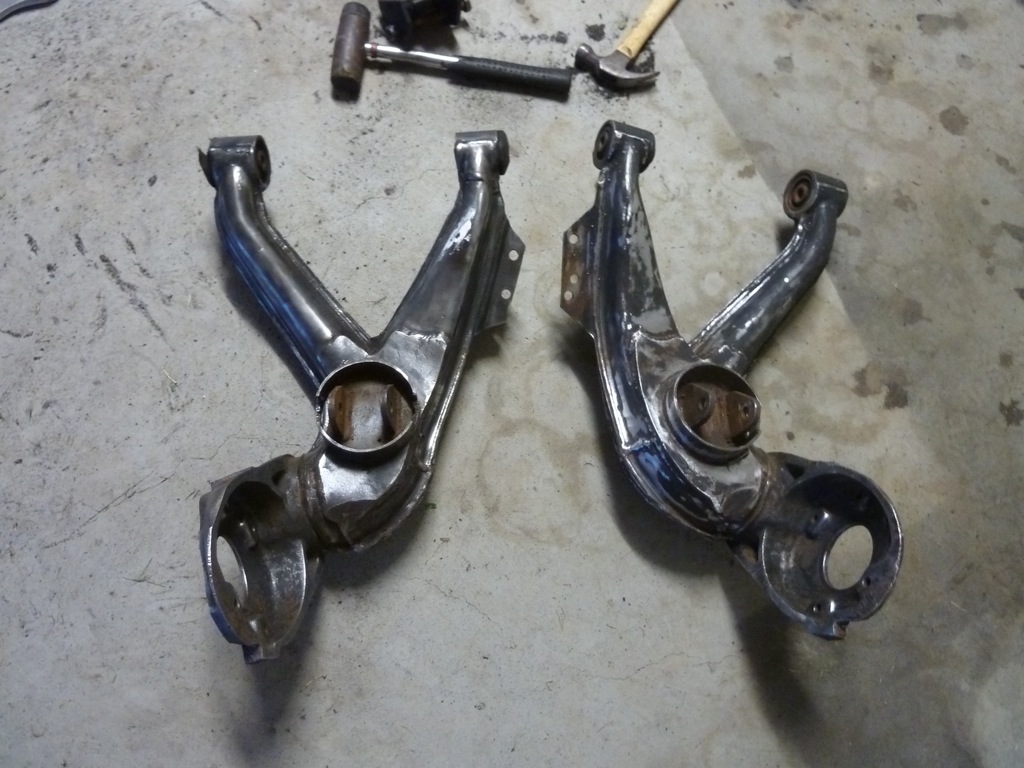
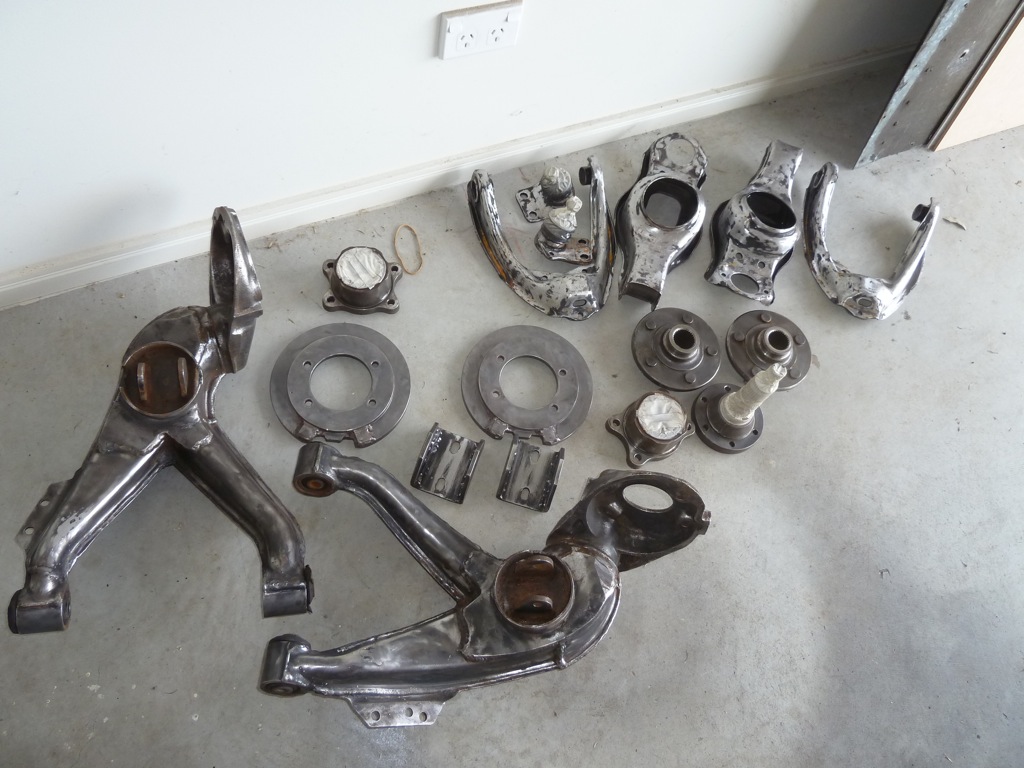
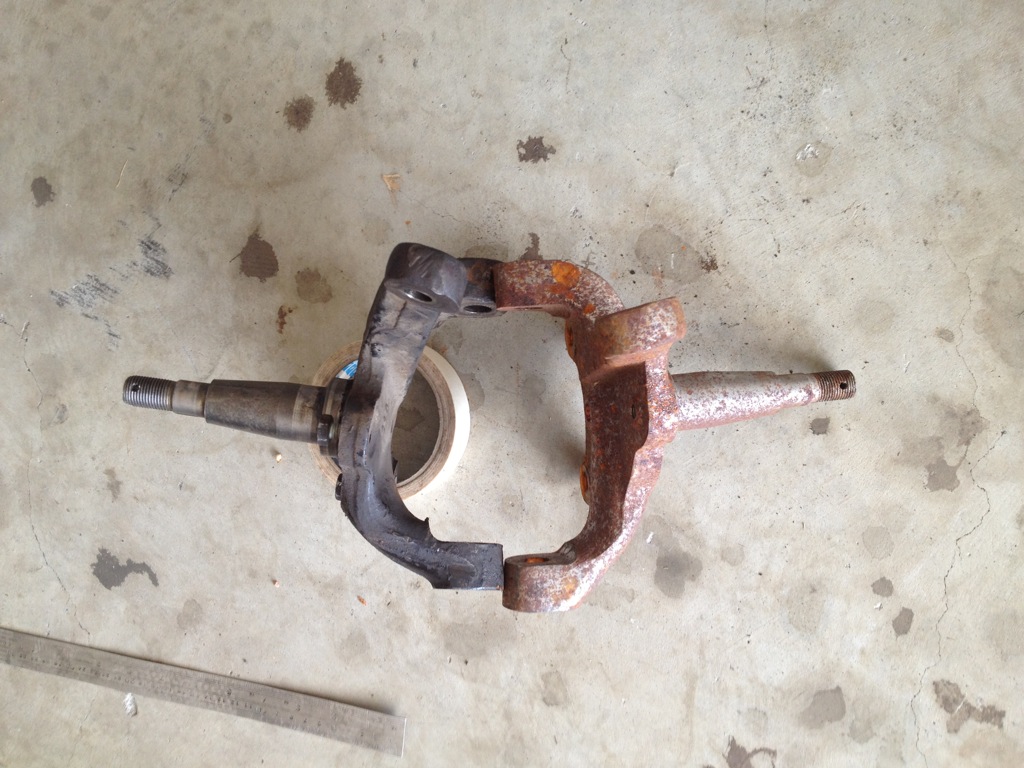
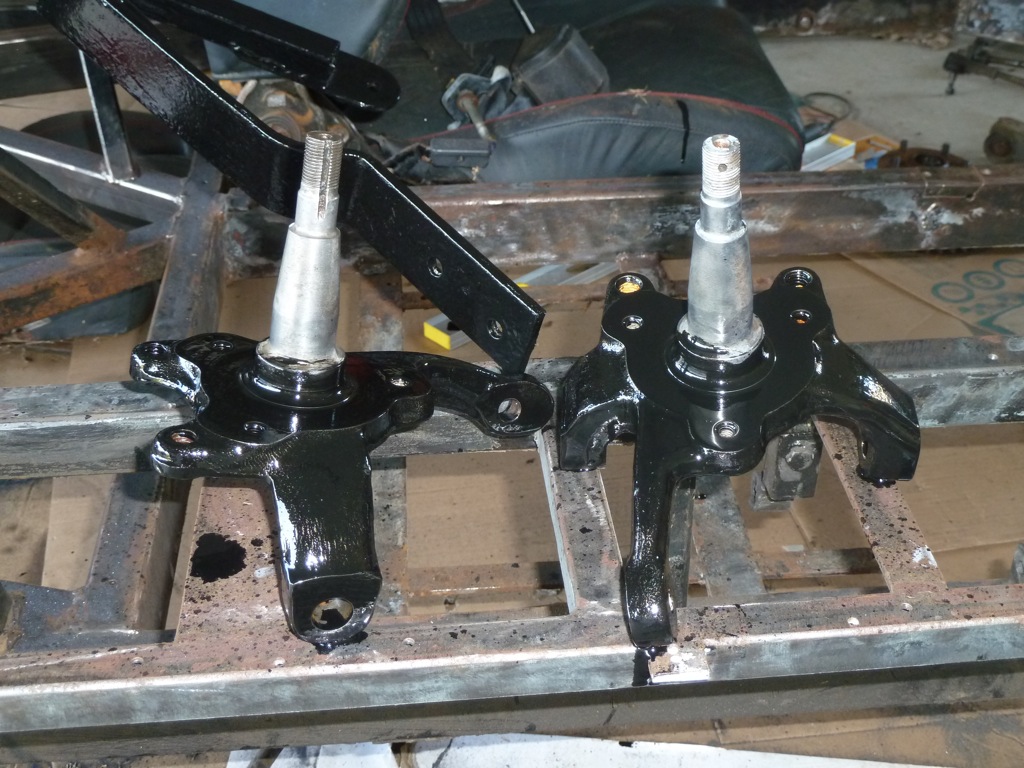
Cortina uprights came up pretty good. A couple of minutes on the wire wheel grinder and then off to Tim for the KBS treatment. Before shot (right) was taken a few weeks back.

IMG_0373.JPG

P1050445.JPG


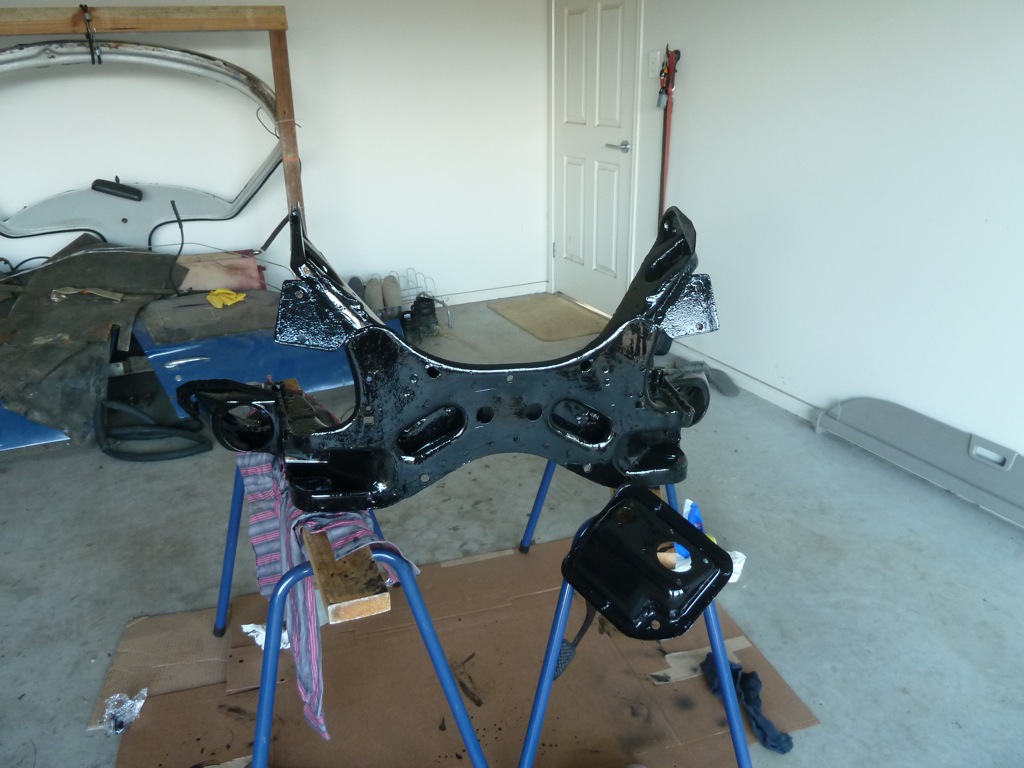
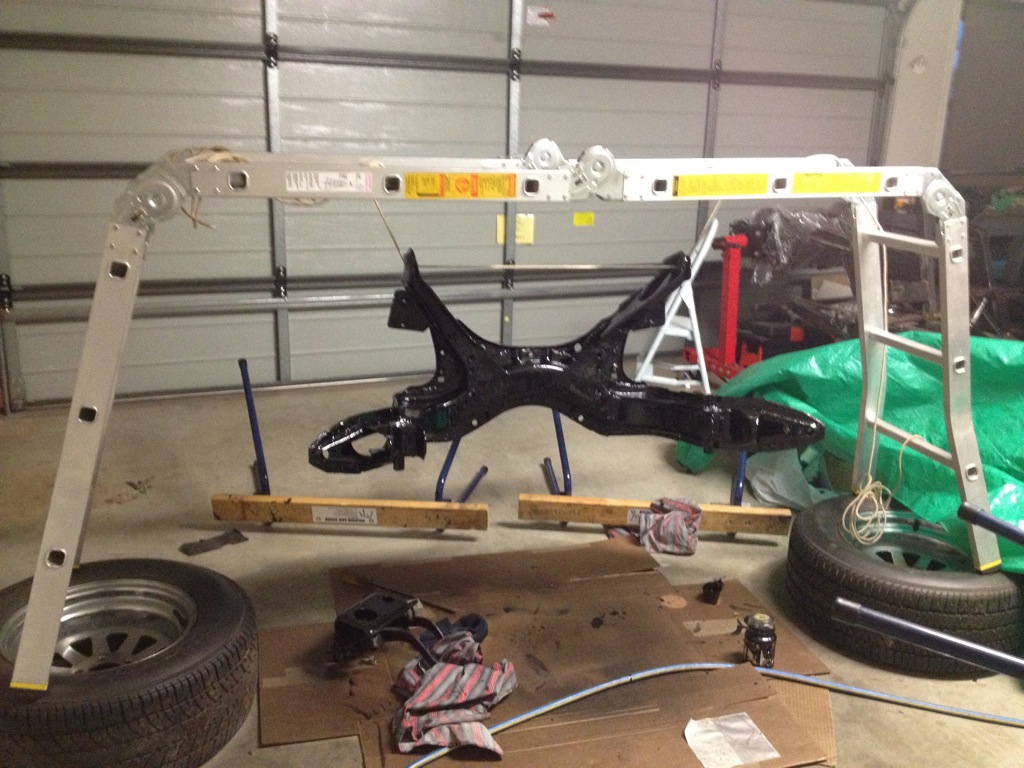
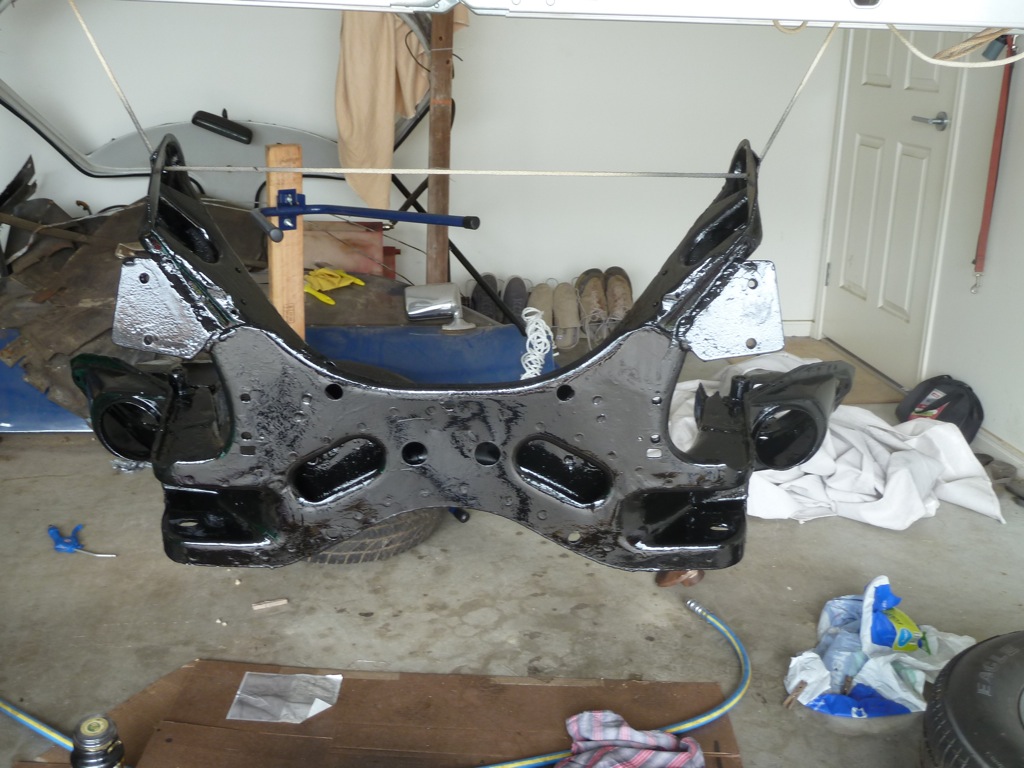
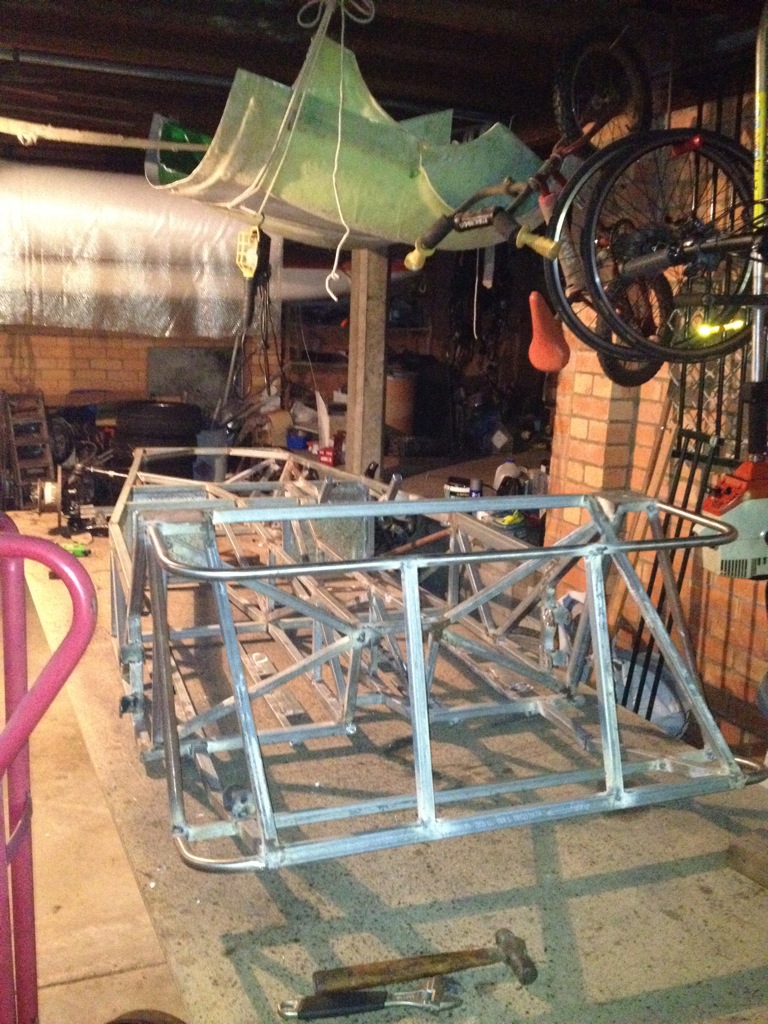
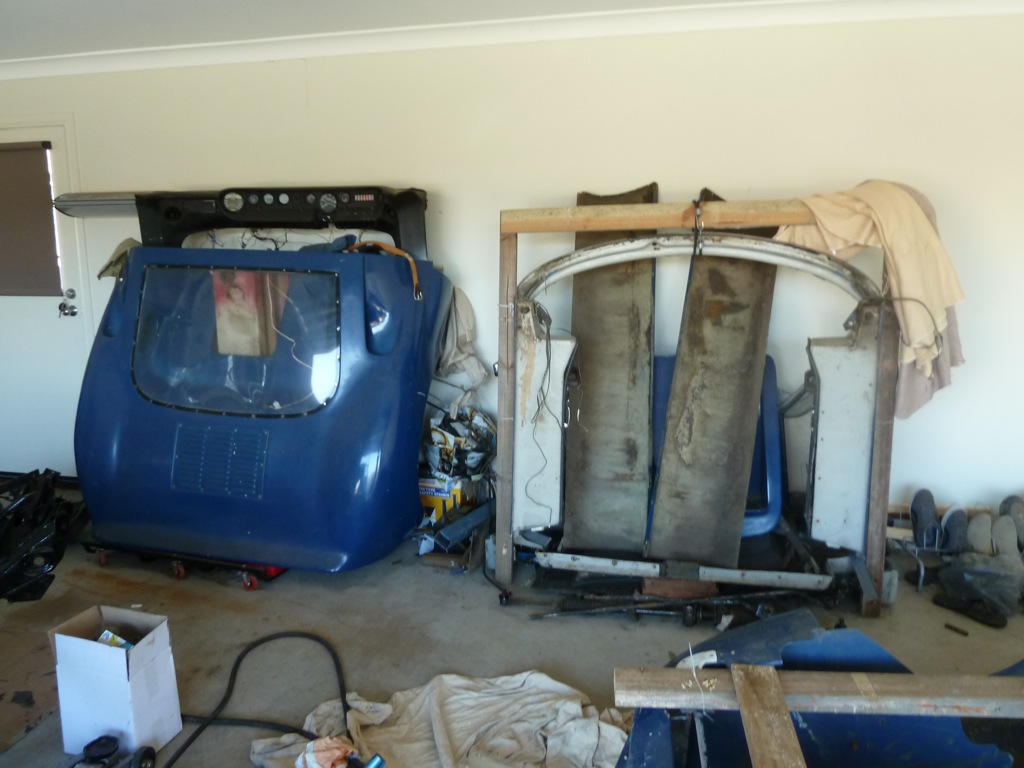
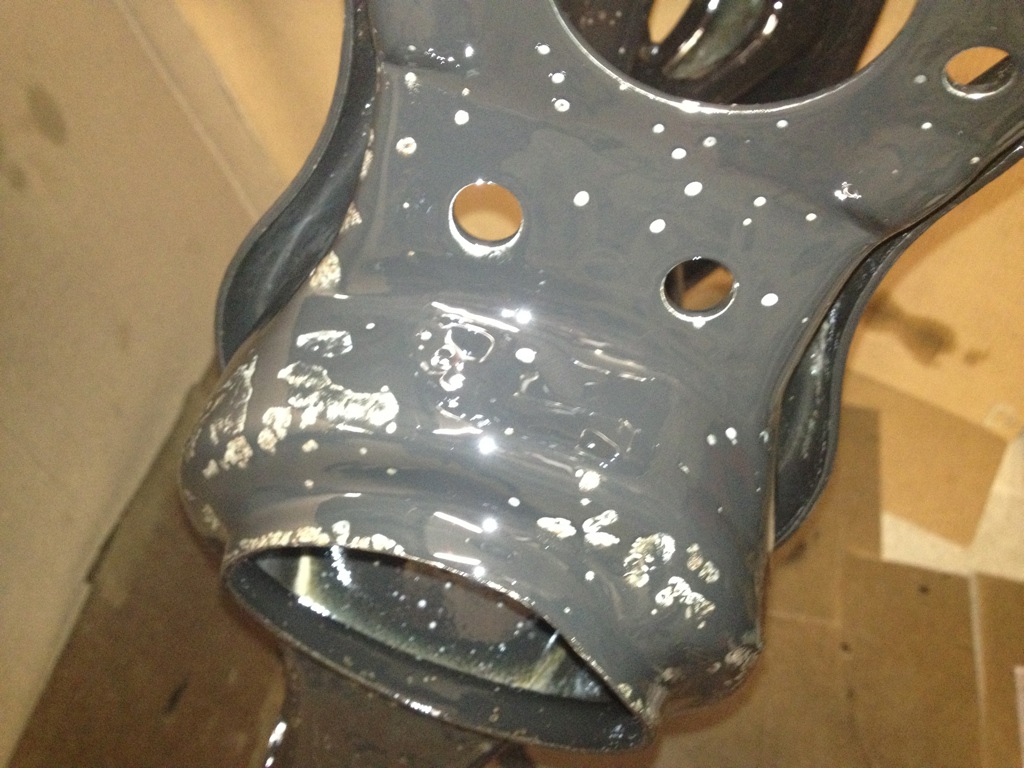
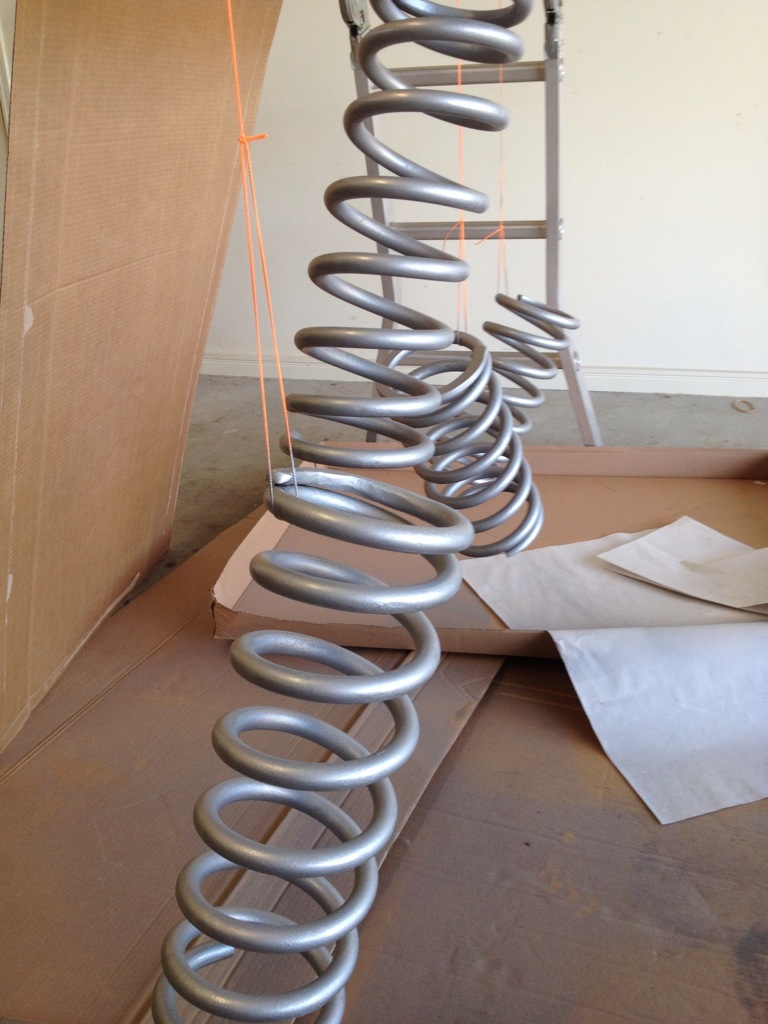
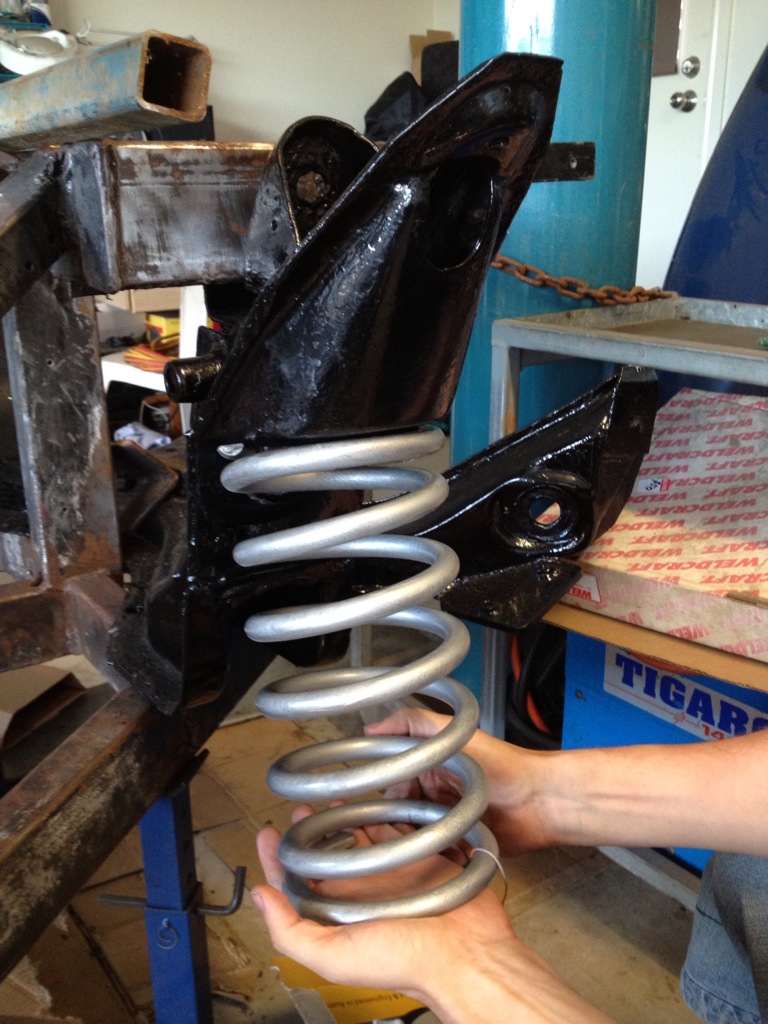
The cow catcher hanging off the garage door. We are very happy with this paint. It forms a thick protective layer and is self levelling, so looks fantastic once it's dried. Word of advice, IT DOES NOT COME OFF SKIN. I didn't do any painting, but somehow I got it on my hands. It's still there today, nearly a week later.

P1050447.JPG


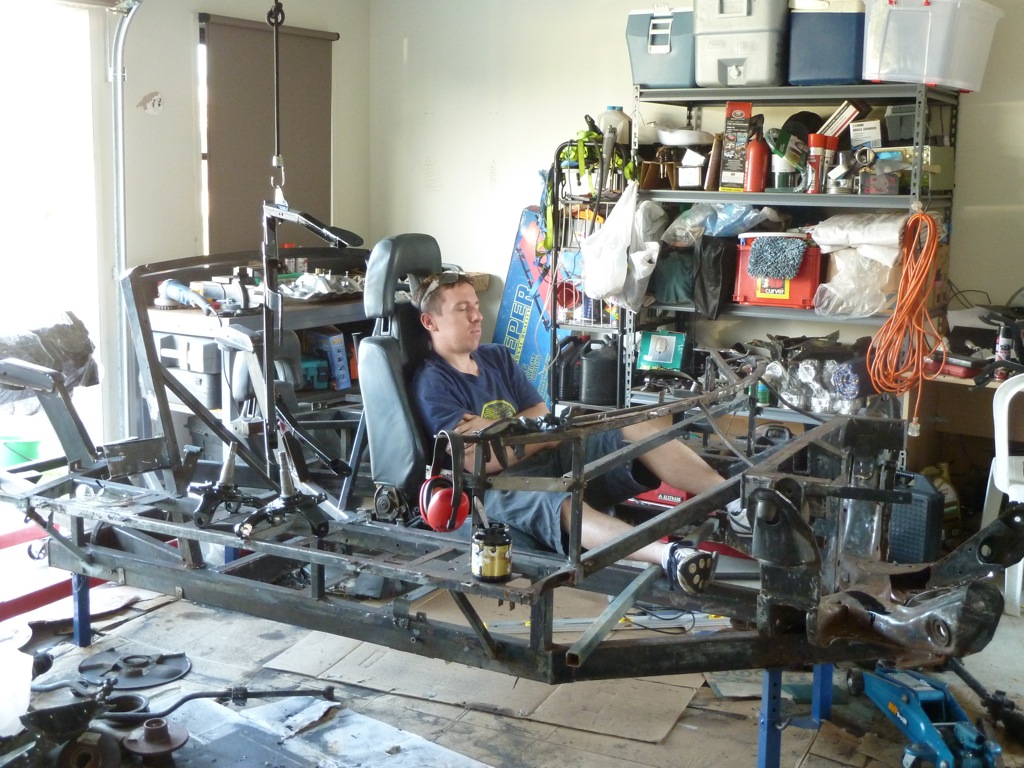
Tim had night shift the night before.

P1050450.JPG


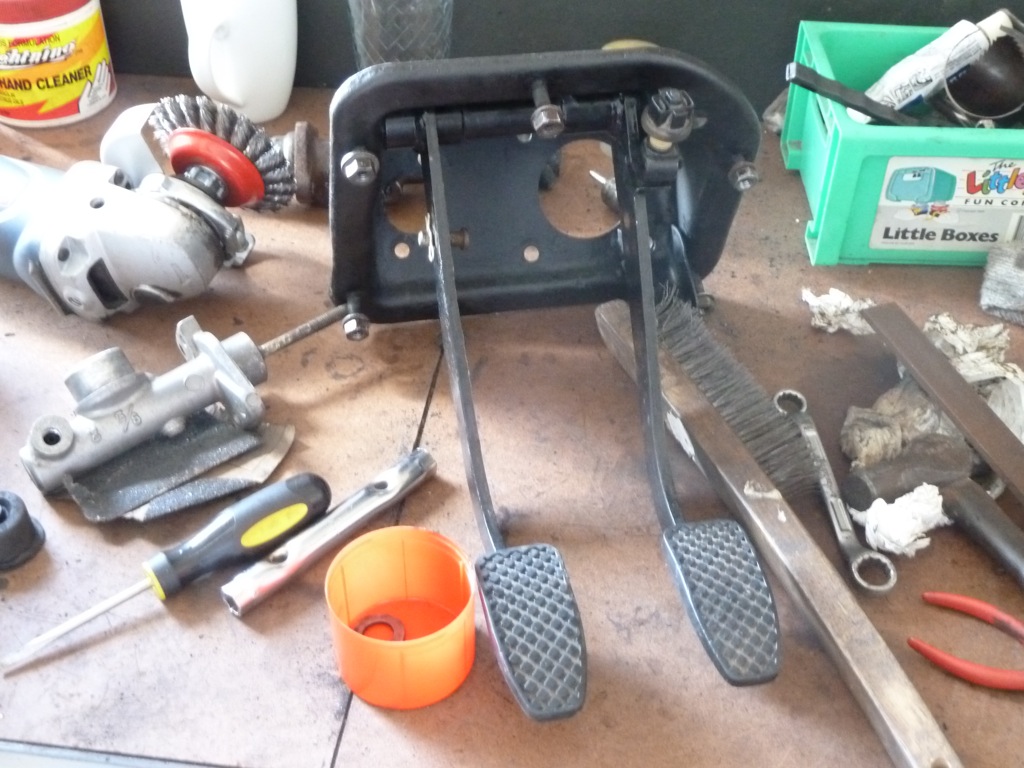
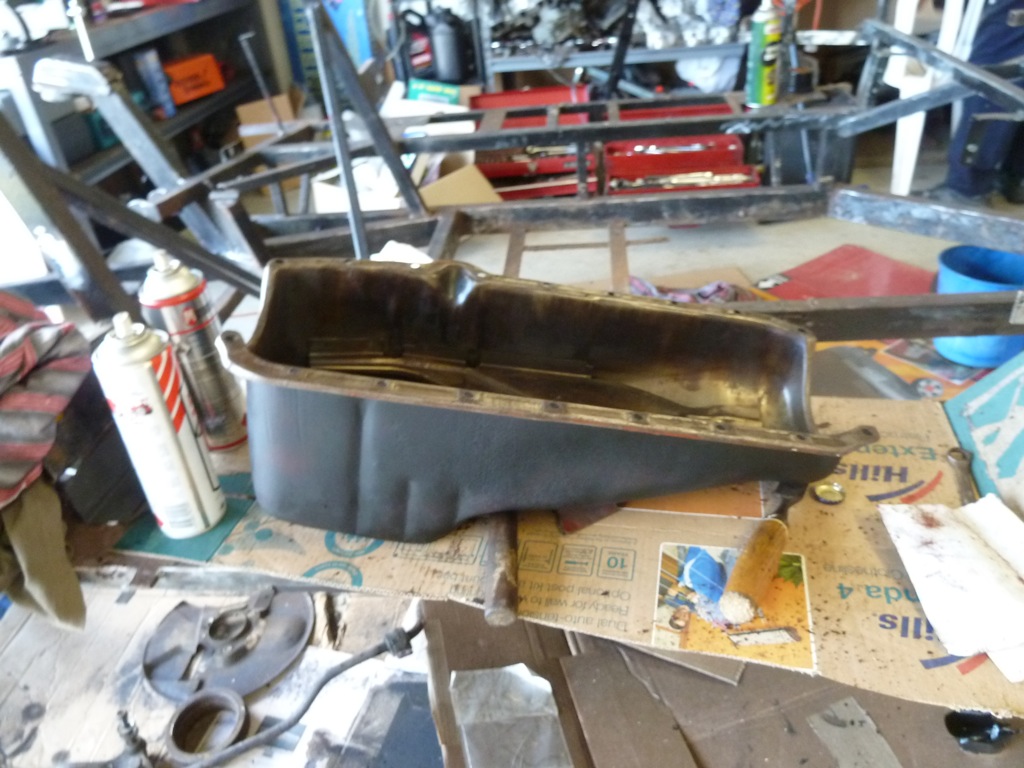
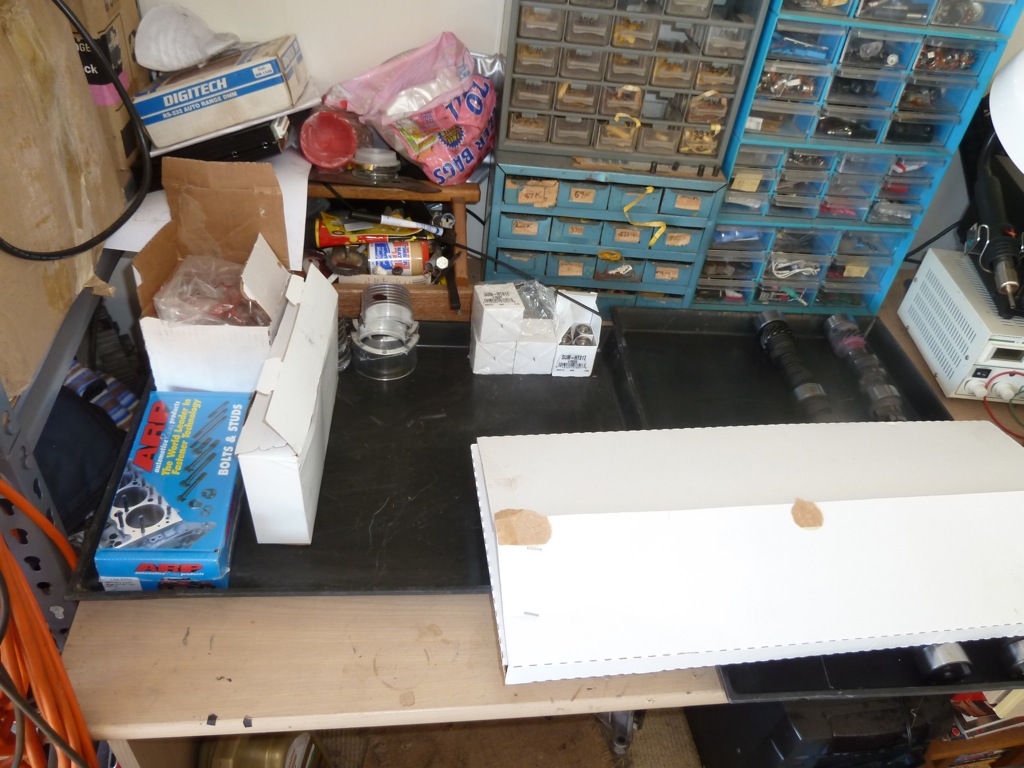
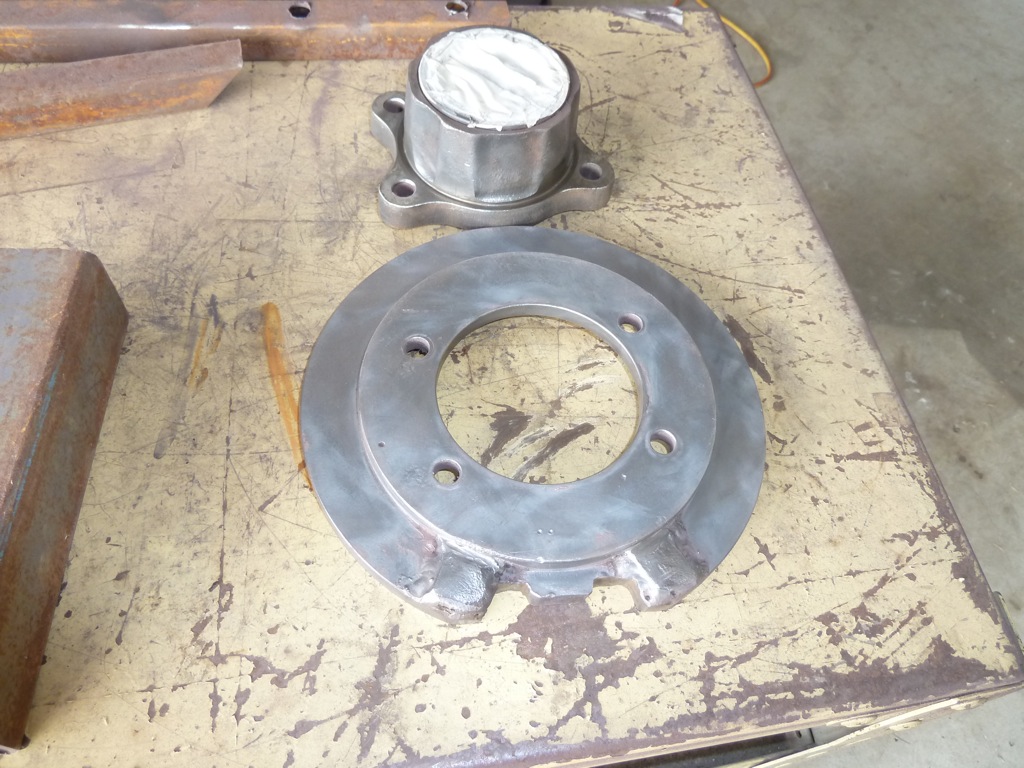
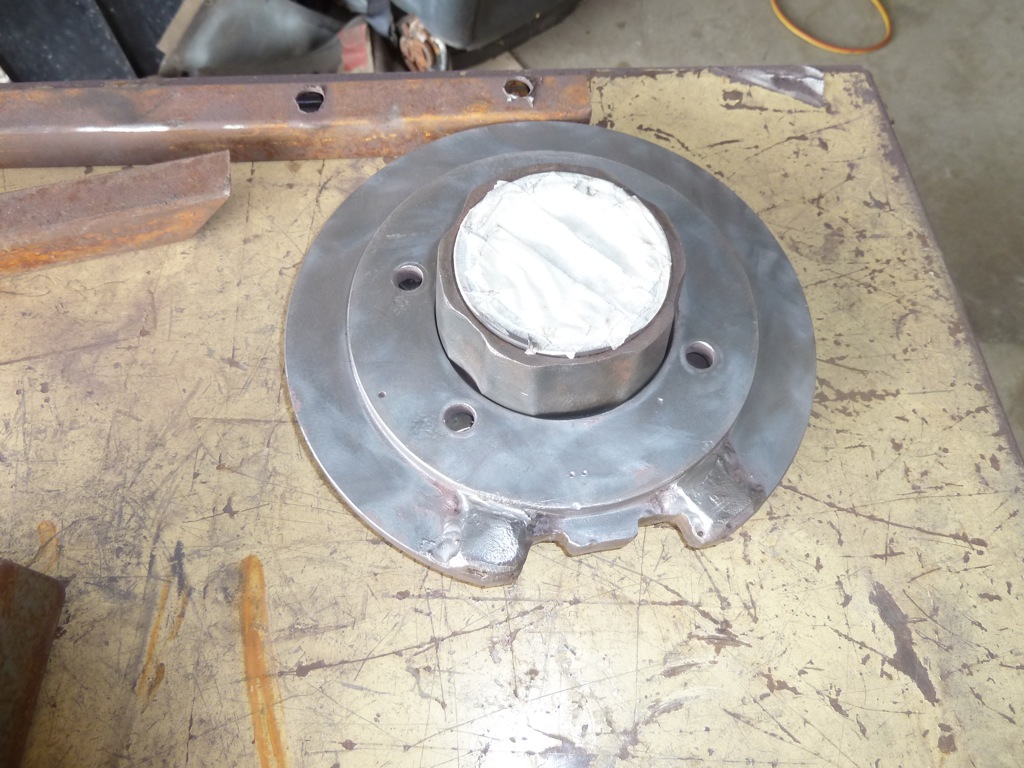
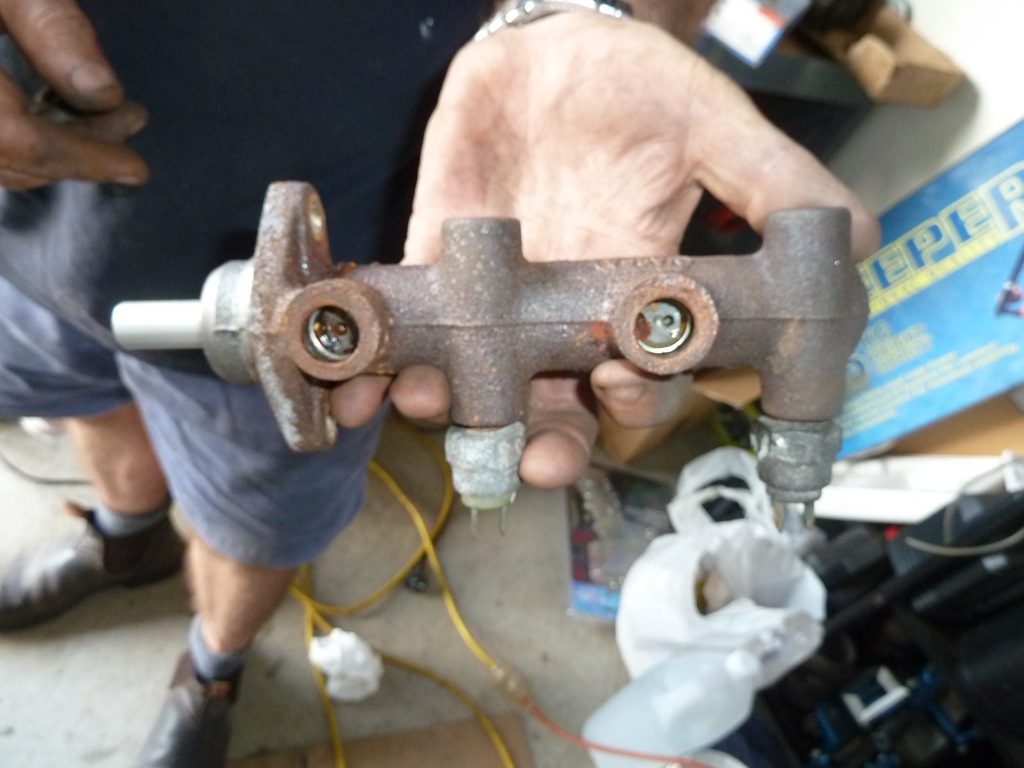
Meanwhile Dad started to attack the brake master cylinder. Here's the pedal box. Judging by the stamp on the fluid reservoir, this has come out of a VW of some sort.

P1050443.JPG


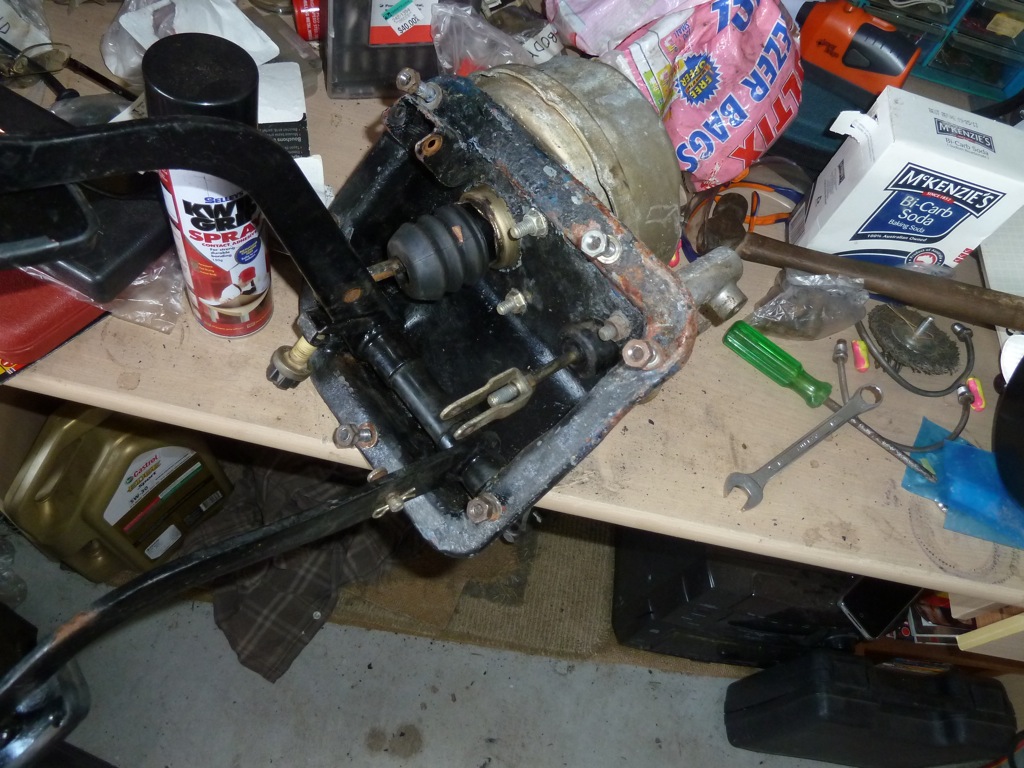
Hmmm rust inside. Imagine that...

P1050444.JPG


So that's about it for Saturday. I also managed to do a much needed oil and plug change on the Stagea in time for the GT40 cruise. It's going much better now :)

GT40 Cruise
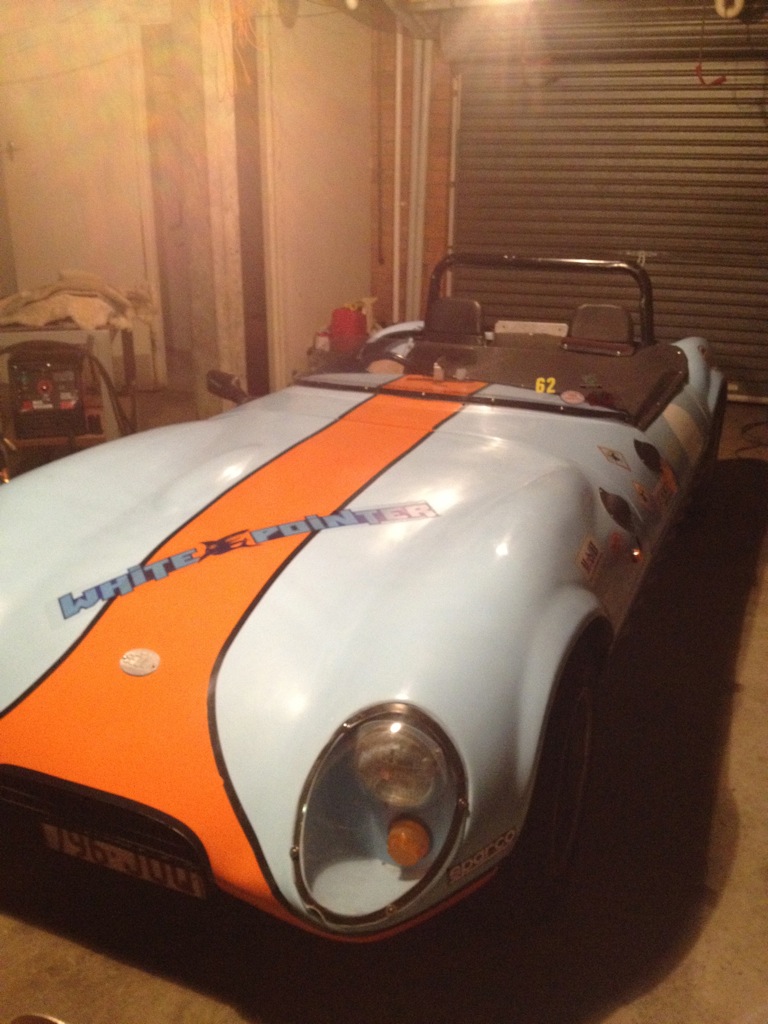
On Sunday we met up with Club GT40 for their monthly cruise. This one started out near Ipswich and meandered along the inland roads to Somerset Dam. Here's a couple of pics from the day. My mate Raj came along and will probably send me his SLR pics to put on the blog soon. In the meantime, here are a couple of pics...

P1050452.JPG

P1050454.JPG

P1050456.JPG

P1050457.JPG

P1050458.JPG

P1050459.jpg

P1050460.JPG


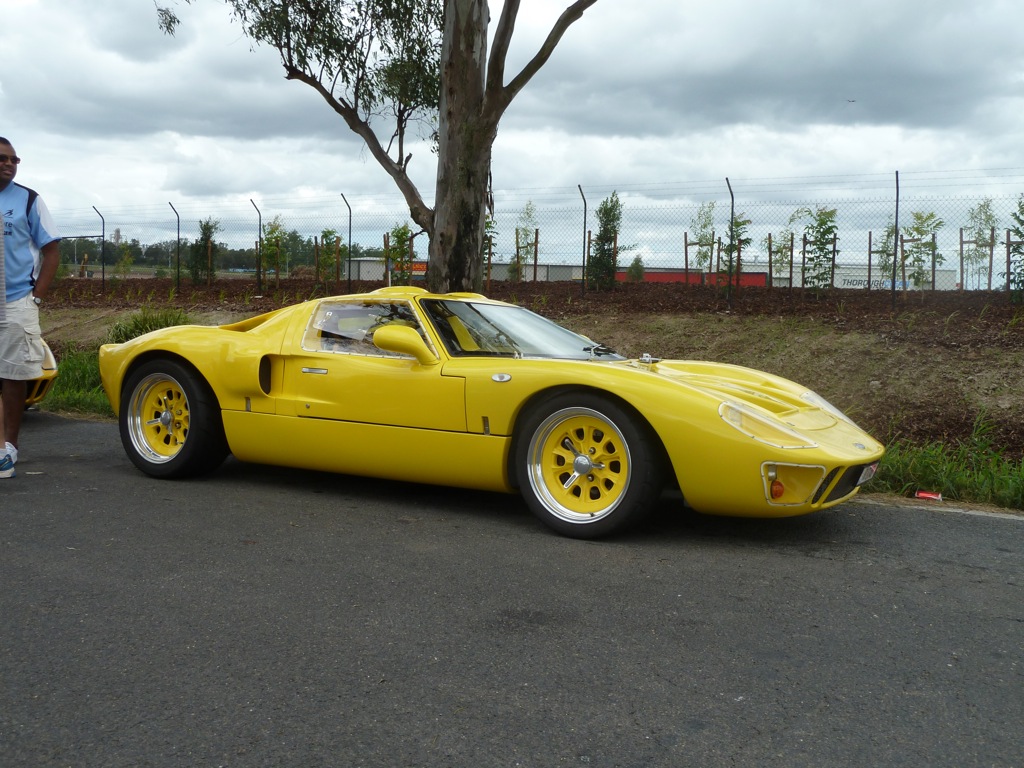
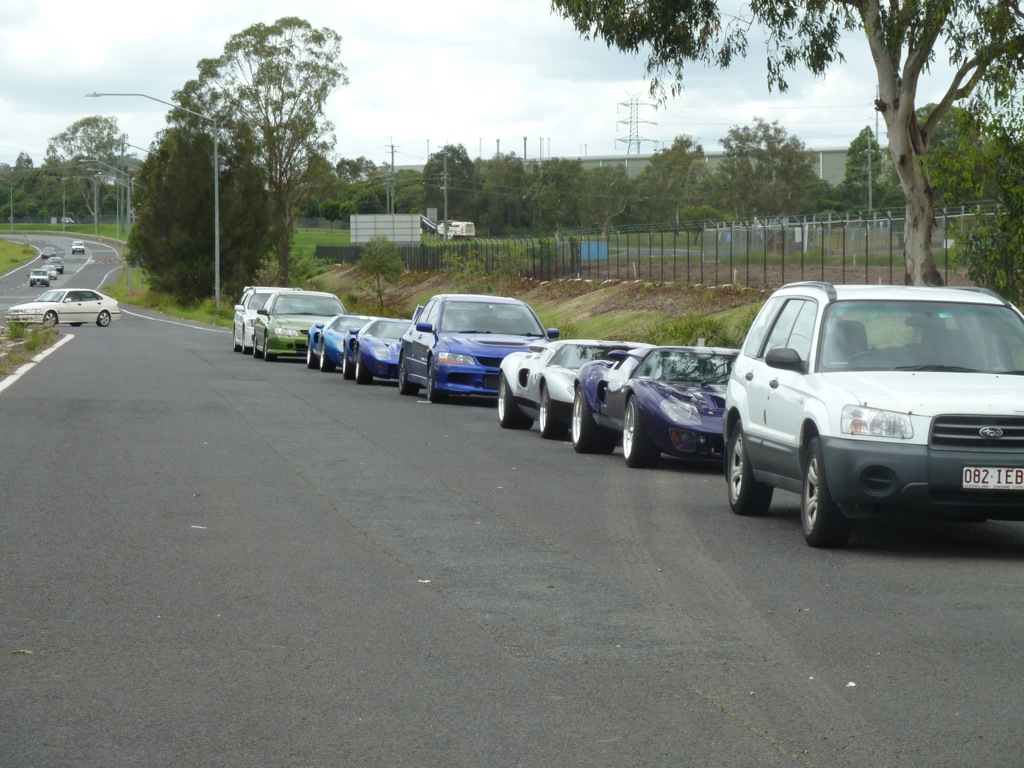
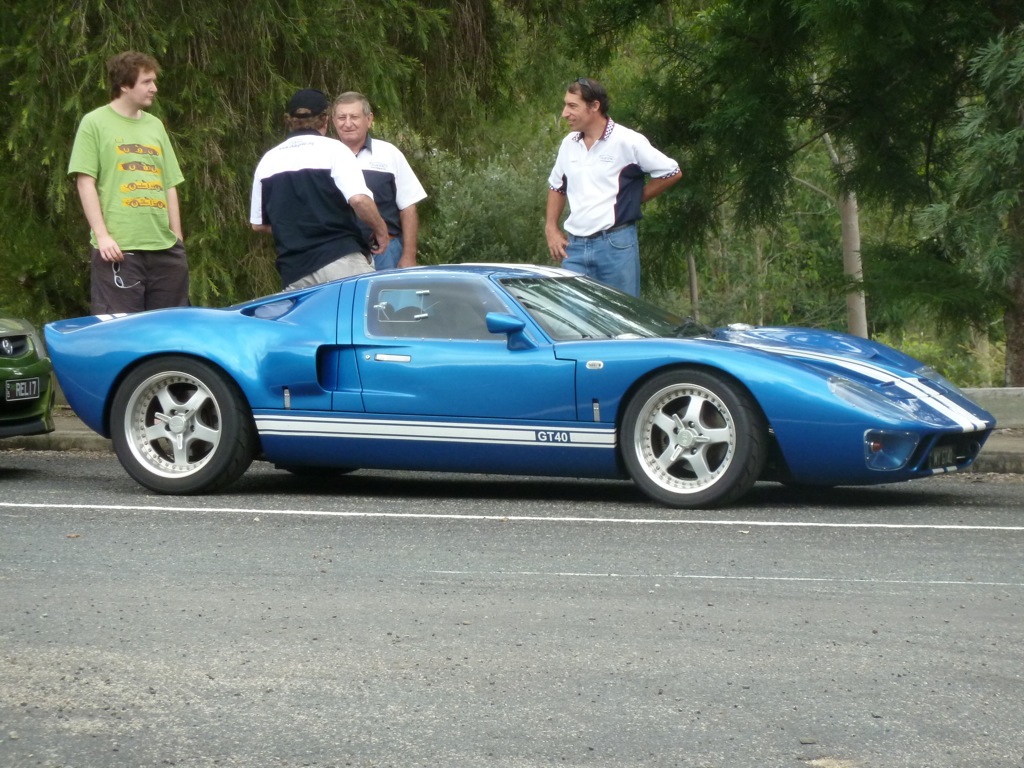
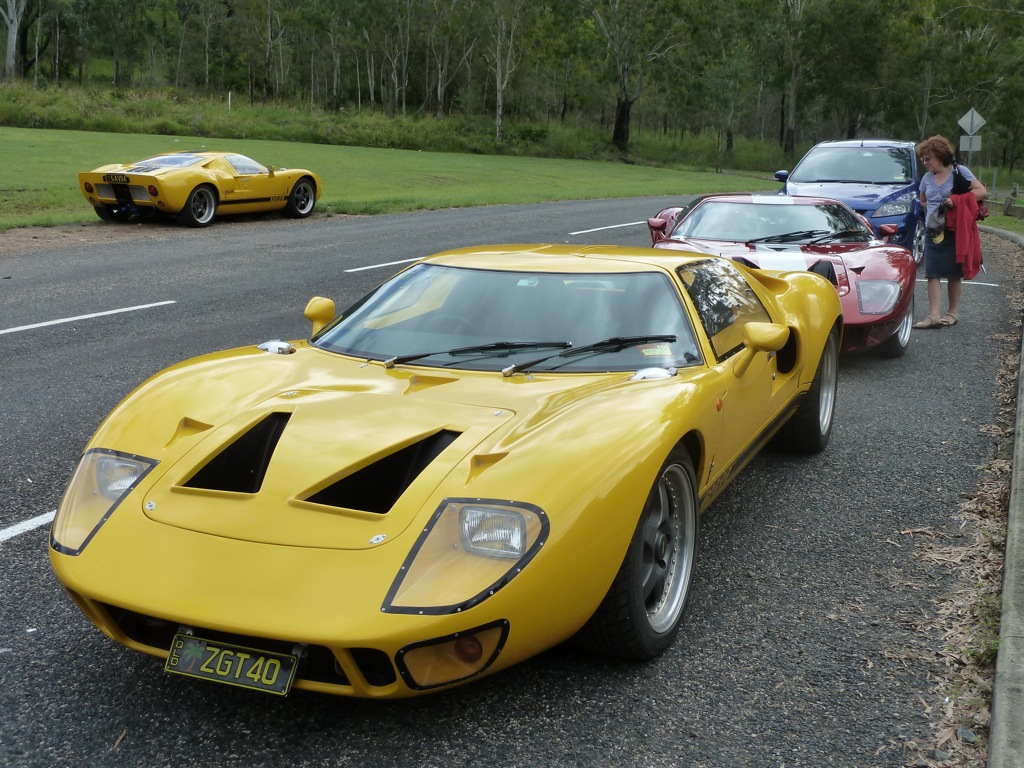
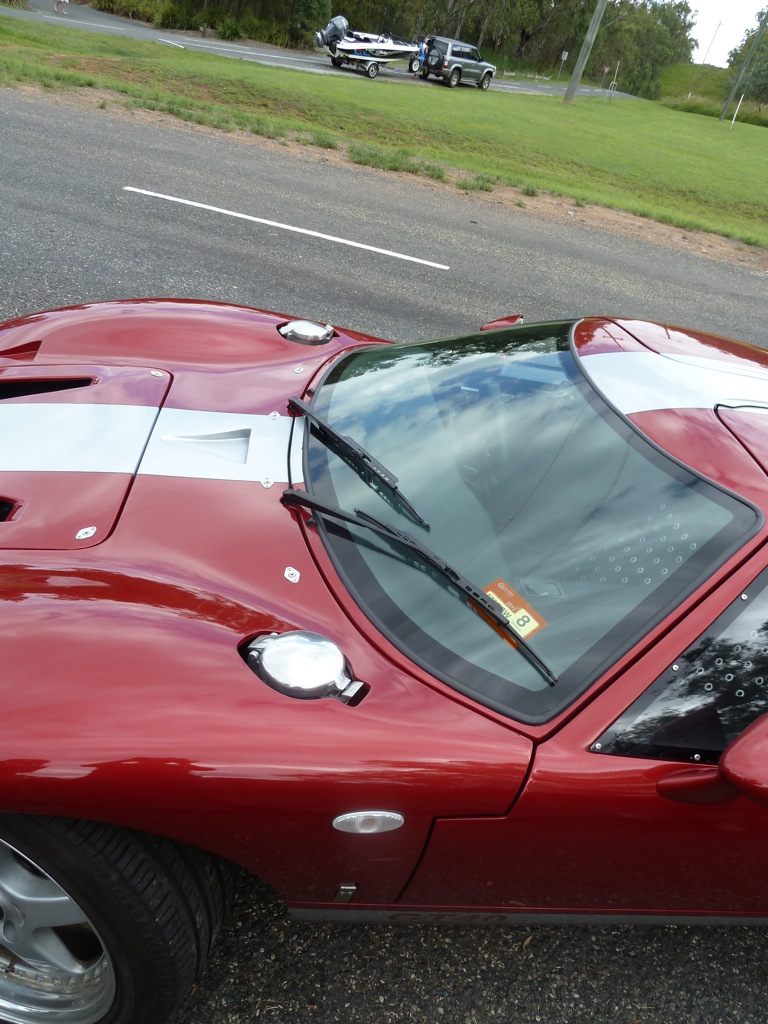
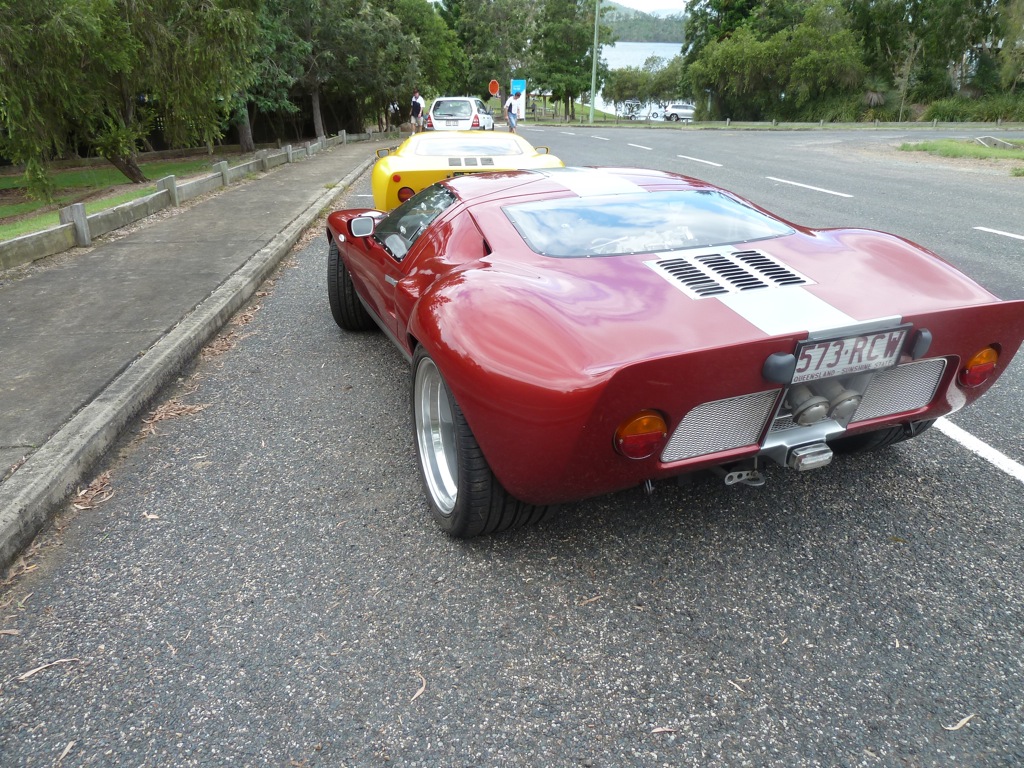
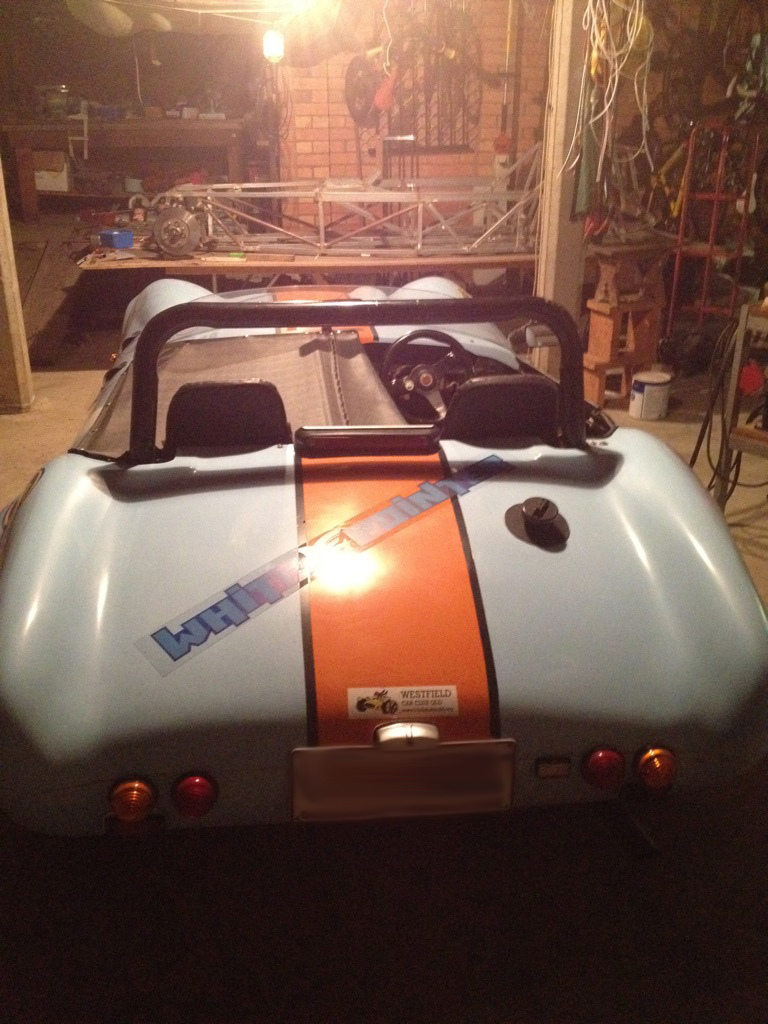
The quality of these cars in absolutely top notch. I believe some of the cars have taken up to 6 years to build, but the end result really speaks for itself. These guys were very keen to give us much appreciated advice. Mum and Dad also came along. I think it was an eye opener for both of them. These cars certainly give us something to aim for...
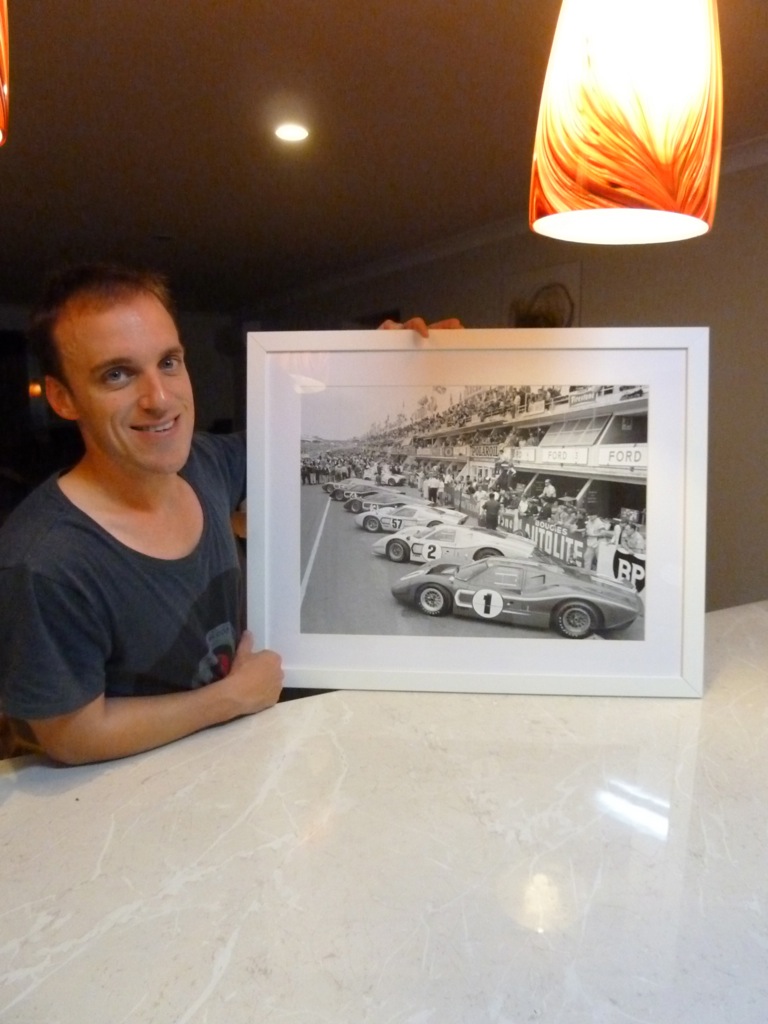
1967 Le Mans Print

Last week marked 10 years since my wife and I first met. Check out what she gave me! A framed photo from the 1967 Le Mans race. Can't complain about that. Thanks Bella! You're awesome.

P1050461.jpg


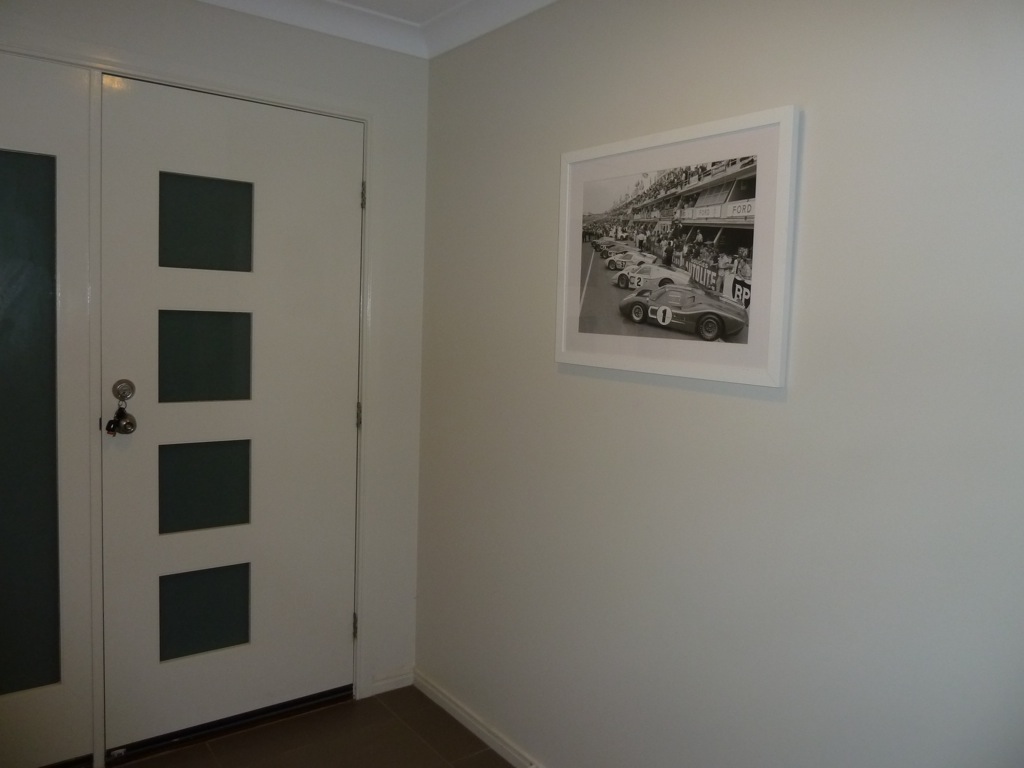
I've already put it up. It looks great.

P1050464.JPG
 
V Nice! I've always loved that print. You wife obviously knows you well. Appreciate the updates on the build and continued success on the GT40.
 
Woohoo, Ordering Parts!

Well, we've put in some fairly consistent work over the last few weekends.

First up: The K-frame has been painted.

Here's how it looked after we removed the loose rust and hit it with a treatment of KBS Rustblast.

P1050515.JPG


Tim getting stuck into the painting.

P1050528.JPG


Check out the underside after it has been rustblasted. Awesome.

P1050528.JPG


After the first coat.

P1050530.JPG


The next day, I saw a sale on at Supercheap and thought this was as good chance to get a spray gun. I set up a DIY spray booth out of tarps and dust sheets and hit the K-frame with a second coat. It took about 5 minutes. Much better than the 30 mins it took to paint by hand the previous day.

Multipurpose ladder makes a good painting hanger.

IMG_0413.jpg


P1050555.JPG


P1050557.JPG


K-frame back at home on the chassis. It looks better than ever. This KBS paint is pretty awesome stuff.

P1050558.JPG


Here's how it looked a few months ago...

P1020875.JPG


While Tim got stuck into the K-frame, Dad got stuck into the pedal box. We noticed the brake master cylinder has a VW logo on it. Yet another manufacturer in the mix :)

P1050524.JPG


Renee and I got stuck into the control arms. We actually uncovered a 1981 build date on the upper control arms. Always good to know. These are now at Fulcrum getting new bushes pressed in.

P1050521.JPG


P1050522.JPG


We also uncovered the first Ford logo we have seen on this Ford replica. Haha

P1050523.JPG


We're now starting to shift our attention to the engine. The parts are using lots of storage space and the block has been sat waiting for a few months now. First up, Dad and I gave the block a clean up and took some measurements to satisfy ourselves of the clearances.

P1050561.JPG


P1050564.JPG


P1050566.JPG


Over lunch Dad and I jumped on to Summit Racing and ordered new parts. We've gone for a re-ring kit, carby reco kit, main cap bolts, oil pump, lifters and Summit 1104 cam. It has 282/282 duration, 0.465/0.465 lift and is supposed to have an operating range of 2000-5600rpm. Believe it or not, these parts came to a toal $380 delivered! Parts from the US are so cheap. The cam alone was $50! We're still trying to decide what to do with the heads. We're thinking of replacing them with aftermarket units.

After lunch, Dad cleaned up the sump (yet more cleaning) and gave it a coat of engine enamel.

P1050569.JPG


P1050570.JPG


I stripped paint off the springs in preparation for painting. The list of parts to clean is endless.

Old seats make a useful place to sit when cleaning parts.

P1050567.JPG


New seats have been ordered!

Tuesday night I caught up with Reinhold from Whitepointer Fibreglass to order some seat shells. The shells should look something like this, but without the shoulder supports. Reinhold suggested the shoulder supports would make it too hard to get in and out of the car. The shells have been tested to meet the current ADRs, so should be all good. I've seen a set of Reinhold's seats in a Clubman and they look fantastic once upholstered by a good upholsterer.

IMG_0425.jpg


Reinhold is quite an interesting guy and has heaps of experience building Clubmans over the years. Here's a few pics of his Lotus 11 replica. It's been on the road for 10 years now and is solely used for enjoyment at the track and on the roads. I sat in the driver's seat and it was very tight. Please excuse the low iPhone pic quality.

IMG_0420.jpg


IMG_0421.jpg


Reinhold's next chassis has been under construction for 2 years. He gets to it every now and then when he feels like it (and when it's too wet to go driving). All part of the fun. It was interesting checking out the front suspension. It uses Cortina uprights, just like our GT40, but has custom made adjustable control arms. He's even using Cortina brakes, which he thinks are quite adequate for the light-weight Clubman.

IMG_0419.jpg


IMG_0422.jpg


The welder is fixed!

product1_56806.jpg


You may remember a couple of blogs back that I said my eBay-spec Rossi Stick welder blew-up. I was quite disappointed since it was 18 days out of warranty and AGR Machinery wanted nothing to do with it (buyer beware!). Anyway, during the week I had another look at the electronics and started chasing back the control circuitry. Low and behold, I discovered a diode that had blown in half. You can see it in the pic just to the left of the black heat sink. I managed to get a compatible one from Jaycar, soldered it in and we're back in action. I was quite surprised myself, I was expecting carnage somewhere else on the board, but that was it. I didn't bother to investigate what might have caused it to blow in the first place. Possibly all the angle grinder dust that was in there (I became very familiar with the angle grinder when I was learning to weld).

I'm not sure if this is a common fault, but for the benefit of anyone Googling this, the diode in question is a HER407. I used a UF4007 from Jaycar that is compatible. Beware that there are dangerous voltages inside and this work should only be done by a competent person.

IMG_0418.jpg


So that brings us up to date. It feels like quite a bit has happened in the last few weeks. We're all enjoying it as usual :)
 
I have messed with that many Locost's over the years...and used Reinholds fibreglass products...All good quality stuff and allways delivered on time. The seat shells look interesting. Post some pics of yours when you get them.
 
1 Step Forward, 2 Steps Back...

Finally, it's time for an update!! A few people have been asking for updates. So it's definitely time. First up, you'll notice the blog has had an overhaul. My wife has started as a freelance graphic designer and has just got into blogging. She couldn't help herself.. Here's a free plug for her blog: Design + Burrow. She writes much better than I do :)

Alright, a few months have passed, so what have we been up to? We've all been pretty busy, but have made some progress. Although sometimes it feels like we're going backwards. You'll see why further down.

Tidy Up

First up, a tidy up. In my last update I said that I met with Reinhold the fibreglassing guy who is making out seat shells. He recommended that I knock up some supports for our fibreglass body parts. I was a bit worried about the front clip which was leaning up against a wall, so I knocked up this support. Should do the trick.

P1050571.JPG


P1050573.JPG


The Seats are here

Reinhold delivered the seat shells as promised and we are quite happy with them. They are amazingly light and strong. Of course, we had to test them out...

P1050584.JPG


P1050588.JPG


With the old seats Justin had no chance of fitting in the car. He was eager to see if he'll fit with the new ones. It's a tough call mate...

P1050585.JPG


Last week I picked up some universal seat rails from Autotecnica. $54 each direct from the local distributor. Bargain! They look perfect for the job, too.

The Engine Parts are here

The engine parts were here from the US in less than a week. Amazing! This has inspired us to put the engine back together. The various parts are taking up half of the garage.

P1050581.jpg


P1050582.jpg


P1050583.JPG


Dad has spent a few Saturdays now cleaning parts now. The latest was the valves and valve springs. I think we're just about there.

P1050635.JPG


http://4.bp.blogspot.com/-hXgHe5XJC0Y/T-BYfWce0EI/AAAAAAAAAc8/yPnWoTpncAA/s1600/P1050640.JPG[IMG]

[B]I suck at painting[/B]

After spending many hours stripping back the front suspension arms, I finally got around to spray painting them. Unfortunately, it did not go well. These photos speak for themselves..

[IMG]http://1.bp.blogspot.com/-c2yDw0GSlCo/T-BYJnUydYI/AAAAAAAAAac/XyvqcPrgYks/s1600/IMG_0490.jpg

IMG_0495.jpg


IMG_0496.jpg


The paint refused to bond to the metal in some places. The KBS Coating system we are using is 3 stages: Aquaklean, RustBlast and then paint. Stupidly, I used a tub of diluted Aquaklean that Tim had left in the garage from a few weeks back. I really should have made a new batch. It was way too dirty and is the likely cause of the terrible paint.

I decided that I'd have to strip these back and start again. Unfortunately for me, this paint is amazingly tough and cannot be stripped with a solvent. It had to be stripped with a wire wheel. 1 step backwards..

photo+2.JPG


This next picture shows how tough this paint is. We've ended up with a perfect mould of our paint scoop. It looks like and feels like plastic. It should make an excellent seal for the chassis.

P1050625.JPG


2 Steps Backwards..

A couple of weeks ago Dad was overseas and Tim and I decided we should strip the rear trailing arms to be painted. First we tackled the right hand side and it went quite easily. We needed a decent breaker bar to loosen the 34mm nut, but it budged. We were quite proud of ourselves and I was quite happy with the new bench and vice.

P1050622.JPG


P1050623.JPG


Next we tacked the left hand side. Initially, the nut turned fairly easy, but then got tough. We soon discovered that the left hand side is infact a reverse thread. Damn it, the damage to the Stub Axle thread was done. Considering Ford Granadas were never released in Australia, this part may not be easy to find. If anyone knows where I can get one, please let me know.

Not only did we ruin the thread on the stub axle..

photo+4.JPG


We also managed to bend Dad's Stiltson. This thing is probably older than I am. Sorry Dad!

P1050626.JPG


Not all was lost that day, we did manage to strip the paint back.

P1050630.JPG


And Tim did a pretty awesome job of painting the springs. One of my mates saw them the other day and asked if they were brand new. Nope..

photo.JPG


photo+3.JPG


More parts cleaning

Last weekend I spent a good deal of time stripping the remainder of the suspension parts. Thankfully the bulk of it is done now and I can have another crack at painting this weekend.

P1050642.JPG


I found this part interesting. The previous owner converted the rear brakes from drums to Alfa Romeo disc brakes. The photo below shows how they knocked up the caliper mounts. To me it appears they've found a small blank brake disc of the correct offset, drilled holes to match the wheel bearing housing, then cut out a notch and tapped holes to match the caliper. Pretty solid, yet simple design.

P1050636.JPG


P1050637.JPG


Well that's it from me for now. In the coming weeks we plan to: paint the suspension parts, rebuild the engine, mount the seats and then start painting the chassis. Exciting times!

Hopefully the next update will be sooner and shorter. Phew!
 
Hello Simon Willys

My name is Mike, i come from Switzerland and i have exactly the same KCC/ GTD40 Replica in my garage.
About the granadahub where the thread is gone, there is a german seller with all the parts for vintage Ford`s.
The name of this shop is: "Motomobil".... so try there, it ships international...

I hope that you find there what youre are searching for..

Ok guy`s keep on the good work.

Regards

Mike
 
I was wondering why you did all the hard work of wire brushing the metal pieces? Why not just sand blast them? You'd get rid of more of the rust & down in the nooks & cranies. That may be part of the problem with the new paint. The rust & residue left from wire brushing can cause paint to fisheye.
mike S.
 
Hi Mike,

Thanks for the info about motomobil. Unfortunately I couldn't find the part I'm looking for.

We're using a wire brush solely because we don't have a sandblaster. We looked at buying one, but my air compressor cannot support that much volume. We are considering dropping all of these parts into a powder coater and getting them to sandblast and powdercoat.
 
Unfortunately Cortina is not IRS. I found out that the stub axle is the same as the Sierra Corsworth. They seem to pop up on ebay occasionally.
 
Hi Simon,

Very nice build log, i really enjoy it :)
Keep on good work, and i hope i got little extra boost for my project reading yours..

Rear stub
U can find two versions of it, one with big bolt circle and smaller.
Big is for 108 mm joint /d 10 mm bolts and smaller for 100 mm / 8 mm.

You can find 108 mm stub from 2.6-3.0 mk1/2 Granada, 2.8-2.9 Scorpio except 4x4 + 2wd Cosworth Sierra, 3/4D.

100 mm stub is common (here in europe) ; all small engined mk1/2 Granadas, small engined Scorpios and 4x4 2.8/2.9, every Sierra 2/4wd with rear discs (except 2wd cosw.), 4x4 Cosworth both Sierra and Escort.
 
Hi Jyrki, thanks heaps for your kind comments. We are making slow progress, so it always a motivation boost when words of encouragement come our way.

Our stub axle is the 108mm version. I see that this is listed separately on Motomobil and is much dearer (is brand new). I'll have to keep my eyes open for one or look at getting it repaired at a machine shop.
 
Simon,

do not powder coat the contact surfaces to the wheel ...

This area will get hot if you drive hard and the coating will get soft, torque you applied to the wheel will run of specs....

I would never ever again coat an area that gets hot with normal powder coating .
I use simple black matt color to spray theses areas.

Inf act also the coating hides a lot of secrets after years like rust ...not critical on your part, because it is thick, but on a control arm it can be dangerous ...
Cheers
(C)arlos


Hi Mike,

Thanks for the info about motomobil. Unfortunately I couldn't find the part I'm looking for.

We're using a wire brush solely because we don't have a sandblaster. We looked at buying one, but my air compressor cannot support that much volume. We are considering dropping all of these parts into a powder coater and getting them to sandblast and powdercoat.
 
Thanks for the warning Carlos. I'll chat to the others about this. I'd imagine just the front and rear hubs would be getting hot. I'll have to check what temp. the KBS paint can handle.
 
Engine Rebuild Begins

Well, finally we feel like we've made some progress. Last weekend we finally started putting things back together instead of pulling things apart. For the past few weeks we have spent a fair bit of time cleaning engine parts in preparation for the rebuild. Finally, we get to start bolting it back together. Here are a few pics.

Dad spent many hours cleaning up these valves, valve guides and springs

P1050668.jpg


It's been nearly a year since we stripped the heads, so some referral to the manual was required.

P1050673.JPG


Thankfully, the 350 Chev is a very simple engine. Once Tim figured out how to install the first valve, the rest were knocked over in no time.

P1050677.JPG


Crank and block have been cleaned (again) and crank has been installed.

P1050676.JPG


So far, so good. This weekend we'll be installing the pistons, cam and heads. Fun times. It's nice to be making progress.
 
Simon, Make sure you give all the valves a whack or two with a rawhide face hammer on the spring side once assembled and before the heads are put on the block, it helps to ensure the collets are correctly seated
 
Yep a few people on a few forums have said that. Not to worry though, I did it at the assembly stage :)

Made some more progress over the weekend so hopefully simon does a blog update sometime soon.
 
Over the last few weeks we've made pretty good progress with the engine. Only a couple of minor hiccups, but we got there in the end. The heads are now on. Next we need to install the rocker arms, rocker covers, inlet manifold and ancillaries.

Here are a few pics from the reassembly process.

Pistons in

P1050678.JPG


P1050681.JPG


P1050683.JPG


Timing chain on. Those with a keen eye will notice a mistake. Behind that cam wheel are the ends of 3 oil galleries for the cam shaft. These are meant to be plugged. We didn't realise this until we'd put the timing chain cover and sump on and Dad spotted the plugs sitting on the bench "I think we've stuffed up somewhere...". Luckily we had that mistake fixed in half an hour :)

P1050686.JPG


Moving on. The heads are now on. Before we put them on we noticed that the dowel pins were missing. We think the engine machinist must have removed them. I dropped into Repco and Autobarn, the two closest 'automotive stores' (and I use the term loosely), only to discover they don't carry them in stock. Ridiculous! These stores constantly disappoint with their lack of stock. If it's not seat covers, they won't have it.

The only solution was to make them ourselves. Looking around the garage, I found some spare exhaust studs that I'd had kicking around for a few years. 15 minutes on the bench grinder and I had them down to the right diameter (if only I had a lathe).

P1050688.JPG


P1050691.JPG


Now it's starting to look serious again. I can't wait to start her up some day.

P1050693.jpg


P1050696.jpg


Tim has this week off Uni, so he's planning to spend some time in the garage to get stuck into the chassis. It's about time he made up for all that time away. We're all looking forward to the chassi rebuild process.
 
Back
Top