Jack,
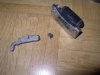
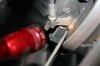
I use something similar to this on my Pantera. Have had it for years... and need to change it.
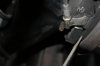
Problem #1 is that if the inspection boys are thorough, they frown on this as it is not legal.
Problem #2 is that it works fine for awhile. Personal experience... Did a session at Pocono, came in, backed into the parking place in the pit lane, hit the brakes, turned the valve and went away for a drink. Came back a half hour later with everyone telling me that my car started rolling away and they had to push it back and put it in gear.
What happened? Hot brake fluid cools off and 'releases' the brakes.
So, at the most, a temporary brake, not to be used for long term parking.
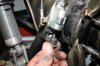
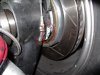
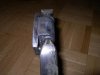
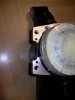
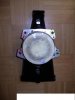
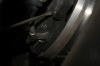
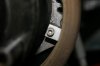
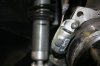
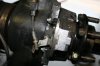
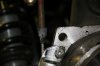
I am interested in why the drum brake setup on the SPF's is a problem though... mine has worked well so far and holds very well. I know Mike removed his for weight savings...
Kirby
note....
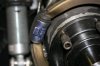
you should never use the handbrake or e brake after sessions on a course because if you heat the brakes up enough and then set the parking brake, you could easily warp the rotors.
always park it in gear after doing laps.
") .
.