Damn cars. You'd think the manufacturer would keep spares for a few years, wouldn't you?
Dalton
Dalton

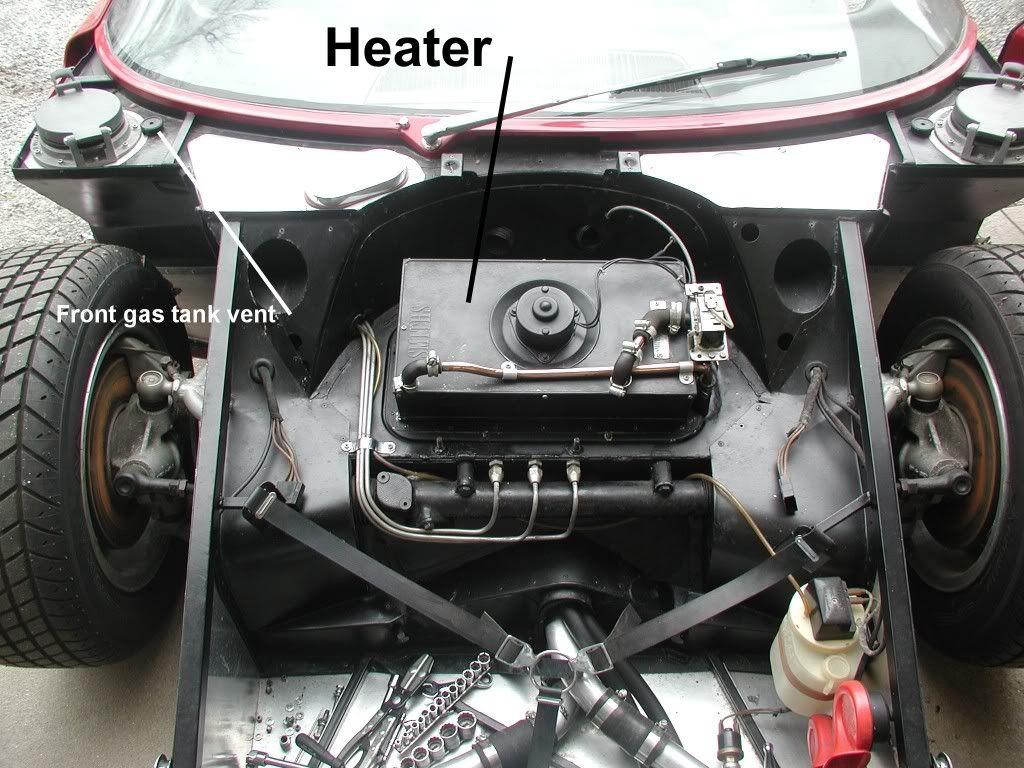

[U][/U]Here are some more. For those of you talking about the vents, heere's something to think about.


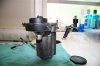
Here's the shock/coilover adjuster.

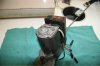
Here is the safety harness attachment.

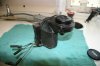
Notice the battery disconnect.


Couldn't resist just sitting in it with the engine running.

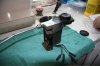
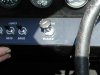
Fuel selector switch.


Here is the screen cover for the side vents.

Half goes to the rear brakes and half to the engine bay.