

You are using an out of date browser. It may not display this or other websites correctly.
You should upgrade or use an alternative browser.
You should upgrade or use an alternative browser.
BigB's RCR MKIV
- Thread starter BigB98
- Start date
I think I heard you fire that thing up from here........:chug:
Because my wife said she is going to work on it with me?Only wish I was as far along with this thing as you guys are with all of your RCR's (i'm the jealous one).
Dude - you are a HECK of a lot further along than the majority of us lurkers.
BigB, just heard (and watched) the YouTube video... WOW! Keith Craft builds a mean motor.....
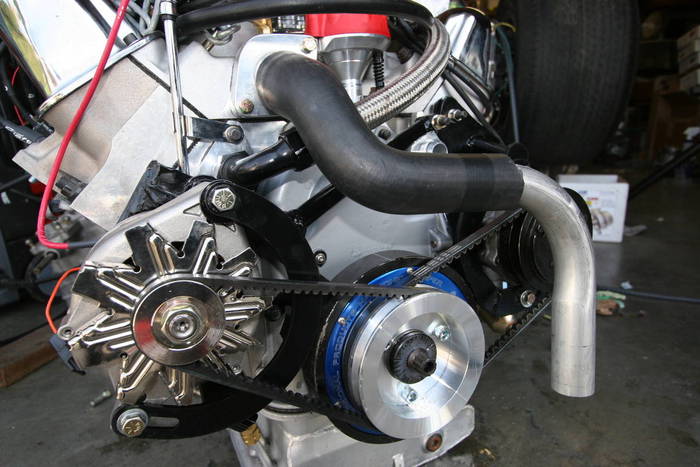
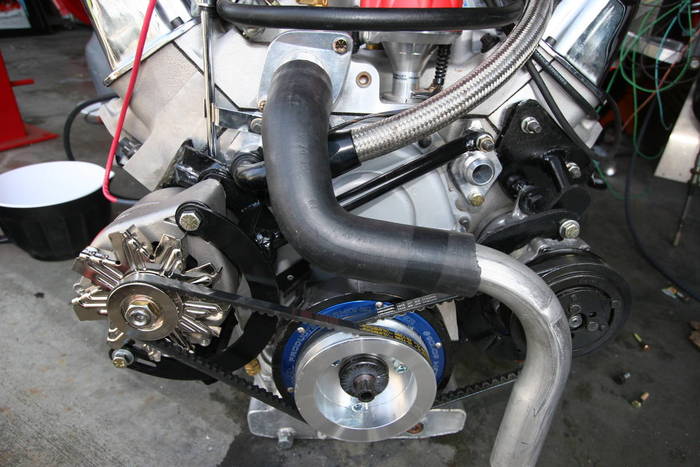
This week I needed to make the mounts for my Alternator and A/C pump. After a lot of thinking, I came up with a reasonable solution I believe. It's very solid and I think will be golden. Everything lines up and very functional.
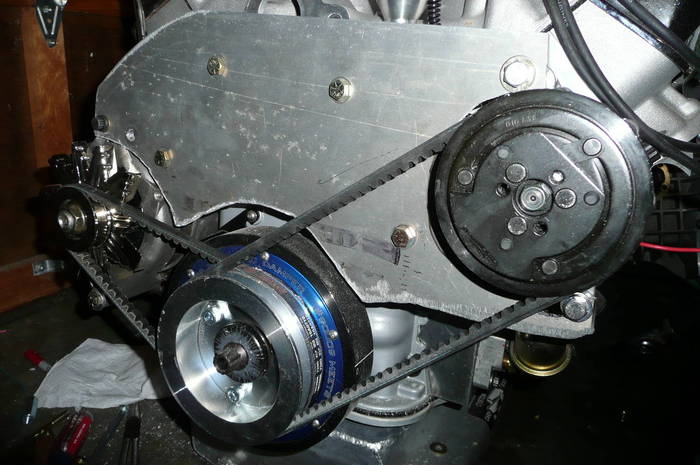
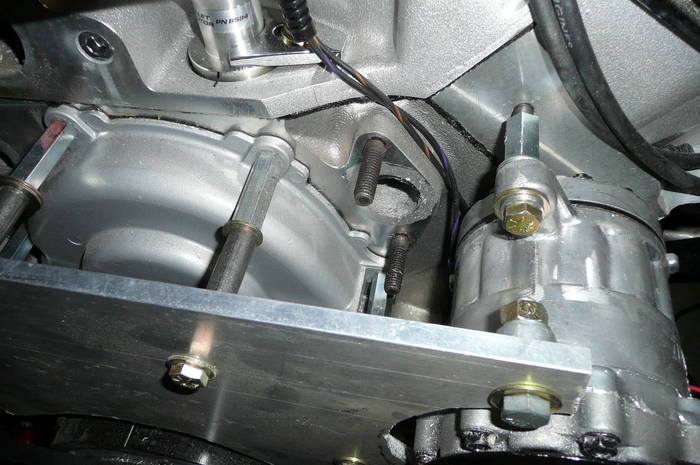
Cut an alternator bracket end off of a 390 I have and welded it to a mount I made that attaches to the block.
Here's the mount that attaches to the block that I made. The picture doesn't show the finished version as I cut the downtube to proper length and painted it a cast aluminum color that looks nice.
Brent,
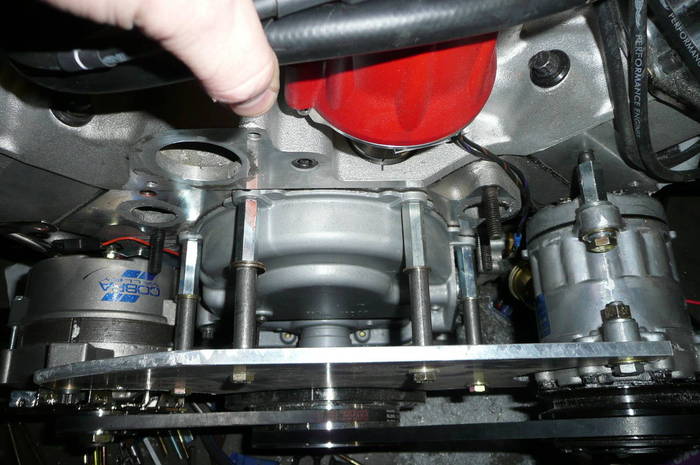
Watch out for harmonics on that setup. Those hardware store Male/female studs are not much better than grade three hardware and with the belt whip and a/c compressor vibrations they may start to "wiggle" and wear on the alloy timing cover. I would suggest some custom made items of better materials to reduce the "monkey motion" that you may get.
A simple solutions to a complex problem.
Brent,
Watch out for harmonics on that setup. Those hardware store Male/female studs are not much better than grade three hardware and with the belt whip and a/c compressor vibrations they may start to "wiggle" and wear on the alloy timing cover. I would suggest some custom made items of better materials to reduce the "monkey motion" that you may get.
A simple solutions to a complex problem.
Sound advice. I think what I will do in that case (let me know if I'm on target here), utilize grade 8 studs to the proper length to synch down the face plate (instead of using those extendo nuts), use nut to synch down the timing cover, and have appropriate length spacers between the nut holding down the cover and the back of the mount plate. Clear as mud, right? Let me know if that sounds like a better plan.
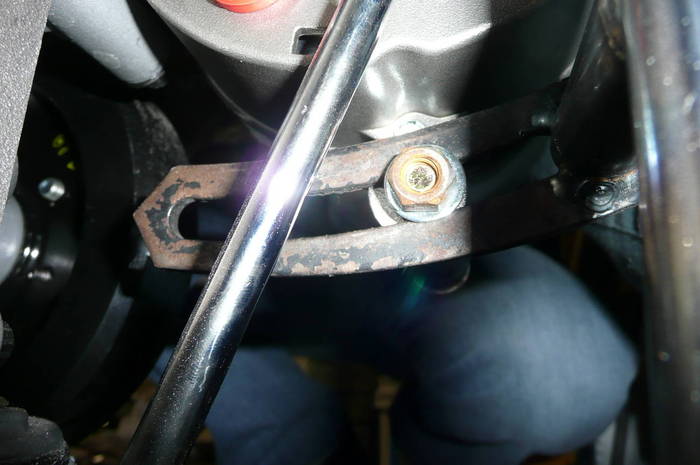
Randy, triangulation...I'll need to think about that further. Looking at the pictures, would you have a suggestion?
Like most things on projects such as this...I think it will take a few hours but it always turns into about 5 times as many as I anticipate. :stunned:
Last edited:
My first thought was from the lower T-Stat housing bolt to the bracket somewhere but I think it might be better to actually tie into the upper front AC Compressor bolt to maybe the water pump bolt (lower).. Don't know what you're going to do for a water pump solution so it's hard to say.. But yes - Triangulation will take a lot of stress off the entire system. The AC Compressor is probably the worse of your accessories that will put a load on the system..
Sound advice. I think what I will do in that case (let me know if I'm on target here), utilize grade 8 studs to the proper length to synch down the face plate (instead of using those extendo nuts), use nut to synch down the timing cover, and have appropriate length spacers between the nut holding down the cover and the back of the mount plate. Clear as mud, right? Let me know if that sounds like a better plan.
Randy, triangulation...I'll need to think about that further. Looking at the pictures, would you have a suggestion?
Like most things on projects such as this...I think it will take a few hours but it always turns into about 5 times as many as I anticipate. :stunned:
Brent,
Look at the front drive of a 5.0 Mustang. They have a bolt with an "Stud" extending out of it that other items attach to. This allows you to torque the bolt holding the front cover down and then use the studs to secure whatever. Latest designs no longer use brackets to attach pumps, etc. they are secured rioght to the heads, block, etc. to eliminate vibrations. The alloy plate you have will dampen some vibration but count on harmonics from the compressor (pumping and cycling on and off) to generate vibrations. Obviously in a MK IV NVH is not a concern, but bits falling off are!
Brian Hamilton
I'm on the verge of touching myself inappropriatel
Any news on this project? This thing is going to be a MONSTER!! Can't wait for another update.
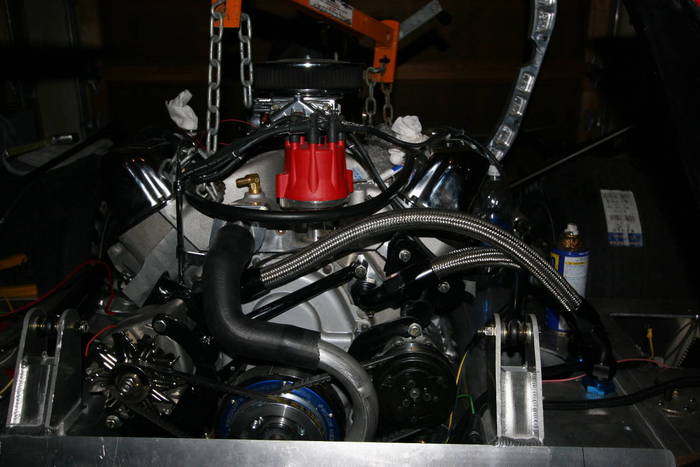
Well, I decided that the bracket system that I fabricated would lead to trouble based on some of the feedback here, so I went a little more conventional route. What a pain in the ass, but I'm very happy with the end results.
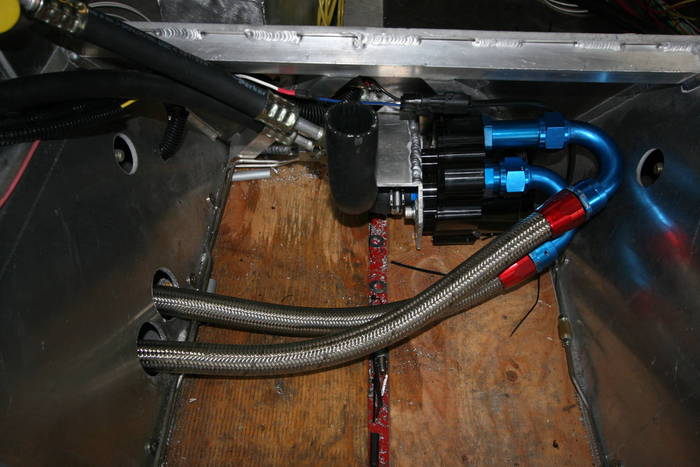
Wiring is complete sans actual connection to lights, etc. Engine is sitting back in it's special little spot. Cooling system lines and pump routed. Things are starting to look like a car! Still a lot of work to go of course, and it will take about 5x long as I think it will, but...feeling pretty good about my progress recently.
Here are just a few pics of progress.
Well, after a bit of time off...lots of summer and family issues, I have been making some reasonable progress with hopes to get the car to the body shop maybe next week.
Here are some pictures of the rear spoiler and side spoilers.....Kinda fun to make and fairly straight forward. The key was making both sides like the same and to get the arch in the rear spoiler looking smooth and right, as it's not flat which would have been much easier.
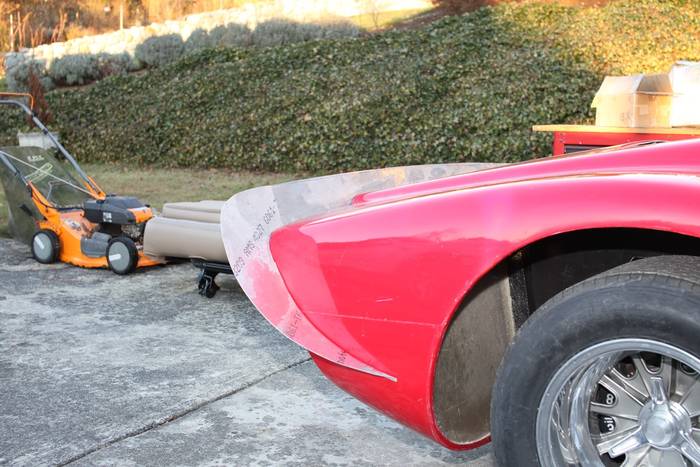
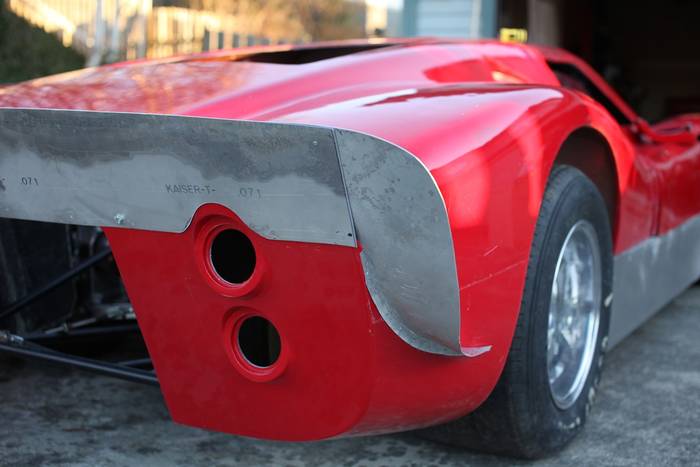
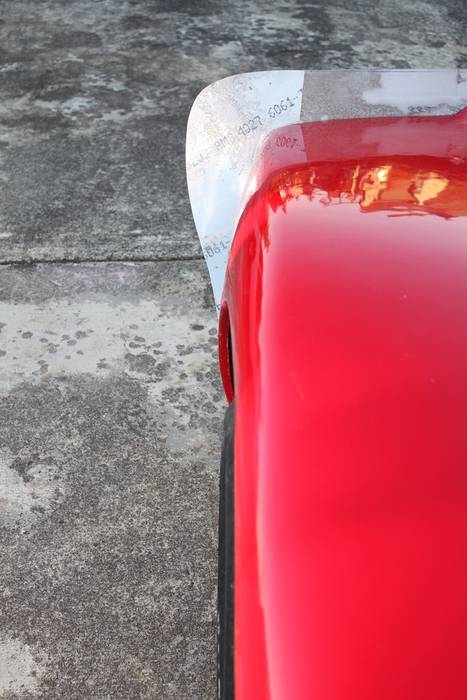
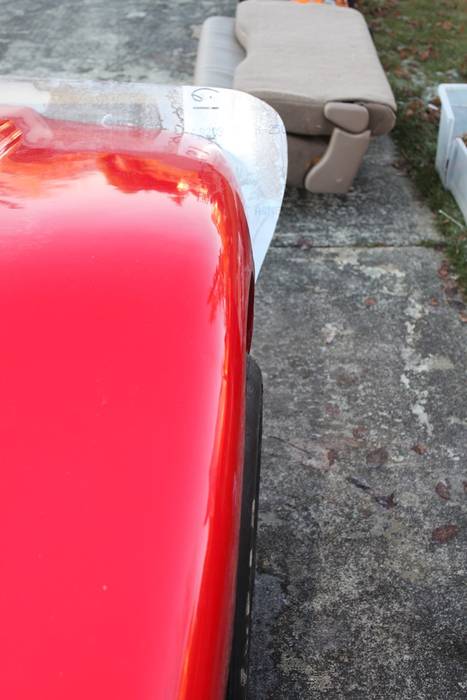
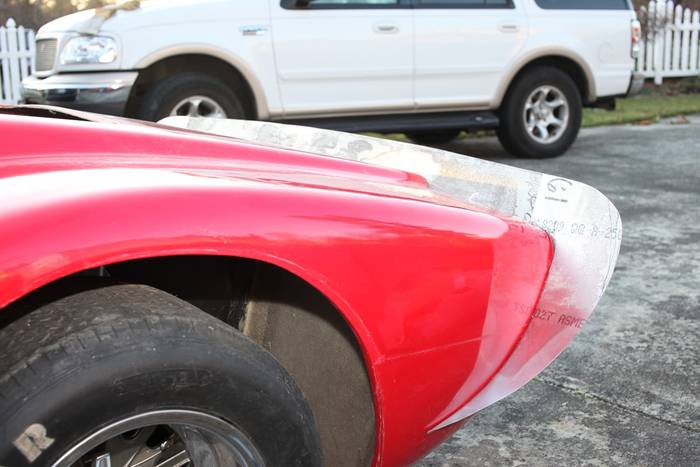

Body sags to the left a little....need to talk with Fran on how to correct...at least the spoiler is striaght.
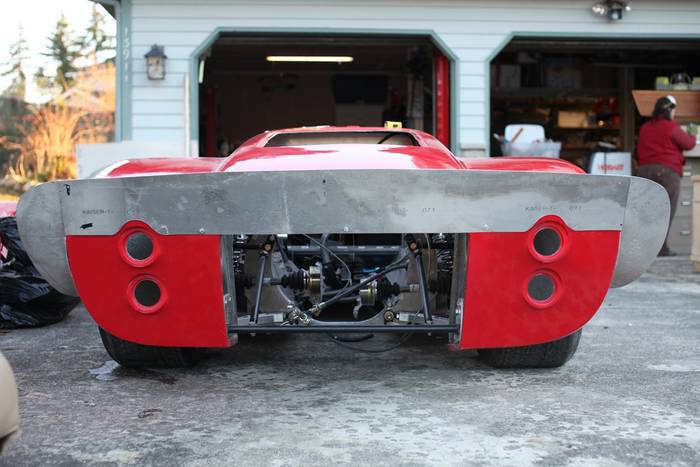
Here are some pictures of the rear spoiler and side spoilers.....Kinda fun to make and fairly straight forward. The key was making both sides like the same and to get the arch in the rear spoiler looking smooth and right, as it's not flat which would have been much easier.
Body sags to the left a little....need to talk with Fran on how to correct...at least the spoiler is striaght.
Also needed to make up the front shroud thingy coming from the radiator nostril area. Tried making it close to original and it took me several tries and a lot of hours to get it down.
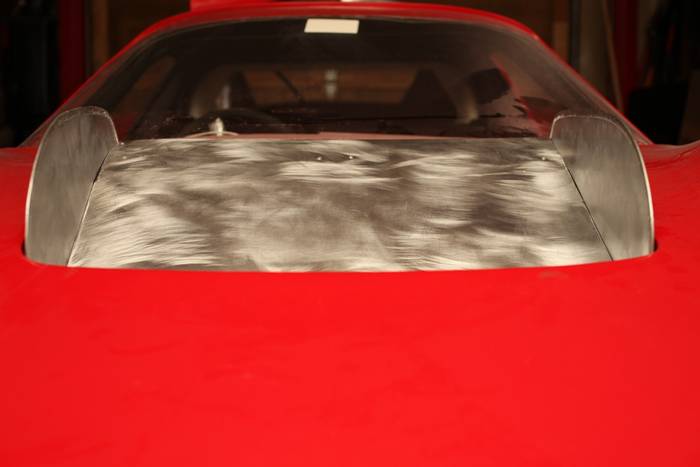
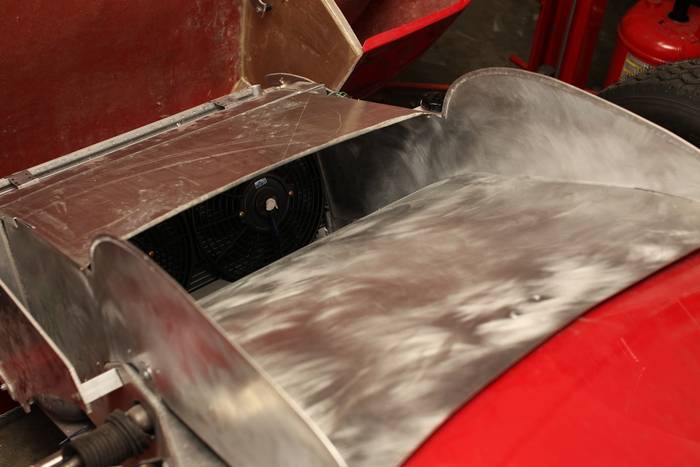
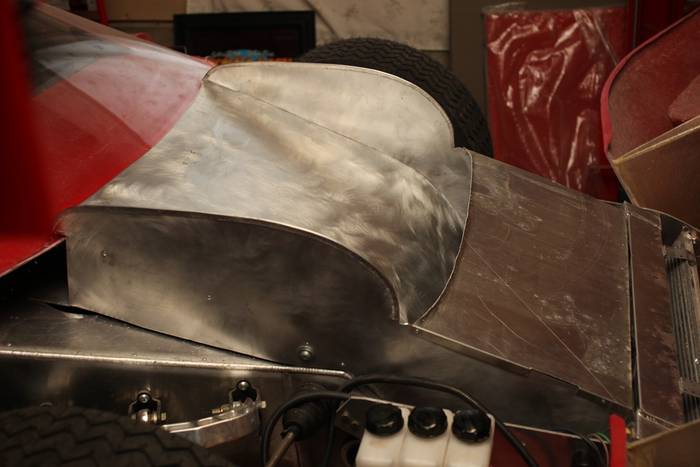
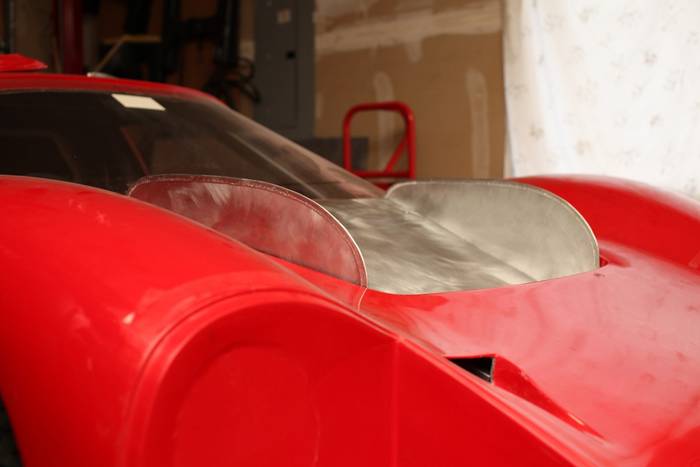
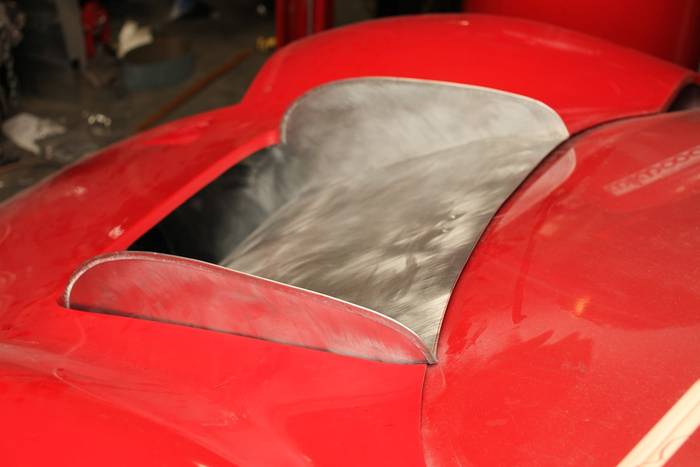
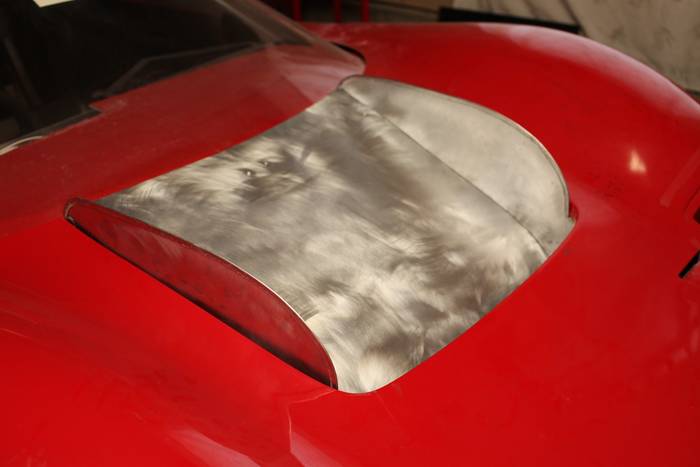
- I first took a flat sheet of metal and put a half inch 90 degree bend on each side of it. The nostril area isn't straight, so I compensated for that with one end down by the radiator being and inch or so narrower than up by the wind shield.
- I then started using a shrinker machine to get the appropriate bends to get the appropriate slope, etc down to the radiator.
- Then I took a relatively thin sheet and made a patter for the sides....This was relatively tricky and time consuming but ended up with a reasonable fit and look. Had to make sure to get both of the fins that stick up out of the hood to look the same.
- Then, from what I can tell by looking at many pictures of orginals, there's a thin strip of aluminum folded over and runs along the top edge of the fins - presumably to make them more ridged. So, I took about a 3/4ths inch wide strip of aluminum, put about a 120 degree bend in it with my brake and then used the clamp on my brake to squeeze it flat (I put a sheet in the crease so it didn't bend it all the way and crack the metal). Then I used my shrinker again and carefully followed the contour of the fins. Once they were good, pried the piece apart with a small screw driver (what a pain in the ass) down the length of the piece so I was able to slide it on the fins. Once on, I used the brake clamp again to squeeze the metal onto the fins and they are secured well.
- Then I made a top shroud from the radiator top to the front of the outlet on the hood....this really firmed up the unit too.
- There was a lot of other little things that went into it, along with some cursing, and many hours, but I think it turned out ok
Really awesome work on the radiator ducting, and the rear spoiler as well. It will not only look like a MKIV but have the functional side as well due to you following the details. This is an exciting build to watch so please keep at it and keep posting.
Wow that is incredible, my wife and I really want to make a road trip out your way and have a look up close and personal at your build. :thumbsup:
Great work and good to read you again Brian....
Body Sag - Remember that the original GT40s were not perfectly symmetrical but the RCR's CNC chassis is. There will need to be adjustments made here and there to compensate and essentially come up with a happy medium.
Your metal work is VERY nice! :thumbsup:
Body Sag - Remember that the original GT40s were not perfectly symmetrical but the RCR's CNC chassis is. There will need to be adjustments made here and there to compensate and essentially come up with a happy medium.
Your metal work is VERY nice! :thumbsup:
Thanks, Randy (it's Brent by the way, but I've been called a lot of stuff a whole lot worse over the years ). Yeah, I'll need to figure it the alignment stuff. Adjust one thing and screw something else up! Wish it was not raining so I could pull it out into the driveway for a little more room to view and adjust. Thanks on the metal work compliment. I enjoy it most about the project and learning as I go.
). Yeah, I'll need to figure it the alignment stuff. Adjust one thing and screw something else up! Wish it was not raining so I could pull it out into the driveway for a little more room to view and adjust. Thanks on the metal work compliment. I enjoy it most about the project and learning as I go.Similar threads
- Replies
- 7
- Views
- 7K