BigB's RCR MKIV

Randy V

Moderator-Admin
Staff member
Admin
Lifetime Supporter
BRENT! Okay... I knew that but my mind said one thing and my fingers typed something else!! ((sigh)) Old-age is creeping in at an alarming rate somedays..

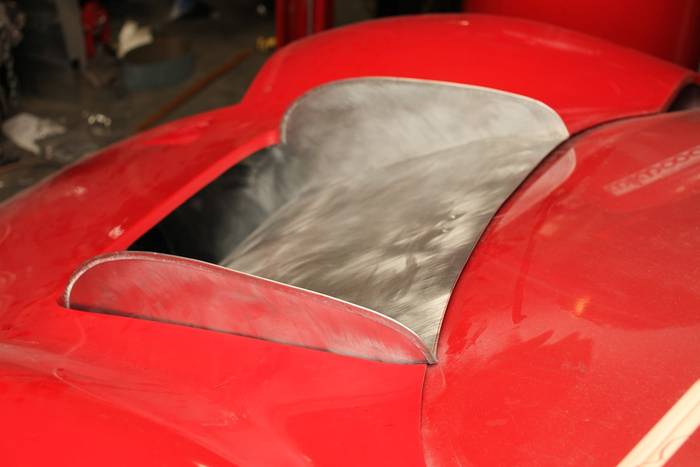
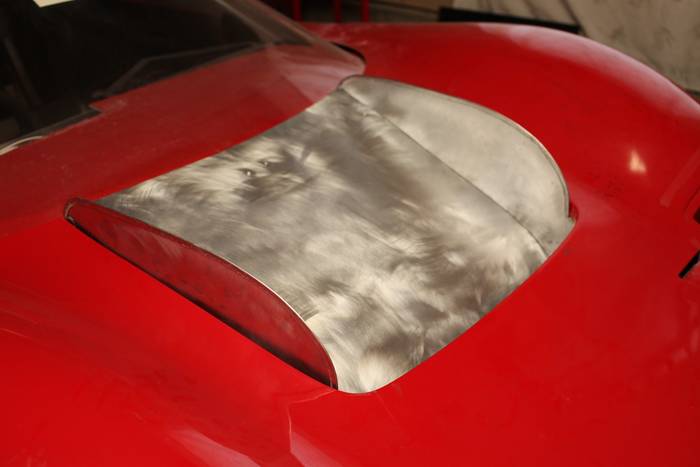
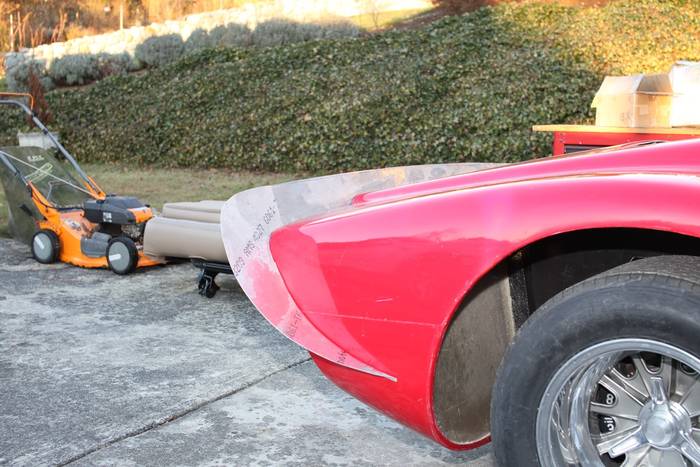
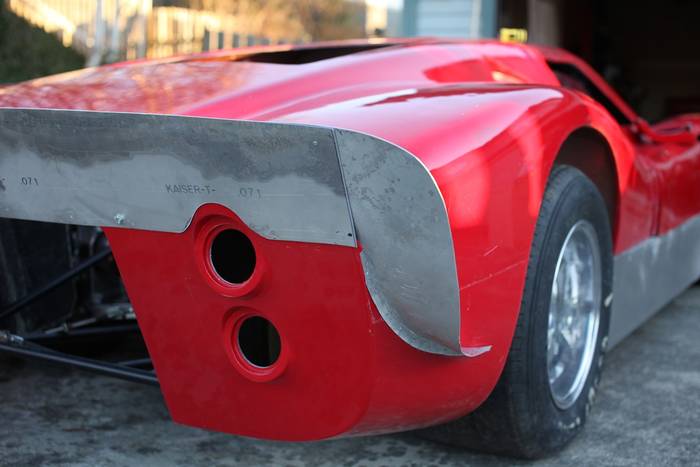
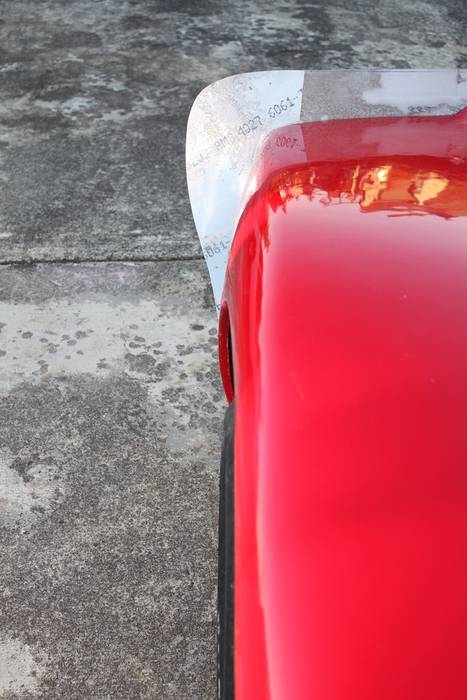
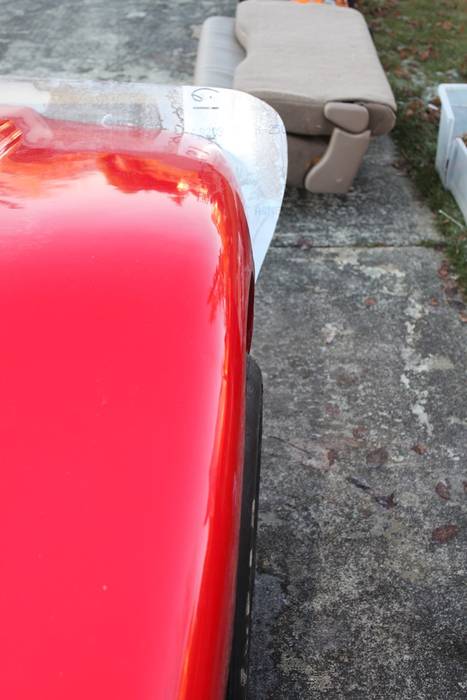
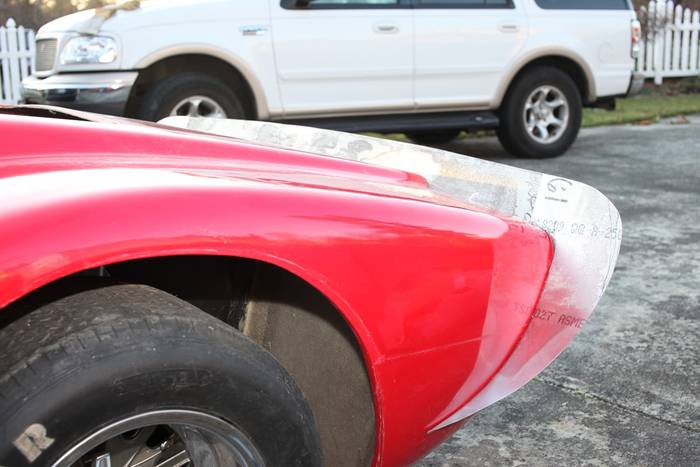
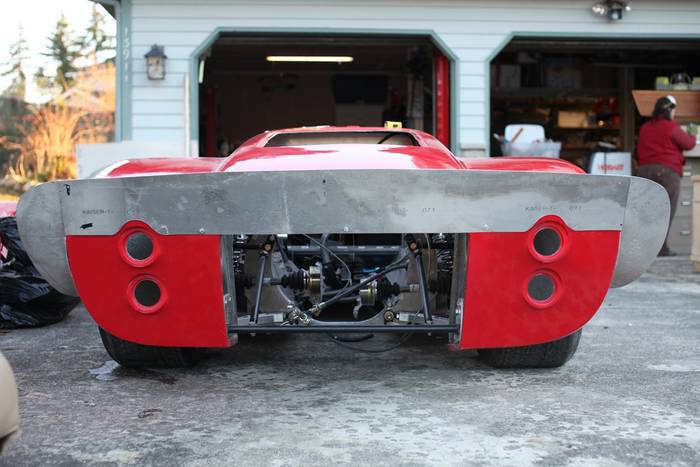
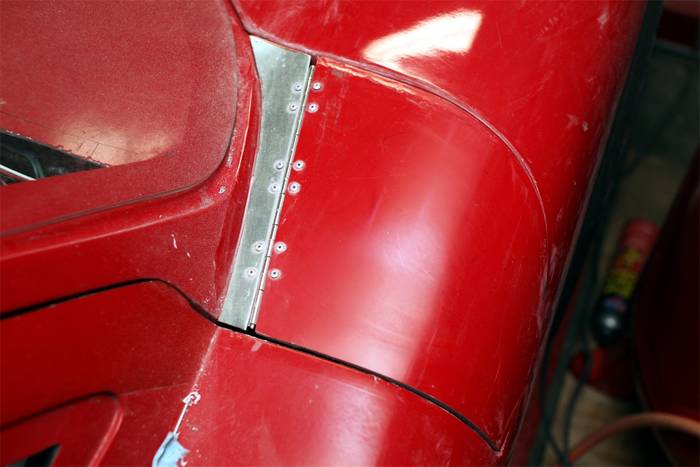
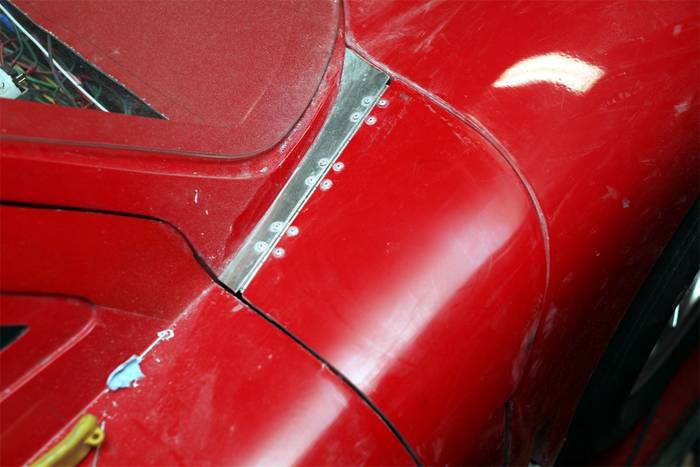
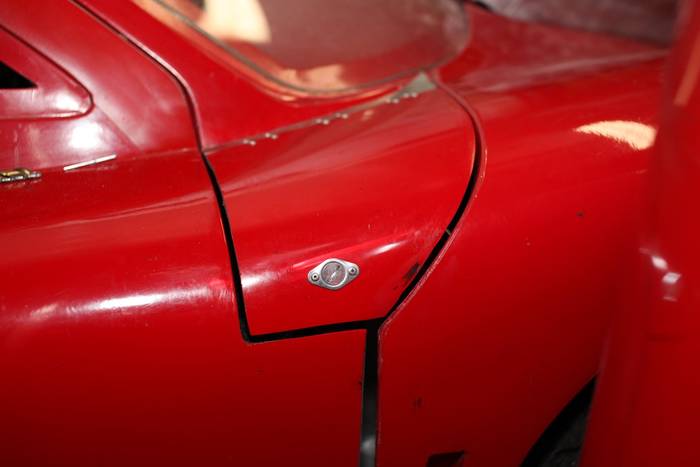
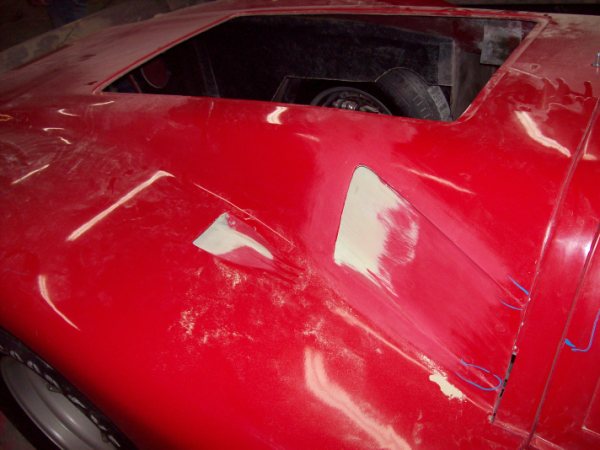
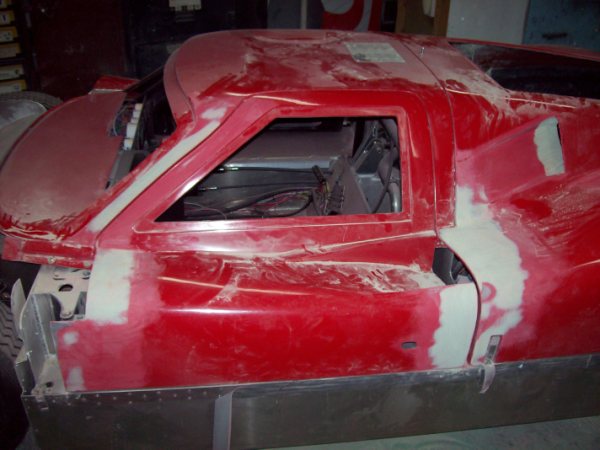
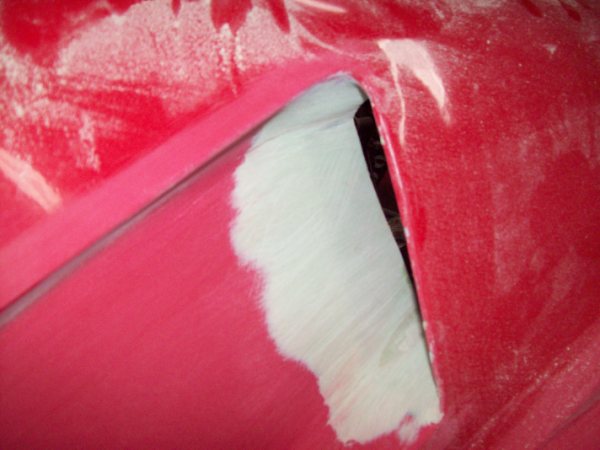
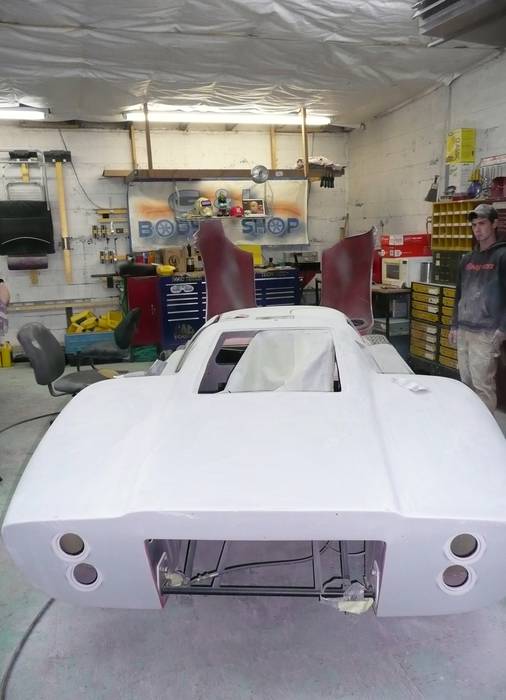
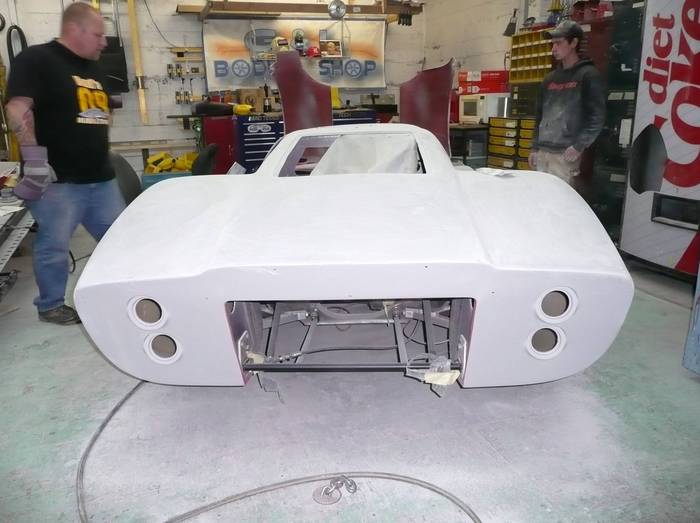
The Body Alignment on any of these cars takes a long time to get right. It's difficult to put off cutting or sanding edges for gaps until you have it all tweeked just right. Keep a positive outlook and if you get frustrated - just go work on something else for a while.. That's the way I've approached it and survived so far! :)

Happy New Year!!!
 

BigB98

CURRENTLY BANNED
Also needed to make up the front shroud thingy coming from the radiator nostril area. Tried making it close to original and it took me several tries and a lot of hours to get it down.

  • I first took a flat sheet of metal and put a half inch 90 degree bend on each side of it. The nostril area isn't straight, so I compensated for that with one end down by the radiator being and inch or so narrower than up by the wind shield.
  • I then started using a shrinker machine to get the appropriate bends to get the appropriate slope, etc down to the radiator.
  • Then I took a relatively thin sheet and made a patter for the sides....This was relatively tricky and time consuming but ended up with a reasonable fit and look. Had to make sure to get both of the fins that stick up out of the hood to look the same.
  • Then, from what I can tell by looking at many pictures of orginals, there's a thin strip of aluminum folded over and runs along the top edge of the fins - presumably to make them more ridged. So, I took about a 3/4ths inch wide strip of aluminum, put about a 120 degree bend in it with my brake and then used the clamp on my brake to squeeze it flat (I put a sheet in the crease so it didn't bend it all the way and crack the metal). Then I used my shrinker again and carefully followed the contour of the fins. Once they were good, pried the piece apart with a small screw driver (what a pain in the ass) down the length of the piece so I was able to slide it on the fins. Once on, I used the brake clamp again to squeeze the metal onto the fins and they are secured well.
  • Then I made a top shroud from the radiator top to the front of the outlet on the hood....this really firmed up the unit too.
  • There was a lot of other little things that went into it, along with some cursing, and many hours, but I think it turned out ok
nose8.JPG


nose7.JPG


nose6.JPG


nose4.JPG


nose5.JPG


nose3.JPG
Well, after a bit of time off...lots of summer and family issues, I have been making some reasonable progress with hopes to get the car to the body shop maybe next week.

Here are some pictures of the rear spoiler and side spoilers.....Kinda fun to make and fairly straight forward. The key was making both sides like the same and to get the arch in the rear spoiler looking smooth and right, as it's not flat which would have been much easier.

tail7.JPG


tail8.JPG


tail6.JPG


tail5.JPG


tail4.JPG


tail2.JPG


Body sags to the left a little....need to talk with Fran on how to correct...at least the spoiler is striaght. :)
tail1.JPG


Aside from the pics of progress I posted yesterday, I forgot to show the dash which is pretty much completed, with the exception of the foux exposed fuse terminal which will be added. Pics don't really do it justice as I hadn't cleaned up after working all day on the thing, and you can't really see the crinkle finish in the pictures.

dash71.JPG


dash21.JPG
 

Chris Kouba

Supporter
Brent-

AWESOME!! Great looking work.

On the body alignment, it's exactly as Randy says. You only need three things: patience, patience and patience. Pick what gaps you're going to monitor, make simple, small adjustments and then go back and check your gaps. Adjust other stuff as needed. Repeat.

The other thing to remember was also already posted. None of the original cars were perfect. It doesn't mean that yours can't be but your bodywork is presumably based off an original. After I saw a few originals and some other replicas, I realized that everyone who is building these things is human. Mine isn't perfect but still looks good! In the end, take your time and best of luck. I can't wait to see it.
 

BigB98

CURRENTLY BANNED
Thanks Chris...I'm slowly making progress. I think I have the front half mostly taken care of with regards to being straight and just some gap work to do with a file or sander.

A little more progress today. Fabbed a little with aluminum and then cut the filler cover accordingly to fit and then mounted. Kinda fun. Still a bit of finish work, but you get the idea.

gas3.JPG


gas2.JPG


gas11.JPG
 
Brent

great job. Since i saw J 7 the first time and the MK4 Fran is building l love this car. The most inspring look is the flow of the long rear clip section, it is just gorious.

Your fabrication work on the cooler ducting and dash is awsome

TOM
 

BigB98

CURRENTLY BANNED
Tom, thanks for the kudos...I enjoy the fab work, though I find my skill and tools don't always align with my vision. :)

Neal, if all goes as planned (rarely does), I'll be driving it this year. Crossing fingers!
 

BigB98

CURRENTLY BANNED
Well, it may not seem like much in the next few pictures, but it sure was a lot of work. Let me start by saying that for a project like this, an air rivet gun made my life a LOT easier than it could would have been by hand!

I needed to make the ends of the chasis on the inside of the wells look close to original. Required some time and effort to be sure and the pictures really don't do well to show all of the work as the tires were in the way and the flash casts shadows, but it is what it is....

Front setup:

small62.JPG


Back:

small24.JPG


Added appropriate rivets down the side...A lot of work to make it look pretty ok.

small52.JPG


Added Dzus fastener for the fuel cover (front body panel not latched so that's why the gaps don't look quite right...though I do still have a little work to do there):

small42.JPG
 
Brent, I had to go look at pictures of J5 and other J cars. You are really nailing it with the rivet work down the side. Great work.
 

BigB98

CURRENTLY BANNED
Made a little progress today...Needed to get the firewall mated to the spider and make it it look as original as possible. Didn't really clean things well before taking pictures, so....

small3_2_.JPG


small2_2_.JPG


small1_2_.JPG
 

BigB98

CURRENTLY BANNED
Well, no pictures to speak of, but the car is at the body shop now. A small shop in Monroe Washington called G & L Body Shop. Rich, the owner, is a great guy with a passion for interesting projects, and the GT MKIV passes that test. :) We'll be taking pictures throughout the process, and I'm excited to see what he and his guys can do. Going for the original paint scheme and should be done over the next 1-2 months.
 

BigB98

CURRENTLY BANNED
Nothing like progress! :) Rich and the guys over at G & L G & L Body Shop have been busy on the MKIV. One of the really great things about working with them to this point is that Rich has been open to me coming in and doing odds and ends on the car while there at the shop. He found some stuff that needed to be worked on from my end and I came in for a couple of hours to shape a little metal on the spoiler, etc. Offered me tools and air and a helping hand while I was there. Cool!

Well, here are some of the progress pics. I think they are pretty much ready to do a full coat of primer and then block that out as the next step in the process.

One of the neat things I decided to do (at least I think it's neat), is to extend the inside surface of the scoop thingy's (see pictures) so that the extend beyond where just the hole would have been to give it a bit more finished look. Not exactly like original I guess, but I think it will look better. Rich found that my shoddy glasswork wasn't quite up to snuff and reinforced a bit and then filled/smoothed the inlets. Looks great!


Back
Top