CANAMSA - SA stratch build

So now we have bigger hips...........


09%20feb%202008%20006.jpg


09%20feb%202008%20008.jpg
 
What a beautiful shape you've created! The last shot in particular shows how well the curves all flow together. Looking forward to seeing it all one colour to see how the light flows around it.
 
Enough! Foam and preskinning filler work finally finished. Just completed shaping the front lower edges of the front wheel arches and the surface under the nose. Working overhead while lying on your back is not fun!

Now just radiusing a last few edges and then I can start with laying on the grp skin and the real surfacing.

Cheers

Fred W B


30march%20055.jpg


30march%20049.jpg


30march%20050.jpg


30march%20051.jpg
 
It's been a while, but I have very busy climbing up the learning curve of laying up and working off fiberglass. Having now consumed the majority of a 25 kg drum of resin, I have about 80 percent of the pattern covered in a generous layer of resin and CSM.

As I was warned, this is messy, tedious and unpleasant work that definitely requires a "knack" to be acquired. It is the most difficult task psychologically so far on my project. I am definitely very glad I spent as much time as I did getting the shape to my satisfaction before I started with the resin.

I attach some detail photos. As always the edges and returns take a lot of time. As you can see the pattern looks a lot worse for a while, before it starts to look better again. At the moment I am grinding back obvious high spots and overlap joints with a flexback wheel in an angle grinder, and reworking occasional "soft" spots in the surface, where I caught an airbubble in the layup. I'm looking forward to getting this stage finished so I can get onto the final smoothing of the surface with a long board etc etc etc

Cheers

Fred W B

100_6360.jpg


100_6354.jpg


100_6362.jpg


100_6363.jpg
http://www.locostbuilders.co.uk/upload/100_6362.jpg
 
Sticky stuff isn't it.
A shower will now become your friend, once the itchies start....
I thought you were going to take moulds straight from what you had done, or wasn't it solid enough?
Des
 
Hi Des

Fortunately I don't seem to be too sensative to the GRP materials, although I do try to work in long sleeves and gloves most of the time.

The wood/foam/filler mixed surface is not durable enough to finish for molds.

Cheers

Fred W B
 
Fred
I was really sensitive to the dust I ground off the GRP skin.
it doesn't seem to bother me as much now, maybe the hide is getting thicker.

bummer, would have been nice to put a finish on it and take moulds.
looking good though, you must be pleased.
Des
 
Johan
is that a remedy for grp dust or are you saying Fred is that pleased with his project..........
Des
 
Moving on.......

For the last three weekends, and also some weekday evenings, I have pretty much done nothing else than graft in the garage, in order to get the damn fiberglass skin finished. Now every square centimeter (except under the nose) is covered, some of it worked off fair, and I have actually started applying some filler - Yay.

I couldn't resist working off the first section of filler I applied and I'm very happy with the way the surface came up. This is after just one application of filler.

Cheers

Fred W B


08062008%20004.jpg
 
In this shot the camera maybe makes it look like the lower line of the side pod/door is bowing inwards a bit in the centre, but checking with a straight edge it is dead flat in the longitudinal direction, except for where you see the guide coat.

Cheers

Fred W B


08062008%20005.jpg
 
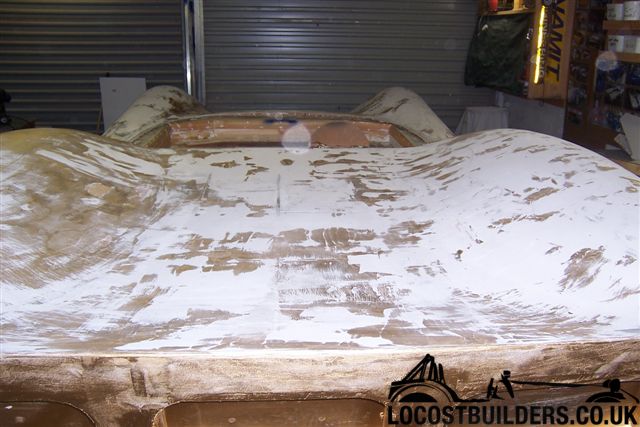
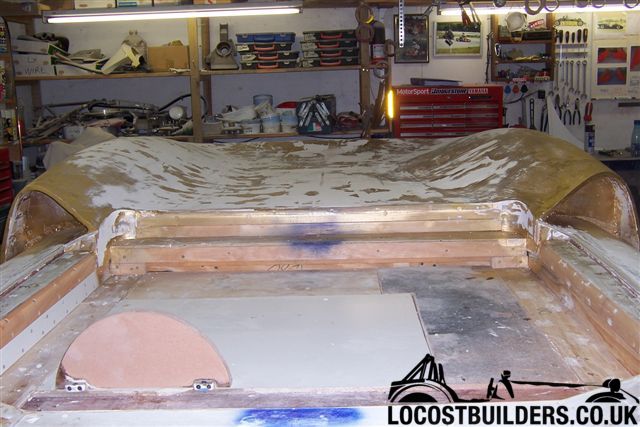
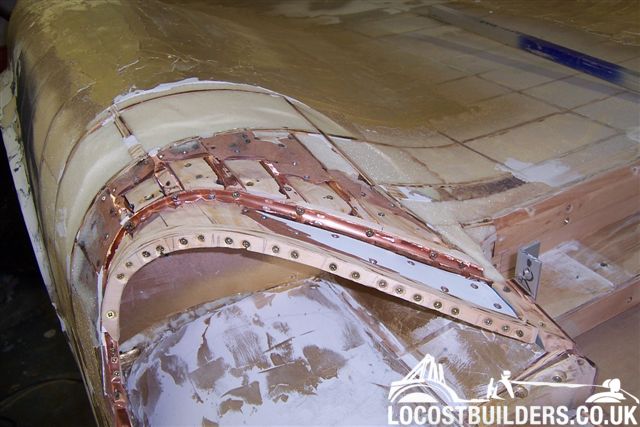
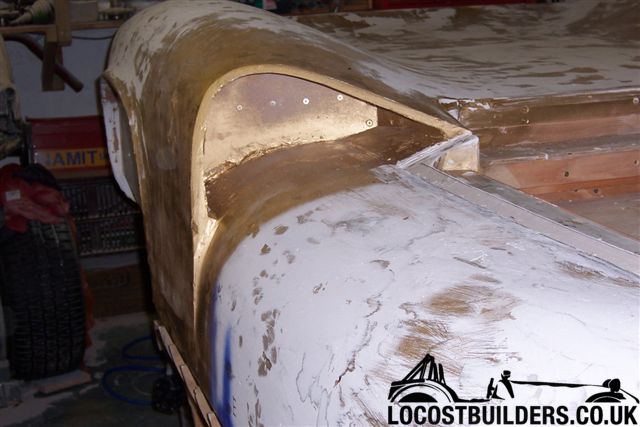
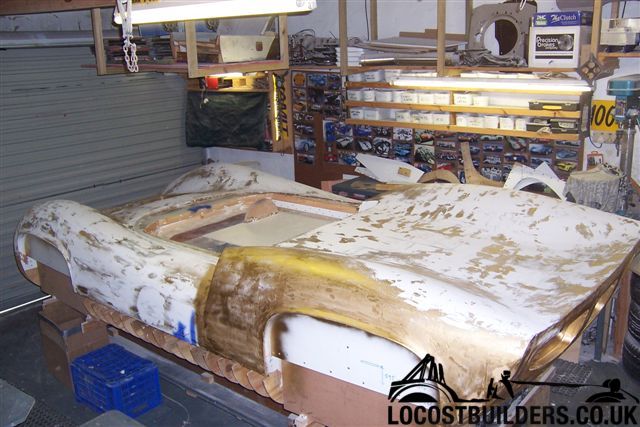
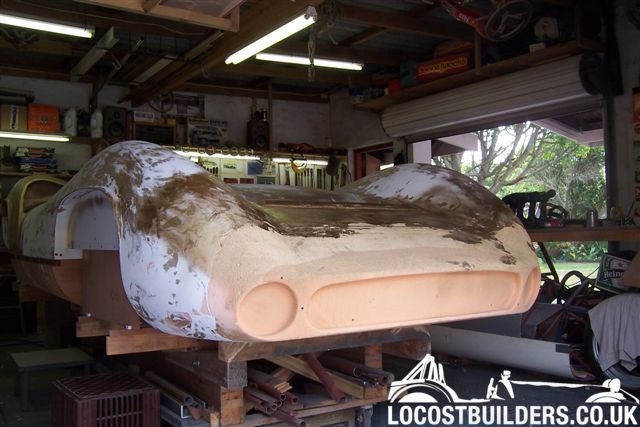
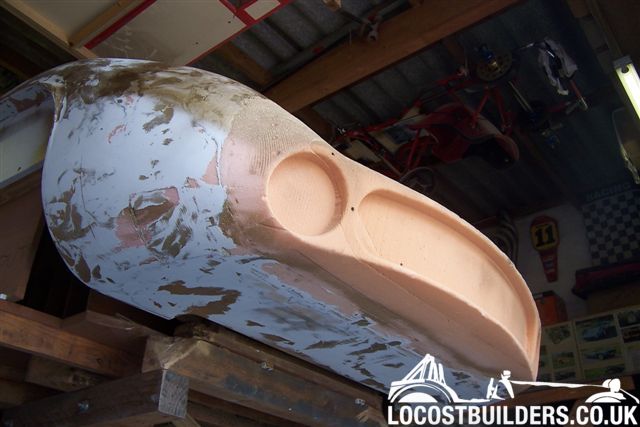
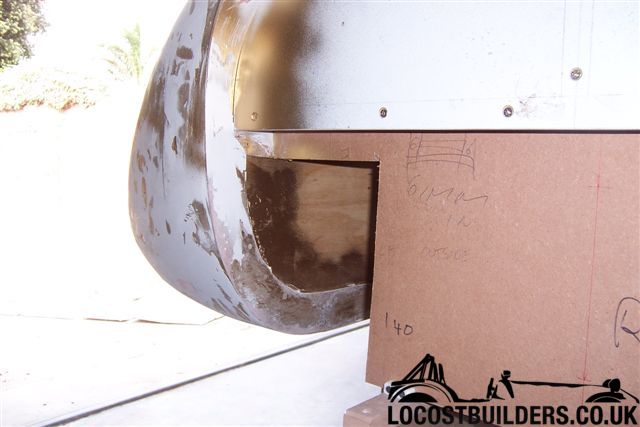
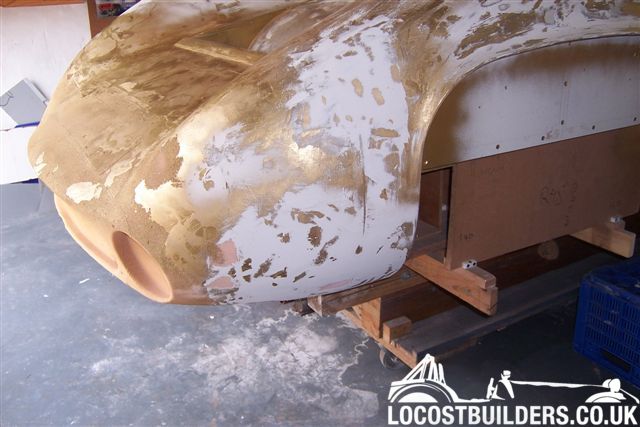
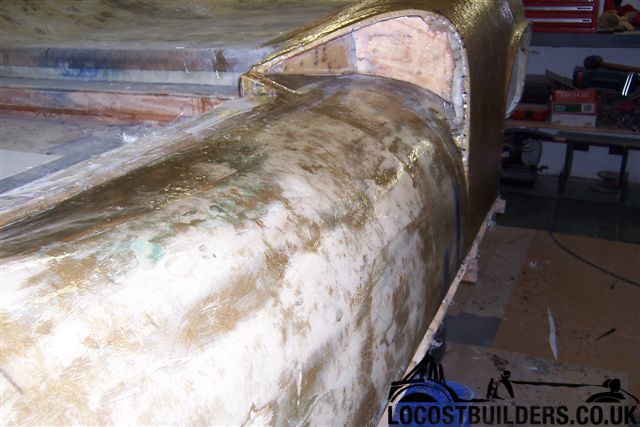
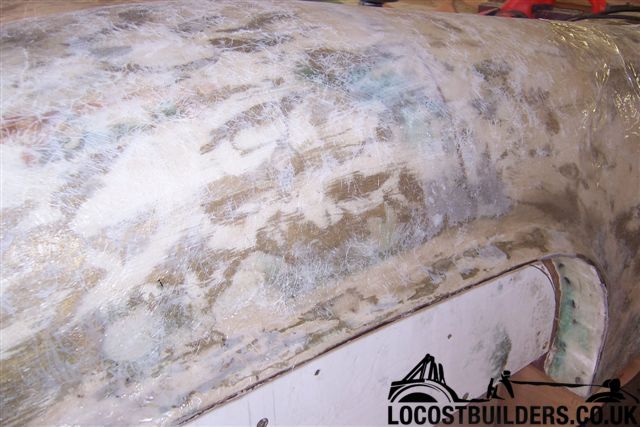
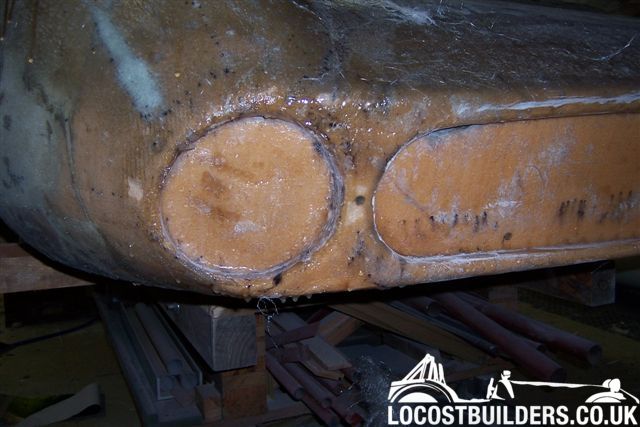
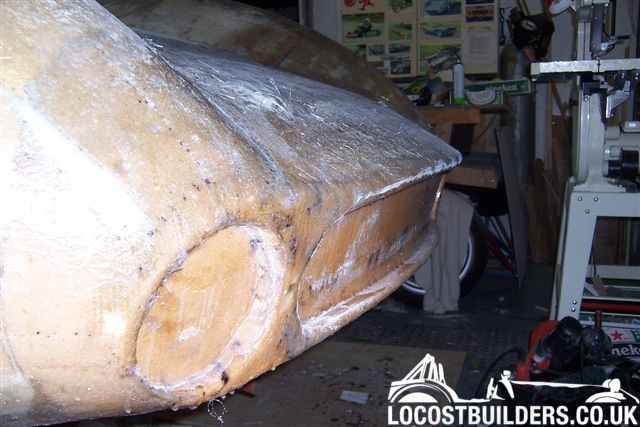
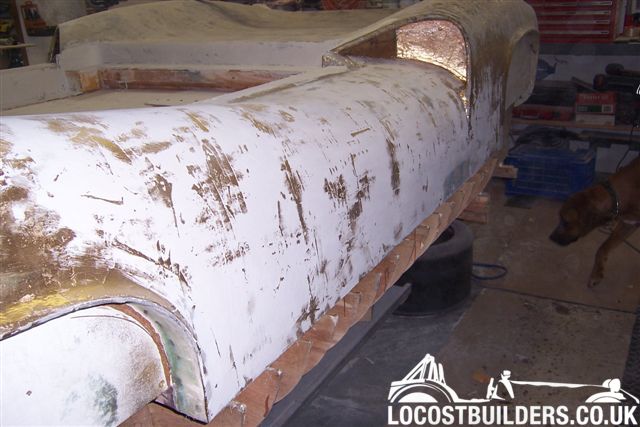
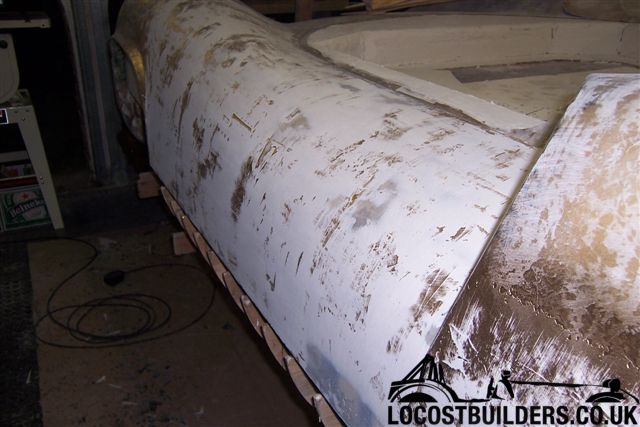
When finished the whole body should be covered with filler, if you have raw resin from your glass coat at the surface it will print thru on your molds due to the filler being softer during your sanding process. Also one 'trick' I learned from a body guy was to try and acheive a very slight 'crown' on your 'flat' surface, try your straightedge on any supposedly 'flat' production car door, you should see what I mean. Great work, I know exactly what your going thru. Dont drop your guard with working with the itchy stuff, it can make life hell if you do!
 
Fred,

It looks amazing, I bet it's even more mind blowing in the flesh. Thanks for taking the time to post the build thread, truly amazing stuff!!!

Regards,
 
Thanks Guys

I will eventually apply "Durabuild" (a surfacing primer designed for pattern making) over the whole surface before I get to the final finish in preperation for molds.

Cheers

Fred W B
 
Last edited:
Back
Top