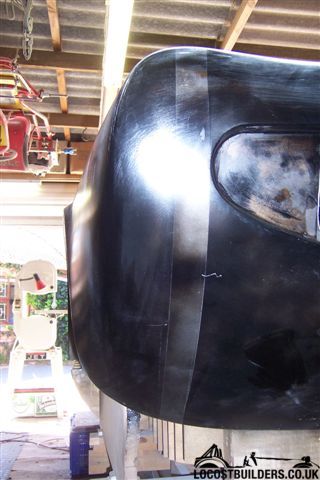
CANAMSA - SA stratch build

it will also be difficult to mold the bottom of the bodywork at the front

Hi Jack

Yes, I have been thinking about that. The whole plug is built on a board fastened to the substantial build table, and I dont think it is practicle to turn the whole thing. I think that once I have molded the upper panels I will cut bodily through the pattern and summon a bunch of mates to turn just the front section over, so I can then finish the lower surface.

If I cut at the scuttle to front panel seam, I can then also finish the front face of the scuttle panel to add the detail of the return that the nose closes onto, and also the bits of the front inner wheel arches that are in the scuttle panel.

WRT the underside faces of the wheel arches, I will have to just battle on, maybe making something to hold the glass up into position as the resin goes off?

Cheers

Fred W B
 
Fred, I've done a lot glassing up-side-down. It can be done, just use small pieces of mat wet out on cardboard them put on with a wide brush. easy if you don't mind resin running down your sleeve!
 
I agree with FRP guy. Just don't put too much material in one pass. The weight of the mat & resin will make it want to fall off. Small pieces of mat, pre-wet and carefully applied with a wide brush works. Go slowly it will make a mess.
 
Fred,

very impressive !!

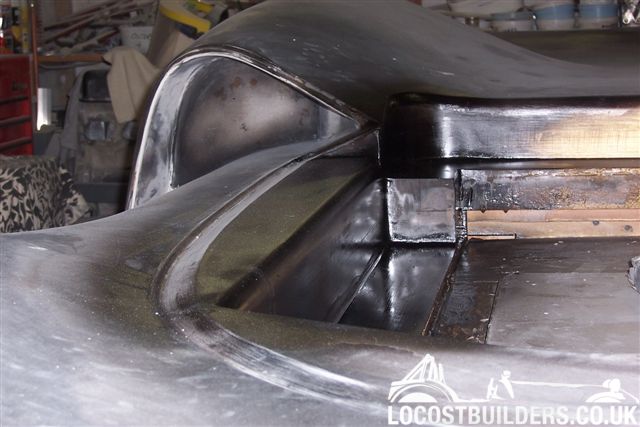
In addition to Jacks and Bills comment, may i just throw in my thoughts and experiences for the mouldings.

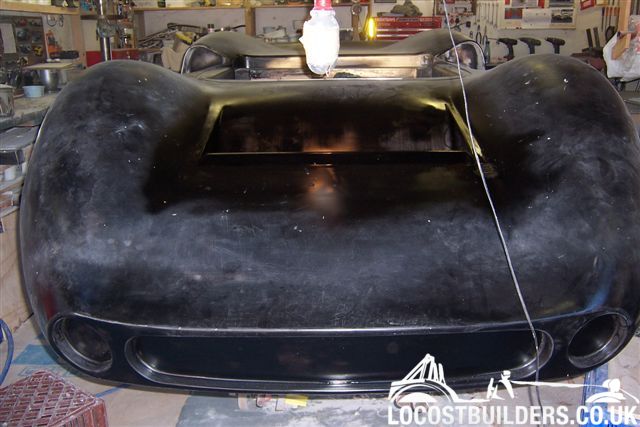
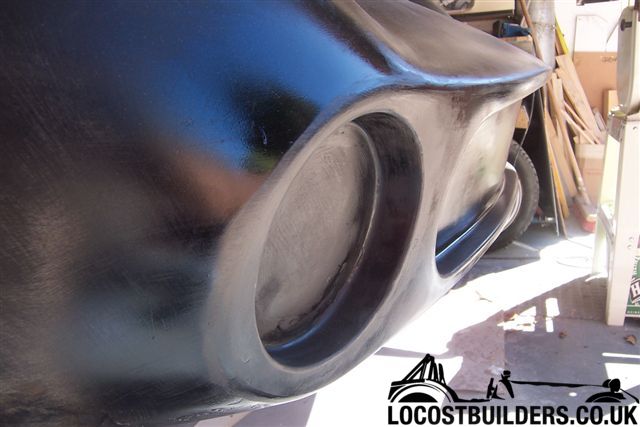
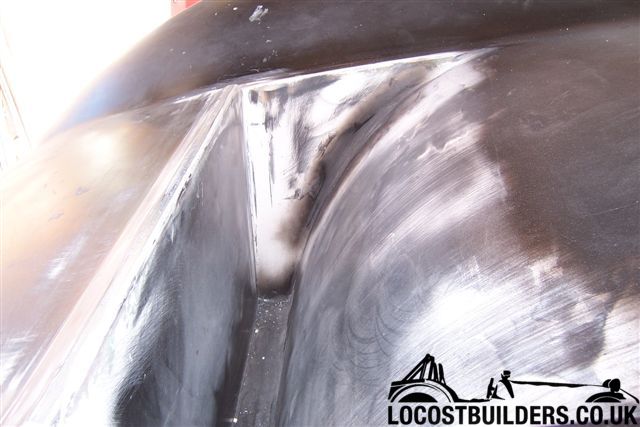
-you did and do an immense work in creating a beautiful plug. It would be worthwile now to spend at least the same investment in time and material to create longlasting, highquality and stable moulds
- to do so i would create the moulds out of epoxy resin only. It is less prone to shrinking and if you use a higher curing temp spec resin you would be able to temper the mould as it is still on the plug and therefore assure the exactness of your moulds.
- parts taken out of this moulds could also be tempered than before removing it from the mould
- laying up the moulds should be done in several steps in order to avoid to many layers holding to much resin which could create a to high exotermic reaction, which in turn would lead to distortions. My reco would be start with a epoxy gelcoat and 2-3 thin layers of woven material to get all the air out easily. then build up with ticker materials and even just cross directional materials. The gelcoat will be cured until it is "finger sticky" from there you could lay up to next layer and it should work also upside down, if you take care of Bills reco.
- Build a symetric layer concept. Design your layup from the beginning and reverse the layer concept as of the middle of the whole layup in a mirror image. This would minimize by fare the chance of distortions.
- Prepare an insulated housing of the plug ( big bubble foil on a wooden frame works great) and thermostatic controlled heating source to be able to run a temperature controled climate to cure according yxour resin specs.
- source high quality materials. I have mad good experiences with suppliers which also serve the premium range yacht builders.
- for multipiece moulds prepare all your seem flanges before and very exact out of strong enough material. I´m using thickwalled aluminum arrowshafts (Easton) as a source for creating very exact index pins.

Hope that helps a little

TOM
 
Last edited:
Hi Tom

Thanks for the compliment and the helpfull advice.

At this stage I am hoping to keep things simple when it comes to the molds, but am talking to the guys who supply materials and support to HiTech (Superformance). Our ambient temp is such here that the local professional boat builder guys don't worry with temp control during mold and component cure.

I am planning to make wood or metal parting flanges.

Cheers

Fred W B
 
Hey fred, nice to see you're still on the project, big respect on your endless effort.

one small tip: whatever you do on the mold parting flanges, don't do them in alluminium, should you ever want to make the body or parts of the body out of carbon fibre. those react on eachother and will give problems.

Grtz Thomas
 
Some good news out of the commercial crisis!

I haven't been able to get any time on the car for several weeks now, due to some other things keeping me busy, but this weekend managed to get back in the garage.

You know how retail establishments only know how to put their prices UP, while those of us in engineering / manufacturing / construction have to instantly adjust selling prices due to raw material price changes when commodities and petrochemical prices soften?

Today I went to buy some more paint rattle cans, to find the price is now two thirds of what I have been paying in the past. I nearly fell over. As we know all economic activity has softened but its nice to see a price reduction on the retail shelf when you are taking money out of your own pocket.

Cheers
 

Russ Noble

GT40s Supporter
Lifetime Supporter
Fred,

Great work! I missed your earlier postings this year as I was pre-occupied with my own deadlines....

You must have a great sense of achievement now you have virtually got the plug finished, and looking magnificent too! I have nothing but admiration for the quality of your work and your tenacity and attention to detail in building this body.

Fibreglassing is not one of my favourite occupations but once you've got your molds its a relatively simple and quick excercise to produce your body/s.

I agree with what the other guys have said about the fibreglassing process and would add don't skimp on the release waxing process. This can be bloody tedious particularly over a large area and many coats, but you'll be used to that!!! Some waxes are easier to work with than others and I have found an Aussie product by K & H Pty Ltd called FRP Easywax to be pretty good, that is compared to another product that I had been using.

I look forward to seeing your further progress.
 
Fred,
Fantastic job! Keep up the good work. A project such as this is like eating an elephant, you have to take it one bite at a time. Stay hungry!
 
Hi guys, I'm still making slow progress on finishing off the last details before I go out and buy the surfacer primer. I finally have the edges of the openings in the nose and the radiator exit duct pretty much finished.


buck%20pics%20may%2009%20top%20front.jpg


2buck%20pics%20may%2009%20brake%20duct.jpg


buck%20pics%20may%2009%20nose%20duct.jpg
 
Hi Fred....been watching your progress for a little while and very impressed with the quality and craftmanship you are working with. It makes me wonder how the factory teams were able to turn out cars as quickly as they did when you look at the time you have put in. I'm quite shore they did not pay as much attention to detail and finish as you have. I'm looking at the daunting task of building a body for my scratch built, But I'm doing a McLaren and thankfully they are quite flat and Square panels so I'm hoping to choose a different method of constuction, but seeing what you are doing is a slap of reality as to the task at hand. I can't wait to see the end product. The T70 is one of the most beautiful shaped cars and you have done the Marque pround, Great work. Cheers leonmac
 
Thanks for kind comments guys, haven't touched the project in a month as I've been battling to throw off a flu/virus thing, but should make a bit more progress this weeked.

Cheers

Fred W B
 
Back
Top