DRB #5

Terry Oxandale

Skinny Man
Glad to see another post on the project. Great side-mirror solution, and good luck wth the EFI issue. Wish I could help, but that's a blind-leading-the-blind situation.
 
Last edited:
Well, while waiting for the mirrors to be finished I have been trying to track down the source of the electronic failure. The odd thing about it is that I only disconnected the starter and the O2 sensor in order to remove the trans. The rear of the engine was lifted in order to get all to clear when removing. Hooking up the trans, starter and the O2 sensor should have allowed the engine to start. I found one possible cause which was the crank trigger wires(2) that became pinched with the rear of the engine up. those wires were spliced together and still no pulses to the EFI unit or the plugs(which come from the XFI to the XIM box to the plugs). There is no point on the front of the engine that would impede the harness when tilted forward. If I can't find the problem then a new harness is the only alternative. That means checking many wires for continuity, probably almost all. The main reason for going to a new harness would eliminate the splicing I had to do to shorten the harness for a mid engine application and have the dealer stand behind it. The other is the installer of the unit is not the best at returning calls. In order to talk to him I have to drive over to his shop which is a good 30 miles from my home. Pitiful service, but he has so much business he only does what he wants.
So let's move on. Chuck in one of his latest post, talked about the fiberglass getting soft due to the heat of his exhaust. Well my engine is a little more powerful than his, and consequently puts out more heat. When the motor was working at the shop last, they let it run for quite a while at the same time setting the vacuum on the throttle bodies and a few other things. They did not use the engine bay fans while doing the service. Chucks exhaust is not much different from mine. With the larger engine in place, and no tray insulation, here is the result of running the engine without driving the car. I don't think that would make a difference.

IMAG0028-1.jpg


This is my exhaust configuration. It's an old pic and the O2 sensor has been moved to the other side to get it away from the cross bar and the exhaust.

PC210052.jpg


As you can see, the one exhaust tube bumps up and is within 1-2 inches of the fiberglass. Mine at present has no reflective medium on the tray underside. I should have done it before now, as I had it in the shop. I would be upset with this, but the car needs sanding down to the fiberglass from other paint issues and repainting. This will be done when all is done(whenever that is). I still have to add the rear view camera and its housing to the car. It will look like an inverted NASA duct. It will be mounted on the rear portion of the spider. I will also be adding a layer or two of insulation to the rear tray area to ward off the heat that can cause this problem, and I'll document the process.
 
DRB#5 IS ALIVE!!!!

The electronic bugs have been found and sent on their way. after tracing EVERY wire from its origin to it termination and found o be O K, I decided to check on the DIP switches in the XIM box. You guessed it two of the switches were on that should have been off. When the boxes were sent to the company to check out for "No ECU found", they reset some of the switches to run on their engine. Once set it fired up nicely. Now to get the rest of the liittle things together and on the dyno we go!!!! YAHOO!

Bill
 
Well there has been some god news and some bad. First the good. The build has finally come full circle and the car was on its own feet and made the maiden voyage around the neighborhood. The video wasn't something to see, as I fired it up two maybe three plugs fouled. The car sounded like it was out to kill someone with all the backfiring. But still made the move around the neighborhood. My wife mentioned that even though I was in the back of the neighborhood, she could still hear the car(without the backfiring). I am scheduled to go to the chassis dyno on Thursday to get the final tune to straighten out the fouling plugs, tune and run on the dyno.
Now for the bad. Today I wanted to take the car out and see if the new plugs made a difference, get some gas and go by one of the local shops to see if the car would fit on their rack to get the C-4 front end aligned. As I went to start the car I noticed the same grinding sound as when the starter ground off 6 teeth from the ring gear(See HiTorque Mismatch). So I crawled underneath to find the starter very loose from the adapter. I pulled it and found the two Allen screws that hold the starter to the adapter were about half undone.
P9220234.jpg


Loctite was added this time. Then when I looked into the starter hole I found one tooth missing on the ring gear.

P9220235.jpg

So the trans will have to be pulled "again" and replace the ring gear. No fun task. Was hoping to get on the chassis dyno next Thursday. It will be close to see if that is pulled off.

Bill
 
Alan,
My exhaust was a happenstance. I cam across a picture on the forum of the exhaust I wanted. Fran offered to fix a set for me. The bad news was he needed the car to do the job. To get the car up and back it was going to cost a bunch. So I talked to the guys at Shepard Race Cars in Covington Ga. They have a shop next to my friend who has the chassis dyno shop. They are the all purpose race shop. They create cars for everything from alcohol drag cars to Bonneville. One of their specialties is exhaust systems. They agreed to make the stainless exhaust from the pictures I had for the same money it would take to get my car up and back to Fran's shop. I will have to look through my records to see if I can find the invoice. Amazing workmen. They only had two pictures.
P9220237.jpg
P9220236.jpg
 
Well its been a while and there have been some progress and some setbacks. After getting the new ring gear installed, I decided to get the cameras hooked up as I was hoping to drive the car home from the tune up at the dyno shop. Here are some of the pics of that.
P4190190-1.jpg


P1010055-1.jpg


The mounting of the cameras as seen here was done away with, because the housing of the "side mount" cameras wasn't allowing me to put the cameras where I wanted them. A new mount was faricated for the RX-7 mirrors. The original glass section of the mirrors was done away with as well due to a housing mounted to them. The local glass shop made some mirrors up from drawings I made. Epoxy compound was used to secure the glass and the plexiglass mount once the proper angle and position was decided on. The camera is a round ball about 2" in diameter. The plexiglass was drilled out to the diameter of the lens and the camera was mounted in that hole with a rear strap holding it in place. This allowed the camera to be virtually against the glass(backside of the glass) and a very small footprint is all that is needed to get the full view of the camera. You can see in the second pic the camera "eye" is quite small and doesn't interfere with the image seen from the mirror. The camera lens is a 120º The rear view camera is mounted on top and its field of view is 120º as well. A housing that will look like an inverted Nasa duct will enclose this camera.

P1010073.jpg

The screen is multi functional and allows me to use 1,2,3, or 4 cameras for viewing.These were taken in the garage so they are a little dark. Each camera has infrared lighting for night vision and it lights up everything pretty well.
P1010059-2.jpg


P1010058-2.jpg


I haven't decided if this is where the screen will remain. The way the cameras are mounted allows me to see the full view from behind the car to beside the car.
The location of the mirrors has been set so that as an overtaking car pulls up on either side, its image moves from the rear view camera to the side mount camera. As it pulls out of the view of the side camera, its nose is at the rear of the window opening. So I know that if the car is going out of the rear camera and into the side camera, I cannot move into that lane. Judging distance is not an easy task in these cars even with a flat mirror, and the 120º lens distorts it even more, so placement means everything.I wrecked a Lotus Turbo Esprit because of that fact. Any car behind me is never out of view.
The car was fired up and ran pretty well. It was taken to the dyno shop for the final computer tune, a driving tune with the laptop, and a session on the dyno. While seting the Air/Fuel ratios, we noticed that the O2 sensor was reading 1/2 of the values that one would expect(7.5) which is impossible. We tried every trick we could to try and get around the value and get the real values to show, but it was to no avail. We assumed it was a software glitch as we had traced and continuity checked every wire in the harness. It was about this time we noticed the status light on the XIM box was not lit. This light indicates that the two boxes(XFI/XIM) are comunicating with each other. With out that you can't tell where your timing is. We had another mule harness that we hooked up to the XIM box via the comunications wires and still didn't get a staus light. The boxes and the O2 sensor were sent to Memphis for evaluation. Somehow they checked out OK, so now we knew there was something wrong with the harness inspite of our checking, and a new XIM harness was ordered. I will have to patch it in to the XFI harness this week to get it going.
All this has killed another month. It seems like it will never end:huh:.
While I was out at the shop I figured I would get some shots of the car on its own feet, since I haven't gotten any stills that way. So here are some. Unfortunately the car was in the shadows so it appears much darker than it really is. Can't wait to repaint it. May go with a lighter grey like the one on the truck in the photos. May change the whole color scheme.


P1010069-1.jpg

P1010071-1.jpg

P1010077-1.jpg
P1010066.jpg
 
Last edited:
Second post on the forum and I'm already correcting, but it's NACA duct, Bill. :)

From Wik:
A NACA duct[1] also sometimes called a NACA scoop or NACA Inlet, is a common form of low-drag air inlet design, originally developed by the U.S. National Advisory Committee for Aeronautics (NACA), the precursor to NASA, in 1945.

Love your car. Hope to be able to join the ranks here with a build thread of my own. Good luck on the tune.
 
Steve,
You will have to overlook us guys with AADD. We tend to zoomm right over the obvious. Well I don't kow why my pics keep getting deleted or moved. I guess I will have to be a little more careful with the photo web site. Here is where the inverted "NACA" duct will go.
P1010074-1.jpg


And here are the stills of the car on the ground.
P1010077-2.jpg

P1010070.jpg


Bill
 
Bill, this must be the oldest DRB still being built. But your car looks fanBLOODYtastic.
Wow, that is so great. I'm really impressed Bill, and as you persist with all the final gremlins you are going to have a great GT40.
 

Randy V

Moderator-Admin
Staff member
Admin
Lifetime Supporter
Damn that's a sharp lookin' 40.....

:thumbsup::thumbsup::thumbsup:
 
Well guys it has been a long time but the good news is that I finally have DRB#5 on the ground, engine running and driven for the first time outside of the neiborhood. Since the last time I have had to overcome some hugh hurdles. I have gone through 4 ring gears on the starter. You heard that correctly. There was a constant timming issue that we just couldnot overcome. I decided to give up on the coil to plug setup that I had my heart set on. I investigated MSD's distributor setups and in doing so found a number of videos on their web site that talked about everything from their latest and greatest to problems with the systems and how to correct them. One of them described my exact problem with the engine backfiring up the injectors. It was a timing issue. I went back into the computer and found that the initial timing for the engine was set at 46º at start up. The engine builder said he had set it there because the crank trigger would not reach the 50º mark that computer called for, and that would compensate for it. It did that and more. It was firing the coils too soon and they were firing so early that the peak of the firing was occuring well before TDC and was trying to turn the engine backwards(thus breaking the ring gear). Not being happy with this I altrered the crank trigger so it would reach 50º. I set the computer to its correct setting and the cam sensor to 70º which it called for. I attempted to crank the car twice and the same problem was there. Checked the ring gear and it was broken as well. So the trans was pulled for the 4th time.
At this point I gave up on the coil setup and ordered the MSD unit. This required me to pull the engine as the unit would not go into the distributor slot with the TWM injectors in the way. I had somne other things to do as well. I took a closer look at the pully setup I have which had eaten 3-4 belts and discovered the pulley was a GM unit so it had to go. They had rounded out the holes so that it would go on to the crank dampener. That led me to believe the crank trigger housing was for a GM product as well so it was scuttled for a new unit that was made for a Ford. The V pulley was a bit of a search but finally came up with one that was only 2" deep. Everything went on like it was made for the engine(which it was).The pully cleared the water lines by 1/4". The 50º setting was easily reached. The MSD distributor, 8758 I believe, is the shortest one they make. It still hit the fuel rails, so the edges of the rails were ground down and all was well. Initial timing is set at 24º, and the rotor aiming at the #1 cylinder. This allows you to set what they call "rotor phasing". The FAST controls the timing and the rotor has to be fixed in the middle of the timing advance range so that the spark will reach the correct plug and not have to "stretch" to reach it as it advances. Go to the MSD web site and look at their videos. It explains it better than I can.
Everything I had in the original computer setup from FAST will work with this setup. All is wired as before with the exception of the coil harnesses, which were left out. There is a white wire in the XFI box that is set to work with a points setup. It is wired to the MSD box as the diagram on instruction sheet shows. The amplifier box by MSD has to be utilized and is wired in its usual fashion. Nothing exotic here. In fact all you need is the 6A basic box. All the advance settings are taken care of by the FAST system. I also keep all the features of the FAST system like fuel pump control, water and fan settings and several rev limiters as well. When I reset the timming controls back to baseline I decided to alter the initial timing for sartup. At 400 rpm I set the timing at 12º.This takes all the work off the starter. The next setting is 900 and that is left at 20º.
Once everything was added, the dreaded fire up was taken on once again. The first push of the button gave a pop back through the injectors. The second time the button was pushed it fired up right away and has fired up just as it should every time since(3 times).
So today the weather cooperated and I was able to take the car out of the garage and drive through the neighborhood and out onto the public streets. Went for about 5 miles. God was it great. Dispite the shifter linkage was off and I only had Reverse, 1st, and 3rd gears it was wonderful. The car was a bit warm, but not as hot as I thought it would be. Water temps only got to 160, oil temps around the same and oil pressure around 50. I just had to blip the throttle once or twice in 1st and third. Man is that scarry. This has to be the fastest or quickest car I have ever driven. Getting use to the pedals is gong to be the bigget feat(no pun intended). So there are still things to be done, but the maden voyage is there. I will work on a video for the next one. YAHOOOOOOOOO!!!

Bill
 
Last edited:
what a story what a missery...yikes, how did you stay in control ;-)

glad you finally fixed it after a lot of thinking etc, well done.

your car look bad-ass, fantastic, love it.

P1010070.jpg


P1010077-2.jpg


video would be great indeed.
 
Bill: The 40 looks great I am a bit envious. That starting problem would have pushed me over the edge. Looks like it was worth it in the end.
 
Bill, your car is turning into a show stopper! The color combo looks great and I think you are in for some serious fun.
 

Randy V

Moderator-Admin
Staff member
Admin
Lifetime Supporter
Bill - I just can't get over what a stunner your car has turned out to be... :thumbsup:

Major Kudos to you for staying focused on the dream and making it come true!
 
You da man Bill. Great looking car. Well done. If you have a spare set of the front canards for sale let me know. I like em.
 
Time for a little update. Over the winter completed a few projects. Keyless entry and security system installed. Ignition harness cleaned up Got electronic bugs cleared up.
On a side note. The progress wasn't done as fast as I wanted due to my wife getting a diagnosis of cancer. That is something that will stop you in your tracks. I am here to tell you that if you don't have an emergency fund put aside for these kinds of emergencys, you can wind up in a major debt crisis. We had over 50% of my anual salary put aside for just such a thing. It put a helthy dent in it. There is a team of no less than 6 doctors that examine, order test, and do the treatments. They all have to agree on the treatment plan and alternatives to the treatment. They include the GP, an Oncologist, a Radiation Oncologist, a Gastrologist, Cardiologist, and a Colorectal surgeon. Much is not covered by insurance even with good coverage which I have. She had only one complication that required surgerry for a hysterrectomy due to a benign cyst on an ovary close to the treatment site. The treatment lasted for 5-7 weeks and you write a lot of checks during that time. So be warned. She is doing well and free of the cancer for the last 6-8 weeks. Next is a PET scan that if clear is good for a year.
Back to more pleasant things. During the Spring I took the car on a road trip. Went up to Alpharetta to the largest cruse in in the state. Took up 3 office park parking lots.
WebPC020031_zps4f10b9fb.jpg

WebPC020012_zps4d52a914.jpg


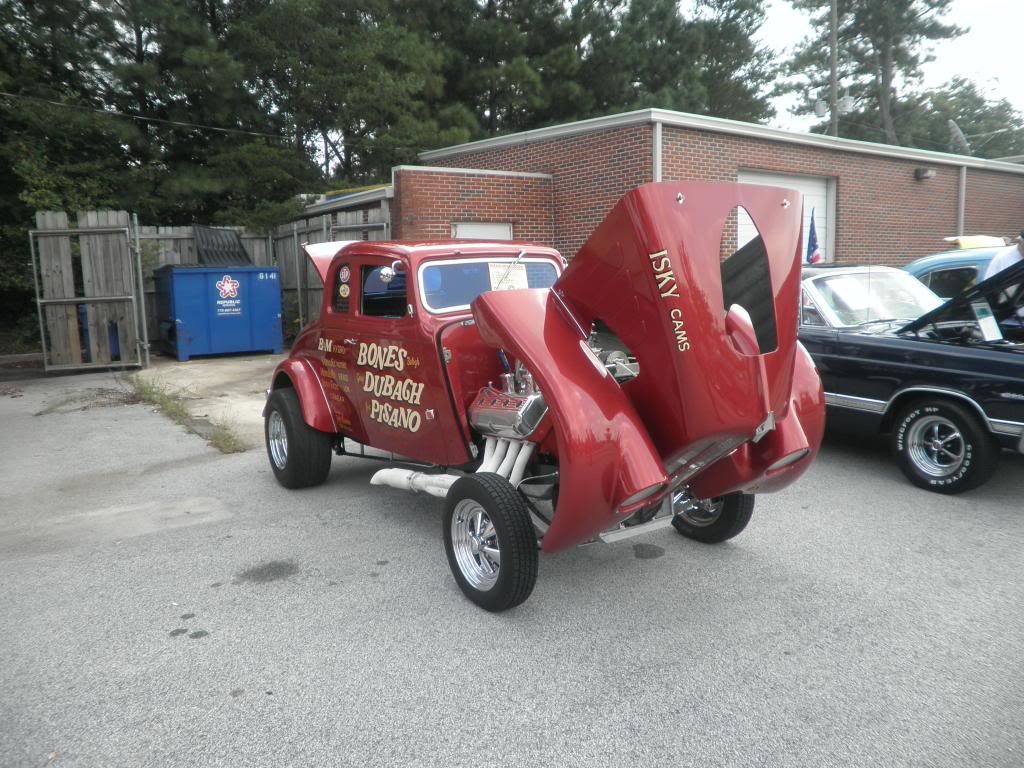
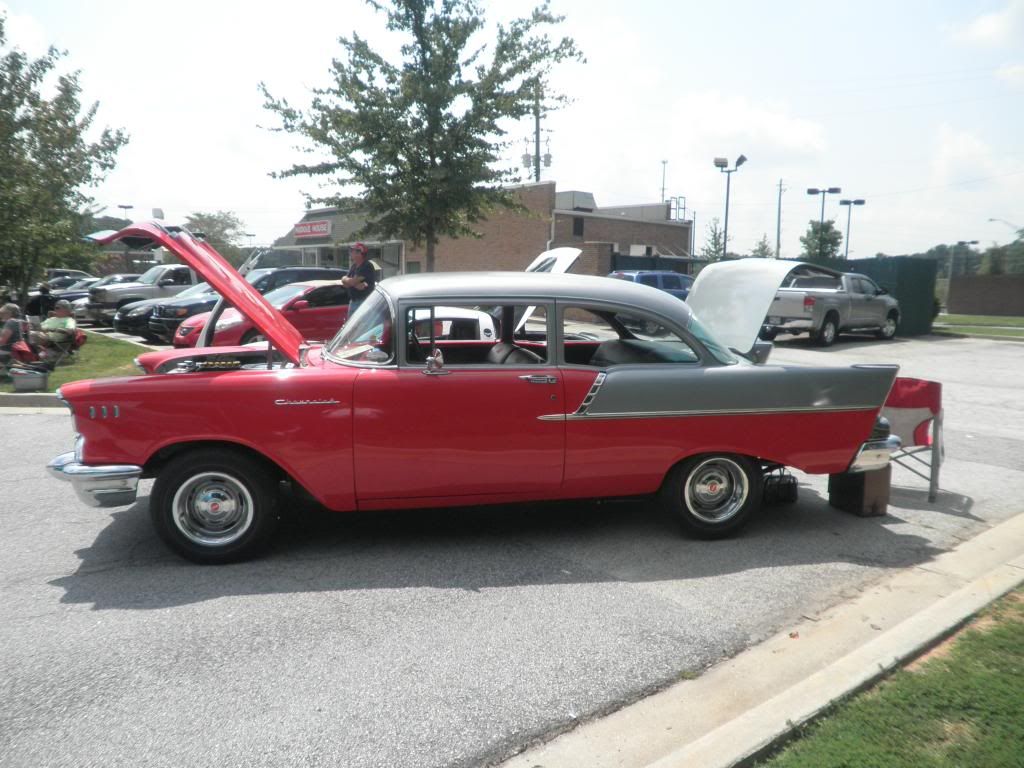
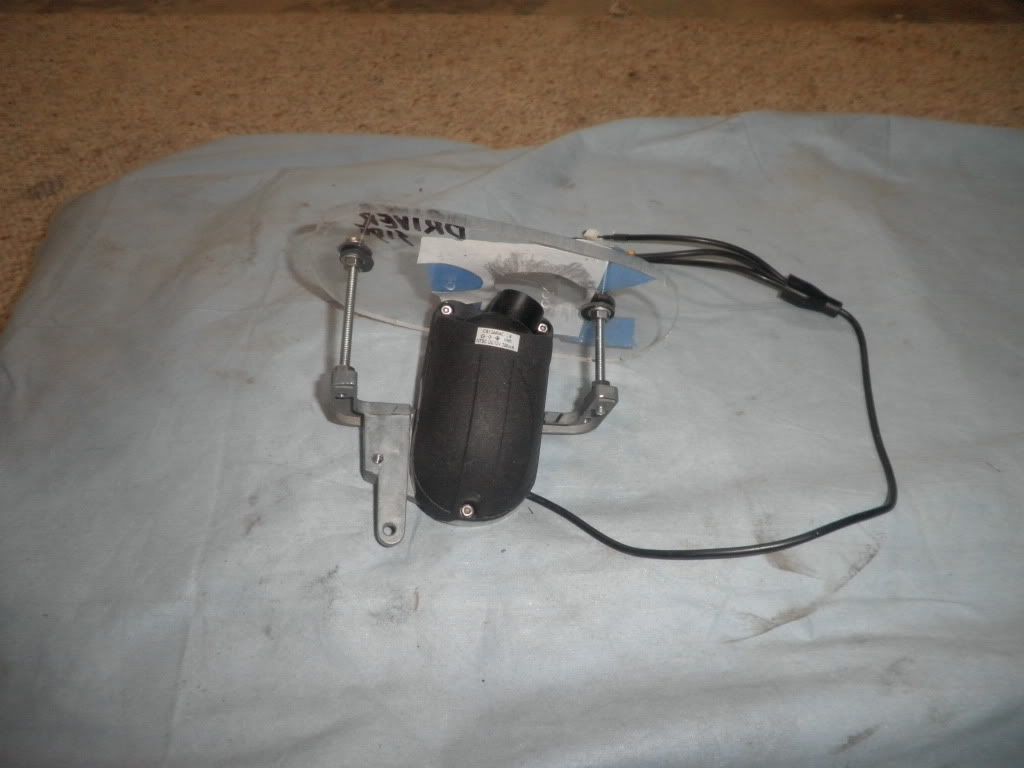
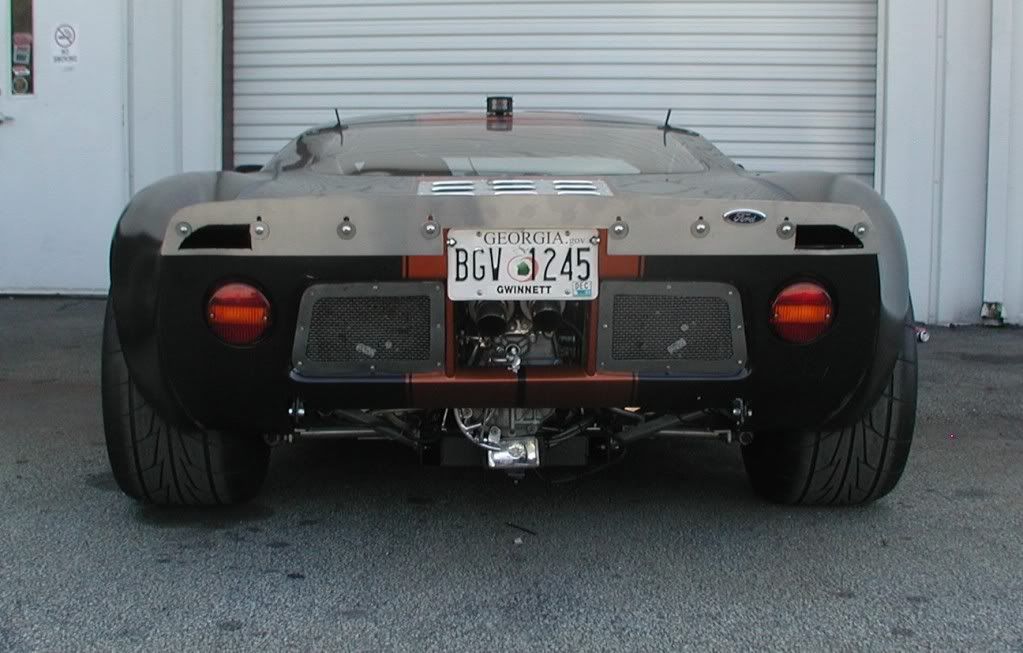
Then on to Marietta to visit an old buddy, and then on to Woodstock to give my son a ride(He was very impressed), and then home. All totaled it was about 80-90 miles. The next day I could barely move my shoulder(old sports injury) and had it injected. Decided at that point I had to go for power steering and move the steering wheel closer to me. Decided the easiest way to install it was to remove the front screen. Yep, broke it. So another was ordered. Actually ordered 2. Second at half price and shipping was the same. Just waiting for the electronics controller from Keith Stafford and it is done. Got the screen in last week and decided to take it to a small show up the street from the house. They had a good showing with about 60 cars.

P8310011_zpsdbec3455.jpg

P8310010_zpsfa74dbd3.jpg

P8310006_zpse39037bf.jpg

P8310017_zps2b2b4519.jpg


And of course mine

P8310009_zps7a759d60.jpg


I wound up winning a door prize that was an 8x10 professional pic of my car. The photographer agreed to give me some time to get the car more "presentable". At the end of the show I garnered a top 15 award even with the terrible paint job on the car, no door panels, and no leather on the console or inside tank covers and the zebra skin primer paint on the spyder(rattle can).
P1010012_zpscb0c9cd1.jpg


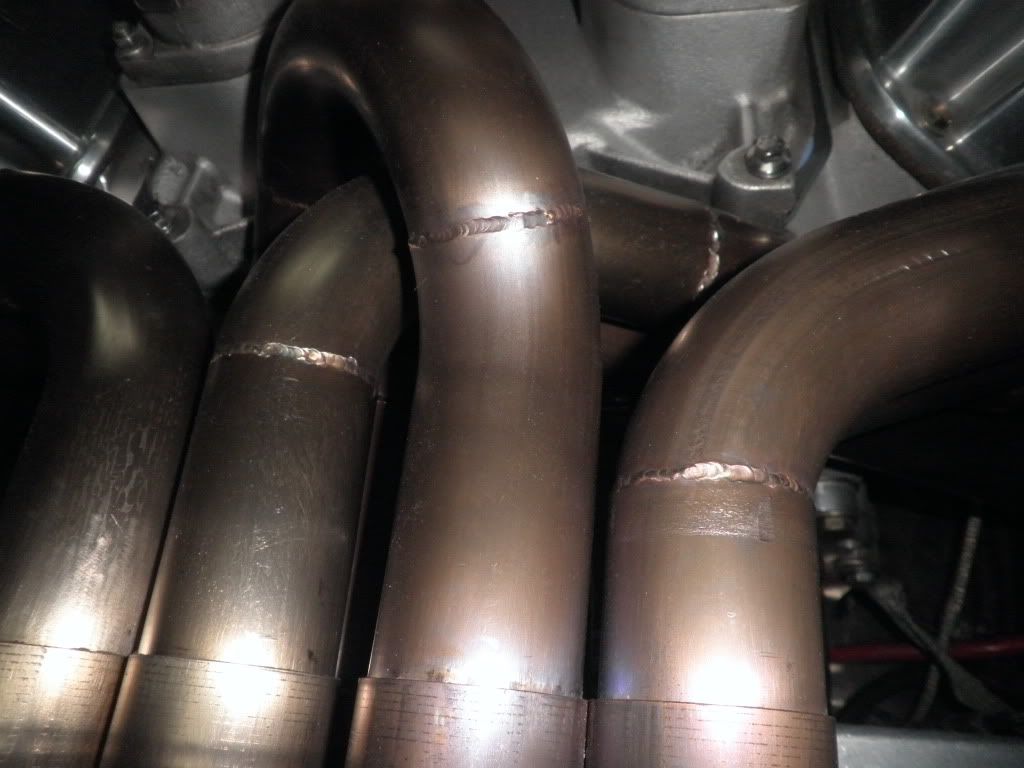
While driving home I noticed the battery voltage was sitting at about 10 volts and in the garage as I pulled in spotted a small puddle of oil. So Sunday I put it up on jacks to investigate both. The puddle was from a leaking AN fitting which I am hoping a repair will work. Otherwise the hose will have to be re placed or at least the fitting. It is the return line to the motor from the intersection of the accusump and filter which is mounted on the transaxel. The battery problem was spotted rather easily due to a broken belt hanging down. Seems there is a slight misalignment with the alternator. Took about 100 miles to break it. It had a bad wear pattern on one side, so a spacer will have to be added.
I plan to change the colors of the car(soon). Trouble is I can't make up my mind, so I plan to do a little experimenting with colors. As with most colors the end result will look a little different on the car. So I will get some opinions from the gang. I think you guys will appreciate the process I plan to use to do the experimenting. More on that later. That's it for now.

Bill
 
Back
Top