I'm taking everyone's advice and buying an engine hoist since can't find any used ones around my area...and do like Bill suggested and start doing stuff like flipping intake, etc...
Any particular brand of engine hoist anyone can recommend? Since I don't have the car here yet, I'm unsure if it'll work for the SLC. Here's a few I was looking at, but open to suggestions for sure!
http://m.northerntool.com/products/shop~tools~product_200640933_200640933
http://m.northerntool.com/products/shop~tools~product_200640934_200640934
Access Denied
Amazon.com: Dragway Tools 2 Ton Folding Hydraulic Engine Hoist Cherry Picker Shop Crane Hoist Lift: Everything Else
Dont know why the TSC link says that, but it still works fine. Thanks for any and all help!
Since an engine hoist takes up a lot of room in your garage and you will hopefully only use it once, I suggest you rent one when you are ready to drop your power-train in the SLC. Many rental hoists break down into chunks that fit into your car for transport home.
There is lots of room in the SLC engine compartment so the motor/trans drop-in quickly. From lift-off to bolt-down, my power-train was installed in less than an hour. That means a 1 day hoist rental...very cheap!
It would be even better if you have a buddy who will lend his hoist (and take it back).
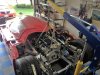
When I was preparing the motor/trans (before installation), I kept it on a dolly like the PIC below. Its rated at 1000lbs and cost $15 at Northern Tool. Your engine/trans combo should weigh 500-600lbs.
I used this same dolly to wheel around the engine/trans combo for my last 2 kit car builds and its plenty tough.

Last edited:
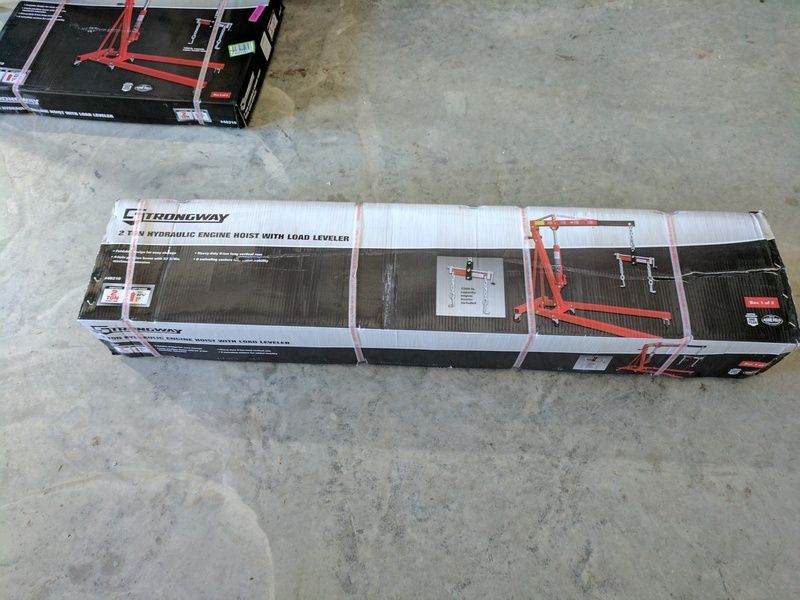
") I think I'm leaning towards the one with the engine leveler, seems like that could make life a little easier when sliding it into position.
I think I'm leaning towards the one with the engine leveler, seems like that could make life a little easier when sliding it into position.