CANAMSA - SA stratch build

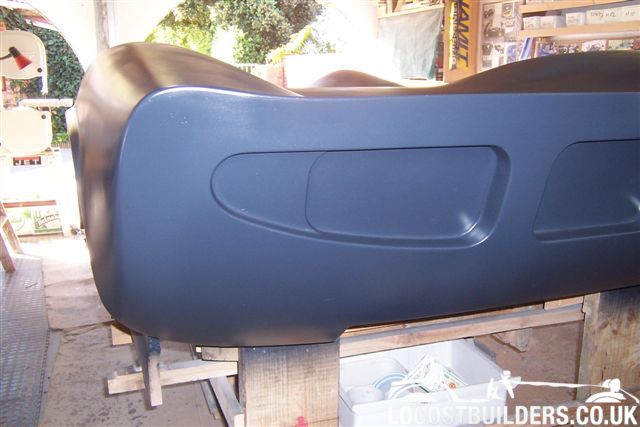
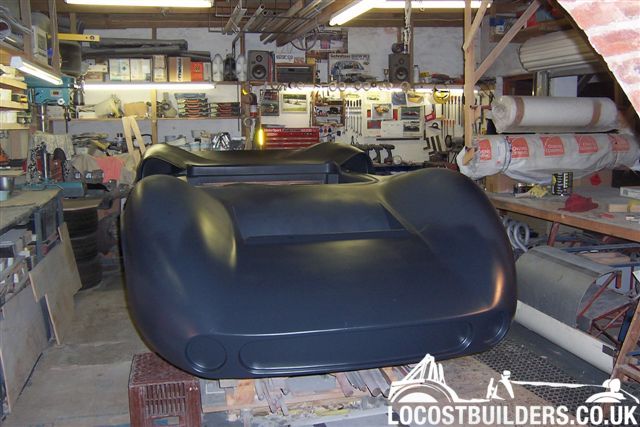
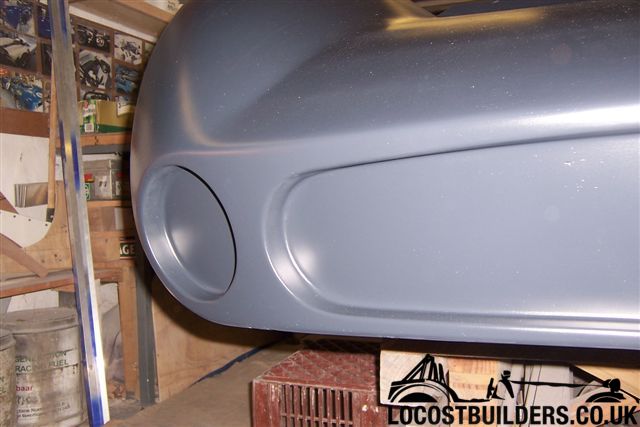
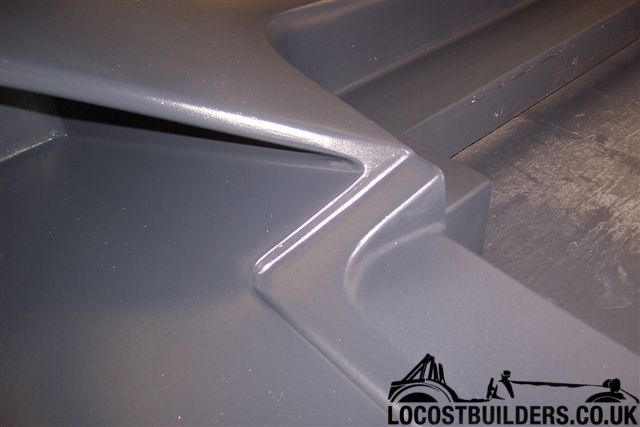
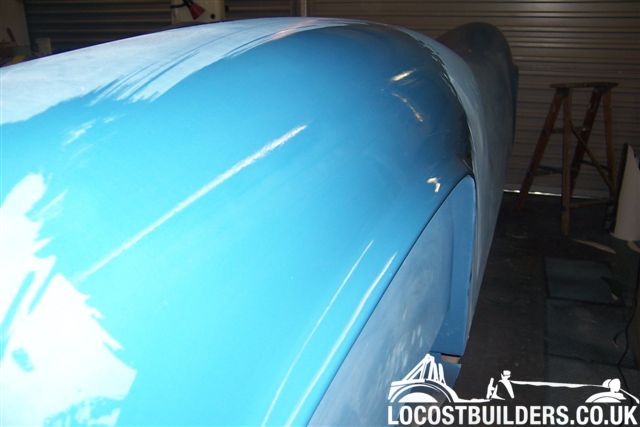
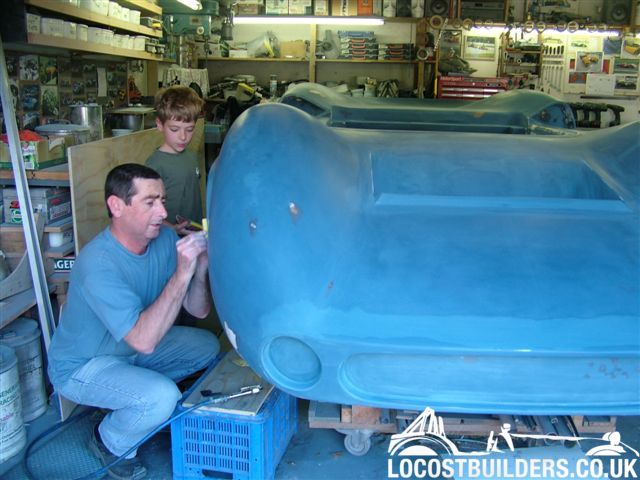
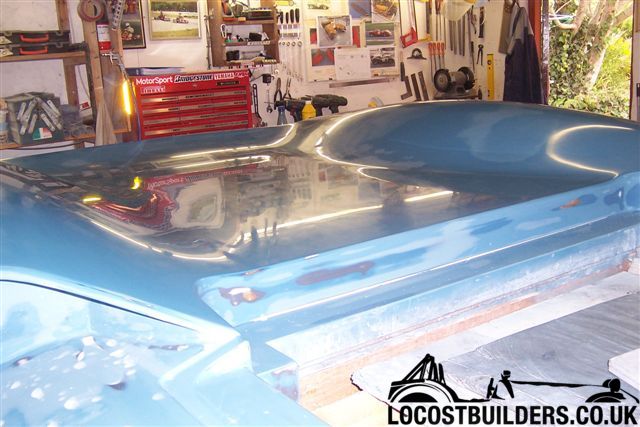
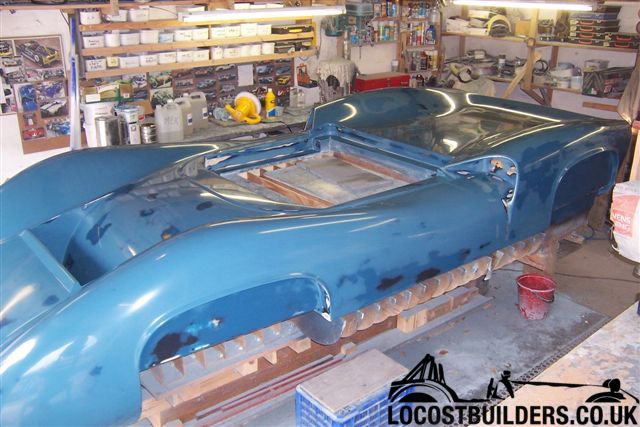
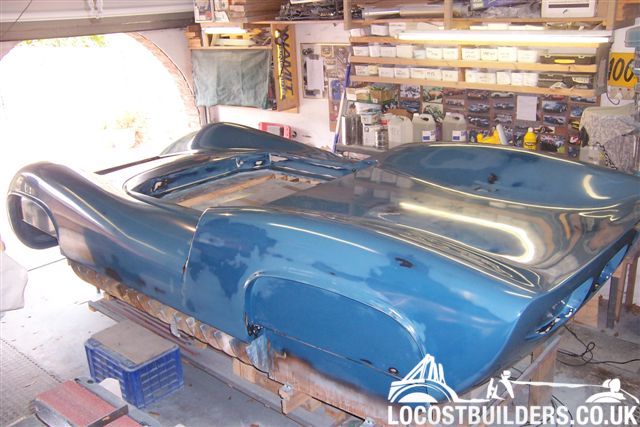
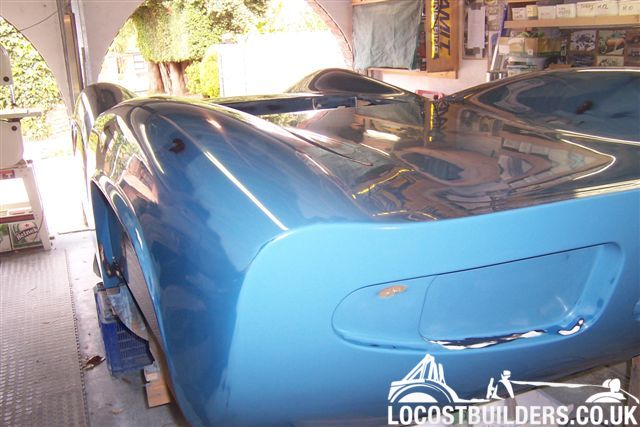
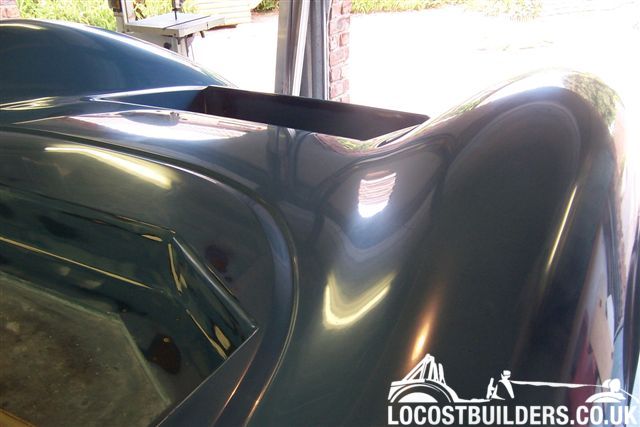
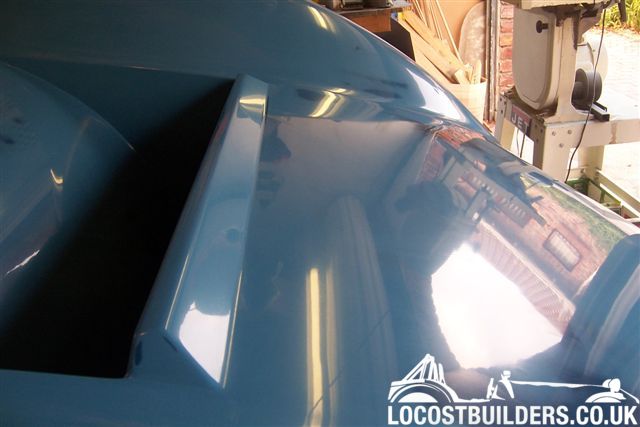
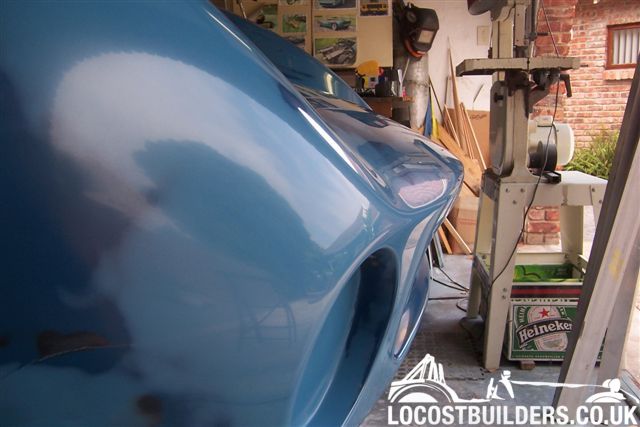
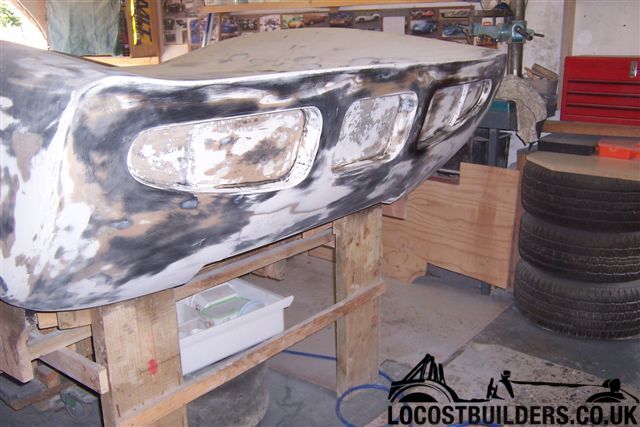
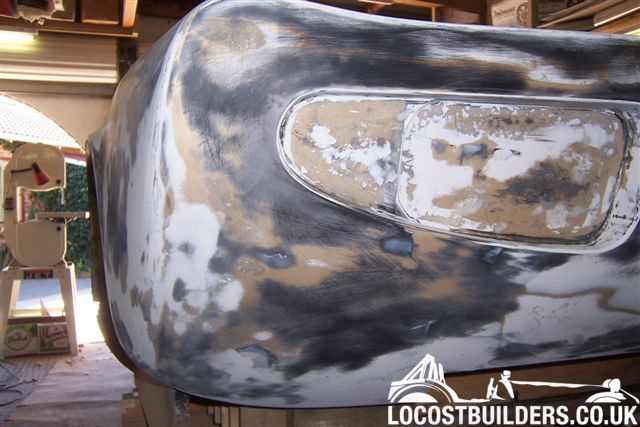
A bit more progress. Currently I have sanded the last guide coat off a good three quarters of the body, while it looks lousy I am happy that I am finally getting the surface good enough to start with the primer surfacer.

A few people who have seen what I am doing have commented that they would have gone with the primer surfacer long ago, but I wanted to get the surface good while still in filler, rather than turn lots of the expensive primer surfacer into dust

Cheers

Fred W B

plug%20June%2009%20002.jpg


plug%20June%2009%20007.jpg

 
Last edited:
Fred,
Nice work as usual. Good Plug = Good Molds Looking forward to seeing the finished product. That's where all your hard work pays off.
Dave
 
So I've got the entire pattern flatted with 120 grit and the mission for this weekend is to start getting the primer surfacer on. I've been able to clear the weekend of all other commitments. I'm finally looking forward to some concrete progress!

I've collected together the materials, spray gun, lots of wet and dry paper. I have my measuring scale. I've taken advice on mixing ratios. The primer surfacer requires a catalyst, some thinner and I have been advised to also add some pigment to the primer in aid in seeing the shape when polishing it back.

By 9.00 am Saturday the pattern is wiped down and I am ready to start mixing the first batch. I reach for the catalyst, only to find I haven't got it!. Apparently I must have left it on the supplier's counter when I picked up all the materials, or lost it on the way home. In spite of searching my car, tidying the entire garage and searching under every bench in case it fell and rolled out if sight I fail to turn it up. And no way to get any more until next week. I am now not very happy!:furious::furious:

Cheers

Fred W B
 

Russ Noble

GT40s Supporter
Lifetime Supporter
Fred, I know how you feel in looking forward to some long planned, definitive and exciting progress. Only to find something unexpected comes along and totally stuffs up all your best laid plans!

At least you've now got a super tidy garage again!!!

My advice to you is to enjoy the enforced break and take the opportunity to spontaneously do something that you want to which would otherwise have been sacrificed to work on the T70. Get on the piss, laze in the sunshine, go sightseeing, catch up with some friends/rellies, whatever takes your fancy.

You're doing a fantastic job. I look forward to seeing the pics when you have this stage completed.
 
Thanks for the message Russ, I did pretty much what you suggested!


Finally got the first coat of the Durabuild surfacer primer on.

Made a few mistakes, I thinned it with about 25 percent MEK and sprayed it with an syphon gun with a 1.5 mm tip. Battled a bit to get an even build, particularly on the top flat surfaces, but otherwise it went very well, apart from me dragging the air line over the wet surface on one of the door panels and also getting some dust on the surface in a few places. I really should have started from the center and worked out, but in my enthusiasm I did it the other way round and found it difficult to get to the center of the front and rear clip surfaces.

The pictures are with no flatting at all yet. Some mates have been round and have made encouraging noises, and I must admit to be feeling pretty happy with the results. I may just be having a beer or two at the moment!

Now to flat it back and put another coat on. I have now bought a gravity feed gun and will try a 2.2 mm tip, which apparently is much more suited to this work

Cheers

Fred W B
pattern%20July%2007%2001.jpg


pattern_July_07%2002.5.jpg


pattern_July_07%2003.jpg


pattern%20July%2007%2004.jpg


pattern%20July%2007%2005.jpg


pattern_July_07%2006.jpg
 
Last edited:
Fantastic Fred! As I can relate on a small scale to the effort involved...I think I'd be in for a couple of CASES of beer today if I were you. You will be much happier with a gravity gun for the heavy bodied primer, you may also find it useful with the gelcoat application when you get there. I thinned my gelcoat with 10% acetone which allowed it to be sprayed with reasonable (lower) air pressure, thus helping to avoid overspray on everything.
 
Look's good Fred. The Duratec is pretty thick stuff. When I used a 2K repair primer at work we doped it up pretty good and ran it in a cup gun that had an agitator. We also used pressure pots with agitator and lots of air. When you do your touch up you can mix your own wash for wiping it down after sanding. You can mix 40% Isopropinal Alcohol with 60% DI water(deionized). This works good with Chix (Chickopees)Lint free surface preperation wipes. You can use Naptha instead of alcohol also. Keep up the good work.
Dave
 
Seeing how good Ron's car is looking has inspired me to do a small update

I'm still sanding, working now on a third (and final!) coat of surfacer primer.
The photo below is of 240 grit surface wiped over with a wet cloth to see the surface.

Just starting to move from 240 to 380/400 grit. Have given 600 a go on a small area and the results are most encouraging

Havn't been putting pics up because you can't see much progress, was thinking to wait until I have got the pattern up to polish stage but as usual some areas needed touch up and reapplication and this holds up progress on the big picture

Something else I have learnt - It would have helped (me, at least, I'm sure the pros have it sussed) a lot to stripe coat the edges and internal surfaces of recesses with the surfacer primer on a brush before spraying the bulk of the pattern

Cheers

Fred W B

100_8062.jpg
 
In this photo (of my nephew checking to see if I've got that wheel arch lip blend exactly right....) you can see what the pattern looked like with the second coat flatted back.

Went through in a couple of places, and as the overspray goes everywhere I ended up giving the whole thing a third coat. The "tide" marks are because each pot mix is a slightly different colour depending on how much pigment I put in.

Cheers

Fred W B
2DSCF2872.jpg
 
Really an amazing job. You know once you make that mold you wont want to stop at just one of those lola's. I mean now that you have a mold, you might find your self laying up more than one body. Keep up the outstanding work!!
 
Fred,
Look's good. When all your prep work is done and your ready to lay up glass e-mail me. I will send you some pic's of my molds so you know what to expect when you do each section. Your car like mine does not have flat sides. They slope in, so when laying out the molds a few extra seams may have to be added to be able to extract the part from the mold. I will give you a few ideas on tools for extraction also. You can make these up yourself.
Dave
Dave
 
Hi Guys, thanks for responses. Progress lately has been slow, but the whole pattern is now up to 800 grit finish and I am just now starting with 1200 grit, to be followed by cutting paste.

When all your prep work is done and your ready to lay up glass e-mail me. I will send you some pic's of my molds so you know what to expect when you do each section.

Thanks David, that would be much appreciated at this point , my mail is
fballinger at oddy.co.za

Cheers

Fred W B
 
David - Thanks so muvh for the pics of your moulds - very helpfull.


So now the whole pattern has been sanded with 1200 grit and just this weekend I have started with the rubbing compounds. I have been trying to wait till I get the whole thing up to wax level before I post again but here is a teaser pic

Cheers

Fred W B

pattern%20jan%2010%20033.jpg
 
Believe it or not, I have finally put down the sanding blocks, put the cap back on the polishing compounds, and stepped away from the car.

The whole surface of the pattern, including in the recesses and returns has been polished with coarse and then fine cutting paste. As the gloss comes up as you polish you see some areas where the 1200 has not taken previous grit scratches out so I go back to 1200 grit and then polish again etc, etc, but finally, finally, I reckon the pattern is FINISHED!

Next time I work on the car, which will be in a couple of weeks time, I will start with the marking out for and making the parting fences for the moulds.

I include some gratuitous photos. It looks a bit tatty with the three different colours showing but in hindsight it was very helpfull that I pigmented the first coat of surfacer primer black, the second dark blue and the third light blue. As you sand back you can see where you are, when you get to the black layer you stop! This was a pure fluke, due only to the pigments my supplier had in stock at the time and not some clever pre planning on my part.

Cheers

Fred W B
pattern%20feb%2010%20009.jpg


pattern%20feb%2010%20015.jpg


pattern%20feb%2010%20012.jpg


pattern%20feb%2010%20046.jpg


pattern%20feb%2010%20048.jpg
b%2010%20046.jpg

pattern%20feb%2010%20004.jpg
 
Last edited:
Back
Top