
Tom, this is very nice craftsmanship,your car looks more and more the one to have

You are using an out of date browser. It may not display this or other websites correctly.
You should upgrade or use an alternative browser.
You should upgrade or use an alternative browser.
Toms RCR 40 Trackracer
- Thread starter EGLITOM
- Start date
- Status
- Not open for further replies.
Expertly done Tom.
I've read the datasheet for this foam, am i right in thinking it needs a post curing cycle in an oven ?
I've read the datasheet for this foam, am i right in thinking it needs a post curing cycle in an oven ?
Further work on spider
Simon, yes the foam needs to see a temperiing cycle, but it don´t need to be an oven. Putting it outside in the hot sun or putting a heat source in the passenger compartment ( covering the spider with thick blankets) will do it. Anyway the stability of the foam is very imperessive even without the tempering, but it will help for the final curing.
Today i grinded of the exceeding foam and closed up the back end of the spider with 2 layers of fiberglass (400g).
Foam sanded
Covered with fiberglass
Randy yes i will reinforce the b pillar, but not with the honeycomb. I will use balsawood as a filling material and than wetlaying some layers of glass on top. Will show this end of this week. I did cut back my firewall about 1/4" all around. it is still overlapping with the spider but leaves more space for the reinforcement and a nice even gap which will be filled at the final mounting with PU glue ( seals and glues).
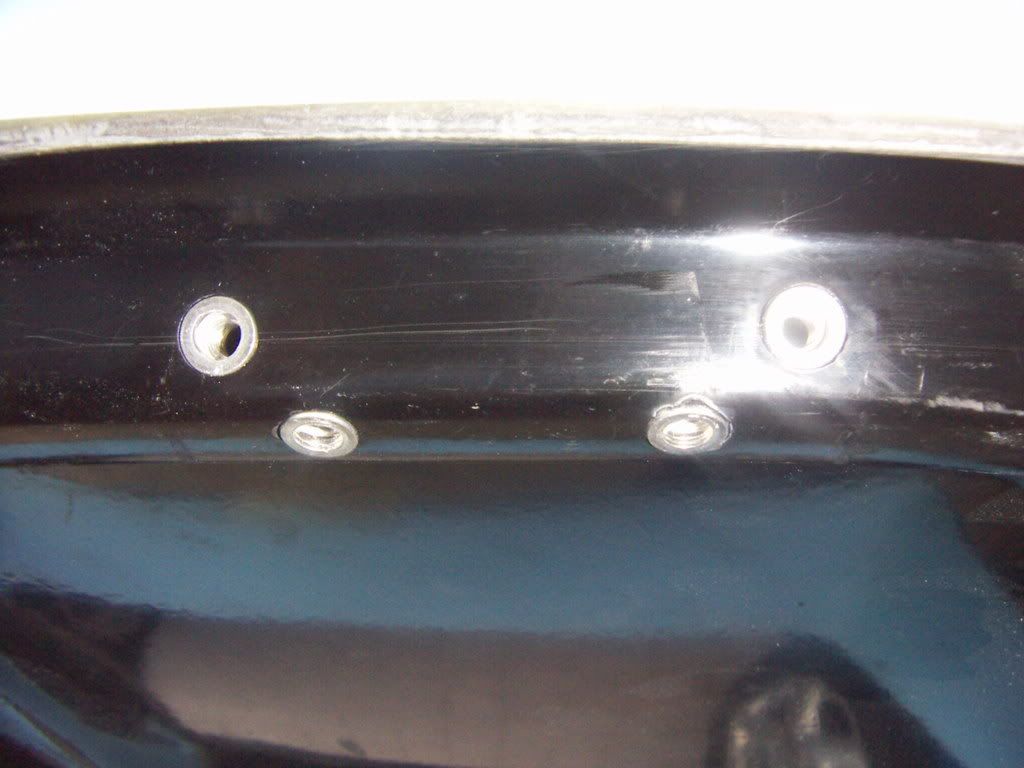
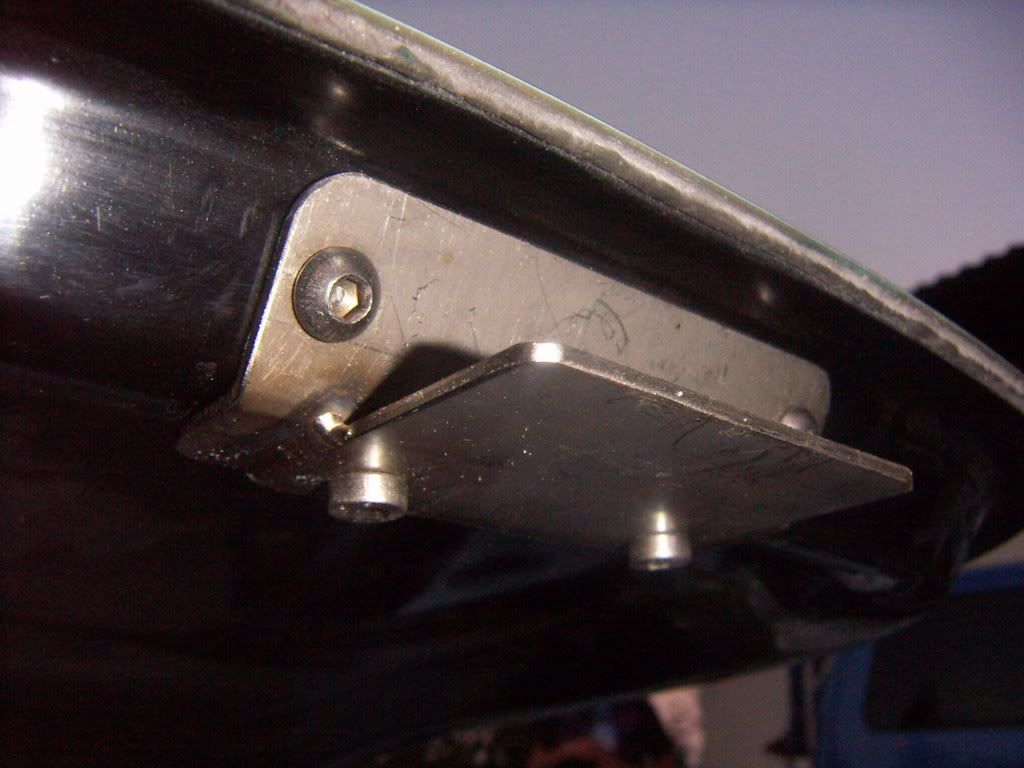
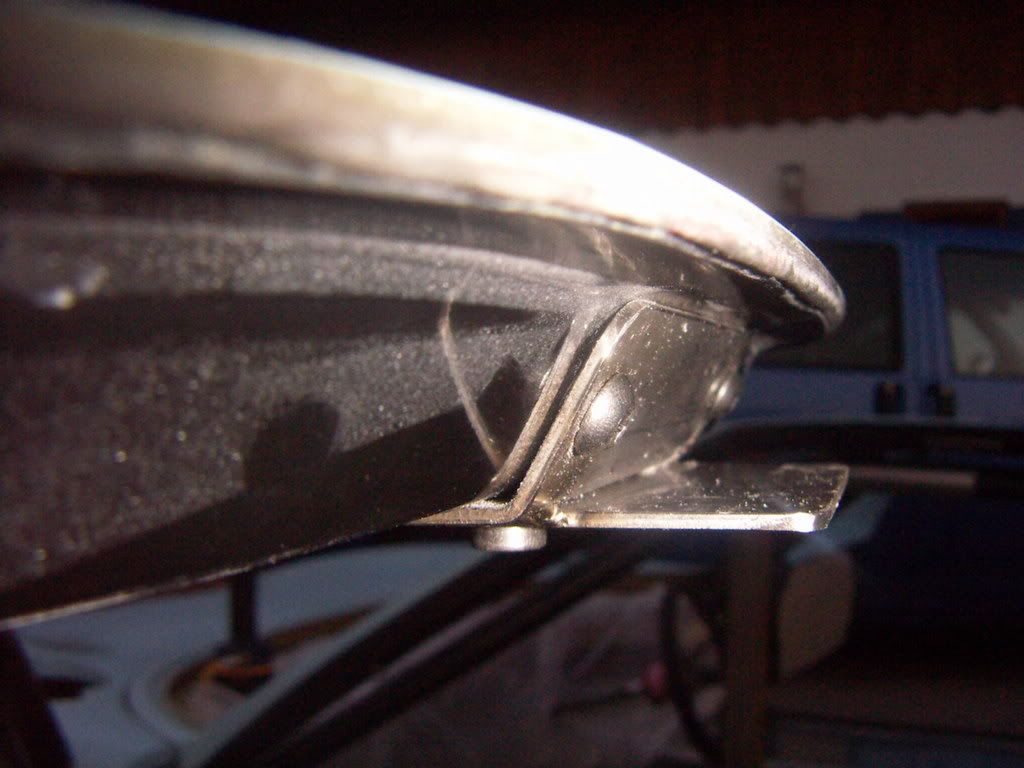
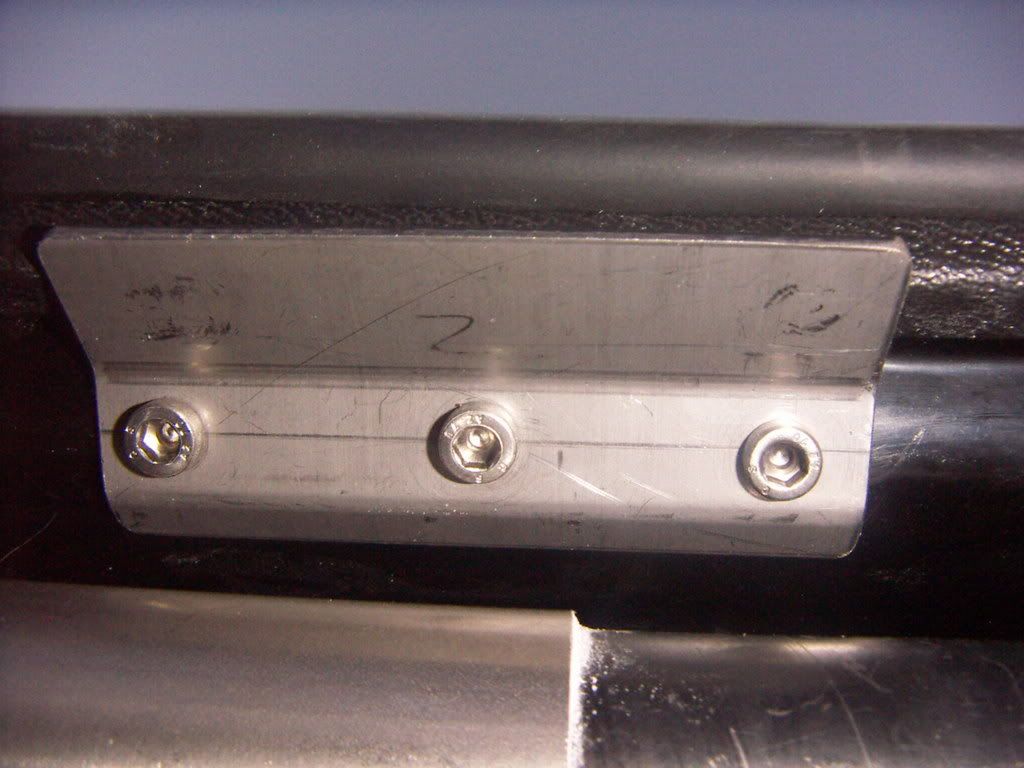
Today i also mounted the keepers of the door tops. I don´t like the look of the eyebrows, so i adapted another idea. A friend of Reinhard made this nice stainless steel ( 2mm) pieces , which after cutting it to the right size fitted perfect. For mounting them i glued in nutrivets. By bending the tab it is possible to achieve i nice preloaded action. THey dont stick out over the outline of the door top.
Mounting threads
Doorpart
Sideview
Spider part
Complete closed
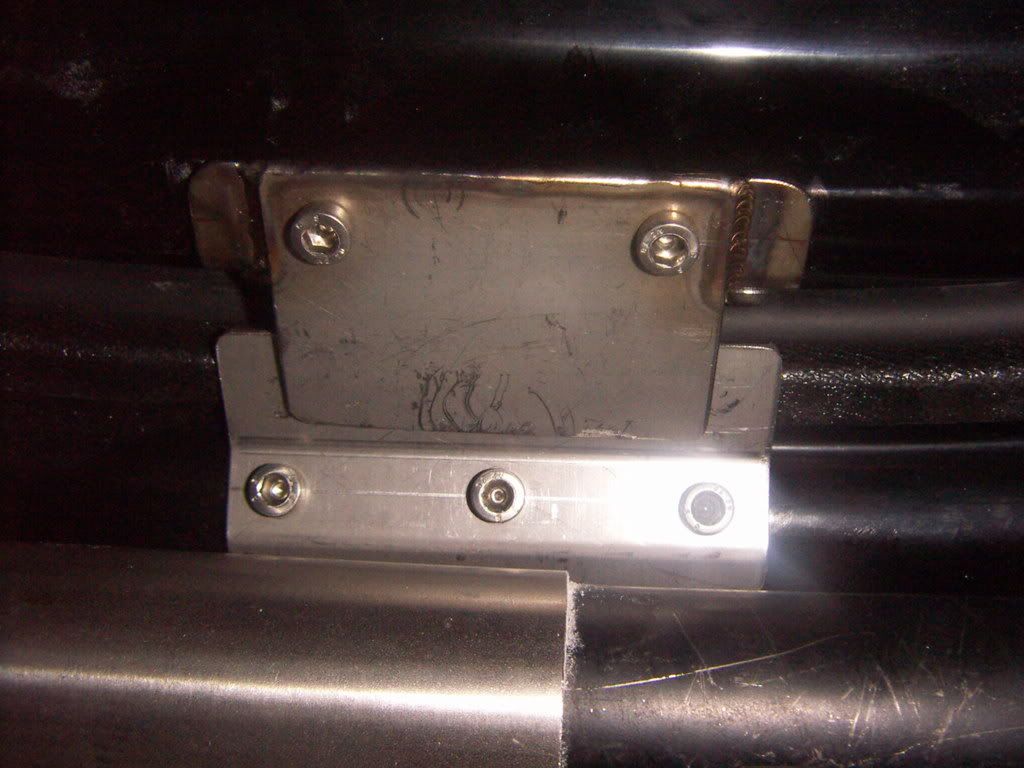
The doors close very nice with them and the top can not be moved anymore outwards. The ss parts will be electropolished in the final version.
AWH: 214 h
Simon, yes the foam needs to see a temperiing cycle, but it don´t need to be an oven. Putting it outside in the hot sun or putting a heat source in the passenger compartment ( covering the spider with thick blankets) will do it. Anyway the stability of the foam is very imperessive even without the tempering, but it will help for the final curing.
Today i grinded of the exceeding foam and closed up the back end of the spider with 2 layers of fiberglass (400g).
Foam sanded
Covered with fiberglass
Randy yes i will reinforce the b pillar, but not with the honeycomb. I will use balsawood as a filling material and than wetlaying some layers of glass on top. Will show this end of this week. I did cut back my firewall about 1/4" all around. it is still overlapping with the spider but leaves more space for the reinforcement and a nice even gap which will be filled at the final mounting with PU glue ( seals and glues).
Today i also mounted the keepers of the door tops. I don´t like the look of the eyebrows, so i adapted another idea. A friend of Reinhard made this nice stainless steel ( 2mm) pieces , which after cutting it to the right size fitted perfect. For mounting them i glued in nutrivets. By bending the tab it is possible to achieve i nice preloaded action. THey dont stick out over the outline of the door top.
Mounting threads
Doorpart
Sideview
Spider part
Complete closed
The doors close very nice with them and the top can not be moved anymore outwards. The ss parts will be electropolished in the final version.
AWH: 214 h
Last edited:
Finishing B PIllars
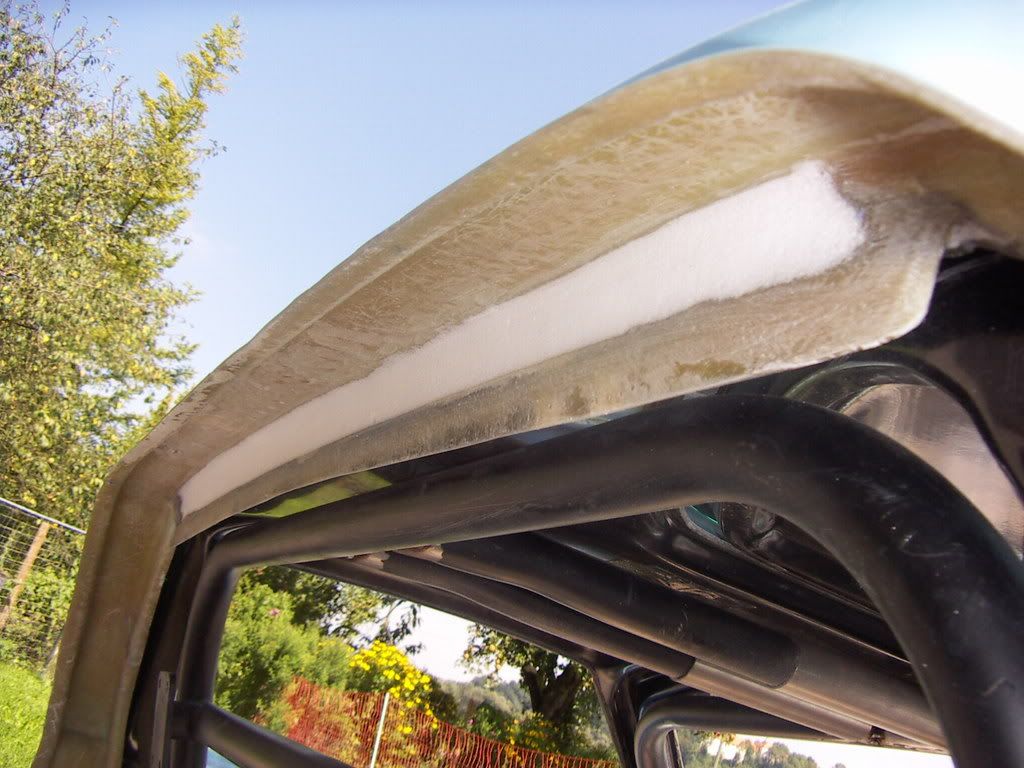
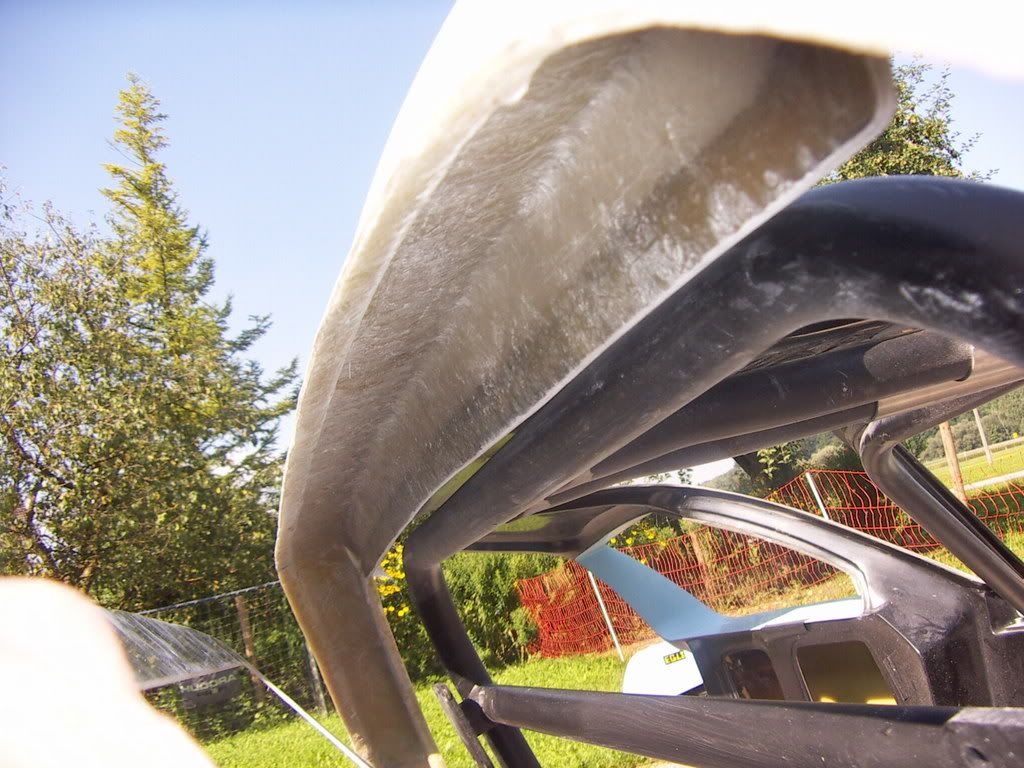
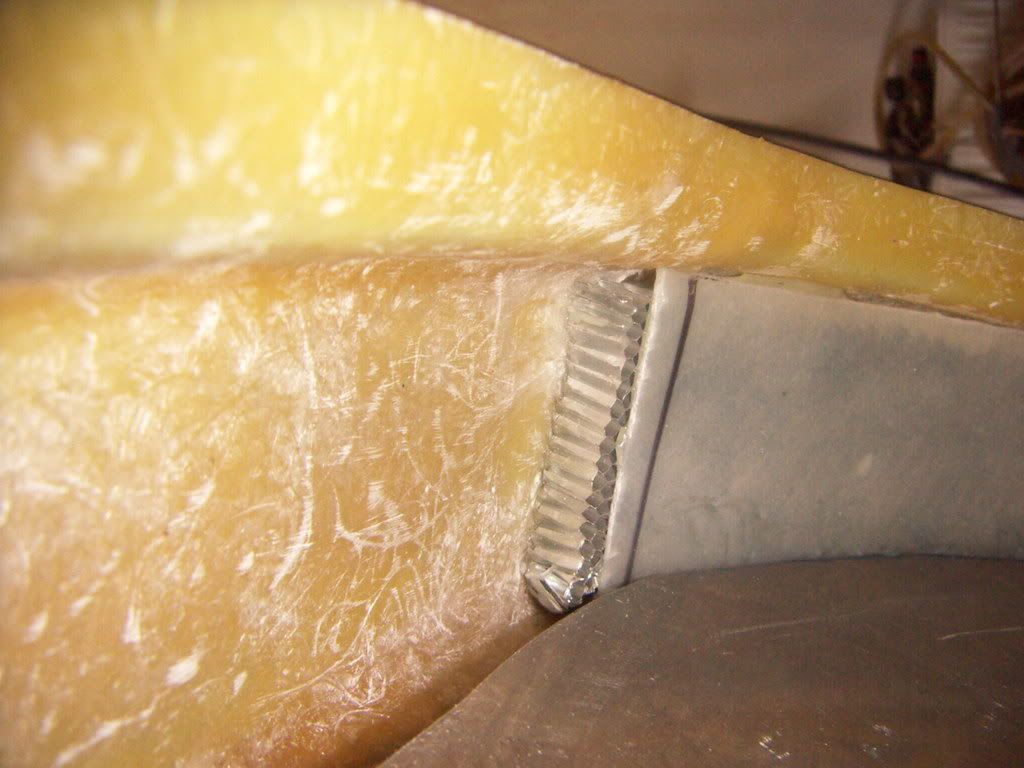
To further enhance the Spider stability and finish i sandwiched a 8mm Aluminium honeycomb structure between the original RCR structure and a finished 1,5mm glassfiber layer. For gluing it, i again used the high shere epoxy glue.
The only thing left to do is filling the corners with epoxy filler to achieve a nice surface.
Do one need to do this ? Definitely not, the original RCR structure is very stable from the scratch, but i liked to put it even further.
The result is a spider which is rigid as a rock.
Honeycombstructure sandwiched with glassfiber
Finished spider
AWH: 220 h
Hi Tom,help me, I suppose the AWH ...h is the time your spending with your build
Cheers then !
U are too good in this build Tom, go on ")
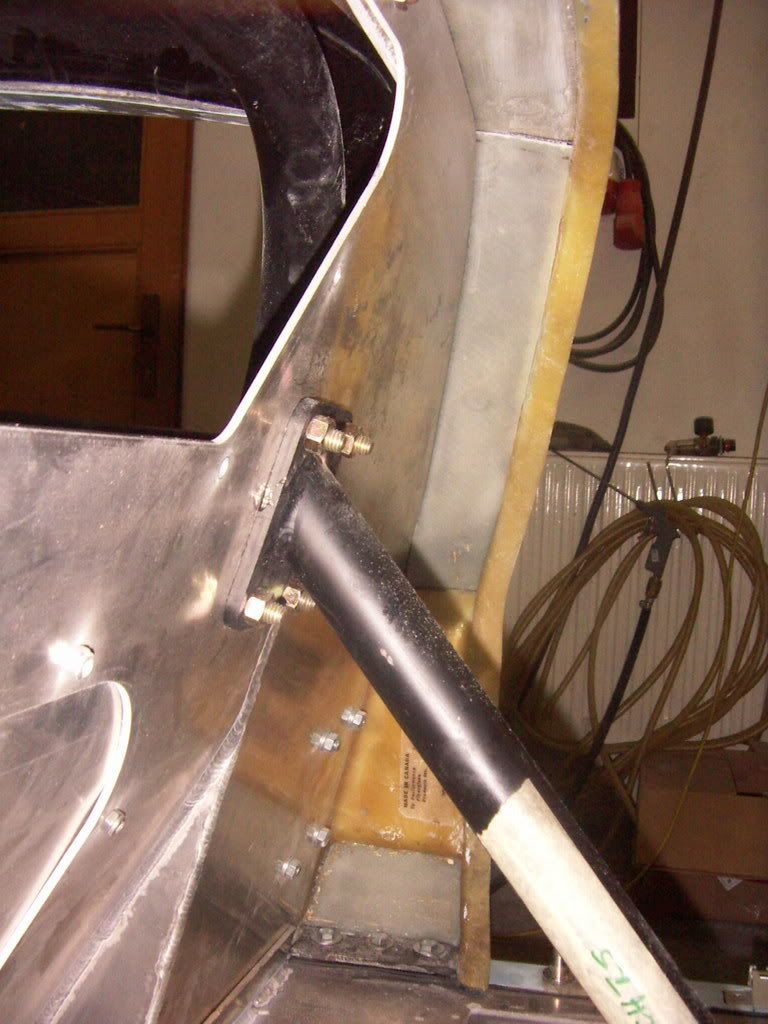
Rear Flares Installation
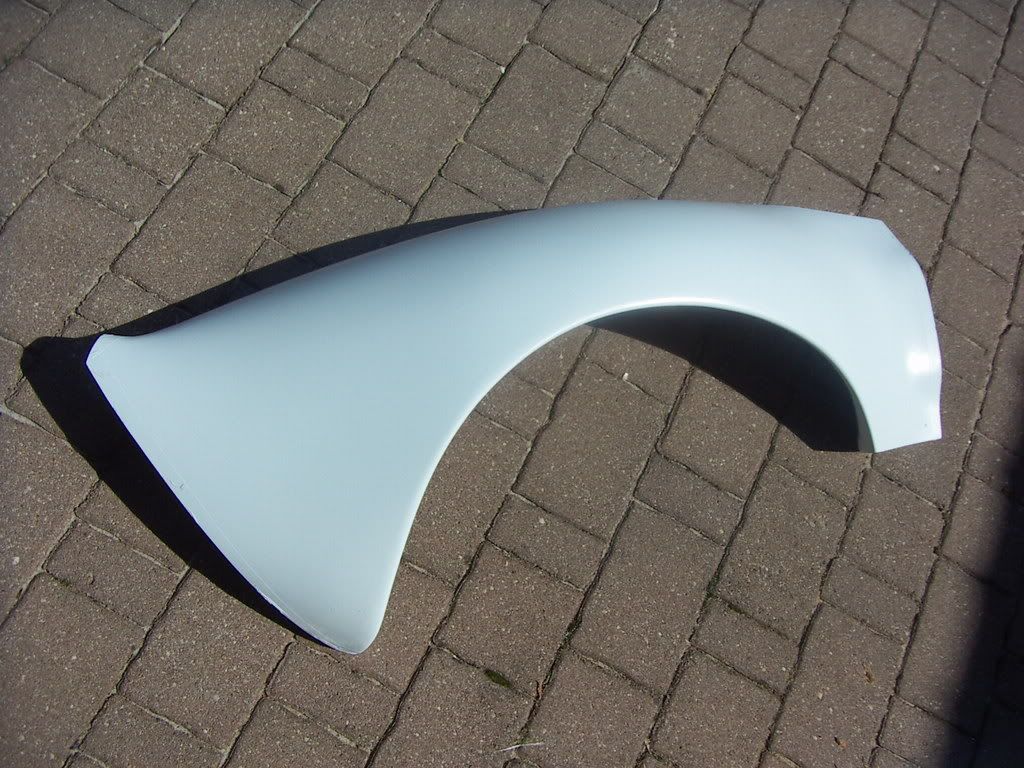
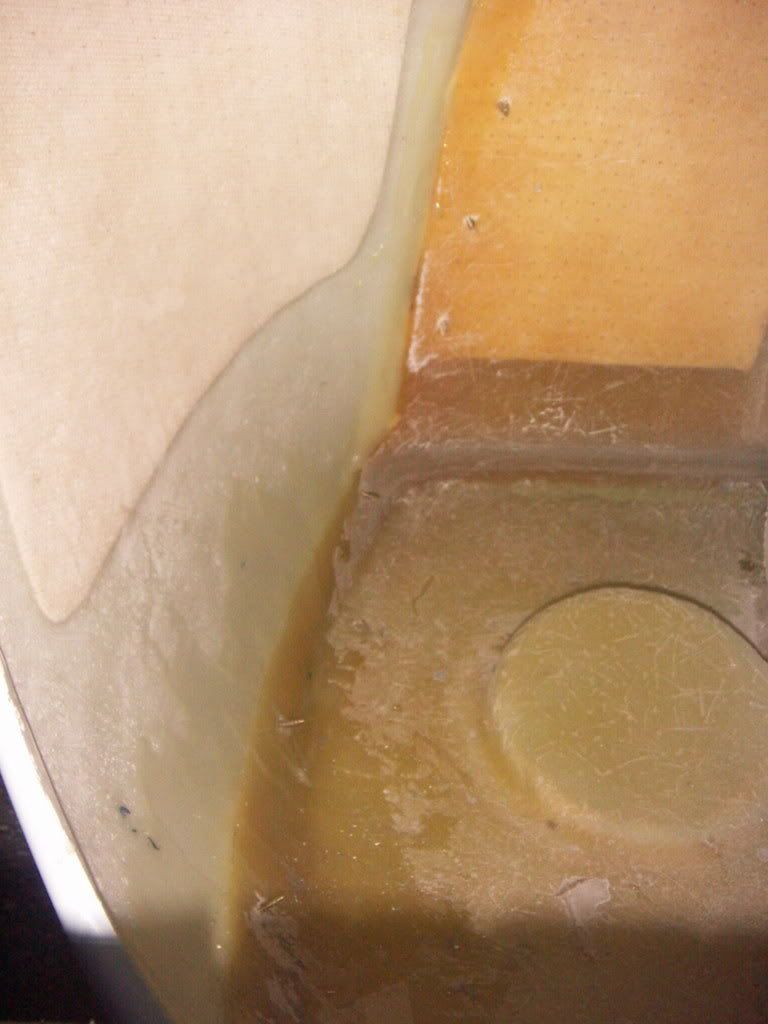
Yesterday i picked up the flares which Martin has made from my moulds.
They came out perfect. Nice surface. Not to thick ( 3- 4mm) and with coremate integrated.
Flare outside
Flare inside

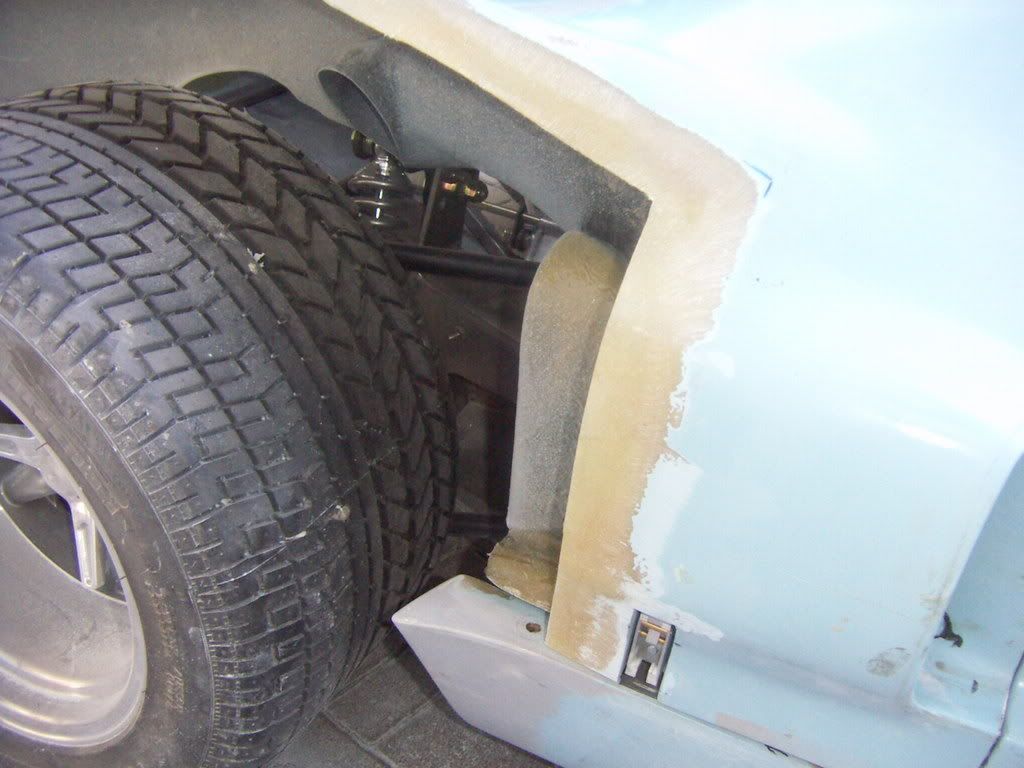
First i marked a cutline app 1 1/2 inch inside the assumed outline of the flares. Then i cut out the moulded part on the reear clip.
CUt line
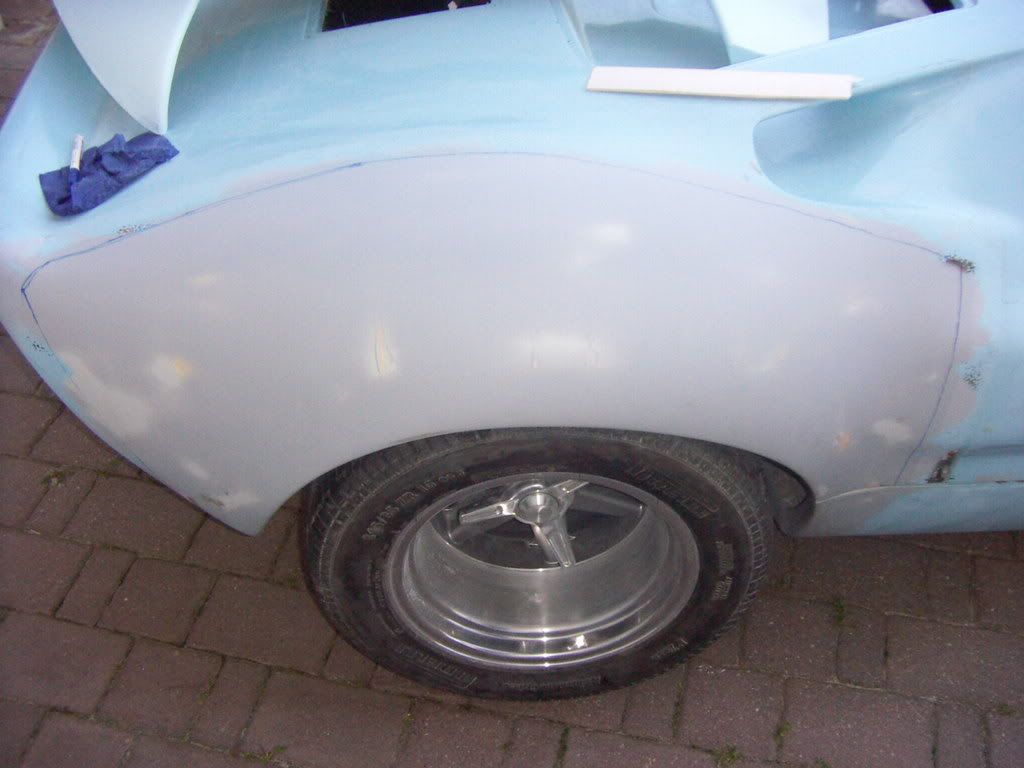
Cuted out
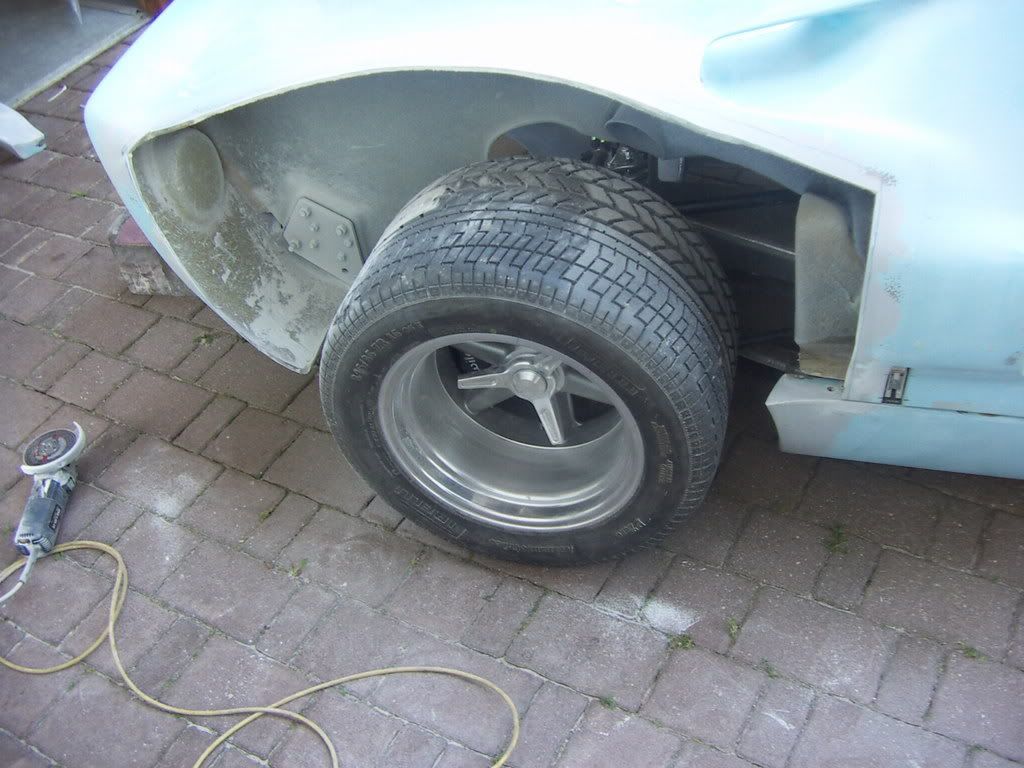
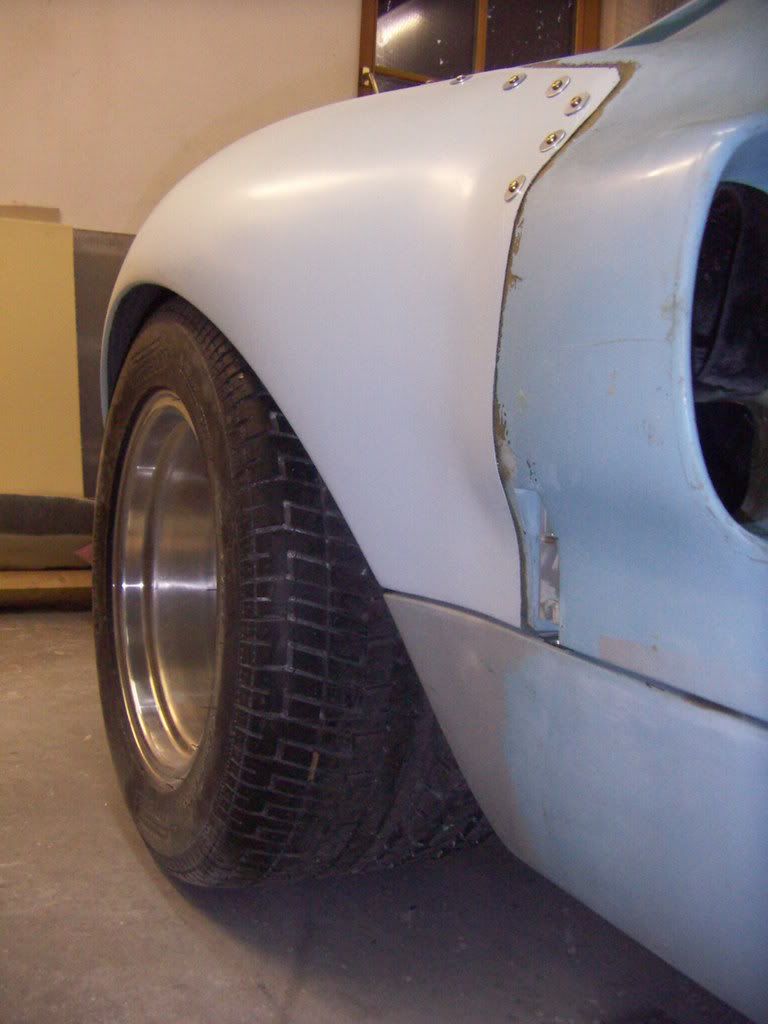
Than i laid the new flare on the rear clip and it fitted perfect. It is realy a snug fit with nice transitions from the flare to the body. I than marked the glue lines outside and inside. Next step was to wedge both parts in the opposite direction to enable them top slide over each other, leaving no step after gluing them together.
wedged rear clip

Finaly i used my trusted high shere epoxy glue to fix the flare to rear clip. I used sheetmetal screws and washers to fix both parts together until the glue will be dry. Afterwards the inside and outside glueline will be grooved and laid out with glassfiber and than sanded. This way the amount of necessary putty is minimal.
Flares glued to rear clip
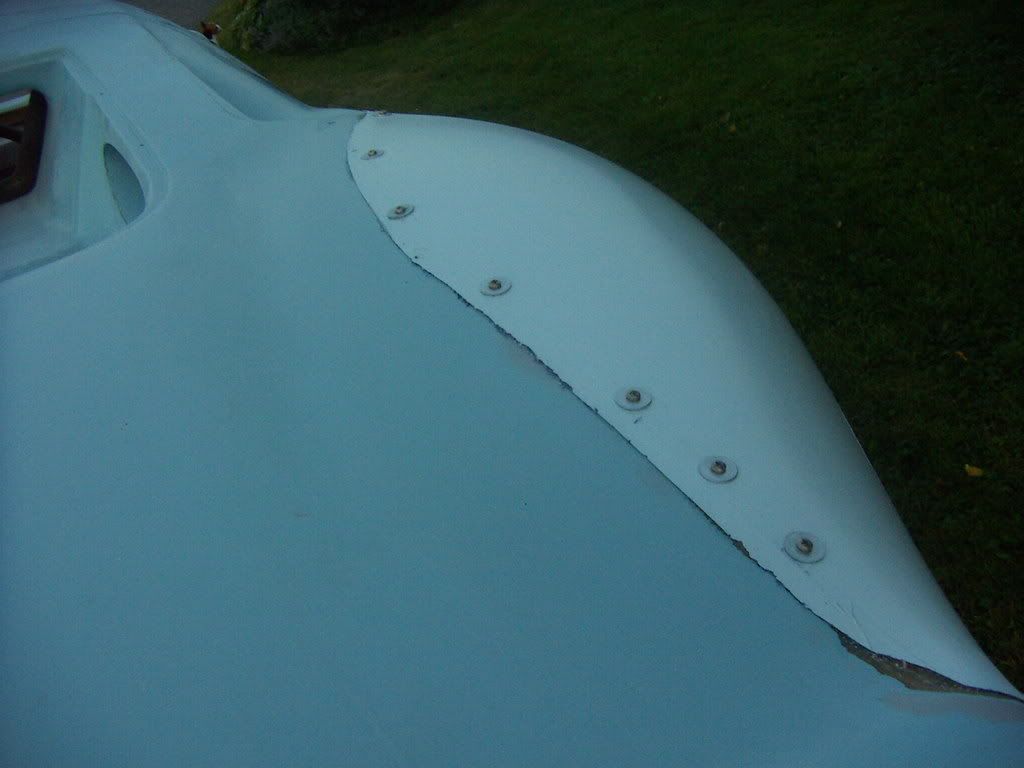
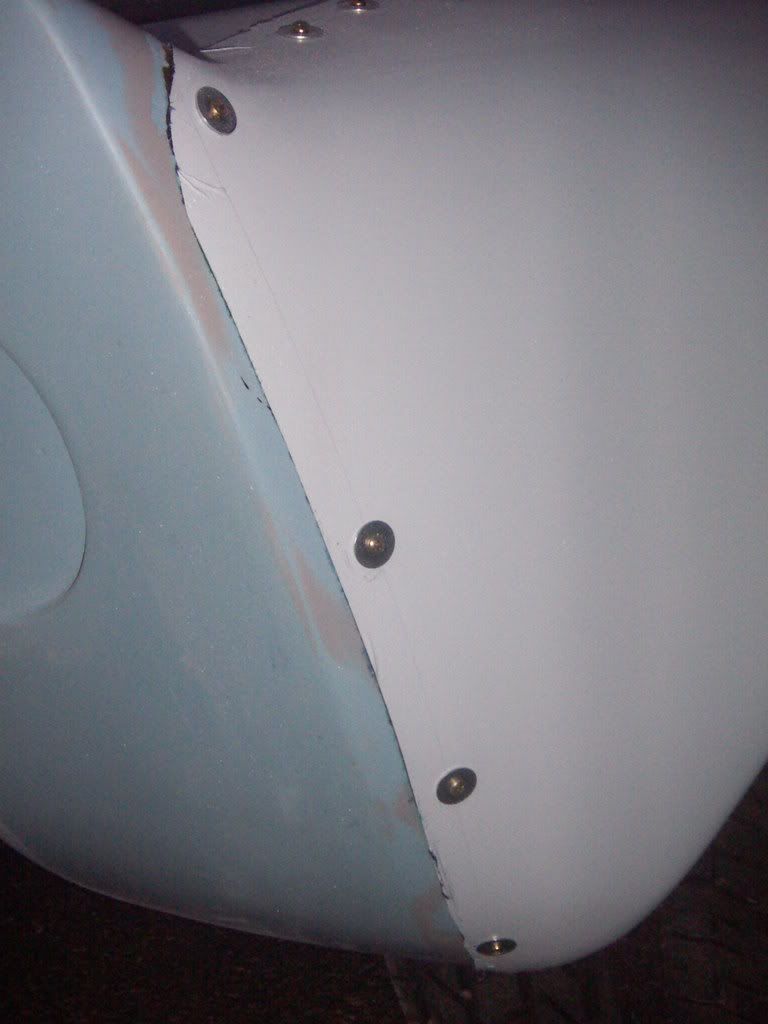
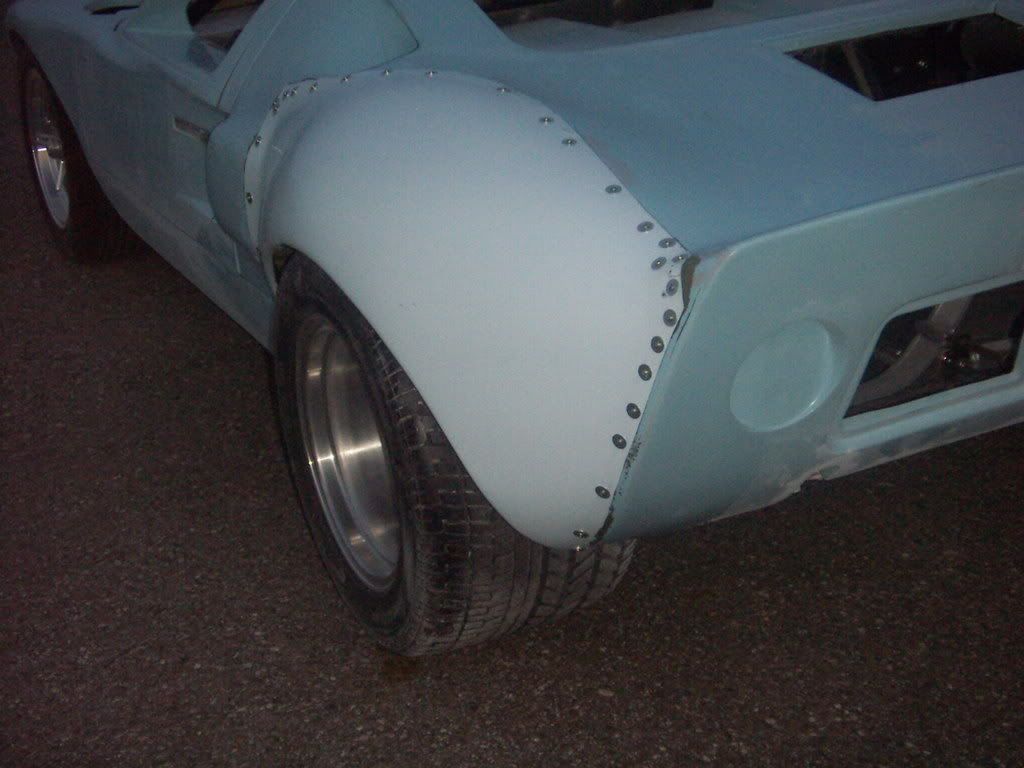
Inside glue line
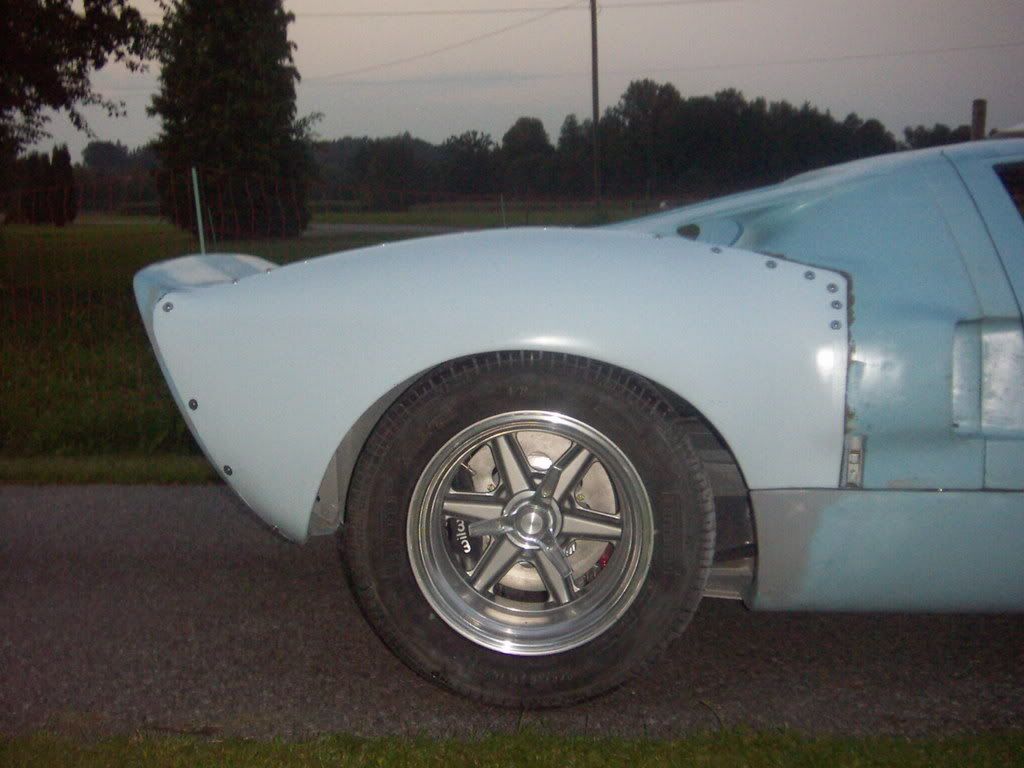
The whole thing for both sides took just 6 hours to install. also the leftover work should be done quickly, because of the nice fit.
If anyone is interrested in the same flares i´m open to let martin produce them. I don´t have the final price yet, but should be around 500 -600 Euro including the sill extensions plus shipping.
awh: 226 h
Yesterday i picked up the flares which Martin has made from my moulds.
They came out perfect. Nice surface. Not to thick ( 3- 4mm) and with coremate integrated.
Flare outside
Flare inside
First i marked a cutline app 1 1/2 inch inside the assumed outline of the flares. Then i cut out the moulded part on the reear clip.
CUt line
Cuted out
Than i laid the new flare on the rear clip and it fitted perfect. It is realy a snug fit with nice transitions from the flare to the body. I than marked the glue lines outside and inside. Next step was to wedge both parts in the opposite direction to enable them top slide over each other, leaving no step after gluing them together.
wedged rear clip
Finaly i used my trusted high shere epoxy glue to fix the flare to rear clip. I used sheetmetal screws and washers to fix both parts together until the glue will be dry. Afterwards the inside and outside glueline will be grooved and laid out with glassfiber and than sanded. This way the amount of necessary putty is minimal.
Flares glued to rear clip
Inside glue line
The whole thing for both sides took just 6 hours to install. also the leftover work should be done quickly, because of the nice fit.
If anyone is interrested in the same flares i´m open to let martin produce them. I don´t have the final price yet, but should be around 500 -600 Euro including the sill extensions plus shipping.
awh: 226 h
Tom, i think you're in the wrong job
Gee Tom, If I posted that I make and sell "Gulf" rear flares, and I do, I would get a nasty PM from Ron!
Hi Bill,
people asked me if i would sell them. The big difference is that i´m not doing it for a living and i´m defenitely not earning any money with that price. It is just an information and offer for those interrested and providing the estimate based on the price Martin is asking for. The use of my moulds is for free.
Besides that, this are not "gulf flares". This is my own design, of course inspired by historic original cars, but also different in many design aspects ( much closer to the wheel; much more flowing with the original body instead of beeing a clearly visible add on like the original gulf flares, much earlier and steeper angle towards the rocker panel to see more from the tire and therefore much smaller sill extensions)
I very much respect everyone who has to make his living out of that work.
Personally i´m able to do that work, but fun work is defined as something different. What is your judgement as an pro regarding my work ?
BTW have you realised the nice fit of your original style rear braking ducts?
Thanks
TOM
Last edited:
Christmas (almost)
I picked up my engine from the aircargo terminal yesterday.
Opening the crate was almost like christmas eve.
The engine was partialy dissassembled to avoid transport damage issues. ( carb, alternator, ac compressor, oil dip stick, air cleaner).
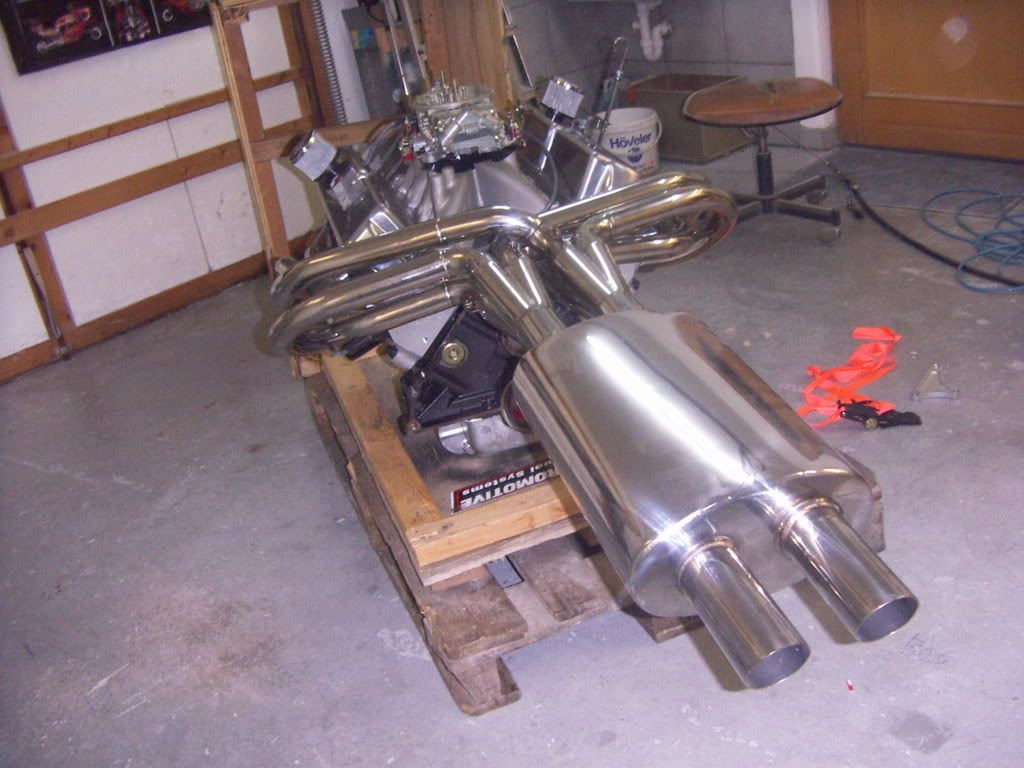
The engine built by Gordon Levy with Levyracing AZ is a 331 boss block based mill with 506 HP at 7200 RPM and 431 ft lbs of torque at 5100 RPM.
After putting the carb back on i immediately picked up RCR exhaust system to check the fit with the raised exhaust ports victor junior heads, because i feared the would be to far apart to fit the merge collectors.
THEY ARE NOT,THEY FIT PERFECT. it was a 5 minute fit. Everything slided nice in each other with no force needed. It is a very exact fit and i´m very happy with that.
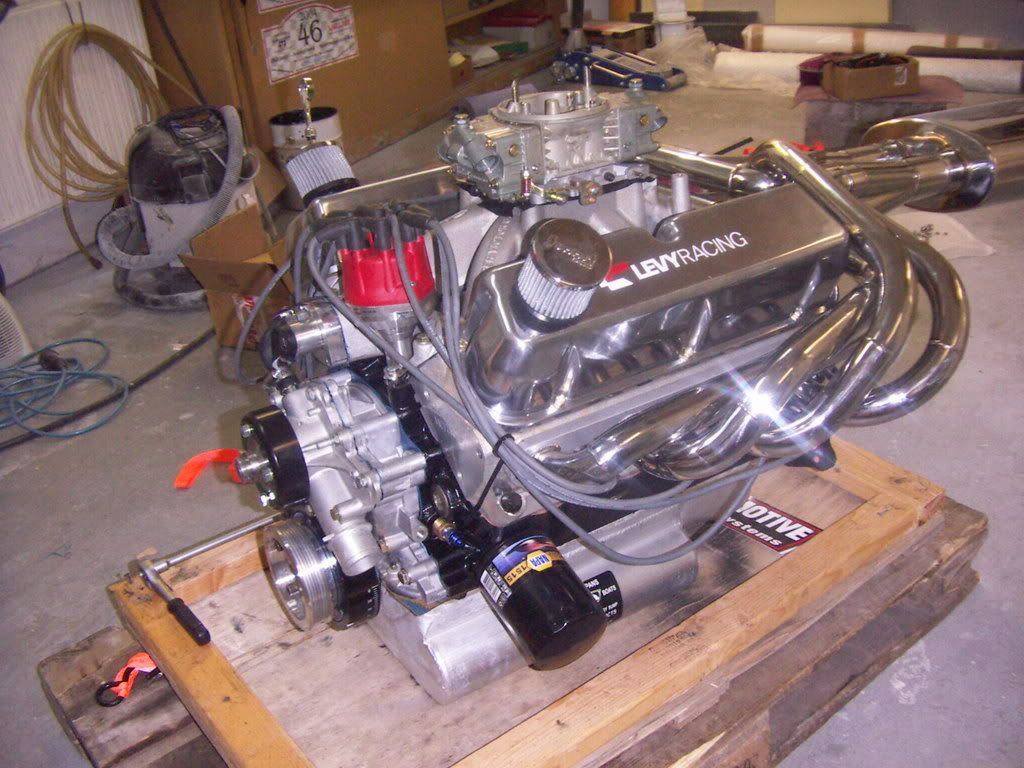
The oil filter is just from the dyno run, i have a nice billet relocator kit for it

Thanks Gordon for all your efforts and this powerful engine
TOM
I picked up my engine from the aircargo terminal yesterday.
Opening the crate was almost like christmas eve.
The engine was partialy dissassembled to avoid transport damage issues. ( carb, alternator, ac compressor, oil dip stick, air cleaner).
The engine built by Gordon Levy with Levyracing AZ is a 331 boss block based mill with 506 HP at 7200 RPM and 431 ft lbs of torque at 5100 RPM.
After putting the carb back on i immediately picked up RCR exhaust system to check the fit with the raised exhaust ports victor junior heads, because i feared the would be to far apart to fit the merge collectors.
THEY ARE NOT,THEY FIT PERFECT. it was a 5 minute fit. Everything slided nice in each other with no force needed. It is a very exact fit and i´m very happy with that.
The oil filter is just from the dyno run, i have a nice billet relocator kit for it
Thanks Gordon for all your efforts and this powerful engine
TOM
Amazing engine,this looks good Tom
- Status
- Not open for further replies.
Similar threads
- Replies
- 24
- Views
- 3K
- Replies
- 23
- Views
- 3K