Toms RCR 40 Trackracer

Status
Not open for further replies.

Urs

Supporter
Da bin ich schon n bisschen neidisch auf dich!! Ich komm im Moment nicht so richtig vorwärts!!
Ist Crossover anlage vom Tuner?

Gruss aus der Schweiz:thumbsup:
 
Original rear lights

Managed to purchase a pair of original rear lights from Ebay. They where still in the original packaging.
Fitted them to the car today. It was a easy job, because you could still see the imprint of the original mounting holes in the gelcoat . A quick comparisson showed that they where of the same dimensions. Another indication for the originality of th RCR body.
So i just redrilled the original holes and mounted the lights. 15 Min per side and done.

Unfortunately one of the lights is missing the rubber band which goes inbetween the body and the light to avoid scratching and rubbing. Of course i could adapt something else there but if by accident one of the forum members have a spare and his willing selling it to me i would appriciate it very much

Thanks
TOM

lights in original packing
PICT2901.jpg

original mounting pattern
PICT2900.jpg

lights mounted
PICT2903.jpg

PICT2902.jpg
 
G50/05 Endcap modification

As the G50/05 has the same lenght and the donut endcap as a /03 and /04, it need to be shortened to fit in the car.
I haven´t put the engine/trans combo into the car to define how much it need to be shortened. I followed the nice descriiption on Randy´s ( BIG FOOT) website how to do it. Full trust in you Randy.

I basicaly did the same. Cut away the donut mount and the strengthening webbing with the handsaw (it was 10 PM and my neighbours would love me doing it with the angel grinder at this time ). The rest was filing and grinding with the flexible shaft. I tried to achiev a classic racing trans look with doing round and flowing forms ( like in a casting mould).

i think it looks great, like a factory racing part. it will give a nice touch to the backend of the car.
BILLET END CAPS ar for RODDERS, this is the design fitting to a GT40.

What you think?

PICT2906.jpg


PICT2907.jpg


PICT2909.jpg


tomorrow the seat for the shift rod bearing and seal will be machined

TOM
 

Chuck

Supporter
Tom:

Those original lights look good. You continue to make good and steady progress, and keep raising the bar for the rest of us.

Sorry to hear you won't make Run and Gun, but you are of course welcome anytime.

Chuck
 

Randy V

Moderator-Admin
Staff member
Admin
Lifetime Supporter
Nice work Tom!

Now to get that Brandwood cable shifter to work....
 

Randy V

Moderator-Admin
Staff member
Admin
Lifetime Supporter
The shifter Brandwood makes for the G50/01 and it's same length variants will not work on the G50/03 unless there are changes made to the mounts. Regardless of adjustments.

Well documented on my website. Brandwood was not responsive to my phone calls (voicemail) nor emails on the subject.

This is NOT an RCR Problem - it's Brandwood's problem.
 
Randy,
there are two differnt rear cable mounts....one is for short and one is for long tail shafts..
I understand that they are tough to get hold of from time to time...I know they have moved locations and here is their new number....480-354-2307.
Jim is pretty good ...otherwise ask for Morgan..
 

Randy V

Moderator-Admin
Staff member
Admin
Lifetime Supporter
It would have been nice to actually talk with someone there but there was no opportunity.

The brackets and cables for the longer transmission may have lent themselves to easier modification (less fabrication) than those for the shorter variant that I had..

Either way - there will be fabrication (most likely) required as the longer housing of the G50/03 needs to be cut down and the engine moved forward in order get the transmission inside the bodywork of a GT40.

The picture below is the longer housing of the G50/03 in a GTM with the Brandwood shifter;
IMGP0395.jpg


The picture here is the length of the cut-down G50/03 and Brandwood bracket as well as my own work to make the whole package come together;

IMG_0946.jpg

IMG_0961.jpg


The pictures below show the shift cables/brackets and lever through the full range of motion with no binding whatsoever.
IMG_0965.jpg

IMG_0963.jpg

IMG_0944.jpg


Sorry to tromp all over your build thread Tom. I just feel that it's important to point out that if you are going to use a G50/03 in a GT40, you will need to do some additional work. Certainly that effort is not beyond either one of us and I think the information provided on my website will help most anyone create the same thing that I did if needed.
 
Fenderflares continued

Hi all
after a pretty busy september, preparing and actualy racing my bike ( scored two times second) and supporting simon, i´m back working on the car.

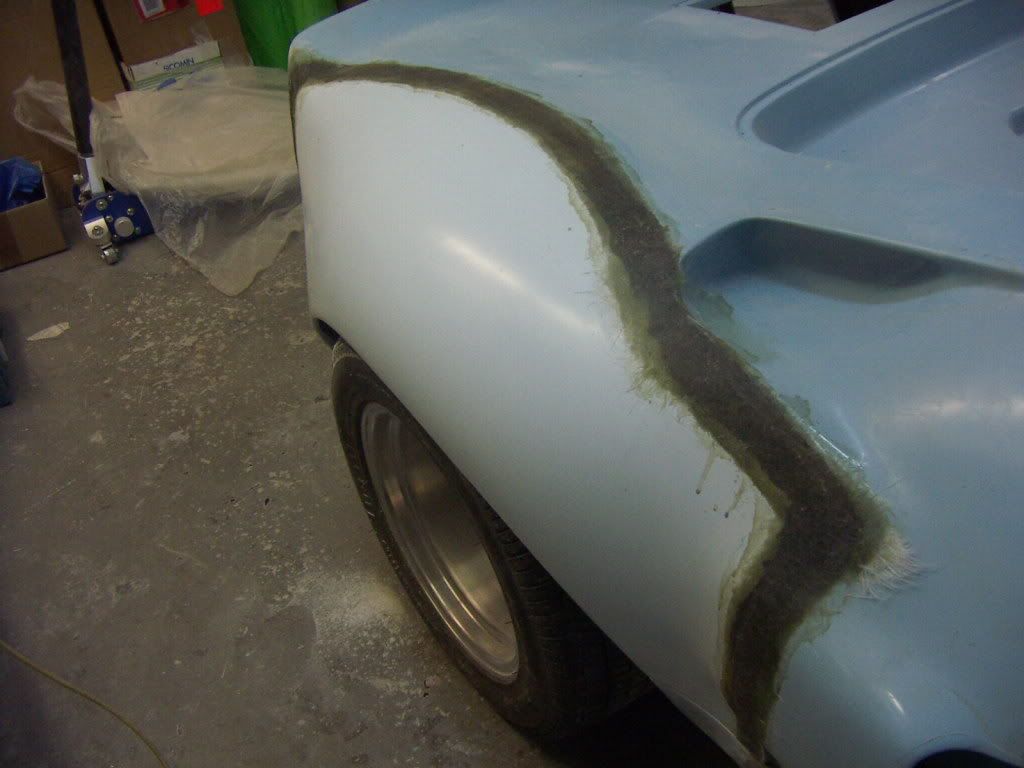
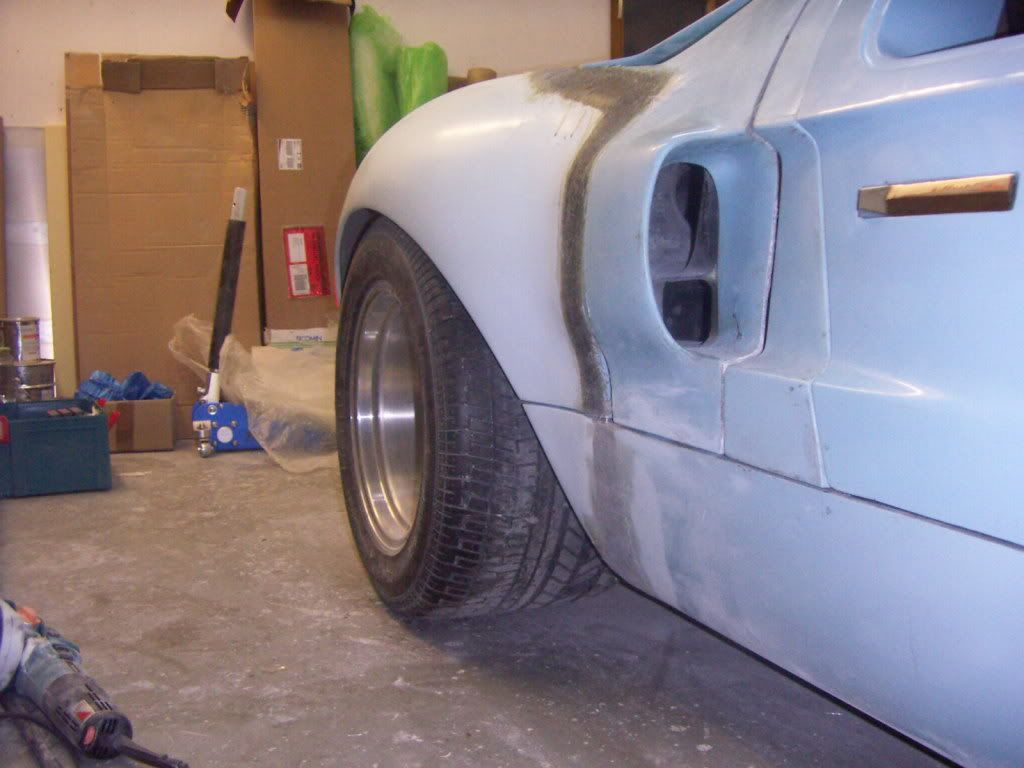
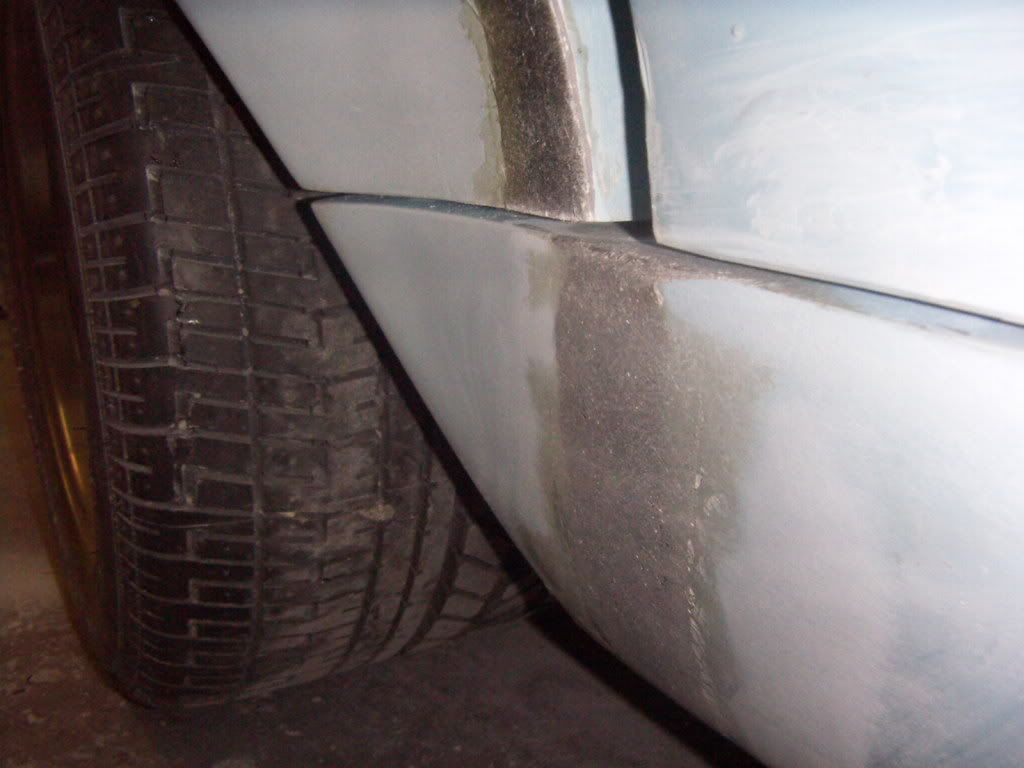
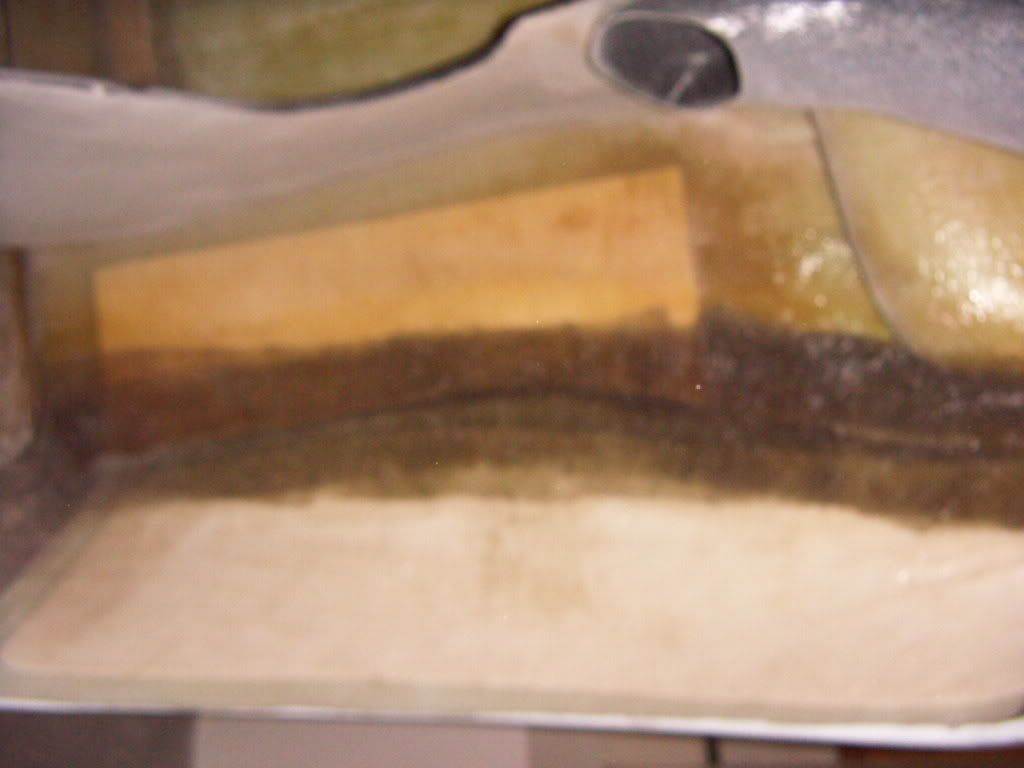
Continued to further fixing the flares. I did this by sanding in a flat groove along the glue seams app 2 inches wide and 1/12" deep, covering each 50% flare and clip. Did this on the inside as well. Than i laid in 2 layers of 350g and 2 layers of 450g glassmat with vinylesther-resin. It looks a little dark ,but the accelerator of the resin has a dark purple color, giving the whole thing a dark look. I actualy build up higher quite a bit ,to be able to sand it smooth and even on the transition from one part to the other. I did a test sanding on the sill extensions and it worked out pretty good. Nice even closed surface. I even left still 1mm to sand down there. The whole sanding will happen after the car was in the oven to bake the body and all the seems and glassfiber has taken a final curement and has sunken in.

flares with seam filled
PICT2918.jpg


Sill extension testsanded
PICT2915.jpg


PICT2916.jpg


Inside seam
PICT2924.jpg


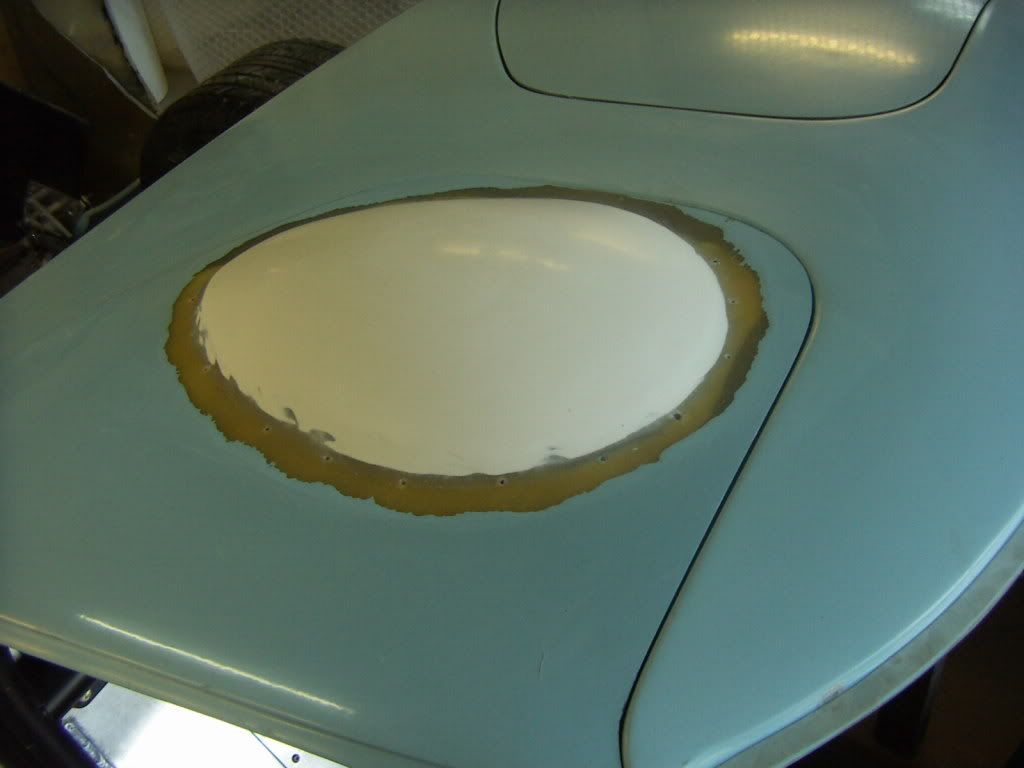
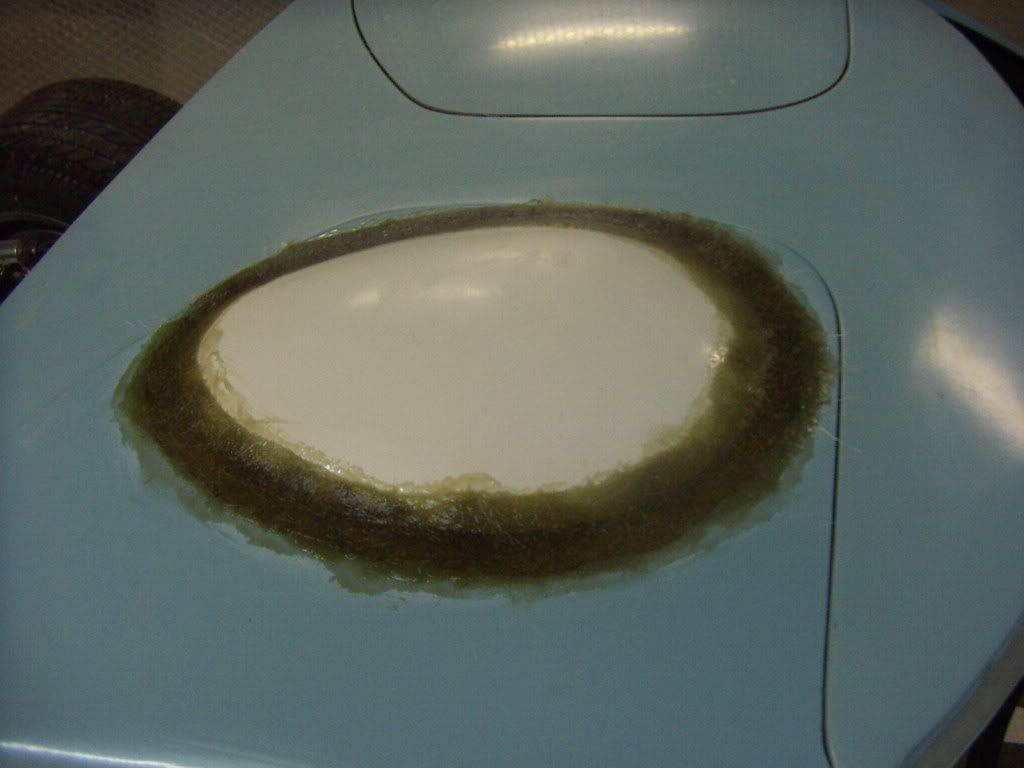
Also worked on glassing in my gurney buble. I located it very much towards the center of the car. A little more inward as i have seen on other cars, but this way the center of the buble is exactly centered over the drivers head. I used the same method to fix it as i used on the flares. I had the top of the door plus the a and b pillar of the door filled with the 2 K epoxy foam afterwards, which gave me the opportunity to sand it into a shape, which allows a nice inner look and a positive mould ,to glass it in from the inside also. With the high profiles fo the inner liner around the buble and the foam filling the top of the door is still very rigid.

bubble glued in and "glassing groove"sanded
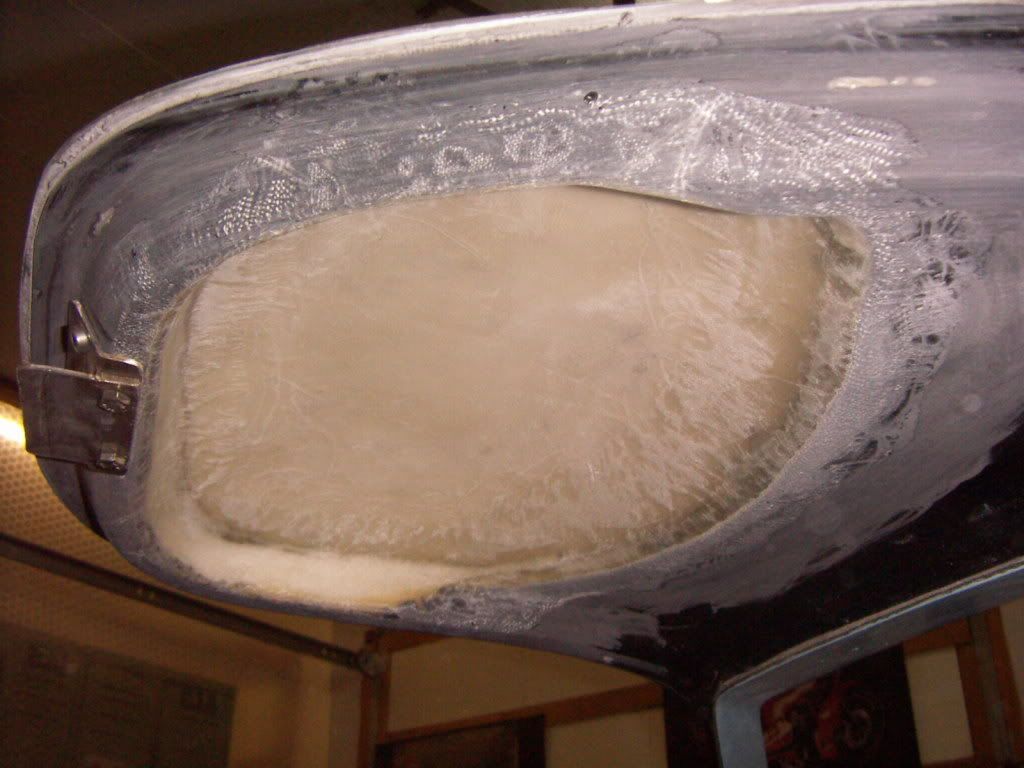
PICT2857.jpg


glassed in
PICT2858.jpg

glassed in from the inside
PICT2921.jpg


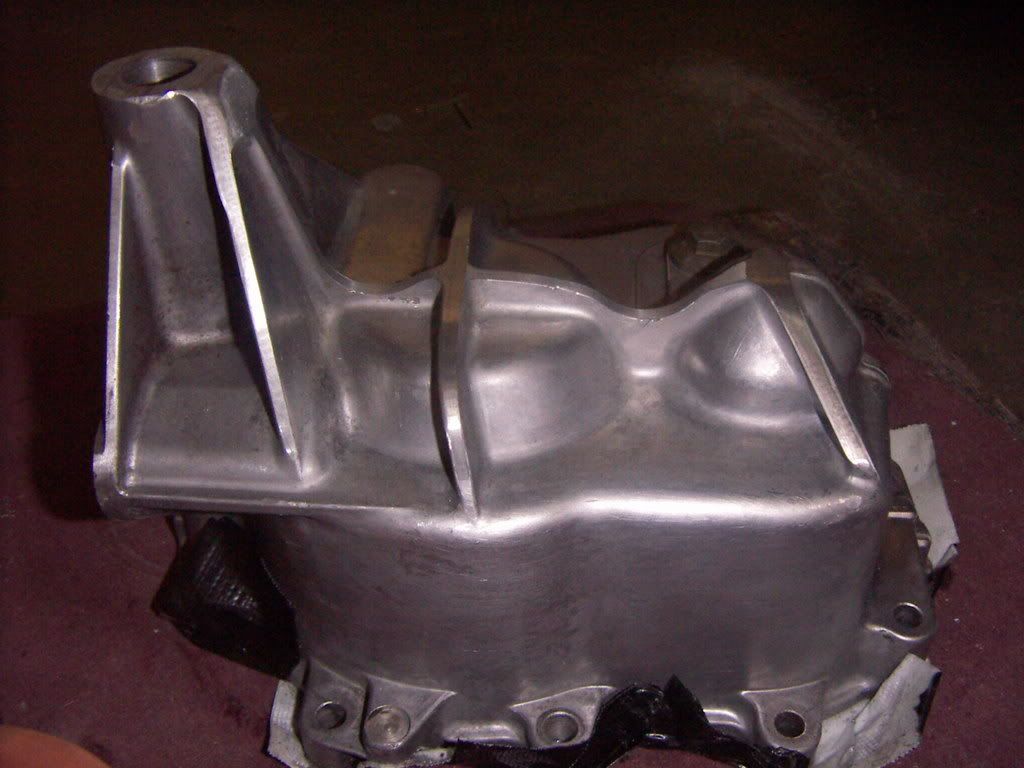
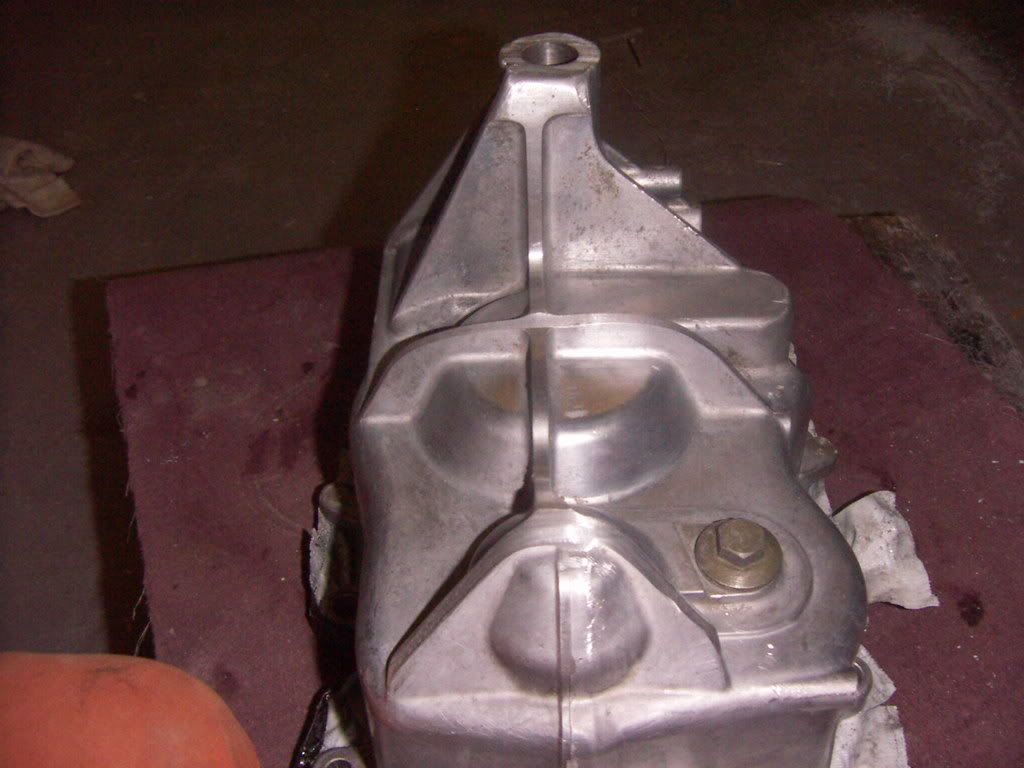
Parallel i´m working on my transaxle. I had it taken apart. To prepare for an oil cooling system, i choosed to weld in two additional 18*1,5mm bungs.
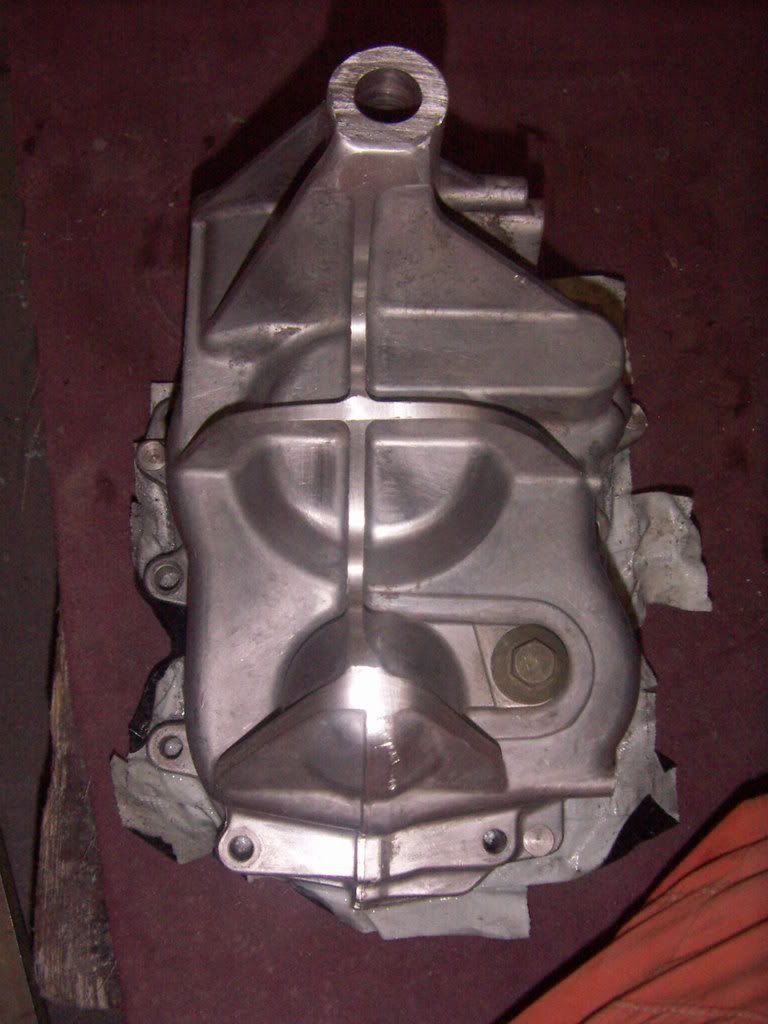
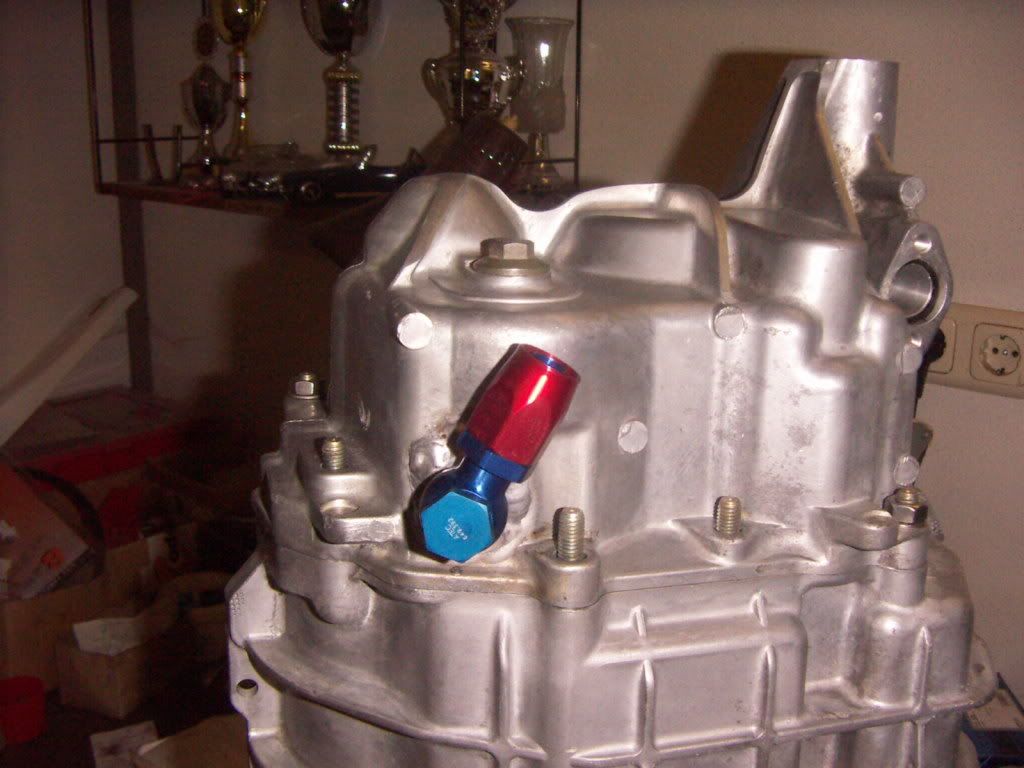
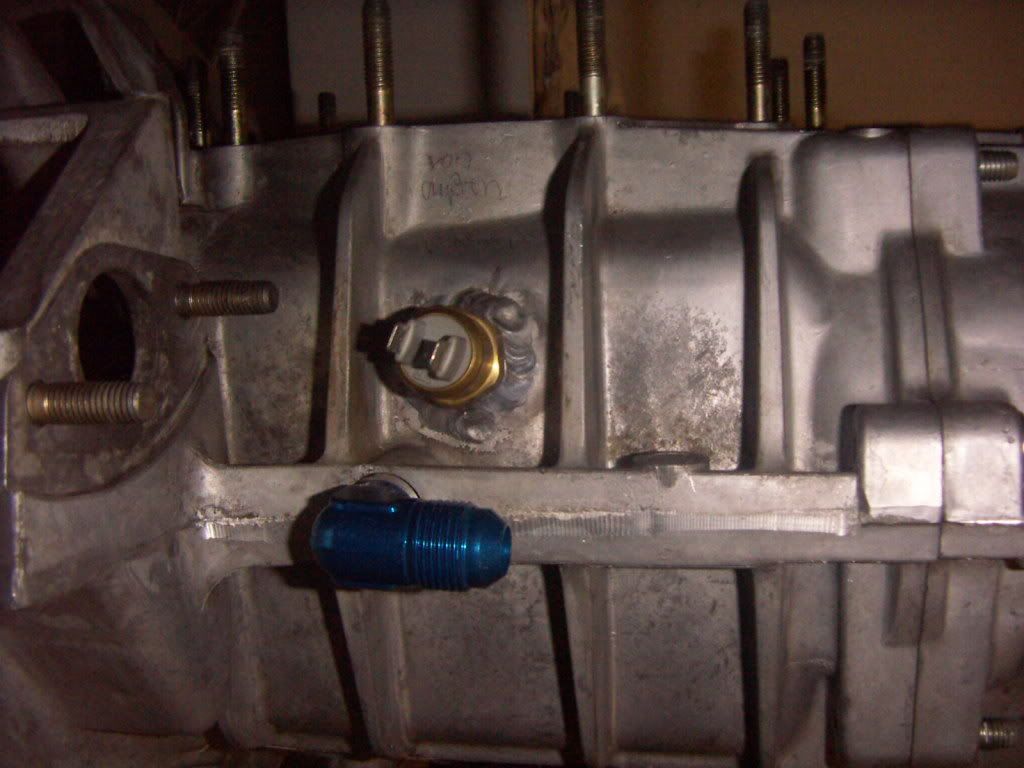
I´m going to use the original breather vent opening for a 90° adapter to D8 ,which will go to the suction side of the pump. The return flow will go to the endcap of the box where i welded in a new opening. This way i hope i can establish a nice flow of cooled oil through the whole transmission. It could also be hooked up the other way around. The second bung i welded in, is for a thermostatic switch, which will switch on the cooling pump at 85°C and shut it off at 80°C in automatic mode.

return flow adapter in end cap
PICT2925.jpg

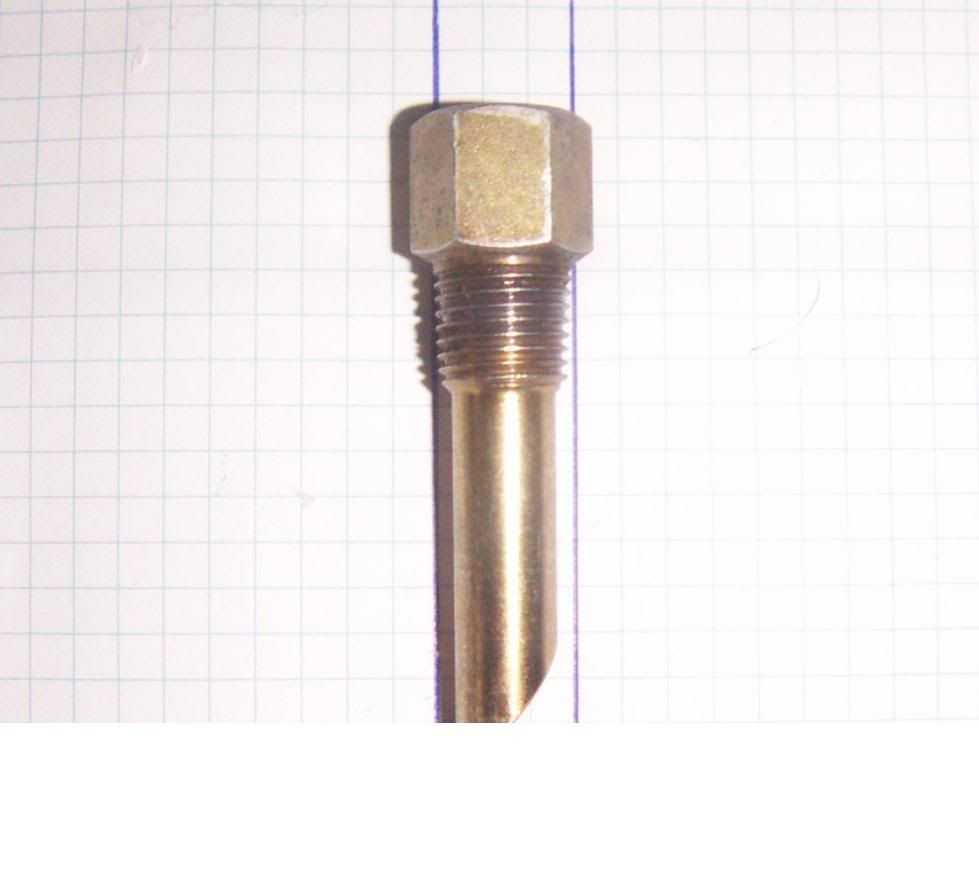
thermostat and suction adapter
PICT2926.jpg

The seat of the shortened end cap is machined and the housing will go out this weekend for completion.

TOM

AWH: 245 h
 

Randy V

Moderator-Admin
Staff member
Admin
Lifetime Supporter
Hi Tom - What size fitting (threads to the transmission) is that which you have on the bottom of the trans ?? I want to use a similar fitting to connect an AN8 hose to run up to my cooler / pump...

Thanks!
 

Randy V

Moderator-Admin
Staff member
Admin
Lifetime Supporter
It is a 90° adaptor with a 1/4 NPT thread on one side and a AN8 male on the other.
I think it is a aeroquip part.

TOM

I know that I can get a few threads to engage of the NPT thread in the hole - but unless I re-tap it from the Metric straight thread, I'm not certain it will seal up.. Did you re-tap yours?

Thanks...
 
It is not a straight thread, at least in my gearbox ( which is the US version G50/05 and came from an US car) it is a conical NPT thread.
Take a look at the original breathing vent thread.
I will make a pic of mine as soon i´m at home.
No nec to re-tap, just screw in.

TOM

TOM
 
Here is the pic
ventpipe.jpg

clearly to see that it ís conical. I compared it before purchasing the adaptor and it is a NPT 1/4" so i wonder what your´s is ?

TOM
 

Randy V

Moderator-Admin
Staff member
Admin
Lifetime Supporter
Hmmm.. Mine is different... Will snap some pics and post tonight.. Might be one of the few differences between the G50/03 and the G50/05..
 
Status
Not open for further replies.
Back
Top