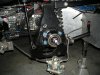
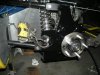
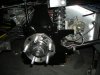
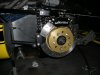
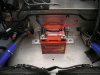
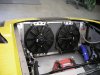
Yes my dog Winston is always at my side in the garage to check and approve my work. Scott, I'll never stop building. Molleur remote mounting the breathers really keeps that heat from the breathers away from the carb. Thanks guys,
Bob
Bob


")
OK Carlos,
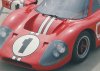
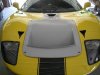
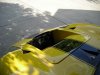
I can see where the front side wings will help with air movement but I can't understand what the ducts in the rear window would do to help drivers compartment heat? please explain this to me.
Thanks,
Bob