Frank Clark
Supporter
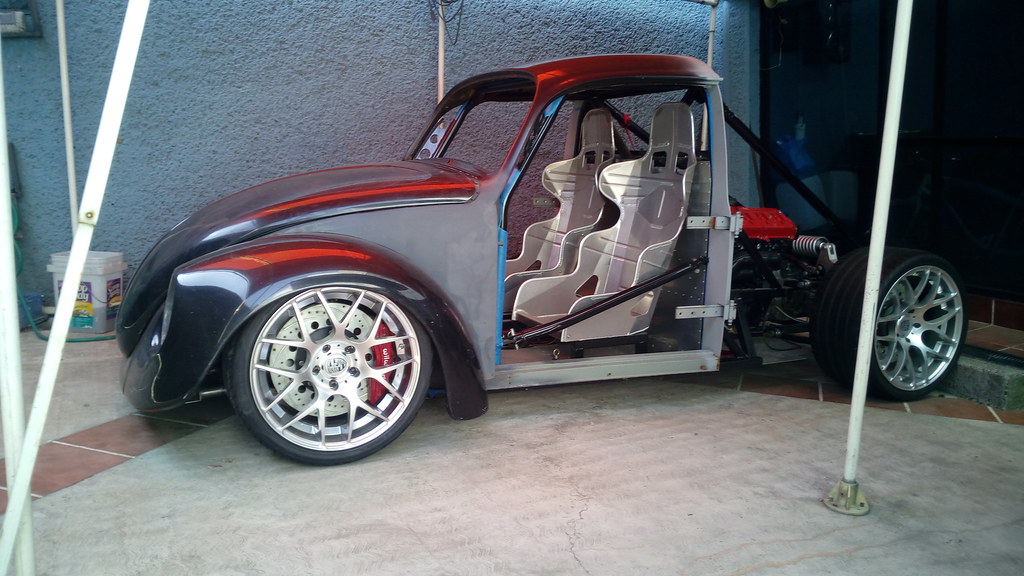
My SLC is just about road worthy. For the most part it's a pretty standard build, but I have done a few things differently that I thought I'd share.
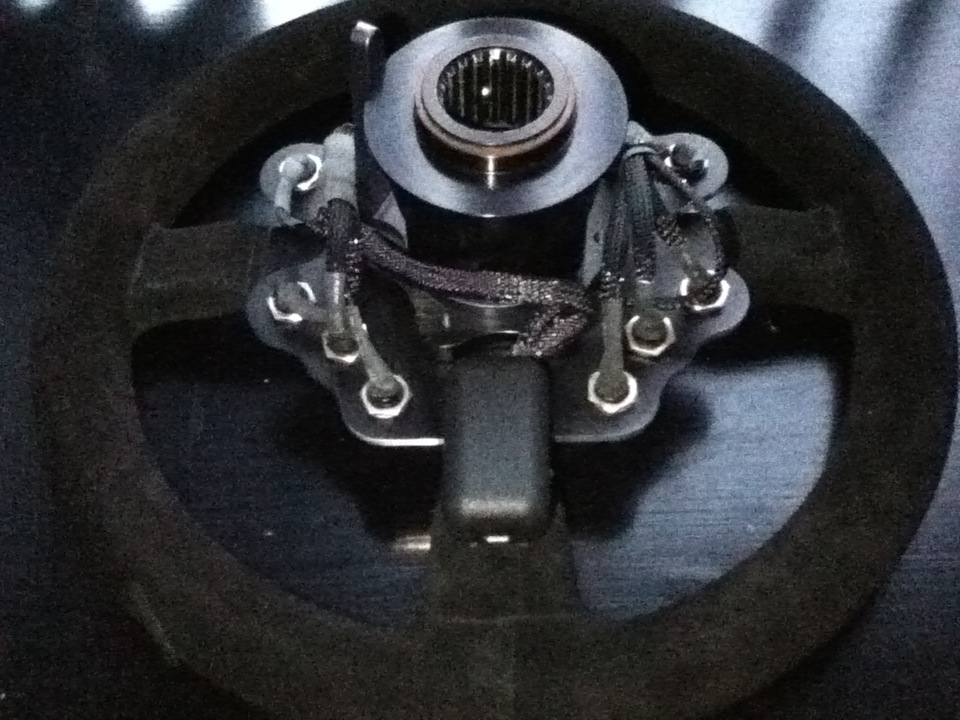
So first up, I decided to ditch the factory column and went with a race setup (collapsible D shaft). I did this to gain some room and decided it is more in line with what I want my car to be - more of a street legal race car than a fit and finish supercar.
That left me with the need for buttons on the steering wheel for at least blinkers and horn. I did not want to have a cord from the steering wheel to the dash, nor was I crazy about laying out a grand for a commercial wireless unit like the Cartek one.
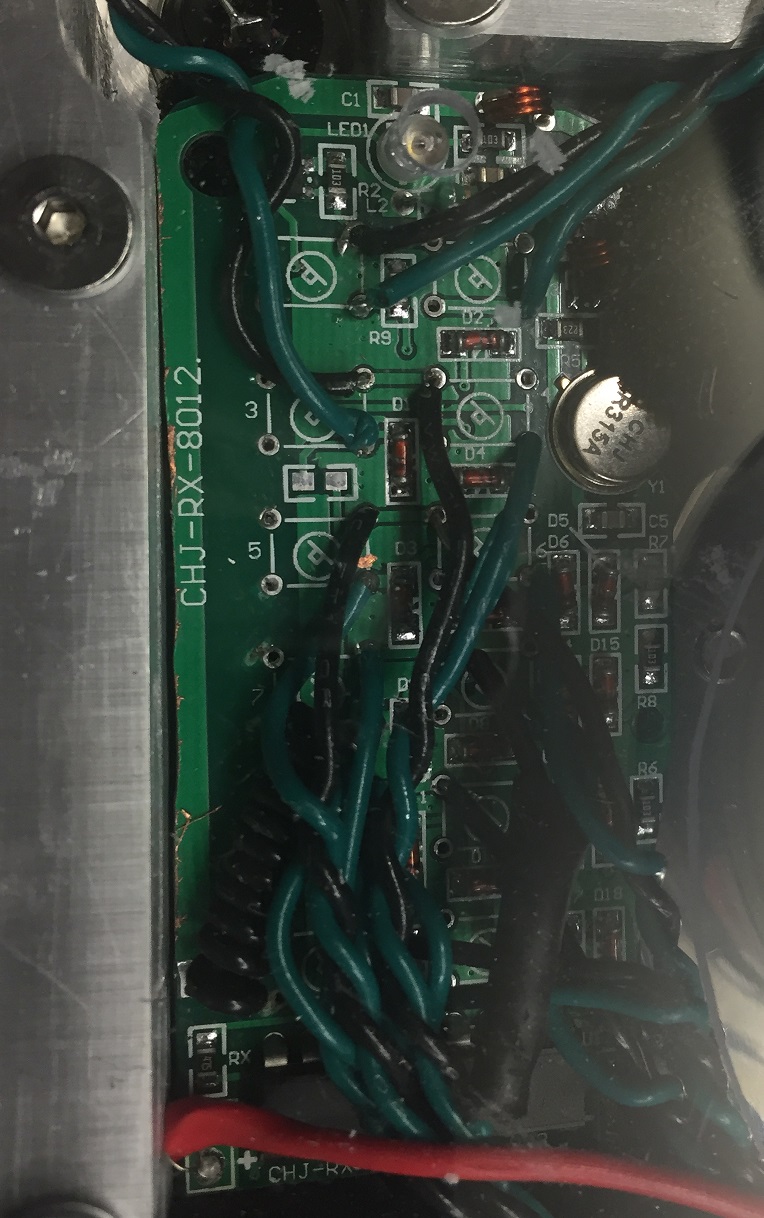
So I bought two sets of 12 Channel RF Transmitter/Receivers off ebay and proceeded to hack away. I bought 2 knowing my soldering skills are just so-so, but all went fine so I do have a spare transmitter and reciver. The actual units I bought are here.
The documentation for the units is almost non-existent, but after some fiddling I figured out that using the '5' button to program the receiver set channels 1-6 as momentary and 7-12 as latched.
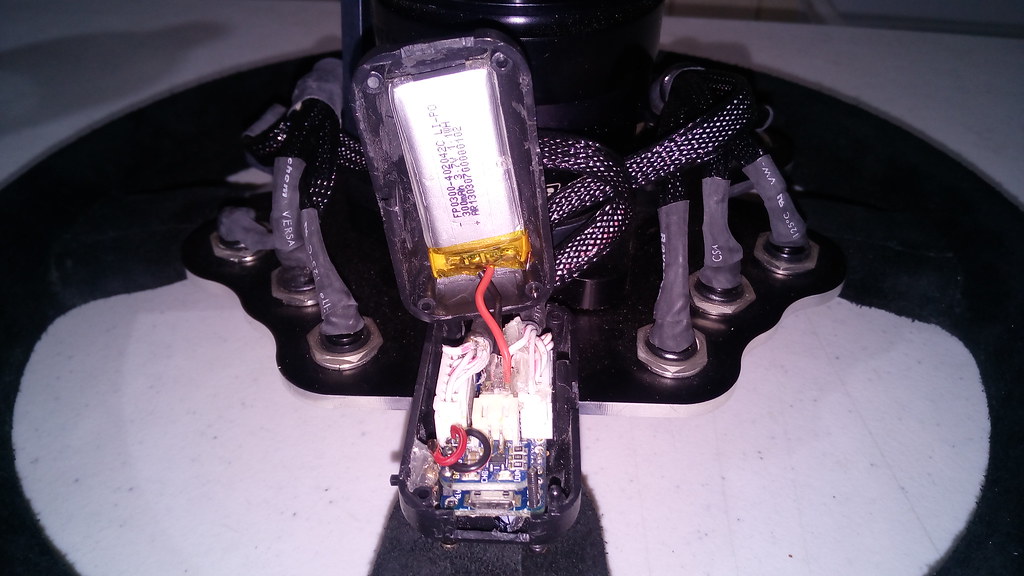
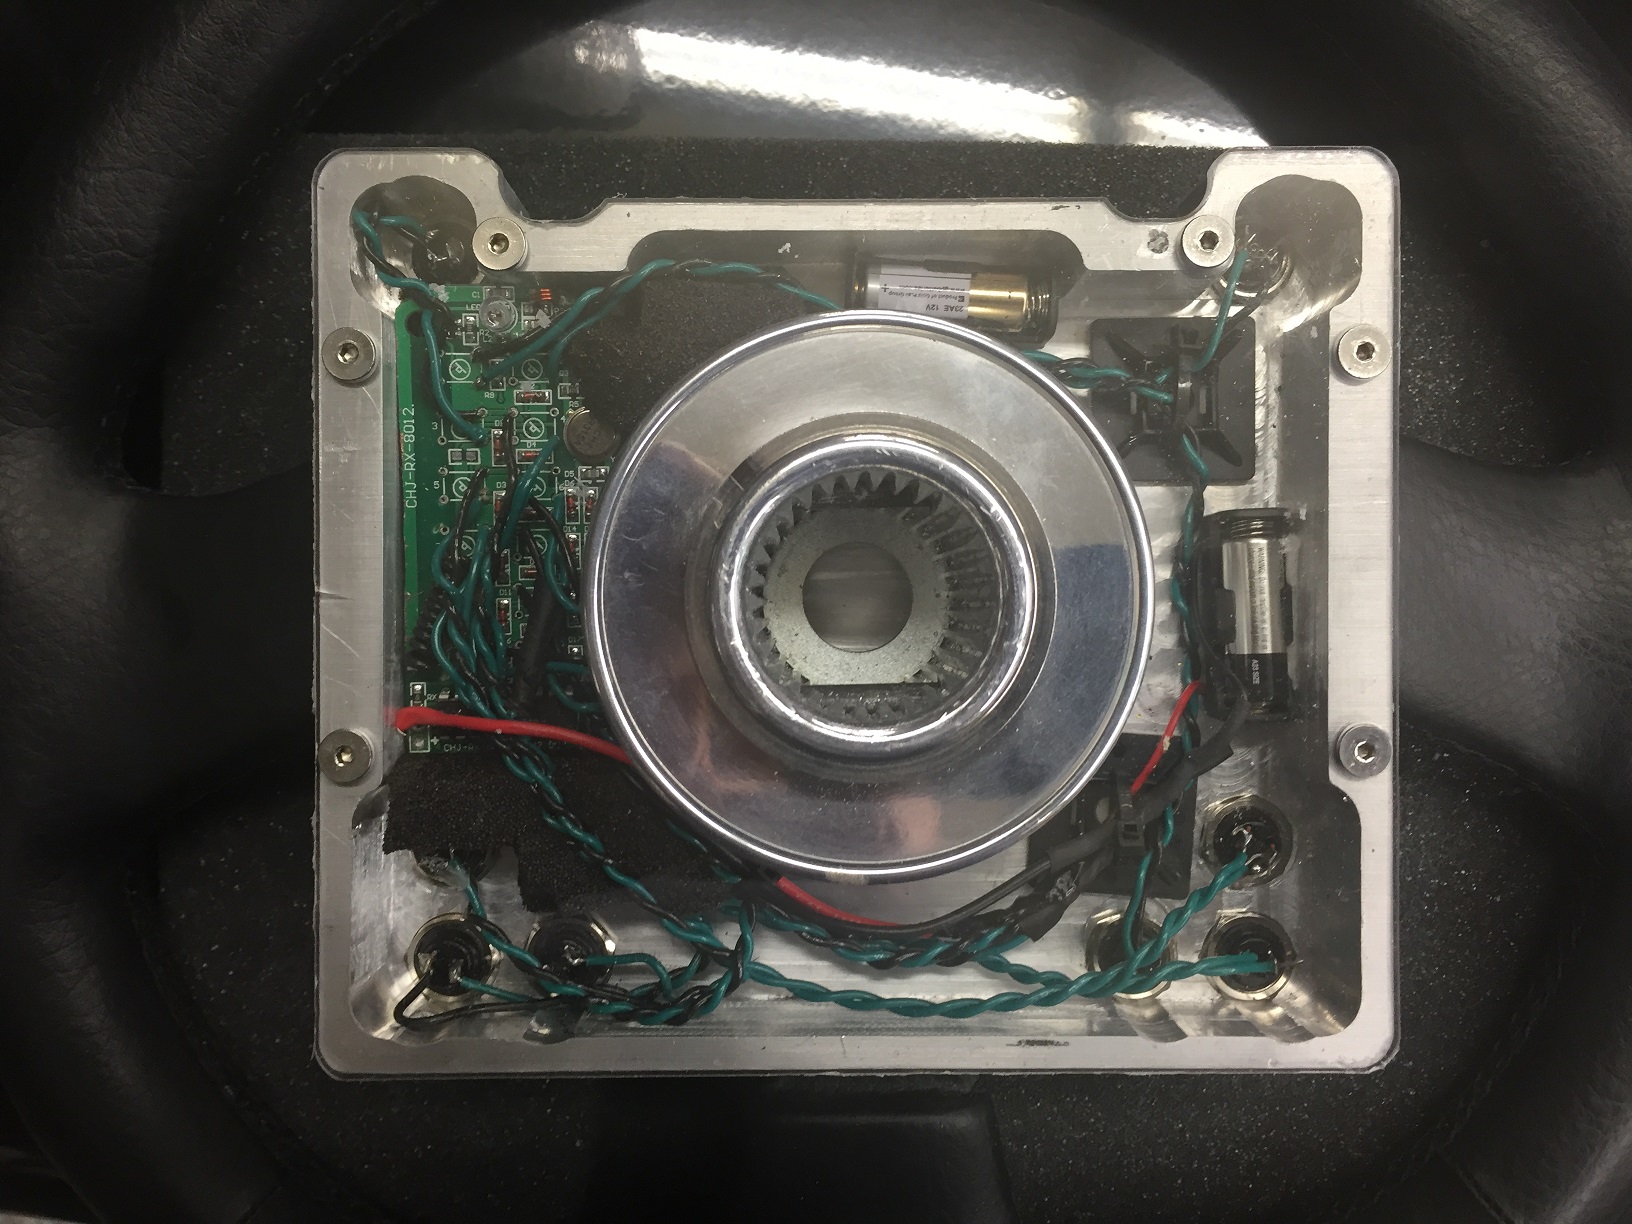
I did have to remove the buttons from the transmitter, replaced the antenna with a short coil of wire and remove the battery holder and replace it with wires going to a proper battery holder.
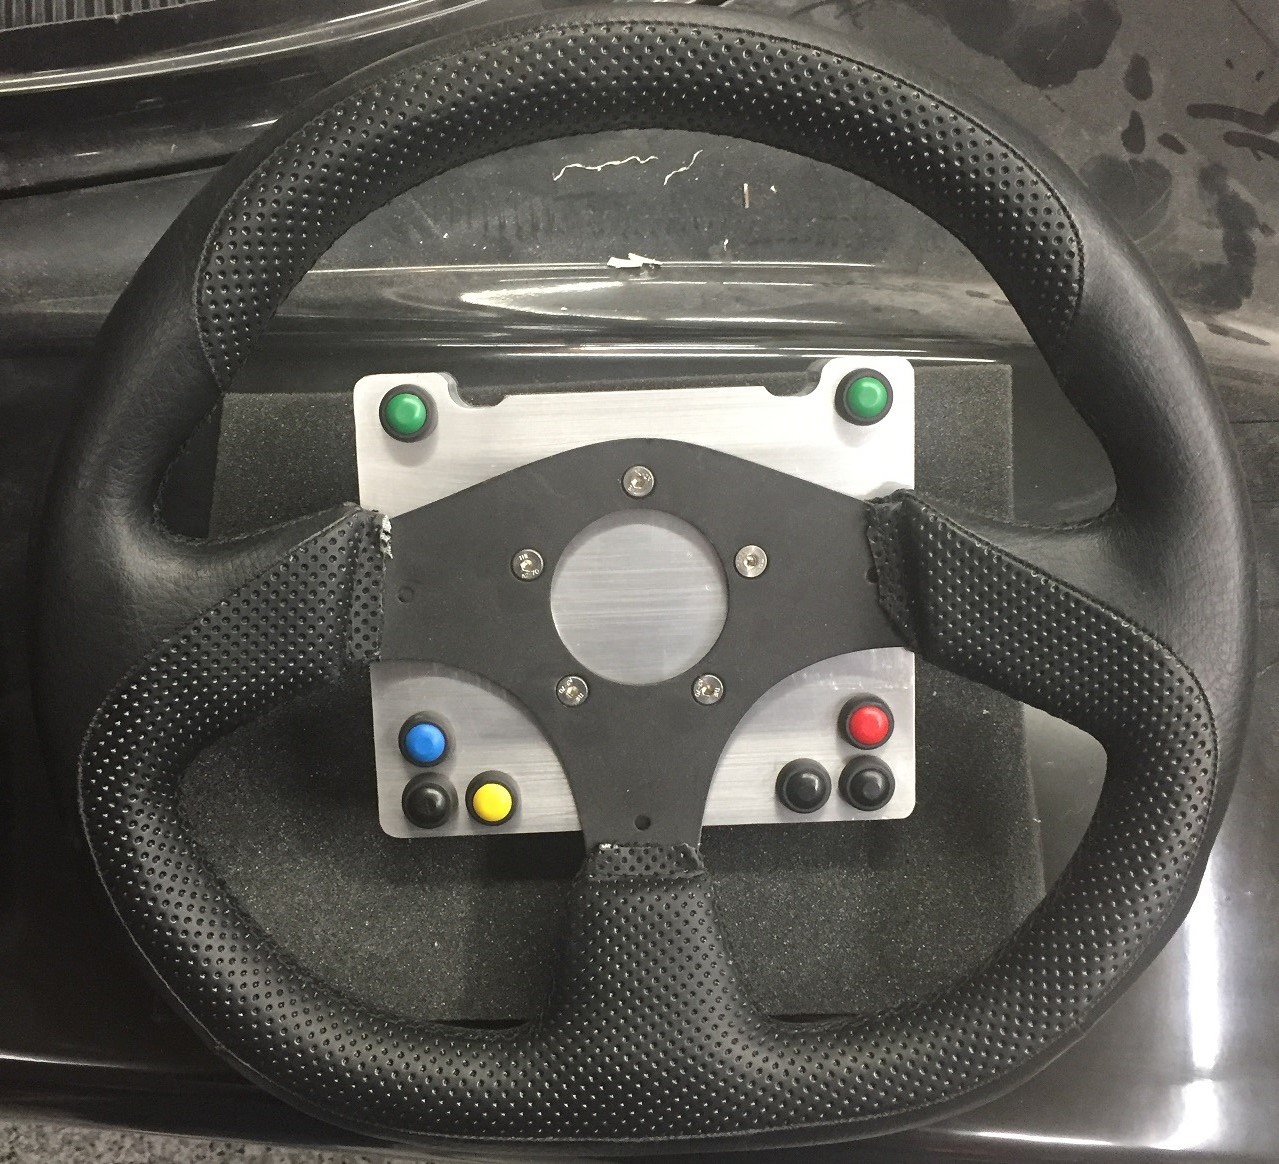
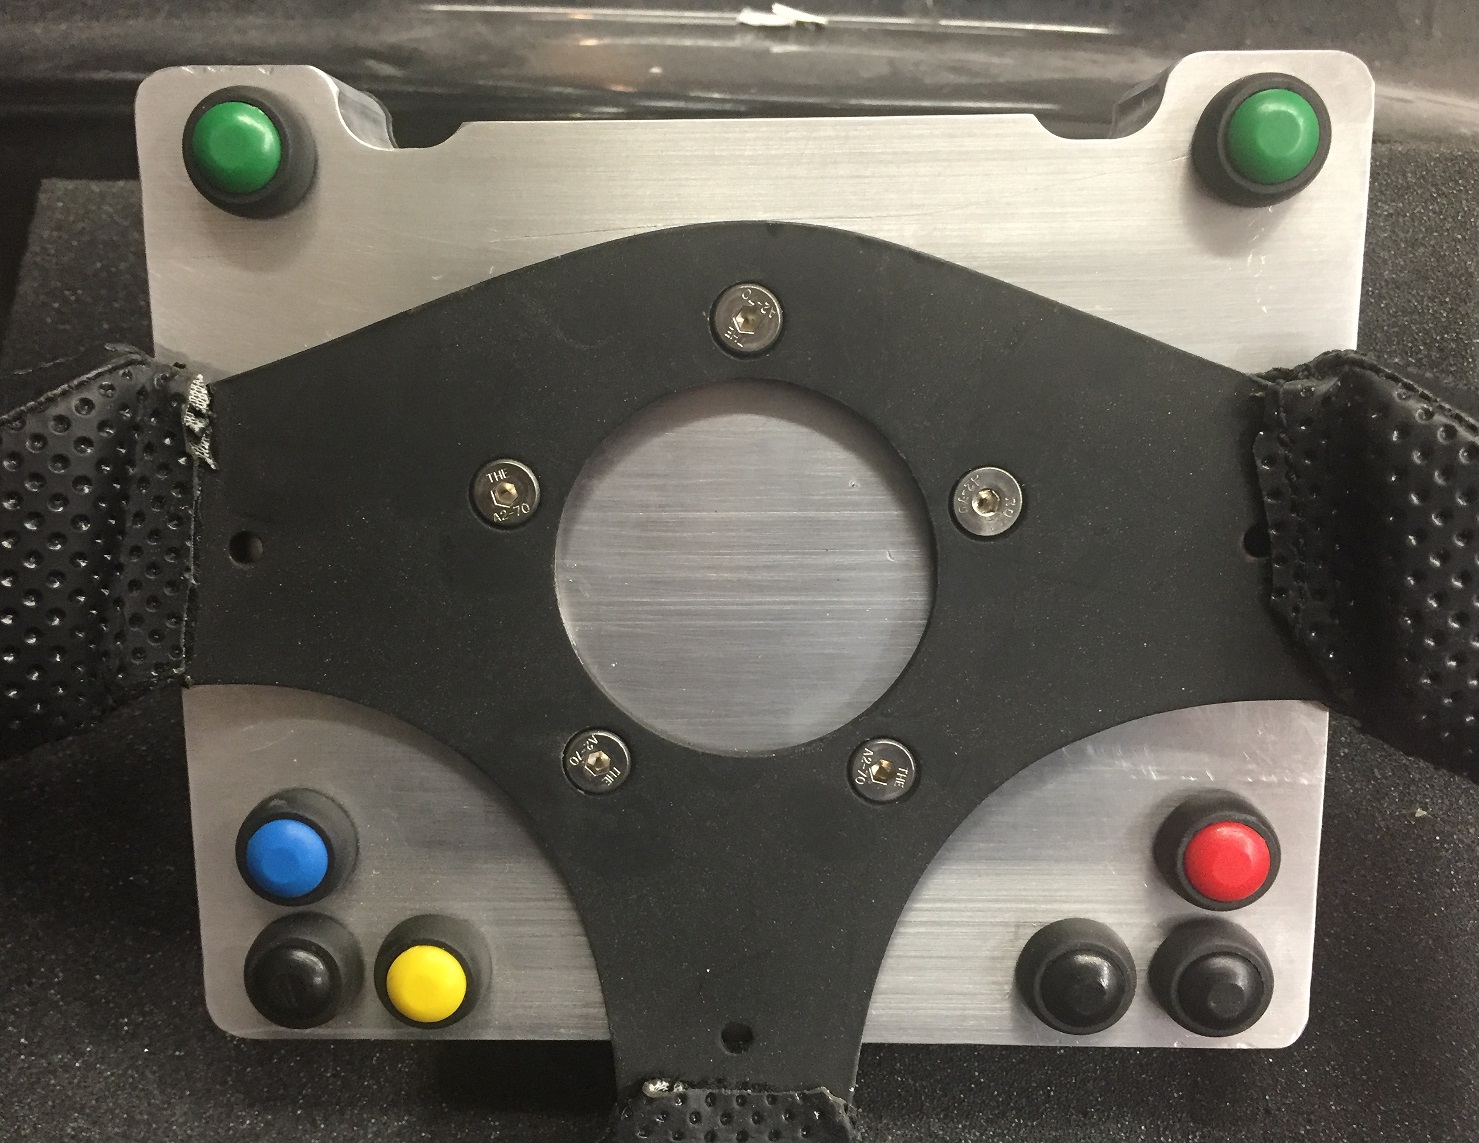
I will likely re-do my box once I settle on a steering wheel. Hate to pick one from a picture, so I think I will wait till PRI next year when I can put my hands on all the popular ones. The back of the box is lexan so the RF signal can get out. Of course you could make the box out of whatever material you are comfortable working with - Carbon Fiber would be cool. Or design one and have one of the online machine shops mill it out for you. The lexan was just trimmed with a router. Could have been black plastic as well.
I put in two batteries, only one is hooked up. The other is just a 'spare'.
I have about $70 total in this including the spare transmitter/receiver.
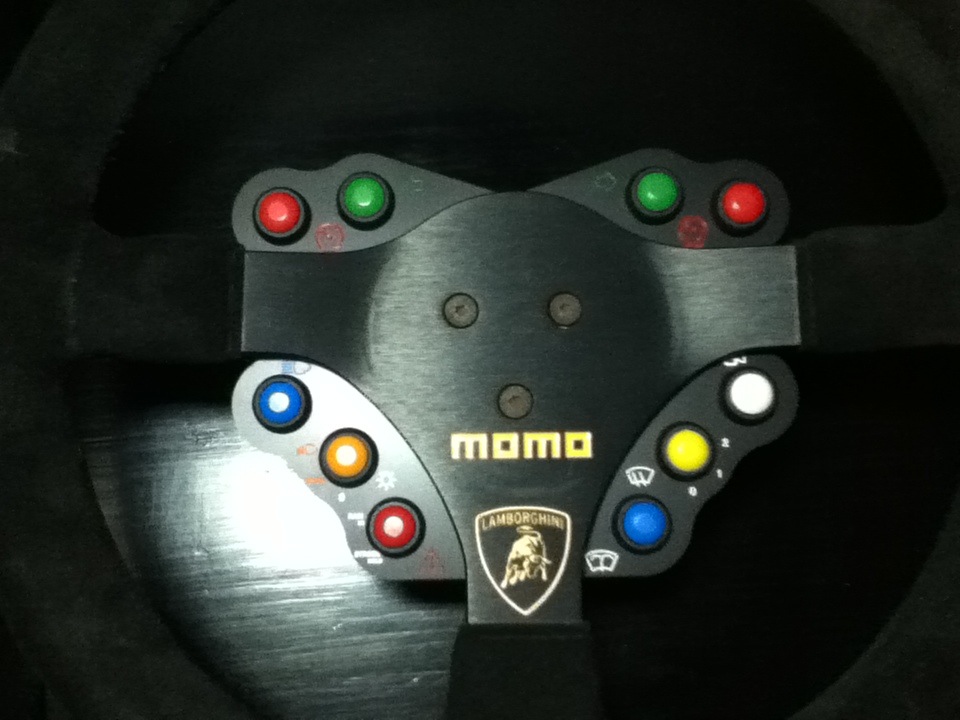
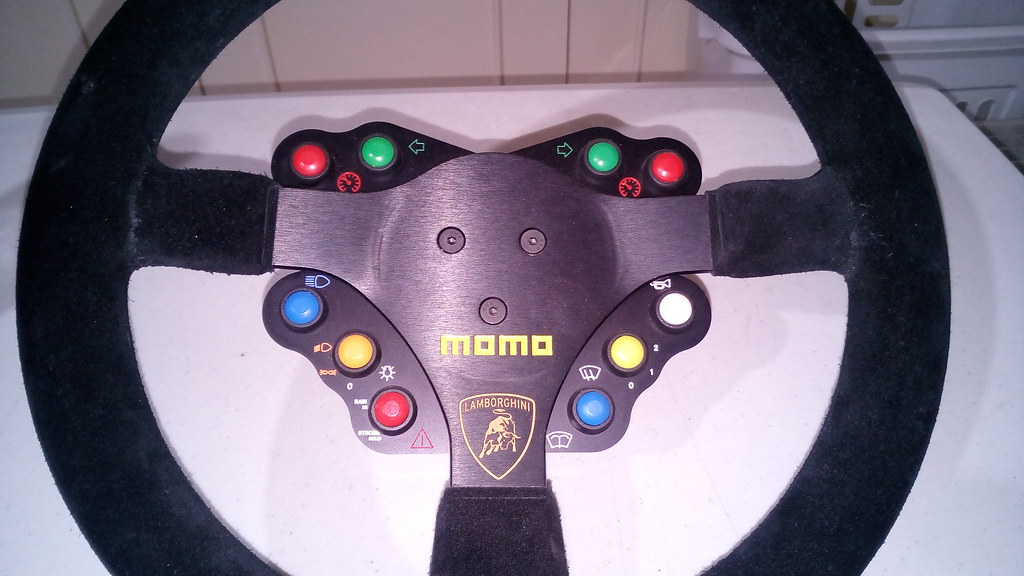
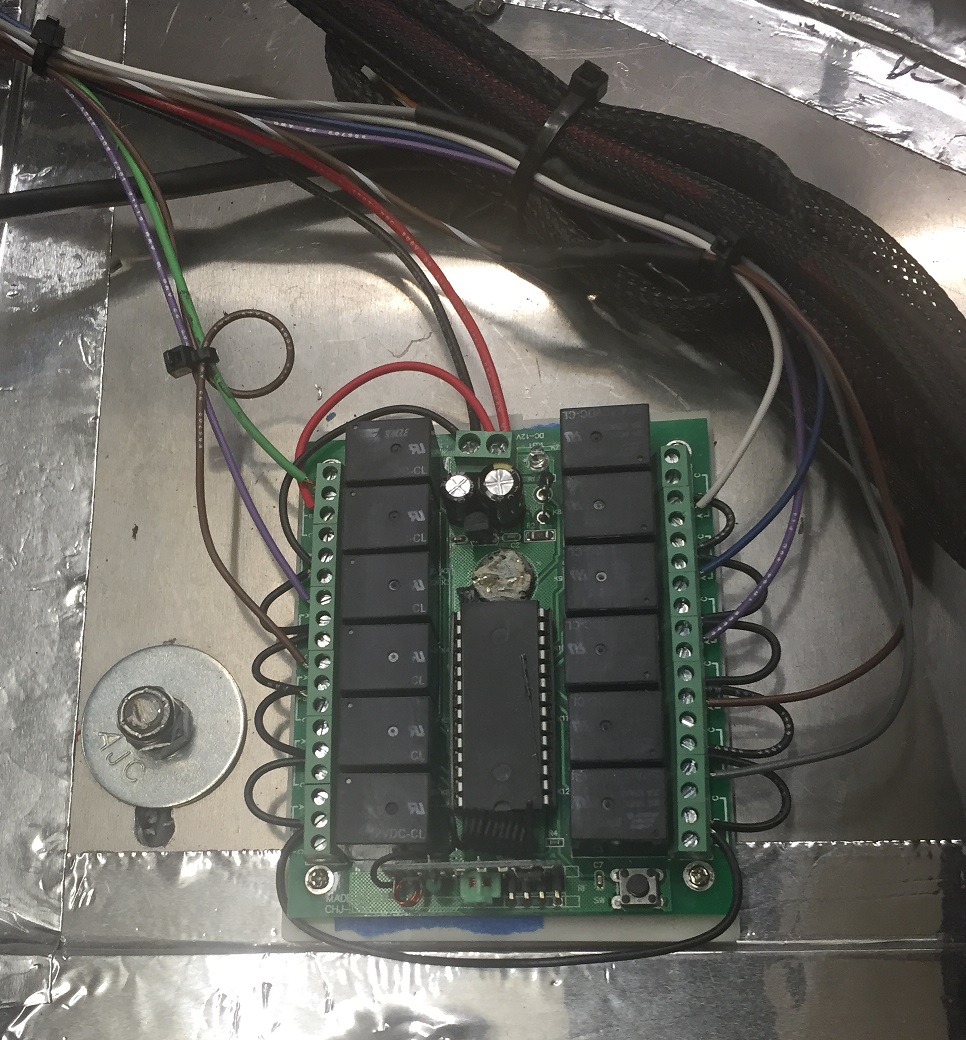
Pictures probably tell the rest. My buttons are, starting from 2 O'clock: right blinker, hazards, race pack dash button 2, race pack dash button 1, horn, dash dim, high beams, left blinker. The Infinity folks can re-program your box to handle blinkers with a momentary button - see their website.
So first up, I decided to ditch the factory column and went with a race setup (collapsible D shaft). I did this to gain some room and decided it is more in line with what I want my car to be - more of a street legal race car than a fit and finish supercar.
That left me with the need for buttons on the steering wheel for at least blinkers and horn. I did not want to have a cord from the steering wheel to the dash, nor was I crazy about laying out a grand for a commercial wireless unit like the Cartek one.
So I bought two sets of 12 Channel RF Transmitter/Receivers off ebay and proceeded to hack away. I bought 2 knowing my soldering skills are just so-so, but all went fine so I do have a spare transmitter and reciver. The actual units I bought are here.
The documentation for the units is almost non-existent, but after some fiddling I figured out that using the '5' button to program the receiver set channels 1-6 as momentary and 7-12 as latched.
I did have to remove the buttons from the transmitter, replaced the antenna with a short coil of wire and remove the battery holder and replace it with wires going to a proper battery holder.
I will likely re-do my box once I settle on a steering wheel. Hate to pick one from a picture, so I think I will wait till PRI next year when I can put my hands on all the popular ones. The back of the box is lexan so the RF signal can get out. Of course you could make the box out of whatever material you are comfortable working with - Carbon Fiber would be cool. Or design one and have one of the online machine shops mill it out for you. The lexan was just trimmed with a router. Could have been black plastic as well.
I put in two batteries, only one is hooked up. The other is just a 'spare'.
I have about $70 total in this including the spare transmitter/receiver.
Pictures probably tell the rest. My buttons are, starting from 2 O'clock: right blinker, hazards, race pack dash button 2, race pack dash button 1, horn, dash dim, high beams, left blinker. The Infinity folks can re-program your box to handle blinkers with a momentary button - see their website.