

You are using an out of date browser. It may not display this or other websites correctly.
You should upgrade or use an alternative browser.
You should upgrade or use an alternative browser.
GT-Forte GTs40 build
- Thread starter fastdruid
- Start date
Just realised no updates for the whole of Oct! Mostly because I swanned off on holiday but partly because I've been planning and thinking about things rather than doing stuff. Although there has also been a bit of shopping in there.
Also not helped by buying Forza 4!")
Major things I've decided are:
1) To get the larger panels for the inside pre-cut, the major ones are all square/rectangular and it adds a negligible amount to the cost per m to buy cut sheet.
2) Fold over the inner sill sides on to the sill tops for IVA reasons.
3) 1.5 in coolant tubing. This causes a slight issue as I will have to move the handbrake cable mount.
4) Extend the centre tunnel up to the dash to make a centre 'console'.
5) Mount the battery up front. Three major reasons for this, firstly helps with weight distribution, secondly helps with having bigger fuel tanks. Thirdly all the big electrical loads will be at the front.
Anyway decisions decided its back to work.
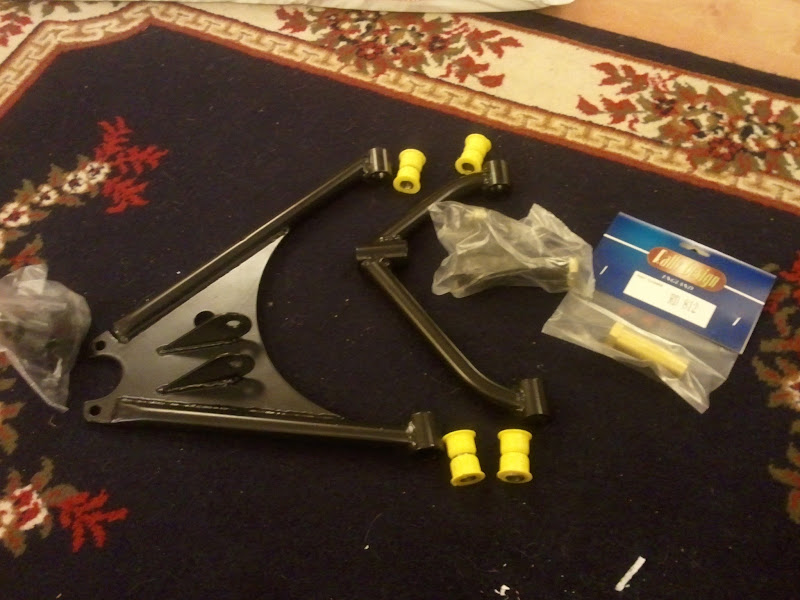
I've got the front suspension parts through now
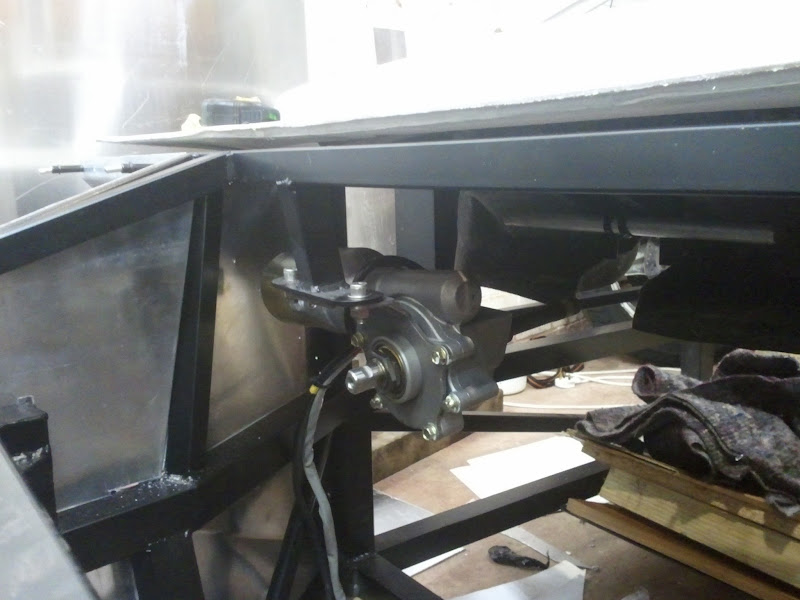
Along with the steering rack mounts, so I roughly put the rack in place.

Along with the power steering motor
Mostly finished off the final left side panel (just got the rear to drill and then de-burr).
Then removed the front section of the roll-cage and trial fitted the dash to see where it came to and how much room I had everywhere etc.
At this point I then stuck my PS3 wheel and pedals in, had a sit down and made V8 noises!
Also not helped by buying Forza 4!
Major things I've decided are:
1) To get the larger panels for the inside pre-cut, the major ones are all square/rectangular and it adds a negligible amount to the cost per m to buy cut sheet.
2) Fold over the inner sill sides on to the sill tops for IVA reasons.
3) 1.5 in coolant tubing. This causes a slight issue as I will have to move the handbrake cable mount.
4) Extend the centre tunnel up to the dash to make a centre 'console'.
5) Mount the battery up front. Three major reasons for this, firstly helps with weight distribution, secondly helps with having bigger fuel tanks. Thirdly all the big electrical loads will be at the front.
Anyway decisions decided its back to work.
I've got the front suspension parts through now
Along with the steering rack mounts, so I roughly put the rack in place.
Along with the power steering motor
Mostly finished off the final left side panel (just got the rear to drill and then de-burr).
Then removed the front section of the roll-cage and trial fitted the dash to see where it came to and how much room I had everywhere etc.
At this point I then stuck my PS3 wheel and pedals in, had a sit down and made V8 noises!
Ian Anderson
Lifetime Supporter
David
I'd be wary of doing a floor to dash center console
When you move your clutch foot your knee could probably use that space - mine certainly does but then again I'm 6'3" and just about fit at the best of times
Ian
I'd be wary of doing a floor to dash center console
When you move your clutch foot your knee could probably use that space - mine certainly does but then again I'm 6'3" and just about fit at the best of times
Ian
Should have done this update yesterday but never mind.
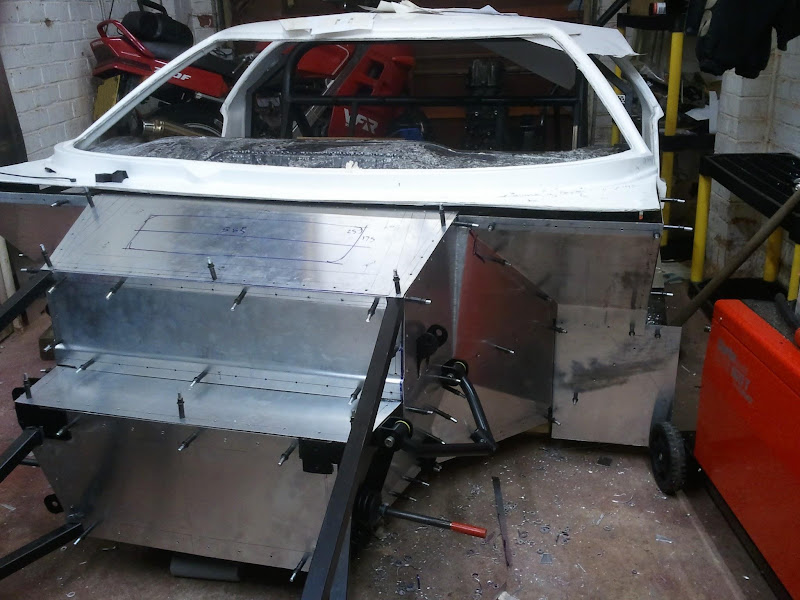
Finished off fitting/drilling the final panel on the LHS
Fitted the RHS sill end
Well that's pretty much it for the main front panelling although there a few bits to tidy up and I'll be panelling in the sides at the front. Not a lot I can do until my aluminium turns up.
Don't really have enough room in the garage to take a decent picture of everything (I can't back up any further) but this is the state of play at the moment.
One very slight issue I have is that I got a Capri eye-ball vent off ebay but it seems too big, assuming it is actually what was claimed did the Capri come with different size vents, is the dash wrong or does it just not fit how I'd expect?
Could someone give me the diameter of a Capri vent just above the mount flange?
In other news got though the track rod ends now so I've got all the front suspension bar shocks and ARB. Also on a slightly unrelated note thanks to a Lidl special got a 6kg Fire extinguisher for the garage so I'll stop worrying quite so much about setting fire to the place when welding!
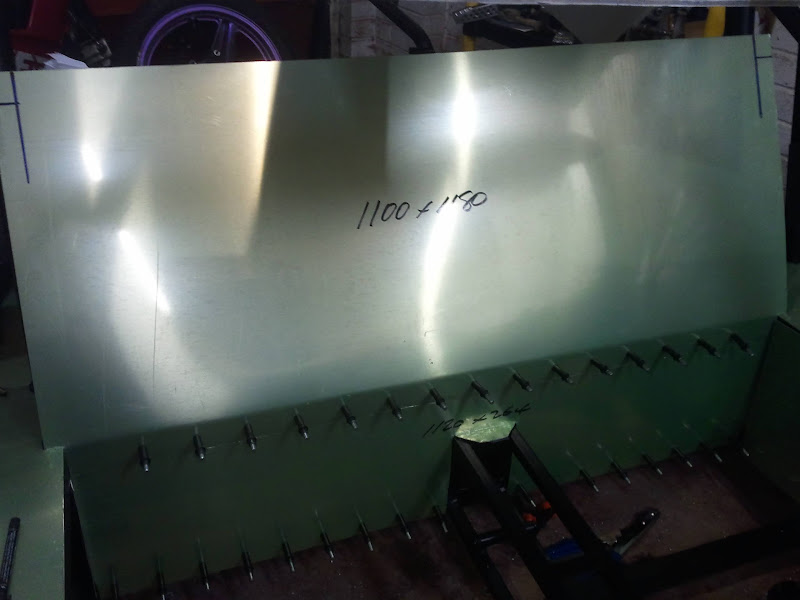
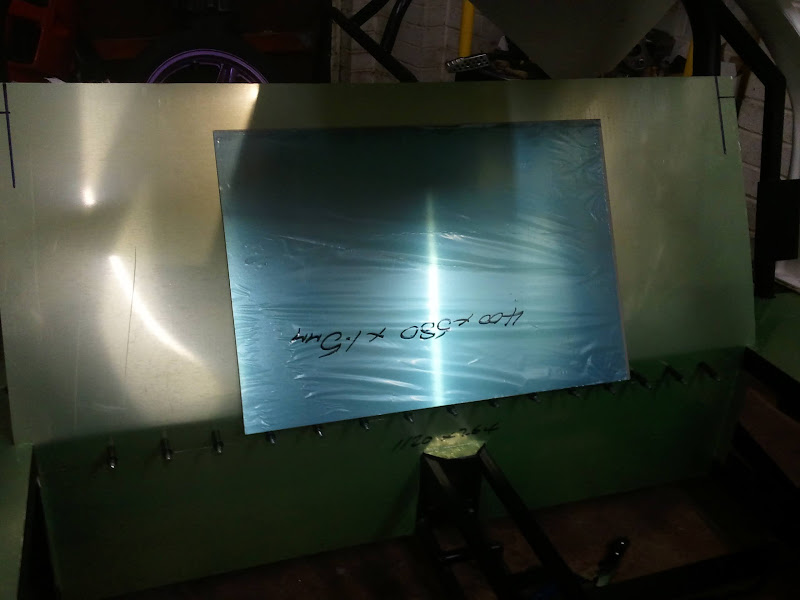
Well it appears I'm very slightly in the dog house with my wife after a large quantity of aluminium turned up unexpectedly... Ooops!
In my defence I hadn't told her as the order is still showing as 'order processing' and I wasn't expecting it to be today either!
So that's me busy tonight.
In other news failed to buy a cheap V8 again, not that its the end of the world. I'm still playing the place silly bids game rather than being serious about it. Although on the subject of engines worth a mention that should anyone be looking right now for a SBF to (re)build there are some 4 * 302's and 6 * 351w's on ebay at the moment for £375ea and £325ea plus delivery.
Brett James-McCall
Moderator
David,
Don't forget, casting number on the block may influence your build later on.
Brett
Don't forget, casting number on the block may influence your build later on.
Brett
Brett James-McCall
Moderator
yep, pre- Aug 1975 means a smoke test only at the moment
Well we'll see. No commitments to engines right now but unlikely to be pre-75.
Right now I'm playing the ebay game, silly bids on modern engines, M60B40, ABZ or 1UZ-FE, all pre-Aug 95 so no cats. If I get one the increased grief in fitting makes up for the reduced cost in getting performance and they'll all return way more mpg than a carb'd SBF. If I was in the states an SBF would be a no-brainer but for the price of an engine fit only for a rebuild you can get a running modern motor with ~300HP. Downside is that's going to be it, no more power without silly money being spent.
Still I'm not ruling out an SBF just going to see what happens, plenty of time to get the engine.

Hi Woody,
It's from a Vauxhaul/Opel Corsa 'B'.
Opel Corsa - Wikipedia, the free encyclopedia
I believe you might know it as a Holden SB Barina.
Holden Barina - Wikipedia, the free encyclopedia
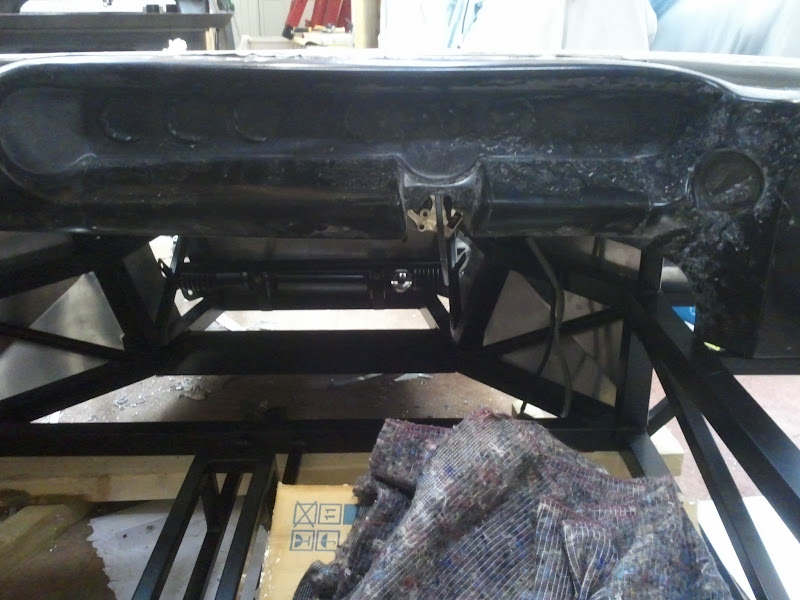
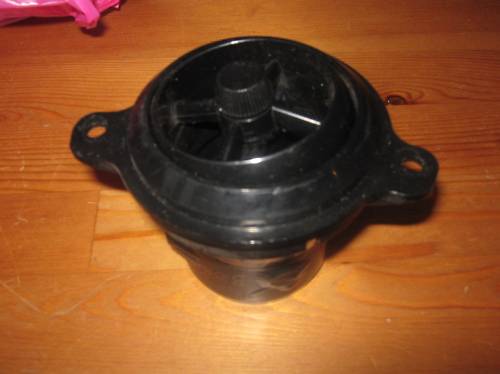
It looks when ripped from the donor shopping car like this:

The one from the 'C' can be used too (which is I believe slightly more reliable) but its trickier to fit as its longer.
Here is a comparison between B and C types (B is at the top):

Essentially fitting it involves removing the top of the column (along with the switchgear and lock, slight shame mine came with working lock and key!), welding an extension onto the end, adding a bearing and then fitting a wheel on (along with QR wheel). The manual recommends making sure the extension is long/short enough and checking to see the wheel is in a comfortable position before welding up the extension so I'm holding off that for now, possibly until I get seats sorted.
I had a right problem getting the wheel off, did not want to budge and I didn't want to buy a proper steering wheel puller. Eventually I BFI'd it, drilled and hacksawed the thing to pieces!
The drop link to the rack then needs to be lengthened and the final UJ swapped for one with a spline to match the rack.
There is an ECU to go with it which takes input from the engine and speed and varies the assistance accordingly. I've got the ECU and I'll be making up a bracket and fitting it somewhere under the dash.
Most people just get a small box which fakes the rpm and speed signal. I intend to try instead and get mine to work properly with an adjuster too (and then if that fails just buy the box and live with the assistance being fixed.)
It's from a Vauxhaul/Opel Corsa 'B'.
Opel Corsa - Wikipedia, the free encyclopedia
I believe you might know it as a Holden SB Barina.
Holden Barina - Wikipedia, the free encyclopedia
It looks when ripped from the donor shopping car like this:
The one from the 'C' can be used too (which is I believe slightly more reliable) but its trickier to fit as its longer.
Here is a comparison between B and C types (B is at the top):
Essentially fitting it involves removing the top of the column (along with the switchgear and lock, slight shame mine came with working lock and key!), welding an extension onto the end, adding a bearing and then fitting a wheel on (along with QR wheel). The manual recommends making sure the extension is long/short enough and checking to see the wheel is in a comfortable position before welding up the extension so I'm holding off that for now, possibly until I get seats sorted.
I had a right problem getting the wheel off, did not want to budge and I didn't want to buy a proper steering wheel puller. Eventually I BFI'd it, drilled and hacksawed the thing to pieces!
The drop link to the rack then needs to be lengthened and the final UJ swapped for one with a spline to match the rack.
There is an ECU to go with it which takes input from the engine and speed and varies the assistance accordingly. I've got the ECU and I'll be making up a bracket and fitting it somewhere under the dash.
Most people just get a small box which fakes the rpm and speed signal. I intend to try instead and get mine to work properly with an adjuster too (and then if that fails just buy the box and live with the assistance being fixed.
)
Last edited:
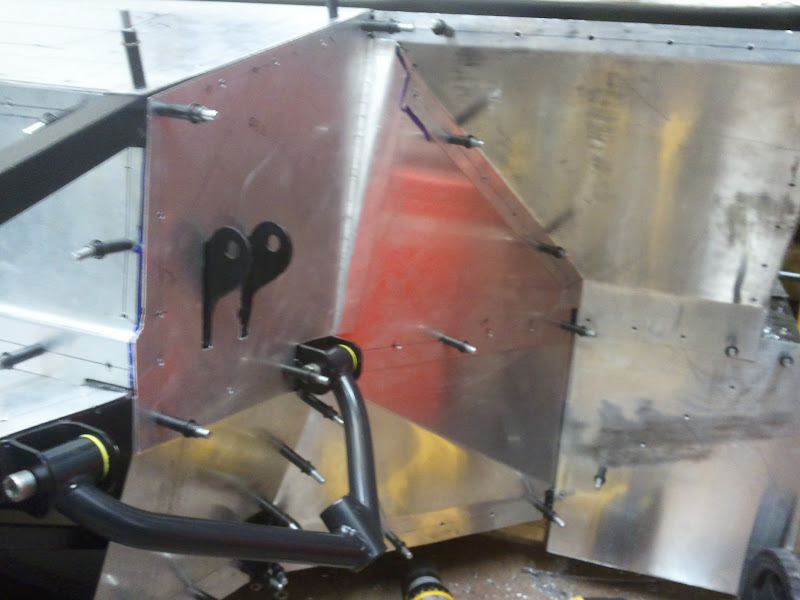
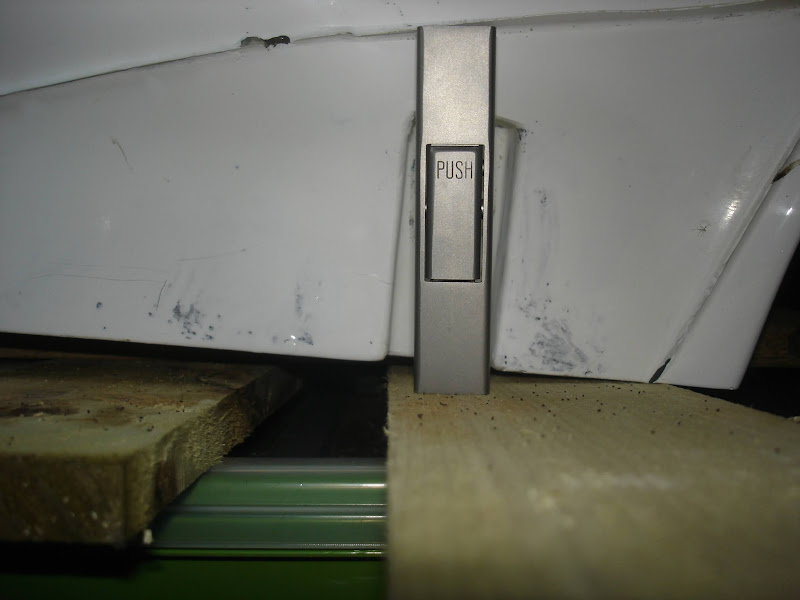
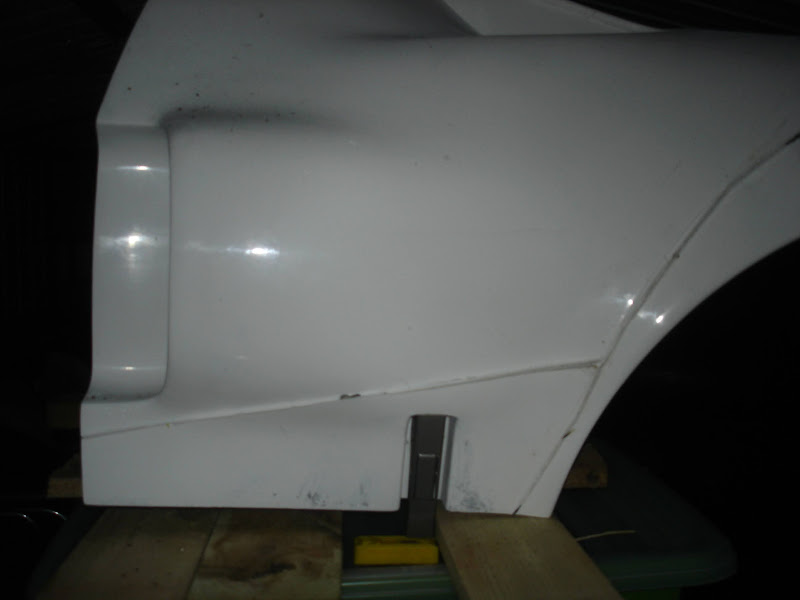
I've been shopping again and bought some latches.
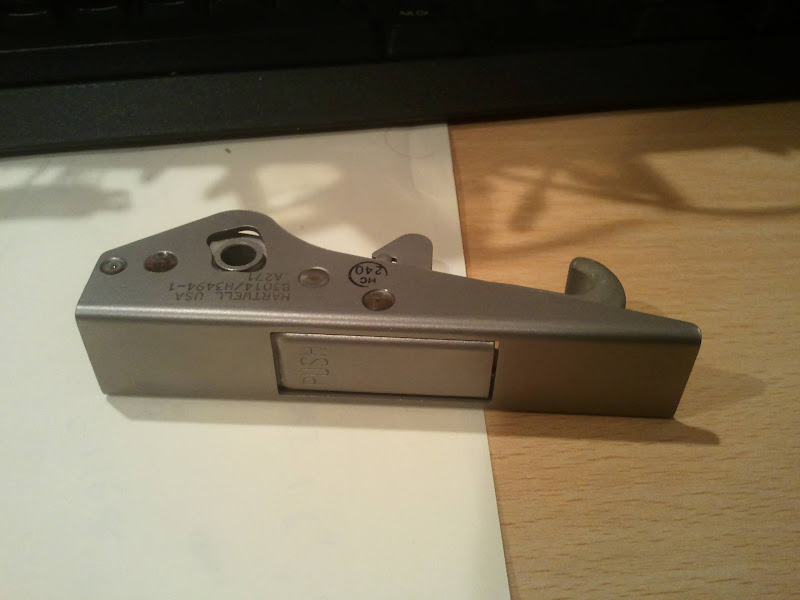
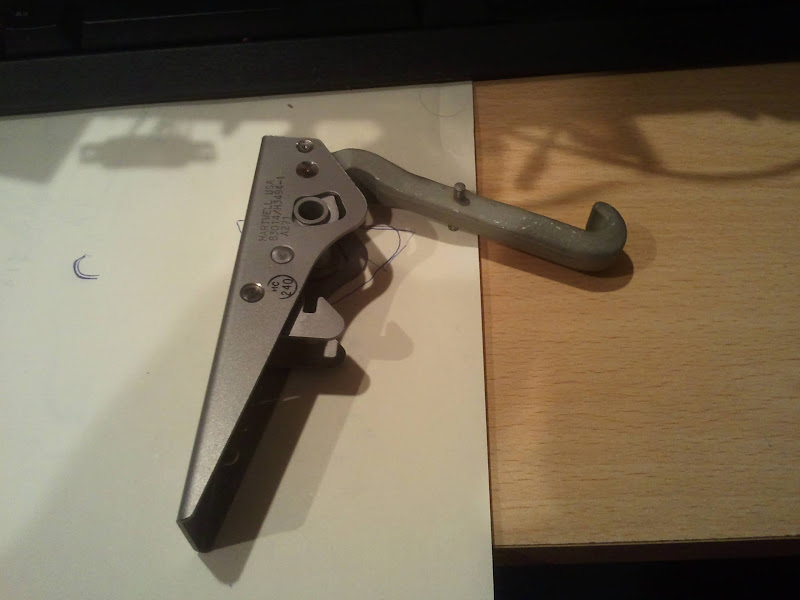
Now before anyone says these aren't like the original GT40 latches. I know. They are however still genuine Hartwell latches and IMO should look pretty good when fitted.
I believe they're slightly longer (109mm) and slightly narrower (22mm) than original plus they'll need both a hook and a bracket either fabricating or buying but at £5.20 ea / £25 for 4 delivered (brand new, liquidation/ex-MOD) I thought they were worth it. I dread to think how much they would have been new...
If anyone else wants to get some the seller still had at last look 10+ available, ebay item 140354208382 , make sure they'll fit or you're prepared to make fibreglass changes first though!
David
Thank you for the descriptive reply, very helpfull and much appreciated
Im about to fit one into a cobra from a nissan for a friend so I need to send him back to the wrecking yard for the ECU.
Those Latches look cool, I fabricated mine and was never that happy with them so I'm of to visit E-Bay ,Thanks
Woody
Woody,
See this thread http://www.gt40s.com/forum/gt40-tec...5080-power-steering-electrically-assited.html and Andy's build log http://www.gt40s.com/forum/gt40-build-logs/24109-norfolk-tornado.html for more details on the power steering.
The latches are damn nice, very high quality. Just a shame they didn't have the loops and brackets for sale too!
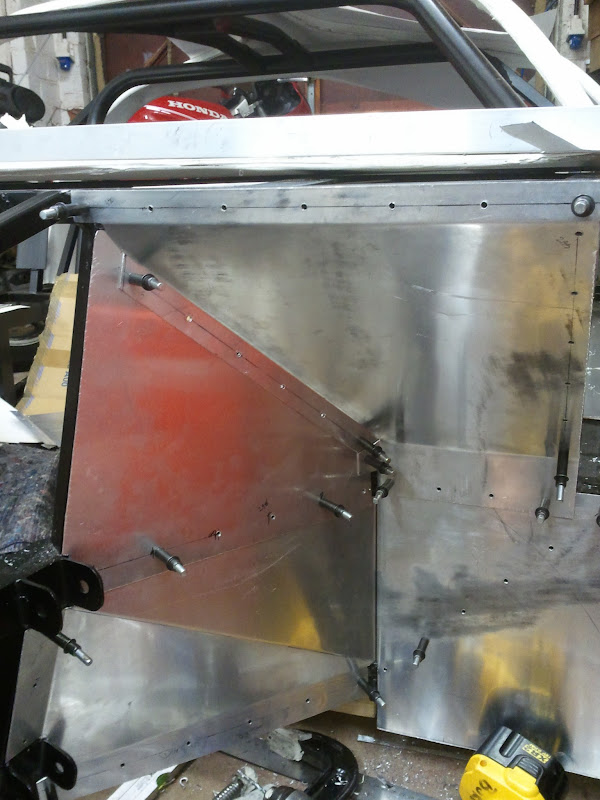
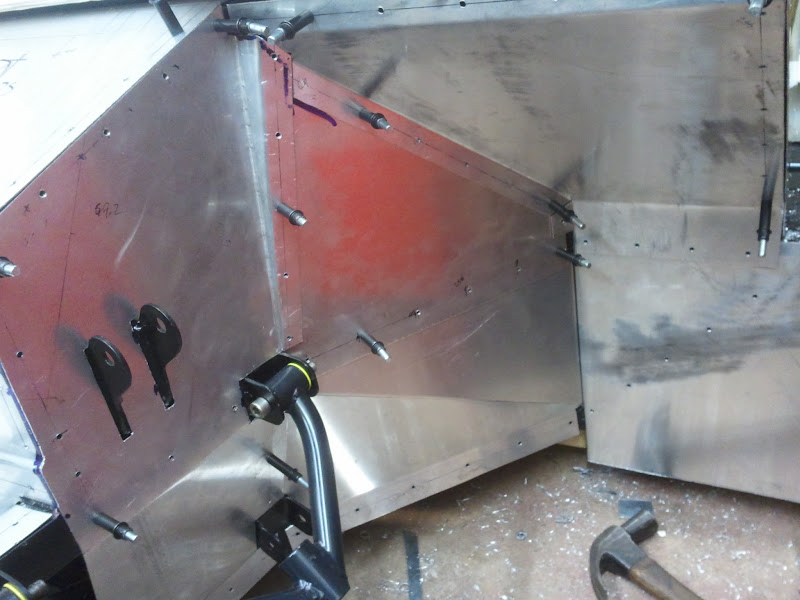
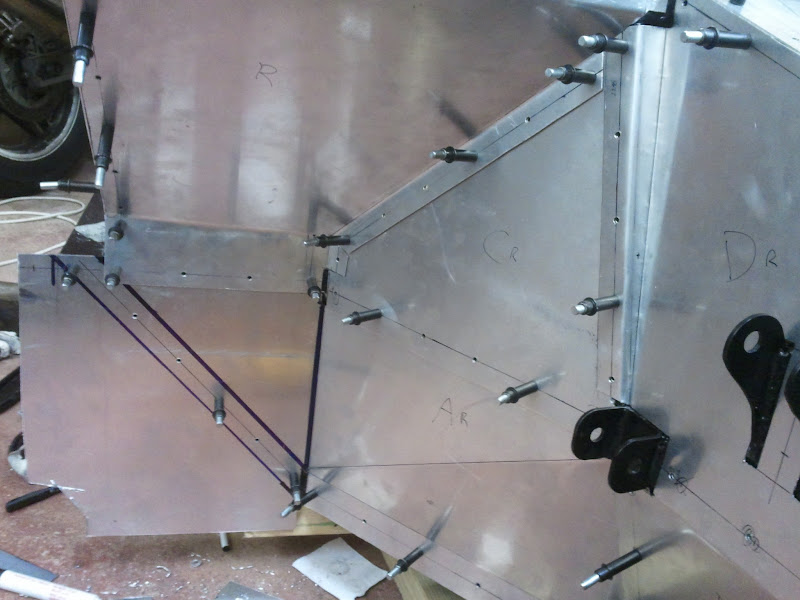
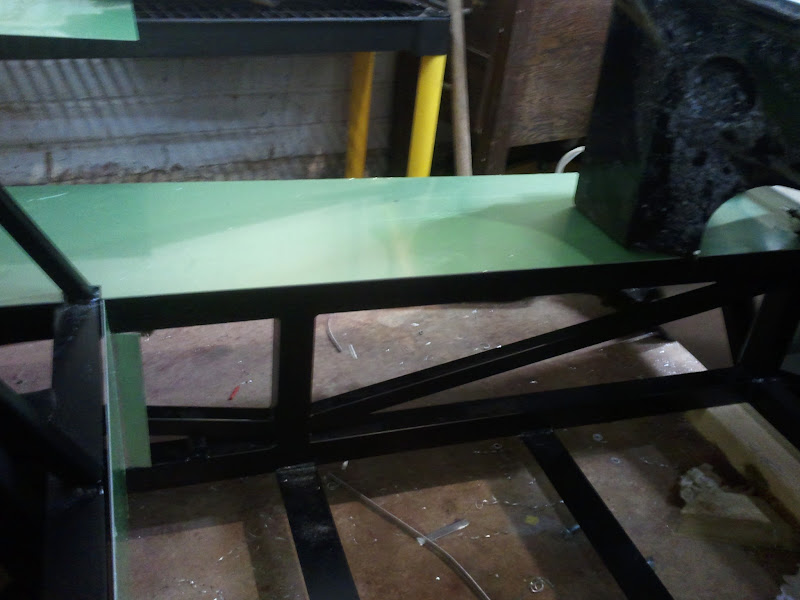
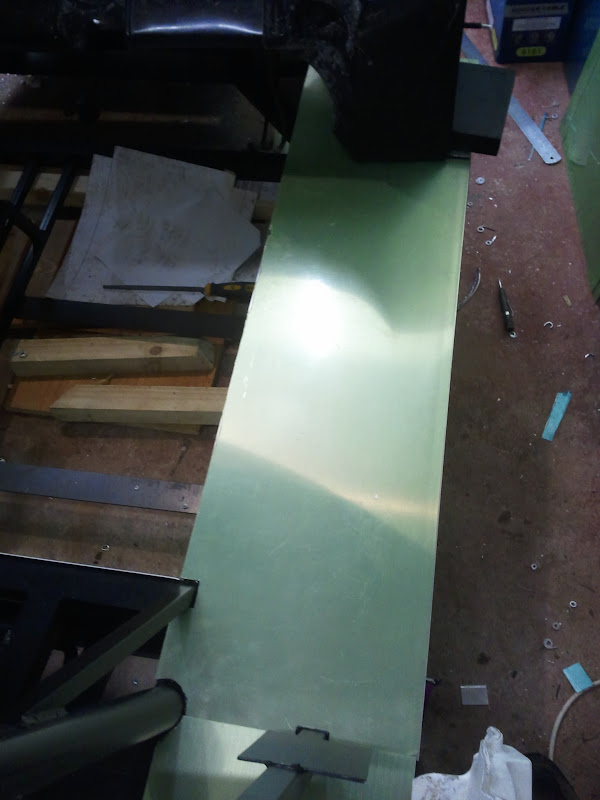
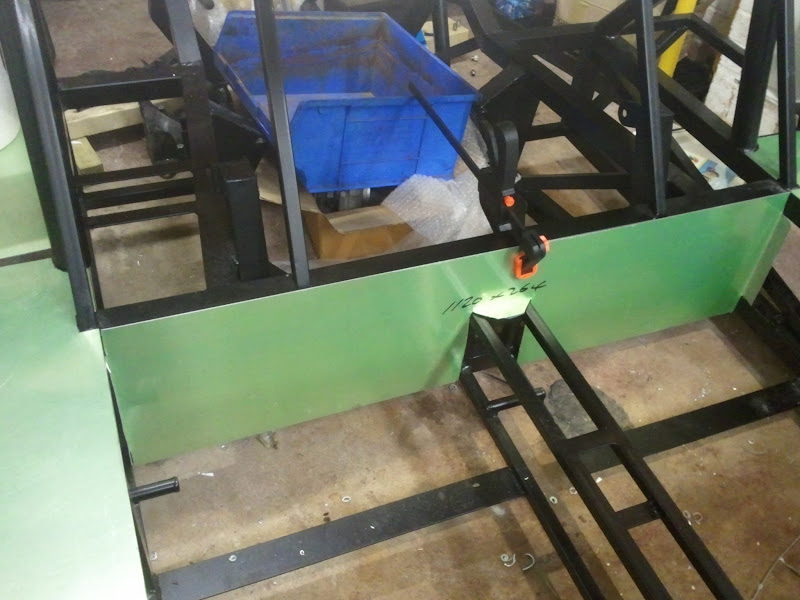
Started fitting the main rear bulkhead
I've been thinking about how to do the rear access hatch.
I could drill large-ish holes in the bulkhead and stick nutserts into the chassis, that way the nutsert is flush with the panel. Trouble then is that the upper and lower would sit slightly proud and I want the hatch to *seal*.
The other option I was considering is as I plan on double skinning the rear-bulkhead to fit mounts from the rear skin through to the front. Means a slightly smaller hatch but would help clamp the rear skin.
What do others do? Rivsert it and take up the gap with a sealer strip?
Similar threads
- Replies
- 8
- Views
- 697
- Replies
- 24
- Views
- 3K