

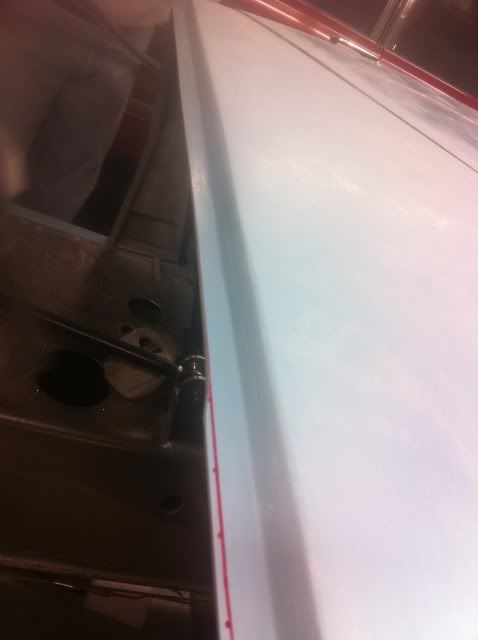
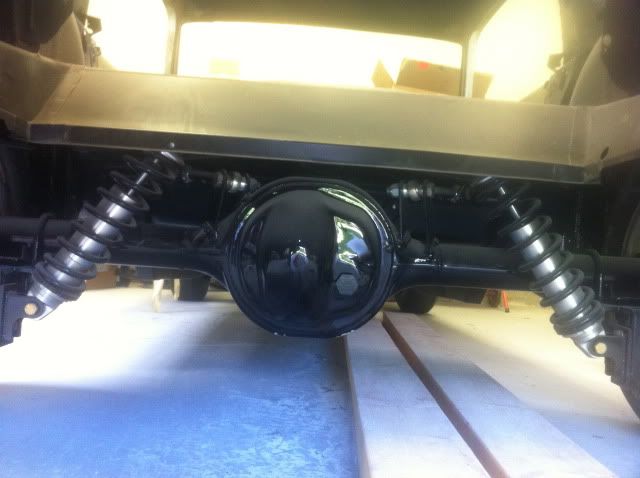
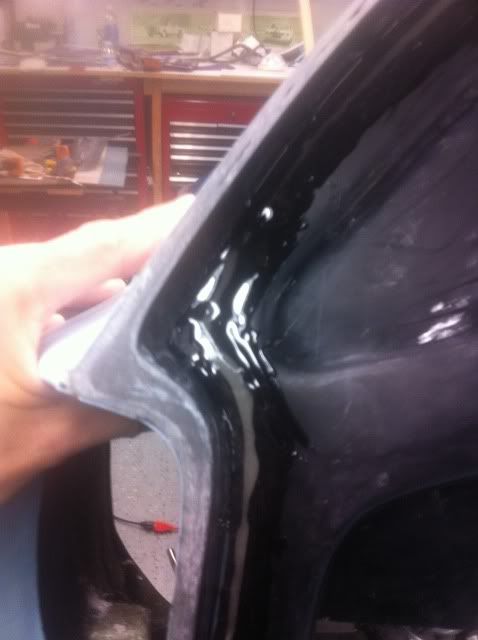
Looks like your B pillar is sitting inboard of the edge of the rocker a little too...Is the body square on the chassis?...that small mount of misalignment can be reversed by a slight rotation of the tail to tuck the front edge in...it only takes a minor adjustment to get that lined up.
Check out Eglitoms build thread for body alignment...in typical German fashion its very concise..:thumbsup:
edit...the scoop may also have pulled just a little when the flares were installed too, again it only takes a slight tweek for something to move a 1/4 inch.....didnt think of that initially
Check out Eglitoms build thread for body alignment...in typical German fashion its very concise..:thumbsup:
edit...the scoop may also have pulled just a little when the flares were installed too, again it only takes a slight tweek for something to move a 1/4 inch.....didnt think of that initially
Last edited:


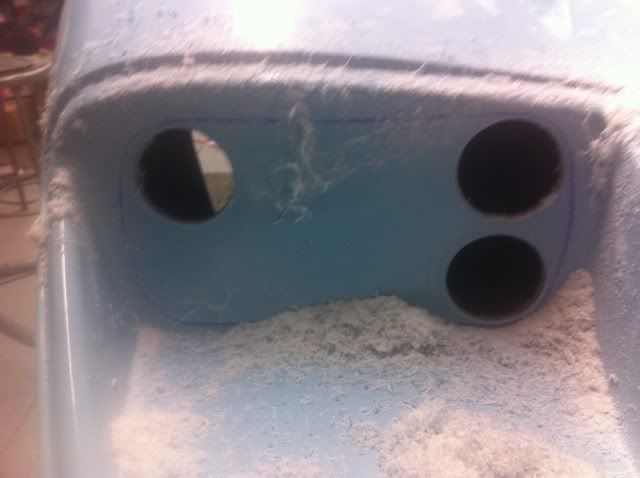
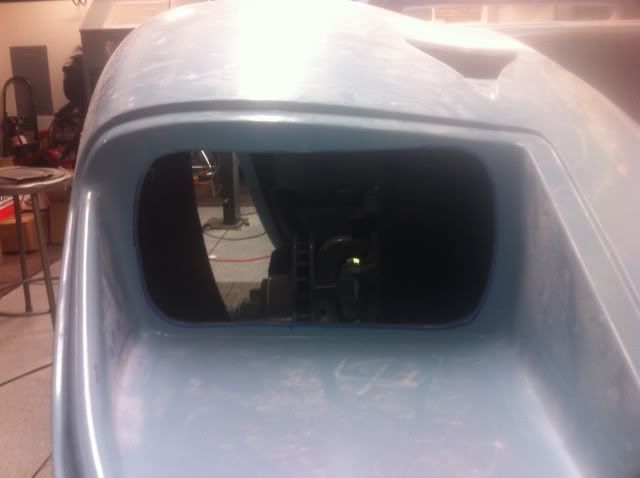
") (still working on the headlight openings). I did notice on your car that you used a different setup for the "fog light area". The square and the small round type. Were you mimicking a particular car with those lights? I have seen that setup before on another car. My car didn't come with either the round or the two small lights. I have that turn indicator lights, headlights, and the rear brake lights. I owe a visit to Fran anyway. He's always has good stuff around the shop!
(still working on the headlight openings). I did notice on your car that you used a different setup for the "fog light area". The square and the small round type. Were you mimicking a particular car with those lights? I have seen that setup before on another car. My car didn't come with either the round or the two small lights. I have that turn indicator lights, headlights, and the rear brake lights. I owe a visit to Fran anyway. He's always has good stuff around the shop!