
Yep...we have them in stock...

You are using an out of date browser. It may not display this or other websites correctly.
You should upgrade or use an alternative browser.
You should upgrade or use an alternative browser.
Jim's RCR Build
- Thread starter Chatas1
- Start date
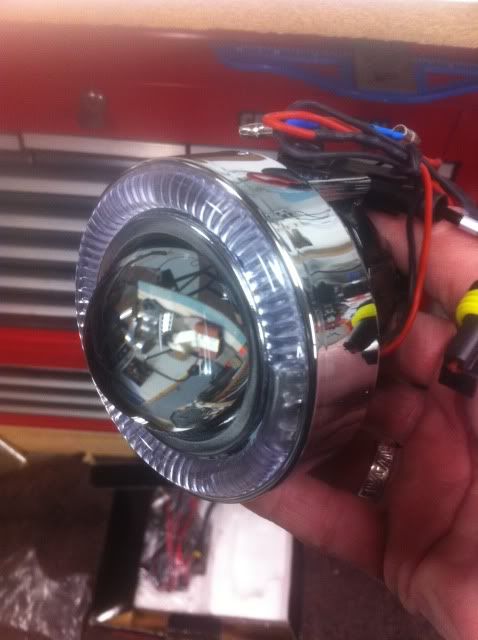
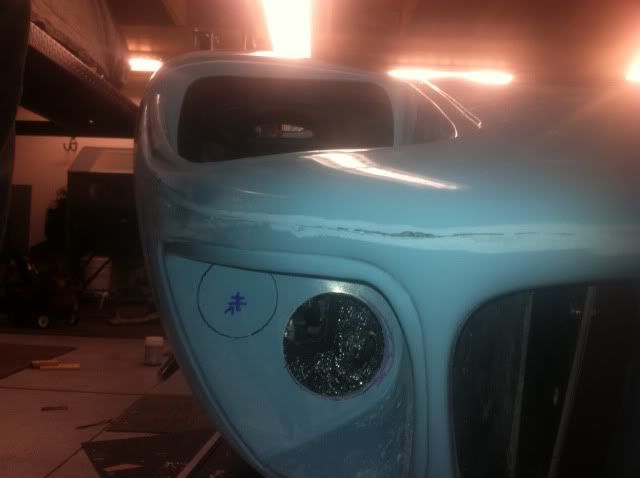
Update: fog lights and air dams
Been working on the front of the car lately. I decided to go with a different light set up. I purchased 3" fog lights with LED halo's. I know they are a little "modern looking" but I like them... The other hole (yet to be cut) will be the amber turn indicator light. I think the relationship between the two lights fills the area well. (of course I'm going to say that") ).
).
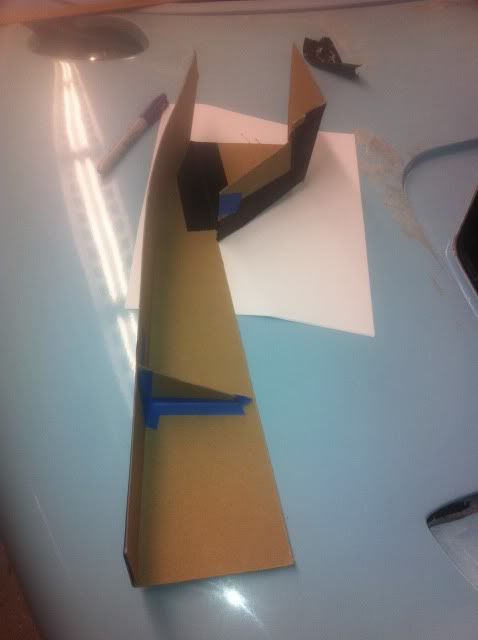
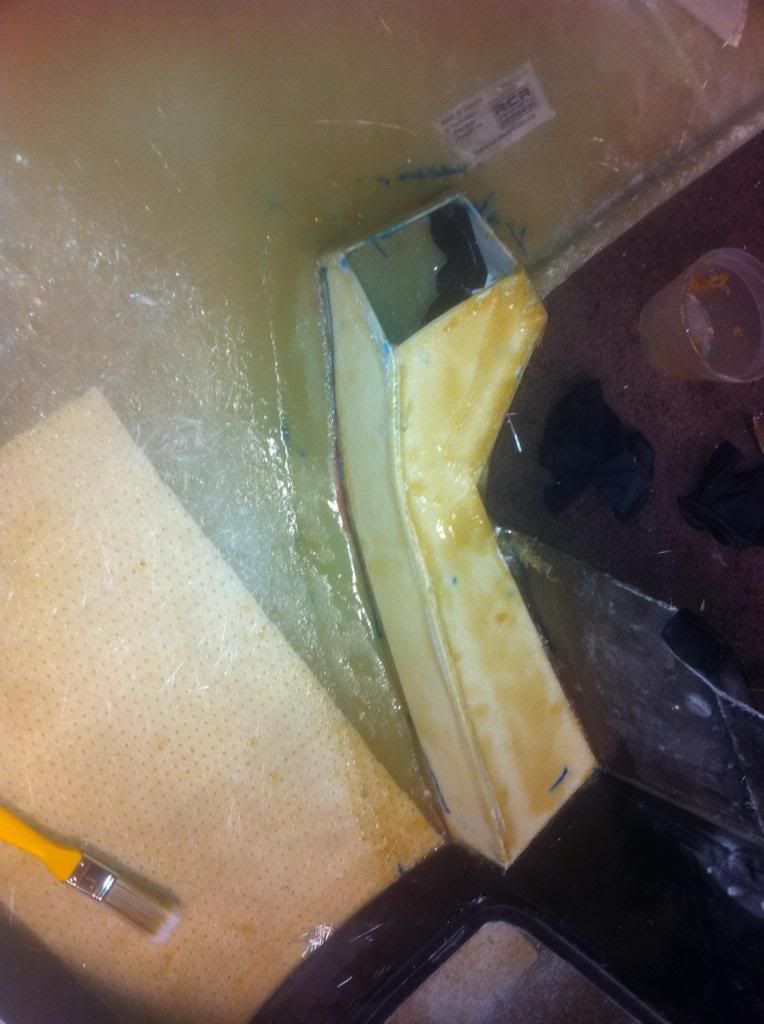
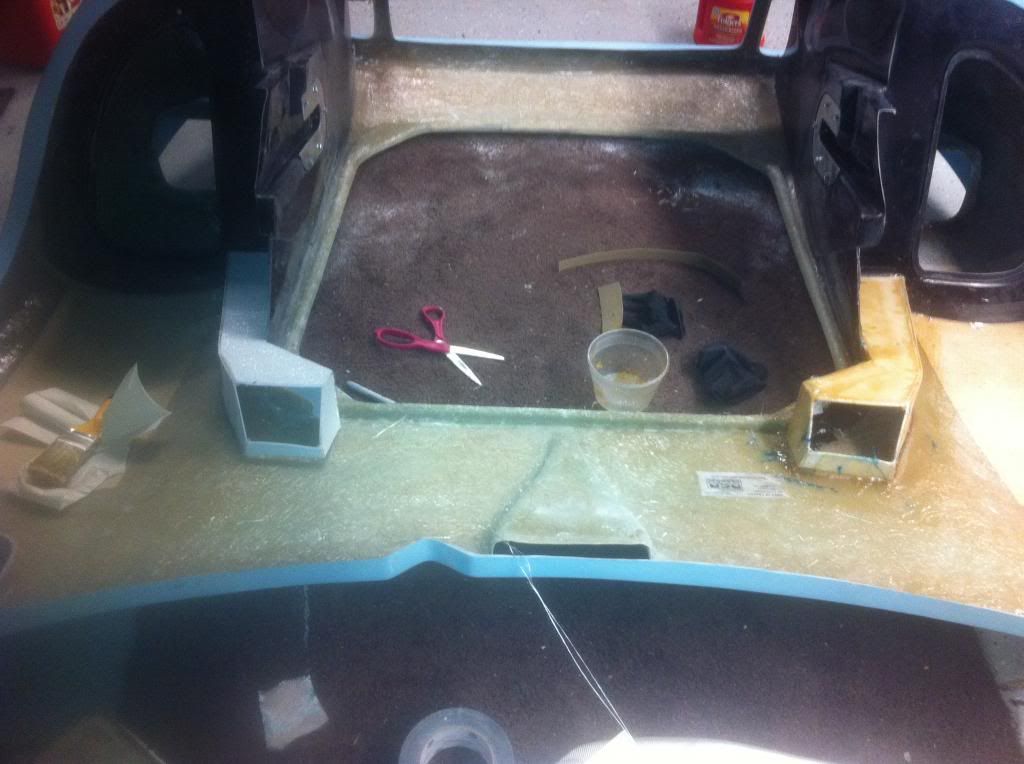
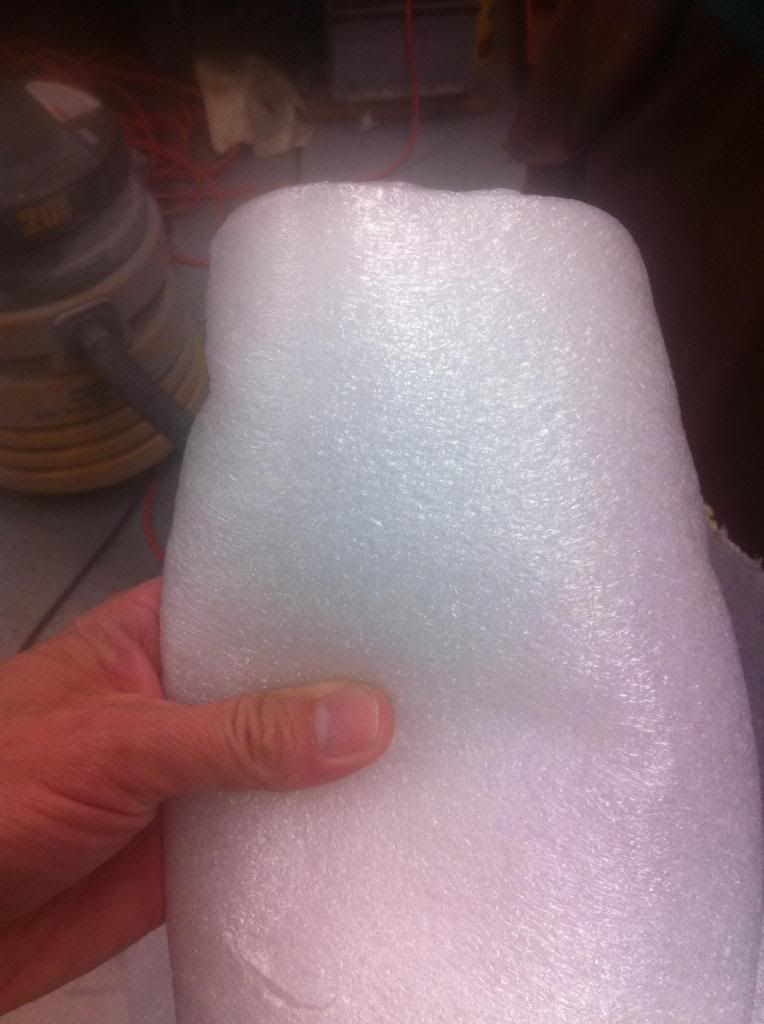
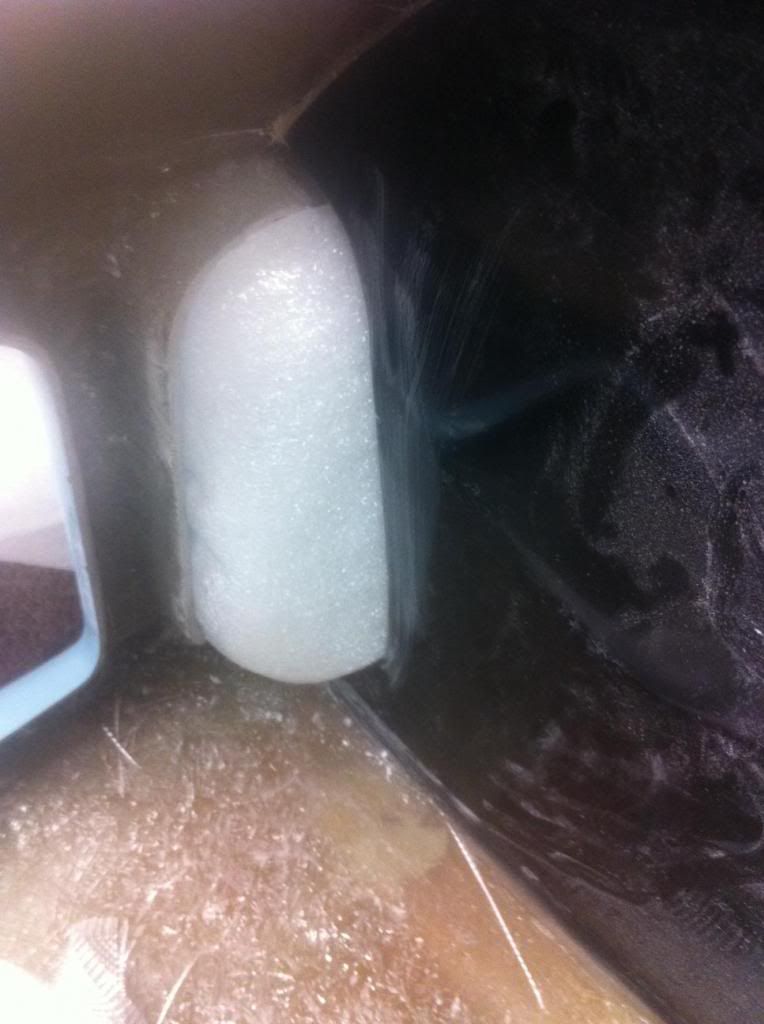
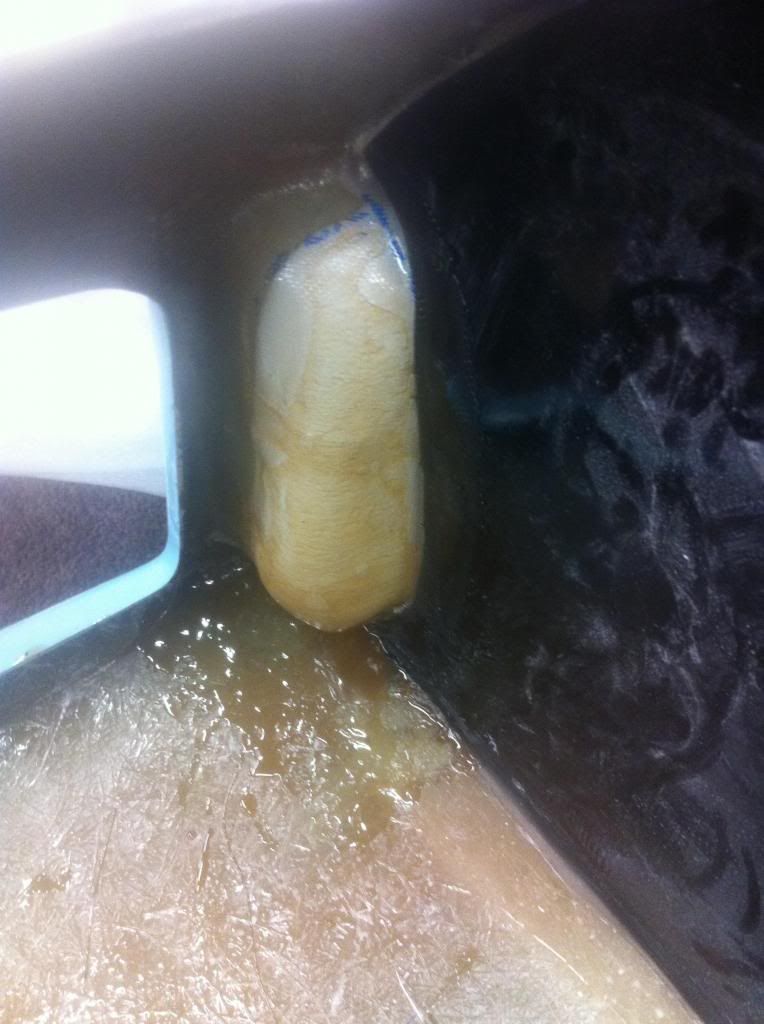
I also started to figure out the air dam situation. Here is my first mock up. Anyone have a good place to get thin sheets of fiberglass? I want to build it similarly to what Randy did on this car.

Been working on the front of the car lately. I decided to go with a different light set up. I purchased 3" fog lights with LED halo's. I know they are a little "modern looking" but I like them... The other hole (yet to be cut) will be the amber turn indicator light. I think the relationship between the two lights fills the area well. (of course I'm going to say that
). I also started to figure out the air dam situation. Here is my first mock up. Anyone have a good place to get thin sheets of fiberglass? I want to build it similarly to what Randy did on this car.

Well done!:thumbsup:


Working on the door gaps.


Splicing in the flares on the rockers.


Had to cut the tops of the flares off and replace with new fiberglass.

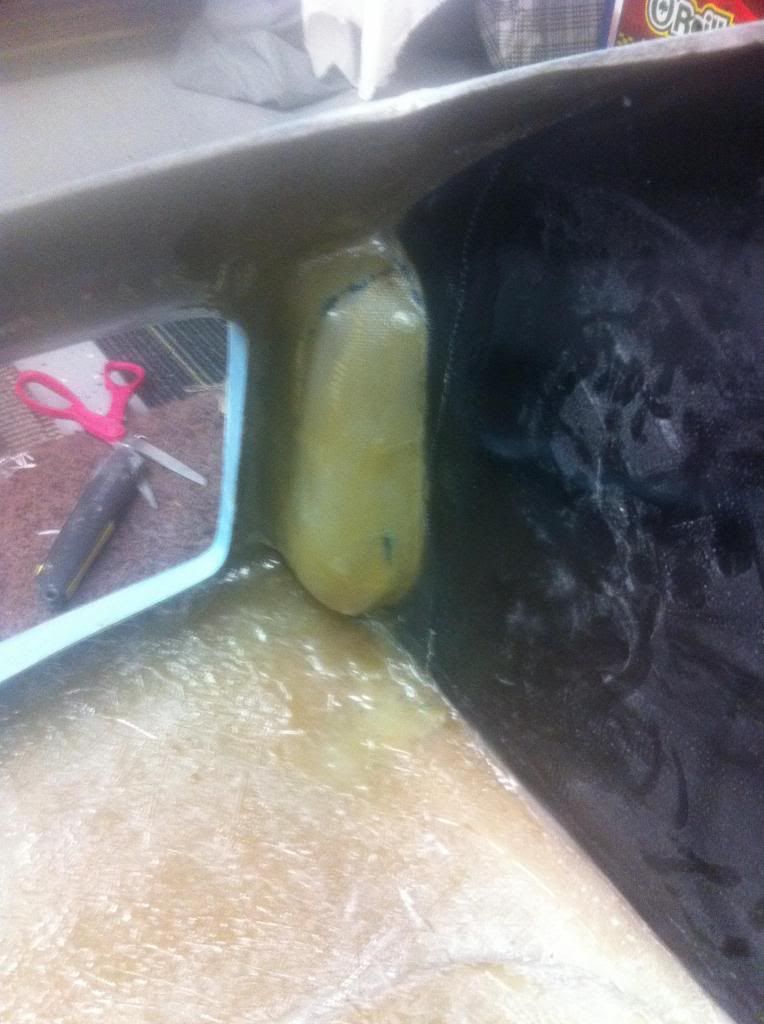
Brake ducts and engine ducting. I found a pre-molded air dual air duct setup and modified it to work. I also made "brackets" inside the deck lid to secure the ducts.


Engine test fit. It went surprisingly well today. No big surprises and things seem to fit well.

I will make sleeves for the bolts. The kit comes with 8" bolts but I think I will need 9-1/2" for things to work. The sleeves will be 2.5" in length. This leaves me 9" clear from the face of the block (not timing cover and water pump) to the firewall.

Had to provide a little clearance. The way the drivetrain is set now the axles will be square to the wheels. Pretty happy about that..
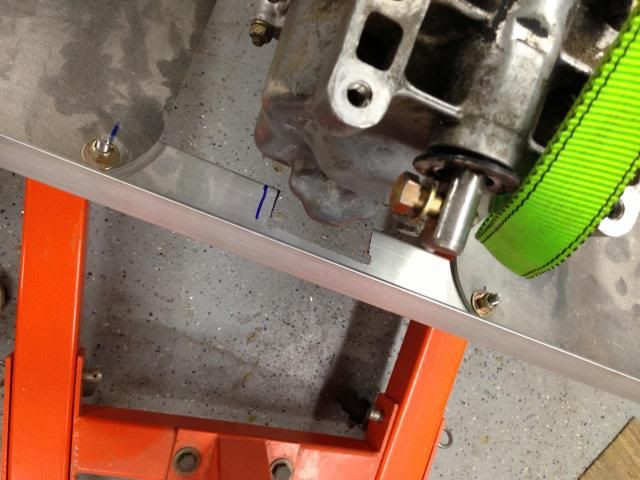
Jim, swing by and pick some up at the shop....
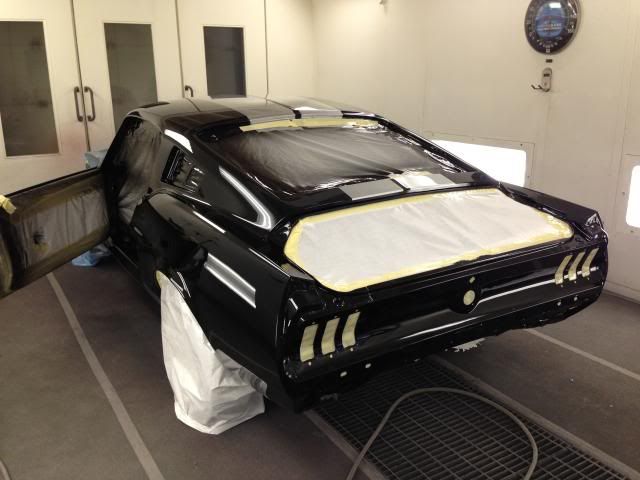
Still…. working…. on… the… 40…. For some crazy reason I bought 3 1967 mustang fastbacks.. Here is one that just came back from paint. It has a supercharged coyote engine… This one has been in the works for a few years. Two others in progress. The GT40 comes back online this summer!


This one rolled into town this winter..
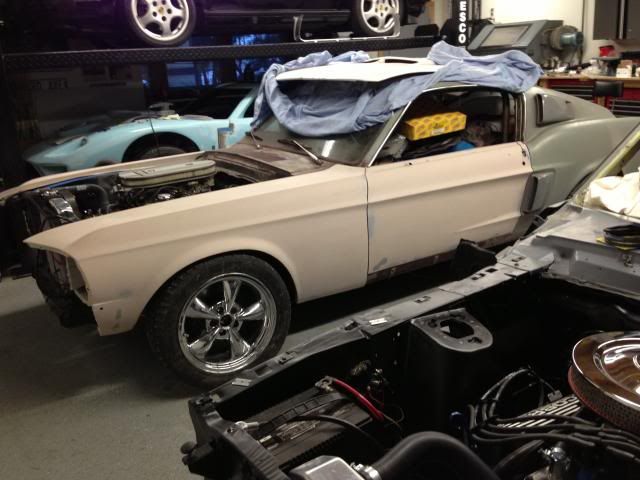


This one rolled into town this winter..

Similar threads
- Replies
- 25
- Views
- 3K