KCC Restoration

More Panelling

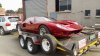
Things have been a bit slower lately, but Tim and I have managed to slip in a few hours here and there. Tim knocked up this panel.

IMG_2351.jpg


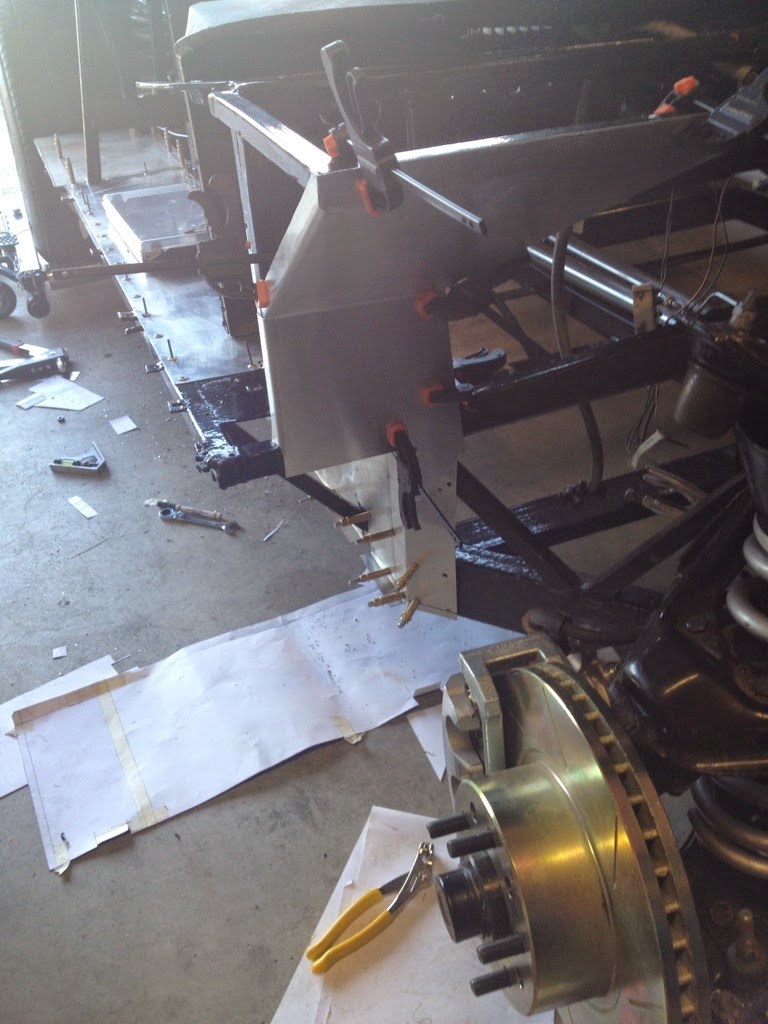
You may remember from the last update that I had been battling with this panel in the wheel arch. I ended up trying to 'adjust' a fold which completely stuffed it up. It's time for a second attempt. I'm calling this panel the Prick Panel.

IMG_2331.jpg


IMG_2358.jpg


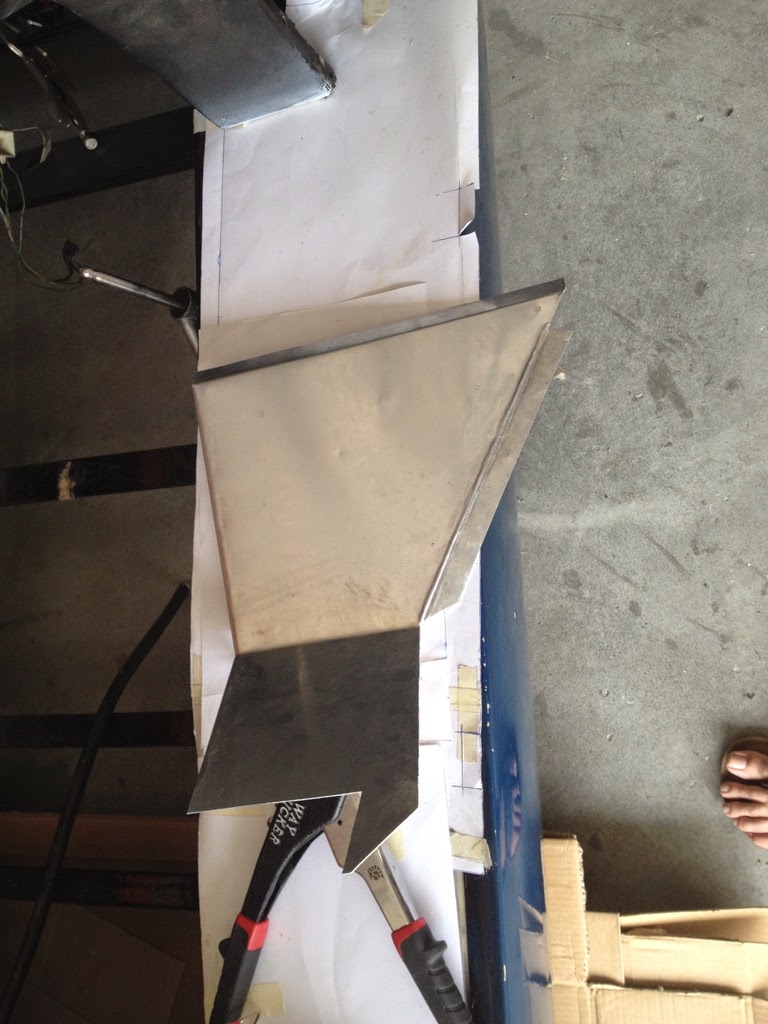
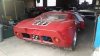
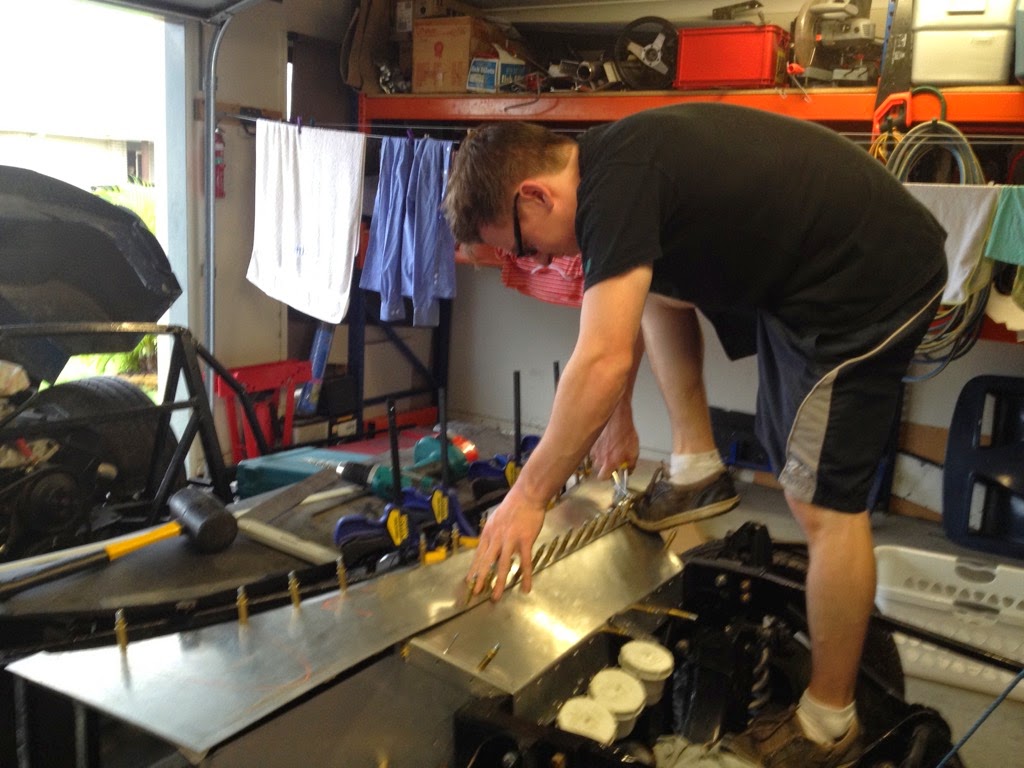
After frustration with the Prick Panel I decided to cut the panel beneath the windscreen. Tim did the tedious job of drilling and fitted it. We're pretty happy with how this one has turned out. The bar beneath the windscreen is not horizontal. The inside is higher than the outside and we were concerned whether we could make the one look good. With some careful hammering and lots of drilling, it's turned out pretty good. I'll have to take some more photos next time. Here's a couple of Tim at work.

IMG_2389.jpg


IMG_2390.jpg


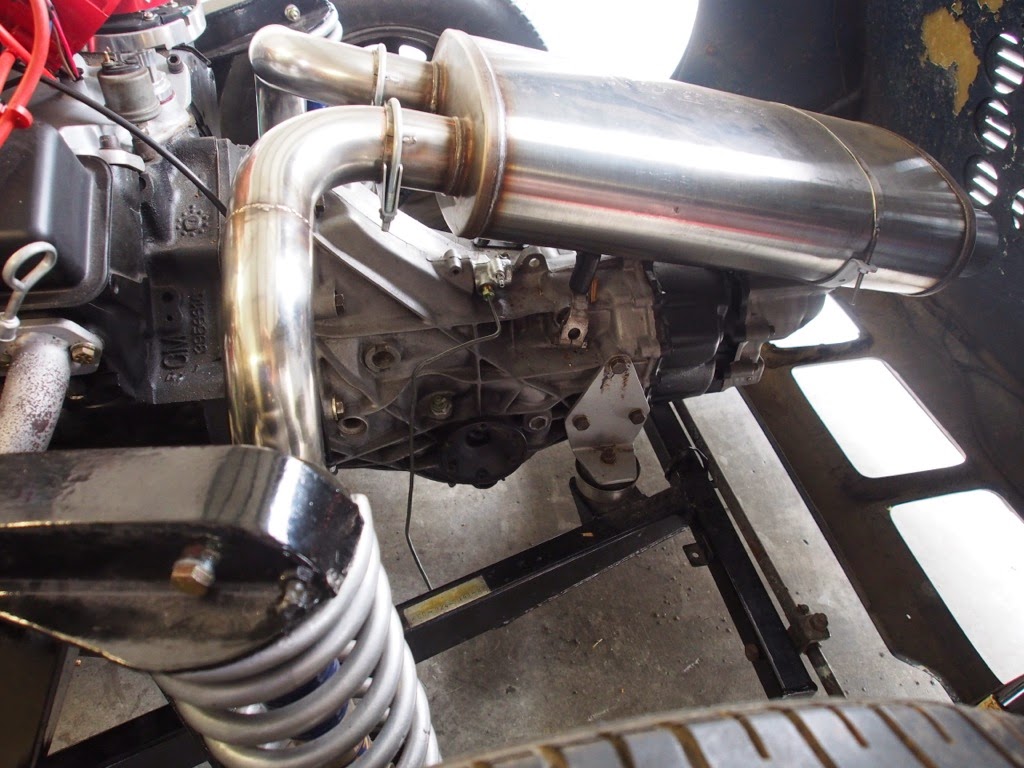
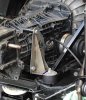
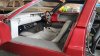
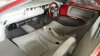
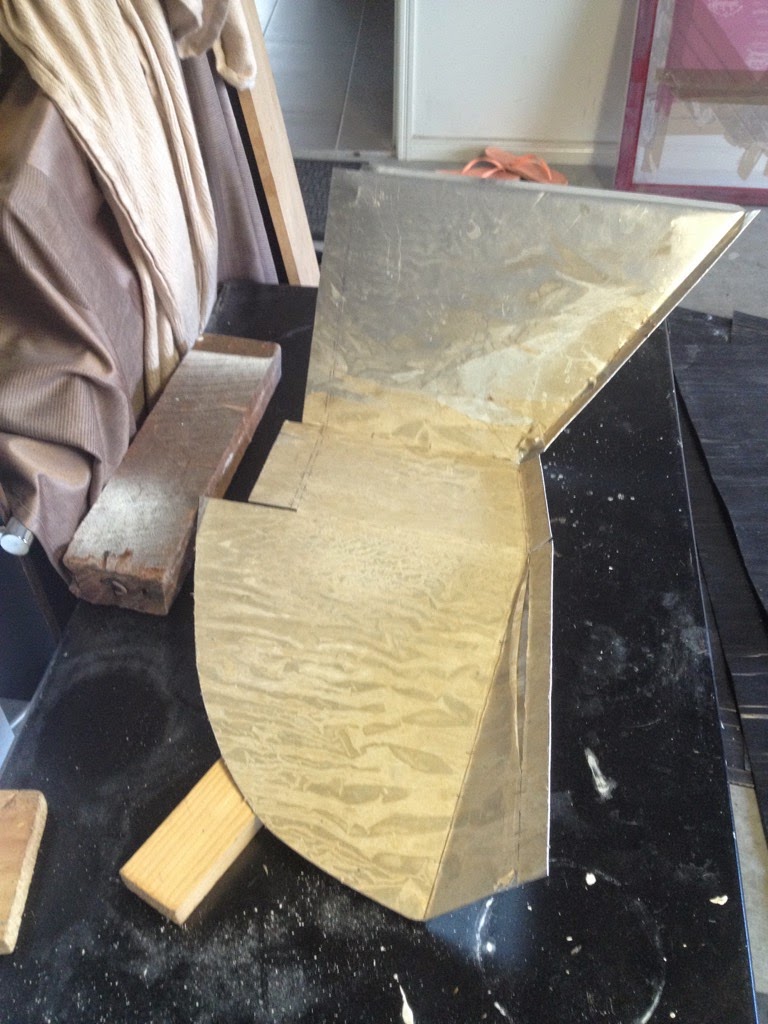
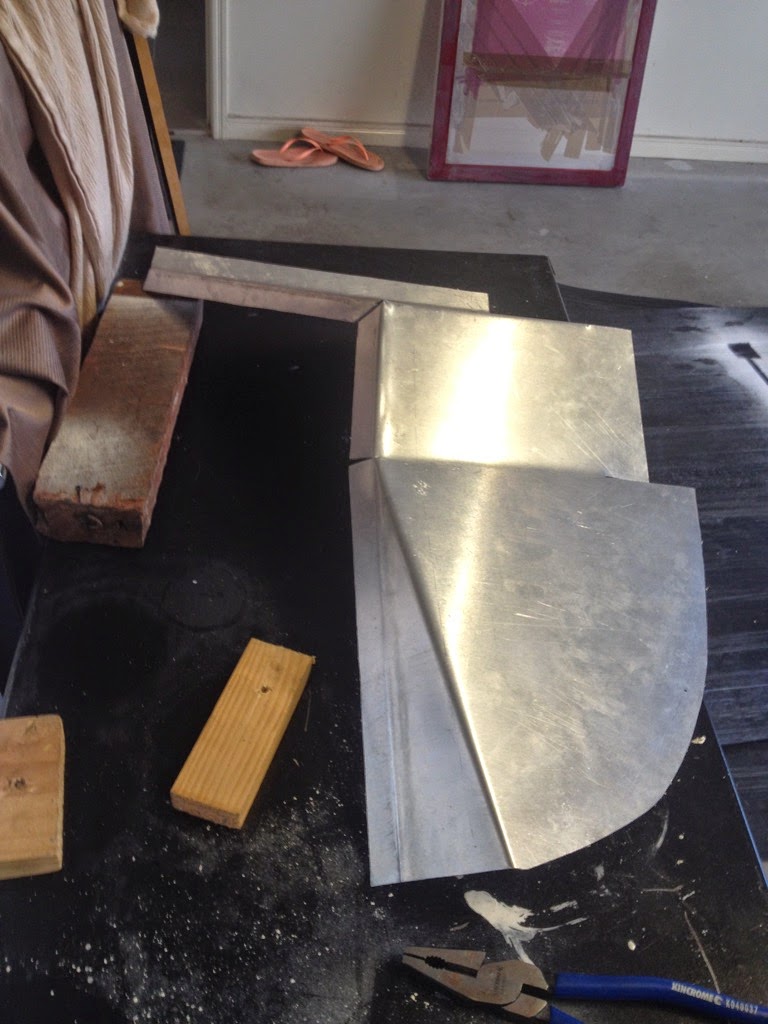
Back to the Prick Panel... I gave it a bit more thought and decided I wanted to build in the end cap of the side pod. It requires a few extra angles and makes the panel even more complex, but will incorporate with the side pod panels better. This is as far as I got today on it. I'm pretty happy with the result.

IMG_2395.jpg


IMG_2393.jpg


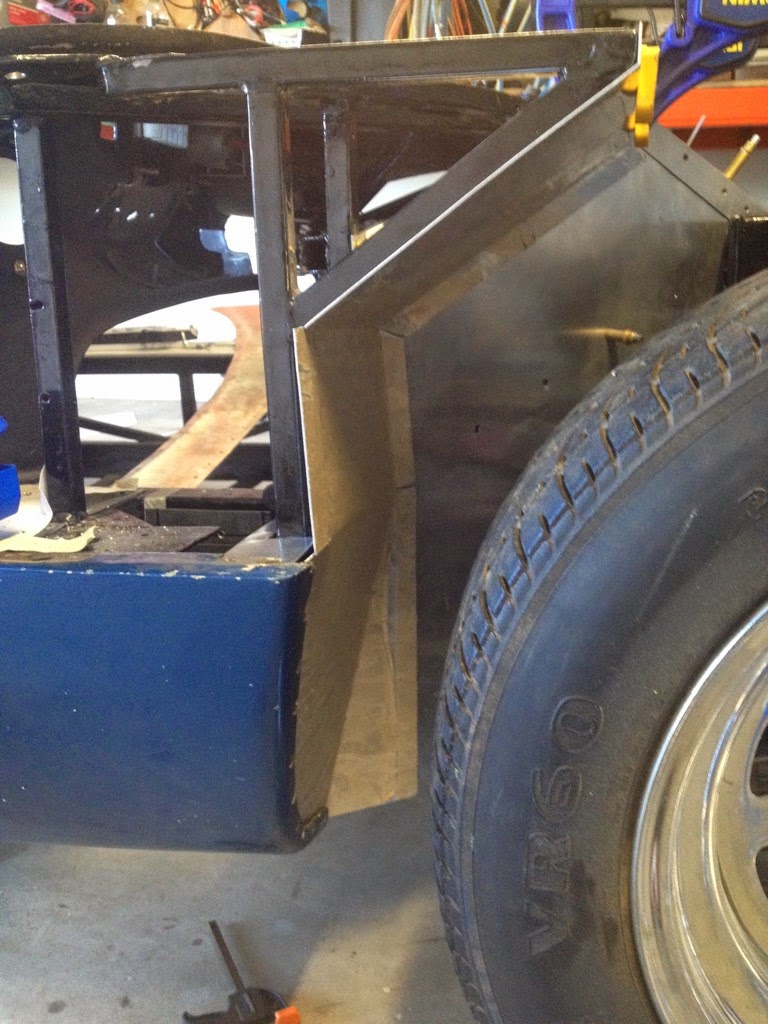
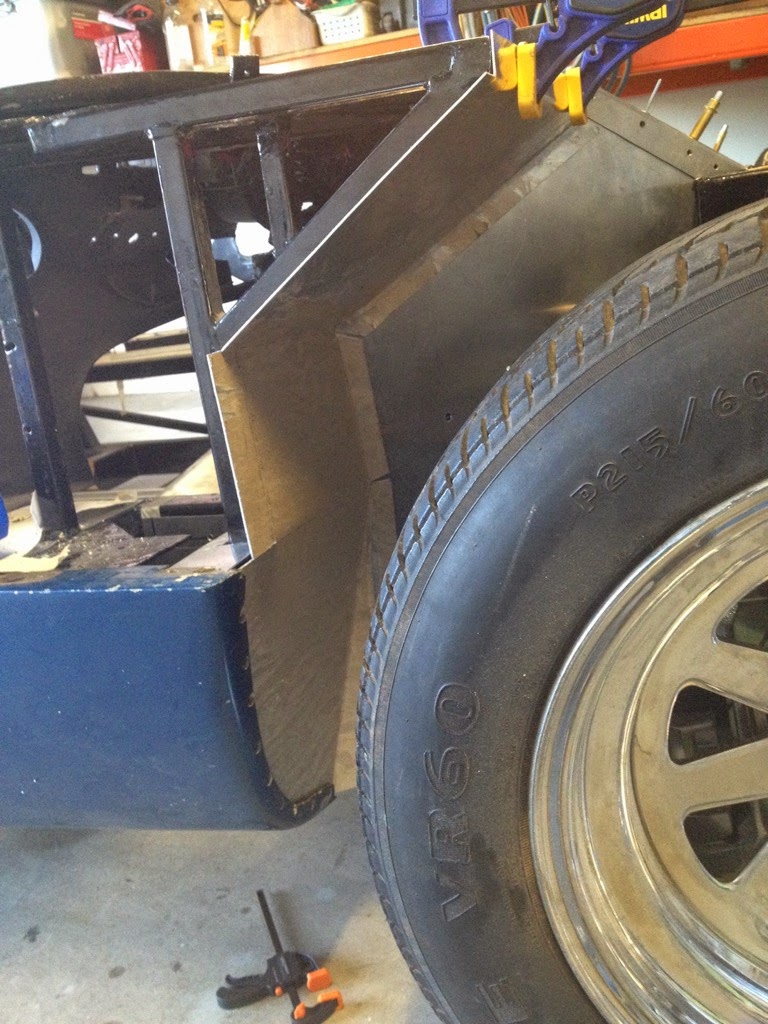
Jeez, it's a prick of a panel. I'll have to do one on the other side, too..

IMG_2398.jpg


IMG_2397.jpg


Fun times...
 
Nice work guys. I continue to monitor your progress on this daunting task. Coming along nicely even though progress isn't at the speed you'd want. Stick with it...you've got BIG grins waiting for you at the end!
 
Hi Marc,

Thanks for your interest. My wife had a baby boy in April, so things have slowed down to less than crawling pace. Having said that, we did manage to spend a couple of nights on it last week. We ordered 2 more 3m sheets of Aluminium to knock over the panelling. Jobs done: replaced the rear left stub axle with the repaired one. Horray! Fabricated three aluminium panels for the passenger's side. Pics coming soon.
 
Hello Guys,
Been a long time since I last checked your progress and as before, an interesting read it's also amazing to see how your family has grown from the first baby shot of Bianca to her in the car with you and now another baby in the fold. You guys are doing a great job and as I said in my first visit here you are making a silk purse from what was a bit of a pigs ear. Resoration has it bonus in the fact that you have pretty much all you need but as I'm sure you have found it's a lot of hard work bringing it back to full glory and a lot has to cast aside. I imprested with how much you guys have retained and made to work really well, this must have saved you quite a few $$$. Keep up the good fight, your closer than you were so it can only get better. I see it is 4yrs almost to the day that you started this, Did you think at the time it would take this long ?? I have been on my M20 for over 6yrs now and I know I didn't think it would be this long, shows how much we love the process.

Cheers Leon.
 
Last edited:
Hi Leon,

Thanks so much for your kind words. Yep, a lot has certainly happened in the last 4 years. Family and work certainly slow down the process, but I guess that life.. As long as we keep progressing, we'll get there eventually. It will definitely be a different car when we are done. I look back at the early photos every now and then and I realise that it was in a very scary state to start with. Certainly none of us thought it would take this long. We thought we could just repair whatever was broken and get her back on the road, but as we dug further it became evident that a ground up restoration was required. We'll get there one day....

Thanks again for the encouragement.

Cheers,

Simon
 
Thanks Marc. I have a copy of this already, but the one you have sent is slightly different I think. The one I had seems like it was missing a few pages.
 
Hi Simon,
While scanning through your build pictures - keep up the good work, I noticed your rear support bracket for the gearbox is currently not a proper design to resist the vibration loads. It will eventual crack under fatigue loads...
Just to let you know it needs to be changed for your safety.
Regards
Andy
 
Thanks Andy for bringing this to our attention. It does actually have rubber vibration dampeners built in (mounted in the aluminium cups). Is this what you are referring to? This is as per KCC design, but who's to say a 20 year old design is correct..

You can see them in this pic. The angle brackets are also KCC design, I guess we could add some gusseting to them pretty easily.

P1010011.JPG


Simon
 
I have seen one which was cracked due to stress fatigue at the line marked on the attached picture. This bracket was reinforced against bending but not far enough and cracked at the weakest point (marked). If the reinforcement was beyond the lower bolt, it was okay.
Your bracket has no support and will bend through its own radius. Metal fatigue has nothing to do with age as suchs.
Metal fatigue parameters are
  • the number of loads (cycles)
  • the severity of loads (amplitude)
  • the stiffness of design/bracket
  • stress concentrations
  • the material (alloy) itself and its stage of heat treatment
I am not able to calculate it since not much is know from your setup.
A well balanced engine will give less loads to the bracket and they way the car is being used etc...
From my experience in the aerospace engineering and with what I have seen in one example (see picture) my feeling says it is sensitive to fatigue stresses. Don't know how much miles and vibration and torque your engine gave to the brackets but it looks like a weak spot to monitor.
It is like bending a spoon for many times at the same spot and eventually it will break.
The rubbers will absorb indeed a lot of vibration/energy but they also tend to stiffen up due to age (the chemical to make it soft will evaporate) and the brackets will be loaded under bending more and more. Since your bracket looks vulnerable for bending...my feeling says It might be a potential problem to monitor. Look for small cracks at the outer surface in the bend radius, if none, leave it and monitor it once a year after severe usage on the track. This is what they do in aerospace aswell, monitor spots known to crack.
 

Attachments

  • cracked.jpg
    cracked.jpg
    39.1 KB · Views: 604
Thanks for this info Andy. I'll keep an eye on it. Those brackets in your photo look quite a bit thinner than mine although they do have gusseting obviously.
 
Della GT: Look where his distributor is. I ran 180 headers on my Chevy powered stock car. Sounds great! I had a distributor cap catch fire on me one time.
 
That's how the car was setup when we bought it. I suspect the headers were run that way to minimise cost. I hadn't actually thought about the problem with heat and the distributor. I was one day hoping to do 'proper' headers. I'll definitely have to consider a heat shield for the distributor.
 
There's a KCC for sale for 32523.28 AUD - 300,000 ZAR. (it's on a closed group on facebook). I doubt he'll get that amount for the car, maybe 1/2 the price.

I'm still to set up the whole exhaust system on my car. It still has the stock exhaust manifold and a layout almost exactly like yours was when you got it.
 

Attachments

  • KCC For Sale.jpg
    KCC For Sale.jpg
    100.9 KB · Views: 497
  • 1907545_854457974648212_118841910755954230_n.jpg
    1907545_854457974648212_118841910755954230_n.jpg
    109.4 KB · Views: 438
  • 1925272_854457987981544_8568049648722712623_n.jpg
    1925272_854457987981544_8568049648722712623_n.jpg
    87.6 KB · Views: 397
  • 11391101_854457954648214_5458935862801754792_n.jpg
    11391101_854457954648214_5458935862801754792_n.jpg
    122.1 KB · Views: 451
  • 11401172_854458544648155_4492965768953531133_n.jpg
    11401172_854458544648155_4492965768953531133_n.jpg
    128.4 KB · Views: 506
  • 11401281_854458004648209_1997942296863943603_n.jpg
    11401281_854458004648209_1997942296863943603_n.jpg
    103.9 KB · Views: 446
  • 11535870_854458554648154_8954751560430951701_n.jpg
    11535870_854458554648154_8954751560430951701_n.jpg
    100.8 KB · Views: 447
  • 11535871_854458017981541_7787519939594992574_n.jpg
    11535871_854458017981541_7787519939594992574_n.jpg
    85.5 KB · Views: 454
Back
Top