Probably better to just keep handing them to me. Haha

You are using an out of date browser. It may not display this or other websites correctly.
You should upgrade or use an alternative browser.
You should upgrade or use an alternative browser.
Scotts build thread
- Thread starter Scott R.
- Start date
I will be dammed, I might just pull this off yet.
I had one to many issues with the last design, main one was complexity. This was much simper to make one full rear template, and was able to use existing body lines to guide it. So, I am only one day into this so far, and 50% of it is already completely symmetrical. Also, will be raising the rear center of the rear clam up to fill in that low area
There is some more blending and such, but this is looking good from every angle in person. 4thv time is a charm!


Thanks Rod!
Larry- At $32 per 2" 4x8 panel, I am only eating about one panel per change. So ya, you are about right. Lol.
I am calling this one my SLC/Zonda/Countach meld. And it is working like a mofo! The final version of this will be worthy to match with the front.
Larry- At $32 per 2" 4x8 panel, I am only eating about one panel per change. So ya, you are about right. Lol.
I am calling this one my SLC/Zonda/Countach meld. And it is working like a mofo! The final version of this will be worthy to match with the front.
Terry Oxandale
Skinny Man
Latest iteration looking much more "right". Gives it a lighter, more balanced look.
This is going very quick. Most of it is all filled in and shaped and symmetrical. Just need to decide on the rear venting and adding a little depth to the rear panel.


I'm liking the rear shot, like the up swept area behind the tires, the finished under area outboard the difusser and the framing of the diffuser. Has it's own look now.
As noted depth on the rear panel would be nice and you will need to open up the back panel to get air flow through the engine compartment. In-the-side ducts, out-the rear vents.
As noted depth on the rear panel would be nice and you will need to open up the back panel to get air flow through the engine compartment. In-the-side ducts, out-the rear vents.
This is going very quick. Most of it is all filled in and shaped and symmetrical. Just need to decide on the rear venting and adding a little depth to the rear panel.
Scott,
You- crazy man. Me like.
I would be happy to call an antibiotic in for you and we can see if the fever can go down. Until then... you da man! :drunk:
I'm liking the rear shot, like the up swept area behind the tires, the finished under area outboard the difusser and the framing of the diffuser. Has it's own look now.
As noted depth on the rear panel would be nice and you will need to open up the back panel to get air flow through the engine compartment. In-the-side ducts, out-the rear vents.
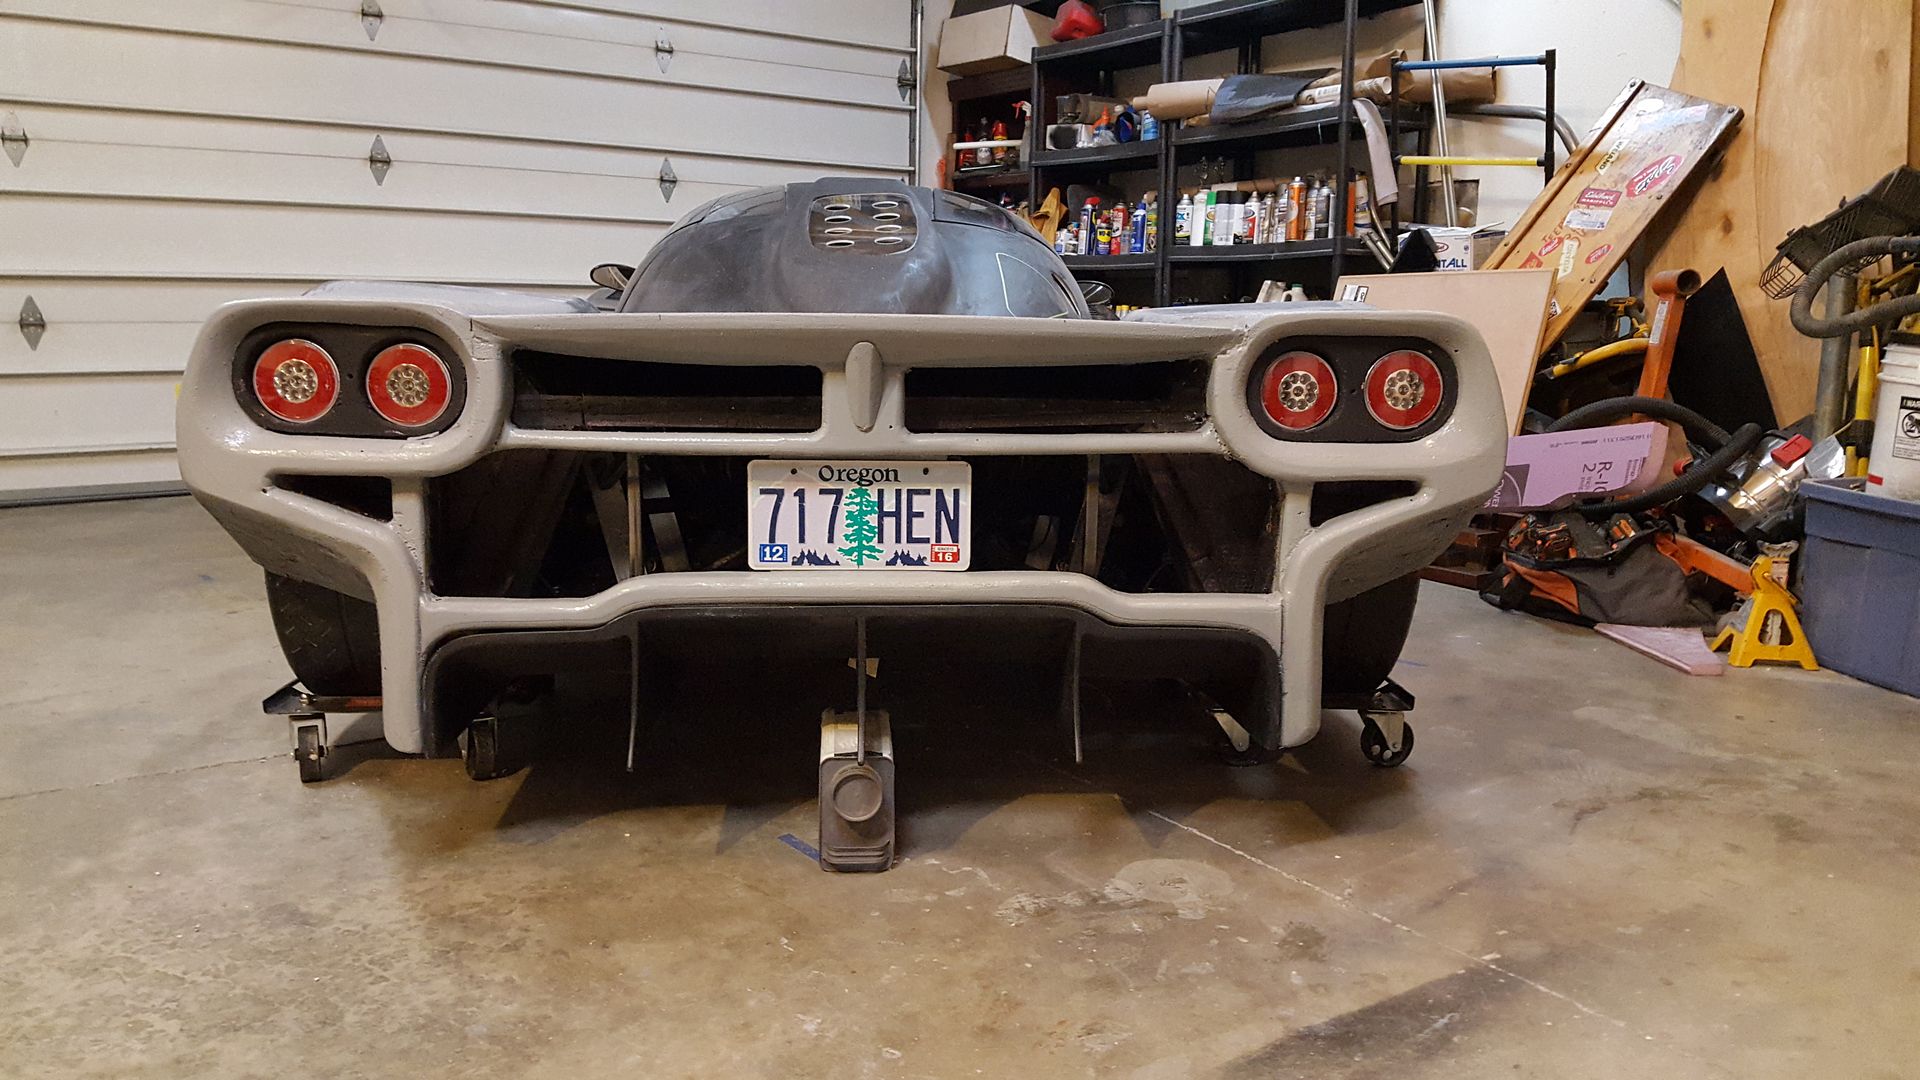
The last rear, every time I would walk by it, I just thought of boat hulls. It looked like two dam boat hulls from the back. Lol. This one much better. Fits the lines much better.
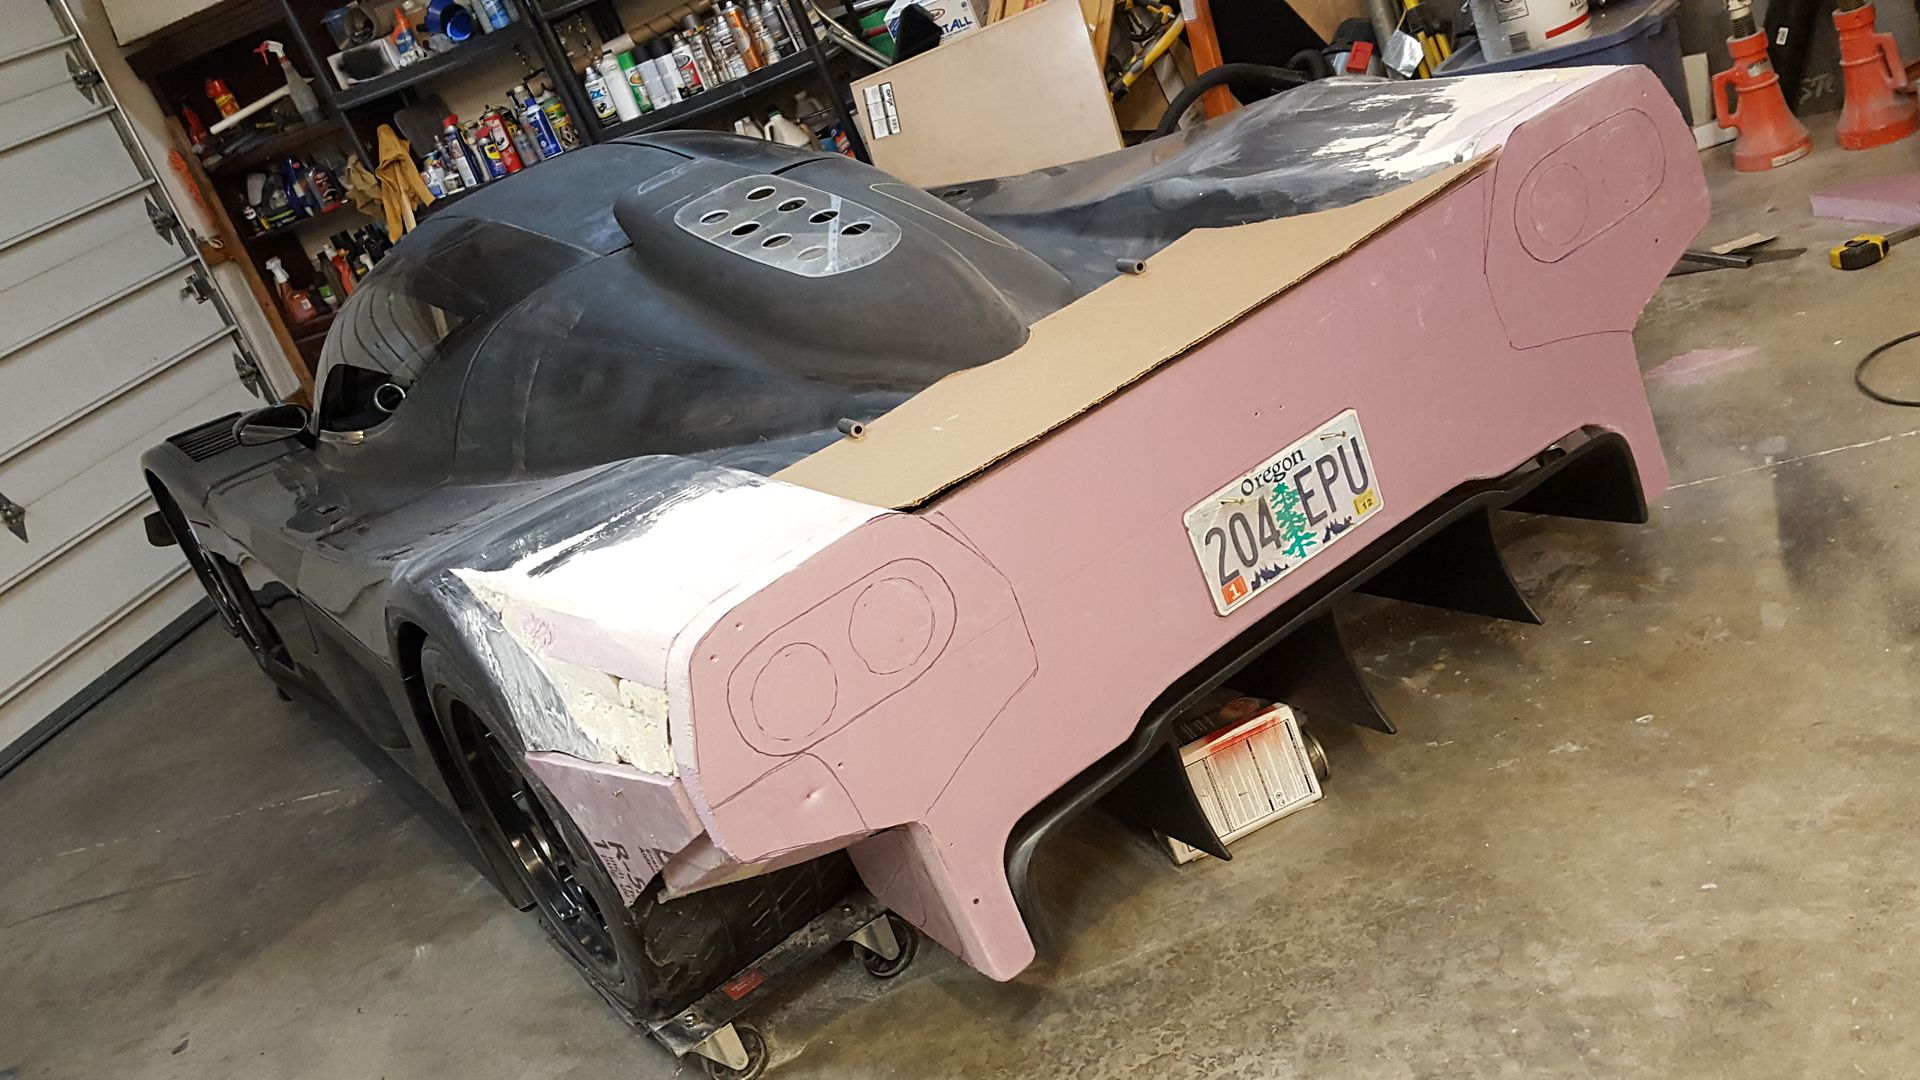
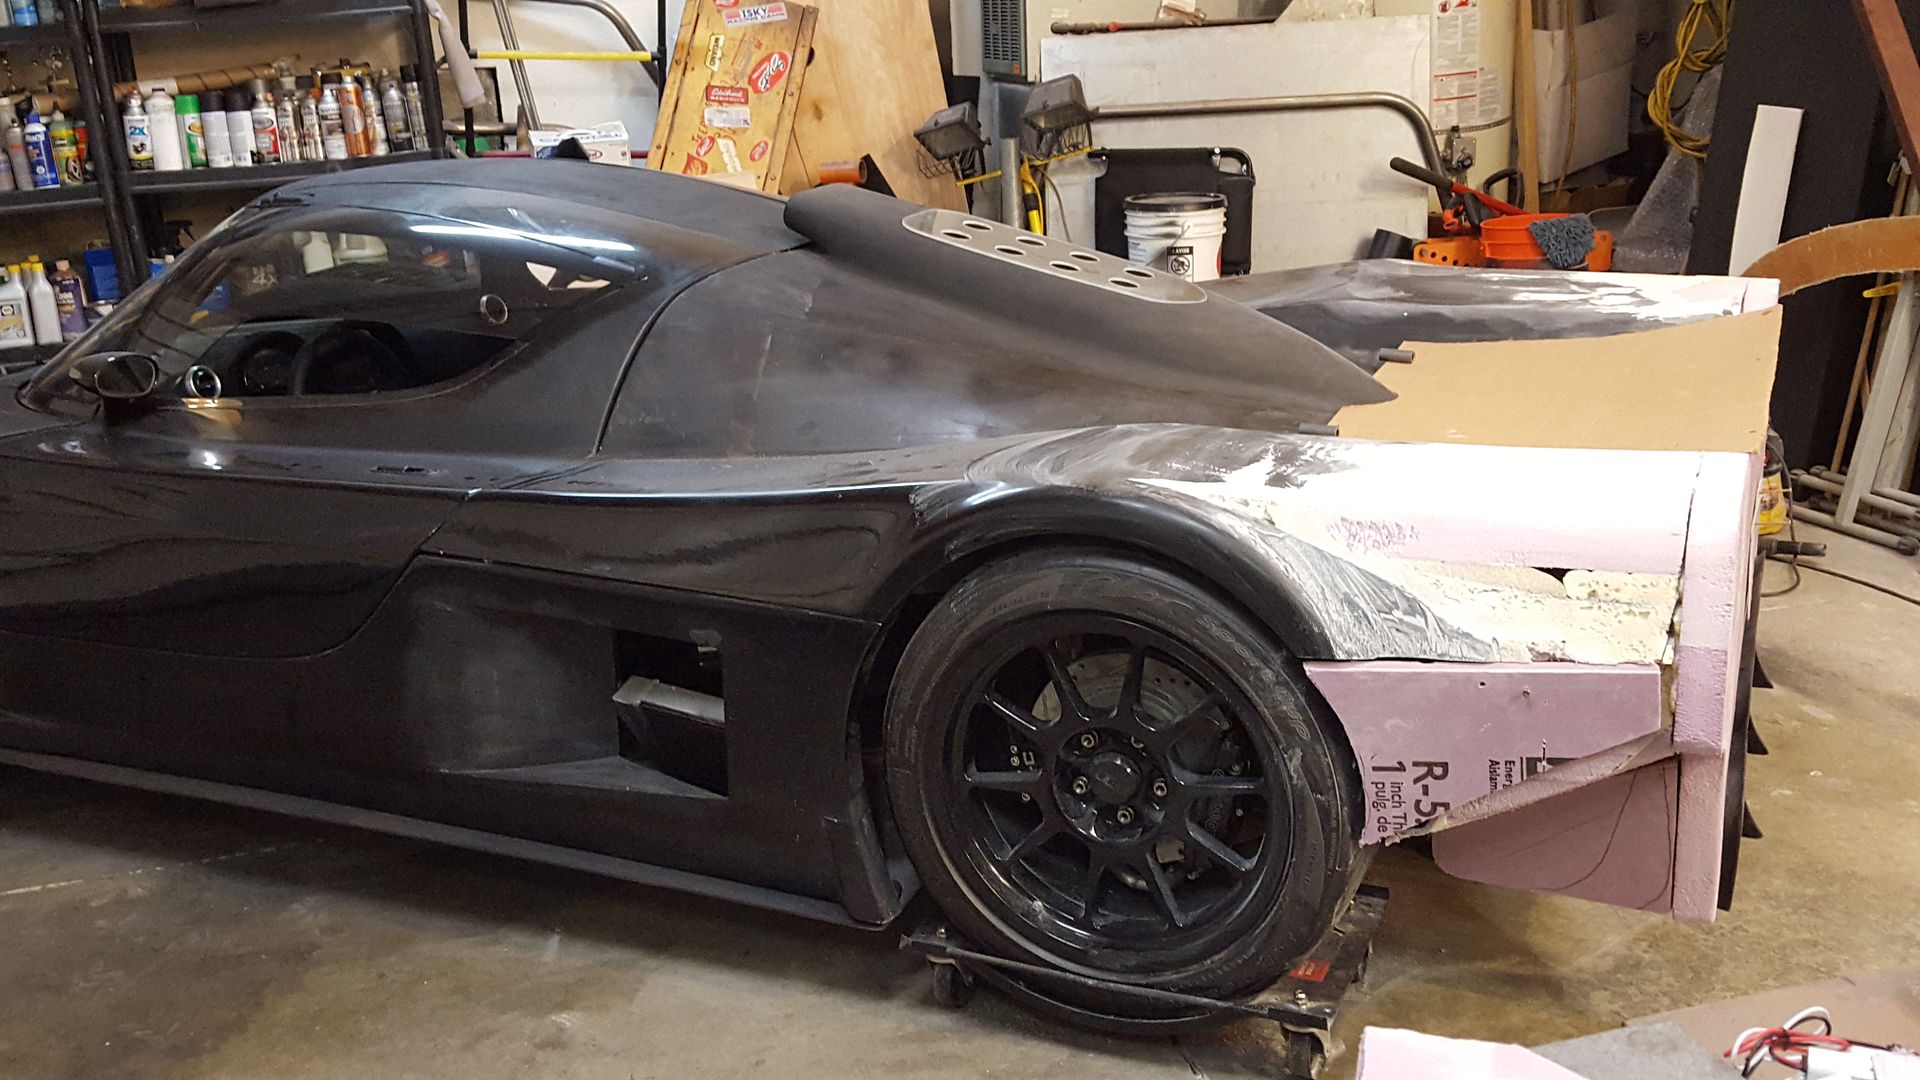
I was racking my head trying to figure out how to make the body work appear to extend all the way to diffuser, yet show as much of the tire as possible. This idea clicked, and 4 days later now, I am almost ready to glass it up!
I started looking at Daytona Prototypes, and it sparked this idea a bit. Very similar in over all body shape.
Sounds like a dam good use for that foam! Haha.
Sounds like a dam good use for that foam! Haha.
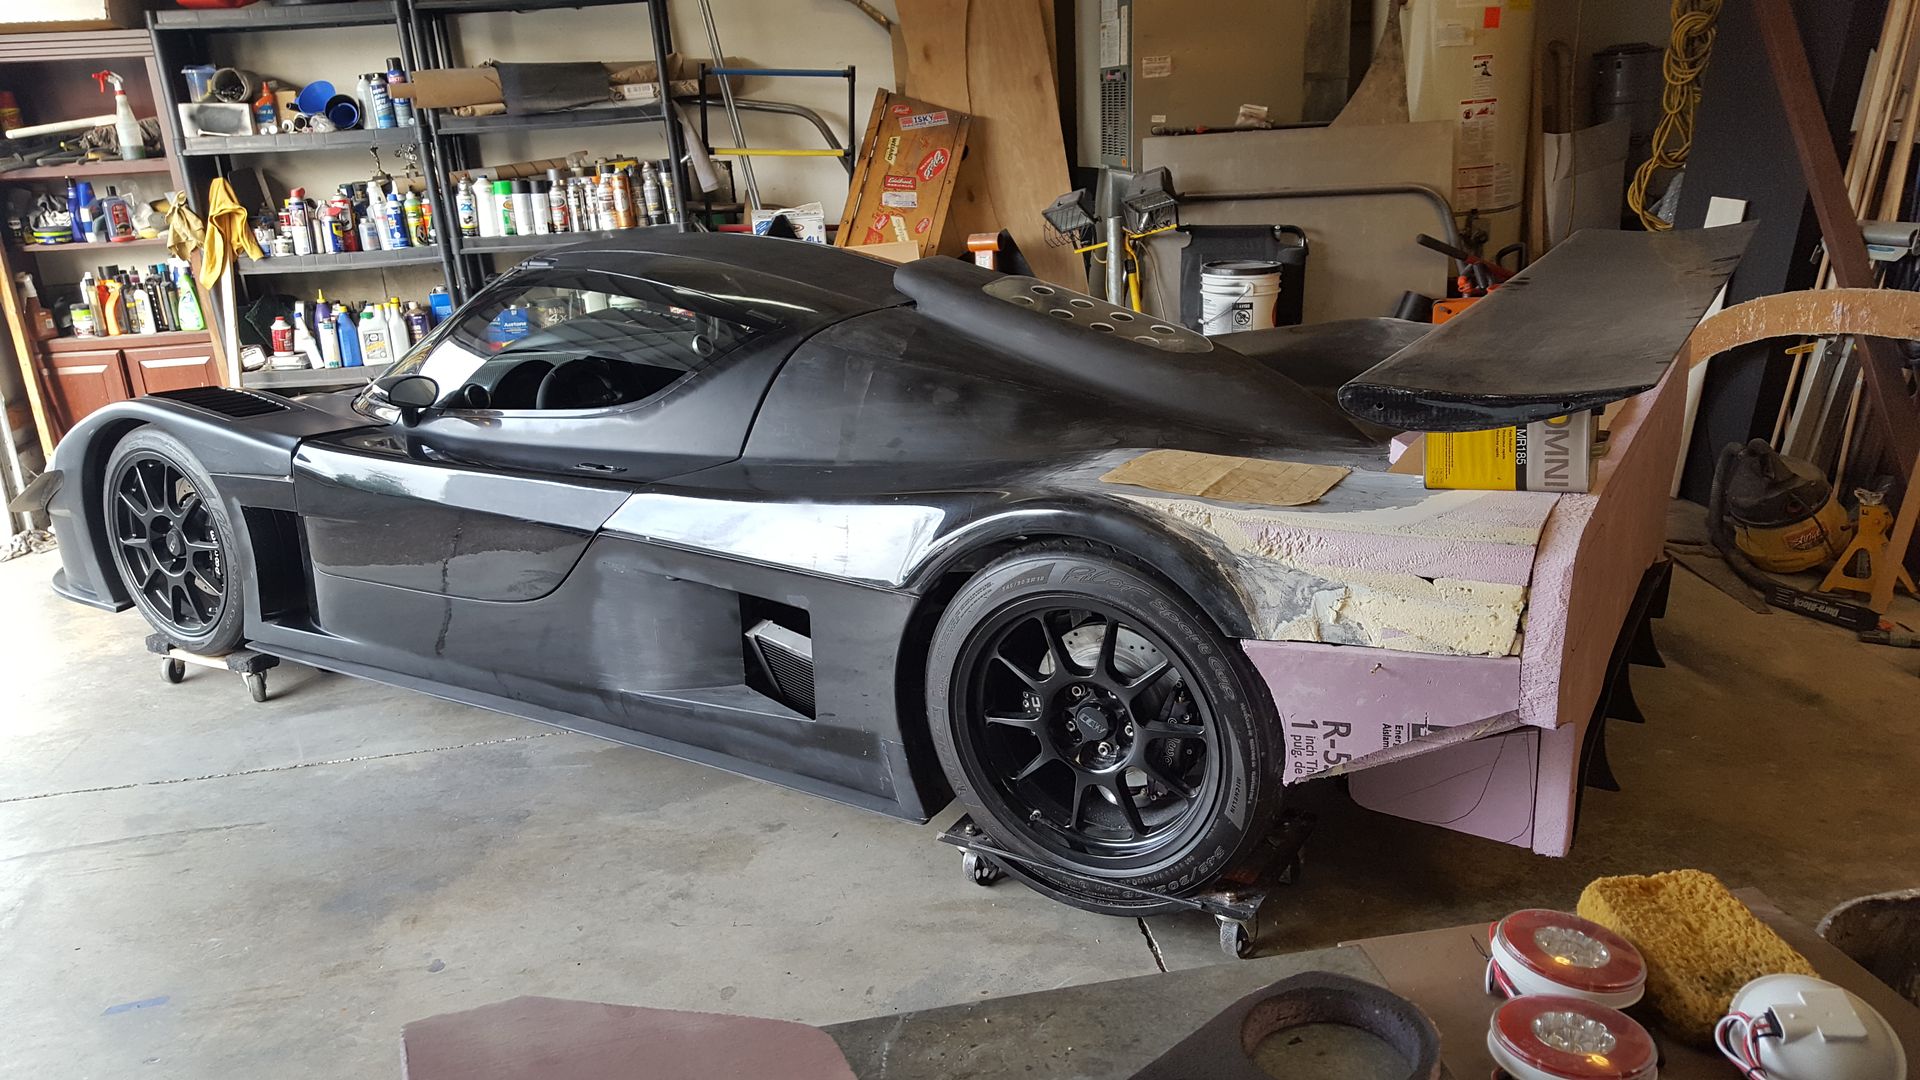
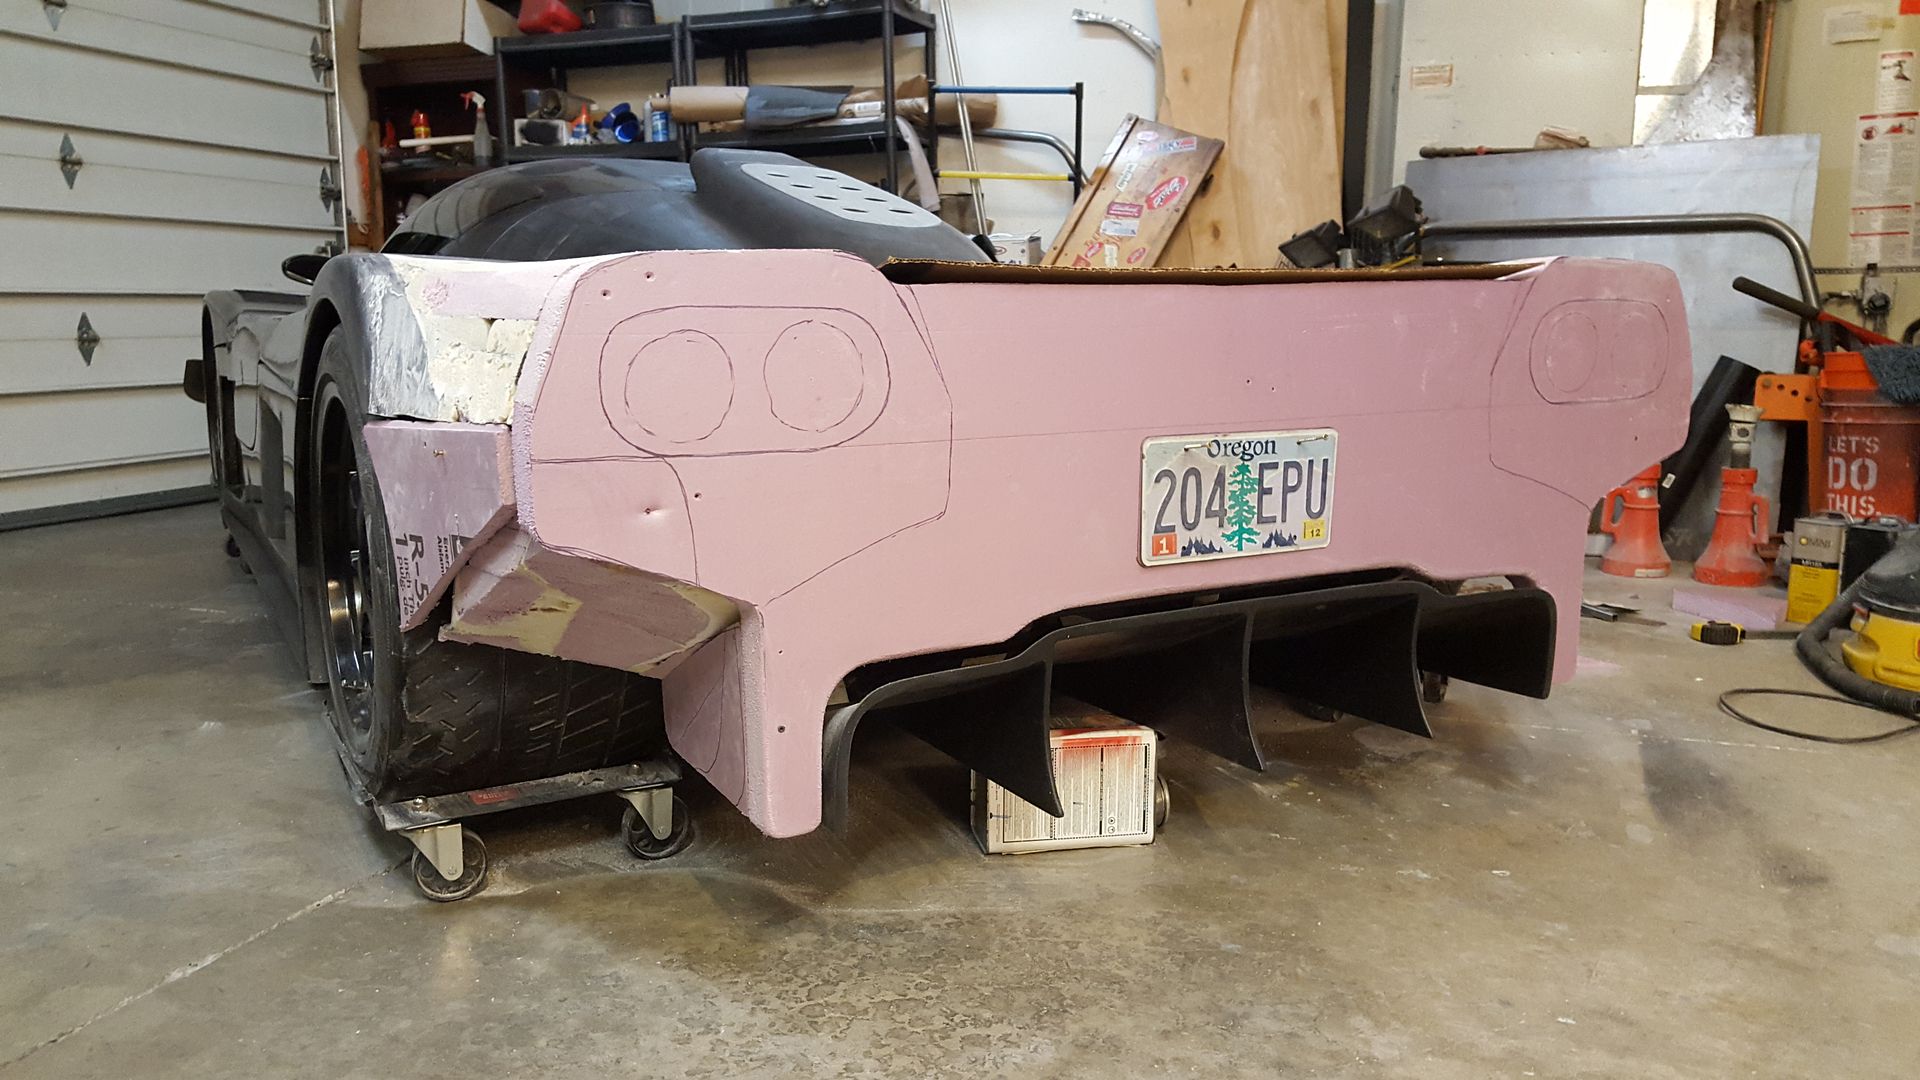
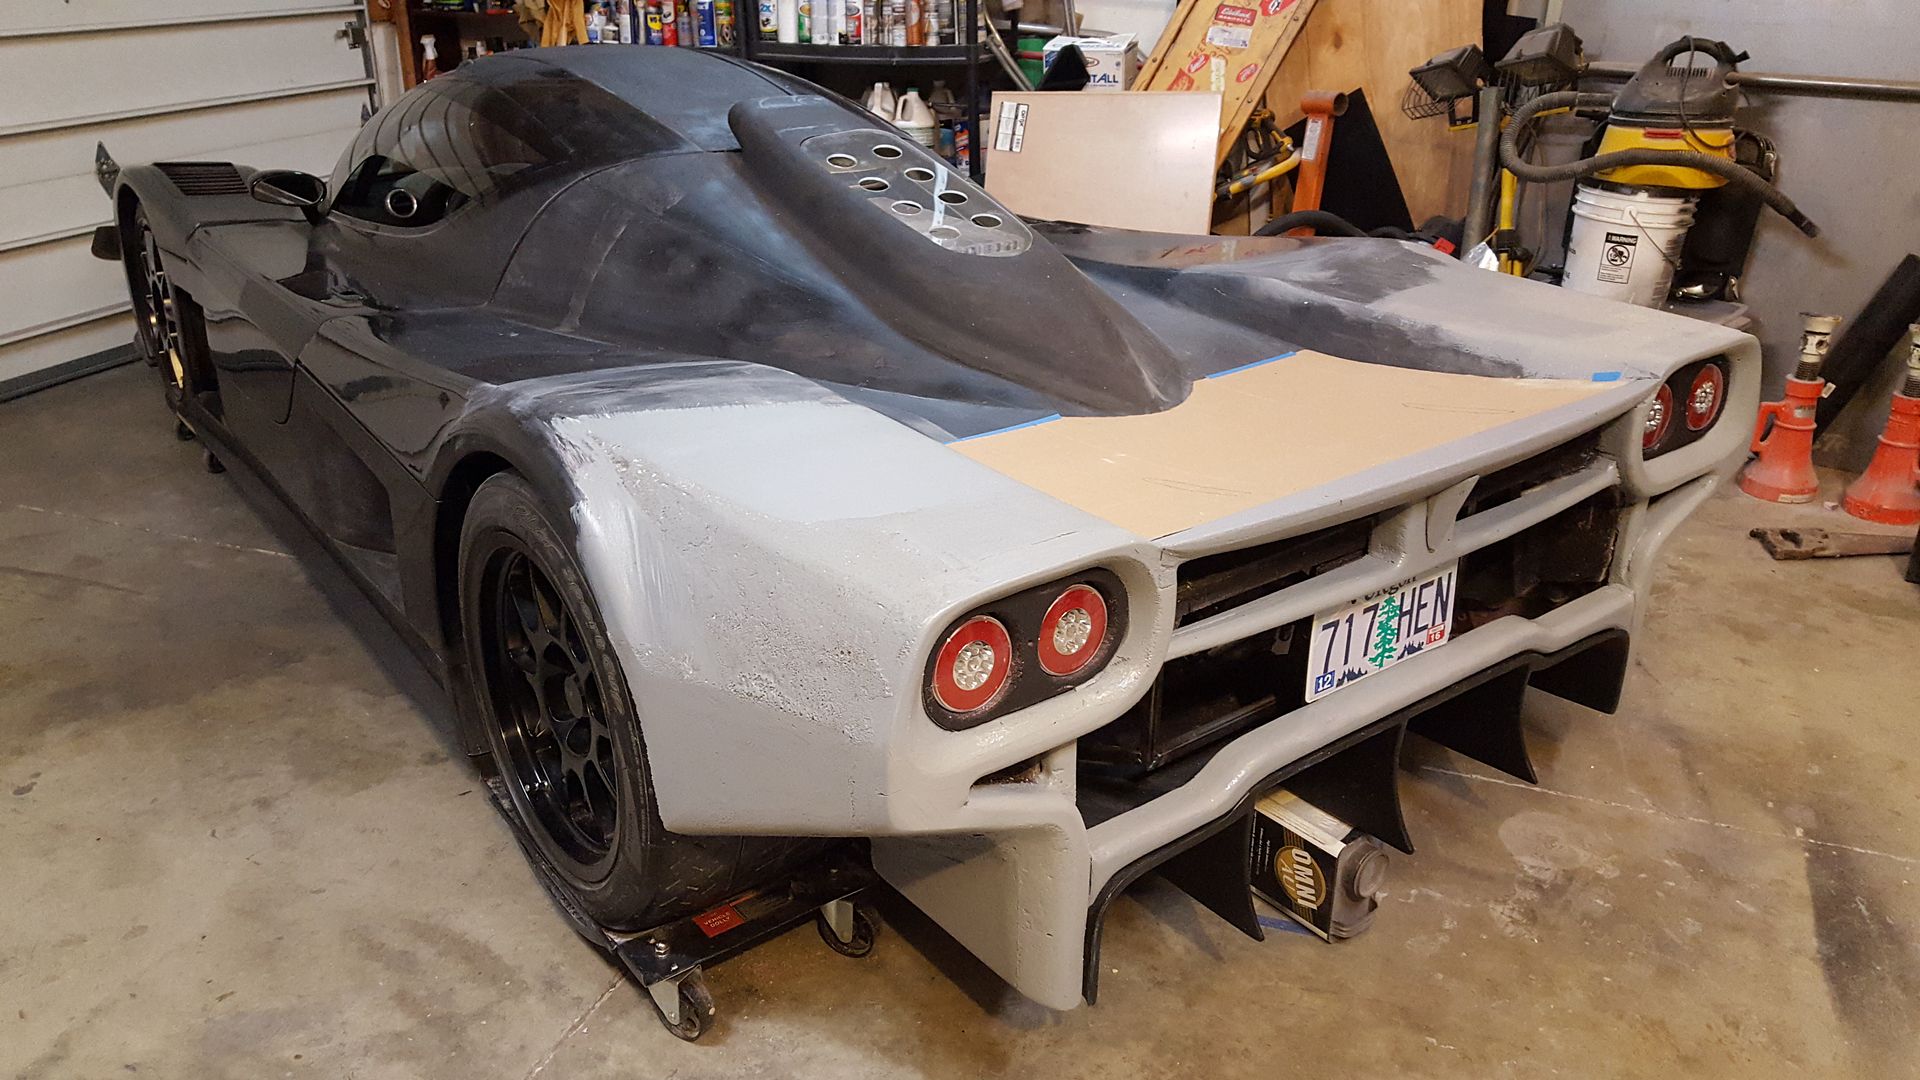
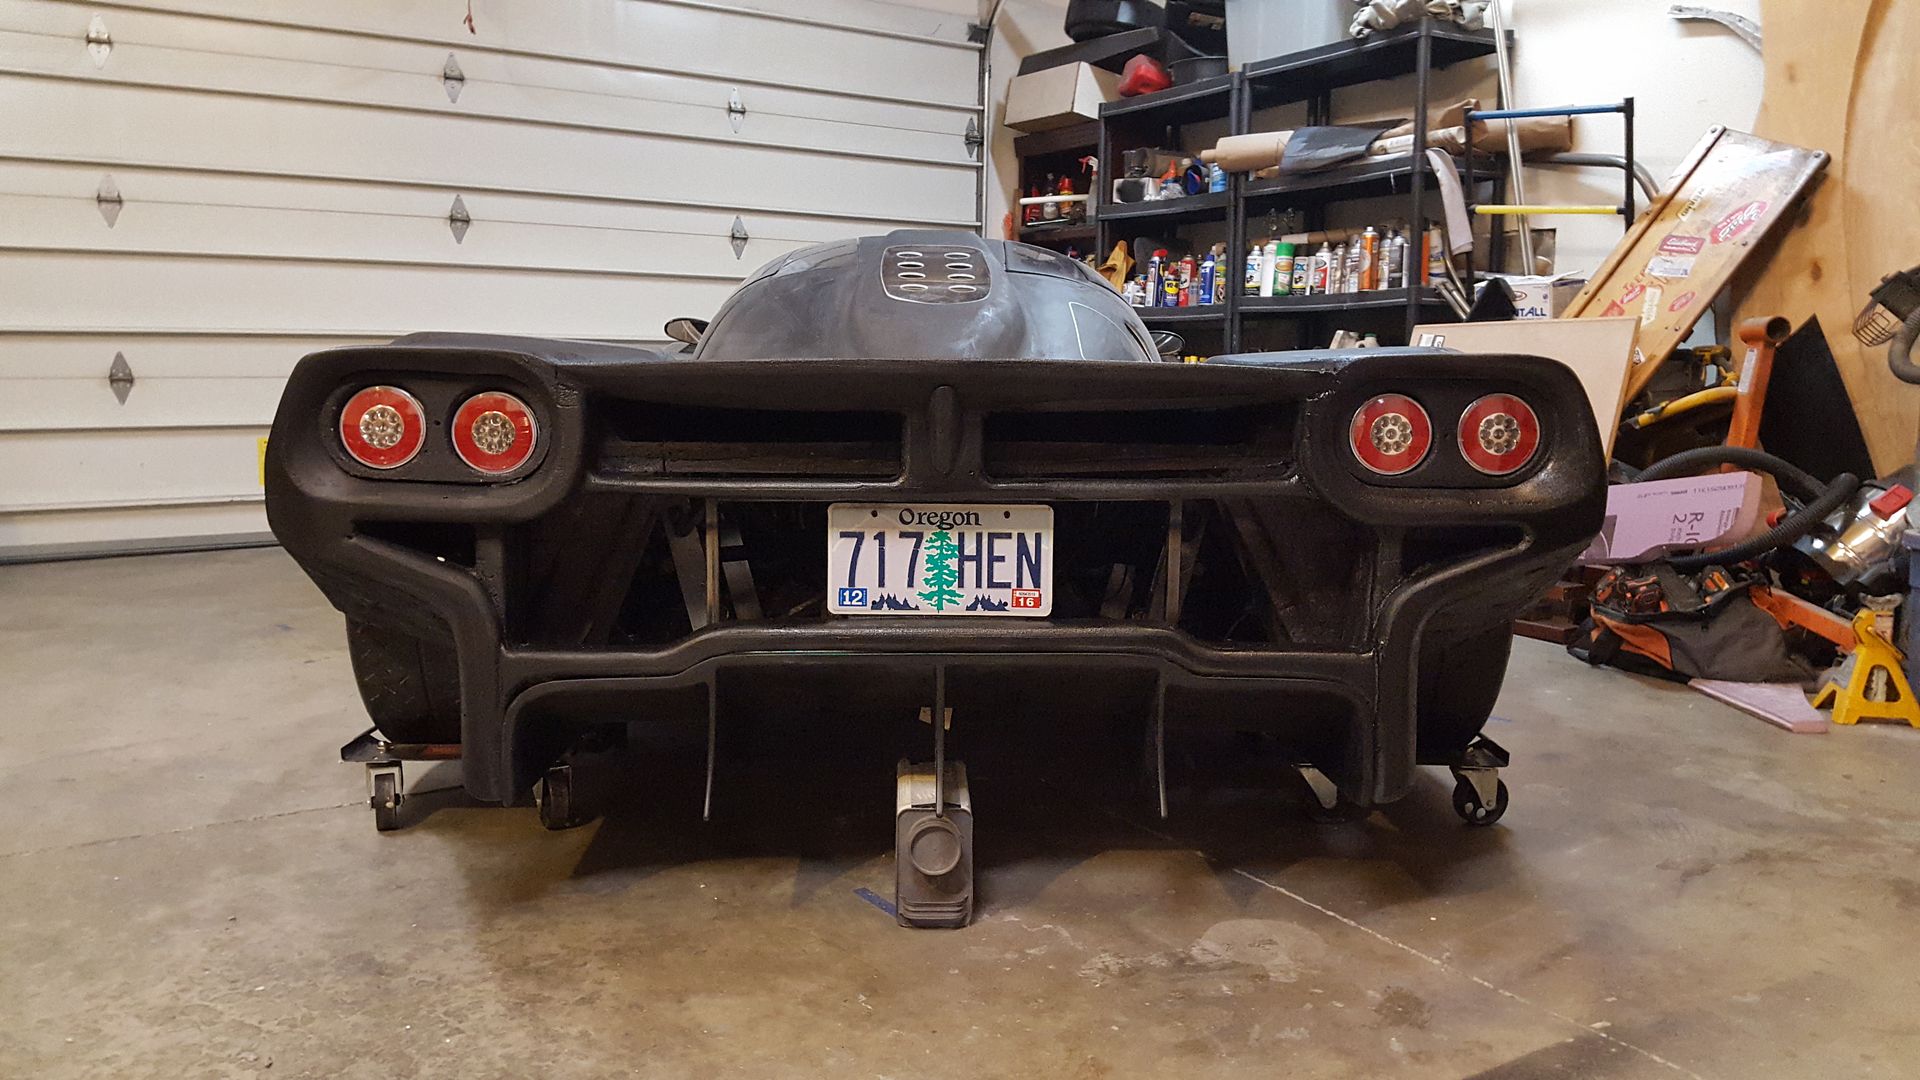
Couple more things to do, but dam close to done already. Something will be happening under the rear lights themselves, but havn't decided exactly what yet.
Plate is recessed, so the lip above can house a recessed plate light. Plinth under wing center looks really cool in person. Thinking this one is the winner. Start glassing by end of week!
The upper wing will be held by two angled stand offs coming off the rear deck. Since the rear lower body goes as far back as it does now, it gives me the option to hinge from the rear again. Everything got alot easier with this design.
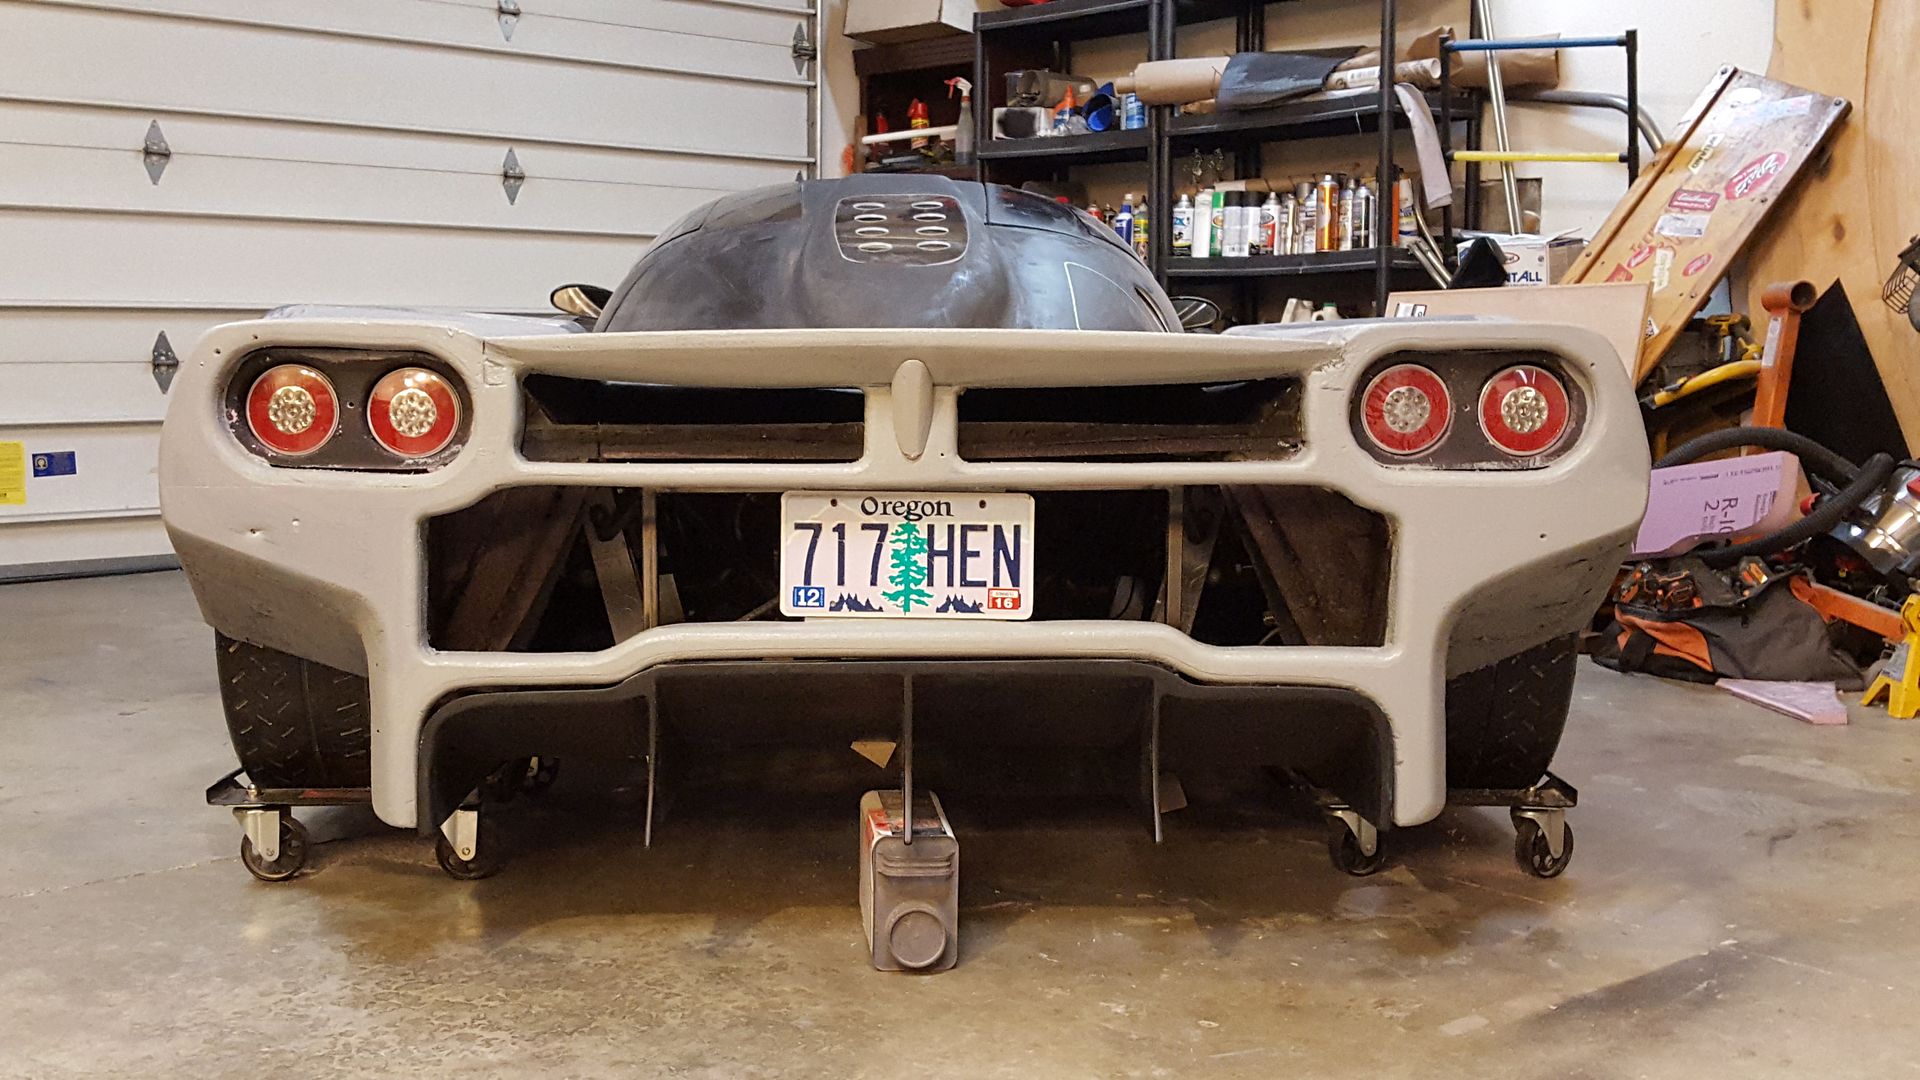
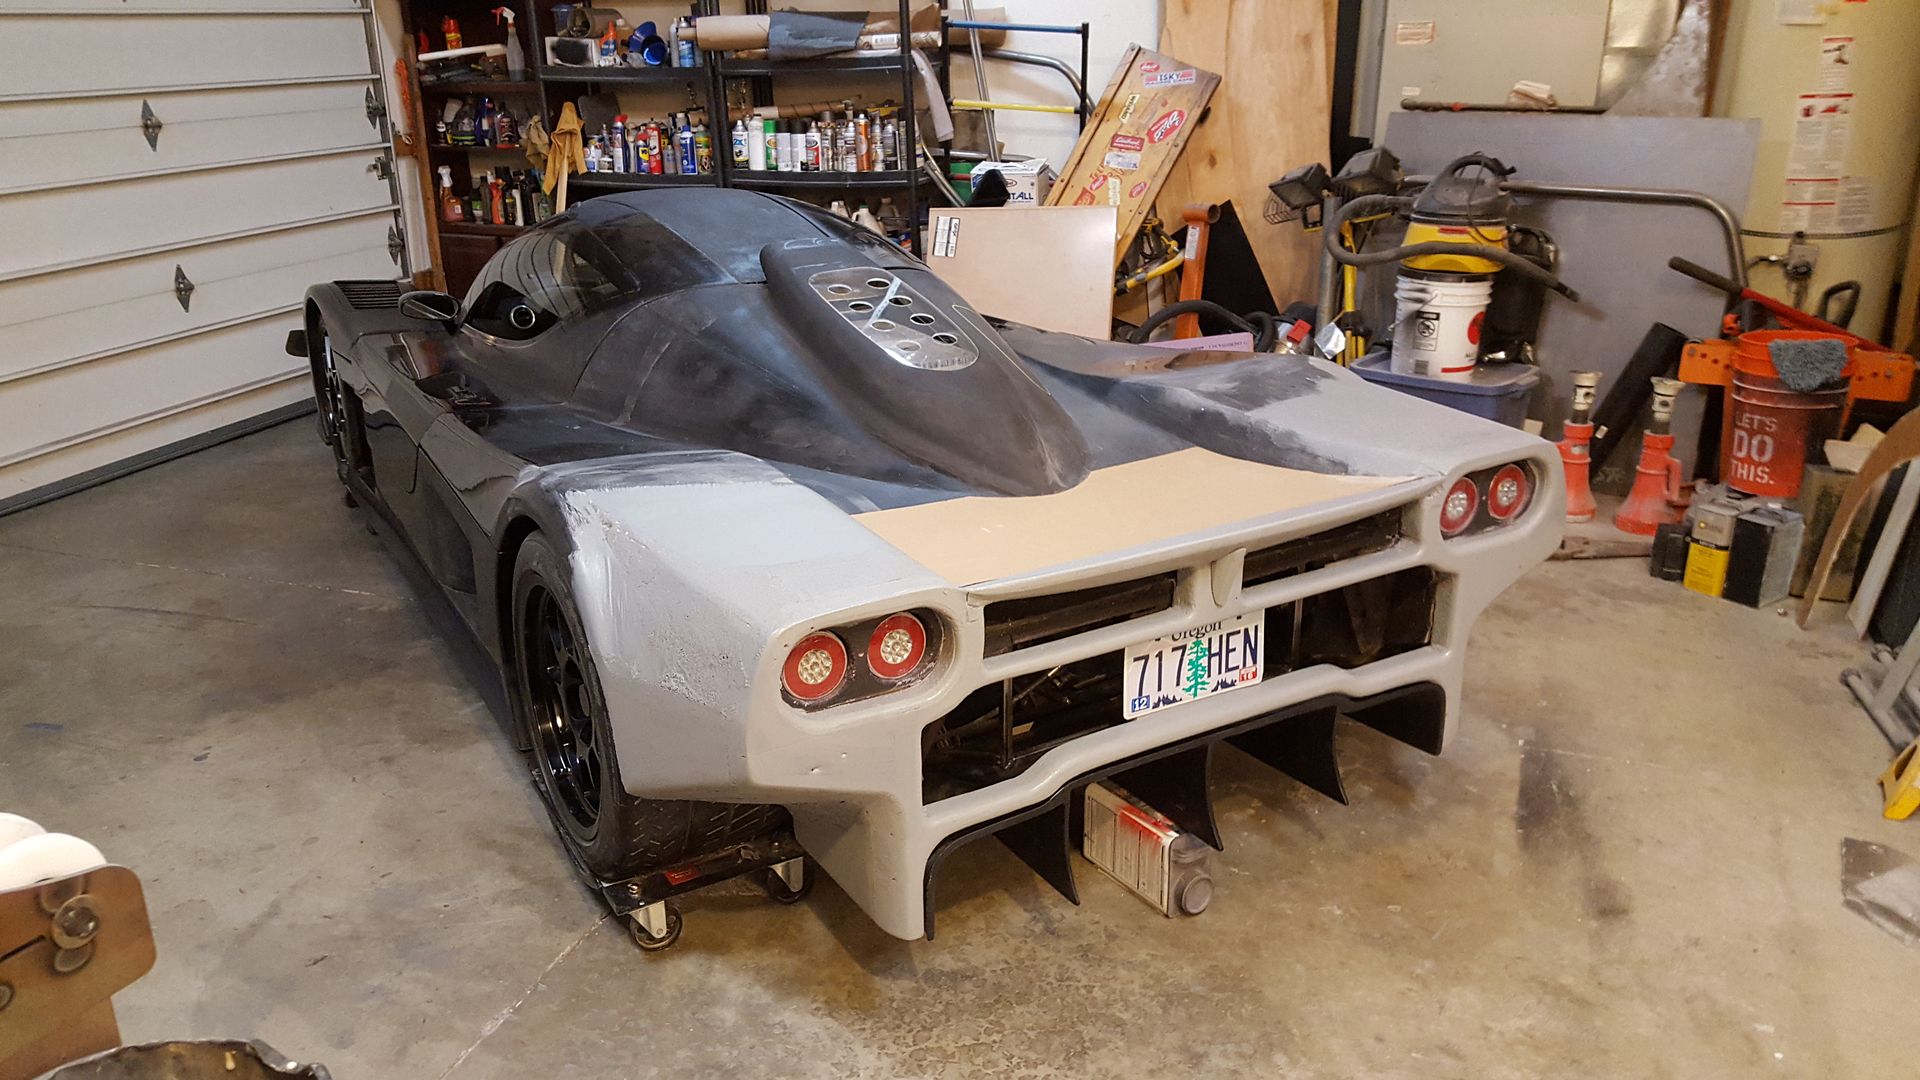


Last edited:
Scott
Are you using plaster to contour with? I presume that is primer and that is your master surface not a female mold, hence no release agent needed.
Your speed is amazing.
Are you using plaster to contour with? I presume that is primer and that is your master surface not a female mold, hence no release agent needed.
Your speed is amazing.
There is no bondo, plaster, or sheetrock mud in this one. That is the main reason it has been going so quick, no dry time. It is all just sculpted foam.
I am planning to use some .5mil plastic and spray adhesive, and cover the entire rear, then fg and resin right over that. Two coats. Then let that set up. Then cut the whole thing off creating index marks in the cut. Then remove entire buck from inside. Match up index marks, and start glassing in the new section from the back, building up more strength coats. Flip over and finish all of the exterior. Final molds could then be made off of the actual finished part.
I am planning to use some .5mil plastic and spray adhesive, and cover the entire rear, then fg and resin right over that. Two coats. Then let that set up. Then cut the whole thing off creating index marks in the cut. Then remove entire buck from inside. Match up index marks, and start glassing in the new section from the back, building up more strength coats. Flip over and finish all of the exterior. Final molds could then be made off of the actual finished part.
Thanks Rob.
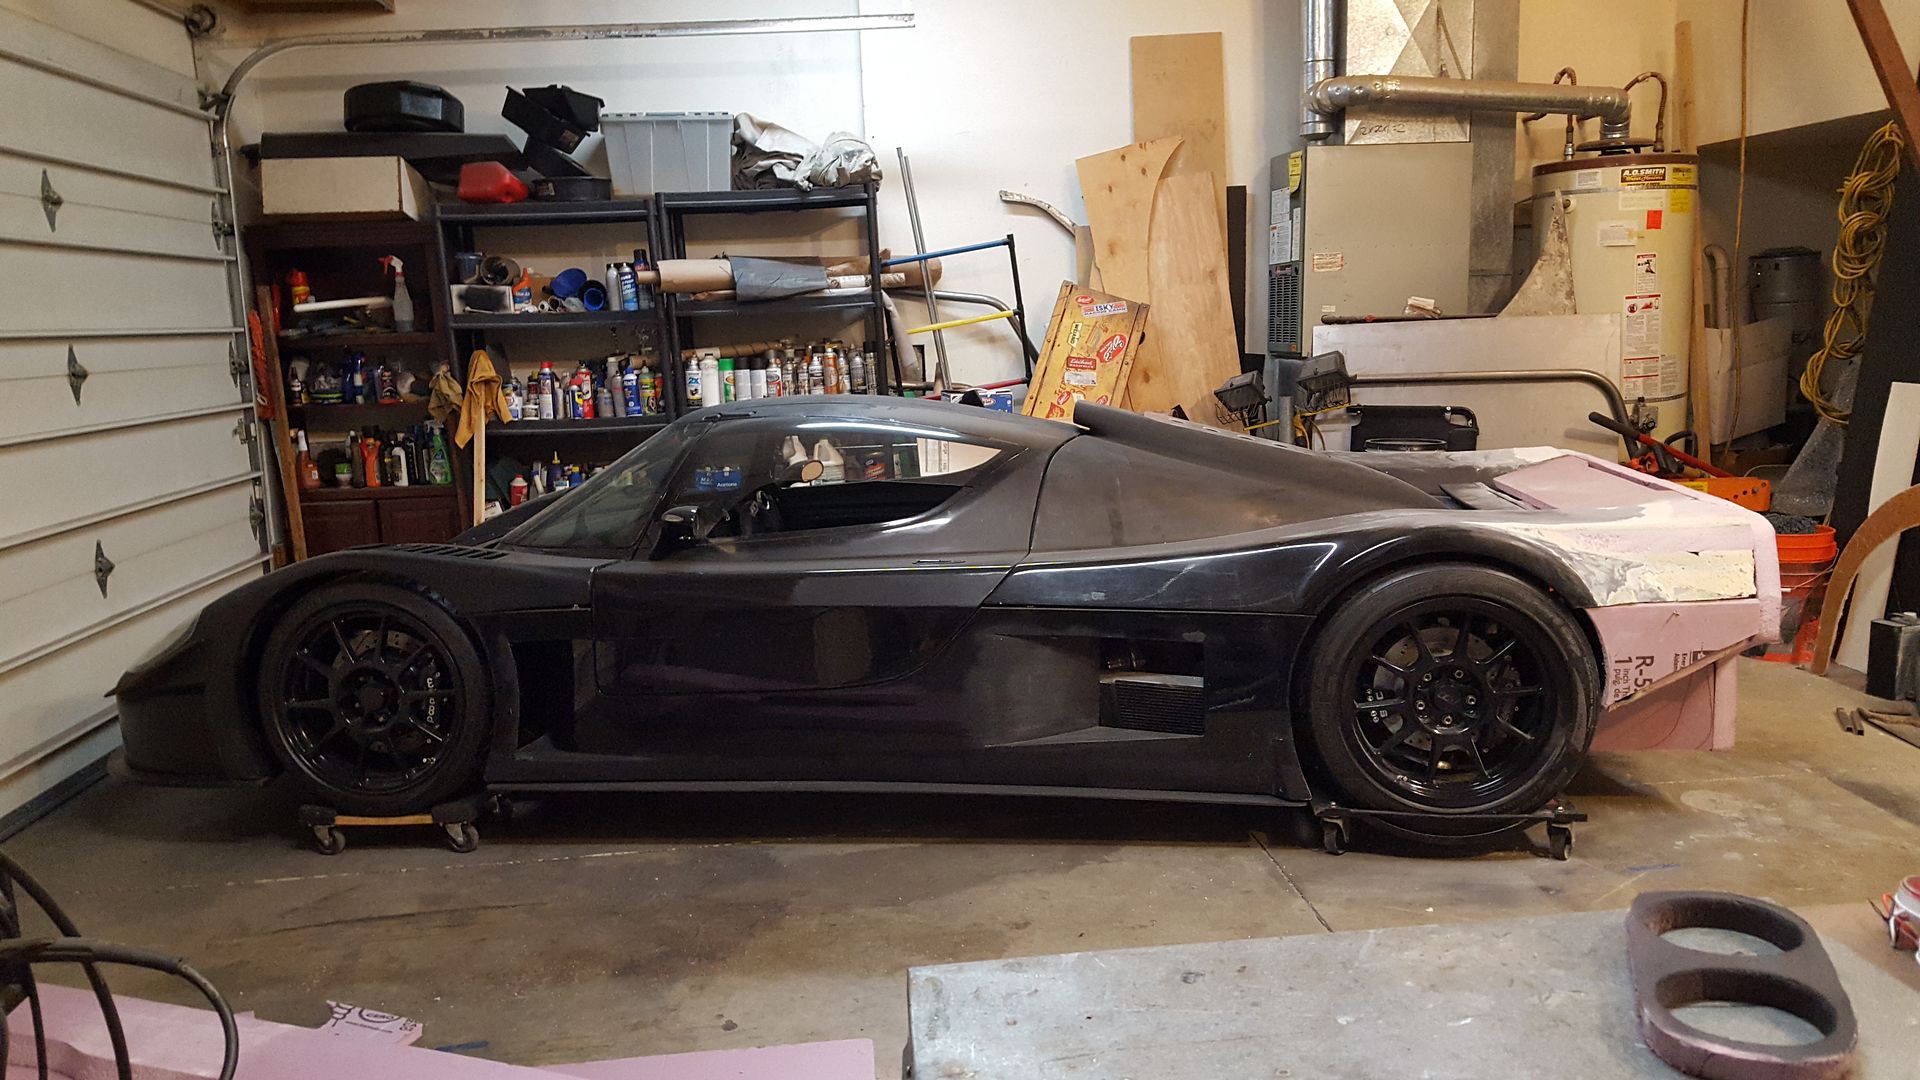
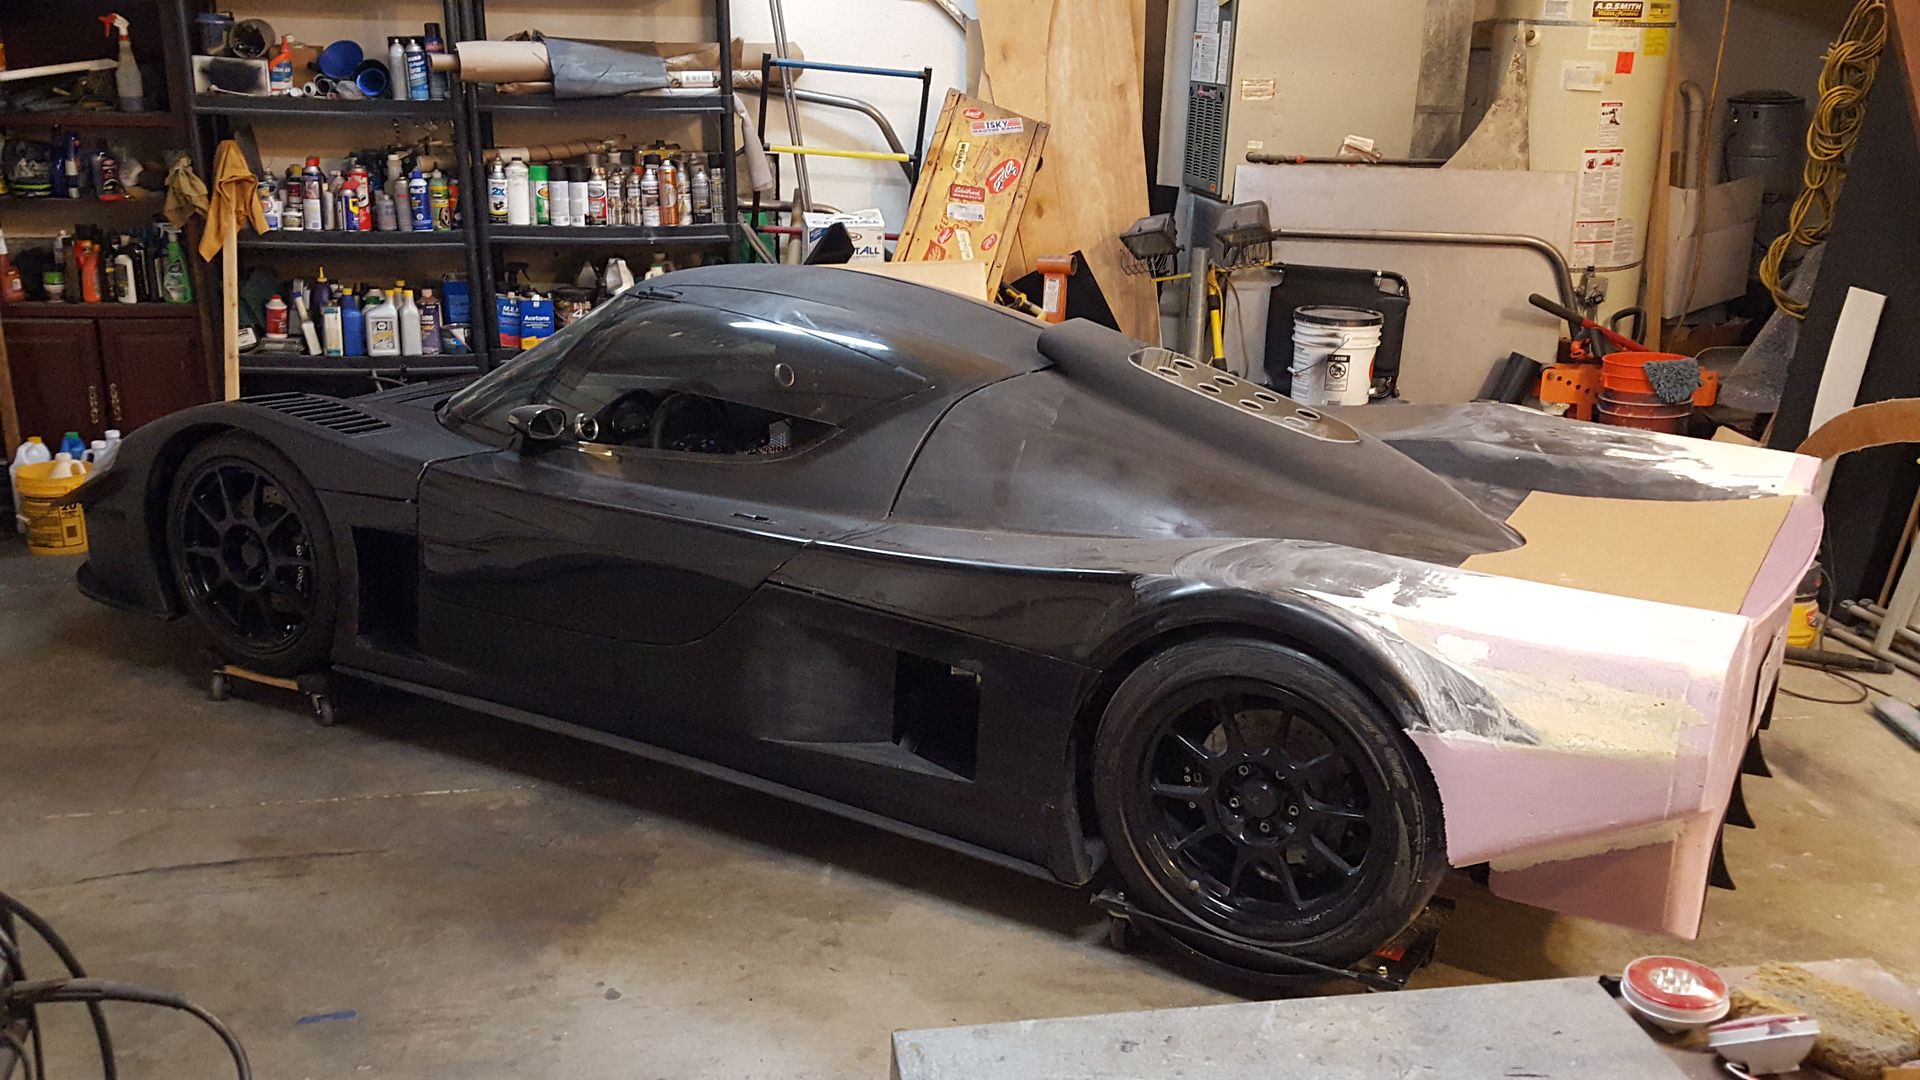
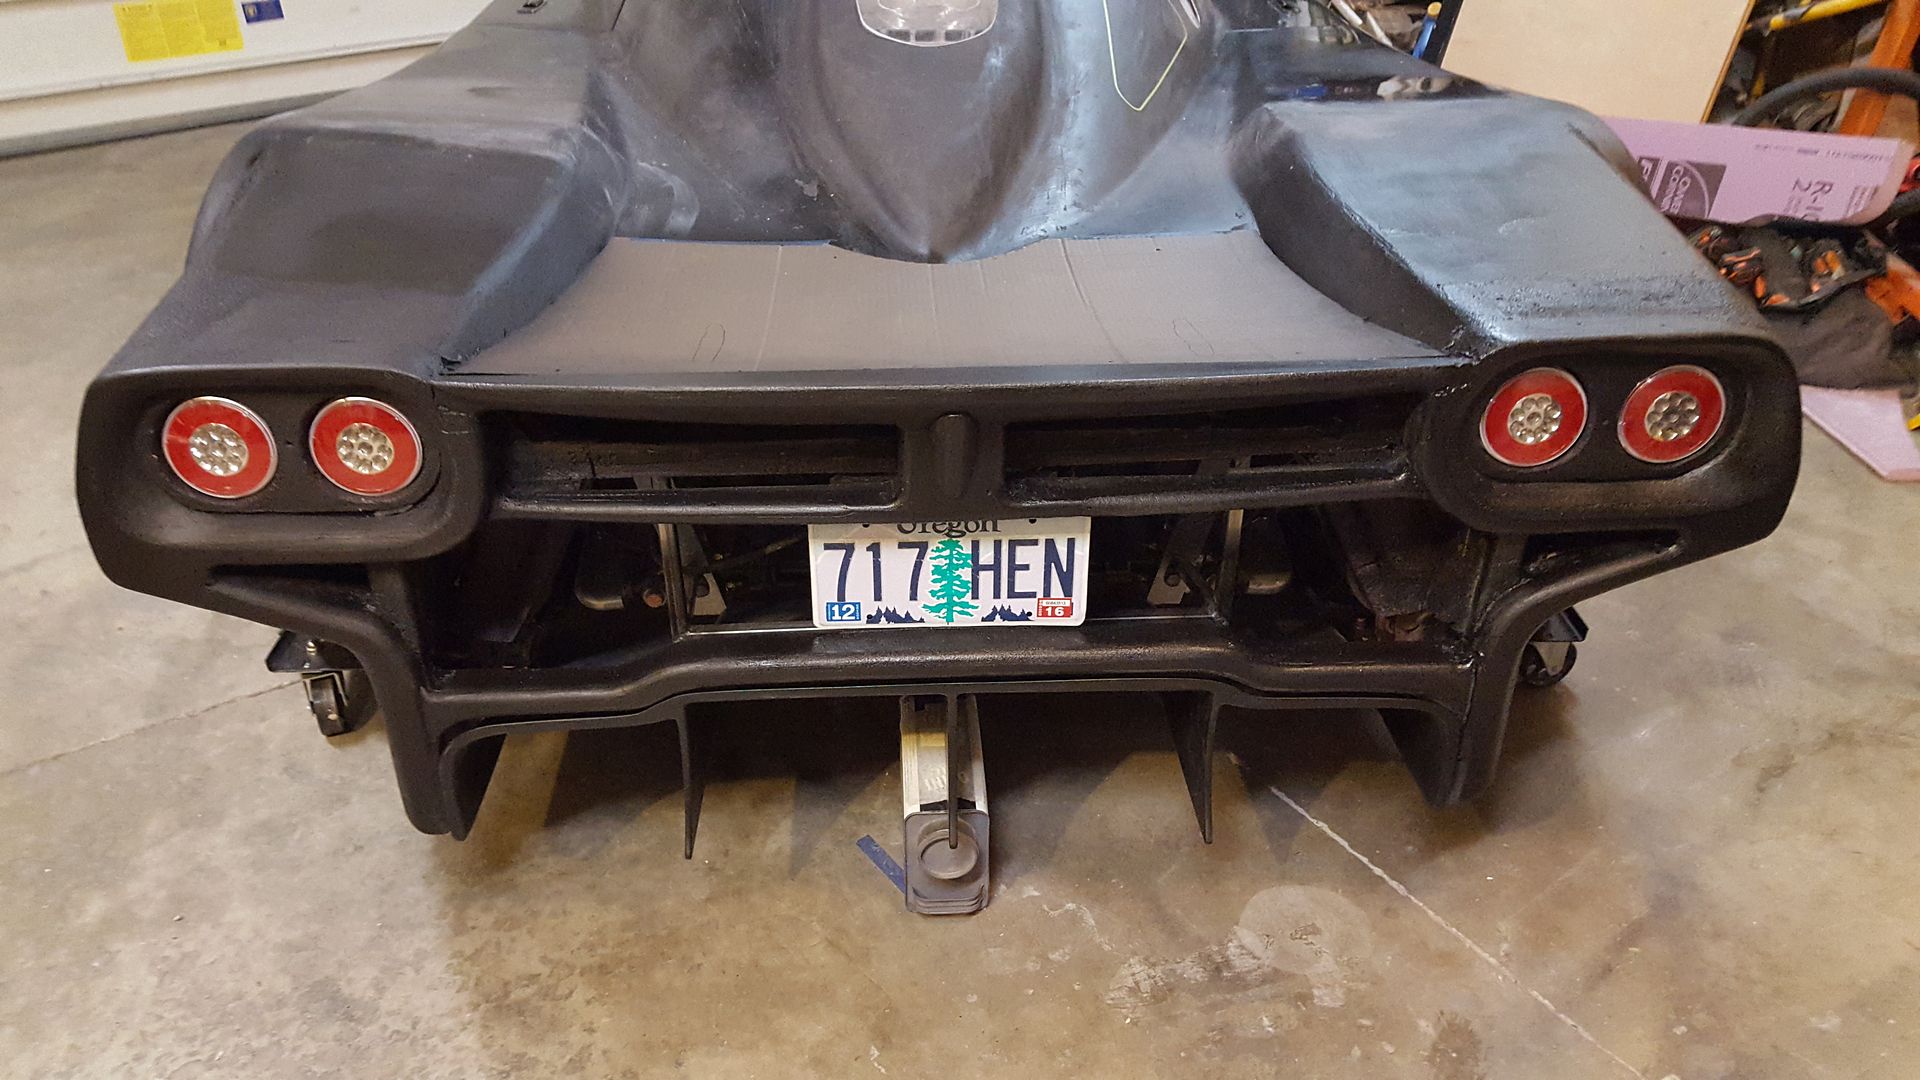
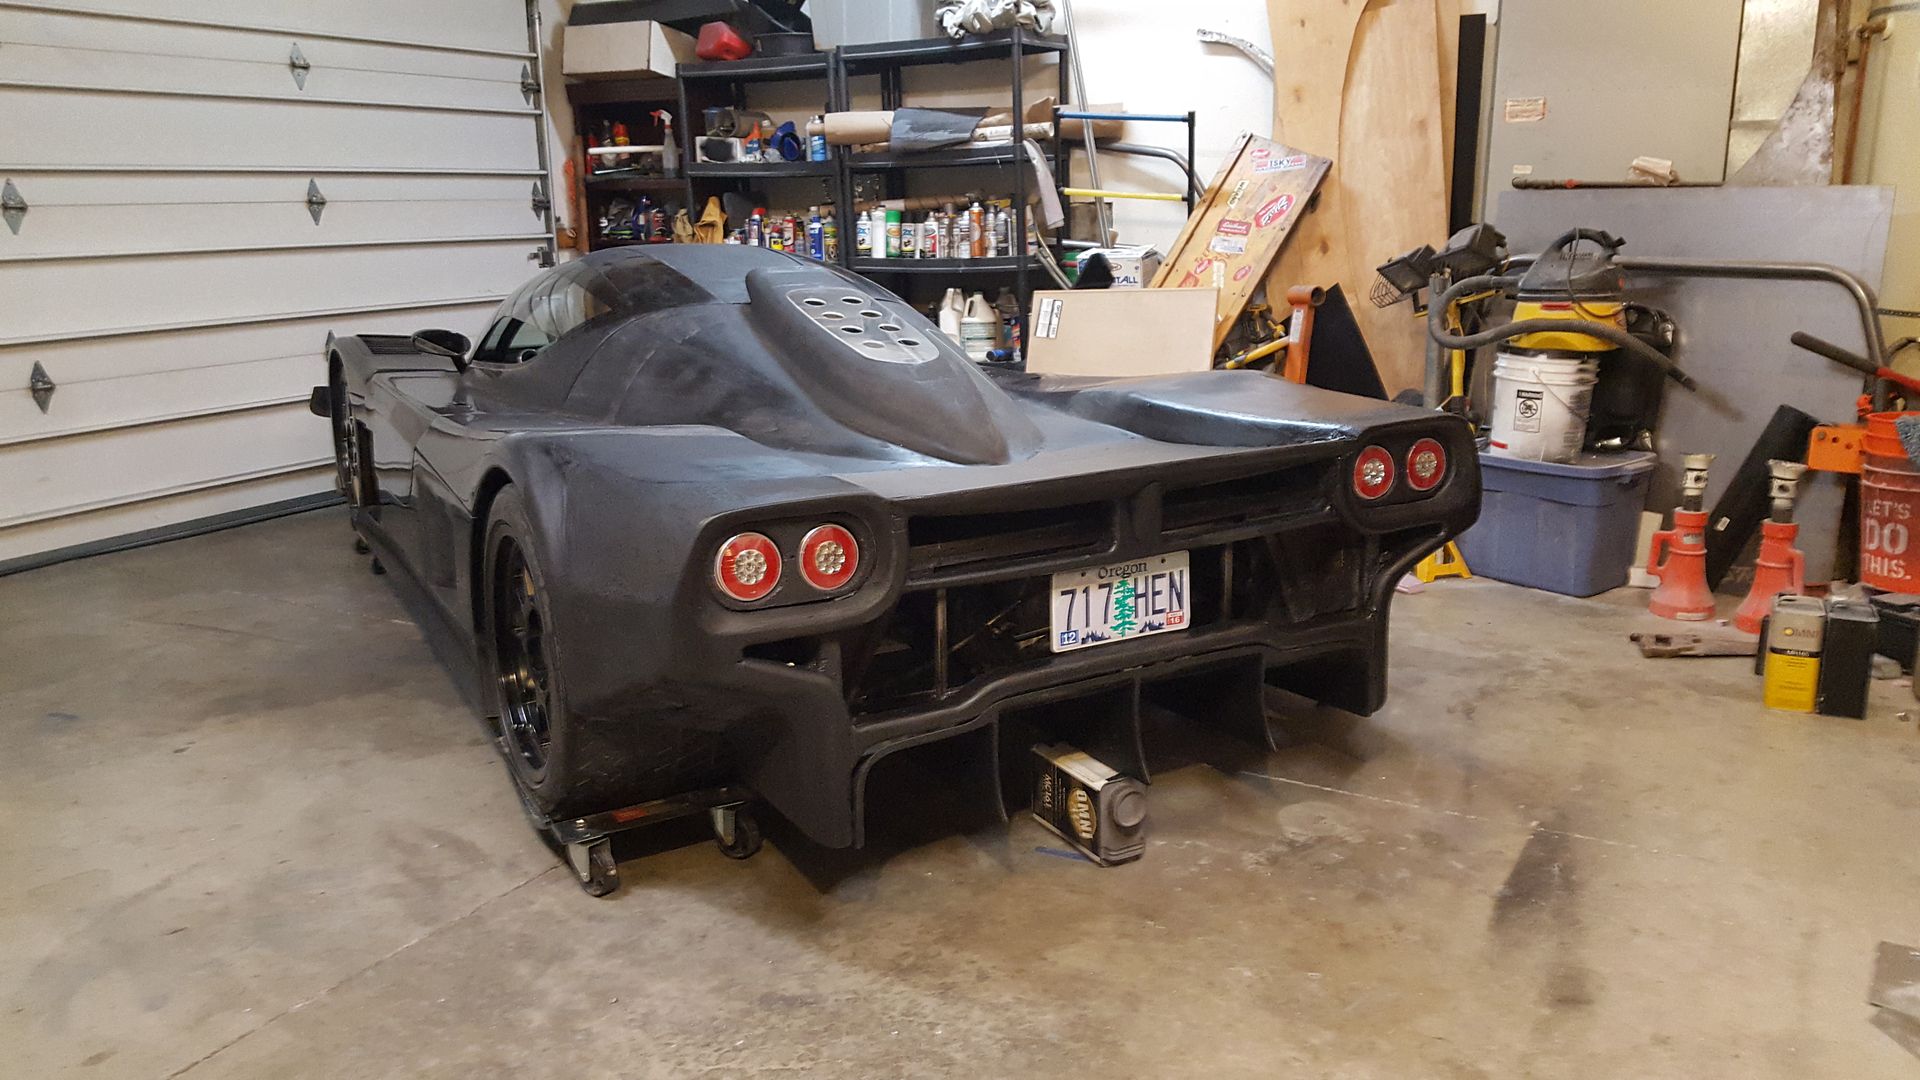
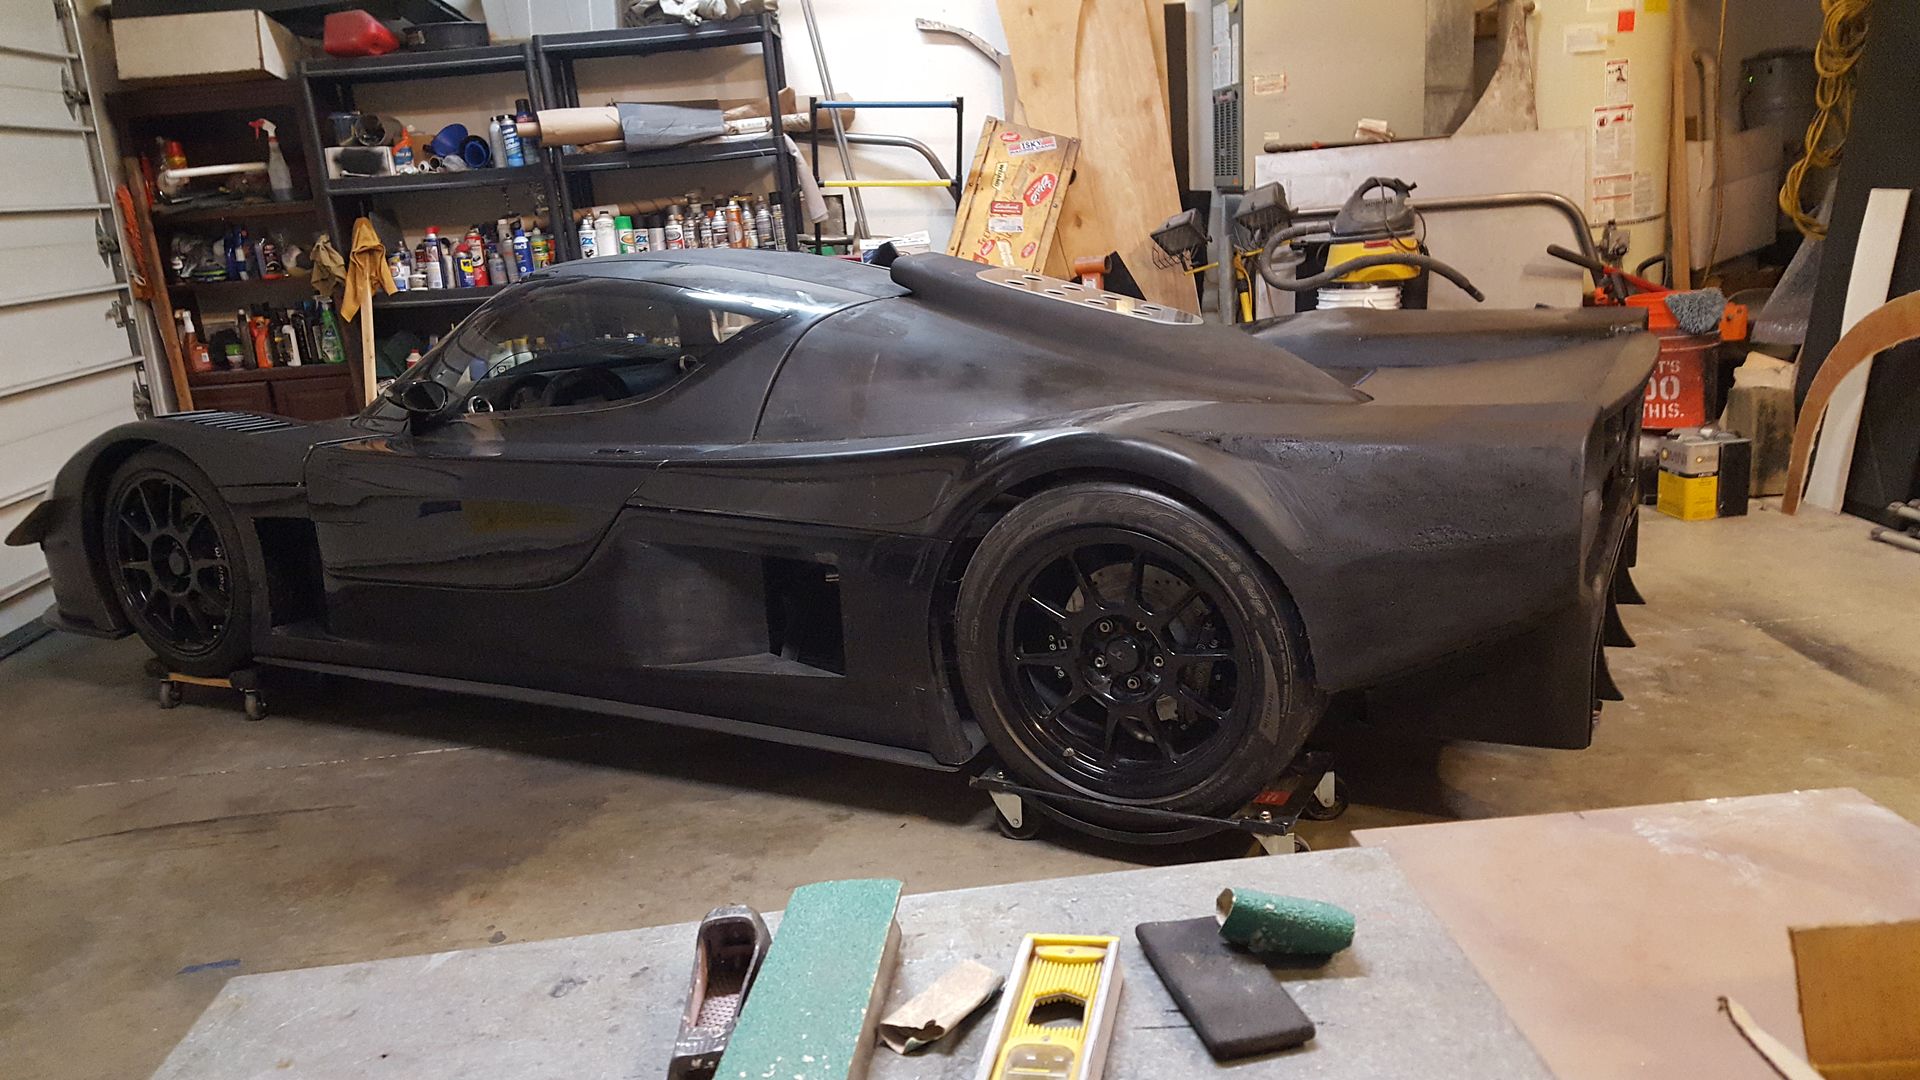
Finally, nothing left to do but a few touch ups and go for it!
I am really happy with it. Very sinister in person.
Finally, nothing left to do but a few touch ups and go for it!
I am really happy with it. Very sinister in person.


Well, luckily for me, the temps have dropped the last 24 hours below freezing, so gotta wait for this little storm to pass before attempting any fg work. So, painted it black. These show a bit more of the details.


Similar threads
- Replies
- 5
- Views
- 782