Scotts build thread

I am using a catalyzed type mud. Is has a 20 min hardening time (can be had in 5, 20, 45, and 90 mins) with very low shrinkage rate. Regular mud has a huge shrinkage rate and in comparison takes many hours for a thin layer to dry. Cost is under $9 for a 25# dry mix, compared to plaster at $20+ for same weight and having similar shrinkage rate, and would still have the same problem if moisture was present at all.
It sands like butter compared to plaster, and I use it regularly on any and all sheetrock repairing/installation, so very familiar with mixing and dry time ratios.
After using all of the materials mentioned, the catalyzed sheetrock mud is the most volume and best workability for the buck. Which after I do the initial shaping with the wood rasp, most is in pile on floor. Lol.
It is the first time I have used it for this purpose, but, have had same probs with plaster also, this is just 1/3 of the cost. Just need to account for more dry time or bake at a low temp before covering with a chemical based product next time.
You don't learn if you don't F something up! Hahaha
 
Absolutely correct Scott!
I have found that drywall mud to be pretty friendly to work with, learned not to rush an oven cure. Low temps and time is all. Sure beats plaster compounds many times over.
 
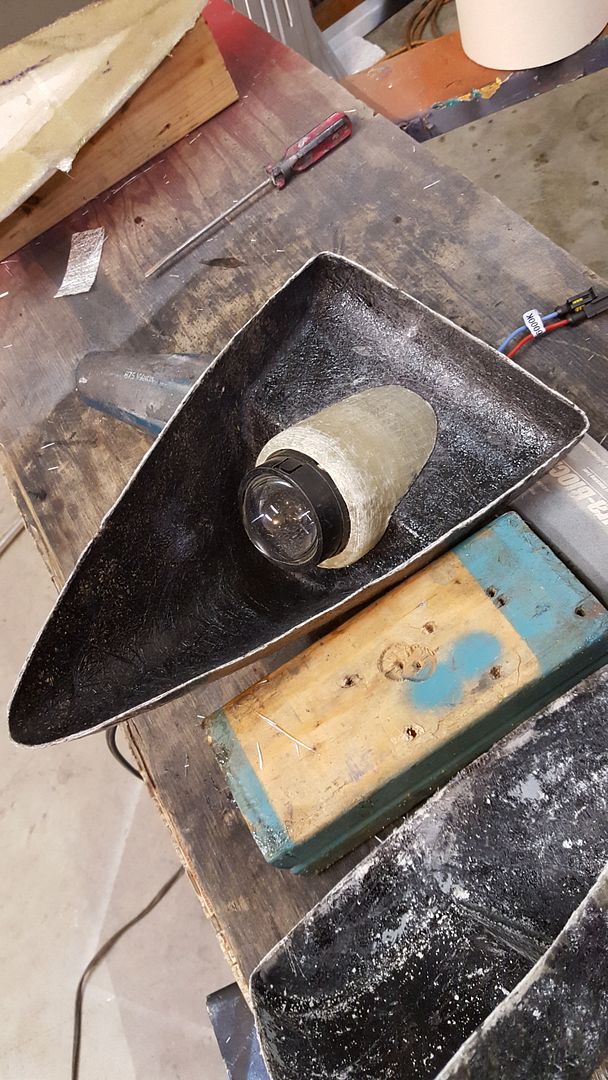
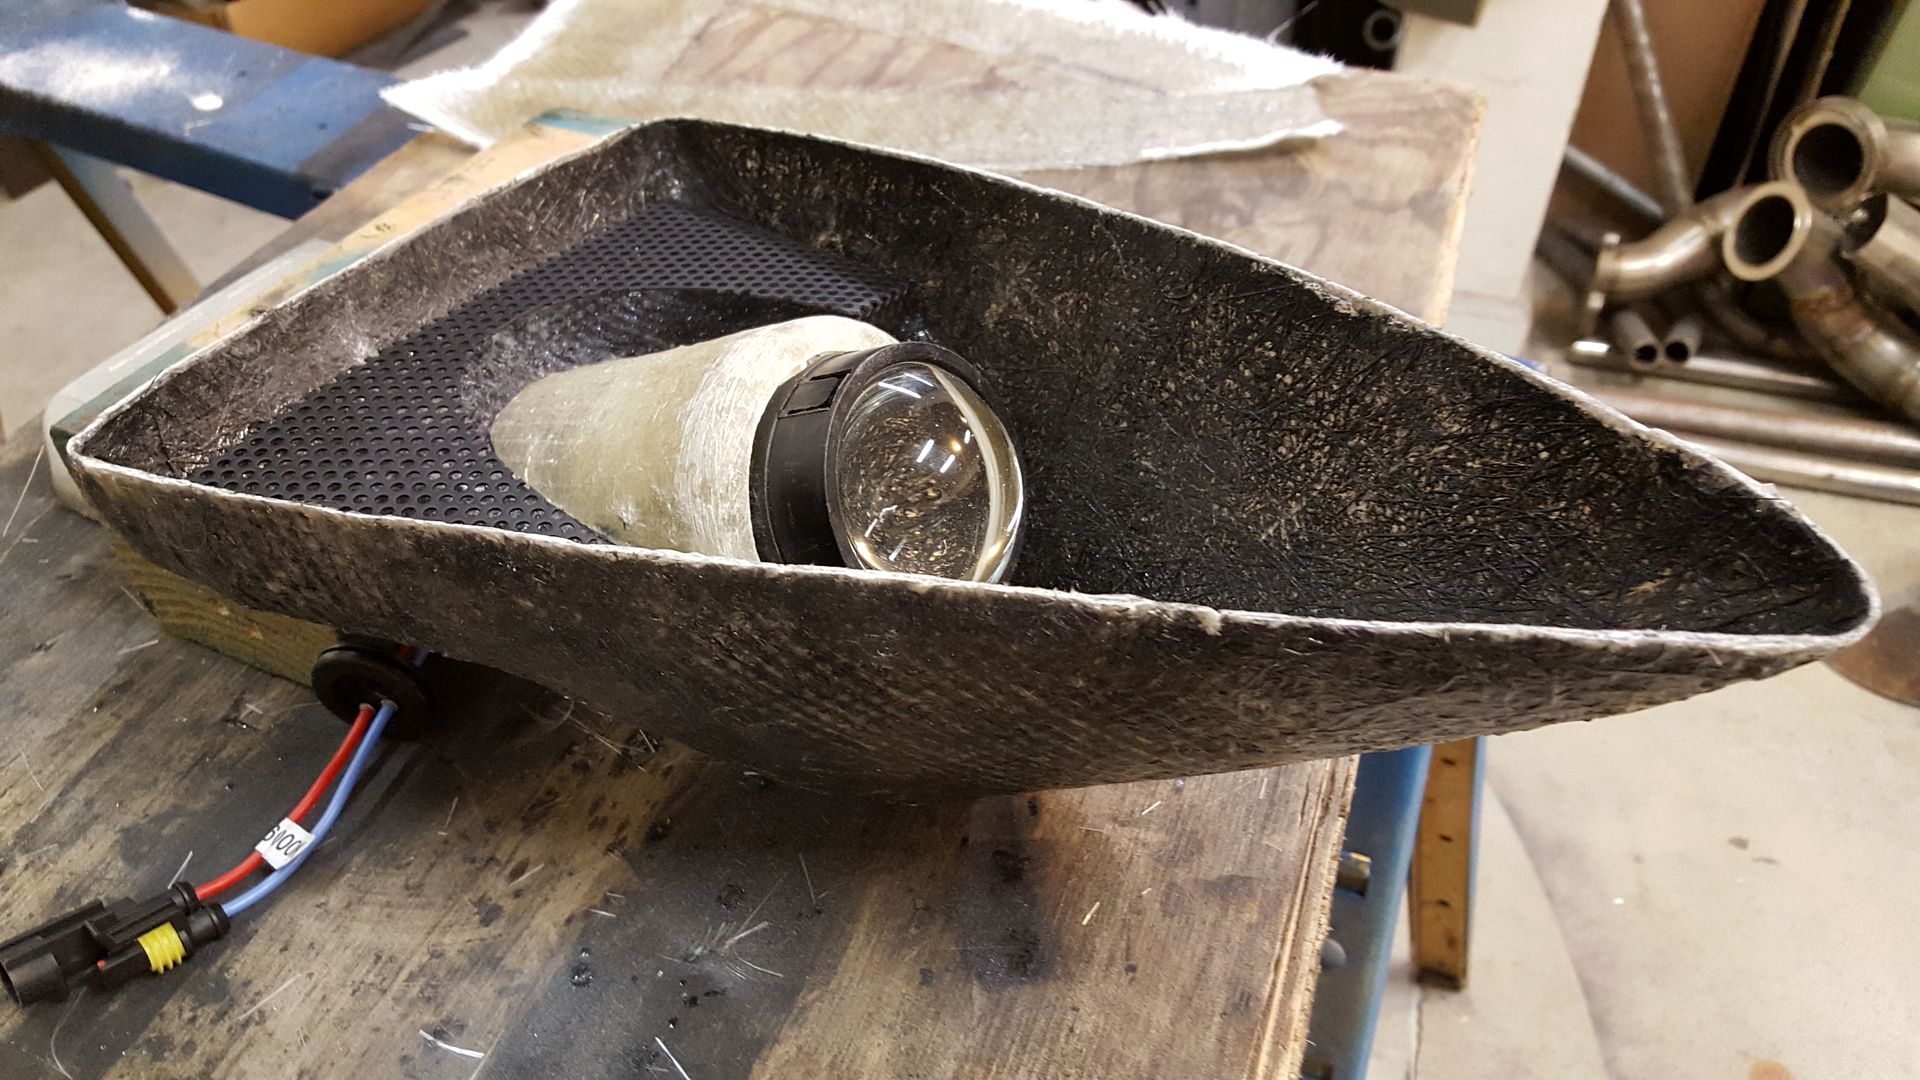
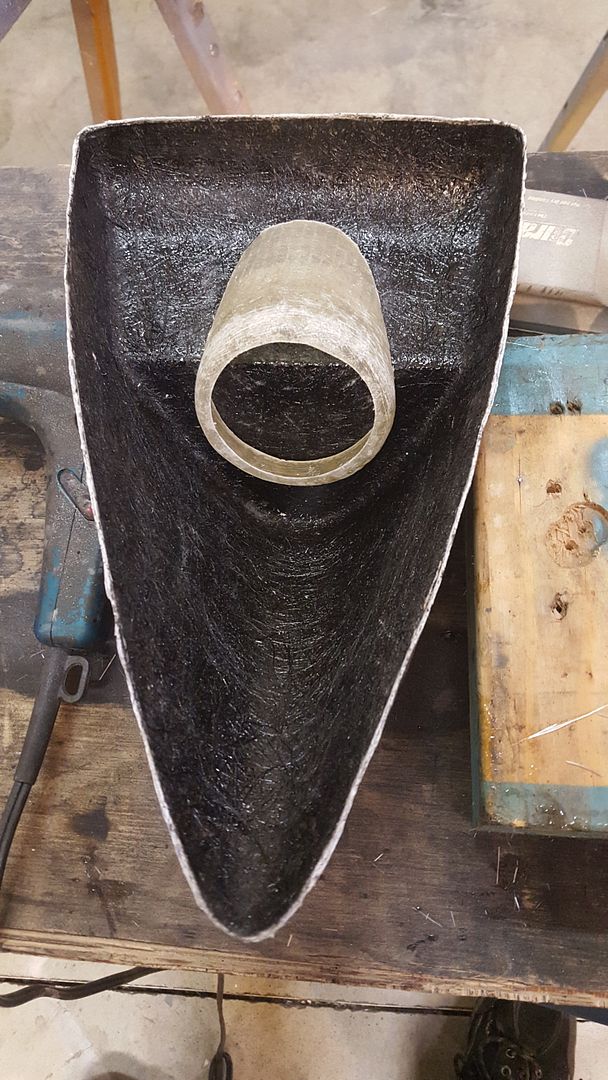
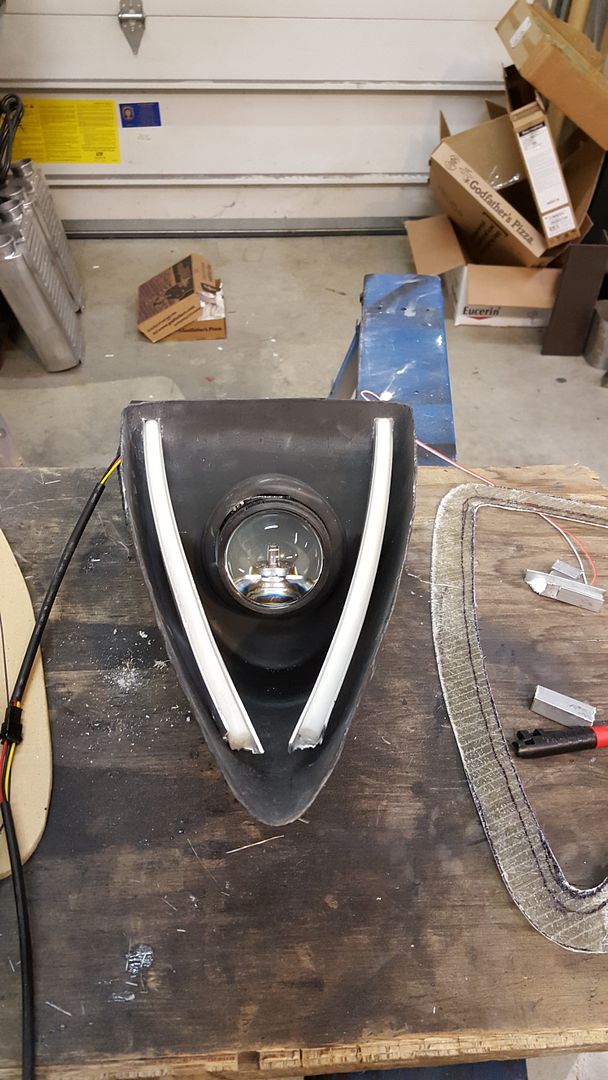
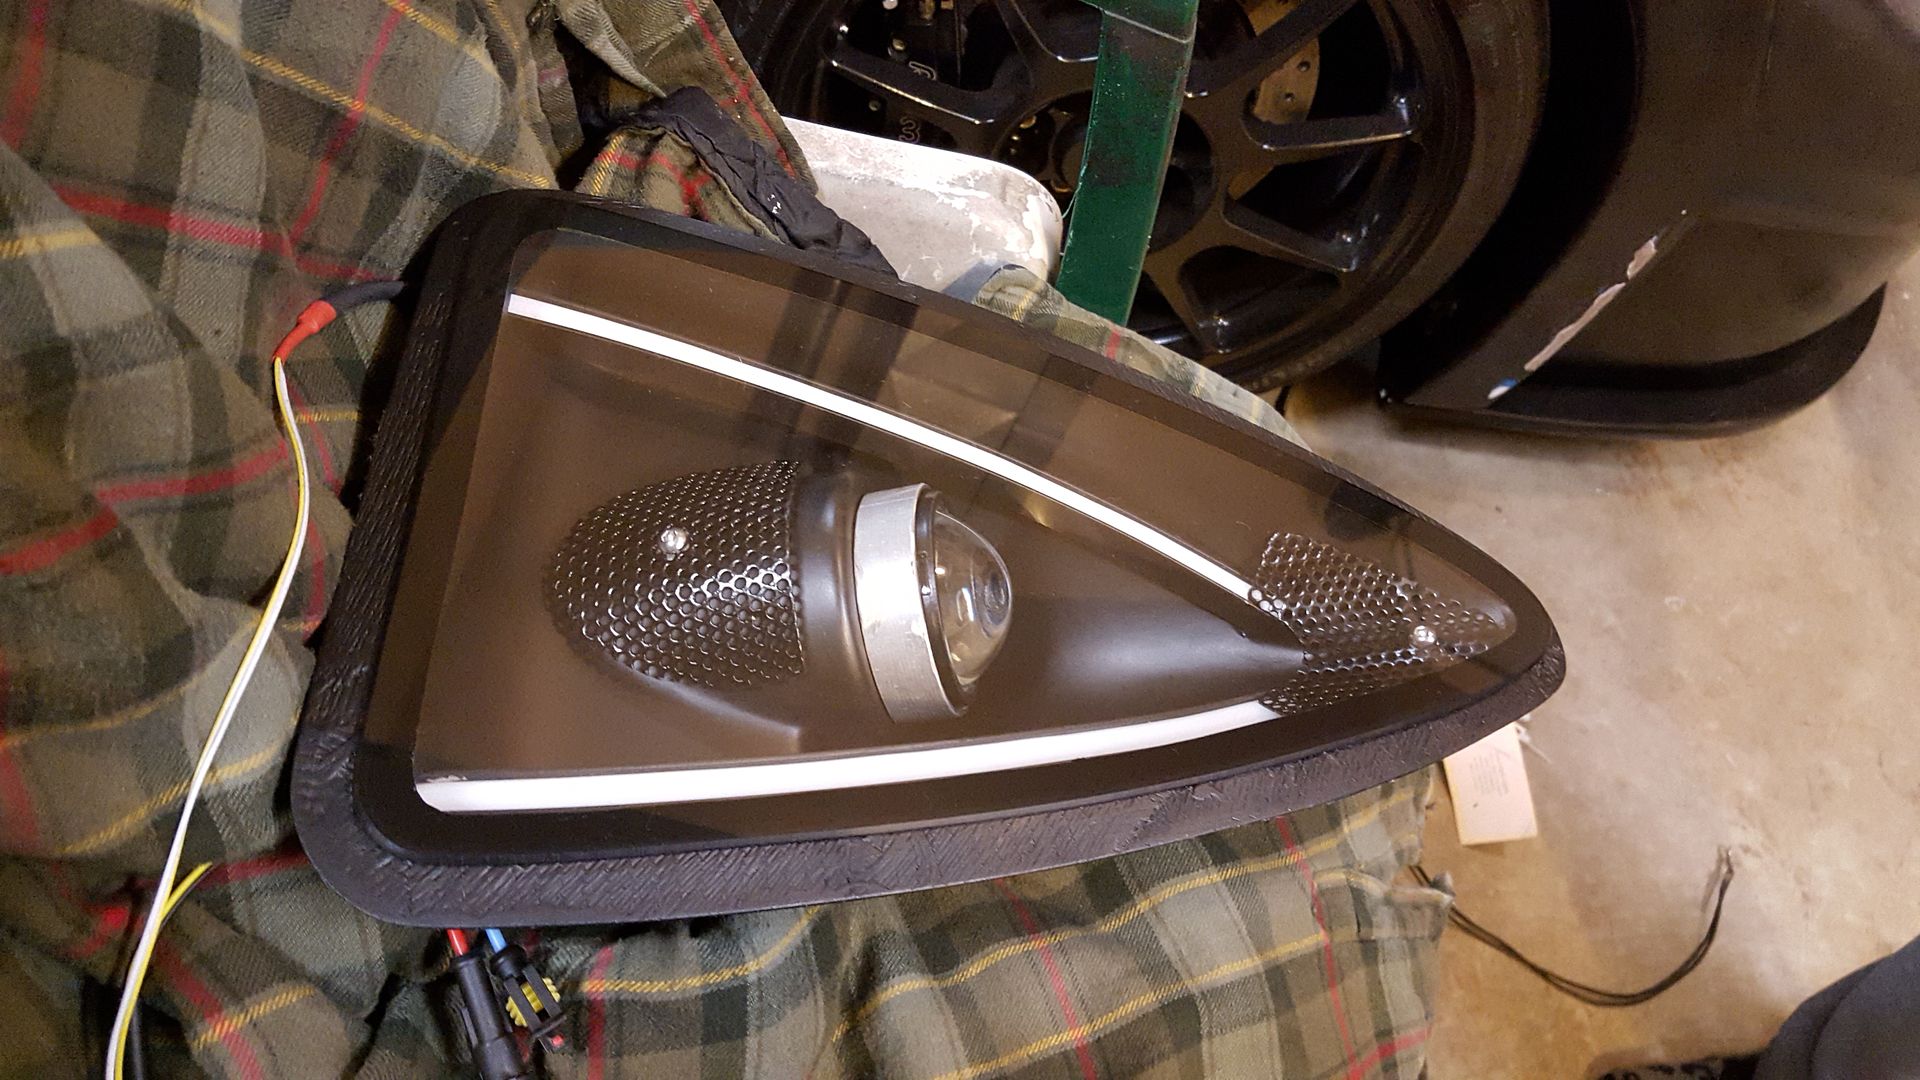
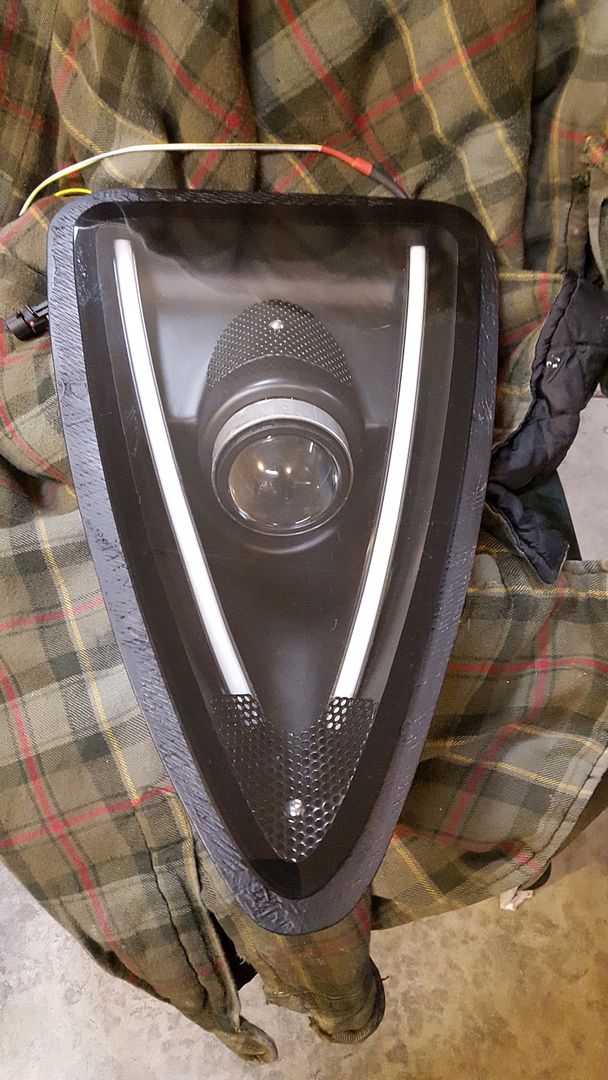
Got the headlight buckets made, but thought they needed abit more detail, so made a piece that will hold the projector that will be separate. Will make a metal finish trim on projector. Still a little undecided on turn signal and drl location.
Should be getting my hid kit tomorrow and can start testing the final angles.


Make your own headlights they say. It will be fun they say. Not!

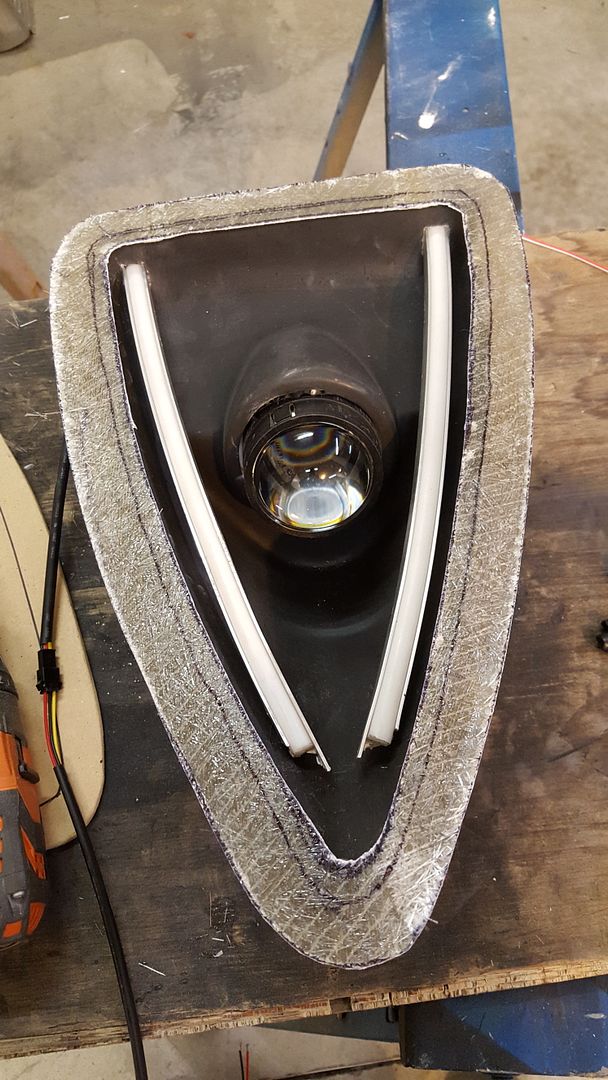
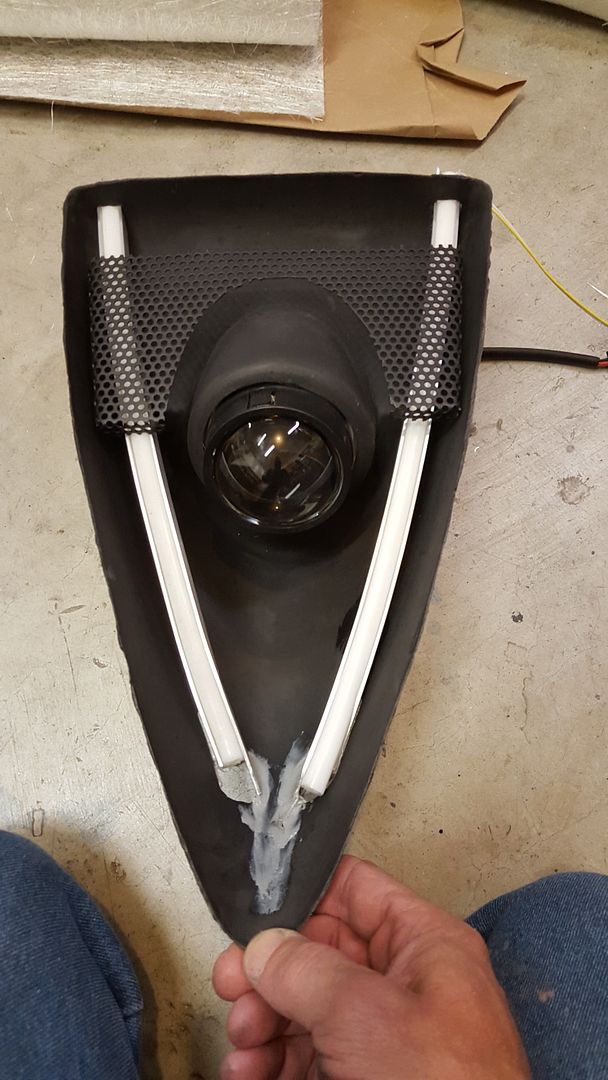
This is really a complex little project. Coming out good though. Once all is painted and lens on, it should look pretty good. I still need to figure out how to terminate the lower parts of the turn signal and drl channel alum. Hopefully try to get one wrapped up and testing in the next day or two.


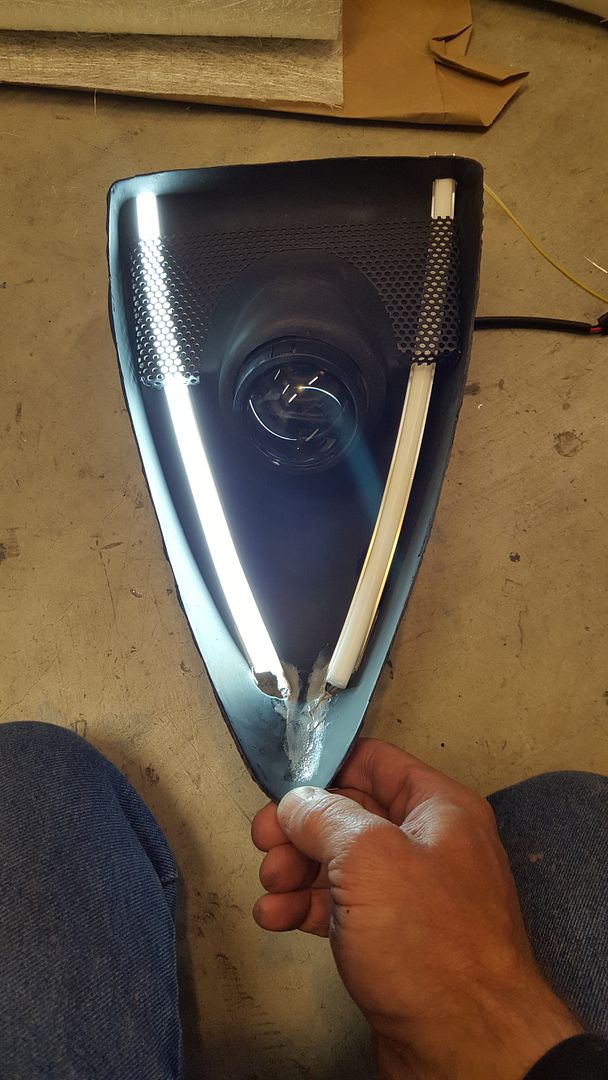
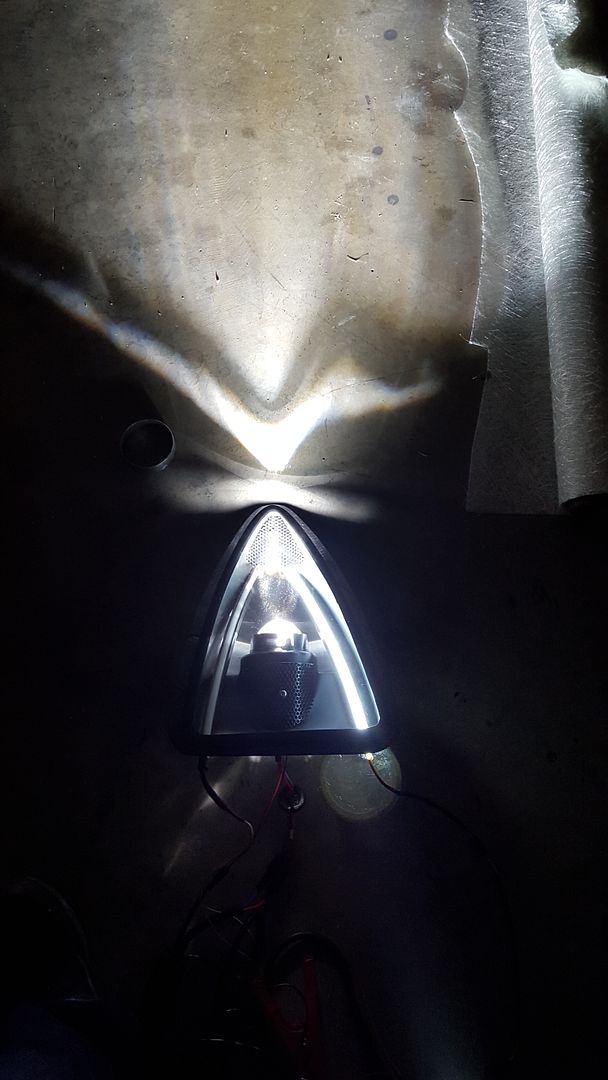
Finally got the channels set in and can test lights. This is gonna look pretty cool on the road. Tested the hid's also. I did some cutting out of the relatively conservative cut line in front of the bulb, and tested the high by confirming the cut line door opening, creating full unobstructed beam. I think the bulbs I have are 35w, so have 55w on the way. Will take outside tonight and make sure I don't have any weird cut lines in the headlight design itself.
Toying with the mesh insert design. I like the idea, maybe not this design though.


DRL's on


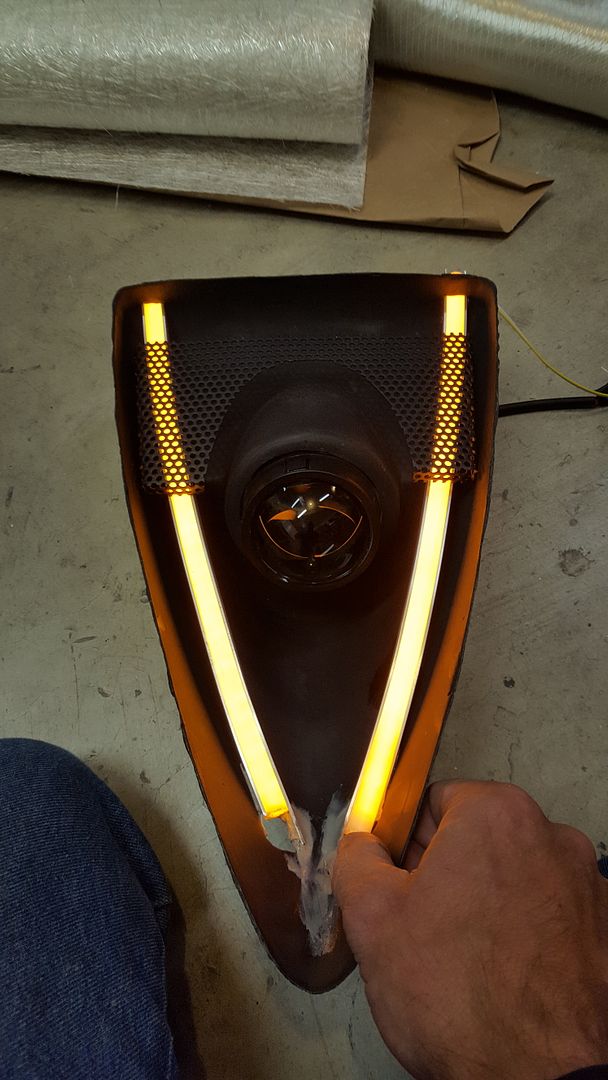
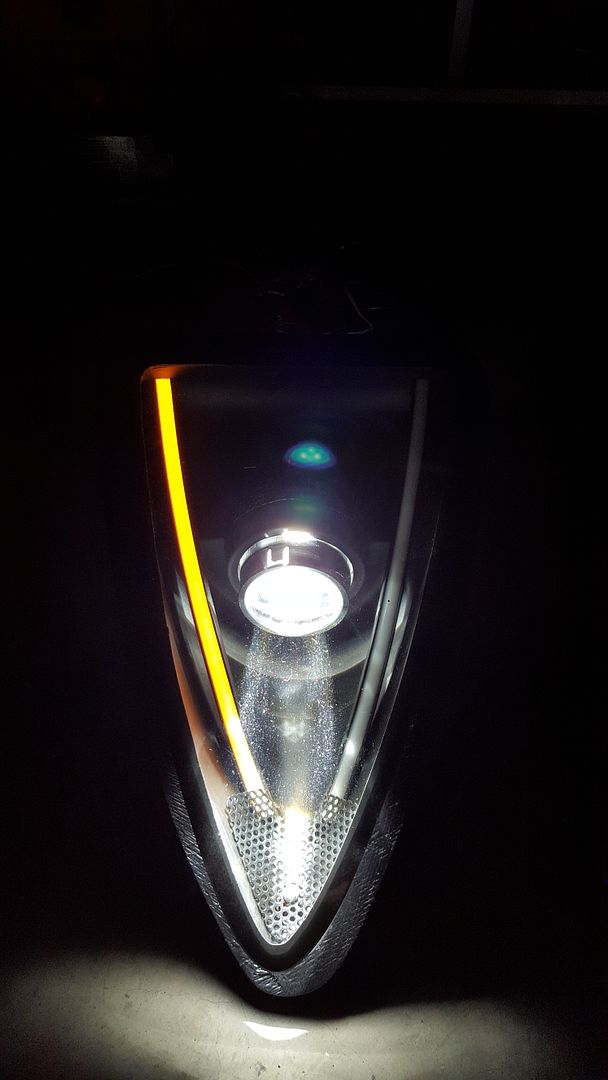
Turn signal. The drl gets interrupted and will show amber when triggered.


Mark B.

Supporter
very cool!

Did you think about making the DRL/Signal channels a little longer to pass through the lower front of the bucket (to get around the termination problem)? It's hard to tell if that's possible with the angle though.
 
Scott, really incredible work! I love watching the transformation. I'm curious about your resins. Is that a black resin and filler or is that just a black paint/primer/surfacer that you are using?
 
very cool!

Did you think about making the DRL/Signal channels a little longer to pass through the lower front of the bucket (to get around the termination problem)? It's hard to tell if that's possible with the angle though.

The reason they are at a different angle is to stay clear of the headlight beam itself. They are at about max angle before they would block any light. My first choice was mounting as you mentioned, but, having the different angle in there ads a little more depth to it.
 
Scott, really incredible work! I love watching the transformation. I'm curious about your resins. Is that a black resin and filler or is that just a black paint/primer/surfacer that you are using?

To make sure I like the look, I hit it with black primer after each step, and to show pinholes and any other flaws.
 
Very exciting stuff Scott. I don't know how much clearance you have between the bottom of the tip of the bucket and the headlamp, but a small, fabricated triangular moulding at the tip of the bucket could cover both ends and thus resolve your termination problem with the LEDs. It might even give a more finished look to the part.
 
Very exciting stuff Scott. I don't know how much clearance you have between the bottom of the tip of the bucket and the headlamp, but a small, fabricated triangular moulding at the tip of the bucket could cover both ends and thus resolve your termination problem with the LEDs. It might even give a more finished look to the part.


Funny you mention that Ken, thats exactly what I did. Hahaa. I put another piece up at the top to balance it out. It is borderline too much, but, for this car it is fine.
Ordered the lens yesterday, and they had it done today. Just gave them a template, and they got it more perfect than my pattern was. It is 1/8" polycarbonate with a scratch resistant coating on outside.


Powered up.

If anyone was curious about the weight. Mine with all mounting hardware and hid ballasts is 3lbs. Original configuration was 5lbs. I used a structural type mat, so I could make it half the thickness, and dropping one light shaved a touch off.


Last edited:
Back
Top