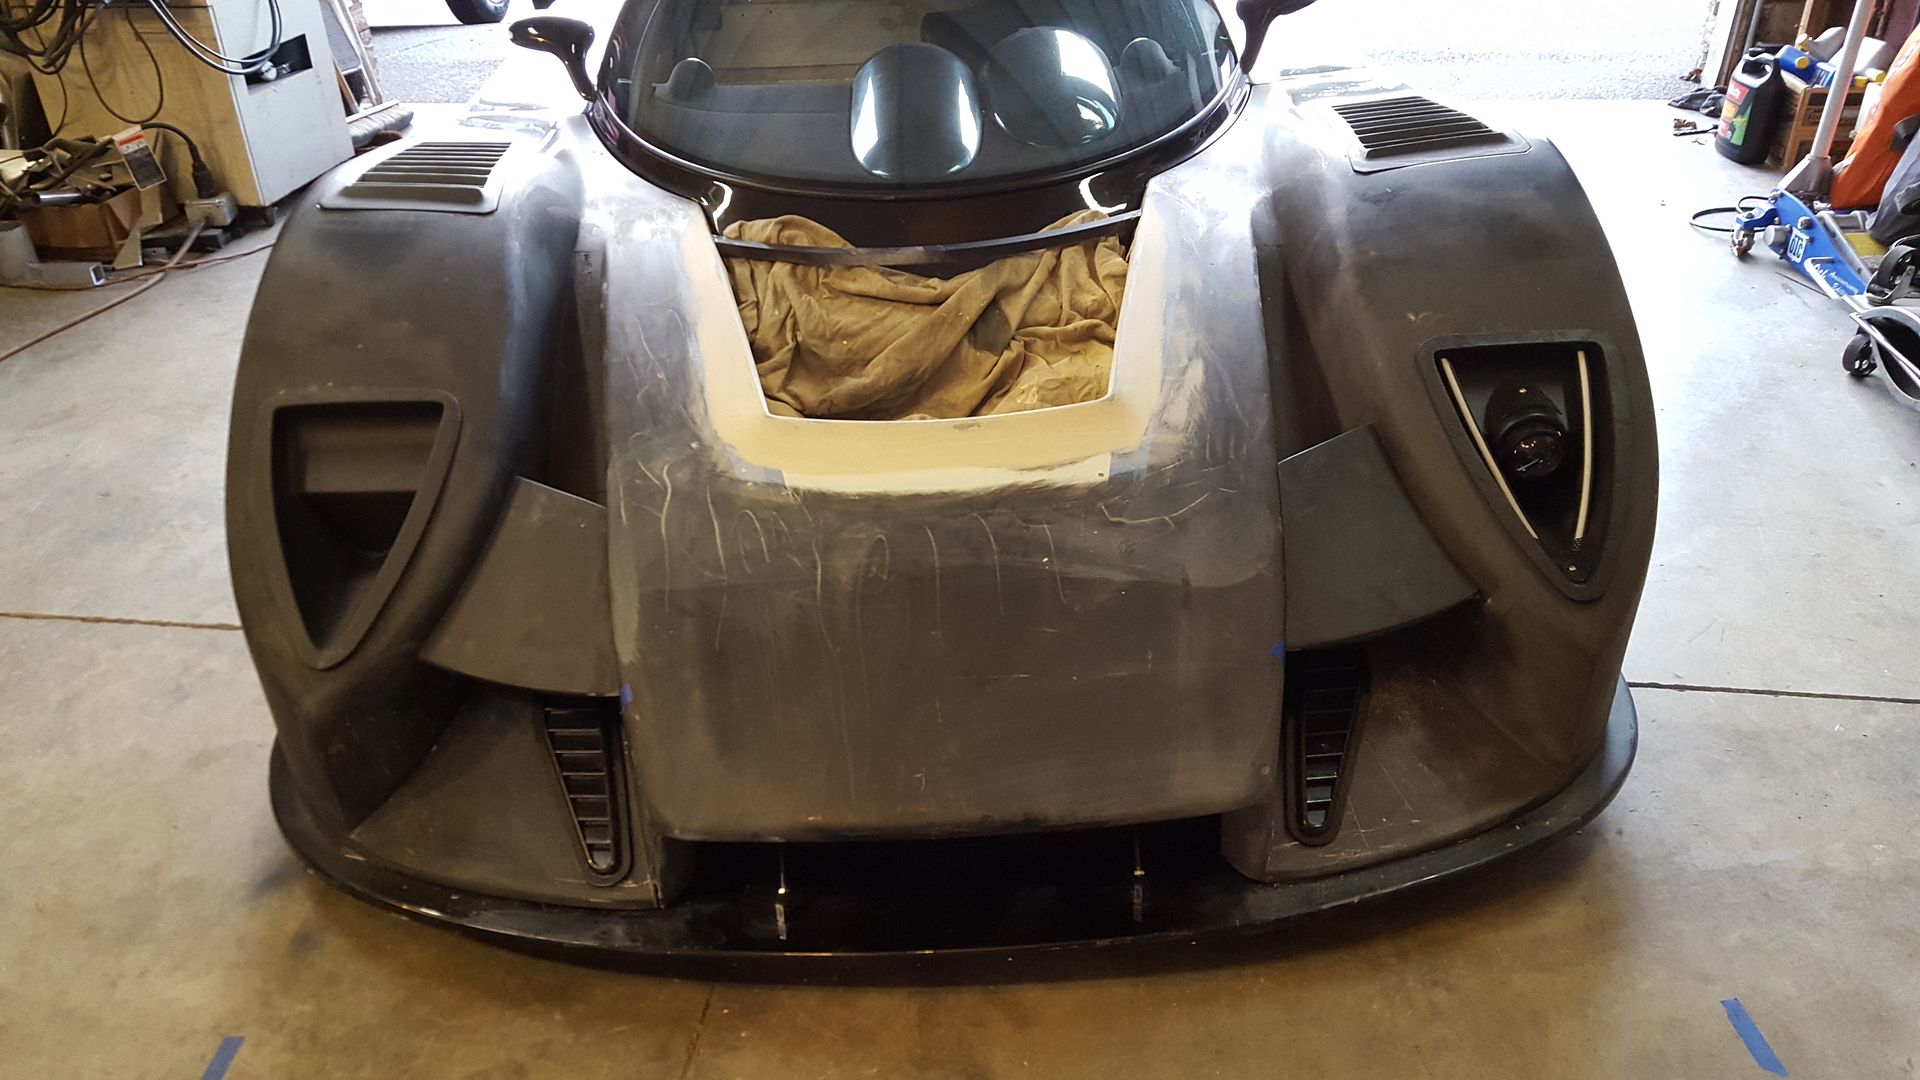
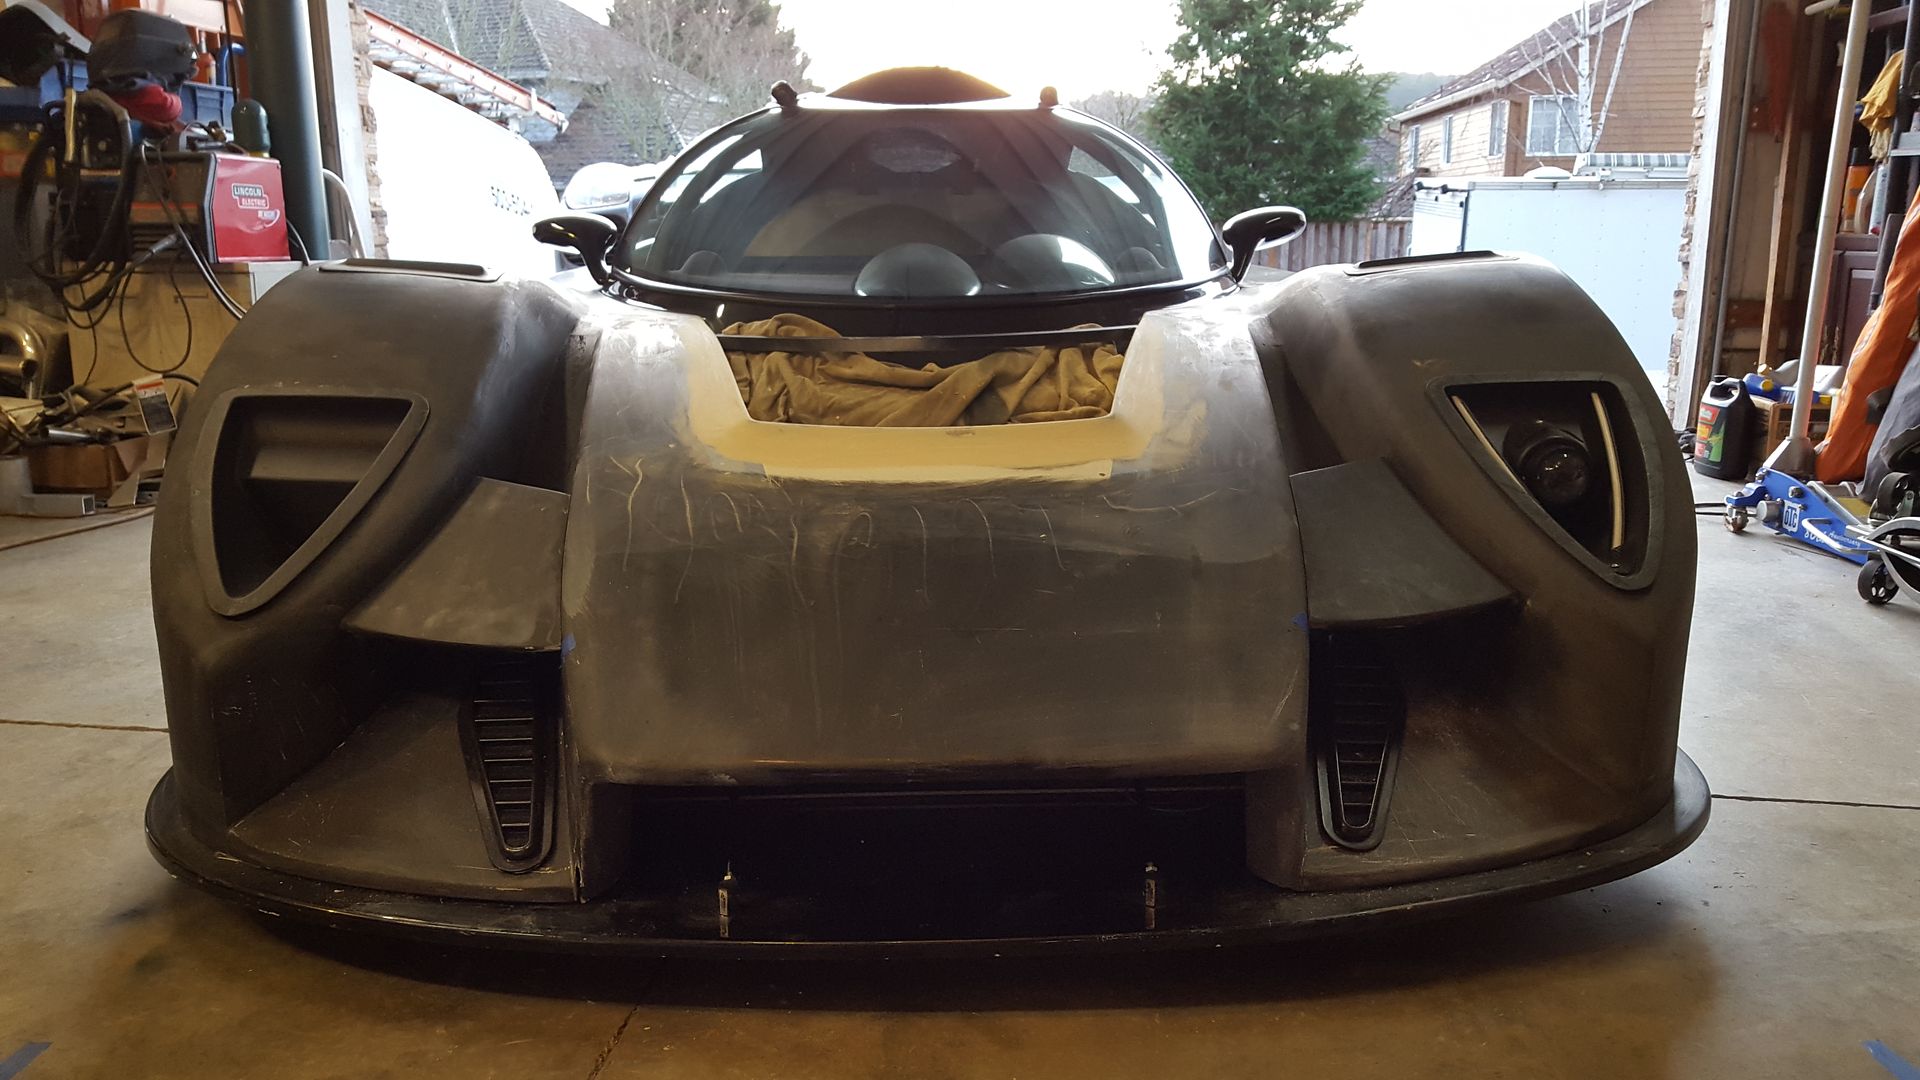
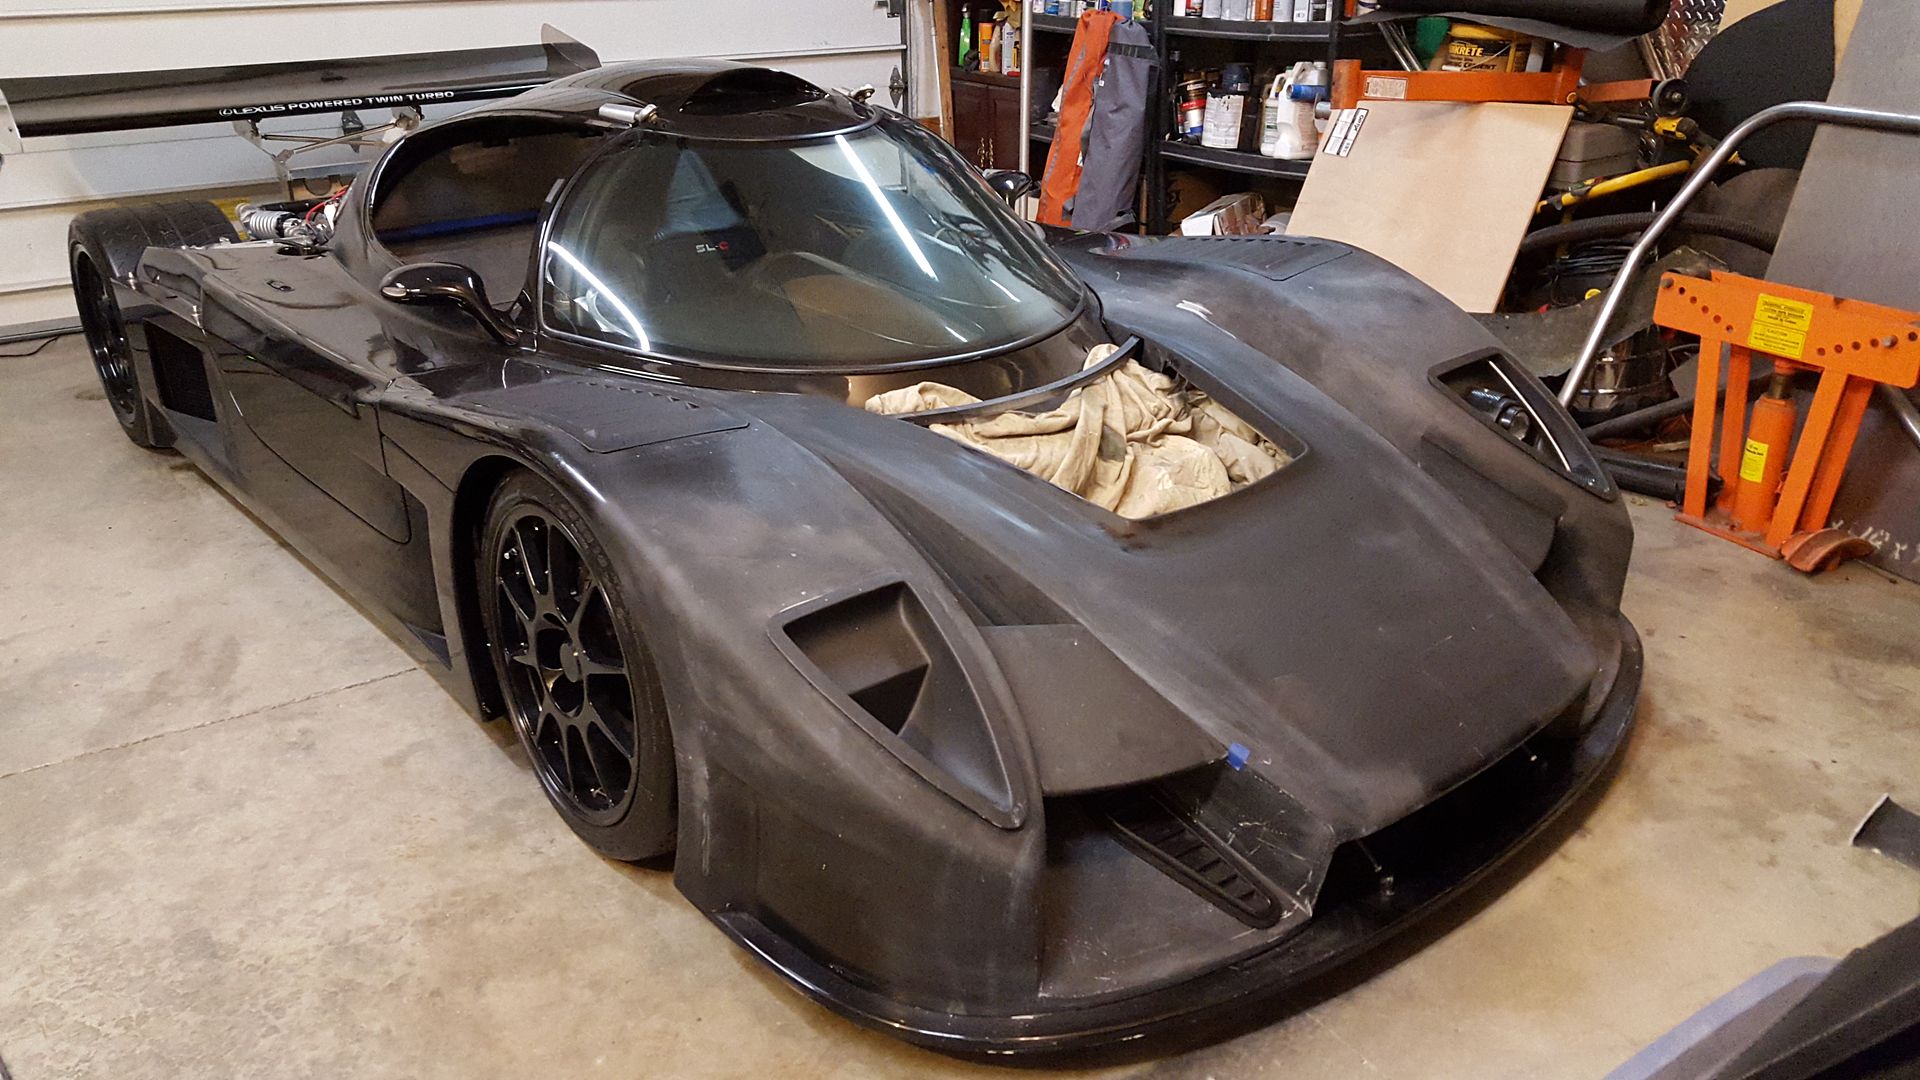
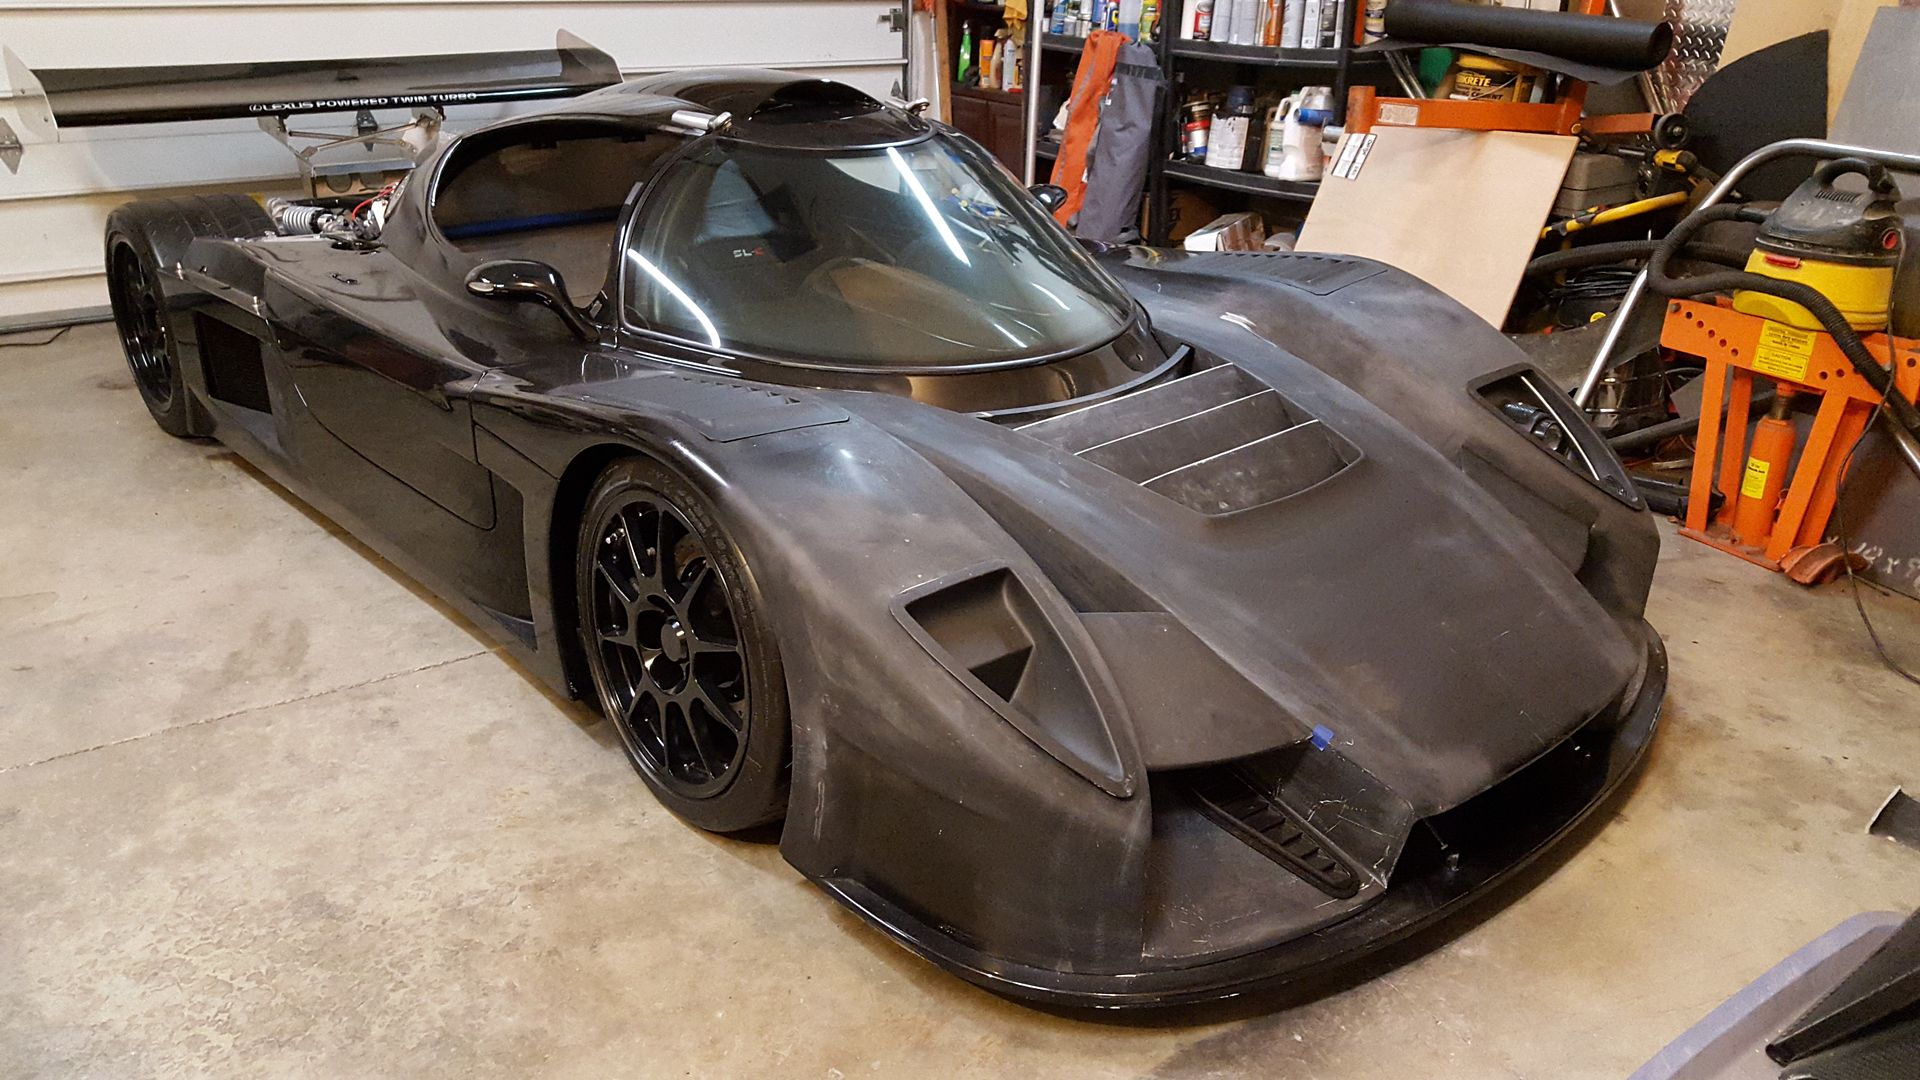
I was originally trying to add a little more design to it, and hoping I could do a brake duct that would-
Look visually good
Easy to mold
Easy to make the back side air bucket to hose connection
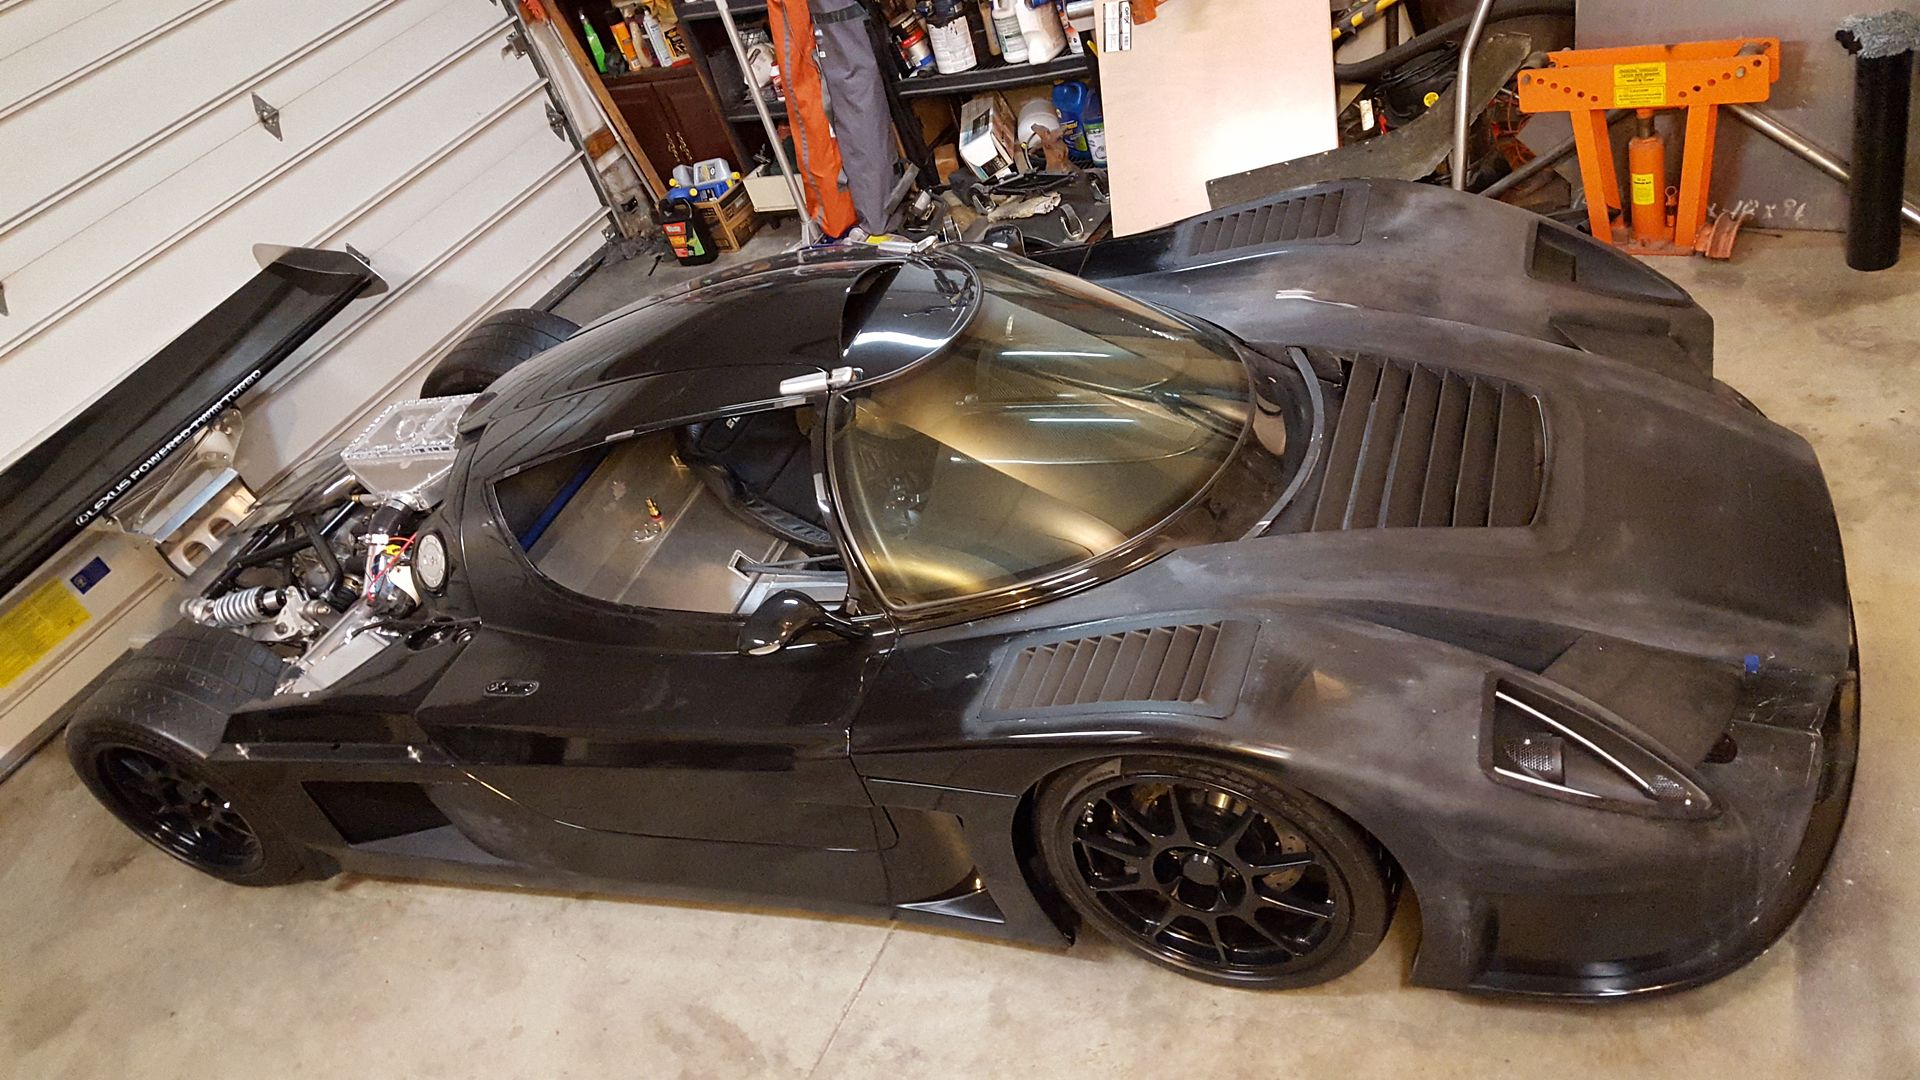
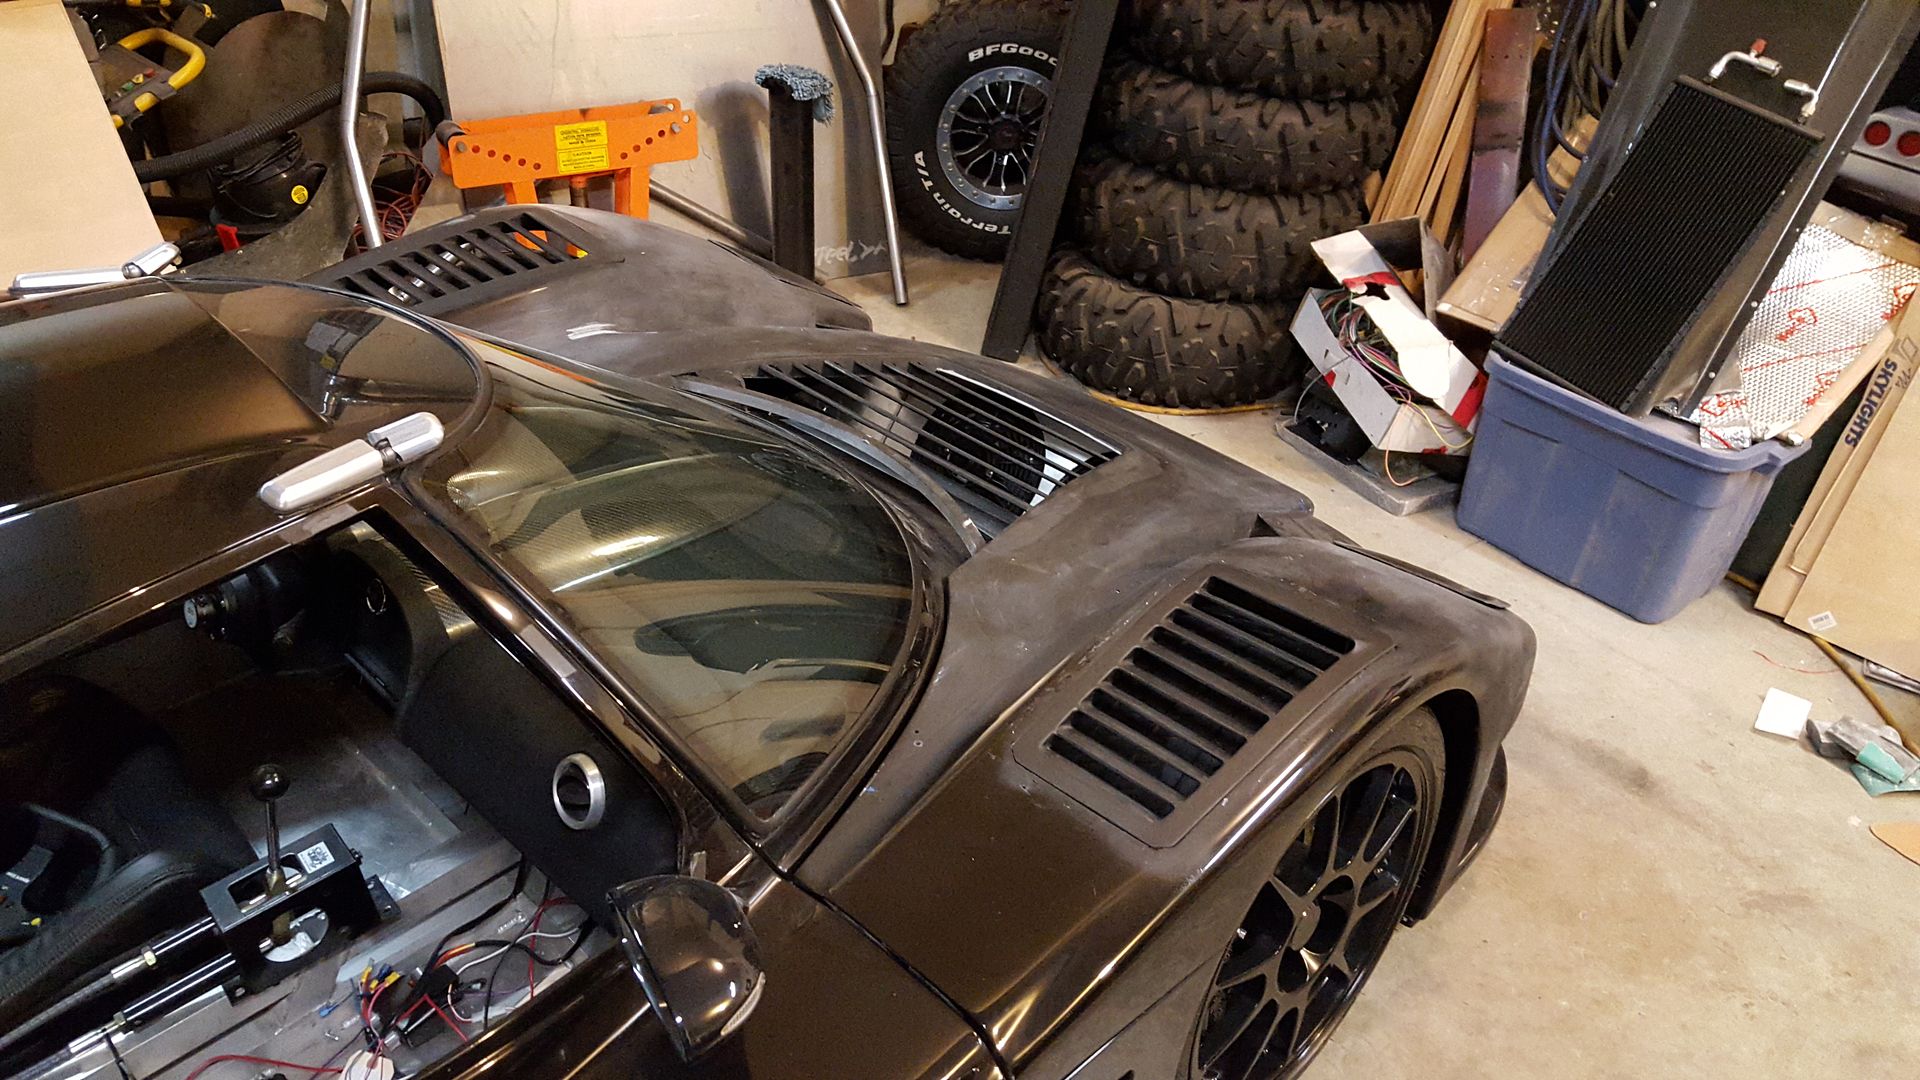
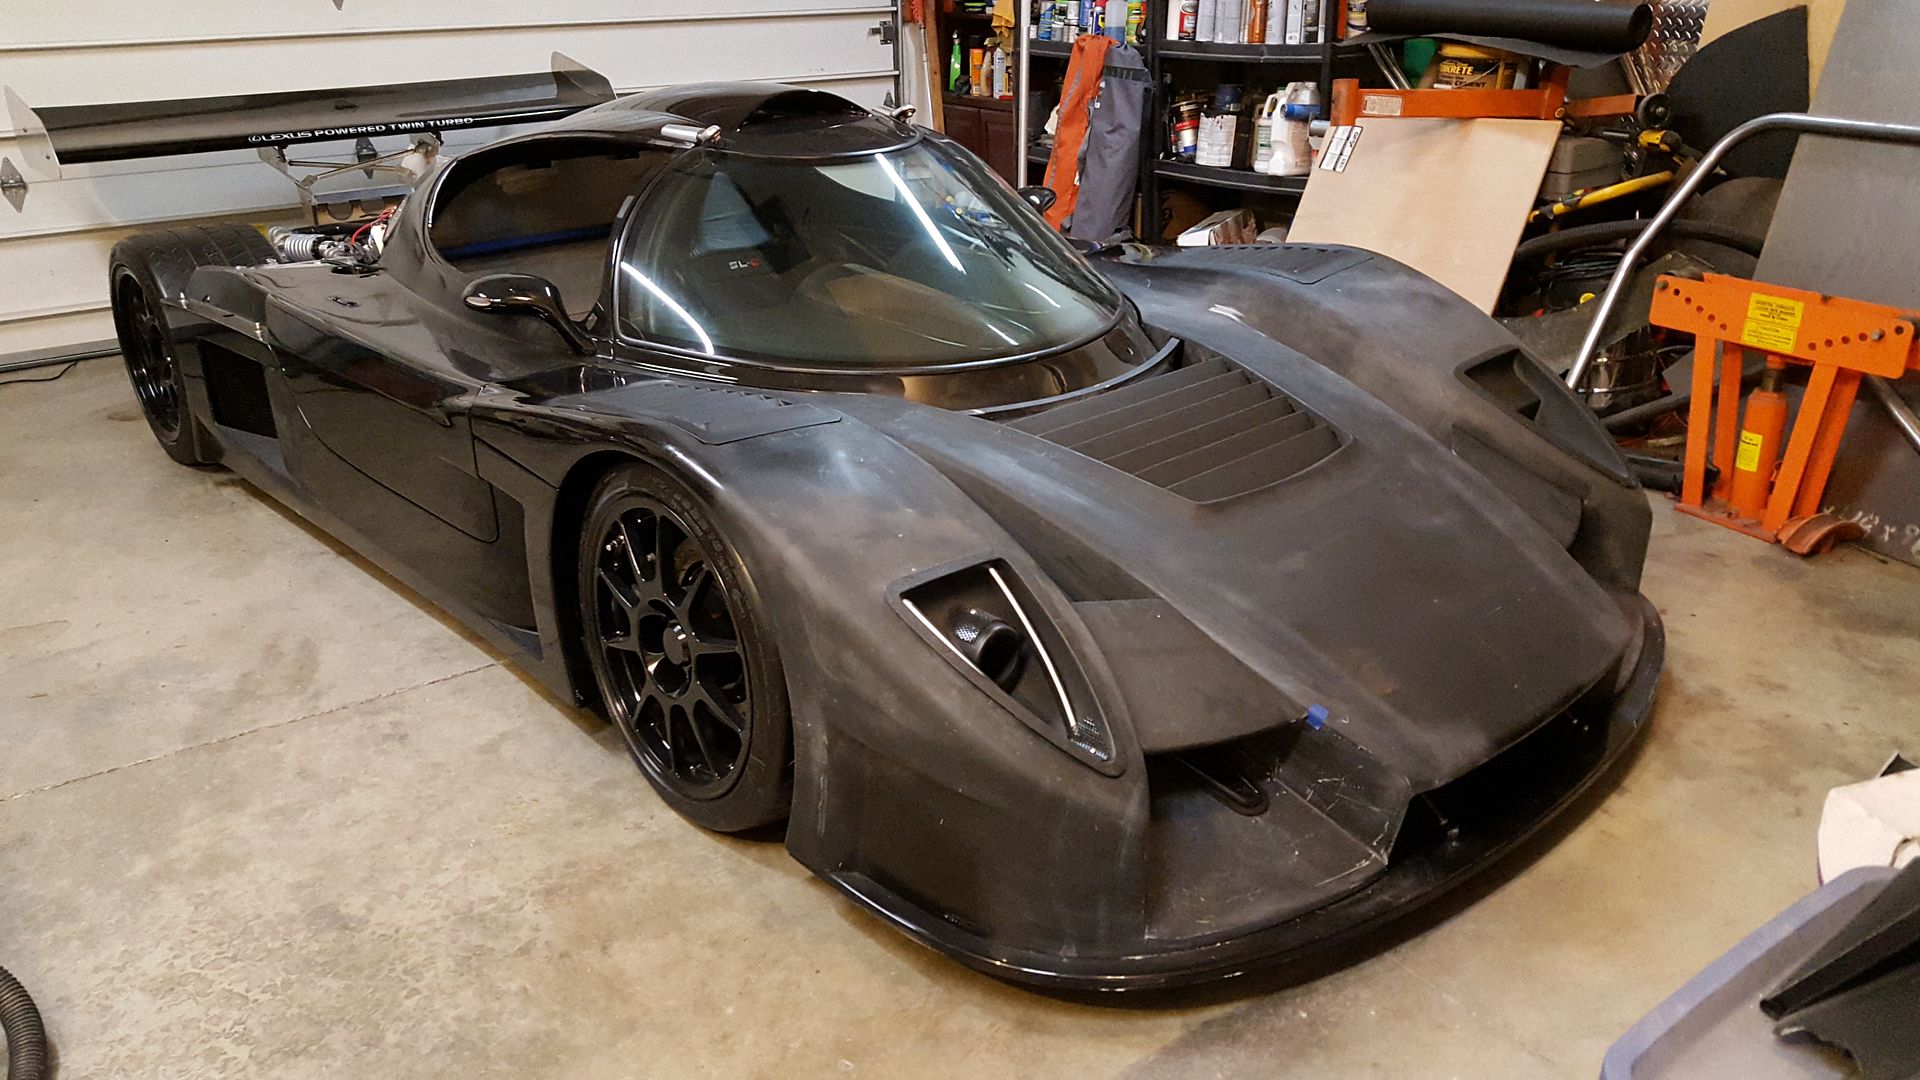
The 4"x7" naca duct in that position takes care of two of those perfectly, since a guy could really position it any way he wanted in that section, no changes to mold, and making the rear connection is as simple as buying 2 2.5" naca ducts. As for looks, I plan to hide it a bit, but others could use a larger duct and position differently if they so choose.
My problem visually was that there was something off looking about the main nose opening. I was trying to make a brake duct design that could make that area look better. Now, I have figured out my fix for the nose opening, and will no longer rely on having to make a brake duct there to dress it up.
So, if I do decide to start making/selling the parts, this design leaves the position up to the end purchaser, and me not having to make more parts to the mold to do it. Plus, since it is just a simple naca duct, end user will not have to spend hours trying to make a complex design on the back side to hook a hose too it. Just glue or bolt in the naca duct from underneath, and done.
I think the brake duct thing can finally be put to rest for me now, thanks to all who gave suggestions and ideas. Just too many positives to this style, and it hid alot better than I thought it would. Now, back to the rad exit opening, and redoing the rad opening abit. Getting closer!

