Roaring Forties #36 Joe's Completion Log

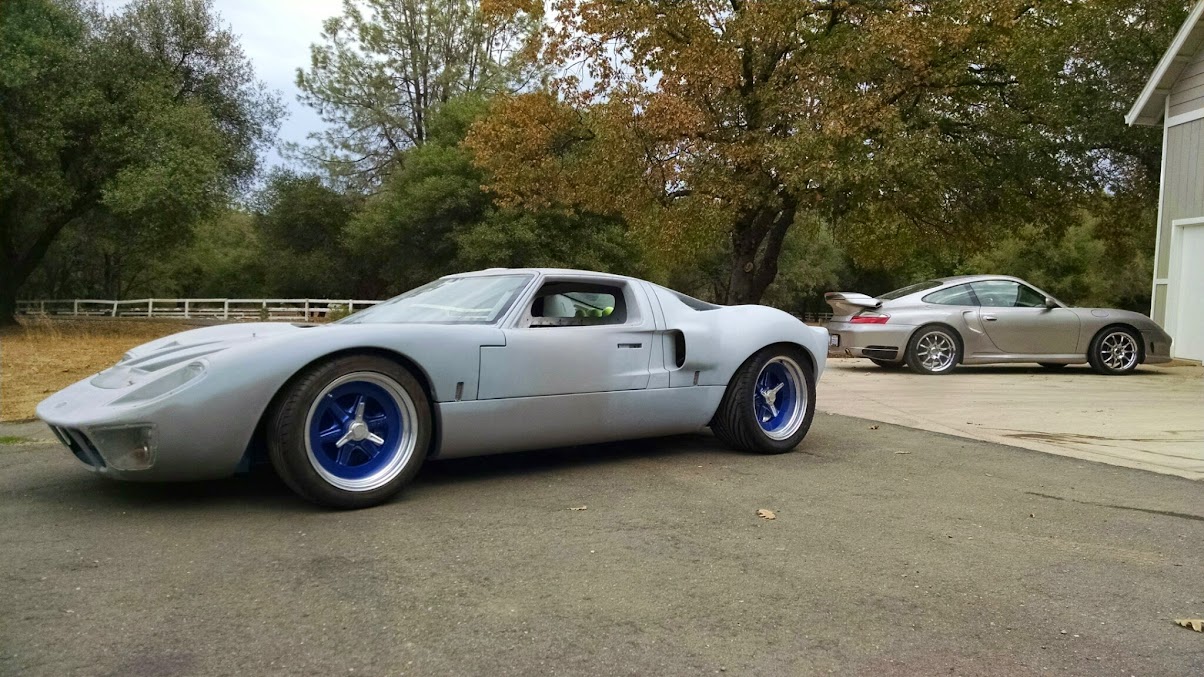
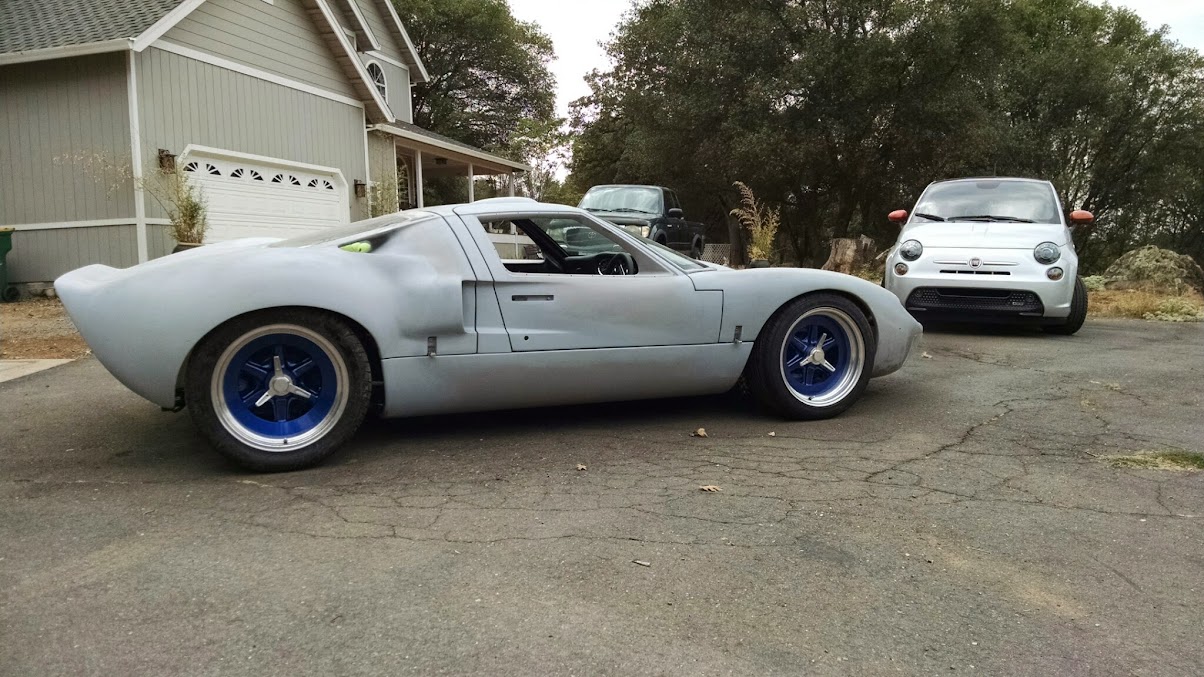
Spent several hours going over the wiring manual and then laying out the main, dash and engine harness.

Mark had mentioned that he/we were lucky enough to be the very last ones to get a harness that had some issues(remember this was when RF was under different ownership) with some wires not going to where they need to be. Some of them being way short. It appears to be in the fuel pump/engine area of the harness.

After spending some time checking it out, its not going to be a big deal. After the wiring Ive had to do in previous projects it should be cake, although it will probably take an afternoon to fix.


David
 
Last edited:
David

When I did all my sheet work I recollect foot plates at the base of the rear bulkhead on the sill.
Pull the side tank covers off and look up under the sill.
You will need to pull tanks to put a cage in I would think.

A cage without a helmet, good luck with that.

Jim
 
I would have no problems driving a car with a full cage if the cage was correctly padded. I have a full RF cage which I intend to fit to RF67
 
David

When I did all my sheet work I recollect foot plates at the base of the rear bulkhead on the sill.
Pull the side tank covers off and look up under the sill.
You will need to pull tanks to put a cage in I would think.

A cage without a helmet, good luck with that.

Jim

Jim, thanks for the feedback, greatly appreciated.

Do feel its not possible to clear ones head with a basic cage? Any guesstimates from you or anyone else on what type of clearance there would be? Any areas of particular concern?

We had the same issue with the GTM I built where the bar was quite close to your head. We just made sure it was well padded.

While I would like the safety of a cage, especially if I track the car, my issue at this point is raising the angle of the right A pillar just a bit. Maybe a degree or so to get it to match the height of the door. Mark had shimmed it, which works, but it raises the spider in relation to the hood on that side, so you end up with a reasonably large lip/ vertical edge where the the hood meets the spider.

David
 

Keith

Moderator
We had the same issue with the GTM I built where the bar was quite close to your head. We just made sure it was well padded.


David


Not at all sure the padding would make any difference whatsoever in the event of high G contact, but would certainly prevent your nice new helmet from getting scratched during normal use...:)
 
Got several hours on the car this weekend. I was able to get 80% or so of the wiring laid out and in place. I was able to 'fix' all the issues with the wiring harness that Mark had identified. The good news is most of it was simply wiring loom that captured some circuits to far down certain runs of the harness. By cutting back the loom, I was able to route most of the harness where it needed to go.

Most of the Engine harness is connected up with a few exceptions. I had to back track several plugs and ohm them out to the Motec plug and check against the schematic to verify / confirm where some wires and plugs needed to go.

I have a few more to track down but most of that has been sorted as well.

On a different note, BIG thanks to Mark and the guys at RF for helping me get some paperwork sorted that should help getting the car registered as painless as possible.(is there such a thing with these cars??:D)

Also, RF is helping me with a base map for my Motec M48 to get the car running and at a place I can start tuning from.

I think my next major goal is to prep the cars engine, wiring harness and ECU for its first start...

David
 
Needed to move the GT40 out of the shop today in order to move the FFR onto the lift. Took the oppty to take some pictures of the GT with the new lower stance and with it all (mostly) one color. :) I really like how it looks now at this ride height!

IMG_20140921_131112987.jpg


IMG_20140921_131220744.jpg


I have a friend that is going to come up and help me with the bodywork in the next month or so, so hoping we can get most of what we need done over the weekend he comes up.

David
 
David,
I just ran across this thread. Good to see you've taken on another project!
Looking forward to watching your progress.
John
 

Keith

Lifetime Supporter
At the request of the new owner of Roaring Forties #36 I am going to continue this build log (unless we have an objection from the moderators) through completion.
Please let me take a sentence or two for a reintroduction as I have been off the forum for over 8 years. Some of you may remember me from my build log "Keith's RCR MK I build" back in the late 2000's. I retired last year and spent some time last summer bringing my Cobra out of long term storage and I plan on bringing my GT40 out of storage in April/May when Roaring Forties #36 in in the paint shop. But, I am getting ahead of myself.
Last October a long time friend, colleague, and business associate Joe F called and asked if I had seen the unfinished GT40 on e-bay and wanted to know if it was worth purchasing and finishing. After several lengthy discussions Joe called and said he had purchased the car and would I be willing to finish it. At the time I was awaiting back surgery and living day to day on pain meds (at least that's my story and I am sticking to it) and I said I would take it on.
The car was delivered on October 15th at 9:30 at night. We had Joe, my friend Bobby and four volunteers here to unload the car. Skipping ahead a month there were two pallets of tubs full of parts a 01E transaxle, and what appeared to be parts from two or more 016 transaxles delivered. After two months of recovery I felt good enough to move #36 into my shop and start work the Monday after Thanksgiving. Since that time I have logged almost 150 hours of build time and have made significant progress toward the completion. Joe has selected a paint and body shop (local street rod shop) and I hope to have the car running and ready for the body and paint work by the end of March. Over the next few weeks I will be making posts detailing the progress we have made. Let me apologize for the quality of the photos......but I was laid up with a bad back............... Hopefully this is the last time I will use this excuse.
2018-08-18 055.JPG2018-08-18 028.JPG
 

Randy V

Moderator-Admin
Staff member
Admin
Lifetime Supporter
Congratulations Keith.
Let me know if you would like the subject line of this log appropriately modified...
 

Keith

Lifetime Supporter
The first order of business in the completion of Roaring Forties #36 was to move it down to my shop. Again my friend Bobby came by to turn the steering wheel. I really thought this would be an easy task, just hooking it to my riding lawn tractor with a ratchet strap and towing it down hill to my shop. Pulling it out of the garage there was noticeable tire squeal, when it got to the rougher surface of the drive way it slowed to a stop and as I pulled harder the front wheels of the lawn tractor came off the ground. A quick check with a tape measure showed us we had almost two inches of toe out and the tie rod ends were bottomed out.
After we finally got it into my shop the first order of business was to cut .600" off each end of the steering rack, dress the ends, re-center the rack and set the toe-in. When I had the front wheels off the ground I noticed that the steering rack was binding quite badly and the lower u-joint was binding and forcing the rack to twist upwards. The forward end of the steering column was held up with two loose bolts and two stacks of 3/8" washers. The rear end of the steering column need some attention too as it had been slotted to get some adjustment.
To fix the rack/column issue I opened up the hole in the bulkhead so I could rotate the steering rack to a more friendly angle then spent an hour or so with needle files to clean up the splines on the u-joint. I mocked up the steering column and machined aluminum stand-offs for the front of the steering column then fastened them in with grade 8 hardware. The rear of the steering column was a little more challenging as so much metal had been removed. I machined two plates out of 1.5" wide by 1/8" thick mild steel then straightened the existing bracket and welded them in place. I replaced all the hardware with grade 8 hardware. I believe this will work as an acceptable repair. Turns "smooth as butter" now.

Keith
2018-08-18 087.JPG2018-08-18 088.JPG2018-08-18 100.JPG2018-08-18 239.JPG2018-08-18 246.JPG
 

Keith

Lifetime Supporter
My next order of business was to get the suspension set to the correct ride height and do the front wheel alignment. The upper ball joints only had two of the three bolts in place and the bolts appeared to be stainless of an unknown trade mark to me. When I gave one of them a quick test with a file I decided that out of an abundance of caution, I should replace all the ball joint bolts with grade 8 hardware including grade 8 nylock nuts. I replaced the bolts for the front sway bar at the same time as they were too short and did not engage the nylock nuts. After a little research here on the forum I made some "ride height" blocks to set the ride height to 4.5" in the front and 5" in the rear. I set the camber at -0.5 degrees for both the left and right front and set the caster to +3.5 degrees for both the left and right front. There was plenty of adjustment designed into the suspension. Then I set the toe to 1/8" toe in and then tightened and torque striped all the fasteners and adjusted the springs to get the correct ride height to remove the blocks. All in all a very productive day.............
2018-08-18 247.JPGIMG_2056.jpg2018-08-18 102.JPG
 

Keith

Lifetime Supporter
I tackled the rear suspension with a little apprehension as there was a lot to be done to get the rear suspension correct. The rear uprights were set way to the rear and there was more than 1.250" difference between the rear of the axle driver on the transaxle and the axle stub on the rear uprights. To compound the problem there were two different types of radius rods on the rear, the chrome ones that came from RF and some very nice looking stainless steel rods. The owner wanted to use the chrome plated ones so I made a plan to utilize those and prioritize what we wanted to accomplish when I set up the rear suspension. My first priority was to be able to get between 4 and 5 degrees of positive caster, second was to get a correct wheel base on both sides as the wheel base on the left was 1.250" longer than the right, third was to move the rear suspension forward to help with the miss match between the transaxle and the stub axles and forth was to get the wheels centered the best I could in the wheel openings. When I pulled the radius rods out and measured them they were four different lengths. I put the lowers in the lathe and shortened the lowers by 1/2" and 5/8" to get the caster adjustment I needed. The uppers I just made the same length as they were long enough as they were to get the caster adjustment I needed. I had to pull the upper rod on the right and shorten it 0.250" to get enough negative camber. I set camber -.25 degrees both sides and caster at +4.5 both sides. I set the toe as close o "0" as I could get it. It all worked out well except I was only able to gain about 1/2 in of 1.250" I needed to get the axles aligned and the rear tires still favor the rear of the wheel opening by about 1/2 in. I set the final ride height in the rear to 5".


2018-08-18 085.JPG2018-08-18 086.JPG
 

Keith

Lifetime Supporter
I do believe Dwight is correct here and I need to post some more updates. Just to jump ahead I now have more than 300 hours in the project and it has been trailered to the paint shop so I will be bringing my posts up to date over the next few days.
My next project was to get the engine/transaxle in the correct location so the axles would line up with the axle drivers and to get the engine level in the chassis. As you can see in the photo the rear transaxle mounts were 1.5" off the frame and the bell housing was sitting on the frame. The engine was tilted down in the front by nearly 1.5" measured with a level setting on the engine head. the engine was tilted slightly to the right about 1/4" when measured side to side from the heads. I still needed to move the engine forward more than 1/2" to get lined up with the drivers. I decided to pull the engine and transaxle to better assess my options.
2018-08-18 107.JPG2018-08-18 104.JPG2018-08-18 103.JPG
 

Keith

Lifetime Supporter
As had run into so many issues so far, the decision was made to split the engine/transaxle and put the engine on the engine stand so I could pull the pan and see what we had. A family of rodents had setup housekeeping in the bell housing some time in the past. The urine had made a mess of the flywheel and clutch pressure plate and the engine adapter plate. I spent the better part of the morning standing at the grit blast cabinet getting the rust off, that said, the parts cleaned up well and there was no need to have the flywheel resurfaced.
I found a receipt in the owners folder where he had purchased the engine from CHP (Coast High Performance). The 347 engine had been internally balanced (see Photo) it had ARP main and rod bolts, a stud girdle, HP oil pump, an Isky hydraulic roller cam, and appeared to be very well built. Jumping ahead again; this was verified three months later when I started it for the first time, I will post some video in future posts.
I2018-08-18 109.JPG2018-08-18 115.JPG2018-08-18 118.JPG2018-08-18 117.JPG
 

Keith

Lifetime Supporter
When I had the transaxle out and on the bench I used the RF supplied parts to complete it for right hand shift. I cut a gasket for the bearing/seal block and installed it with the rest of the shifter parts and tested it in all five forward gears and reverse. Since the rodent urine had rusted the adapter plate I grit blasted and painted it and polished the aluminum dust plate as well before I reassembled the motor and transaxle. I slipped the rear transaxle cover in the lathe and gave it a quick polish before I installed it.
2018-08-18 123.JPG2018-08-18 124.JPG2018-08-18 125.JPG
 
Back
Top