CANAMSA - SA stratch build

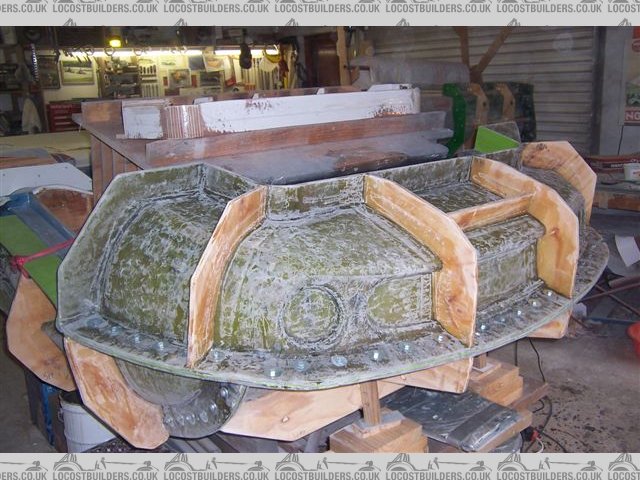
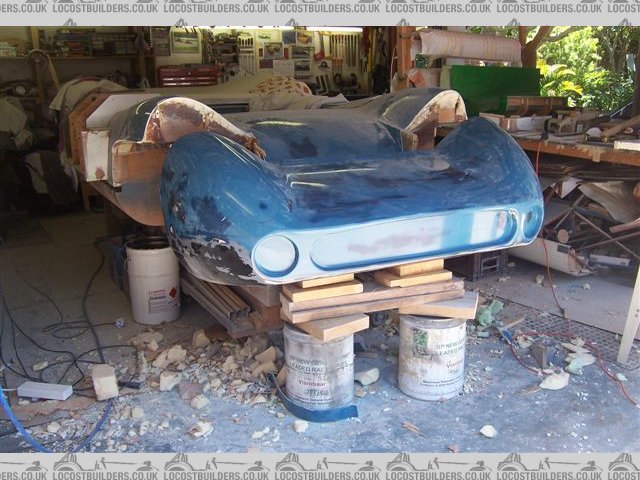
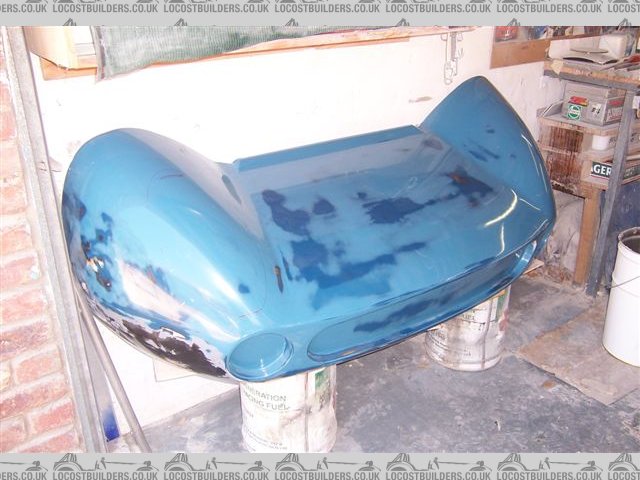
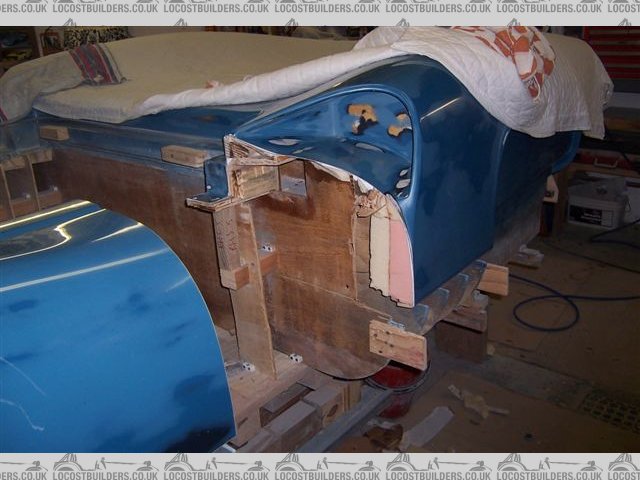
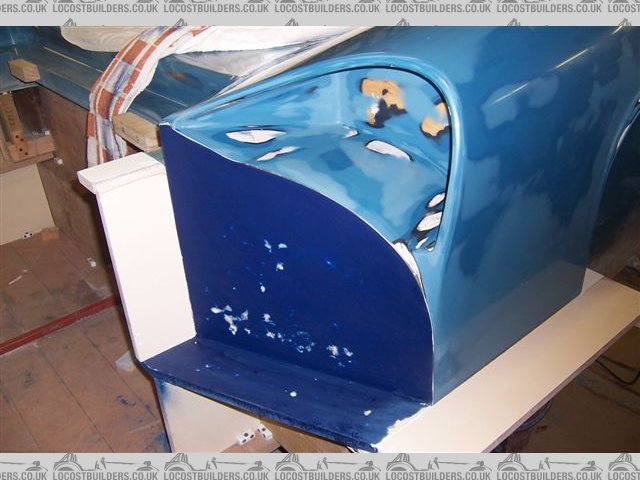
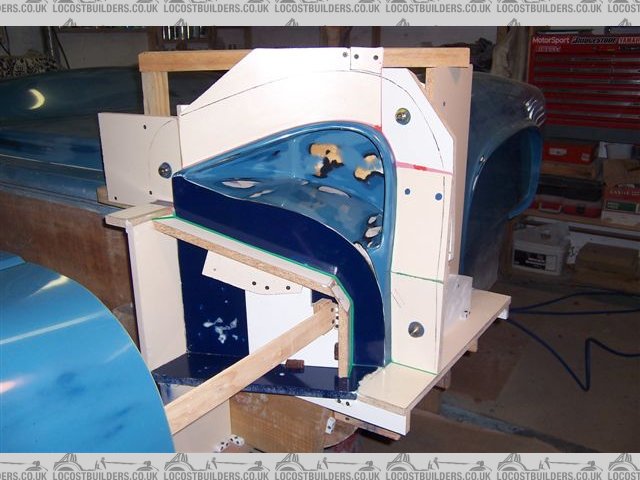
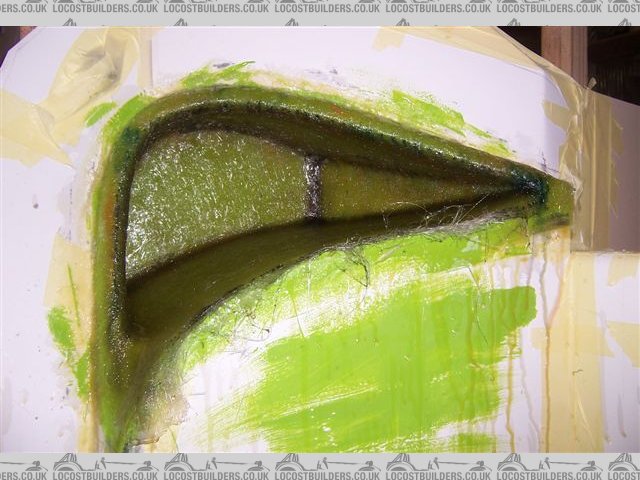
Circumstances have dictated that I have not had any Garage Time at all over the last 6 weeks. However this weekend I managed to get the first 2 layers onto the last part of the nose mold. Now need to tidy up the edges around the nose openings.

Cheers

Fred W B


nose%2010%2011.jpg
 
Pfheww, those moulds seem pretty durable Fred expecially for a DIY,

how many crashes are you aming for? ;-)

keep it up Fred your getting very close now.
summer should be underway at your place, the absolute best time to be playing around in ones garage. doors open, cold beer.... hmmm
(was -1 degrees C on this side of the hemisphere brrr.)

grtz Thomas
 

Randy V

Moderator-Admin
Staff member
Admin
Lifetime Supporter
Wow - you have come a very very long ways and yes it looks like the end is near! :)
 
Great job,and great mold work!!! But I must say I have followed this project for a couple years, I build aluminum bodys form scratch and it would have been far less work to build. Your first plywood would be all you need.
Your result is truely great, but call me next time ,your obviously very handy and sure you could have done it.
Randy
 
Hi Guys, thanks for the encouragement.

Randy, thanks for the credit, I had not even considered doing an aluminium shell.

Thomas, as you say, this side of the world is it is pleasant working with open garage doors at the moment. In fact one night this week I invited some mates over to help lift the nose pattern, and we demoulded the nose again. Then moved the nose mould sections to storage.

We ended the evening with some beer drinking and a "Wors Braai" - translates as "Sausage Barbeque" for the non dutch readers.

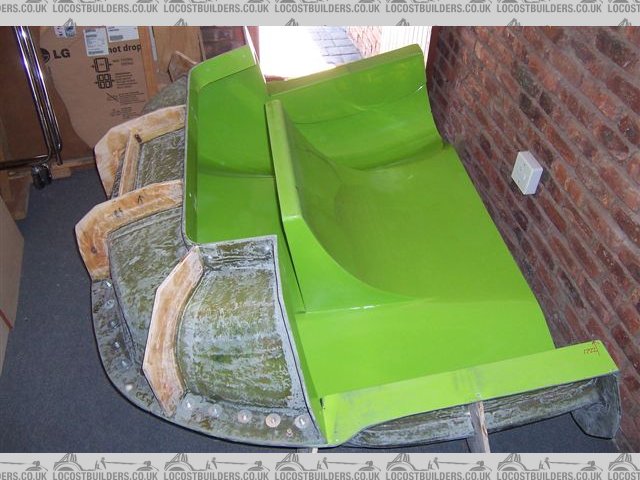
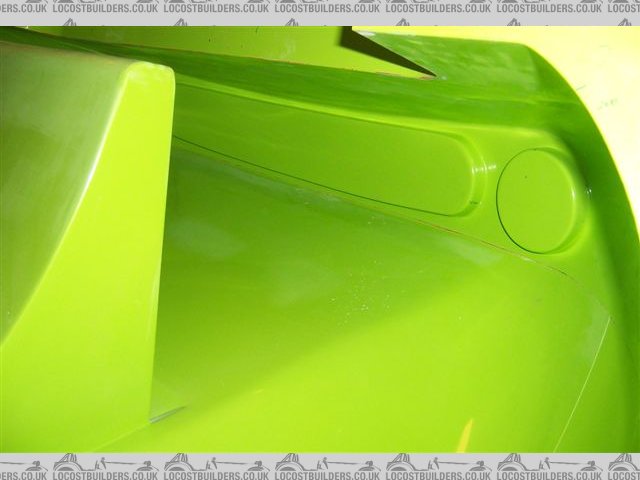
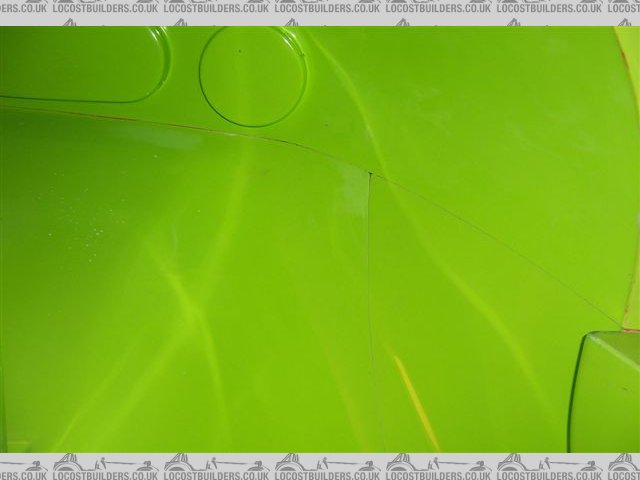
I have now assembled the complete nose mould and finally I can see inside it. The dark specs you see in the detail pics are bit of plastacine.


nose%20mold%20nov%202011.jpg


nose%20mould%20inside%20nov%202011.jpg


nose%20mold%20detail%20nov%202011.jpg
 
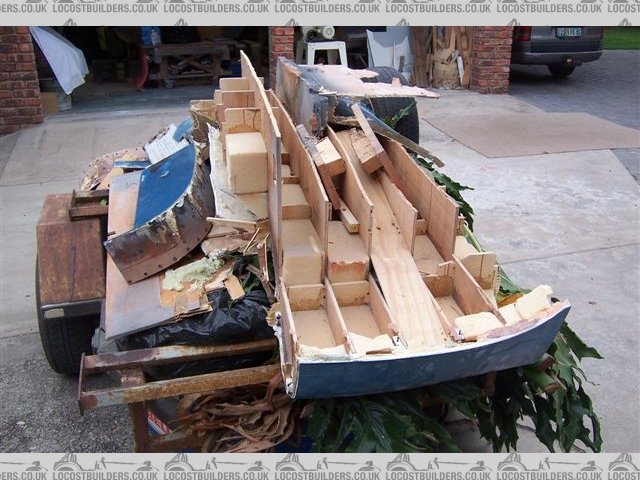
This weekend I cut the front off the nose, to keep to one side to use later to sort the headlight recess/covers detail, and scrapped the rest of the nose pattern.

I have retained the scuttle section of the pattern as I still have to do something about the returns and internal details in the scuttle.

Now I can get on with the tail mould. The door moulds are still on the pattern so I can mark the forward edges of the tail section.

Cheers

Fred W B


nose%20cut%20nov%2011.jpg


nose%20store%20nov%202011.jpg


nose%20cut%20tip%20nov%202011.jpg


pattern%20cut%20nov%202011.jpg
 
Whaha "wors braai" yep we sure did leave a mark in your language, it's old though.

In modern dutch a barbeque just translates as barbeque, the word "braai" has to do with "braden" which translates into "frying or roasting", sausage strangly translates in to "worst" in dutch.

So: you all now know what Fred does when hes not sniffing epoxy resin in the garage!

Enough with the linguistics

weather is awfull over here, I have a electric heating running 24-7 to dry some paint on the inside of the bodywork.

How do you plan on making the shutline from the nose to the scutlle area?

didn't it feel rather sad to bash years of handy work into oblivion? seems like the person that handled the nose cone, had some errhm.... isues!

Grtz Thomas
 
Hi Thomas. Thanks for your response.

For the scuttle to nose shutline, I plan to put the scuttle moulds back into position on the remains of the scuttle pattern section and insert a flat plane across the front of it, to then take a mould off. I will include a reinforcing rib in the section.

Re scrapping the buck sections, it's what I have to do to move on, so I just got on with it. I did double double check where I was cutting before I fired up the angle grinders and chain saw though!

It is great to have some more room in the garage now, for years I have been moving around in the narrow alley around the pattern.

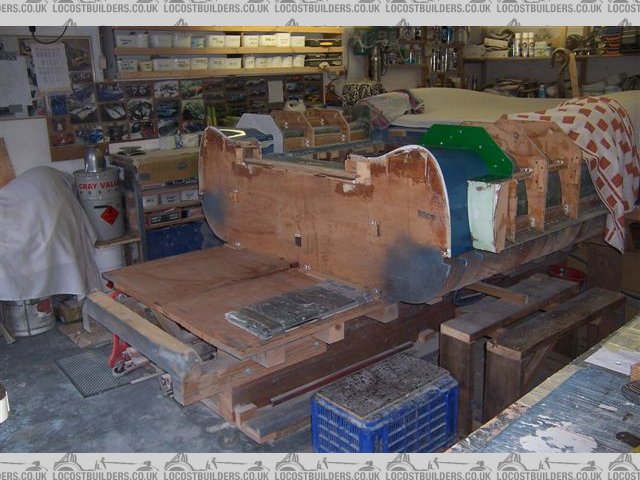
Currently making progress on cutting the rear sections of the doors out of the pattern. This so I can then make the forward facing surfaces of the rear body section that are in the door gap. You can see the 3 mm gap that will become the door gap in the lower pictures

Cheers

Fred W B

door%20cut%203.jpg


door%20cut%202.jpg


door%20cut%201.jpg
 
Looking very good Fred,

You need to probably have a little bigger gap than 3mm at the rear part of the door, as the door is quite wide it turns on a greater radius which means it could scuff the section behind it when opening, this greatly depends on where the hinge center is located though. I would keep it 5mm but you can probably adjust that later on aswell.

have you allready made plans on the hinge system? GD has a nice way to adjust the doors position, where it meets the scuttle area.

Grtz Thomas
 
Hi Thomas, thanks for message

The door hinging detail will be next on the agenda once the tail mould is done, as I still have to make provision in the scuttle for that. I paln to use a detail like the originals

Cheers

Fred W B
 
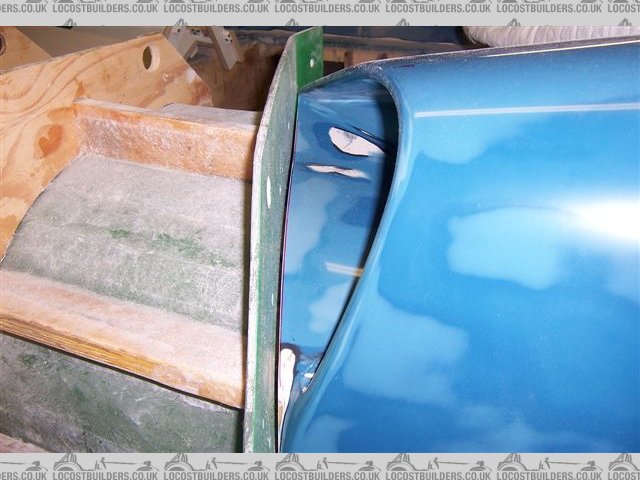
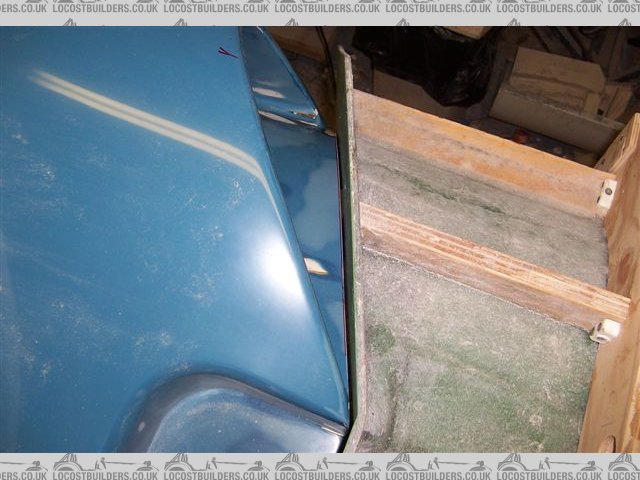
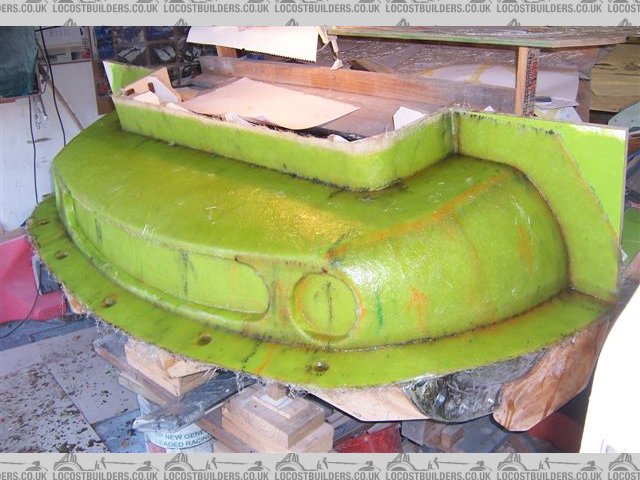
Laying these up is proving to be a bit of a fiddle. Access is difficult, some of it has to be done upside down and you struggle to see what you are doing.

Cheers

Fred W B


project%20jan%202012%20008.jpg
 
Yes gravity can sure be a problem when working with FRP. Has a nasty tendancy to sag & pull out when you turn your back on it LOL. Great looking work you're doing though. The T-70 is one of my favs. I'm new to the forum may I ask why you decided to go to all the work & expense of making your own body? When there are spider bodies available?
Mike
 
Hi Mike

Thanks for the comment.

As for why do it myself, when I started their were no local (in South Africa) suppliers that offered T70 spyder bodies. You could get Coupe kits, and one of the local suppliers is now offering a Spyder, but I dought if they would sell a body only.

The same comment may apply to UK/USA kit suppliers. Allthough as you say body panel sets are avalable, I would then have to import, pay duties etc and a body panel set is not the easiest thing to package for transport.

At least if I have my own molds, I can make replacements for panels that may get damaged, and also supply others if a demand exists. I've had a few enquiries.

And it's made an absorbing hobby over the last few years, I've learnt a lot. At least now any other fiberglass job will be easy!

Cheers

Fred W B
 
I thought that might be the reason. Yes shipping for something of that size & complexity might be more that the body would be. Besides the pride in being able to say "I did it myself". Looks outstanding, quite an undertaking. I'm really contemplating doing somethig along the same line to re-body my Lotus. The big draw back is finding a DOT (department of Transportation) approve windshield. The curve & rake of it really makes or breaks the design of a Le Mans/Can Am type car. The GT-40 is an exception but a T-70 or Chervon B-16 etc. it really does make a difference.
 
Back
Top