
You are using an out of date browser. It may not display this or other websites correctly.
You should upgrade or use an alternative browser.
You should upgrade or use an alternative browser.
~creep creep creep~
- Thread starter EFNFAST
- Start date
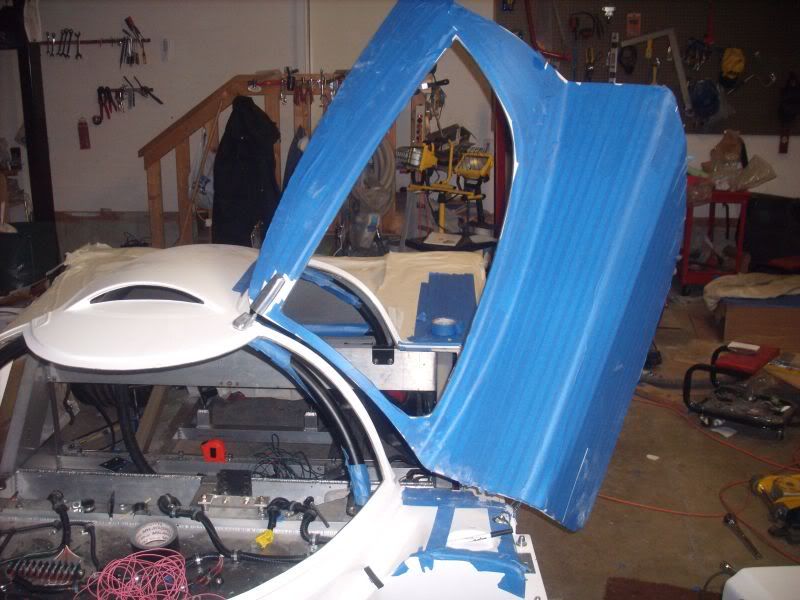
I'll admit I'm scared of the doors too.It looks scary with all the bolts and slots you have to cut....
Looks good so far Alex.
Also, thanks for the stock tip on 3M.
Dave Lindemann
Lifetime Supporter
Alex - Looks very good! Any possibility you could post a close-up of the lower door hinge? Have you done the entire door install yourself or did RCR do the initial fitting?
Thanks!
Dave L
Thanks!
Dave L
Alex - Looks very good! Any possibility you could post a close-up of the lower door hinge? Have you done the entire door install yourself or did RCR do the initial fitting?
Thanks!
Dave L
Having RCR do any would have been cheating. All from scratch here =)
What part of the lower hinge would you like to see. There's the piece that goes to the body (the bracket with arms on it that stick through the spyder), and then lower hinge (which has a rod end at one end and the 2 studs at the other)
Dave Lindemann
Lifetime Supporter
So you and I think alike! I'm trying to do much of my build myself as well though I will admit that I had Fran cut most of the openings on the street rear clip. Any close-up photos you could share of the lower hinge arrangement would be greatly appreciated.
I'll try to take more in a few days when I get it closer to functioning perfectly.
But here's the lower hinge attachment point if that's helpful. (Fran has a template for that)
I'm using fender washres to serve as a hinge stop - I cut the slot a hair too low, so the hinge can pivot all the back and fall off the "track" without them.
I also have epoxied a 3/16'' aluminum bracket to the backside of the spyder section to back it up
Dave Lindemann
Lifetime Supporter
Alex - Thanks for the picture, that helps me better undertsand how the hinge should be installed. Any additional pictures you care to share would be great.
Dave L
Dave L
 ) help ya
Alex,
I'll address your email here (I hope I understood the email as you intended), my main concern here is that 'stop' washers will start to wear on the fiberglass they are now resting on. I would suggest slotting the washers (and possibly stacking more slotted washers on the spider side to create more post washer removal clearance) so that once the preferred adjustment has been achieved you can pull the washers out and hopefully have enough clearance so the nuts that remain don't hit the spider when the door is in it's final postion..
Make sense? Or have I misunderstood your intention?
Hey Rob - no, you understood my intention perfectly.
That was one of my concerns (long-term wear), and I had a similar thought - use the washers to set the initial alignment, then remove them when everything is tightened up.
However my problem was that once everything was set you can't remove them. However, your idea of using slotted washers is an excellent one - I can have them in place, tighten them down to set the initial alignment, then remove them when done.
There is plenty of room - usually my final alingment is a nut + 3-4washers, so there'd be plenty of room to do as you're suggesting.
For anybody whose curious, this is what Rob is referring to - I am (?was?) using fender washers to serve as a door stop for the hinge.
Turns out it was a moot point - starting the hinge arc that low makes it impossible to open the door (the door lifts forward and wedges hard into the front clip). Starting the arc higher seems to fix that problem. Hmm, still more playing around till I get right. Close, but not quite right yet.
Oh well; it sucks to have everything perfect, stick on the front clip, then back to square 1, lol :laugh:
Oh well; it sucks to have everything perfect, stick on the front clip, then back to square 1, lol :laugh:
Muahahahaha
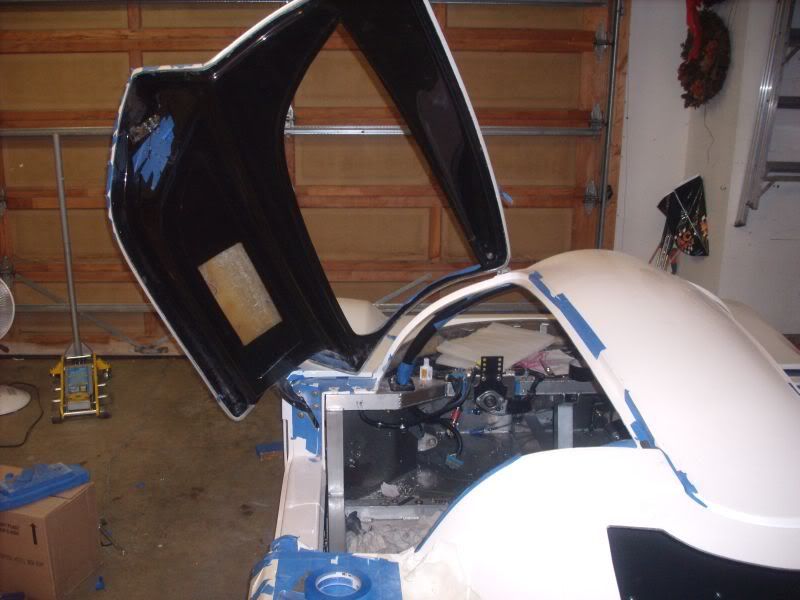
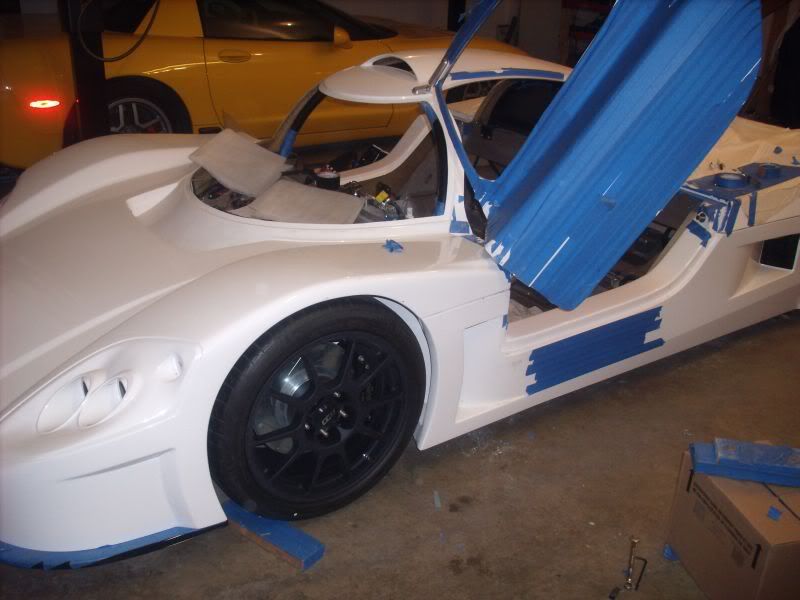
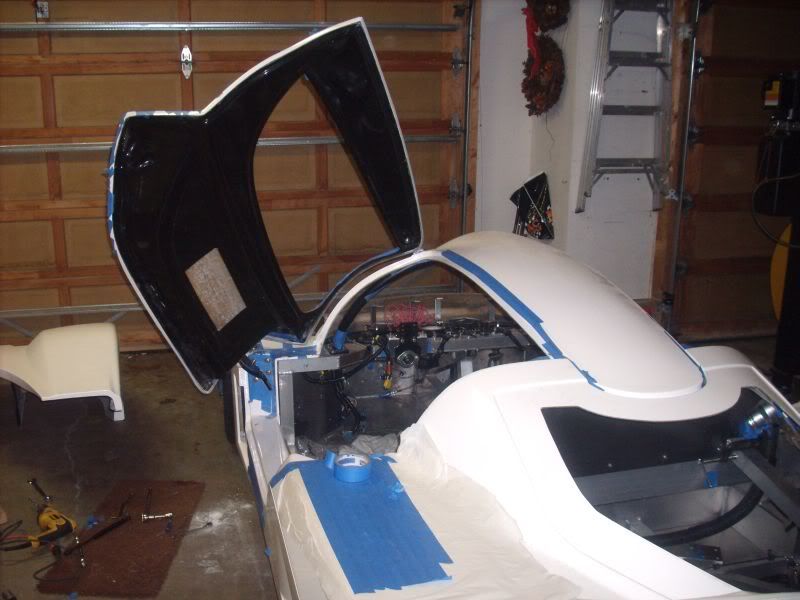
Now you're probably thinking these pictures look identical to the ones above. But note, now the front clip is on. Now you're probably wondering what the big deal about having the front clip on is. Well, to that I say wait and see how much !!!!@@#!@!#@!!@! #@!@#! ??? !!!!!@!#@!@!# ??? !!!! you do until you figure out the proper steps/angles/etc.. etc... to take to get it working perfectly because tolerances are tiiiiiight and it's not as easy as it looks (until you've done it and understand what's going on, then it isn't so bad, just time consuming to do a perfect job). But it does work in the end when you pull it all together =)
I'm glad I didn't have the factory do it simply because I fully understand how every angle/aspect/item affects the door. So if something has to shift down the road, I can fix it myself easily rather than scratch my head wondering how pulling A managed to change C so much.
Btw, I'm working on a door install guide for my build manual - if you want a copy because you wanted to do you own doors, hit me up and i'll email you one when I'm done.
Dave Lindemann
Lifetime Supporter
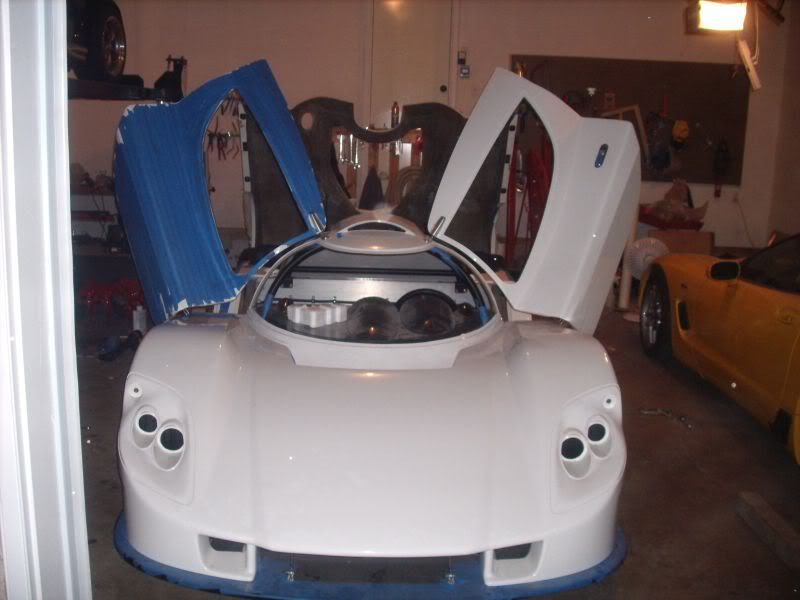
Alex - Congratulations! Getting doors to fit properly on ANY car is a challenge. The angles and clearances on the SLC could be particularly challenging but in the end, the parts fit - it's a matter (not a small one mind you) of getting the hinges to cooperate! Well done!
Dave L
Dave L
Congrats!! do you have any pics of the panel gaps? I can see you've got the latch on, did you have to grind off the corner? Do you have the striker pin on also?
You have to remove ~ 1/2'' of material from the corner of the latch
Striker pin is on (I couldn't get the hole in the exact place, so I've got a slot - I cut a 1/8'' aluminum washer for it and it holds solid)
Pics wouldn't really help - too hard to see. I've got ~ 0.07'' around, except in the upper rear corner where it widens out to 3/16 for a few inches then comes back to 0.07, and I left 3/16'' gap between the door and the front clip - every little bit of clearance helps. Also it really tightens up around the inner windshield corner, then widens back to 0.07ishOther than those 3 areas ( upper rear corner, front clip, inner windshield corner) gapping is fairly consistent.
hahahahahaha
:stunned::stunned::stunned::stunned::stunned:
:stunned::stunned::stunned::stunned::stunned:
:stunned::stunned::stunned::stunned::stunned:
:stunned::stunned::stunned::stunned::stunned:
:stunned::stunned::stunned::stunned::stunned:
:stunned::stunned::stunned::stunned::stunned:
progress @ 3am

:stunned::stunned::stunned::stunned::stunned:
:stunned::stunned::stunned::stunned::stunned:
:stunned::stunned::stunned::stunned::stunned:
:stunned::stunned::stunned::stunned::stunned:
:stunned::stunned::stunned::stunned::stunned:
:stunned::stunned::stunned::stunned::stunned:
progress @ 3am
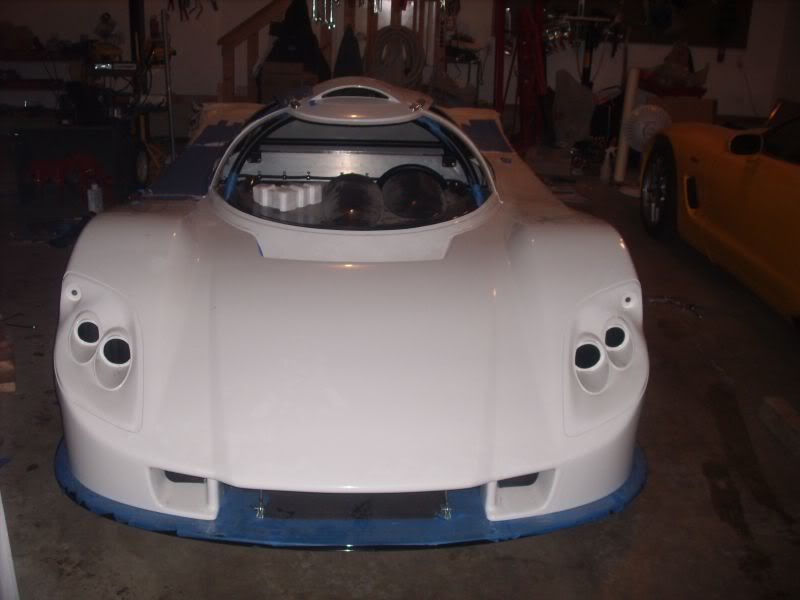
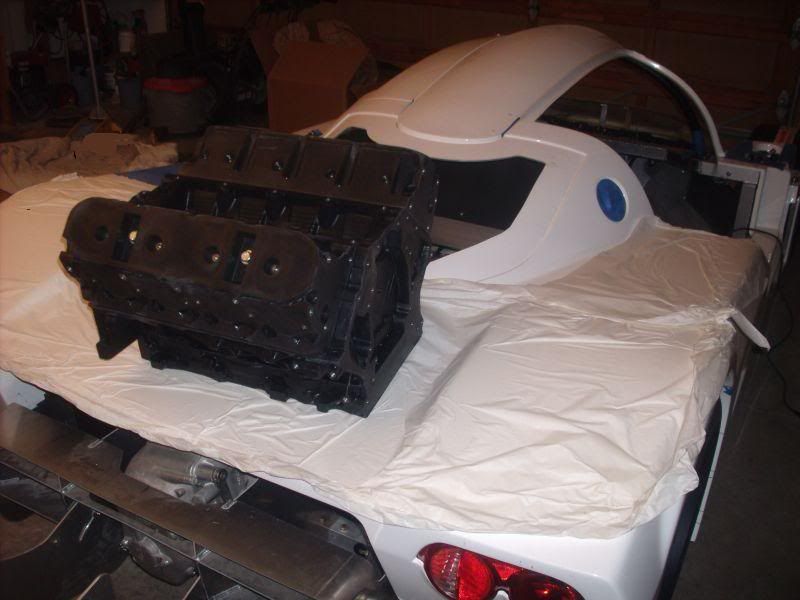
Looks ready to go....now about that engine....
Looks ready to go....now about that engine....
Still a few weeks away .... for some reason nobody seems to stock all the goodies needed to build a 502 ... it's a waiiiiiiiiit for every part =(
Oh well, that just gives me time to apply my Alex-engineering to the car :stunned:
Similar threads
- Replies
- 9
- Views
- 2K
- Replies
- 3
- Views
- 1K
- Replies
- 22
- Views
- 6K