Doug’s RCR Jaguar D Type Build.

Doug M

Supporter
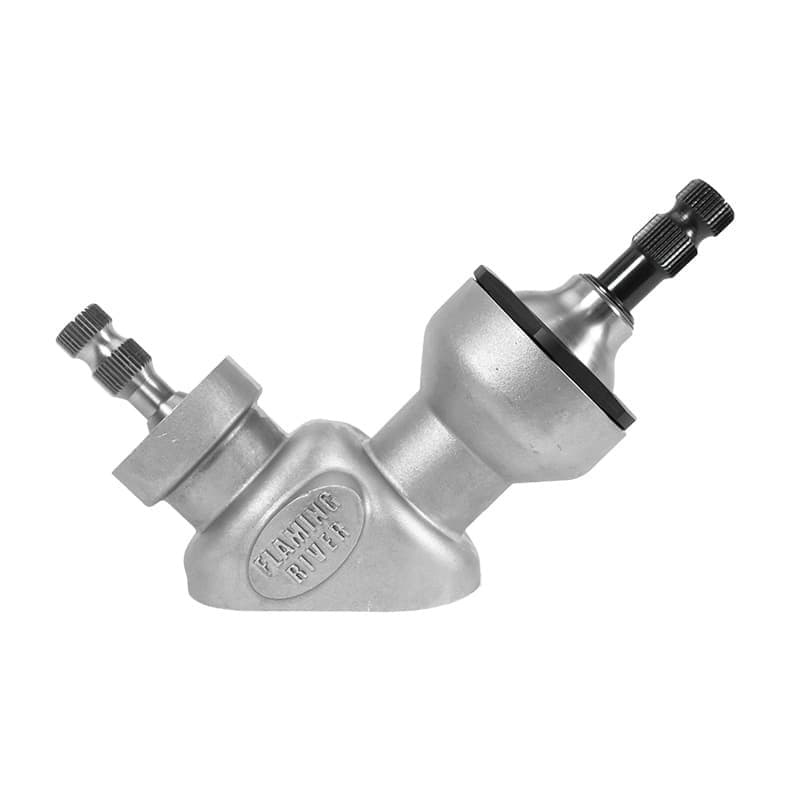
Thanks Folks. I am thinking a 2 inch hole would give me the clearance I need to line everything up. It’s hard to show it in a picture, but it’s almost there… I could probably get away with cutting a 3 inch disc out of the same gauge of aluminum and covering up the 2 inch hole. As for shaping the metal, I’m hesitant to do that for multiple reasons. A small hole covered with a strong box of some type seems to be the strongest, easiest, and cleanest solution.

Also, since it needed to be done anyway, I drained the oil out of my XK6. I removed the oil filter base and oh so carefully ground off some of the aluminum with a sanding disc. This gave me an extra 1/4 of an inch of wiggle room which will come in handy.

Also, I put the manifold and carbs on the engine and did a ‘dry run’ for an oil filter change. It’s a bit of a challenge, but no where near as bad as I thought it would be. So, a remote oil filter won’t be needed after all. And I agree… why complicate things if you don’t have to.
 

Doug M

Supporter
Also, it occurred to me that compared to Chucks build thread, mine is much more of a ‘consulting experts’ thread rather than instructional. May not be the best for future readers, but hopefully people find it useful. As always, everyone’s input is greatly appreciated.
 

Doug M

Supporter
00F1FDFA-F252-40DE-913C-F9B380843FEF.jpeg

I cannot recommend enough the Haynes Jaguar D Type Owners Workshop Manual. Not only does it delve into the interesting racing history of the D Type, but also has detailed pictures and technical information on the complete restoration of chassis XKD 406.

For those with a D Type kit on order, it will do two things for you… one, give you a renewed appreciation for how amazingly accurate the RCR D Type kit is when compared to the originals, and two… It will help guide you building it since, currently, there isn’t an assembly manual from RCR.

That being said… I’ve mused at the idea of fabricating or locating some type of tilt wheel setup for my D Type. I’m thinking it might make getting in and out of the car with a prosthetic leg a little easier. Like most things in the D Type, the tilt wheel mechanism is simple and effective. Curious if anyone knows of a simple kit like this that could be modified? I’ve found a similar looking design, but it wouldn’t work in the D Type dash.

63166CA7-00A3-407D-B742-5ECC1DC4AB00.jpeg

E47C0A0F-E65F-44D3-B025-6F121DD47556.jpeg
 
Hi
In basis of your pic of the dash it is easy to CAD draw a smart solution replicating the brackets riveted to the dash but with sliding holes on top and
sort of a small mechanism (tapered on the center of asmall shatf to allow pins to come "in" ) that allow the lower shaft to be positioned on one of a line of 3 different holes . for safety the upper sliding bolt could be tighten with a "quick" nut handle like on racing wheel bikes
Easy too to have those brakets laser cut and aluminium support machined with all small spare parts ( not so complicated stuff so not too pricy)
Idea is there ;)
Just a matter to draw it ........
 

Neil

Supporter
Why not simply use a removable steering wheel? It won't be "authentic" but neither is the alternative.
 

Chuck

Supporter
Thanks all. I finally got proper engine mounts, so that should help finalize everything. I’m trying my best to avoid warping or cutting the side wall of the transmission tunnel.

Two questions for the crowd… though the first is more for Chuck… hopefully he sees this soon…

One… What is the best target height for the center of the transmission tail shaft from the floor of the transmission tunnel?

Two… As a general rule in life, can a driveshaft be angled very slightly and function as intended without causing vibrations, premature wear, etc? 4x4 trucks have them angled up or down, so why not side to side?

View attachment 123133
Here is some information from Ryan:

First, the operating angles on the end of the drive shaft need to be within 1 degree, meaning the output on the transmission and the input on the differential need to be parrallel. Setting the transmission cockeyed is not good. Needs to be parrallel to the centerline of the car. You may have to do some cutting of the chassis to make that work.

Second the angle of the drive shaft needs to be less than 3 degrees and at least 1/2 degree. The height of the transmission and the ride height of the rear suspension will determine that.

Here are definitions:
- Pinion angle: (1 degree or less)the deviation from parallelism (measured angularly) between the centerline of the transmission output shaft and the centerline of the differential pinion gear
- Operating angle 1 (Min: 0.5 degrees; max 3 degrees) : the angle between the centerline of the transmission output shaft and the centerline of the driveshaft
- Operating angle 2 (Min: 0.5 degrees; max 3 degrees): the angle between the centerline of the differential pinion gear and the centerline of the driveshaft
 

Doug M

Supporter
Summer heat, travels, and back-ordered parts from RCR have slowed my D Type build considerably. So, I fill in the time with more mundane yet necessary tasks.

The D Type came as a rolling chassis, so to be on the safe side, I removed each bolt one at a time, applied Threadlock, retightened, torqued, and applied a mark with a yellow paint pen.

E172F2AF-D1AA-4B82-BBF0-5EF2B079F106.jpeg


Building with one hand, I tend to make annoying mistakes (things shift because they’re not clamped down enough, etc), and for future insurance in the off chance there is a need for repairs, I purchased a stack of white poster board to trace templates of all the pre-cut aluminum pieces that RCR provided. As the world becomes more computerized, they should be easy to replicate quickly at almost any metal cutting facility.

3180D109-70B7-455B-8C2E-6BFACF0F10FC.jpeg
 
Last edited:

Doug M

Supporter
Hello Gang,

So I’m working out the steering rack setup with a universal electric power steering kit. The simplest location would be down near the pulleys at the front of the engine. It would require a custom bracket, but would be clear of brake lines, radiator hose, and any belts. The ‘lower half’ of steering system… meaning the section extending from the footwell to the steering rack… would require four u joints and two sections of the steering shaft… one about 10” in length and the other around 2”. (Hastily drawn picture attached).

The more I stare at it, the more I wonder how necessary it is… so I thought I’d ask you all for your experienced input. All of my car experiences are driving big old 5,000 pound GM cars with big block engines (1975 Pontiac Grandville and a 1960 Cadillac Coupe) and they were a bear to drive with one hand when the power steering pump failed. Also my 57 Chevy, which didn’t have power steering at all until my Uncle and I put one in it, was horrid to drive at low speeds, and parallel parking was avoided as often as possible.

So having never messed about with smaller two seat British cars, what are your predictions of how beastly this 2,000 pound race car will be to drive one handed with manual steering? As I type this, I find myself thinking I should forgo the electric power steering for now and install it later if the D-Type proves to be too difficult to drive easily and safely with one hand.
318AF60F-82F6-4D75-B582-2668EC35BD82.jpeg

0F25972E-1B23-499C-9532-C07F613BE234.jpeg
 
Checked with a buddy of mine who drives a Factory Five Shelby Daytona replica. He is a gentle giant and he has power steering in the Daytona. Similar to the D-type in size, weight, etc. and he highly recommends you install the power steering. We are heading up to Road America tomorrow for track days, wish I had the "D" to take along. Have you figured out the oil filter clearance issue yet?
 
I suspect things will be different if you are using period-correct tire profiles on The D Replica vs big rubber on a Daytona coupe.

But the XK engine and automatic transmission will be a lot of weight over the front wheels.

It will never be as easy to install steering assist as it was yesterday. So next best is now.
 

Brian Kissel

Staff member
Admin
Lifetime Supporter
I have heard of a couple guys using this with good success. I have no experience with it myself but my buddy said it worked great. Unfortunately he passed last year from Covid, so I can’t ask for a update.


Regards Brian
 
Depend also which use you are planning for your project
Everyday car or track and show car
If track day , then with electric stuff you will loose 90/100 of the pleasure to drive an historic car !!!!!
 

Brian Kissel

Staff member
Admin
Lifetime Supporter
Mic. These new electric power assists, work off a wheel speed sensor. Some of them are adjustable, but most turn the assist off at around 25 miles per hour. This helps in the pits and low speed driving and parking. Some have a potentiometer to adjust how much assist also. I have had 3 major shoulder surgeries and you can bet my Lola will be equipped with it.

Regards Brian
I understand what you mean Brian but am still an "old fashion" fabricator and driver and cannot imagine a replica or a recreation with modern stuff !!!LOL
Simple and light have been my two big motivations in building racing cars and today recreations for my grandsons ; so Doug make it simple for now , enjoy your car and then start improving few by few what is absolutly necessary ...... ;) :rolleyes:
 
Back
Top