Long time no updates (again!) I've not been doing an awful lot over winter that's worth of an update, lots of purchases, lots of planning, not a lot of worth an update work.
Now it's got warm again however I've got working in the garage again.
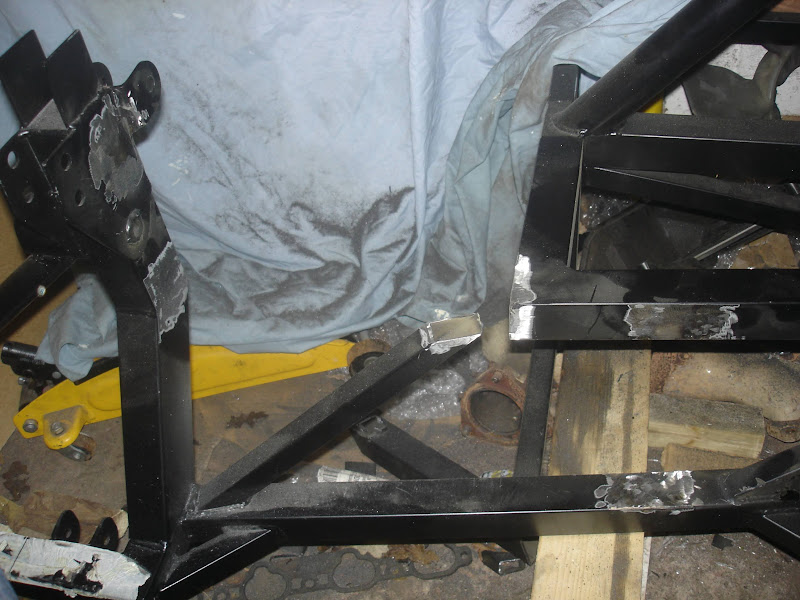
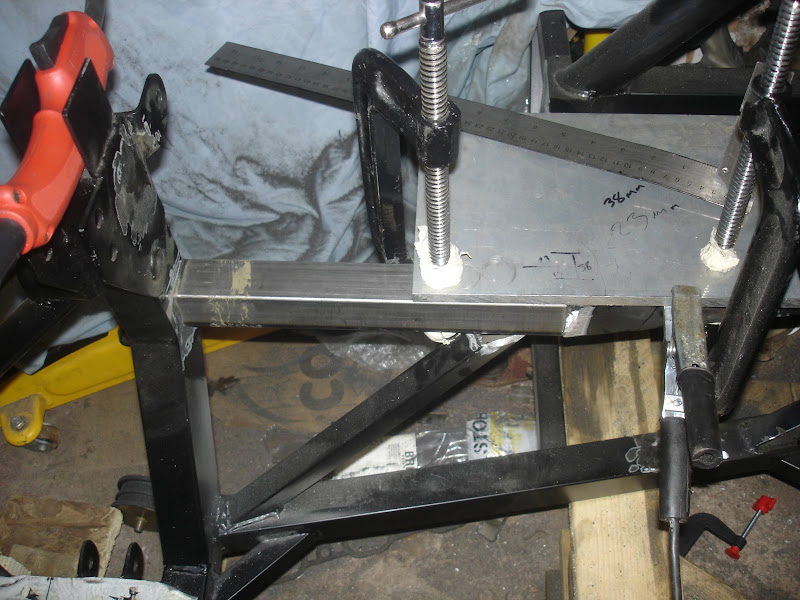
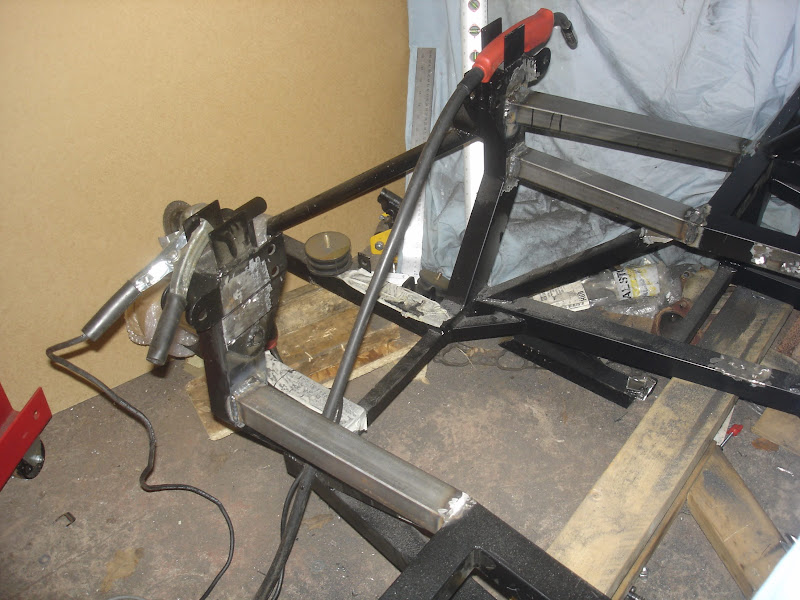
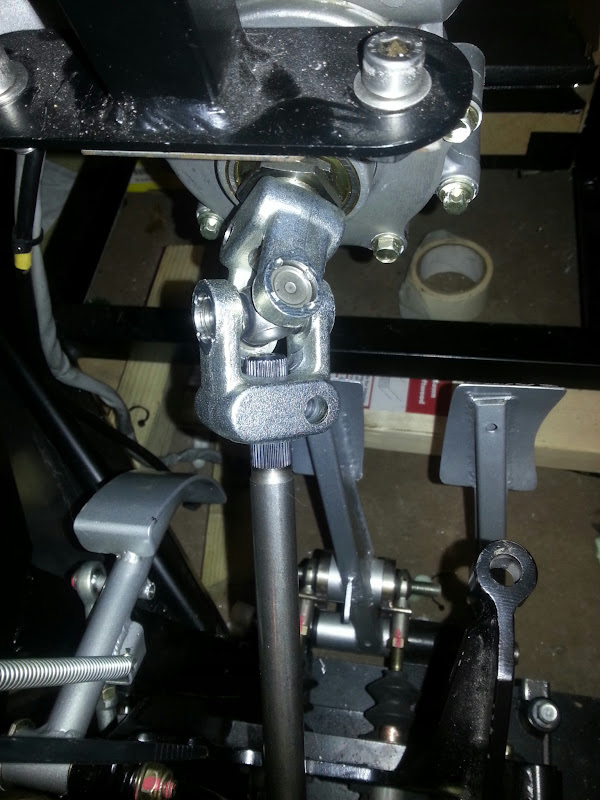
So, been working on the steering. Replaced the piece of alloy bar with a properly splined bar. It was an impulse purchase at the kit car show on Sunday. Expected to have to cut it and either extend or shrink it but it looks near enough perfect already!

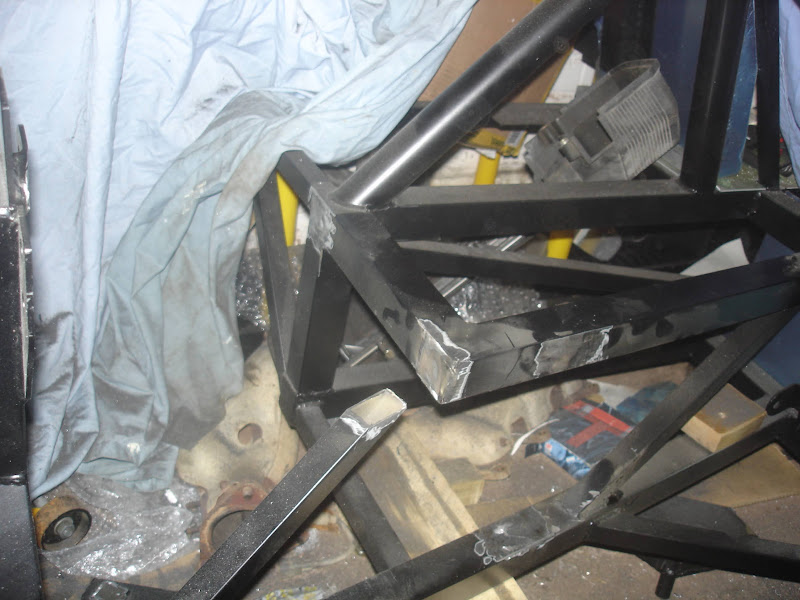
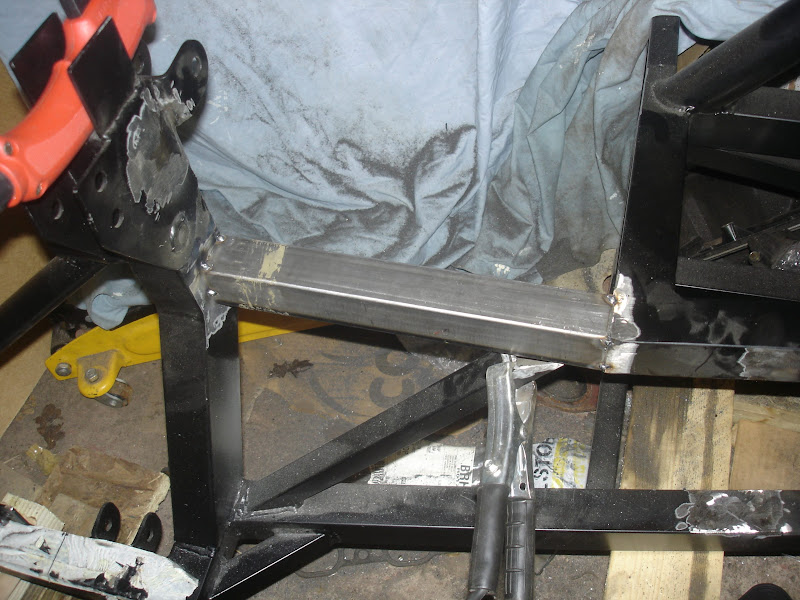
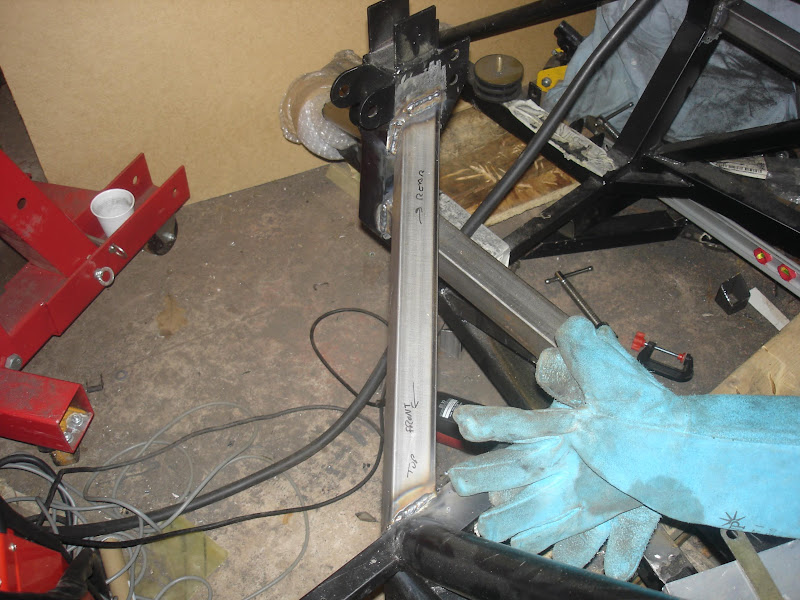
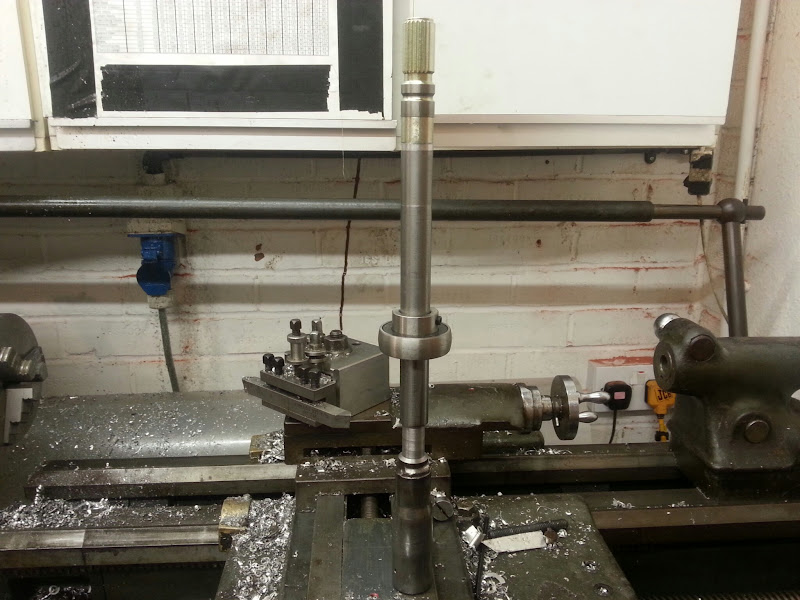
Turned down the end of the Corsa B column so the extension fits (it's not properly in place here, it's a press fit and don't want to do that until I'm ready). I'll be both welding the end and puddle welding it in a couple of spots to make sure that doesn't go anywhere! On the end is just a little aluminium adapter I made to hold the splined section on so I can test the fit, might need to cut it down a touch and don't want to do that until I'm sure of the size.
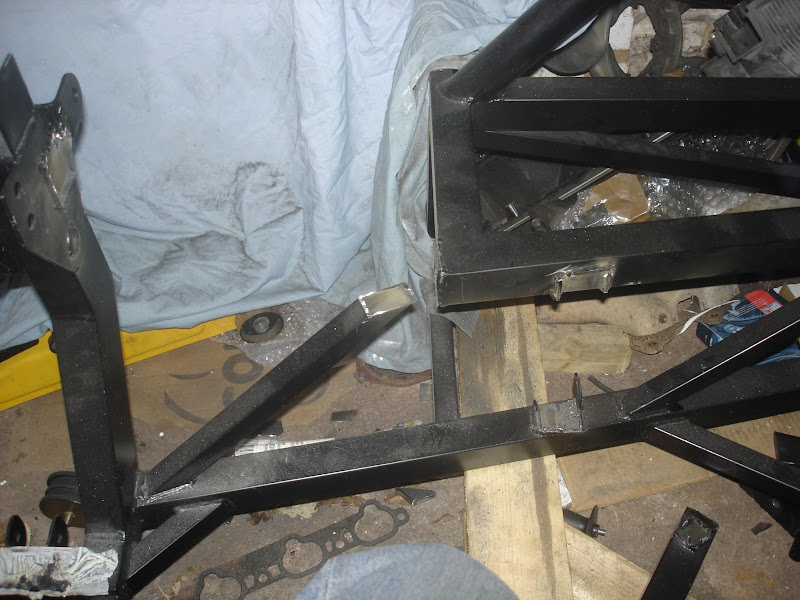
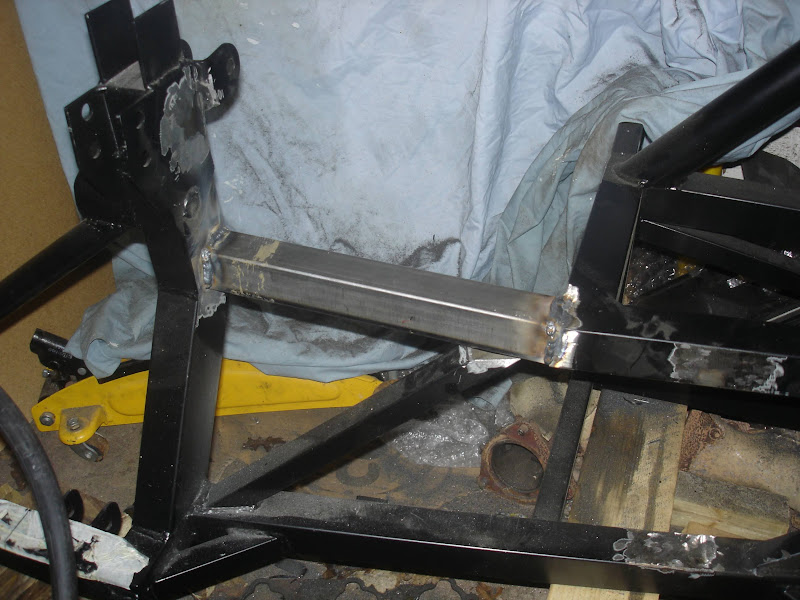
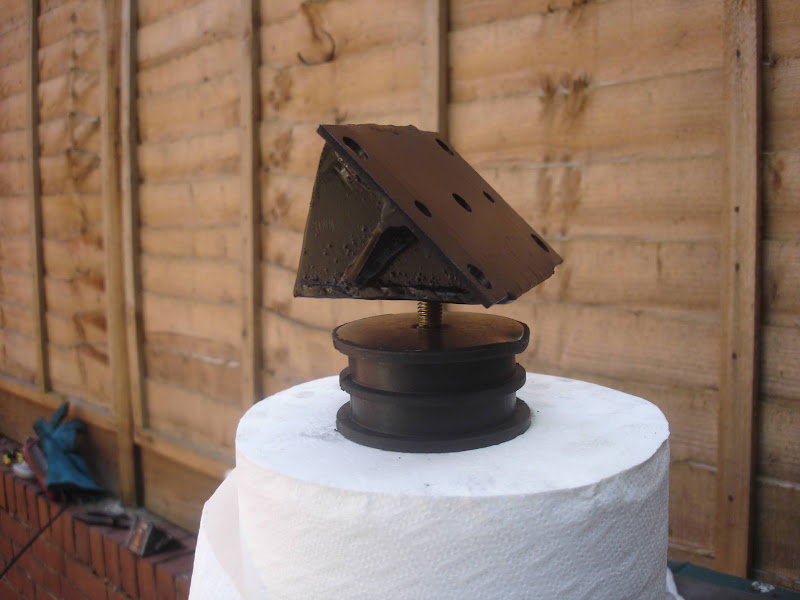
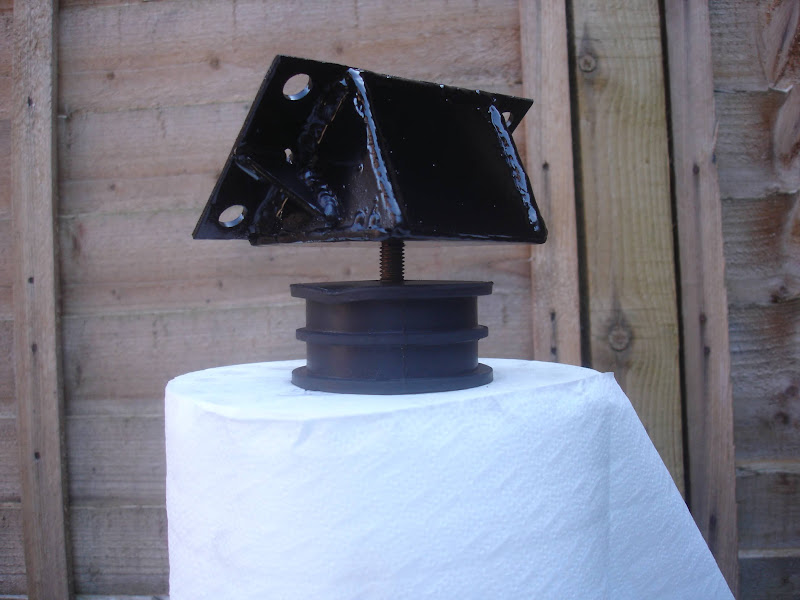
Also made up an adapter for the water pump so to move the thermostat to the front of the car.
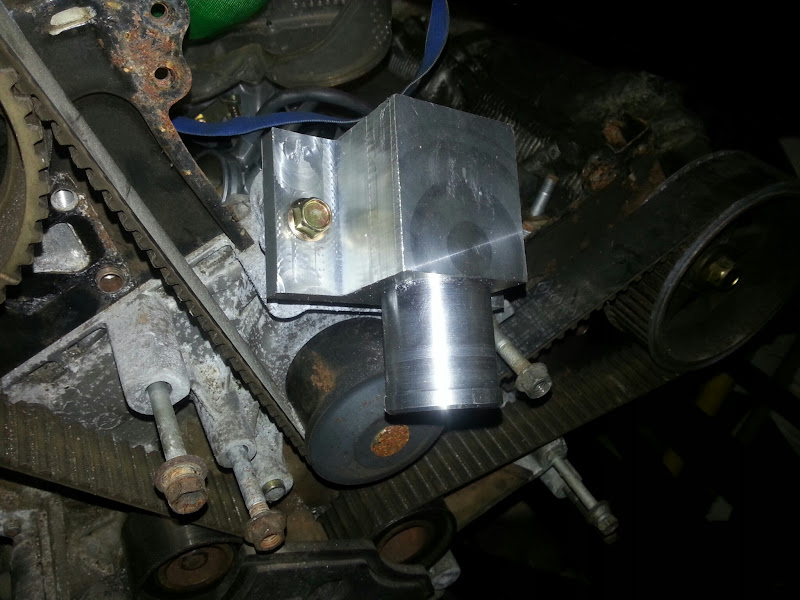
(The manky looking alloy behind is the water pump, I'll be fitting a new one.)
Finally I made a seat...") kind of, just hardboard and with a bit of closed cell foam, actually surprisingly comfortable but I really needed a seat to see where the pedals and wheel were going to sit.
kind of, just hardboard and with a bit of closed cell foam, actually surprisingly comfortable but I really needed a seat to see where the pedals and wheel were going to sit.
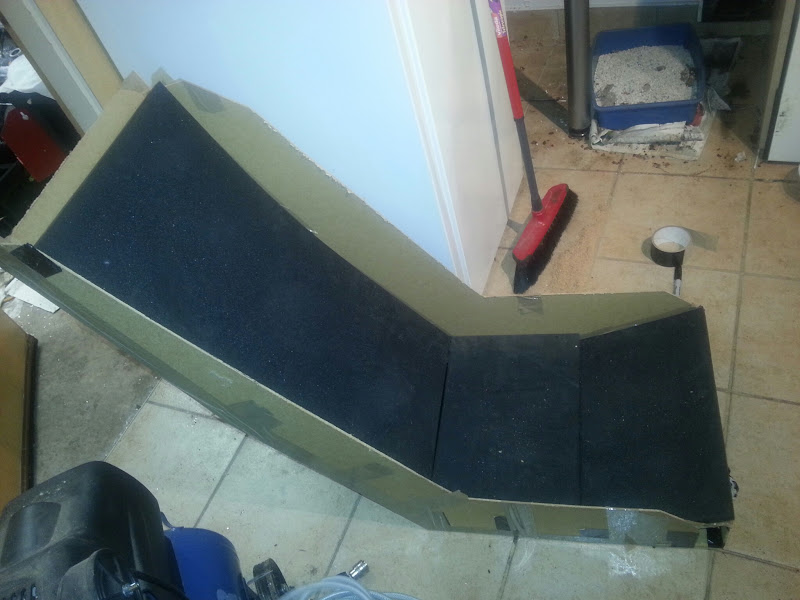
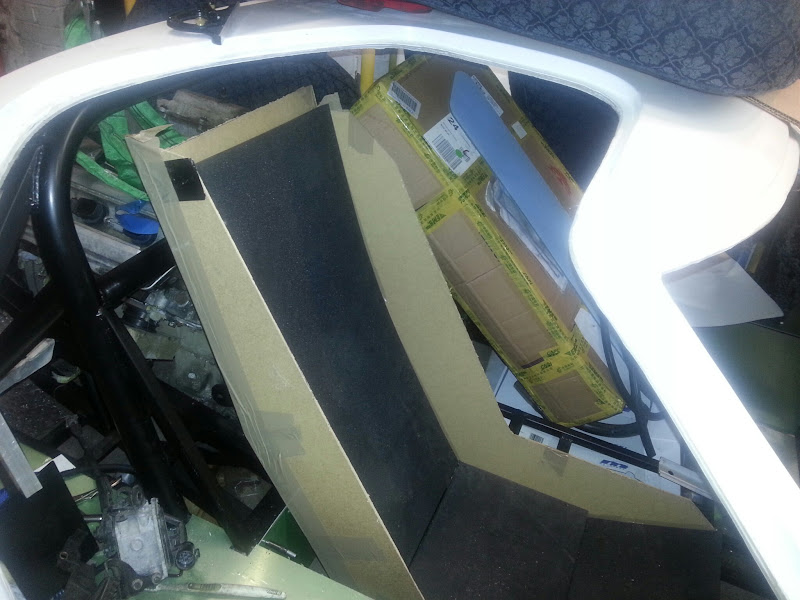
On a related note I tried a set of Intatrim GT40 seats at the kit car show and I didn't get on with them, they dug into my shoulder blades, very uncomfortable. So those are off the list. I'm more and more considering just making my own.
Now it's got warm again however I've got working in the garage again.
So, been working on the steering. Replaced the piece of alloy bar with a properly splined bar. It was an impulse purchase at the kit car show on Sunday. Expected to have to cut it and either extend or shrink it but it looks near enough perfect already!
Turned down the end of the Corsa B column so the extension fits (it's not properly in place here, it's a press fit and don't want to do that until I'm ready). I'll be both welding the end and puddle welding it in a couple of spots to make sure that doesn't go anywhere! On the end is just a little aluminium adapter I made to hold the splined section on so I can test the fit, might need to cut it down a touch and don't want to do that until I'm sure of the size.
Also made up an adapter for the water pump so to move the thermostat to the front of the car.
(The manky looking alloy behind is the water pump, I'll be fitting a new one.)
Finally I made a seat...
kind of, just hardboard and with a bit of closed cell foam, actually surprisingly comfortable but I really needed a seat to see where the pedals and wheel were going to sit.
On a related note I tried a set of Intatrim GT40 seats at the kit car show and I didn't get on with them, they dug into my shoulder blades, very uncomfortable. So those are off the list. I'm more and more considering just making my own.