KCC Restoration

Finally, I've got around to updating my blog

No Lamborghini drive, but work is progressing on the GT40

Well and truly time for an update. I've been away for the past few weeks and finished my previous job on Friday. I had lined up on Sunday to do a Ferrari and Lamborghini driving day. My mates are absolute champions and gave me a ticket for my 30th Birthday a few months back. Not all went to plan though. The skies decided to open up on Sunday for about the first time in 3 months. The driving day was cancelled. Damn Brisbane weather!

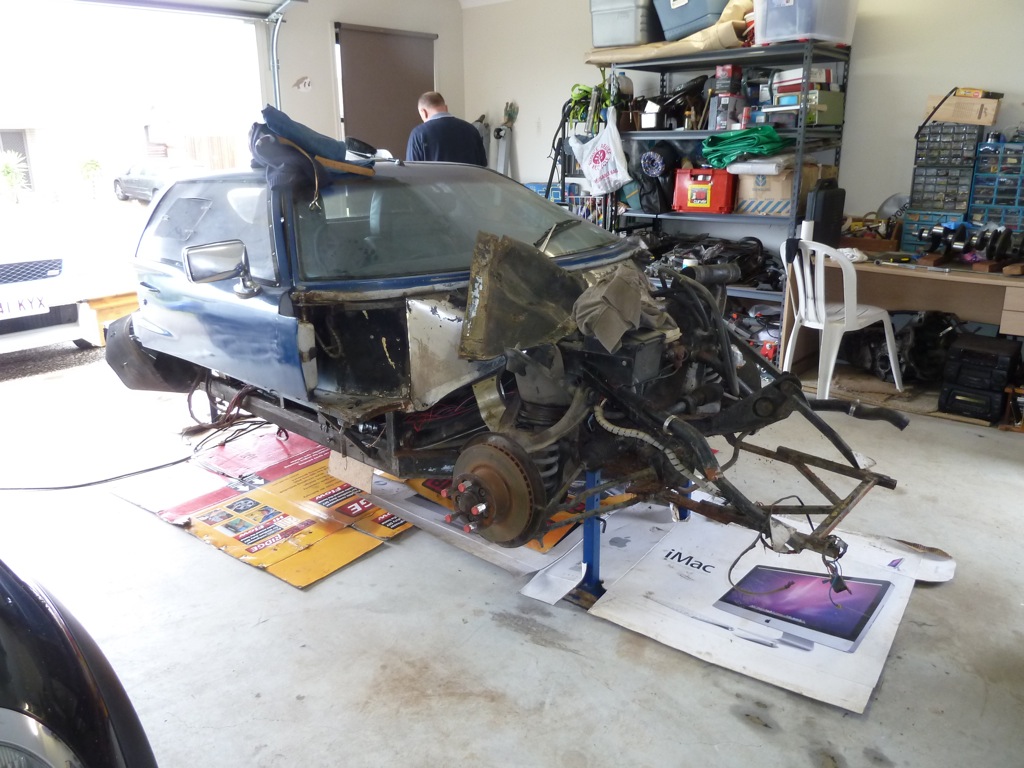
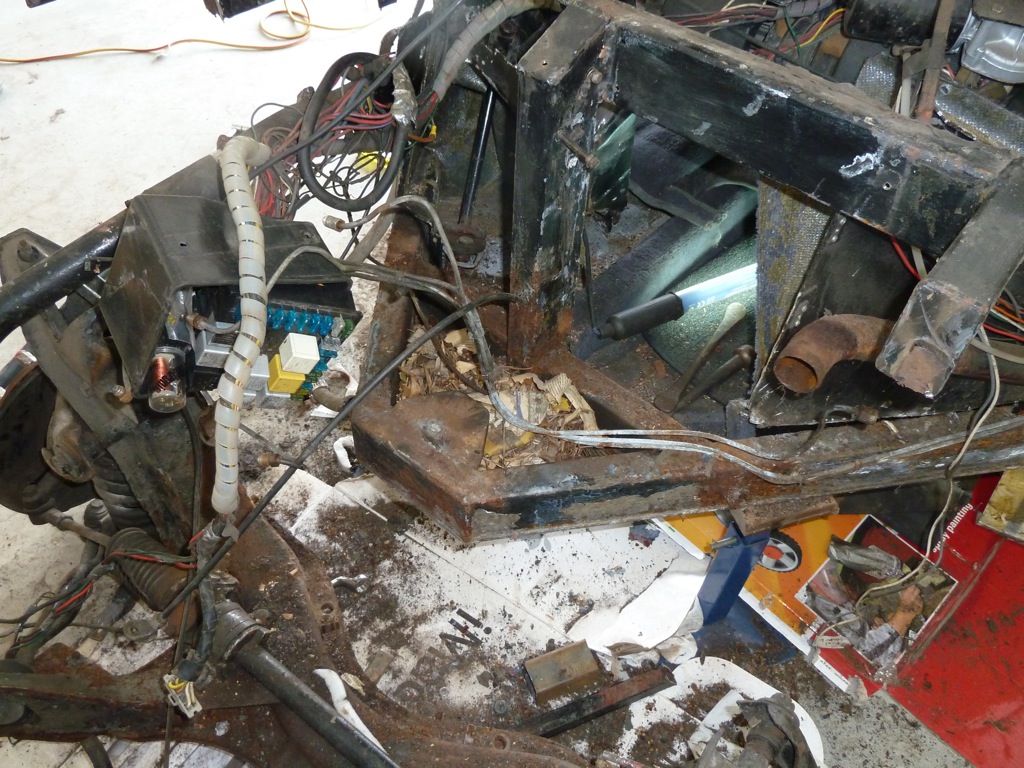
Oh well, at least things are progressing with the GT40...

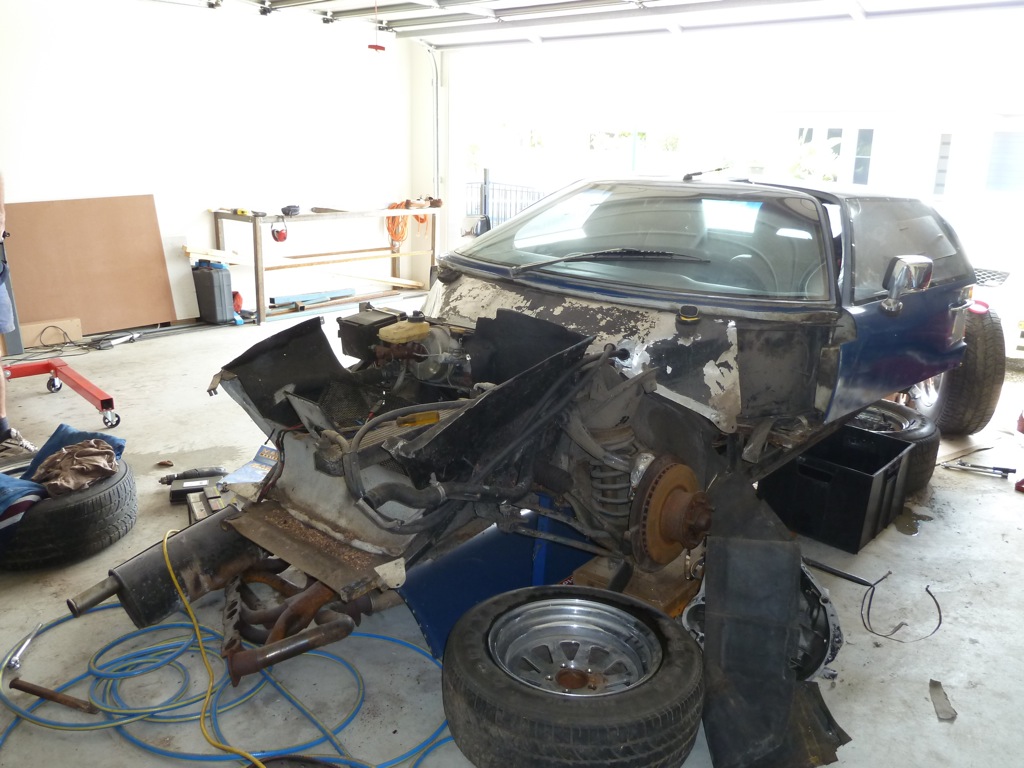
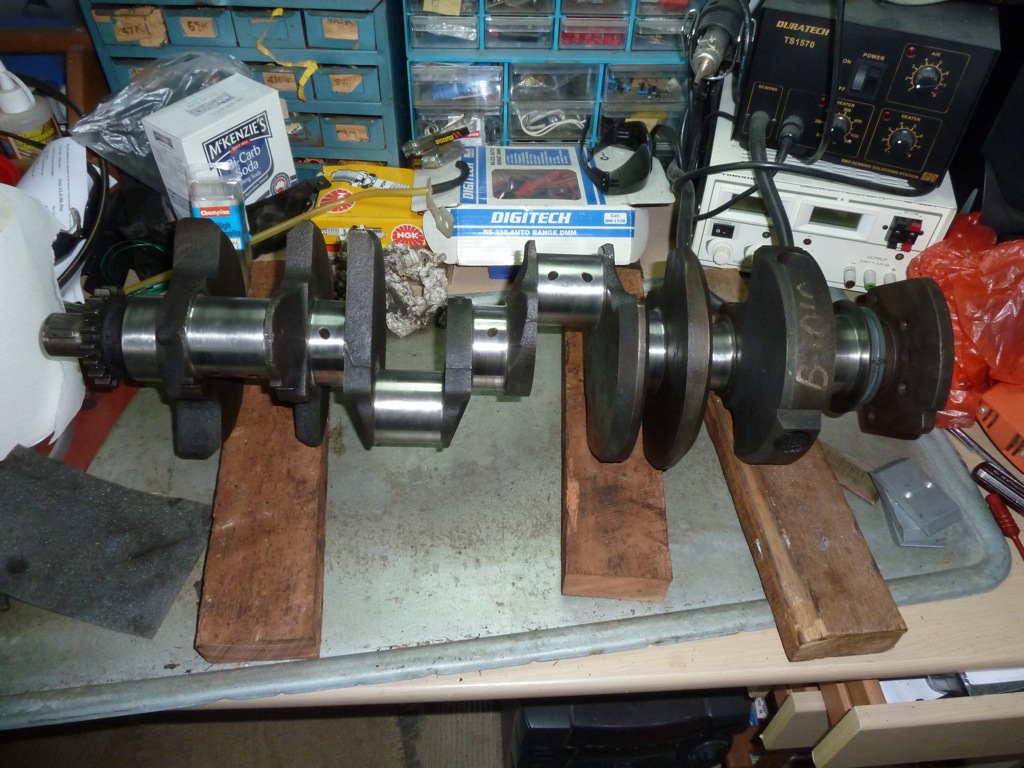
While I was away, Dad continued stripping the engine down. He removed the crank and started trying to sand the stuffed bore to see if it could be fixed with a hone only.

P1010788.JPG


P1010789.JPG


We measured the piston clearance and it came up at around 0.014", which is way more than 0.008" that is regarded as the maximum according to the Chevy book. By the way I had to order a new version of the book mentioned in an earlier blog. I never found the old one that Tim brought around. The roof of a car is not a good place to leave books it seems...

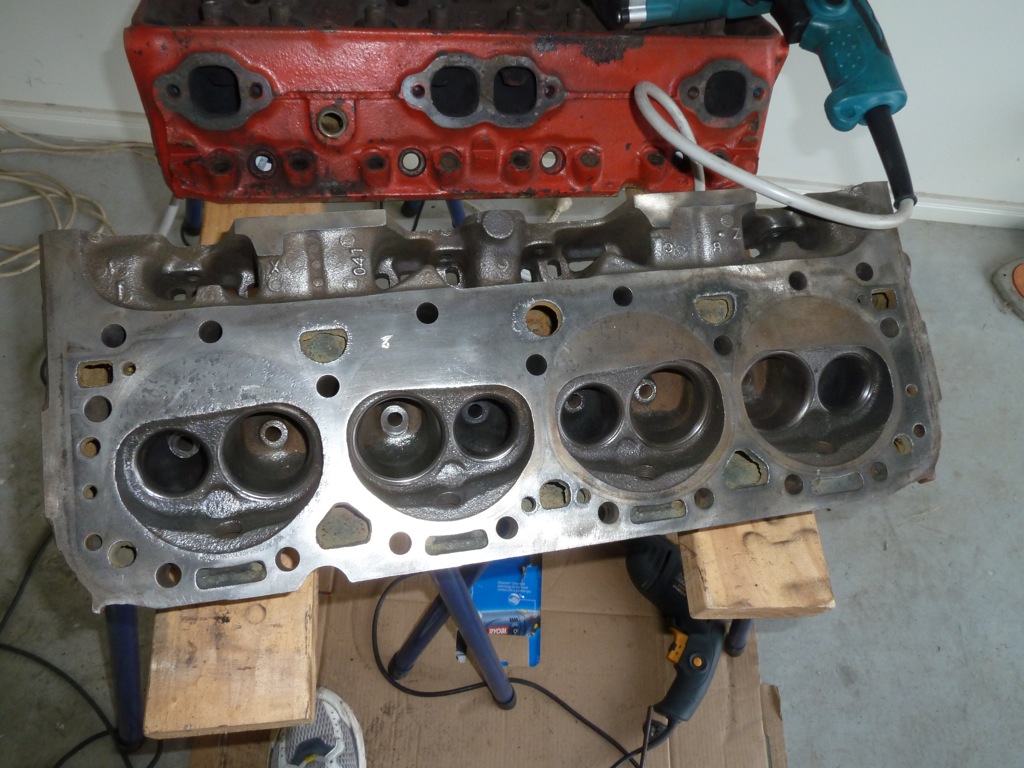
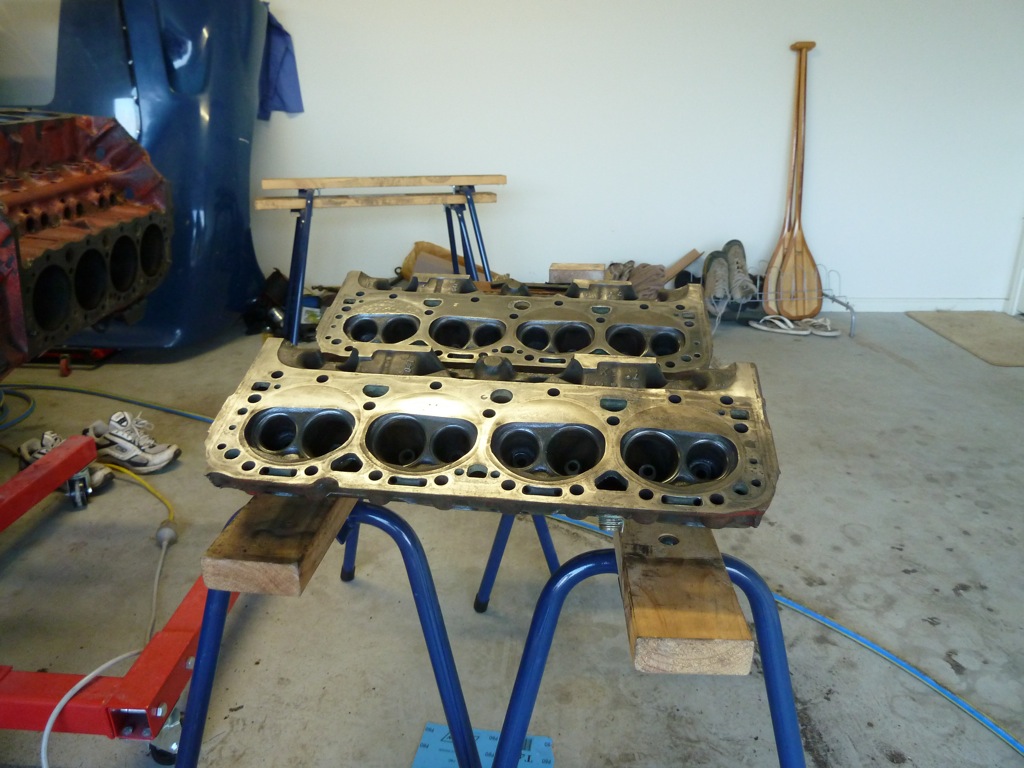
On Saturday we had a fairly busy day: Disassembled the heads and cleaned them in kero, cleaned the valves, wire-brushed one head, removed marks on the crank and re-arranged the garage.

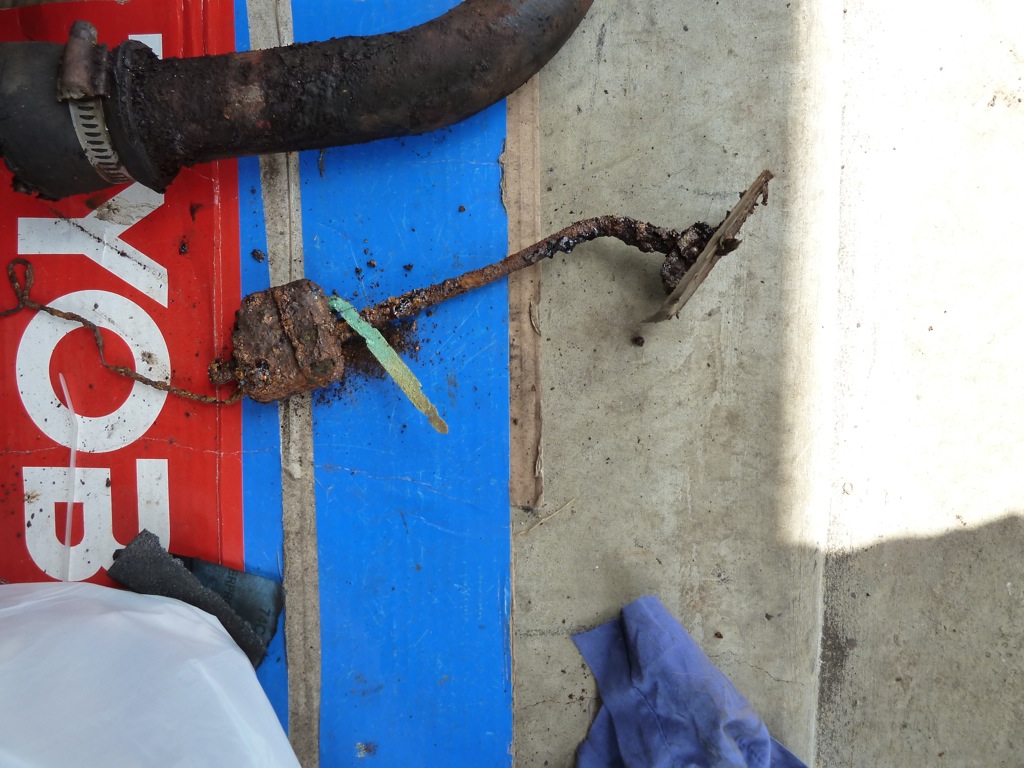
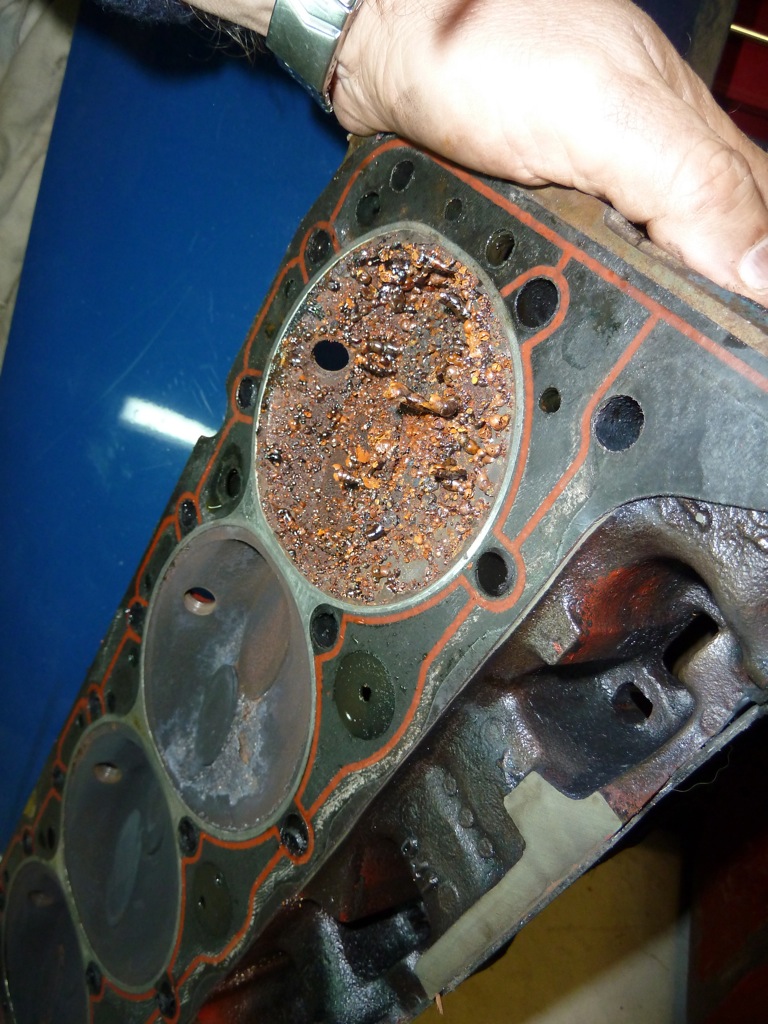
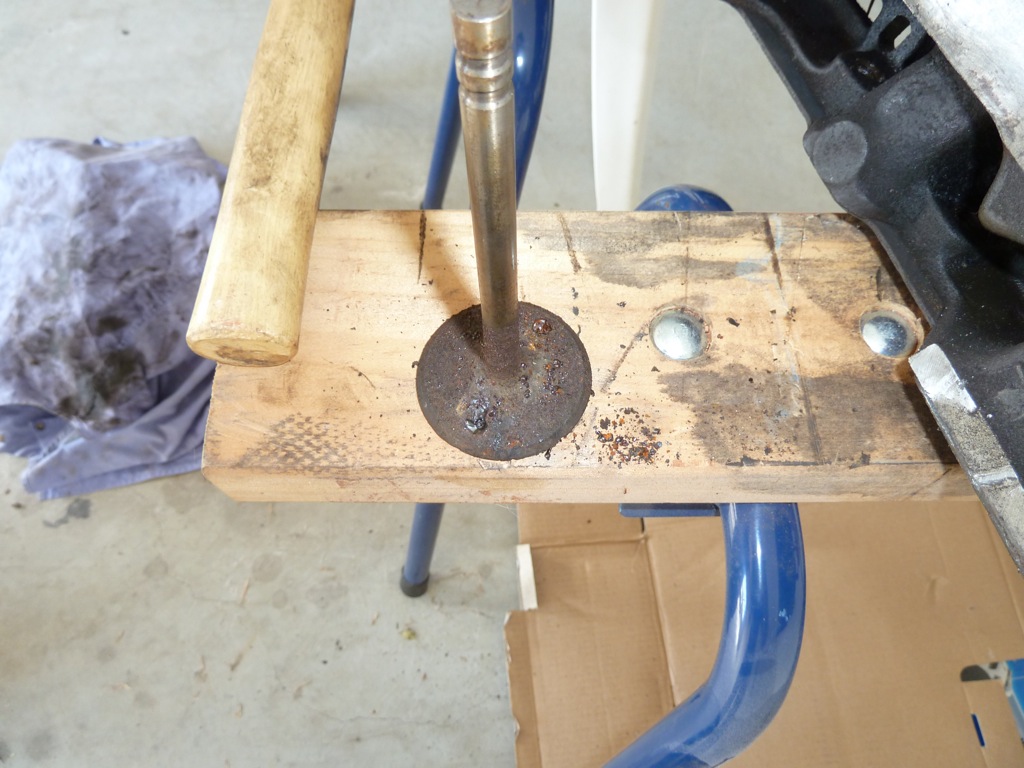
It took me many hours with the wire brush to bring the head up to scratch. You can see from the picture below that there was a fair bit of the rust behind the valve.

P1010782.JPG


You can also see the pitting which was caused by the rust. It's cleaned up reasonably well. We will need to get the valve seat reground though.

Before
P1010658.jpg


After
P1010786.JPG


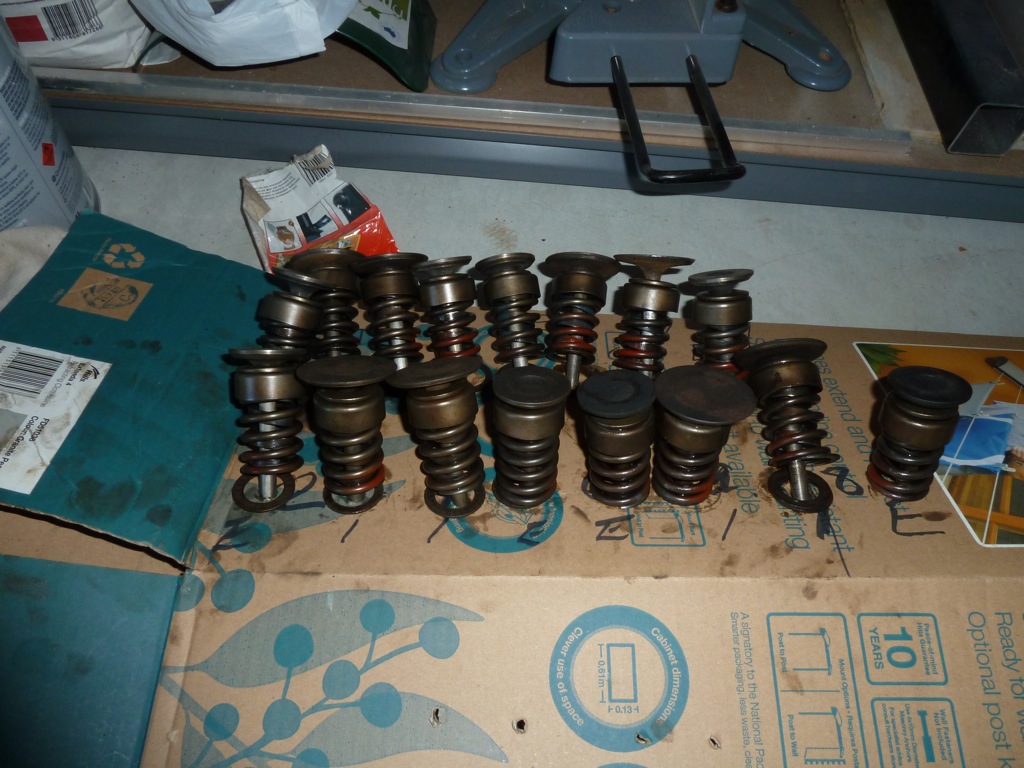
Tim cleaned up the valves and found one of them will need replacing due to rust.

P1010784.JPG


P1010791.JPG


Dad worked on removing some markings from the crank. It's good to have many hands with this tedious cleaning work.

P1010787.JPG


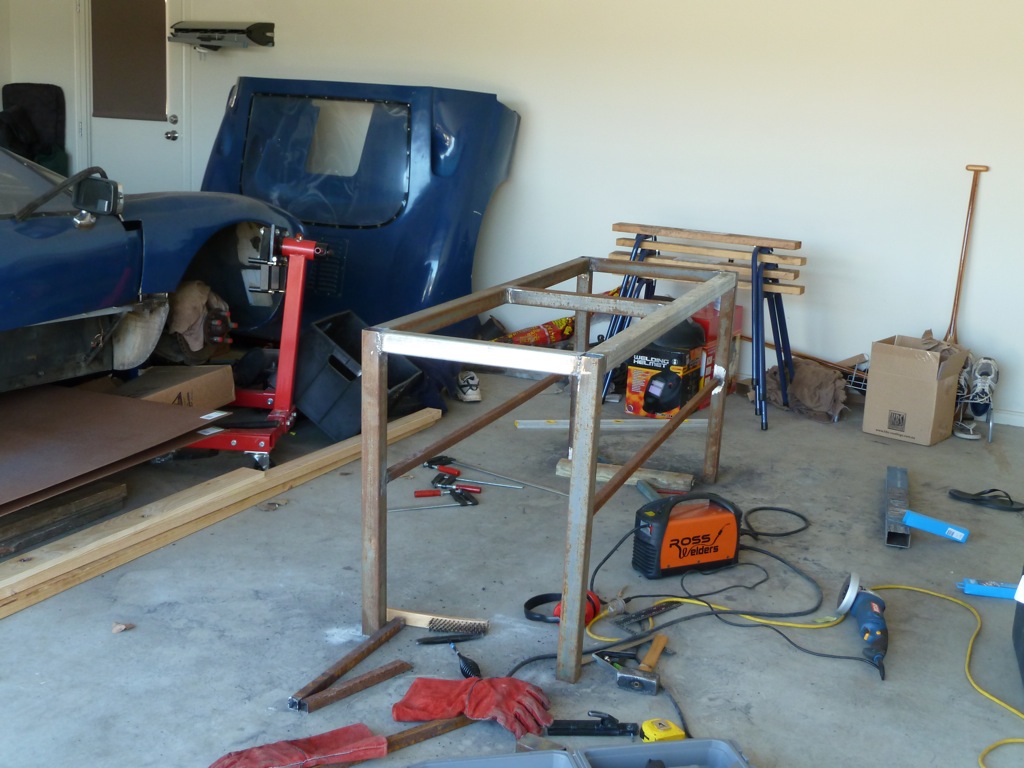
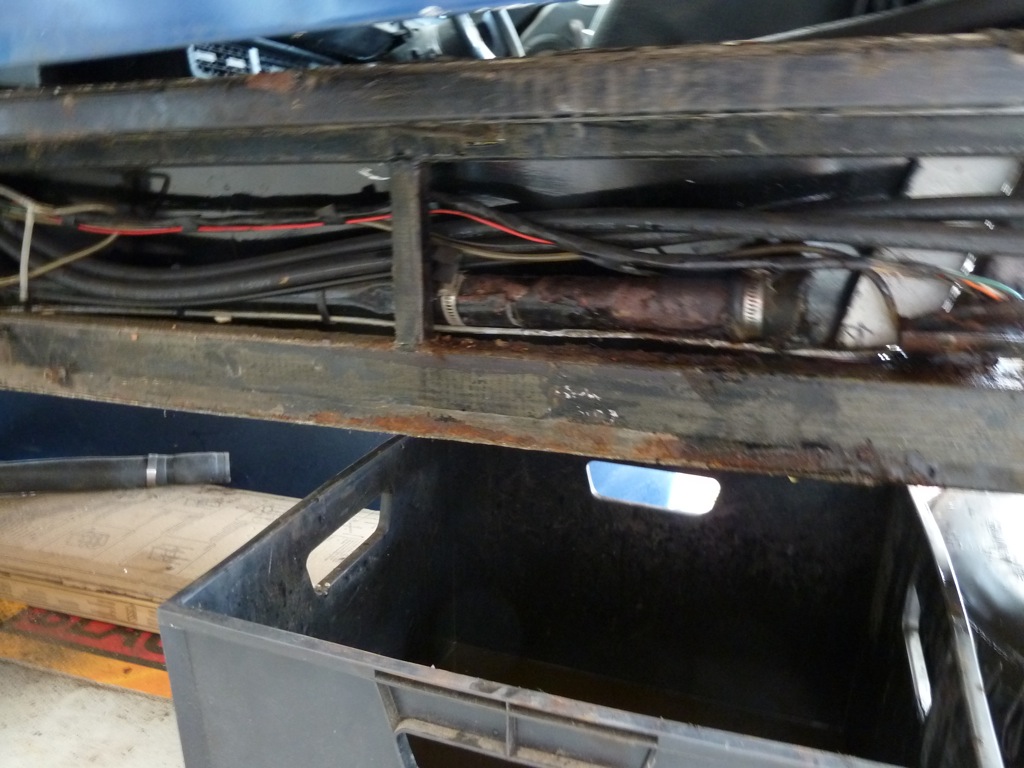
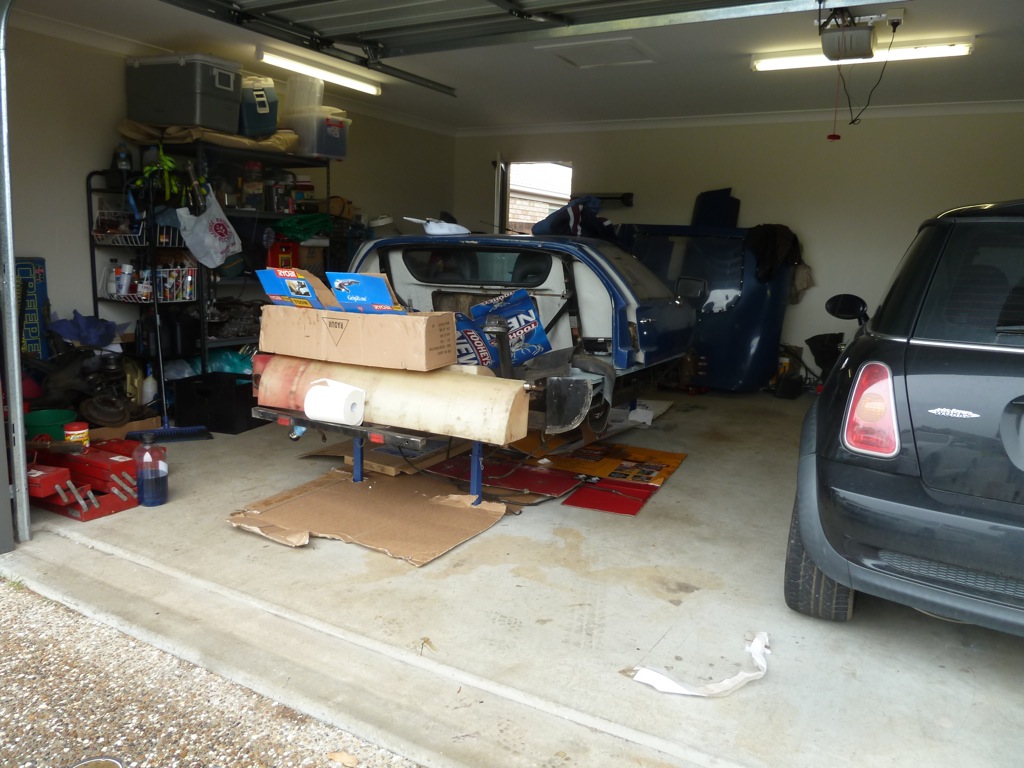
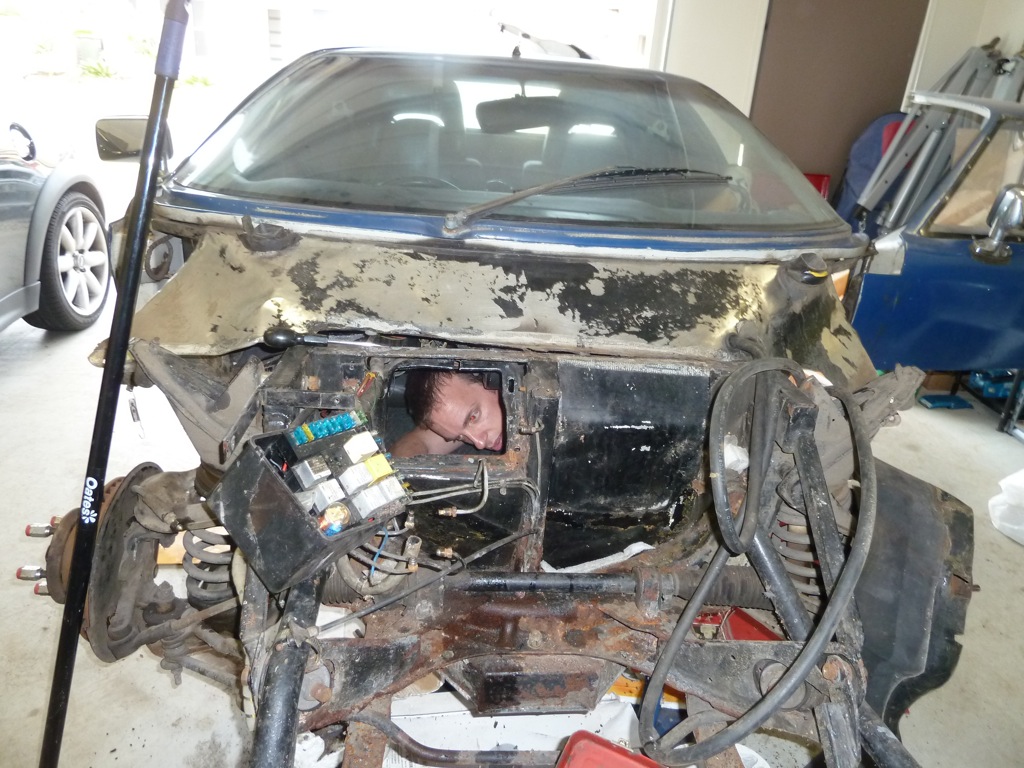
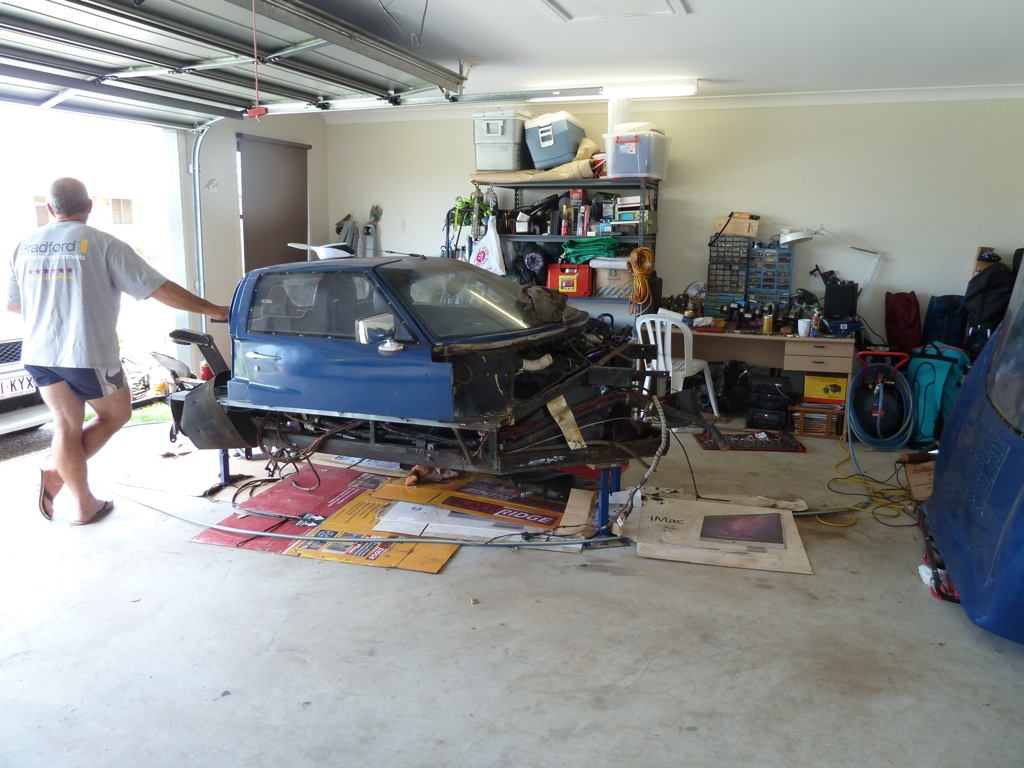
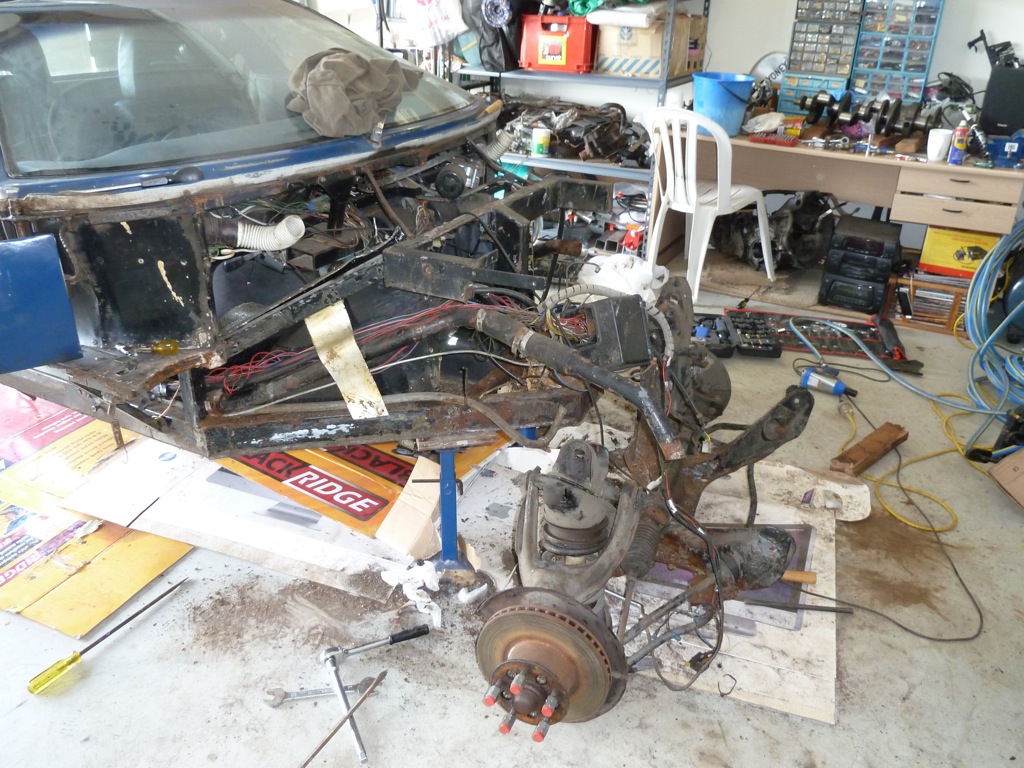
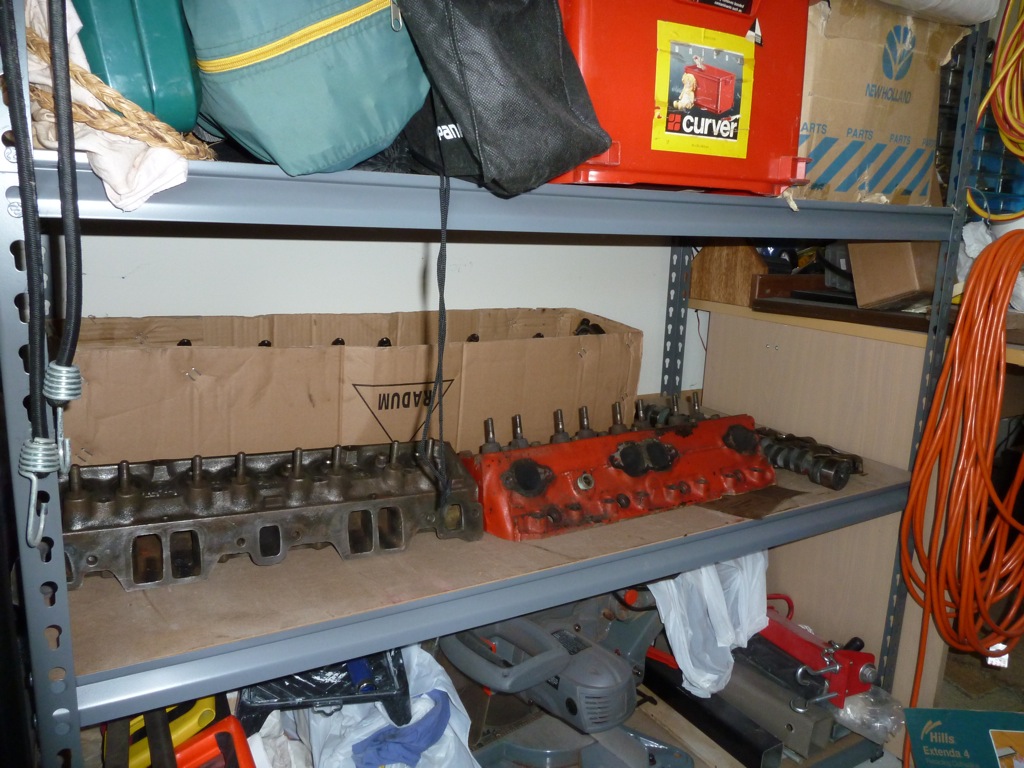
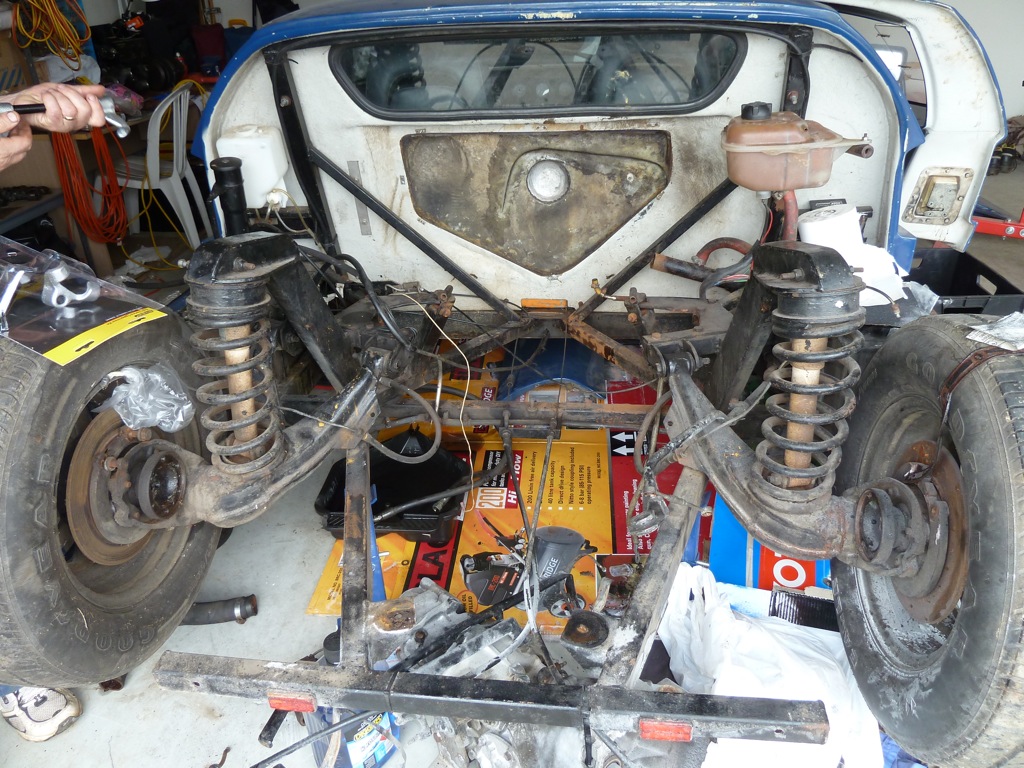
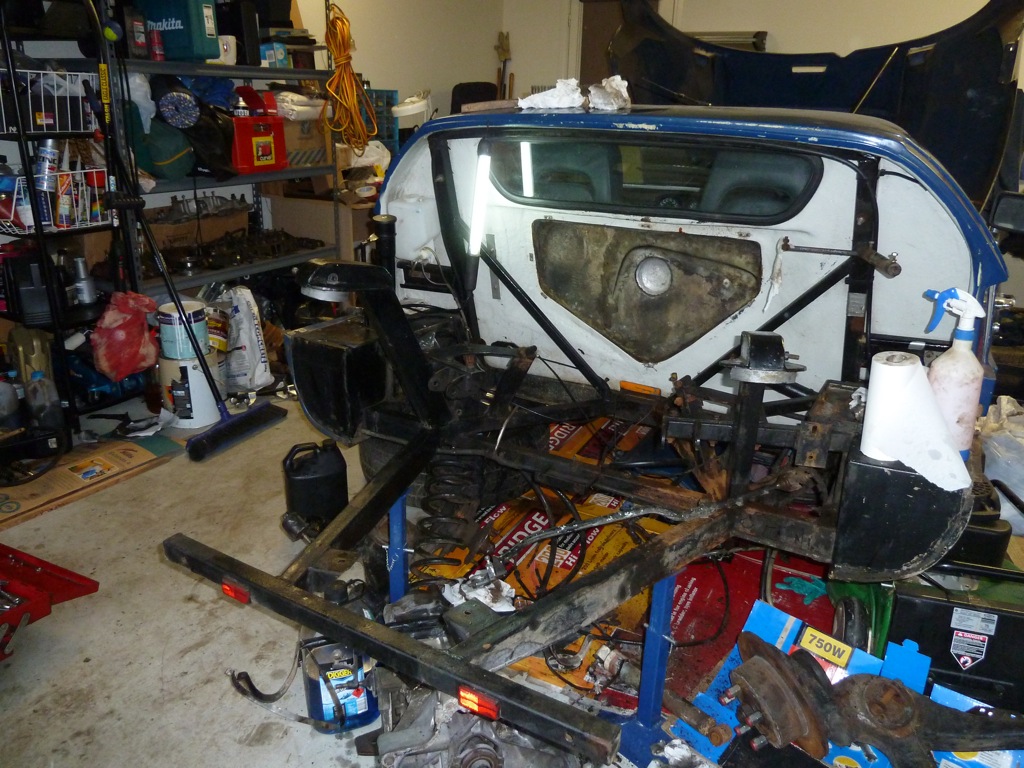
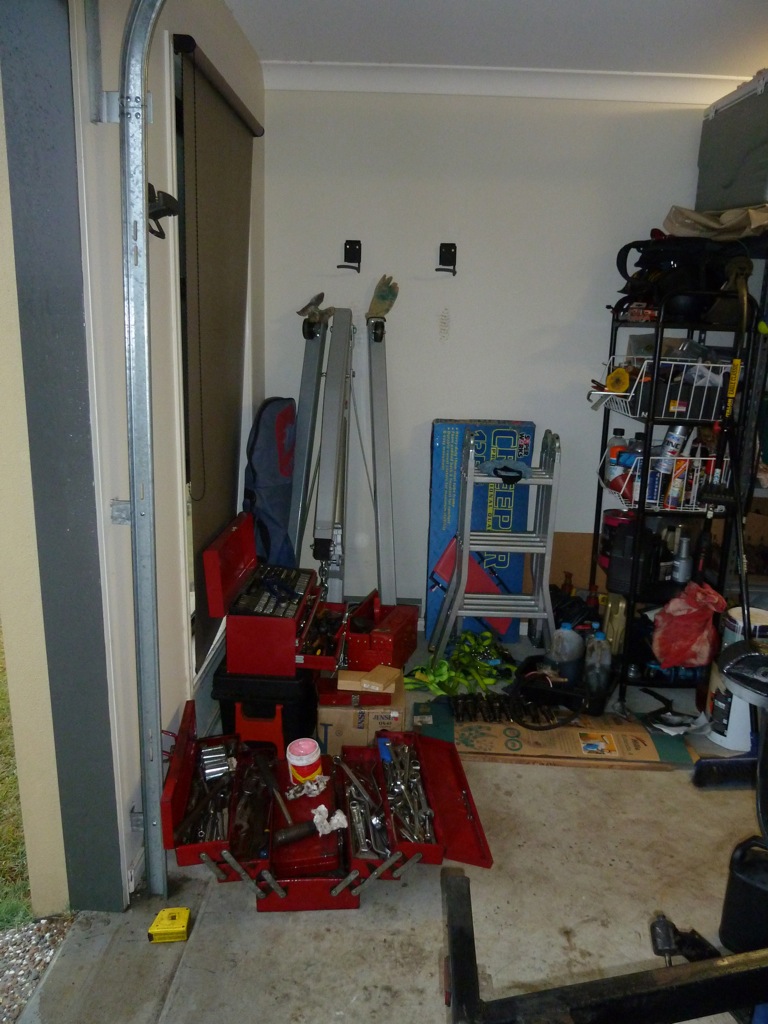
We're starting to find that GT40 parts are taking over the garage and we are falling over each other. Therefore, we spent a fair bit of time re-arranging the garage and trying to clear a parts shelf.

P1010792.JPG


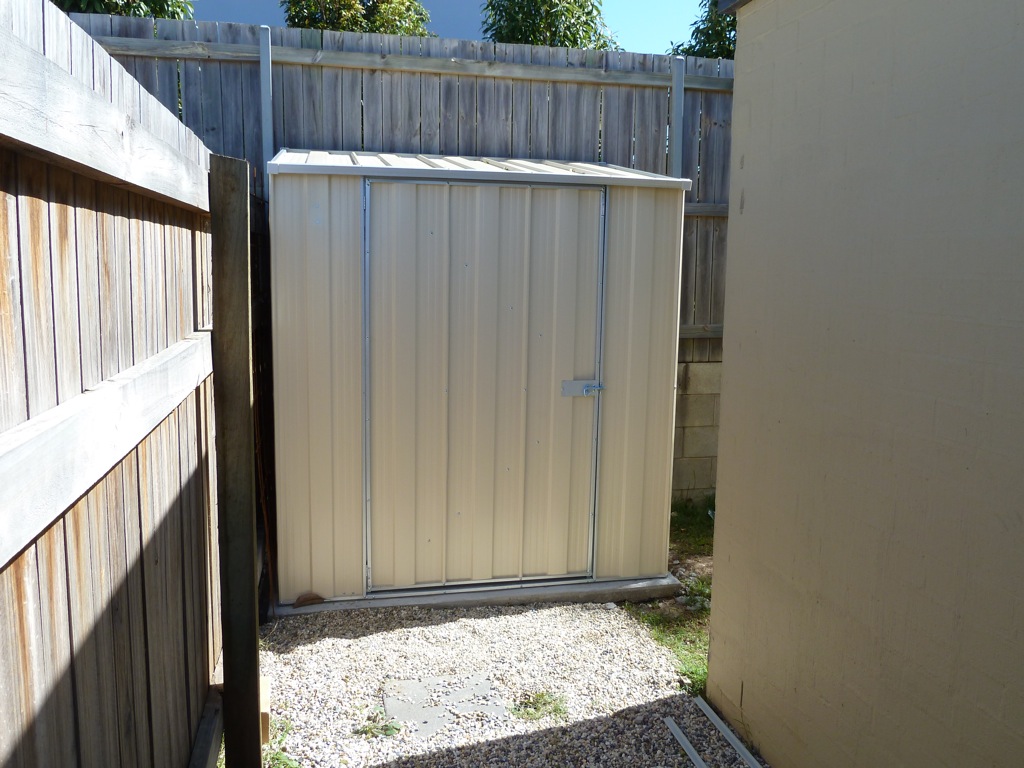
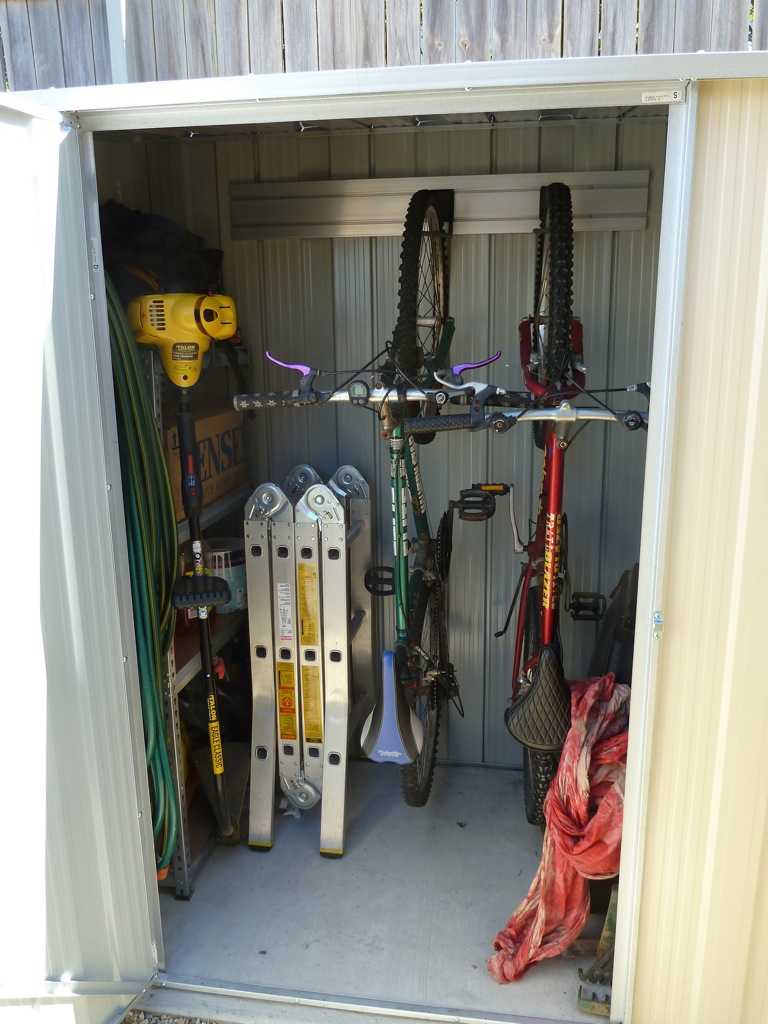
I've decided that this is a perfect excuse to build a lawn locker. I've ordered a small 1.8x1.0m shed (it's all I can fit out the back). I spent a while today preparing the site for it and knocking up a timber frame for the concrete slab. It's rained nearly every day this week, so I'm waiting for a clear day to do the slab.

Yesterday I finished cleaning the other head....

P1010856.JPG


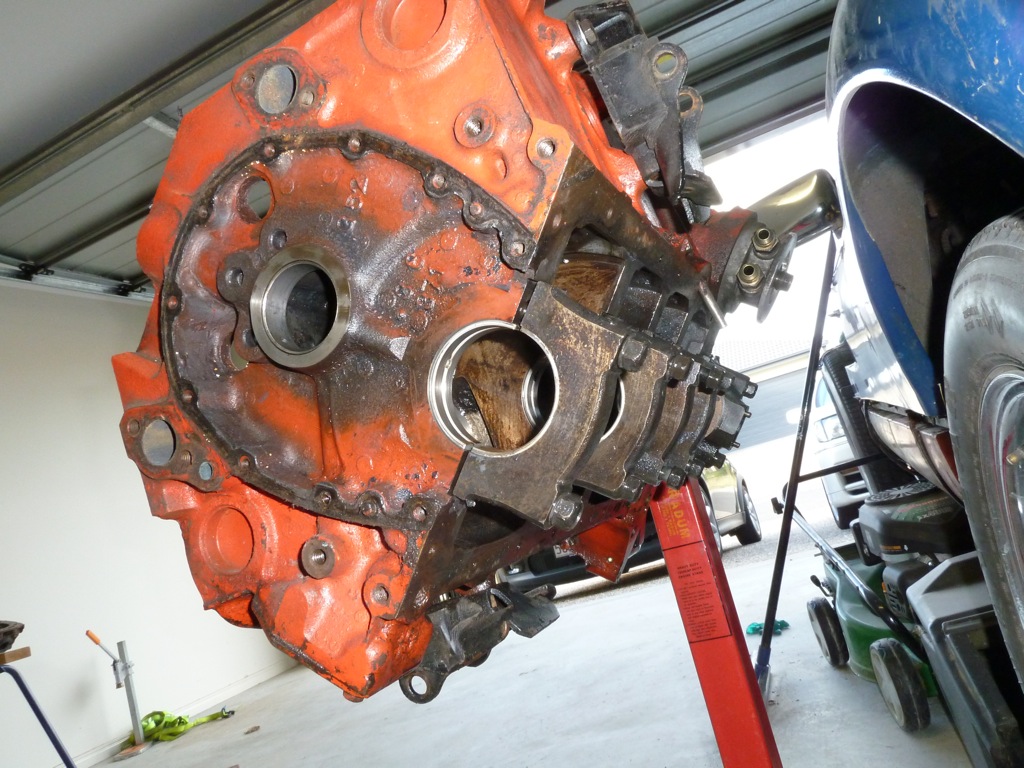
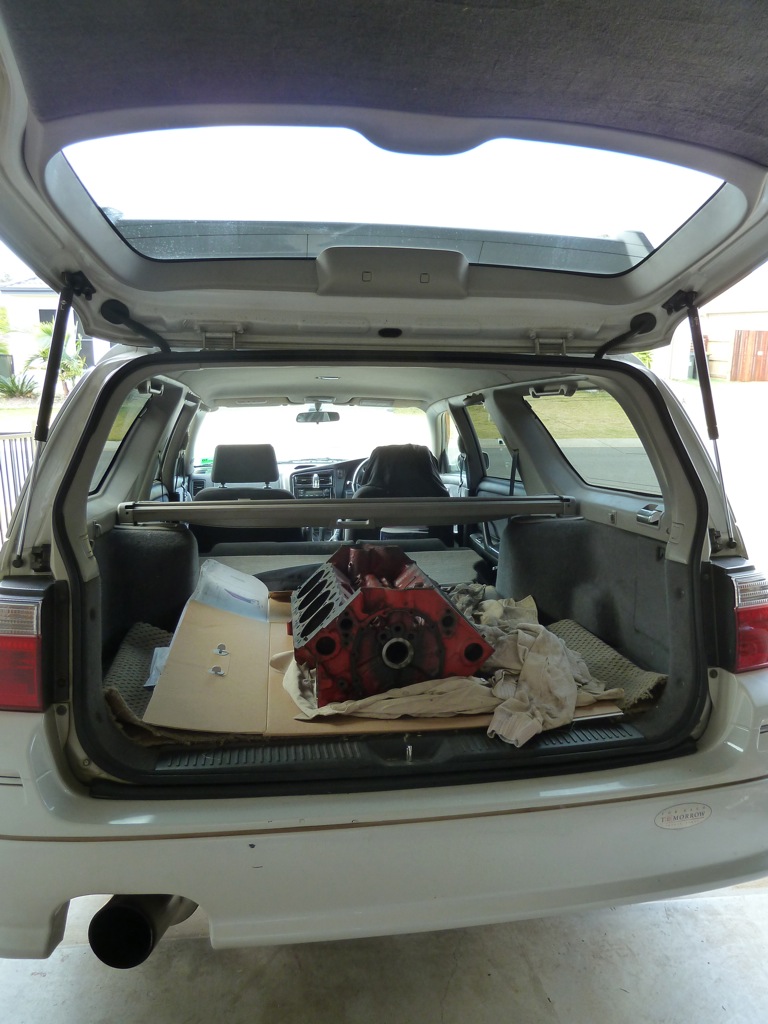
Today I also finished stripping the block (welsh plugs, etc) and dropped it into the machine shop to be bored and honed. Lets hope they can save it.

The wagon comes in handy once again....
P1010859.jpg


Sorry for the large blog. I'll try to do regular smaller ones in future. On the plus-side, I start a new job on Monday. It's much closer to home than the previous job and I won't need to go away for a while. More GT40 time!
 
Great to see you guys went ahead with the KCC purchase.

A 3mm aluminium panel will do the trick for the rear firewall, with a removeable inspection panel in the centre.
 
Thanks for the reply Craig. The firewall is on the to do list. I don't think it'll be easy though. I can't see anyway of fitting the Aluminium sheet between the rollover bar and the firewall without completely unbolting the spider. I'll have to look into this further. Many, many jobs ahead of us.
 
Latest blog update to the blog.

Stripping out the rear

Saturday was a day of crappy rain so the shed will have to wait. Despite this, we still had a good day of work on the GT40.

First up, removed the brake calipers - front and rear. We'll need to rebuild these with new seals and hone them out if required. Dad noticed one rubber brake line was completely rusted out and one of the steel ones was broken. Plenty of work to do here.

Rear brakes (Alfa Romeo according to the previous owner)
P1010870.JPG


Next, we started attacking the rear end.

P1010871.JPG


Removed the rear suspension and moved all the wiring etc. Dad started cleaning it up with degreaser and it's already looking heaps better.

P1010873.JPG


One Granada rear control arm
P1010877.JPG


GT40 stuff is taking over the garage, so I've decided to knock up a workbench with an under-shelf to go in front of the garage window, where the toolboxes are below.

P1010875.jpg


I was inspired by this Autospeed article, so decided to knock up the workbench myself out of scrap metal and an old kitchen bench top. It should do the job. So far, it's cost me $70 for scrap metal and $15 for the kitchen bench, so I'm pretty happy about that.

P1010876.JPG


Unfortunately, I ran out of time to finish it off, but will hopefully knock it over on a week night.
 
Simon, Not sure what side of town your on, but i use Northside Cylinder Heads for all my machine work and acid dipping, BHSS (Brisbane Hydraulic Sleeving Services) are legends when it comes to brake and clutch parts for rebuilding, and Crankshaft Engineering at Browns Plains for crank grinding. Best to get those bits acid dipped and pressure tested before you put a heap of hours into cleaning them up by hand. Also Northside Blastcoat at Geebung are fairly well priced for all your sandblasting needs . .saves hours of mucking about!!. ..they will even etch prime and two pac if you want to swing them the coin. Those 350's are prone to cracking stock rockers in half or punching a pushrod through also if you start putting a decent lift cam in there.
Russ
 
Last edited:
Interesting to see the differences between the older KCC and the more modern kit chassis. Certainly a lot of improvements that could be made and I wouldn't want a lot of power in the KCC!
 
Hey Russ, thanks for the feedback. Believe it or not, my block is actually in at Northside Cylinder Heads as we speak. A mate of mind is using them (pretty much by chance) and he also recommended them. That's good to have 2 recommendations. Their workshop is a bit of a mess, but hopefully it turns out good. Not doing anything crazy with the cam. This engine will have more than enough power for the time being (plus the gearbox probably can't handle much more).
 
Simon, Would you believe my brother in law just got an apprenticeship at Northside Cylinder Heads last week!!. He will be the greasy looking gimp out the back they use as a pull through to clean your bores!! :laugh:
 
Definitely time for an update...
Sorry for the lack of updates lately. I have pretty busy with my new job and driving things like this...

P1020244.JPG


Yep, a few months ago was my 30th and my mates are absolutely legends and bought me a gift card for a super car driving experience. I was lucky enough to drive a Ferrari Modema 360, Lamborghini Gallardo and Nissan 370Z through the Gold Coast hinterlands for 3 hours. It was absolutely awesome fun. To sum up my thoughts on each car:
* The Ferrari was unbelievably quick at 0-100 speeds, but the flappy-paddle gear changes were slow.
* The Lamborghini was great fun to drive, but geared unbelievably tall. I was doing 80-90km/h in first at 8000rpm :) I imagine this thing would be insane at 200km/h+
* The 370Z was the surprise package. The flappy-paddle gearbox shifted faster than the Ferrari and it was able to keep up with the Lamborghini to 100ish.

_MG_5731.JPG


_MG_5679.JPG


_MG_5669.JPG


Anyway, enough talk of Supercars, what the hell is going on with the GT40?

Well, since the last blog we have finished off the shed. This has meant that we can clear some of the stuff out of the garage to make space for the GT40. The garage is still a mess though...

P1010970.JPG


P1010971.jpg


The workbench is still a work in progress. Unfortunately I am painfully slow at welding. Plus, I'd rather be working on the 40.

P1010972.JPG


As for the GT40... It seems it is slowly but surely being disassembled. First up, we decided to inspect the fuel tanks. This turned out to be a wise move. We discovered lots of crud inside and one tank had a small hole caused by rubbing on the chassis. The level senders were completely rusted out. Here's one of them. Not pretty.

P1020347.JPG


Once the tanks were out, we removed the rubber sheeting that's attached to the chassis behind the tank. This revealed the coolant lines and wiring. As expected, the coolant lines are quite badly corroded, so we'll be looking at replacing these.

P1020349.JPG


P1020337.JPG


Whilst following the coolant lines up to the radiator we decided to remove the front-end of the car. Once again, this was a simple proposition of unplugging the head lights and undoing 4 bolts. Without the front, she's certainly not a pretty.

P1020353.JPG


It's not all bad news. We took a trip over to the engine machinist on the weekend. The block is pretty much done and we should be picking it up this weekend. He has sleeved the one dodgy cylinder and it looks really good. By sleeving it, we have been able to keep it at +30 thou and retain the pistons that came with it. As mentioned in one of the early blogs, this engine only had a few thousand kilometers on it, so the pistons are in excellent condition.

What's next? We'll keep stripping down the front end. We're not sure how far we'll go with stripping it down just yet. As long as we keep finding areas than need attention, then we'll keep stripping it. After that, we'll repaint the chassis and get stuck into the engine. I know Dad's looking forward to the rebuild.

It's certainly starting to look like a longer term project. Oh well, we're not in a hurry and spirits are still high. It's all part of the fun..
 
Hey Russ, I just saw your post. I'm not sure if I've met your bro in law. So far I've seen Mike who owns the place, a girl who I think is also an apprentice and another bloke. Is he your bro in law? He actually lifted then engine block straight out of my car!
 

Terry Oxandale

Skinny Man
Stick with it Simon. I went through about the same thing (not quite as bad) on my project, which left only about 10% of the chassis as "original". At least your body is pretty much a straight-forward affair of detailing rather than a lot of cut-and-paste.
 
Thanks guys. It certainly could be a lot worse. The previous owner sorted out a lot of issues. As you said it really is a matter of tidying up and improving :)
 
My brother in law's name is John, skinny tall young bloke, I think he would be flat out lifting 1 x head. . .the block no hope!!
 

JimmyMac

Lifetime Supporter
Hi Simon,
A nice project there.
I've watched your thread regularly and have to say I'm impressed with your work rate and the teamwork. It looks like fun.
If you permit me, and I could only make one suggestion, that would be to move your fuel filler to the front of your car. One of your earlier pictures show a stand pipe in the engine bay - was this for coolant or fuel ?
All the best.
 
Last edited:
Jimmy - We have certainly had discussions about that. Genuine style fuel fillers look pretty expensive but its certainly something to think about down the track. I think we decided it might be the sort of thing to leave until the body work stage.

It would progress a little quicker too if I could lend a hand. Unfortunately I am in the middle of no where (really, I am not sure I could even point out where I am on a map) and a good 7 hours drive away from the car.
 
Hey, thanks for the kind words Jimmymac. We think it is progressing a bit too slowly, but we normally only get 1 day a week to work on it, if we're lucky. Yeah we all agree that the fuel filler in the engine bay is pretty rough to say the least. We'll see how rich (or poor) we are by the time we get around to the body. Fuel fillers in the front would be awesome. I'll make a blog post shortly of yesterday's progress.
 
A fork in the road..

Yesterday we were able to get stuck into the car again. We were at a bit of a loss yesterday as to which aspect to attack first so we took the option of tidying up the garage. It was certainly needed. Now we can easily move around the car. Ah, much better...

P1020363.JPG


P1020362.JPG


After finishing the tidying, we took some time to reflect on where we want to go with this car and what should be the plan of attack. Our original plan was to get this thing on the road ASAP, but that goal is slowly slipping away as we discover more and more things we need to do. As you can see from the photos, in its current state it is not far until it is complete stipped. It really is the front suspension, wiring and cabin section that are left. We deliberated for some time as to whether we continue down the path of stripping it down entirely (and add considerable time to the project) or do we tidy it up from where it is now and ignore the cabin section. What do you guys think?

The interior is not too bad, but we don't know what lurks beneath the carpet. What we do know is that the coolant lines, wiring and chassis down the sides need some attention. I think we are now of the opinion that we will continue to strip this thing down. We have come so far, we'd may as well do the whole car properly and then we have no worries about the car in the future.

OK, so with that thought in mind we decided to start ripping out the front suspension. It's quite a funny design. Bascially, all they have done is ripped the front cross member and suspension off a Cortina and bolted it to the box-section chassis. Not much to it really. It looks heavy, but being a dual control-arm setup, hopefully it has reasonable handling. It's amazing how much little front collision protection there is. Haha

P1020361.JPG


P1020365.JPG


We were able to undo all of the bolts apart from one (yes there's always one). It was jammed in between the cross-member and the panelling behind the pedals. Impossible to get at without removing the pedal box and panelling. This caused us much grief. I was lying upside down under the dash for several hours. Not fun.

P1020371.jpg


We eventually removed the pedal box. There were a few painful screws and bolts on this one. By this time, we'd yelled a few profanities and Dad had to head home. I decided to plod on and attack the panelling. My wife, Kristen came out to the garage and couldn't find me until she saw this...

P1020370.JPG


Nope, that's not photoshopped. Hilarious...

P1020368.JPG


There was one bastard of a screw in there that was near impossible to get out and just about threaded. Damn flat-headed screws. Worst idea ever! In hind-sight, I should have just drilled it out, but I was determined to get it out and ended wasting 45 minutes (and my sanity) to get it out with vice grips.

In other news, we visiting the engine shop yesterday with the intention of picking up the block. Unfortunately the engine builder had forgotten we were coming in and hasn't progressed yet. No hurry. We have lots of work to do.

Unfortunately, I'm away for the next 2 weekends, so not much is gonna happen for a while :(
 
what can I say besides some funny pictures and written lines :D

Your a brave man doing a project like that...
once you start there is no end till all is done I'm afraid, you fix one thing and or renew some other parts then most other things do "need" work too.
but your so far now there's no turning back now :D
 
Stumpy GT40
So the GT40 is now a lot stumpier than when we bought it....

P1020825.JPG


Yep, we finally found some time to get stuck into it. My Father in law, John was down for the weekend, so John, Dad and I spent a few hours in the garage on Saturday (no better way to spend your weekend). This time we attacked the front end. We've now removed the front suspension. We removed it as a whole. It wasn't overly difficult, just a bit fidddly to get all the bolts out. First we had to remove the panelling in the footwell to access bolts, then we had to cut off the 25mm RHS holding on the front clip and then cut one of the bolts at the front of the crossmember. After that, we were able to lift the crossmember and suspension as a whole. When it goes back together, we'll redesign it so no cutting is required next time.

P1020819.JPG

Done and done​

Much to our surprise we found an old mouse nest under the front crossmember. On the munched up bits of newspaper I saw an ad for a real estate place in Hervey Bay, so they are obviously Queensland mice.

P1020820.JPG


So, as you can see, there is quite a bit of tidying up to do in the front end. The wiring is pretty messy. I can't wait to tidy that up (hey, I'm an Engineer). This thing will look schmick once we're done with it.

P1020822.JPG


So I think the plan from here is to keep on stripping it down. We've come this far, so we'd may as well go all the way. Having the front suspension out as a whole is very handy, we can fully tidy it up and rebuild it on the bench and then bolt it back in when we're ready.

Speaking of the bench..... while John was down he gave me a few welding tips. I think this will help immensely and I now know where I was going wrong and why the bench took so long to weld. We had a crack at the bench on Sunday and it's just about done (FINALLY!).
 
Back
Top