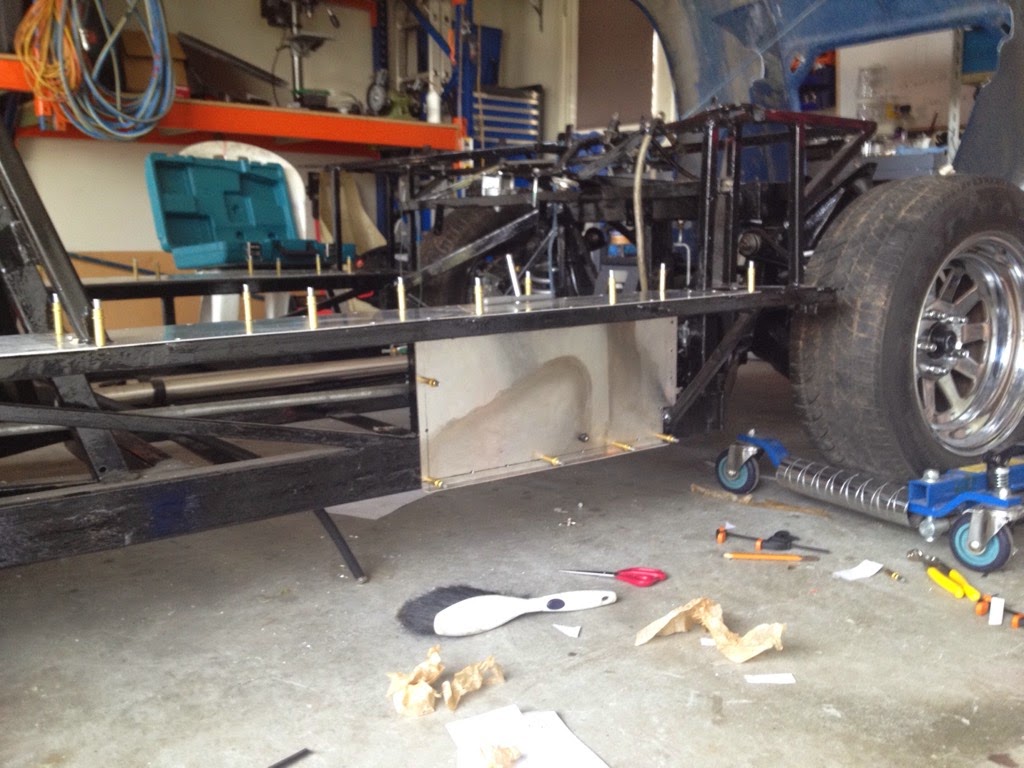
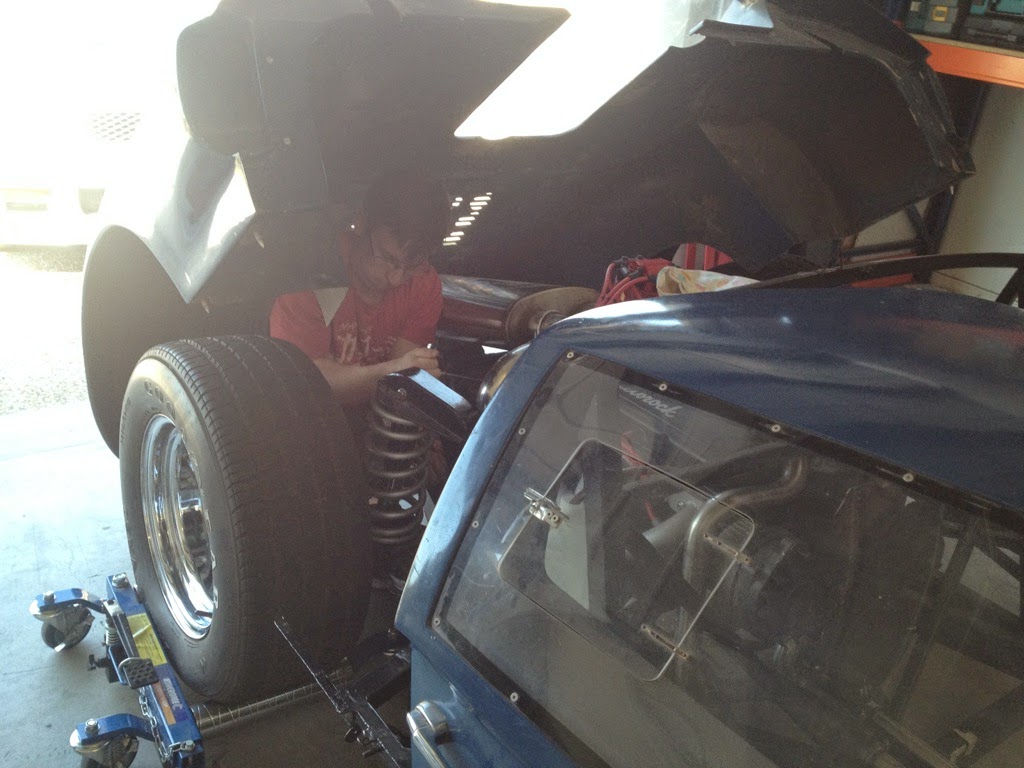
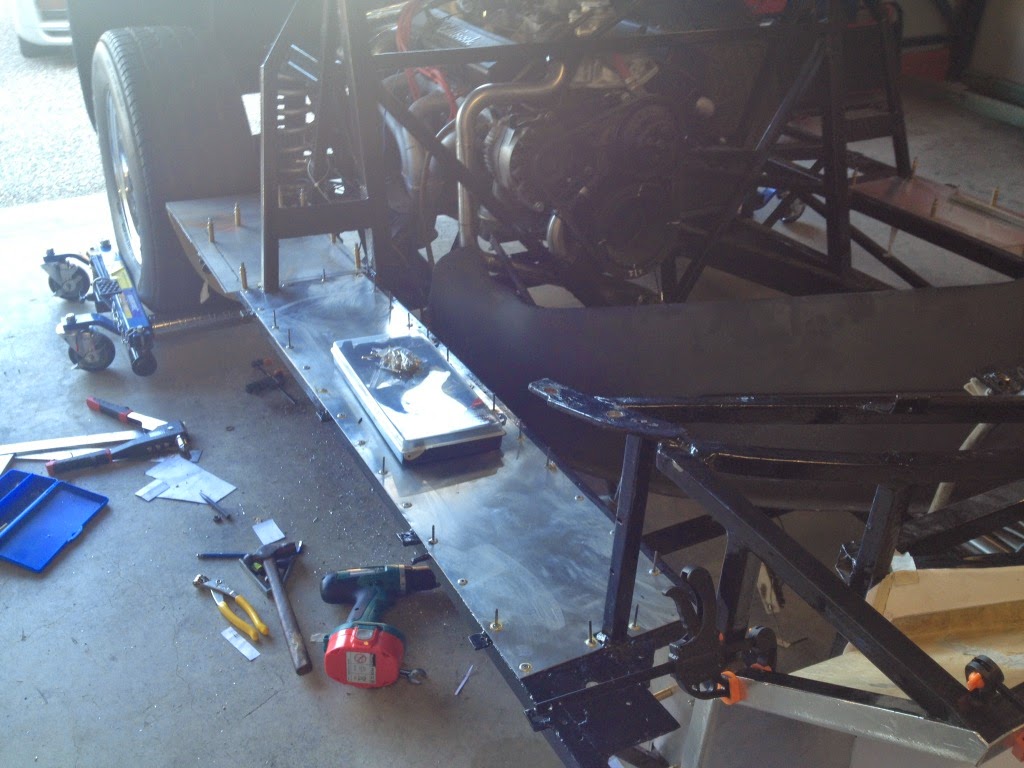
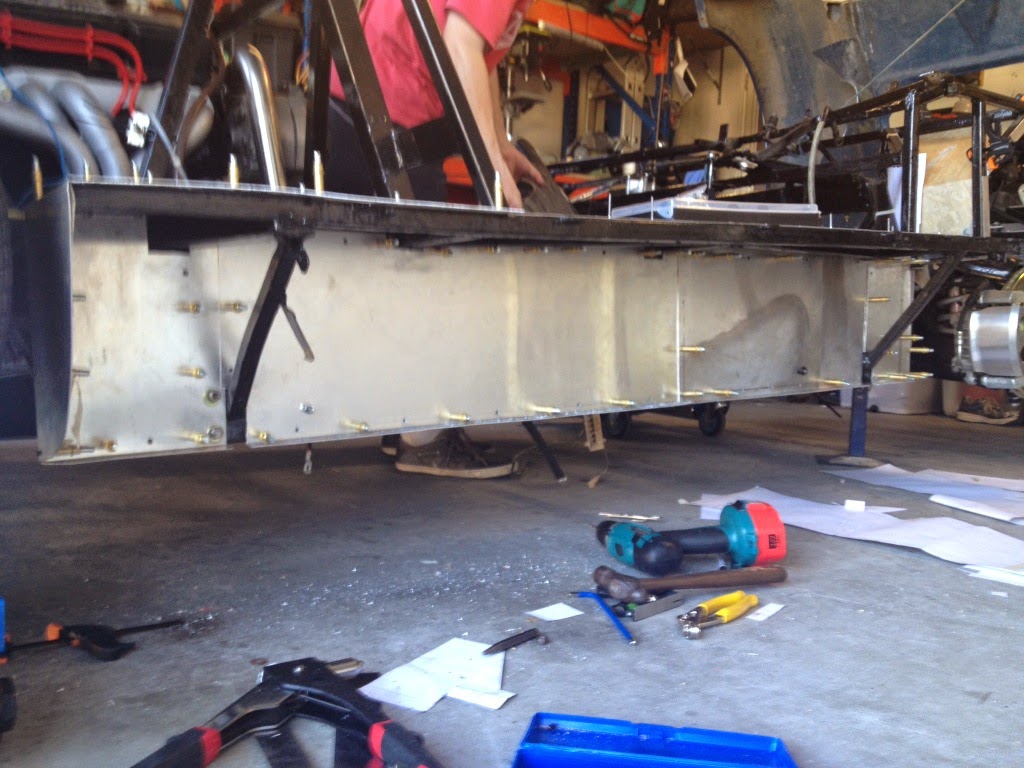
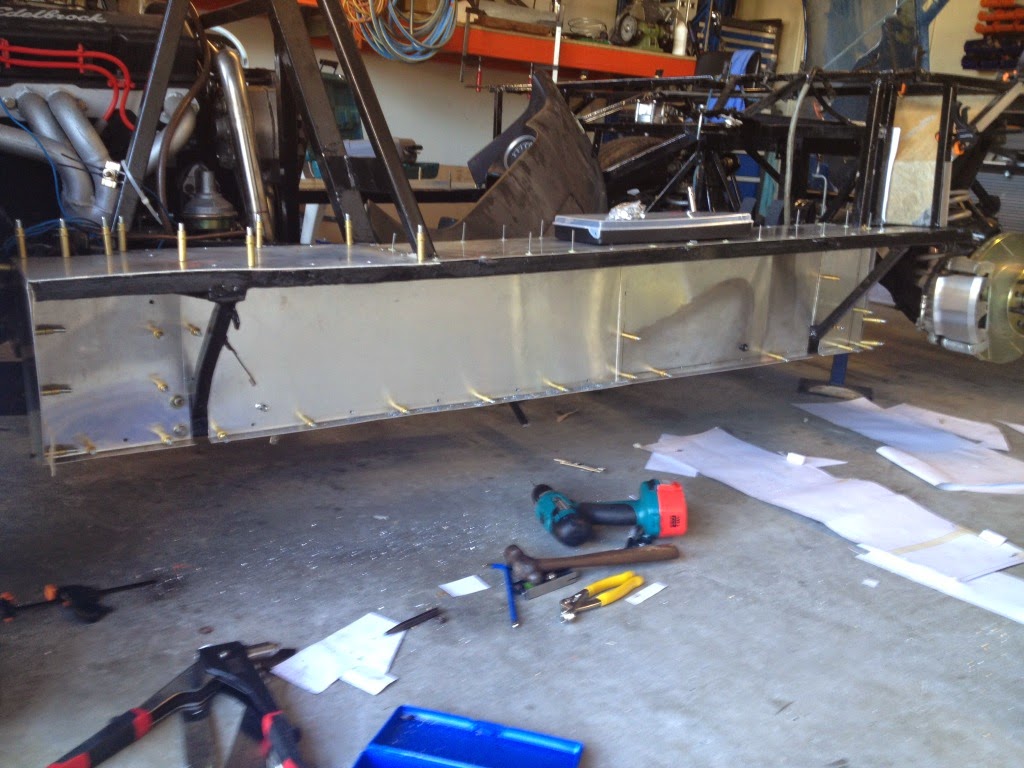
Tim and I spent half a day working on the GT40 on Saturday. It's always good to get in the garage and make some progress, even if it just for half a day. Currently we're working on brake lines and the muffler mounting. Tedious jobs, but progressing none the less.
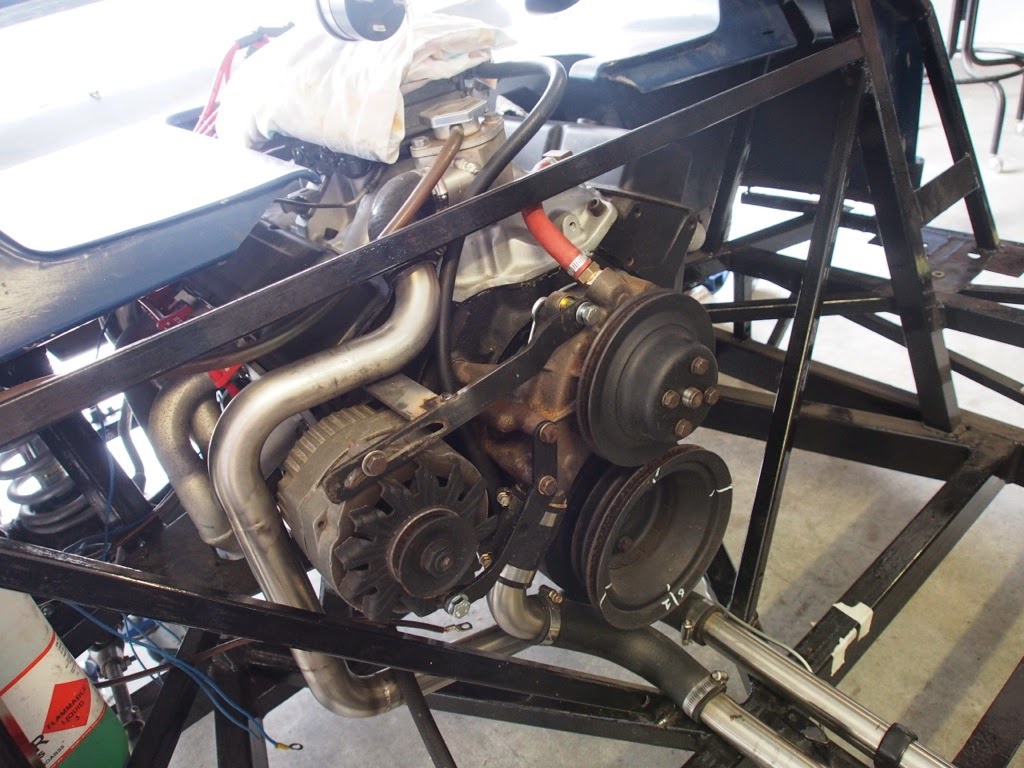
Brake Lines
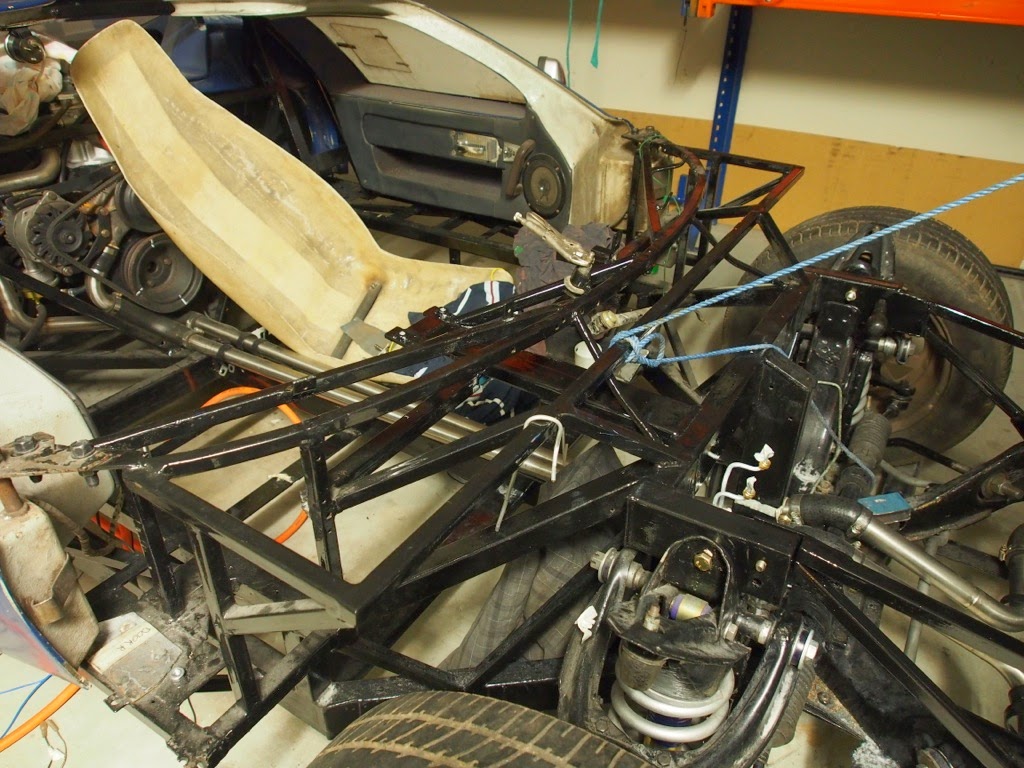
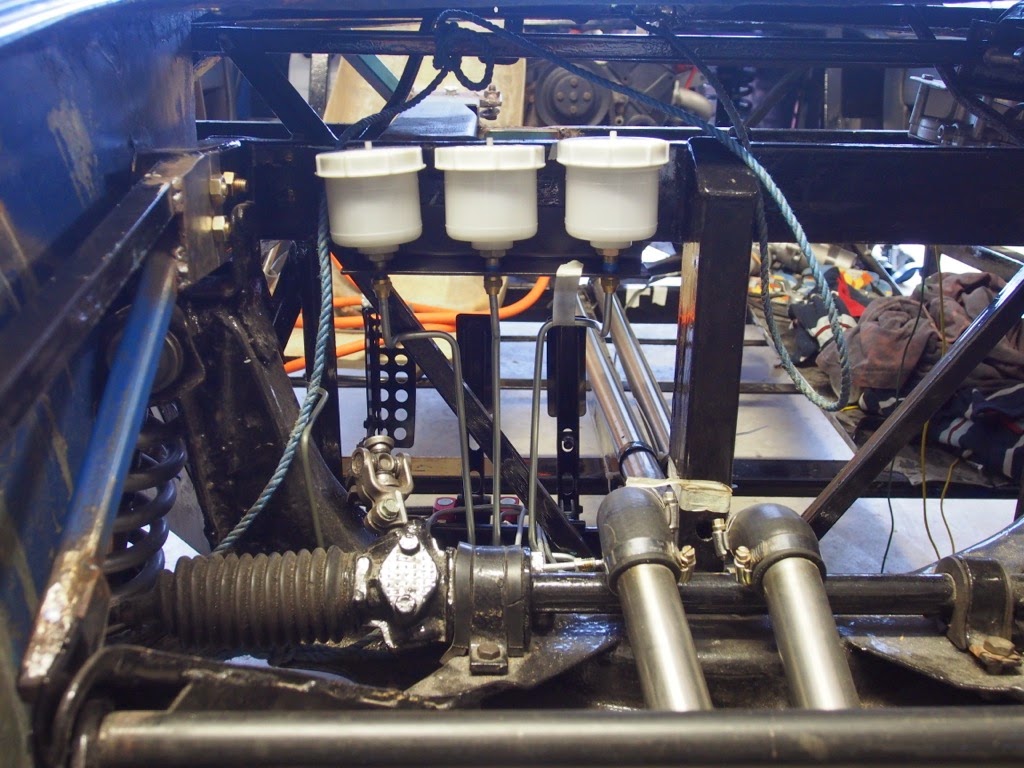
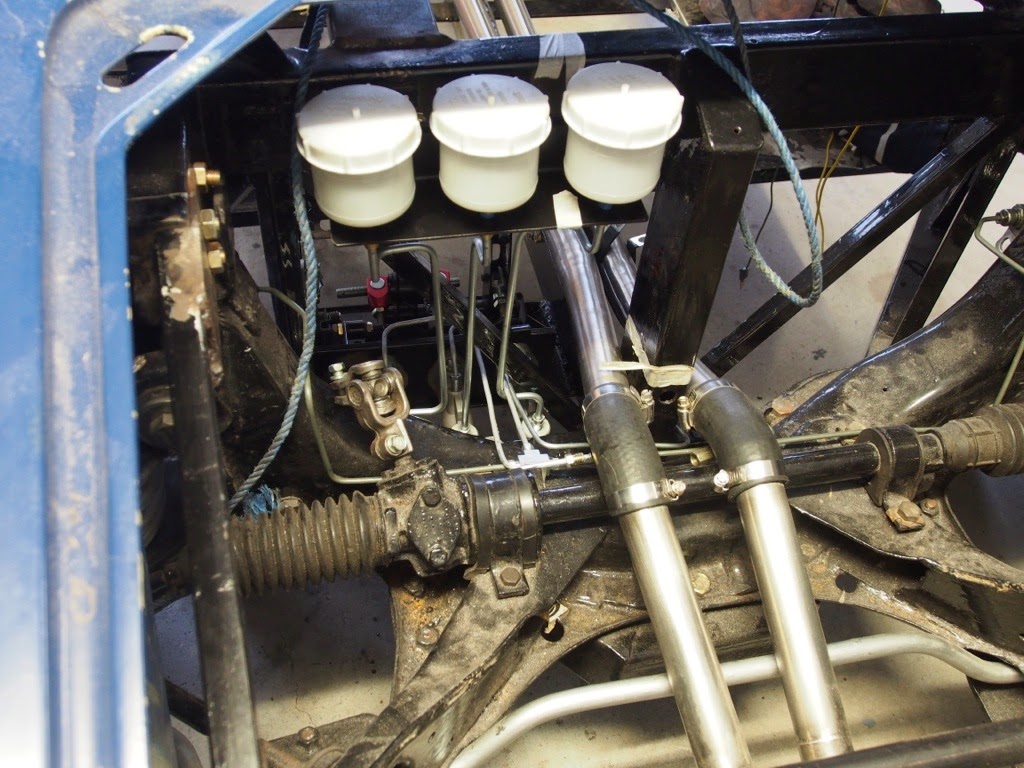
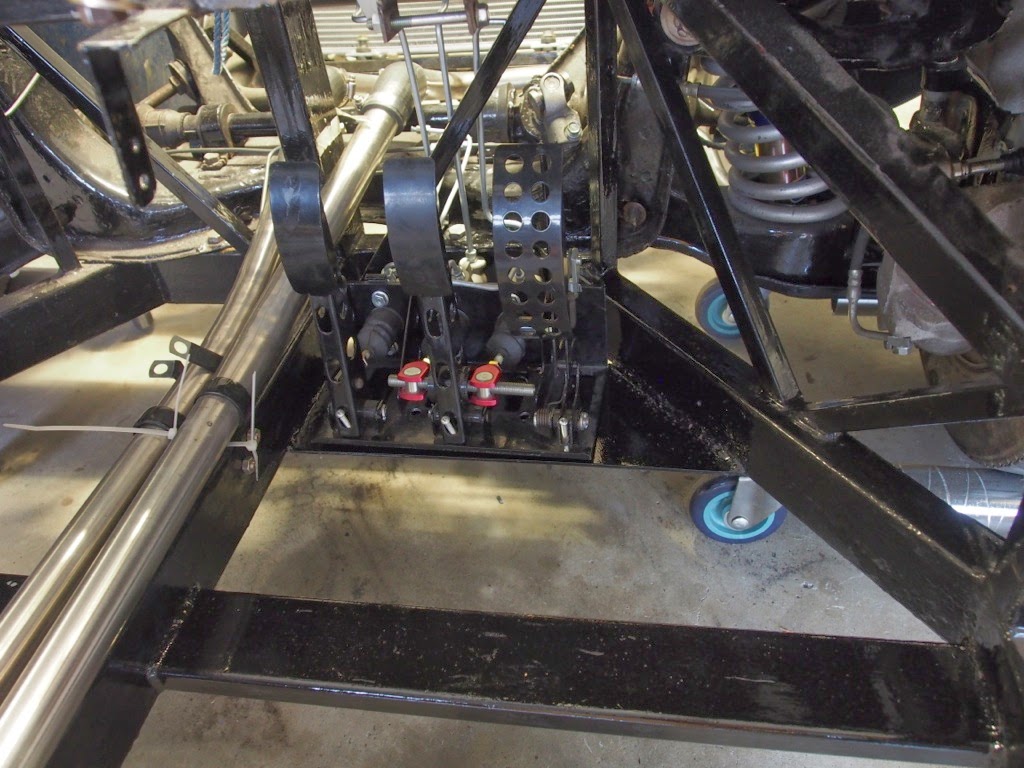
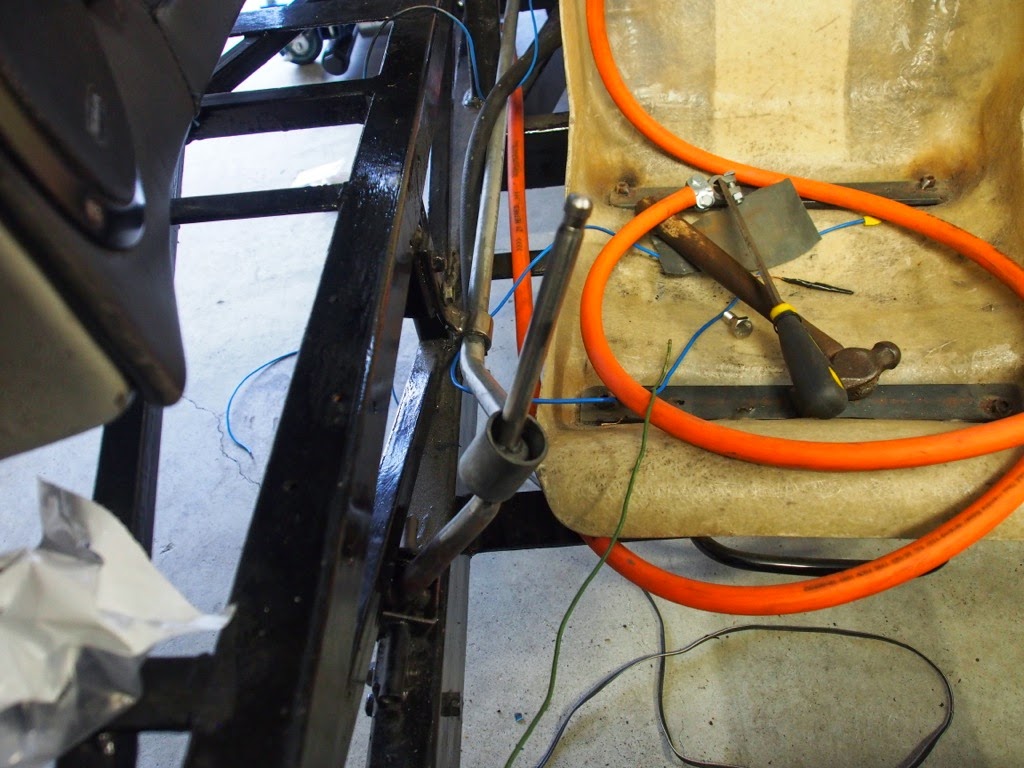
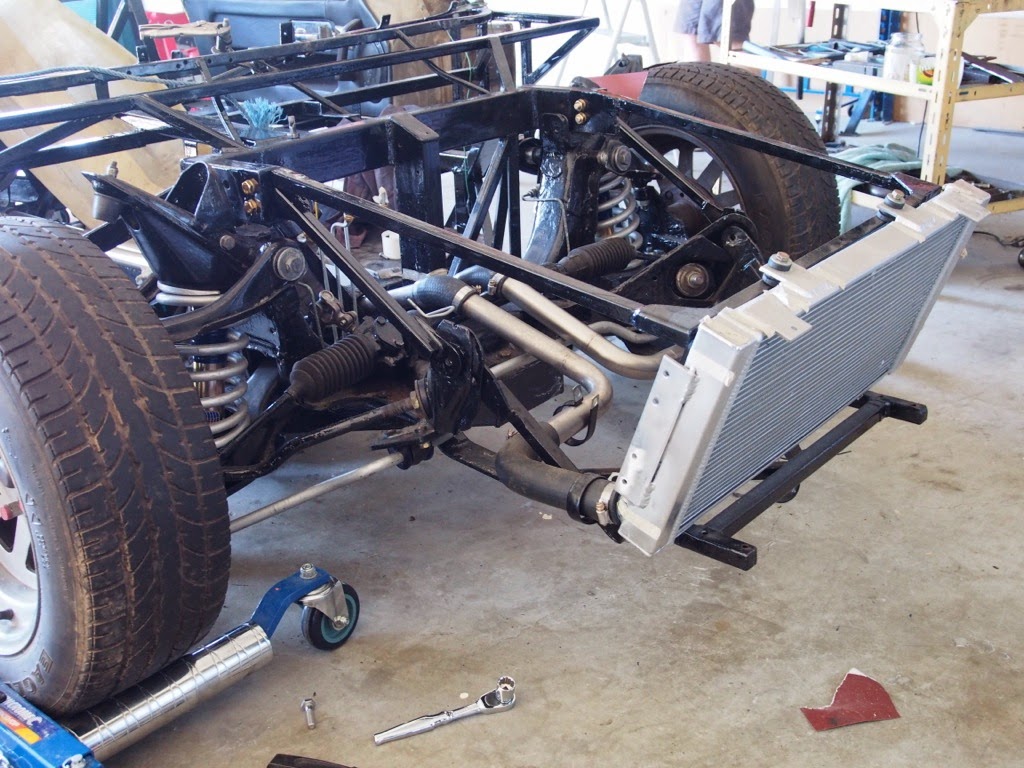
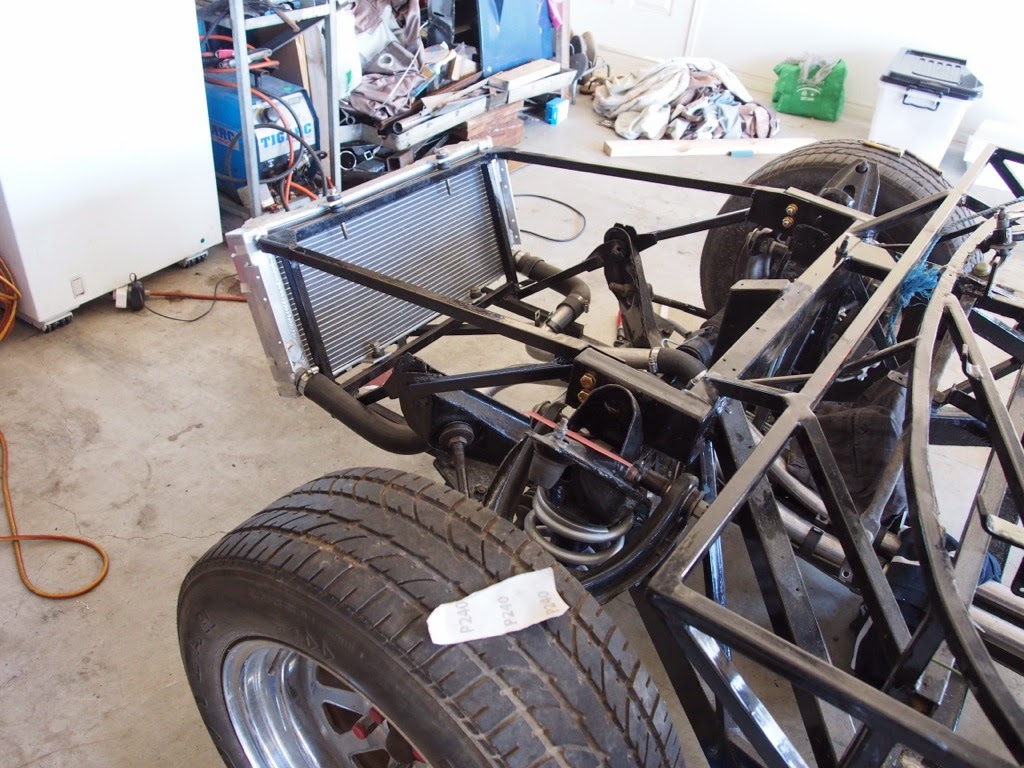
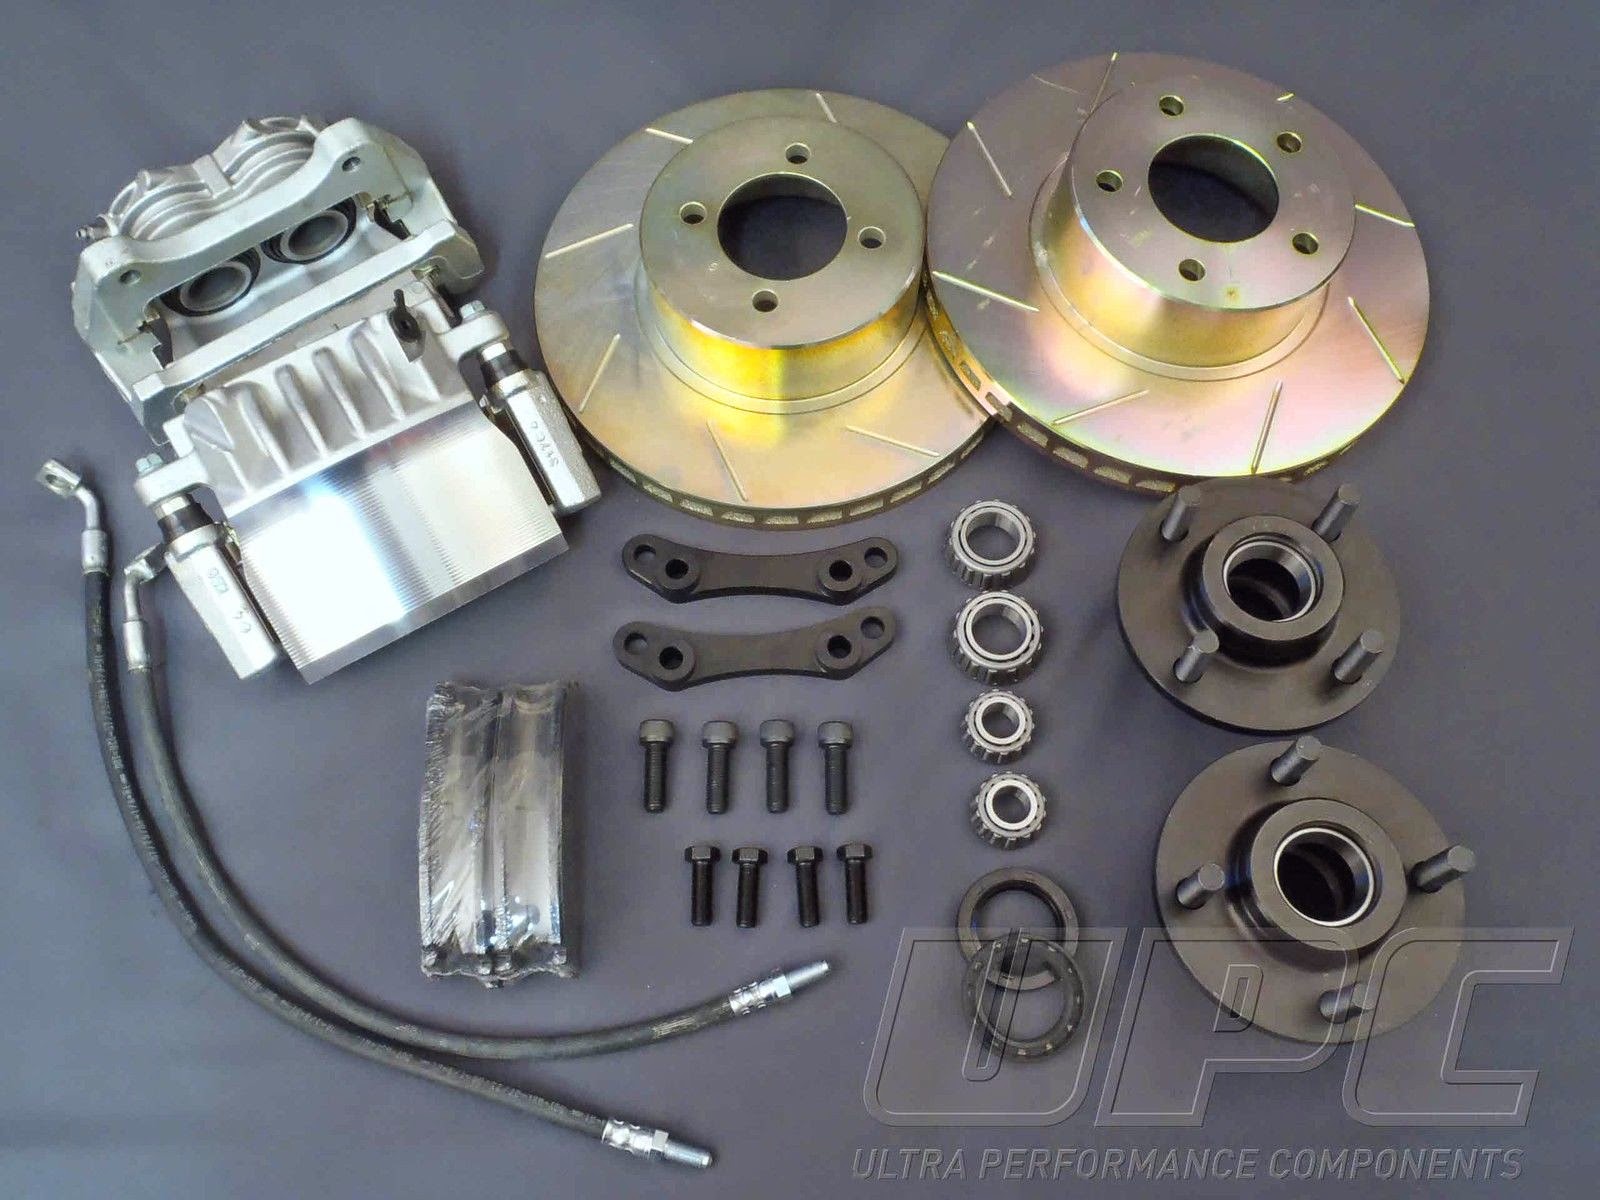
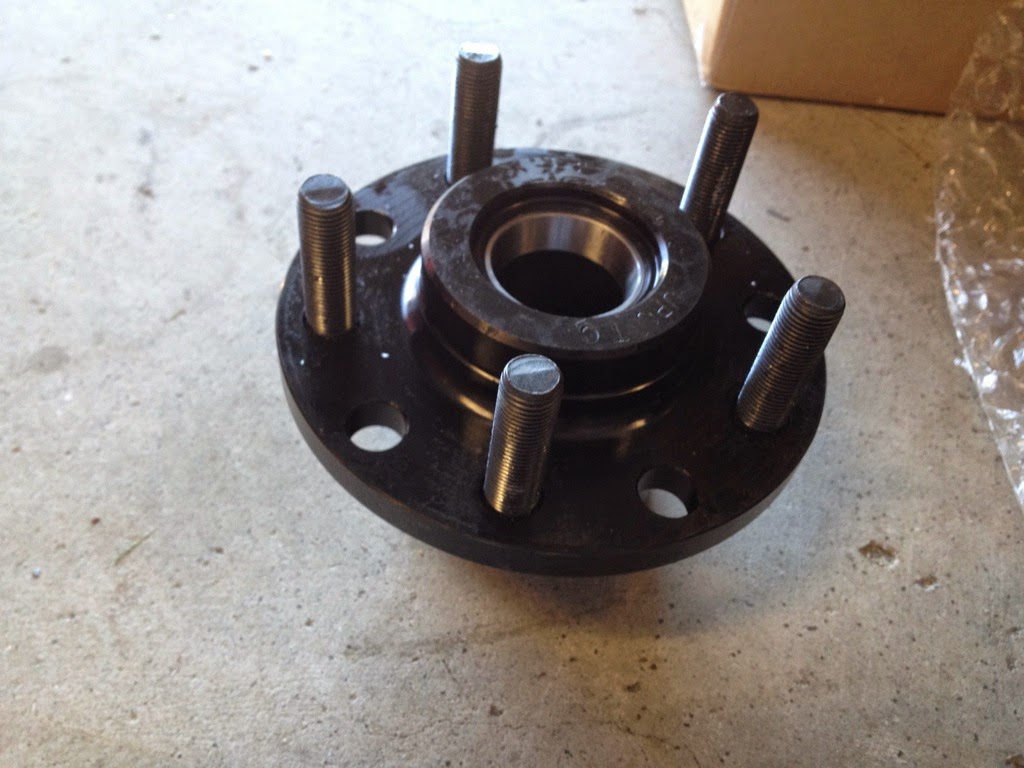
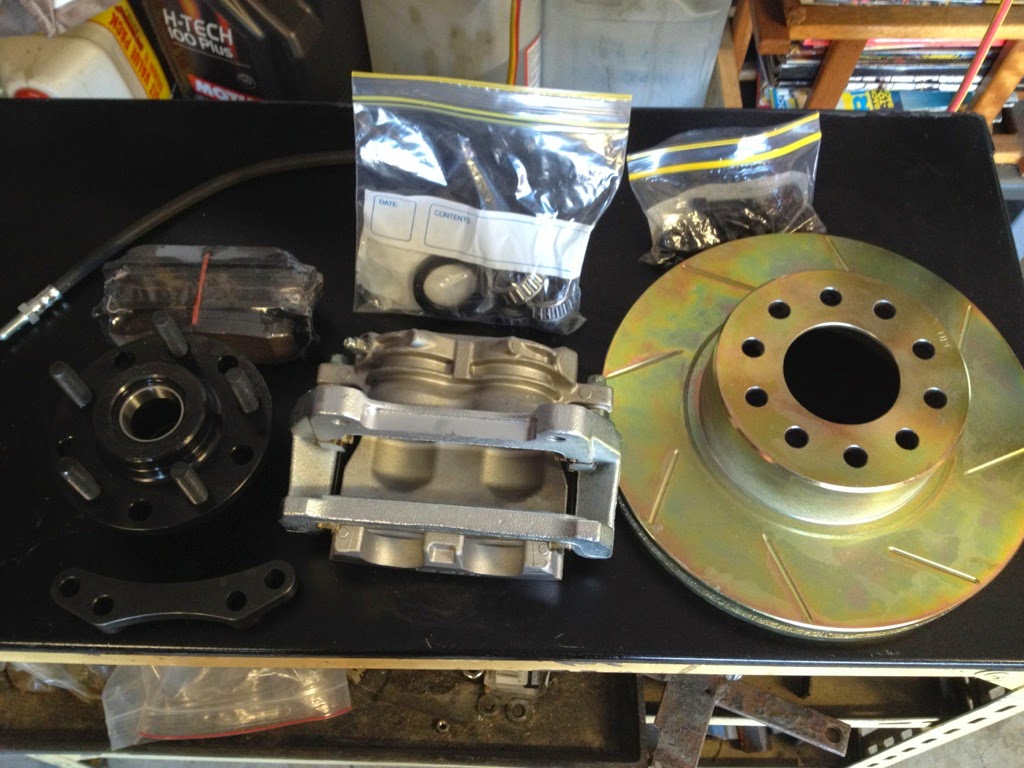
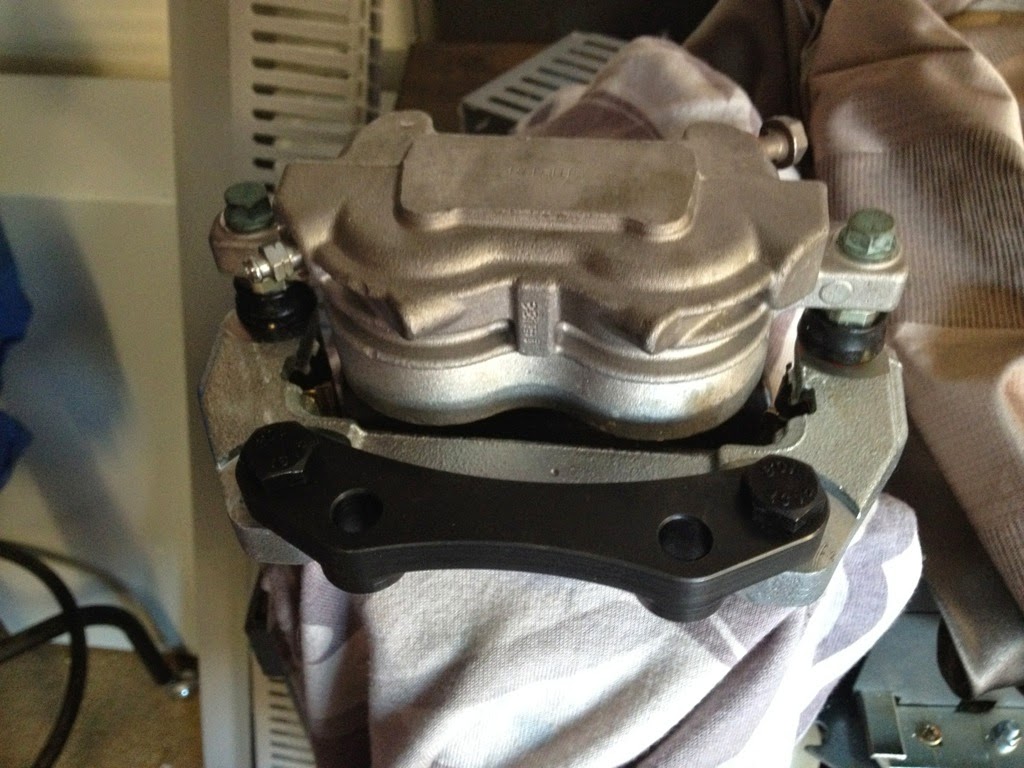
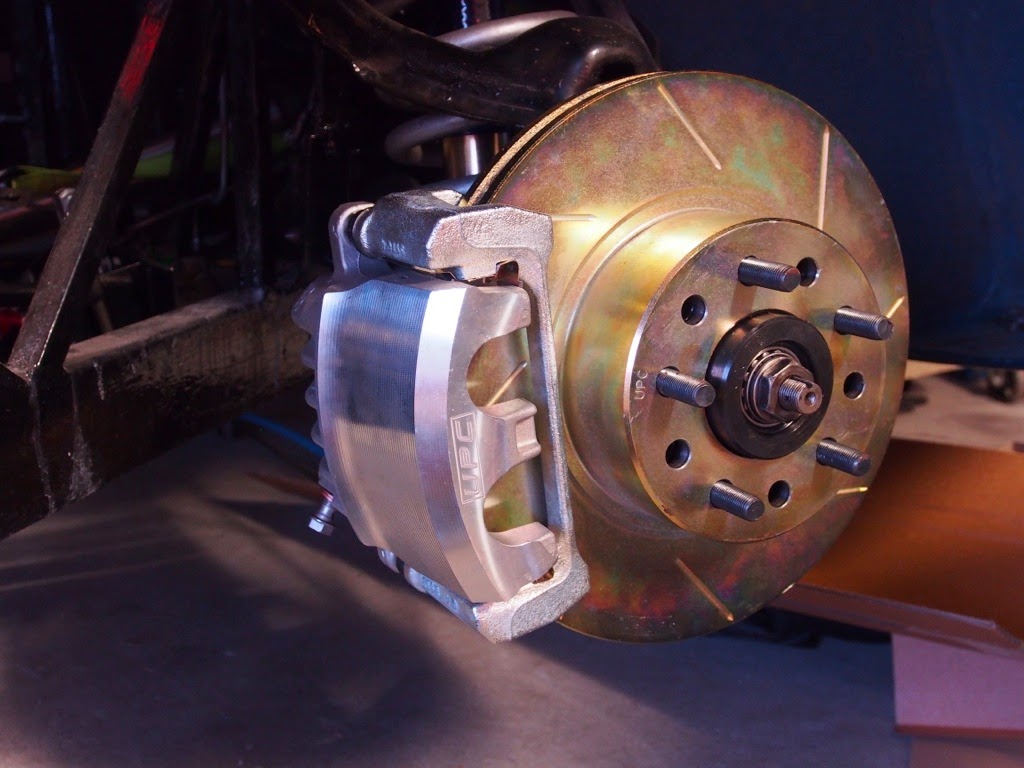
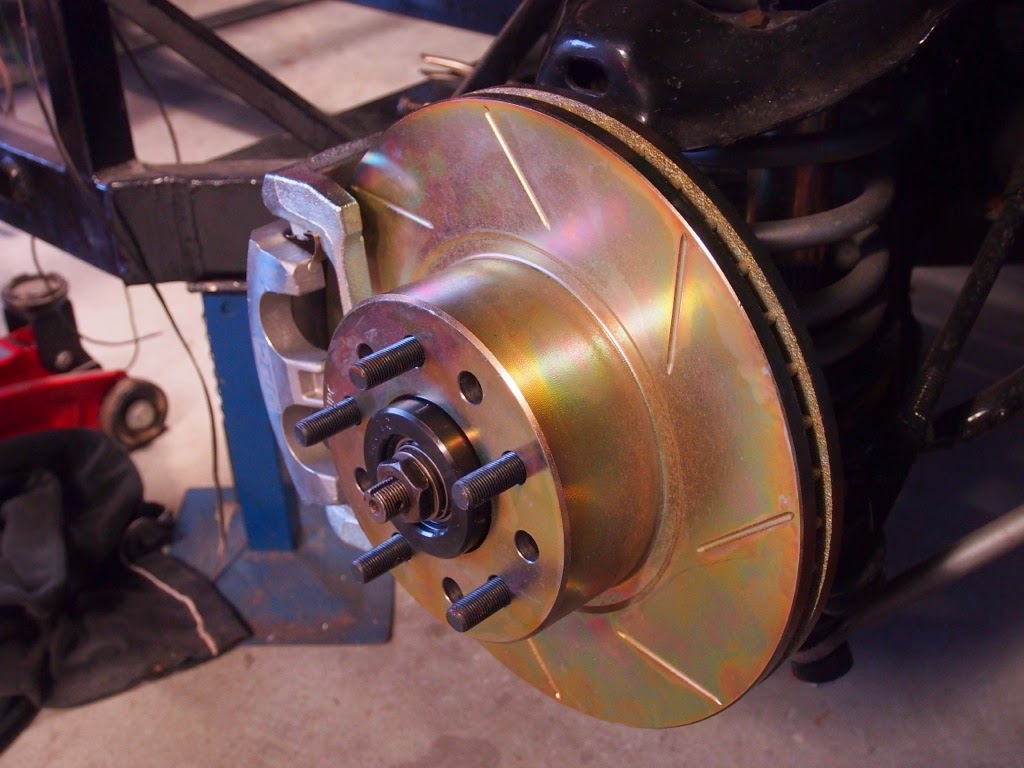
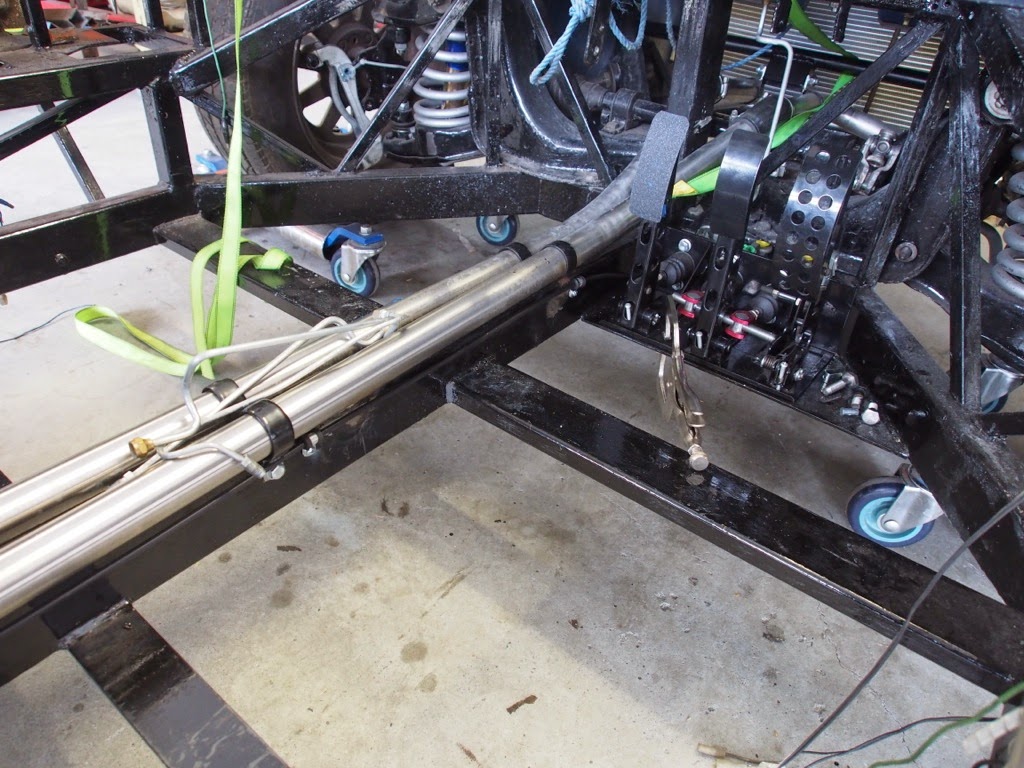
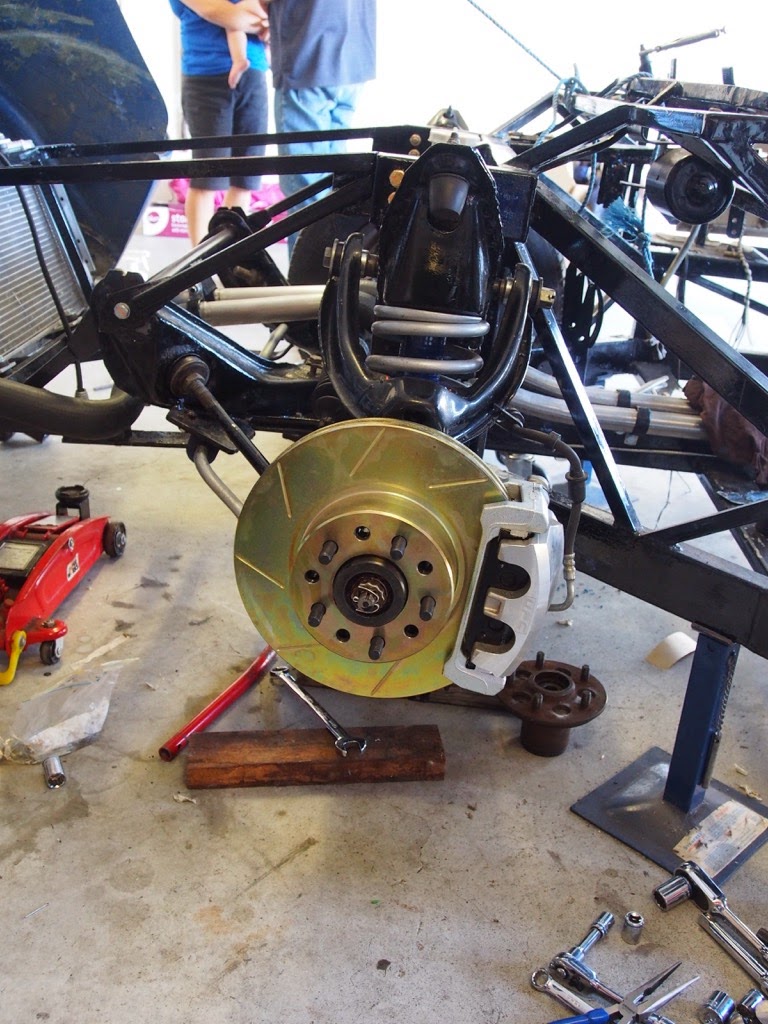
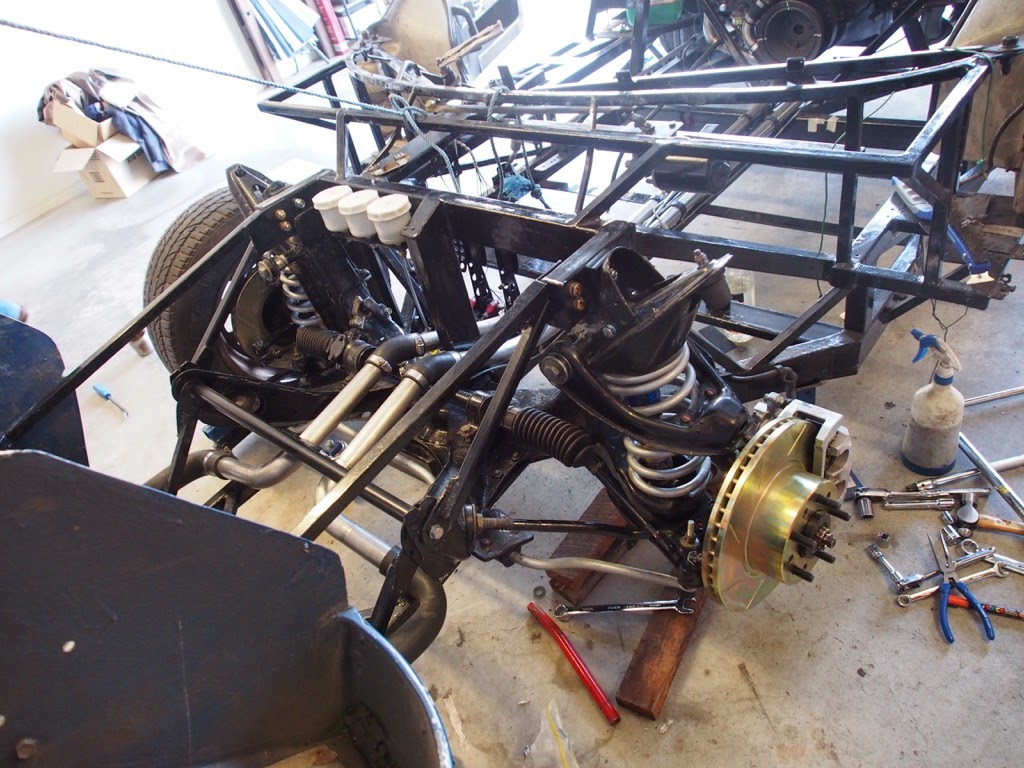
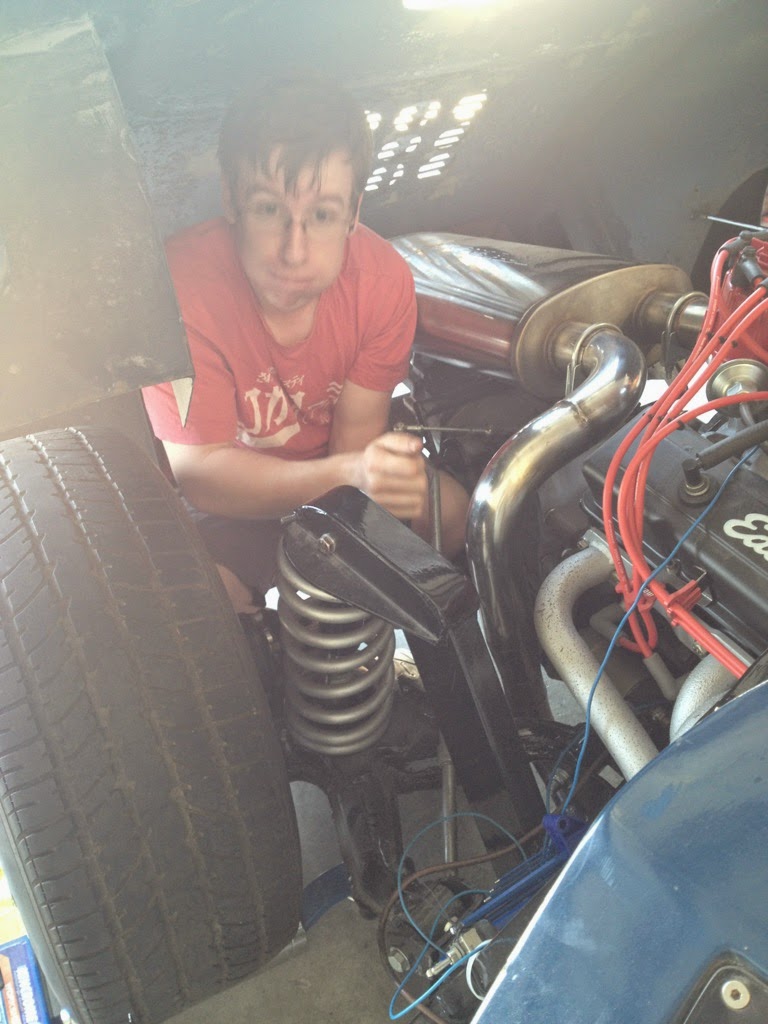
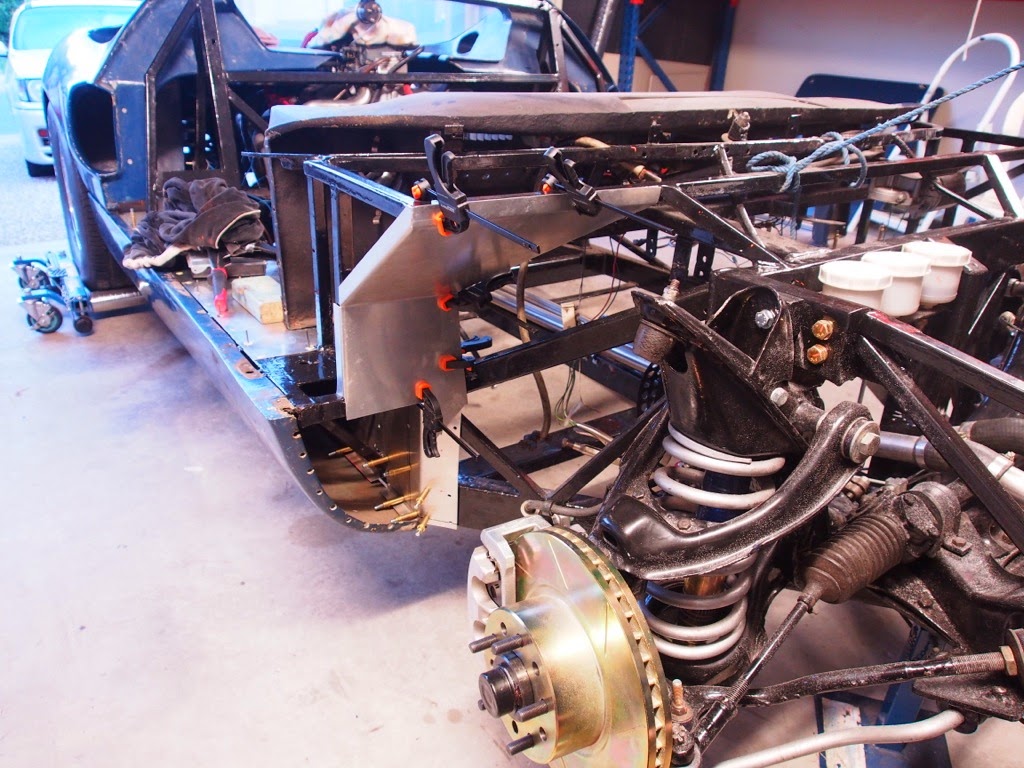
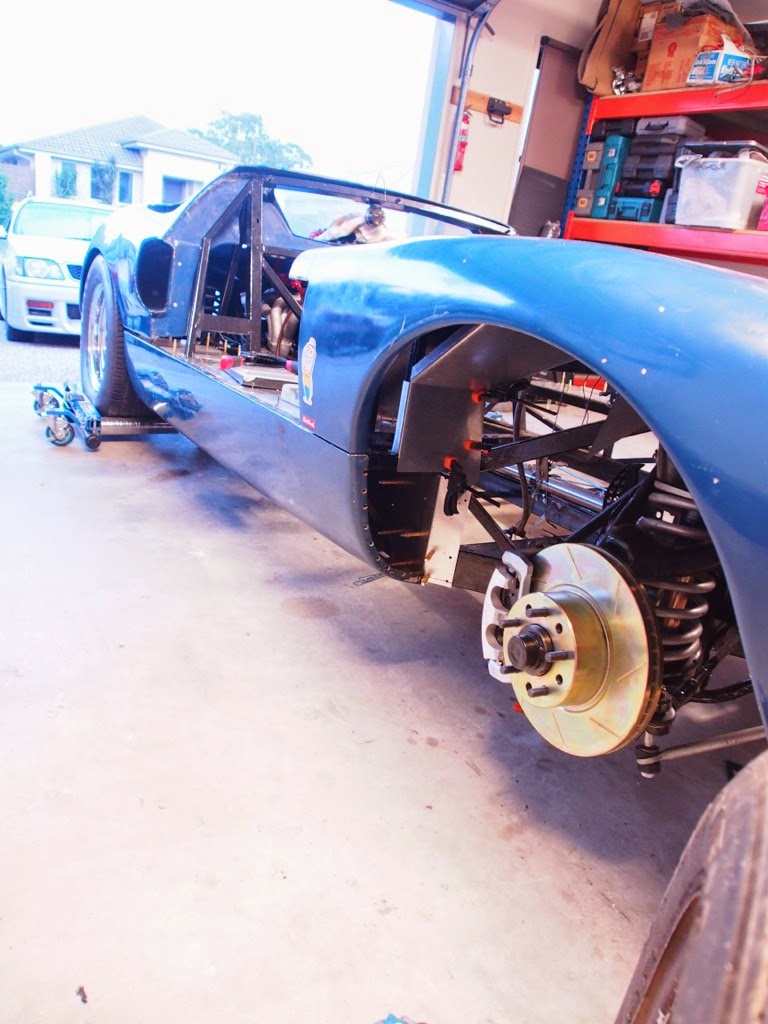
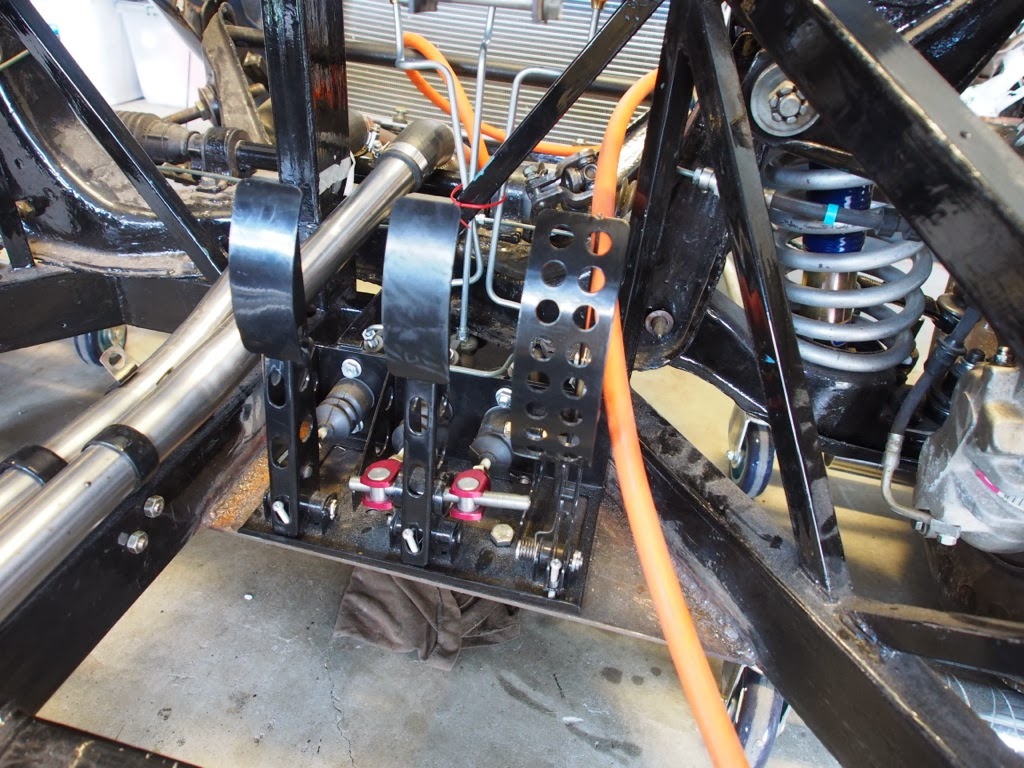
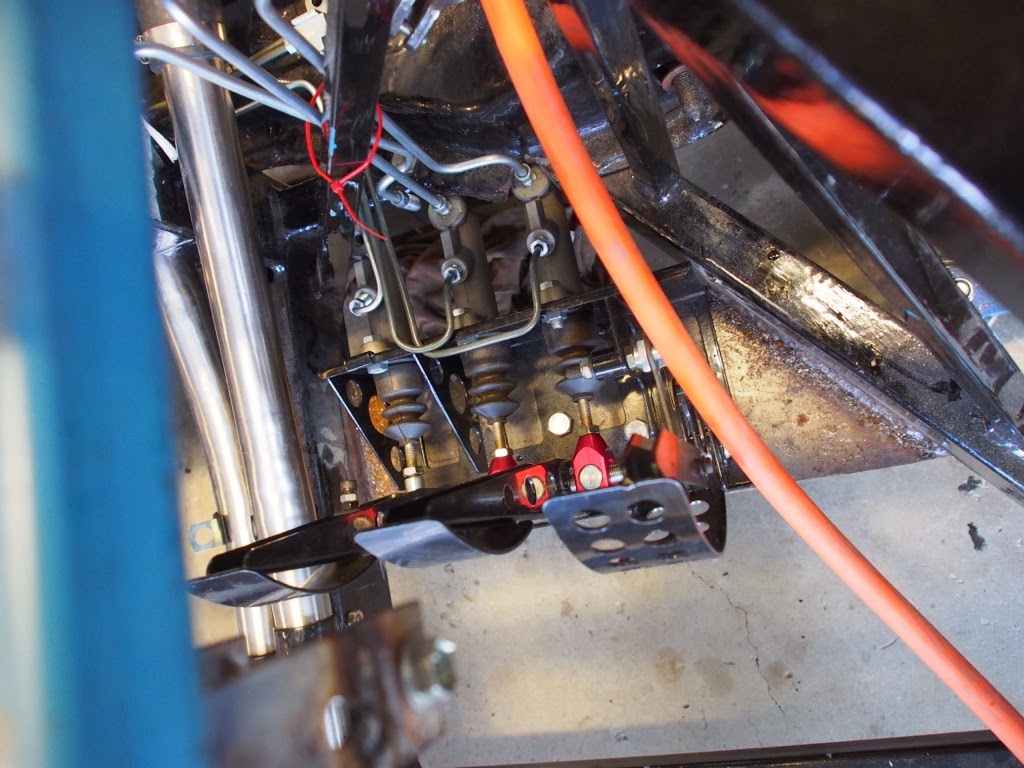
Tim has been ticking away at this job for quite a while now. It's all coming together and will look awesome once the lines are all braced. This has been a very frustrating job for Tim, but I think he's though the bulk of it. On Saturday he was able to put fluid in the reservoir for the front callipers to check for leaks. As expected, there were a few, but he was able to fix them and see movement in the callipers")
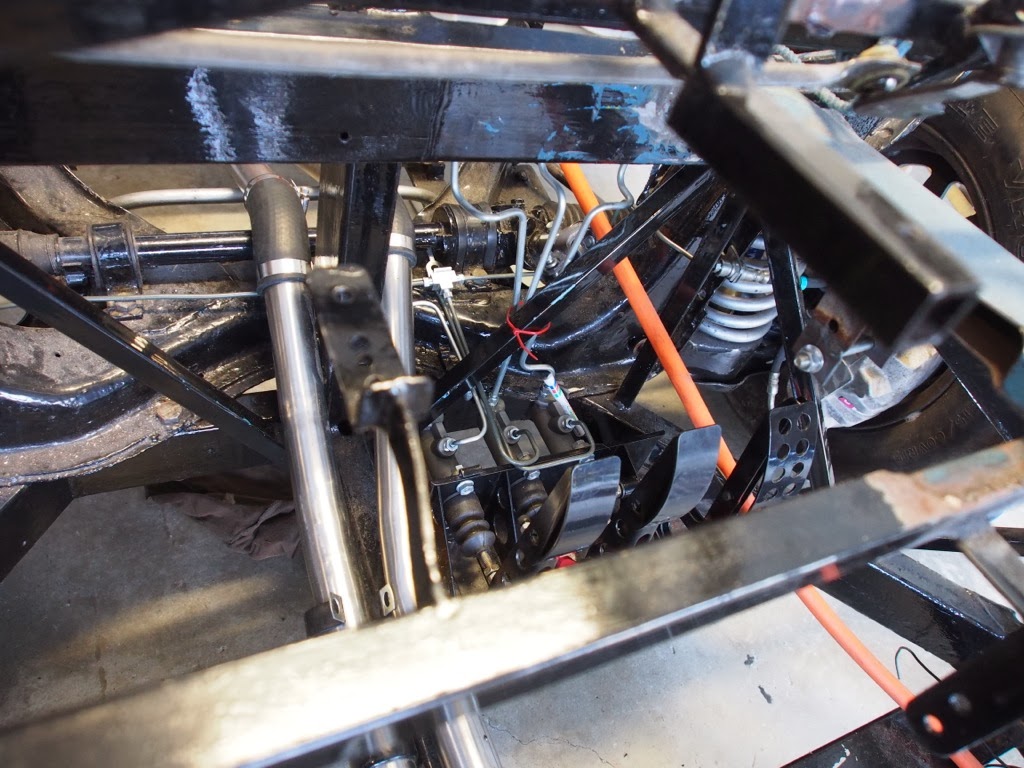
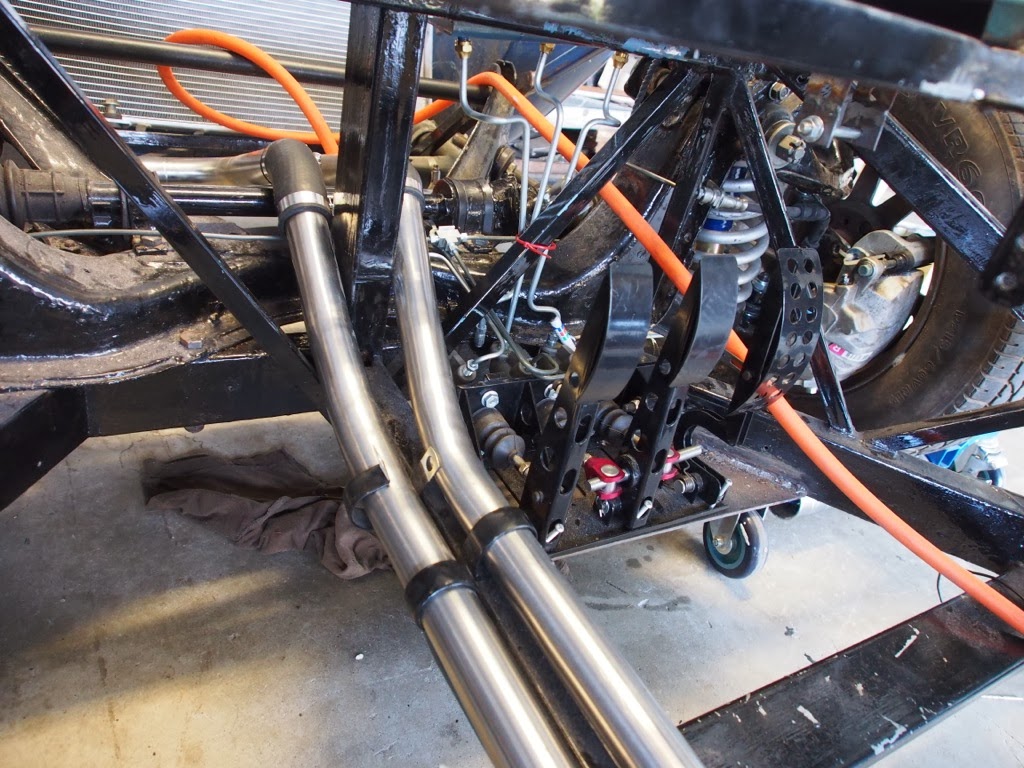
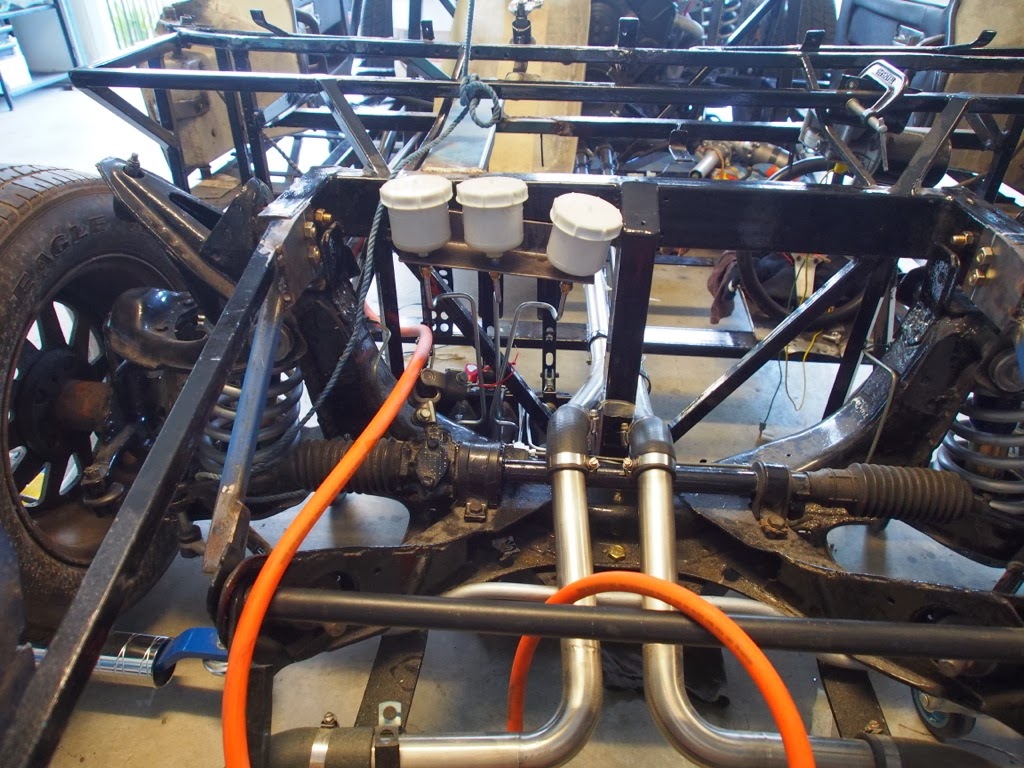
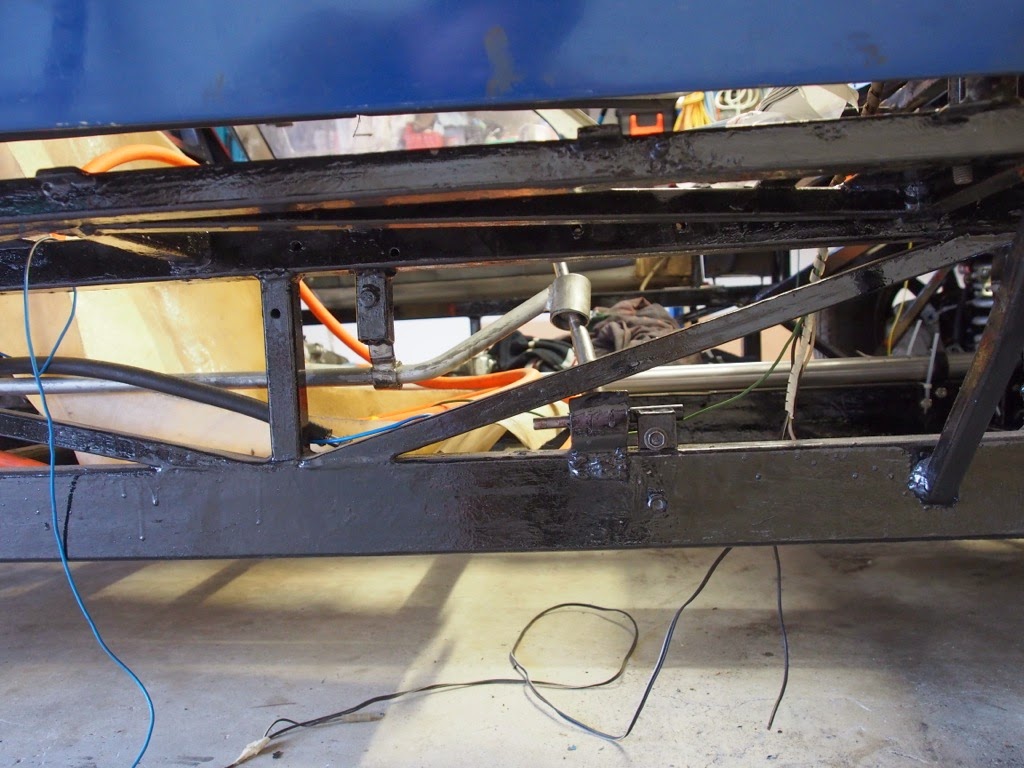
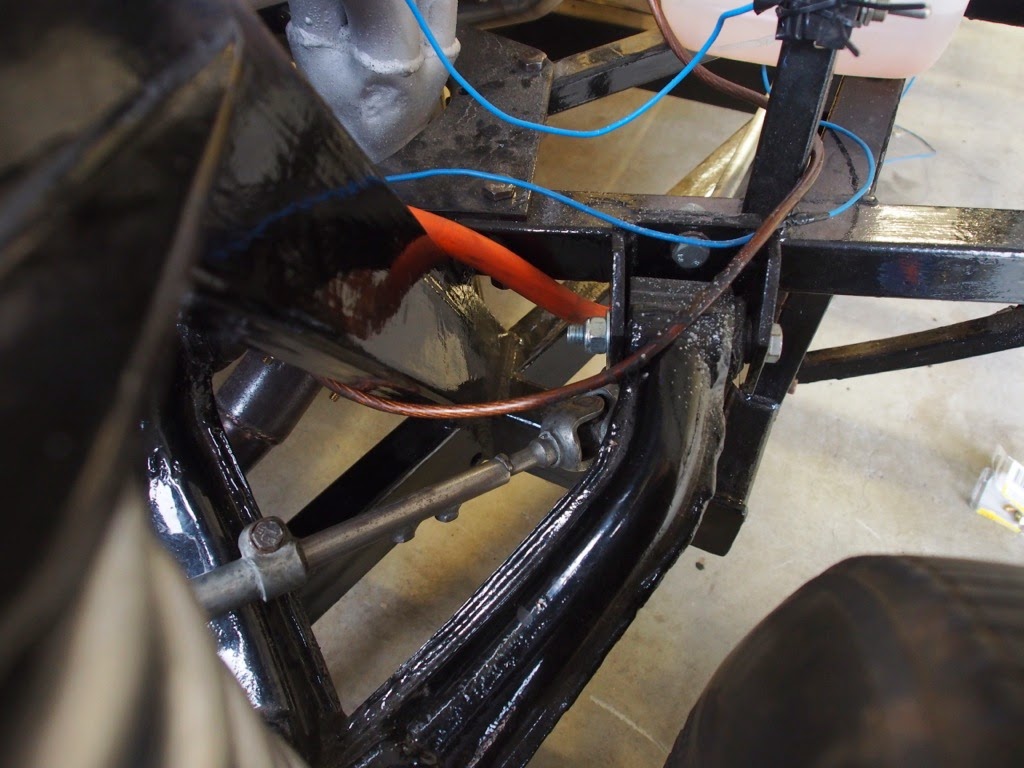
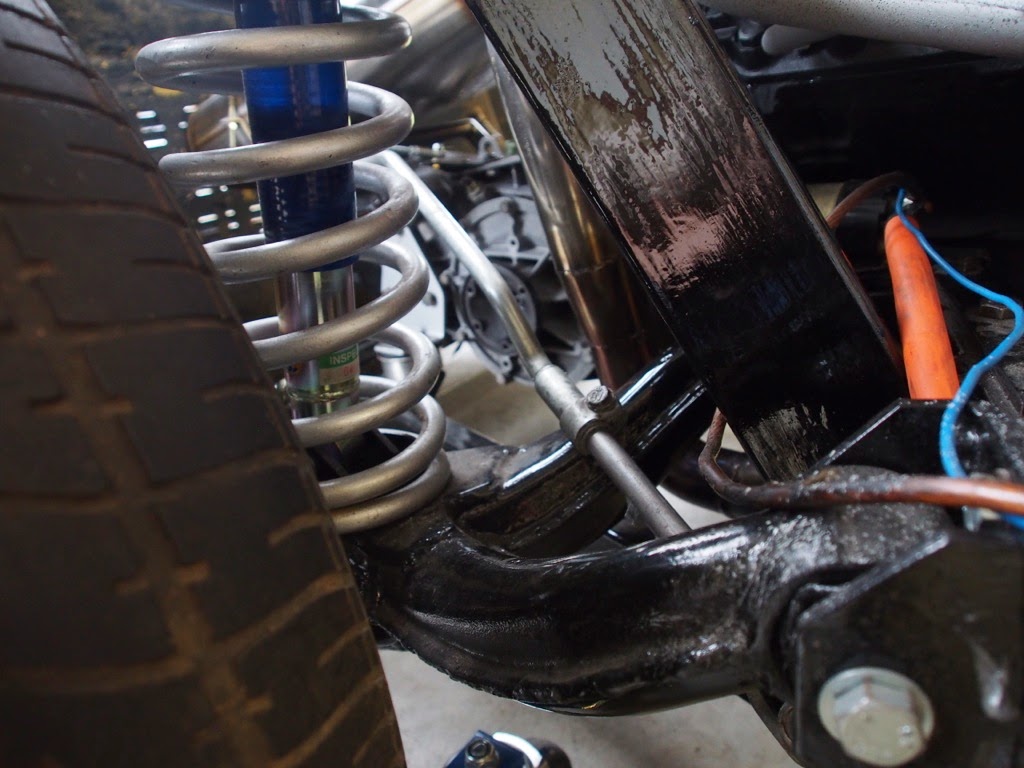
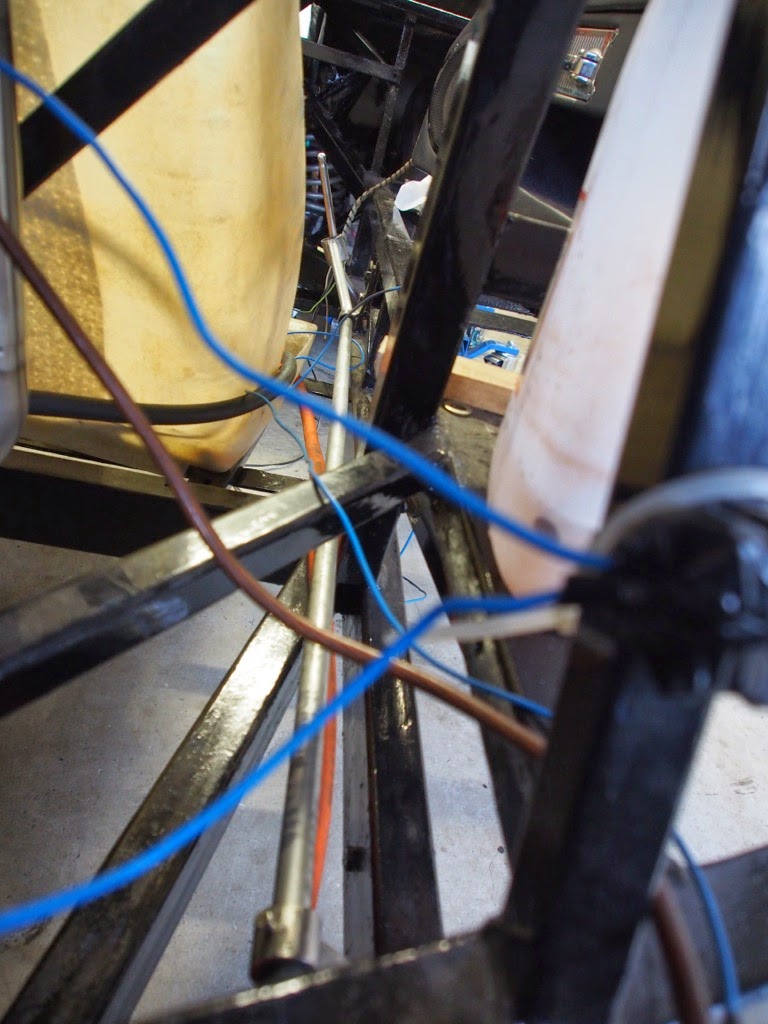
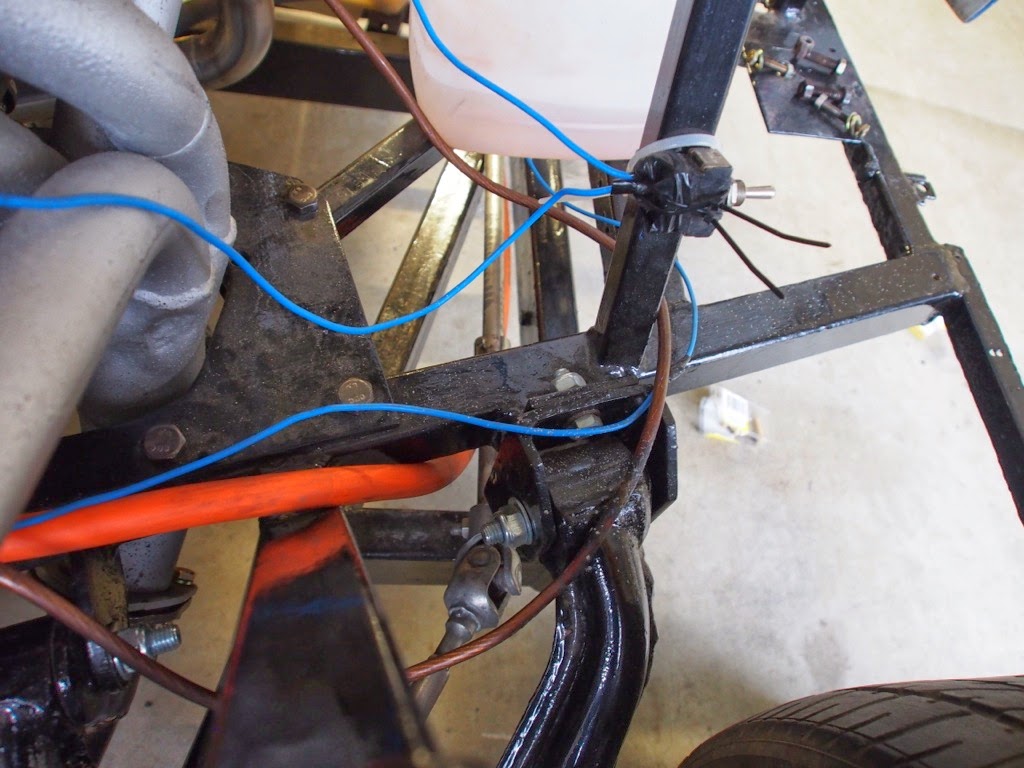
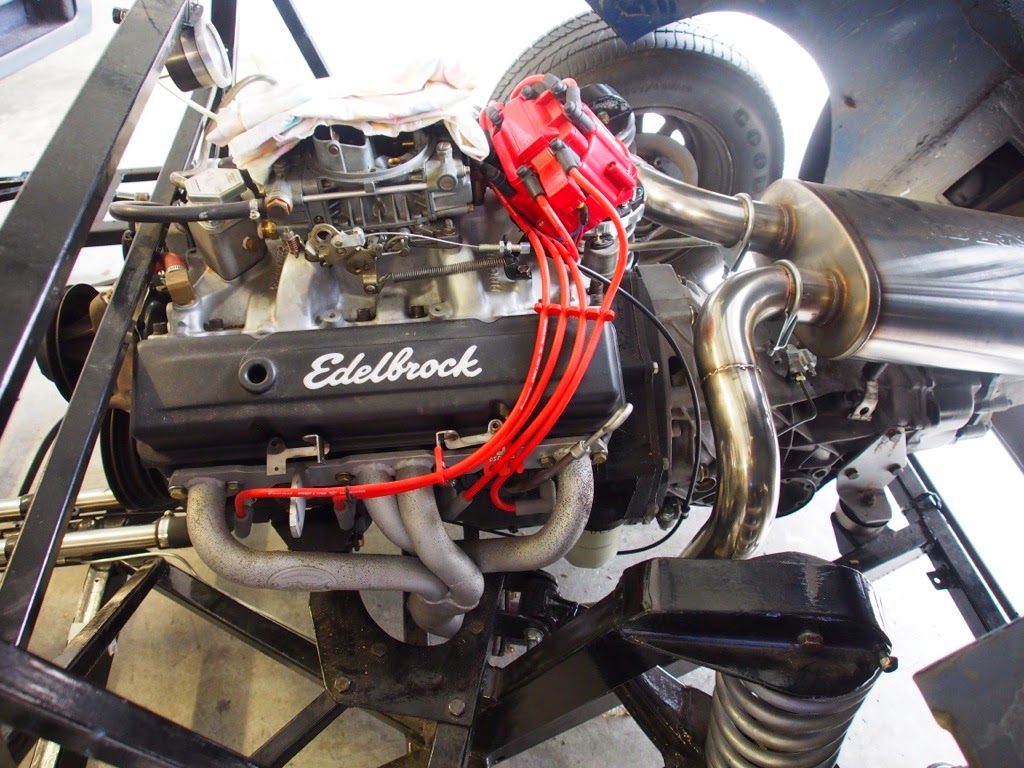
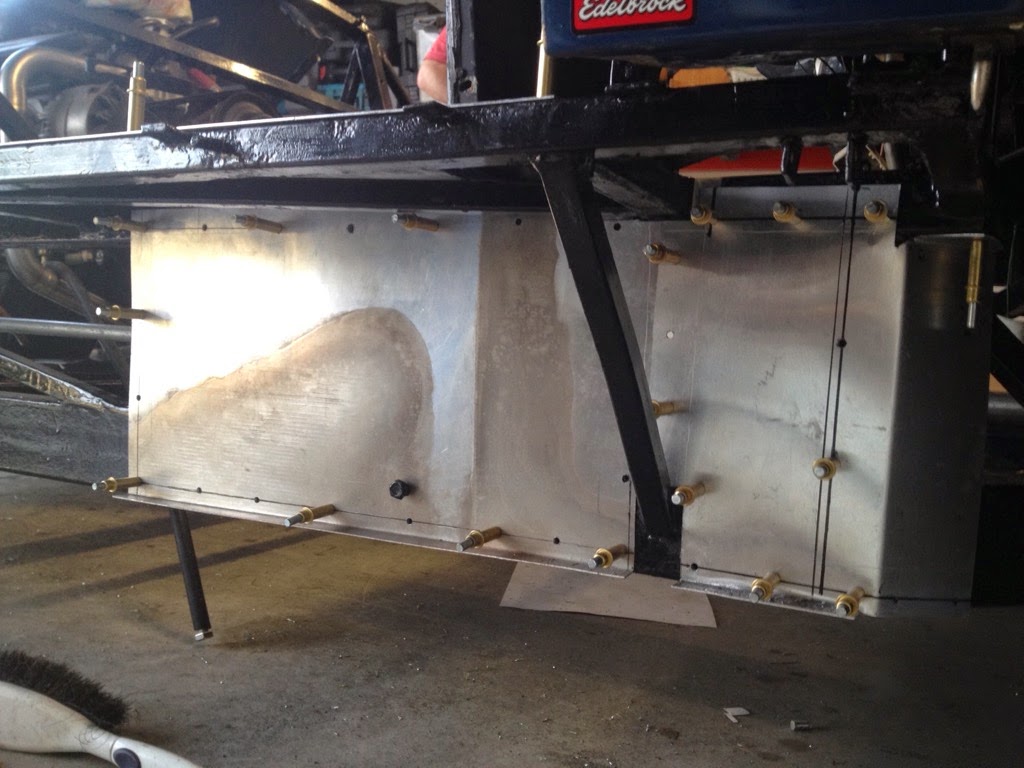
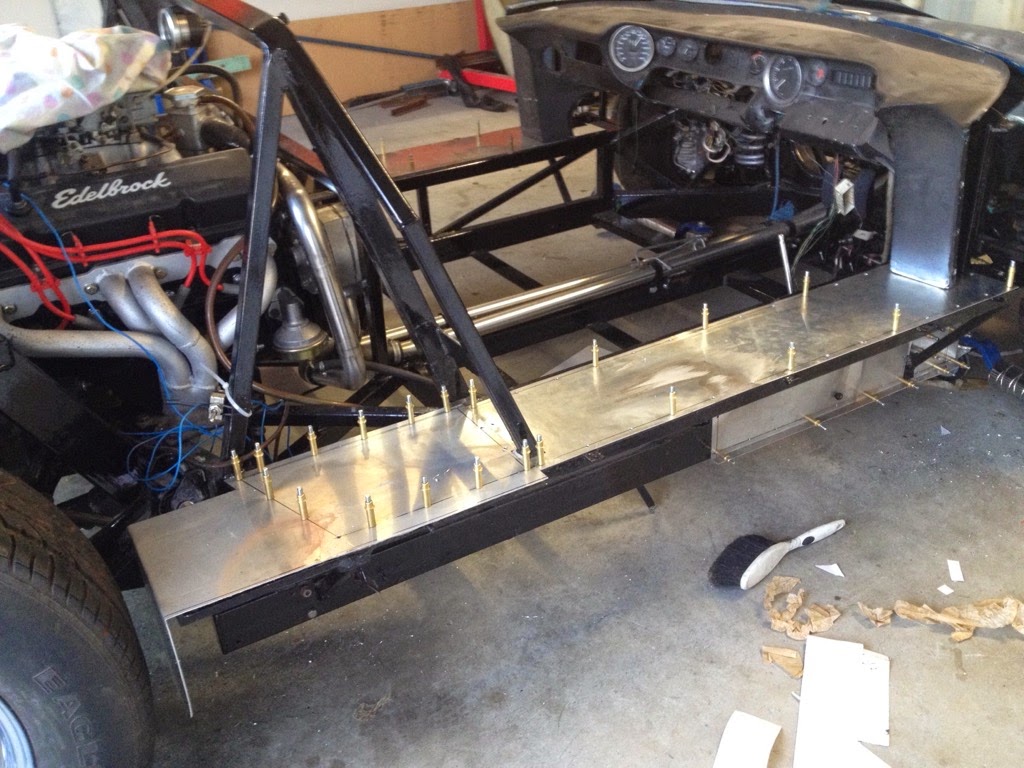
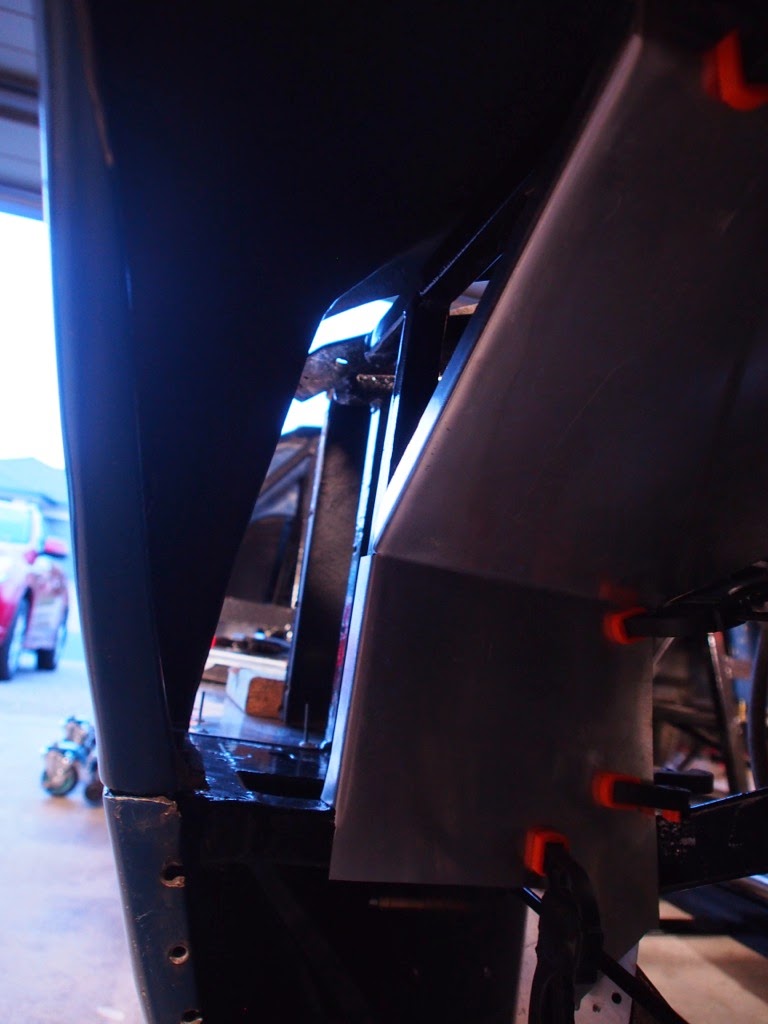
No doubt you've noticed the orange cable. This is the battery cable. We've decided that we'd like the battery at the front of car for weight distribution and tidiness. The cable is double-insulated welding cable that my mate Jason Broadhurst picked up for us. He's terminated it at the starter motor and started routing it through the chassis. However, we're not really sure where we want to run it: down the side or down the centre? For now, I think we'll leave it loose until we start panelling and can see what's going to work best.
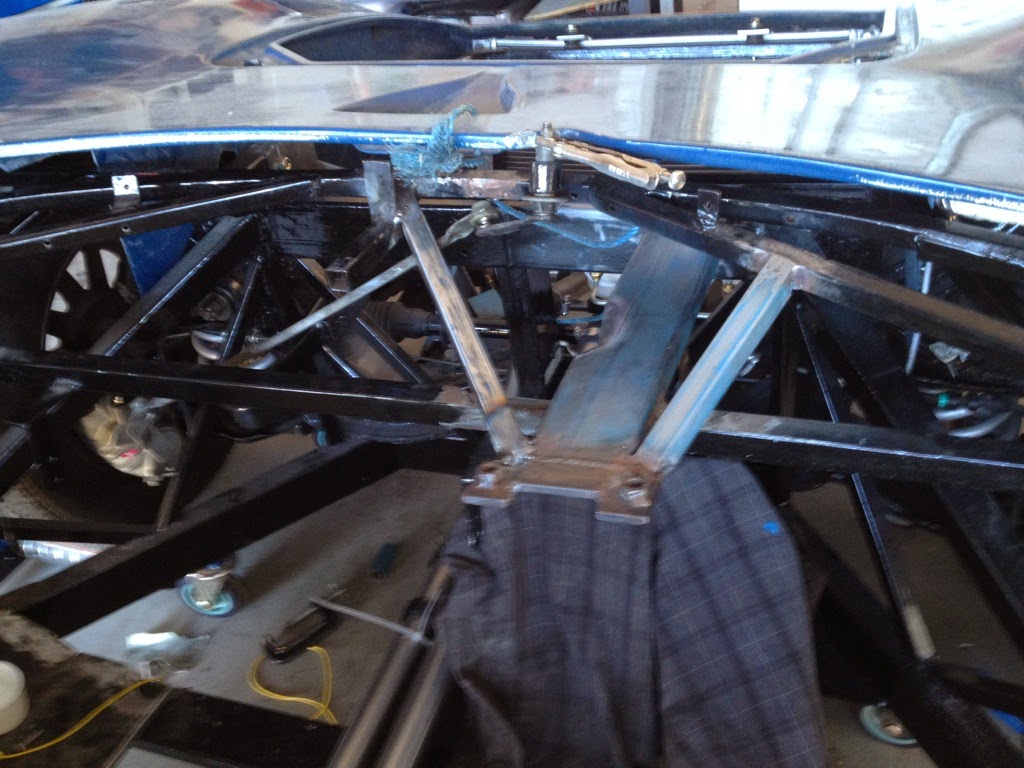
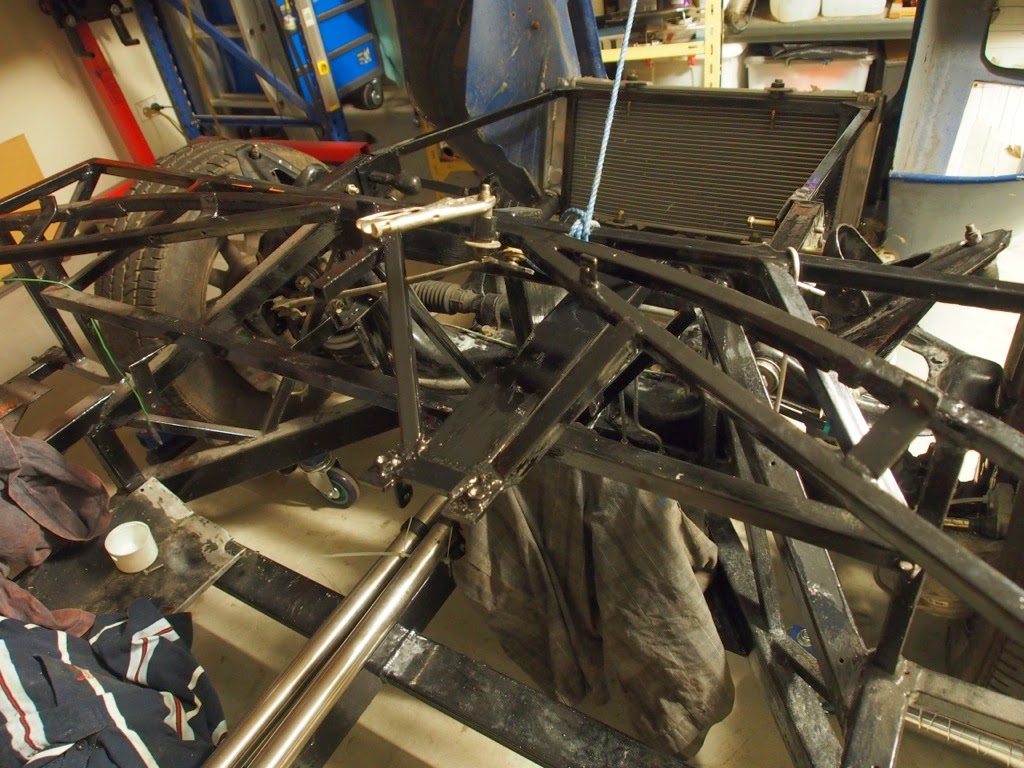
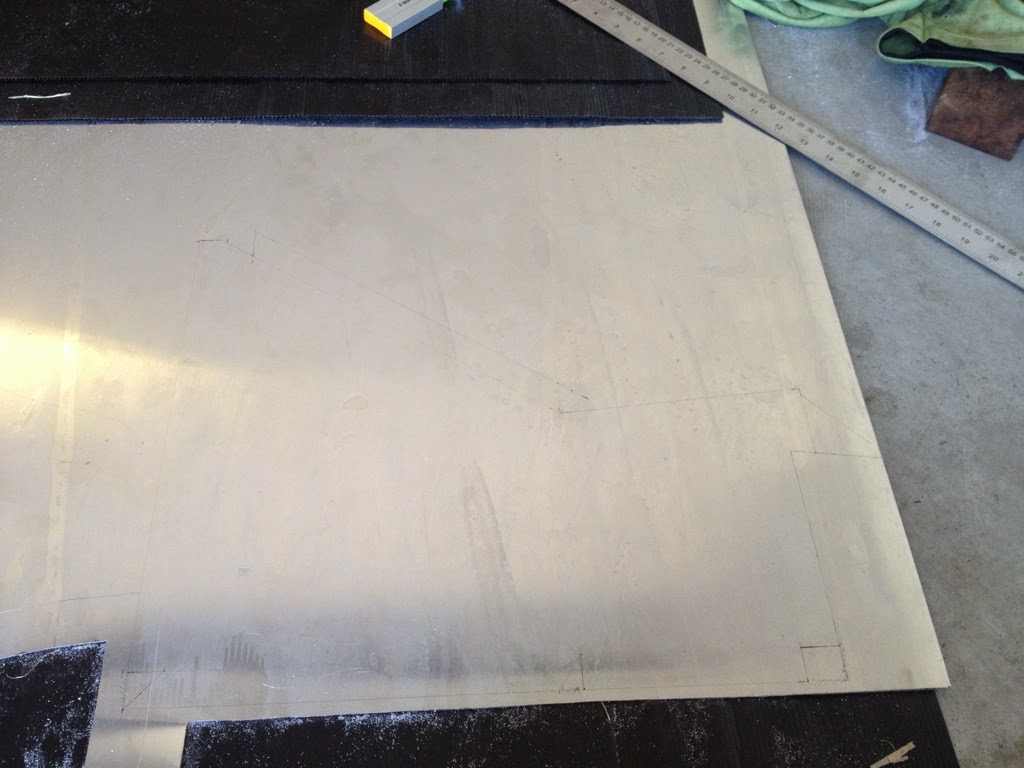
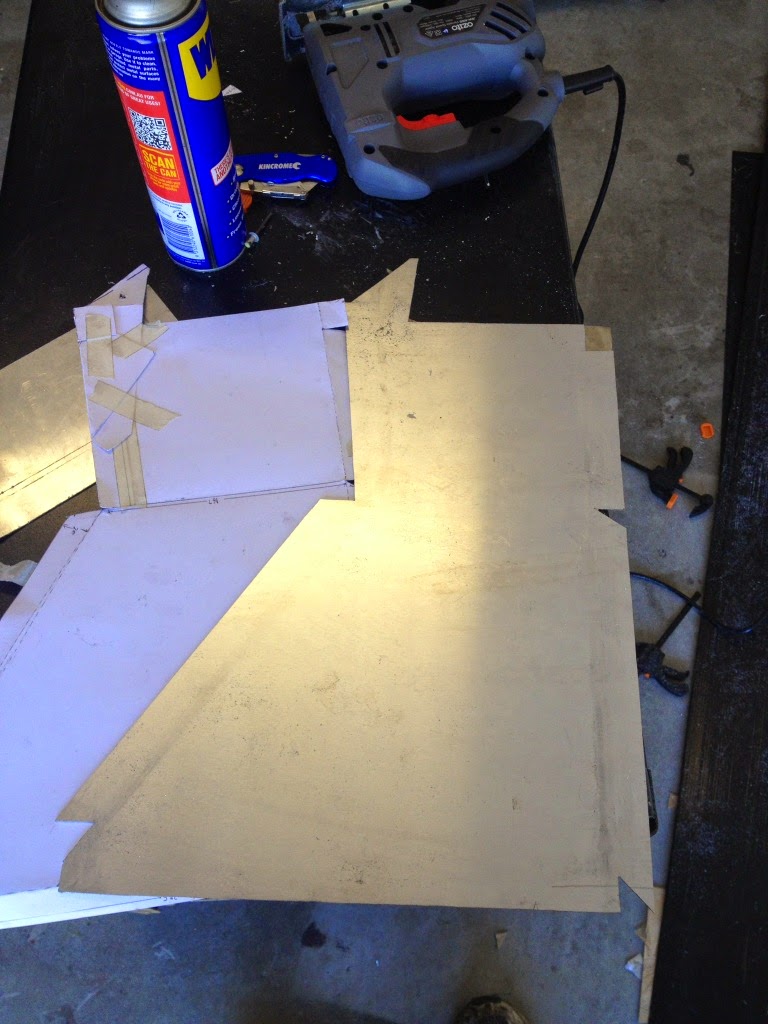
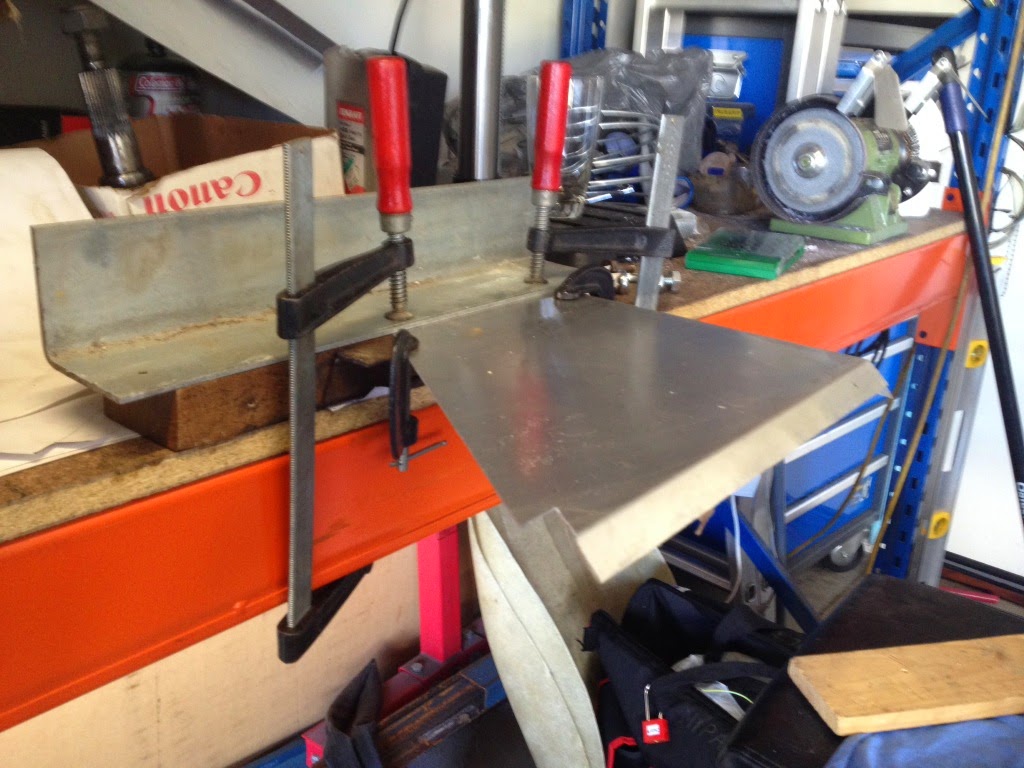
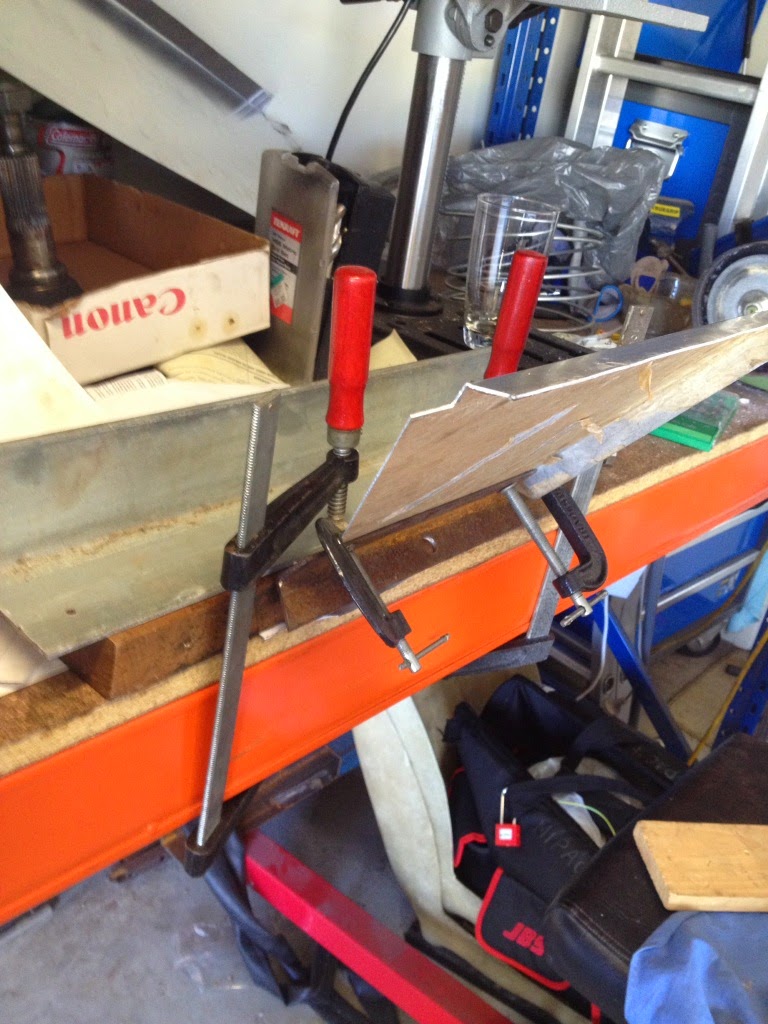
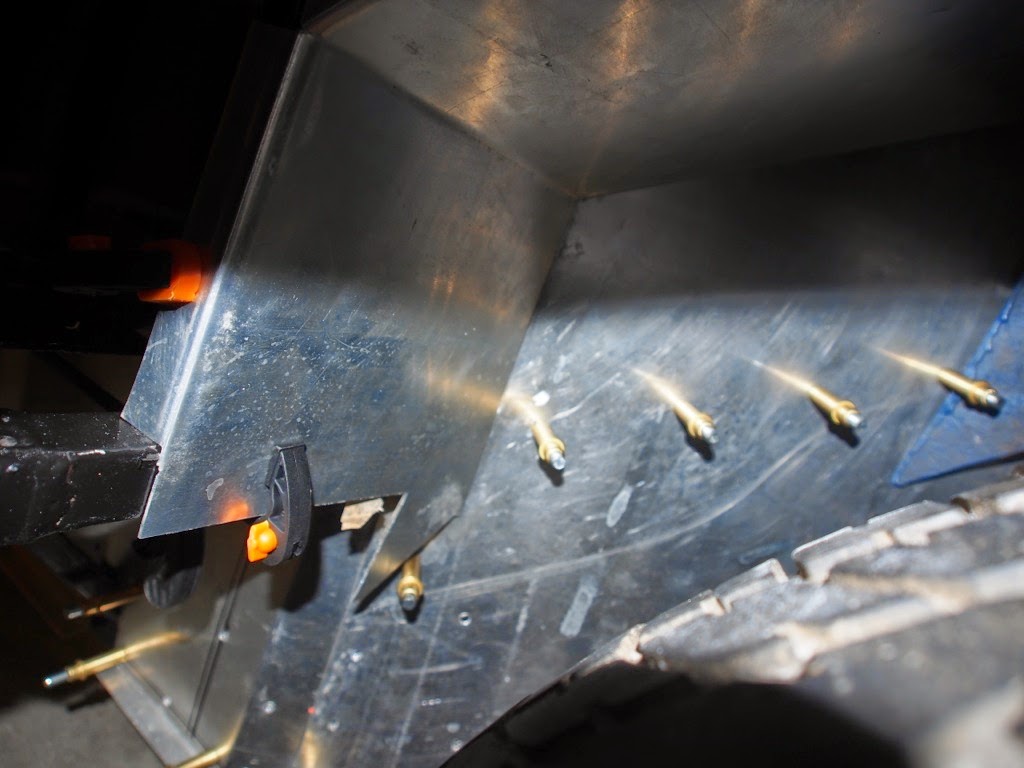
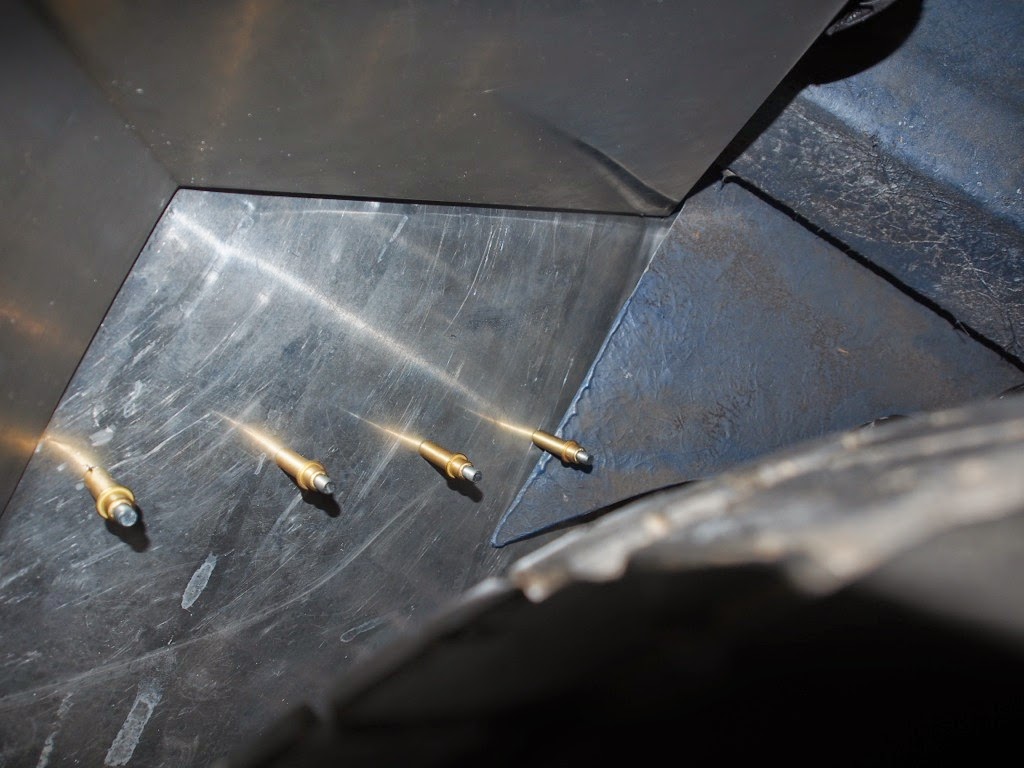
Muffler Mount
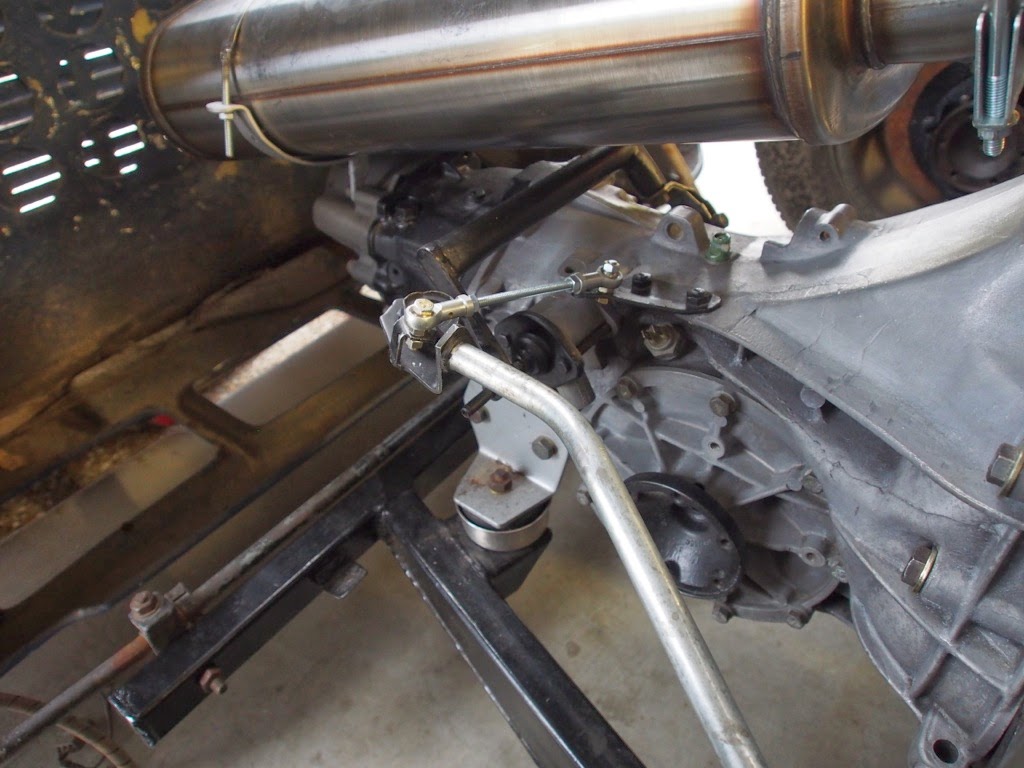
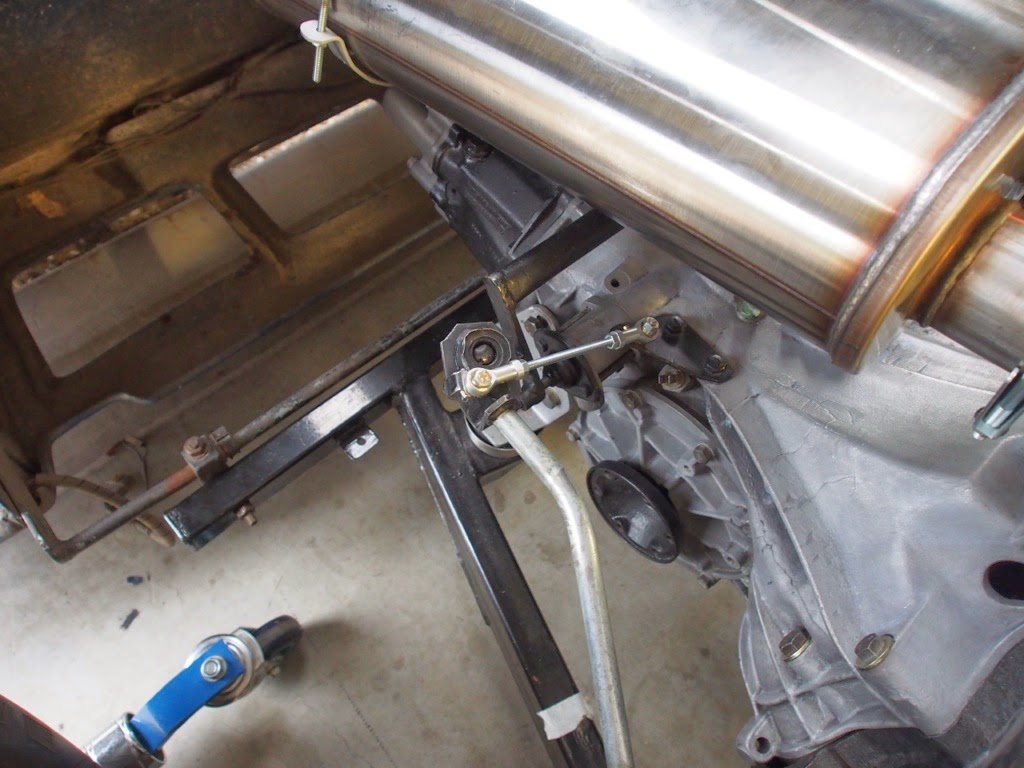
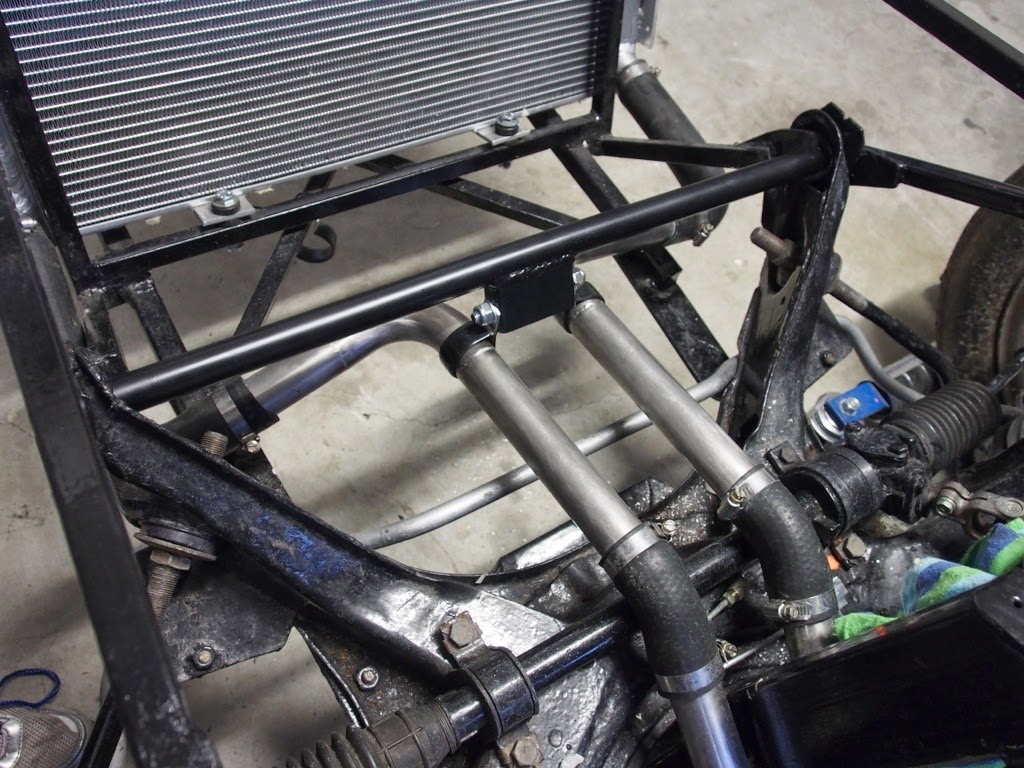
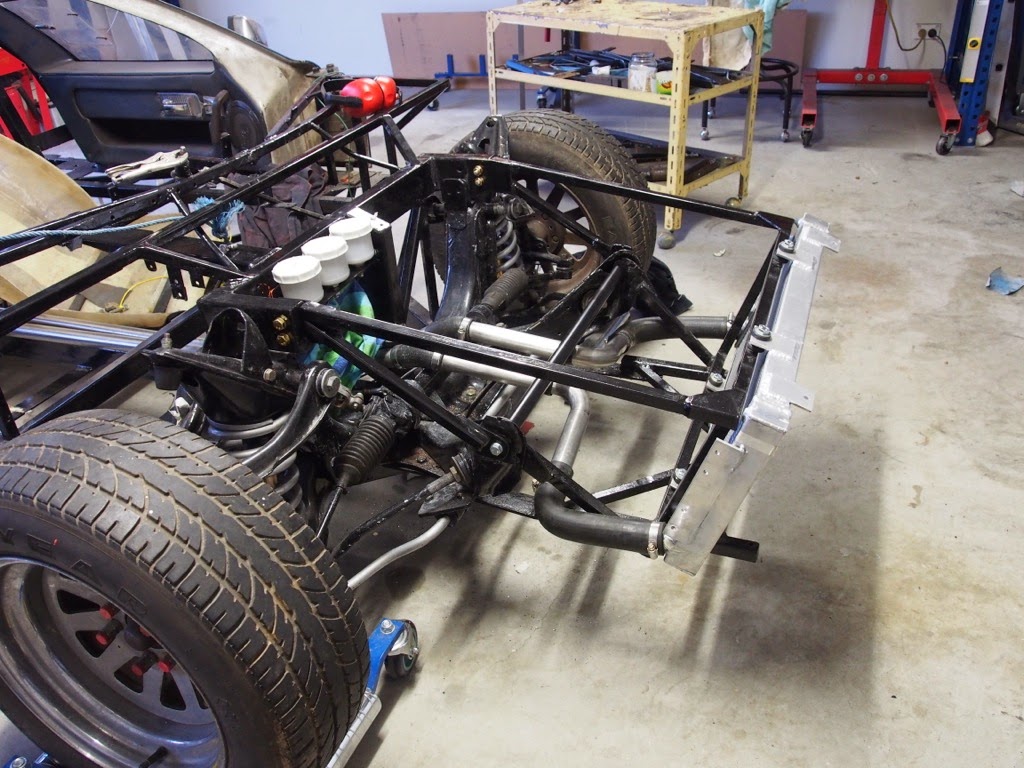
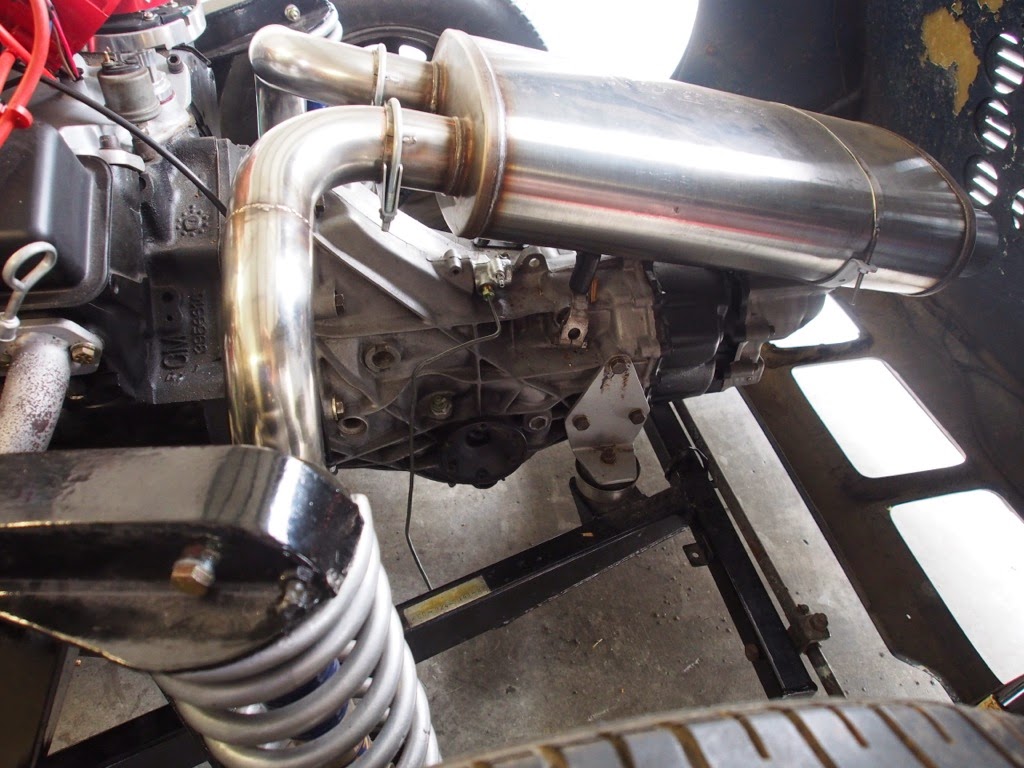
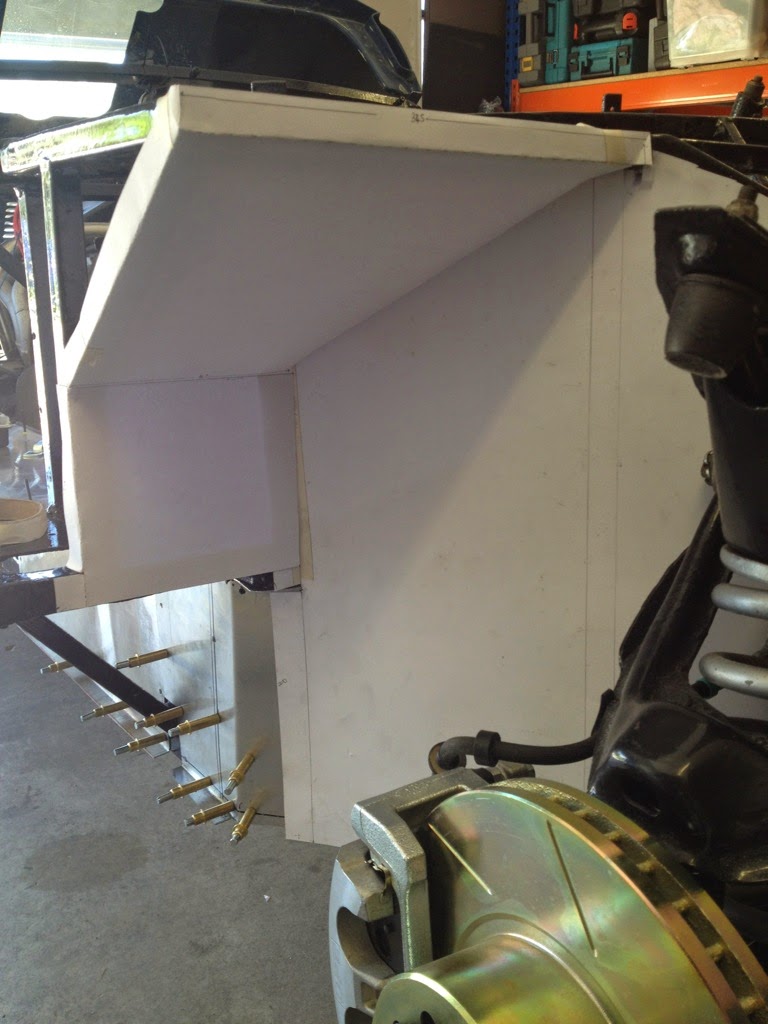
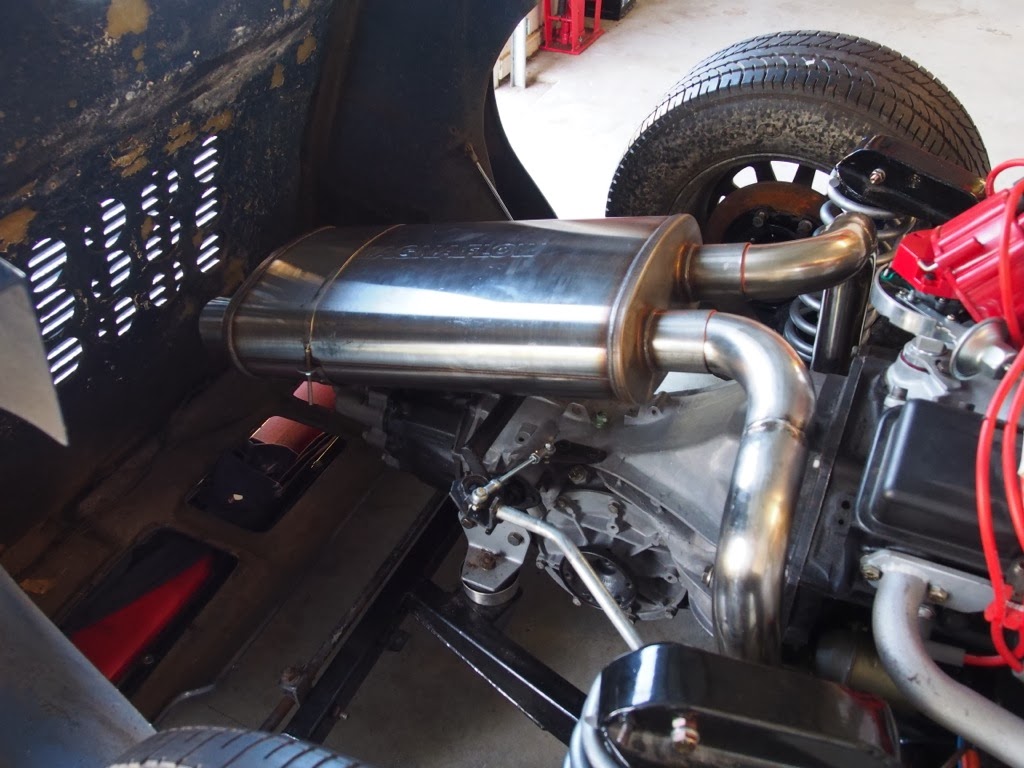
The rear muffler mount is done. It just needs painting. Last week I bent a steel flat-bar strap for the muffler to sit on. This week I spent time setting the muffler's position and then welding eyes to the flat-bar so that it bolts to the gearbox. Setting the position of the muffler took quite some time, because I wanted to get it right since the muffler is so visible from behind the car. I'm pretty happy with how it's turned out. We were originally planning to have 2 mounts, but it's very rock solid now. The pipes support the front of it very well. We're not sure if it's worth the effort to make another mount. Particularly since there aren't any easy bolts to attach a bracket to at the front of the gearbox.
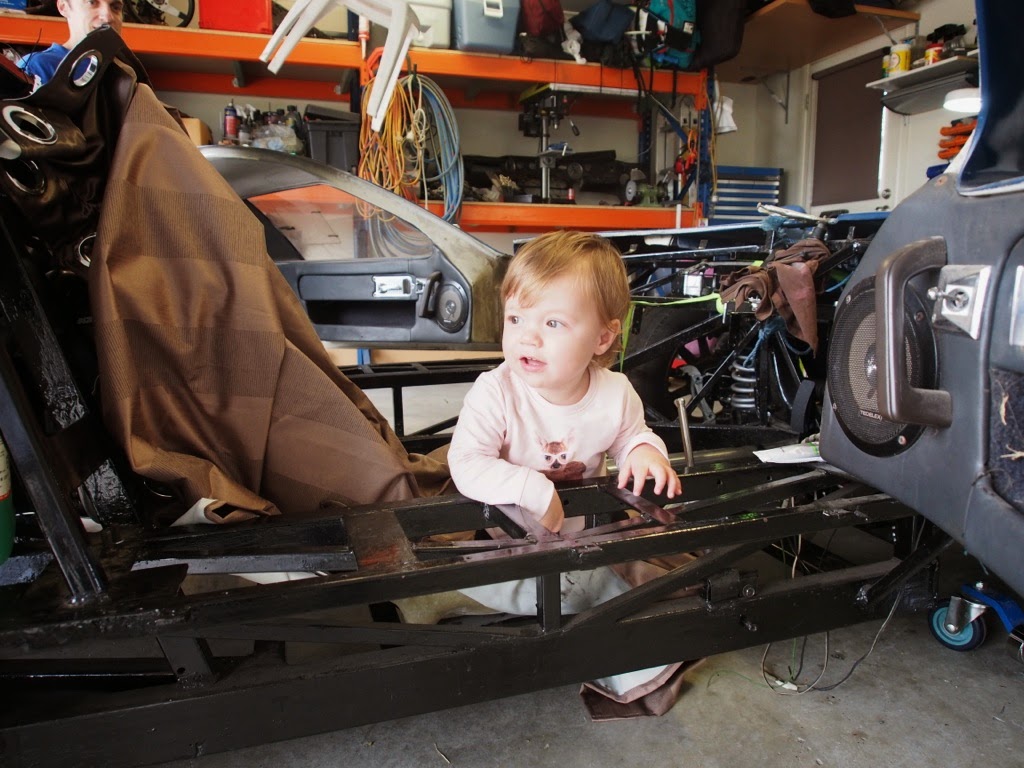
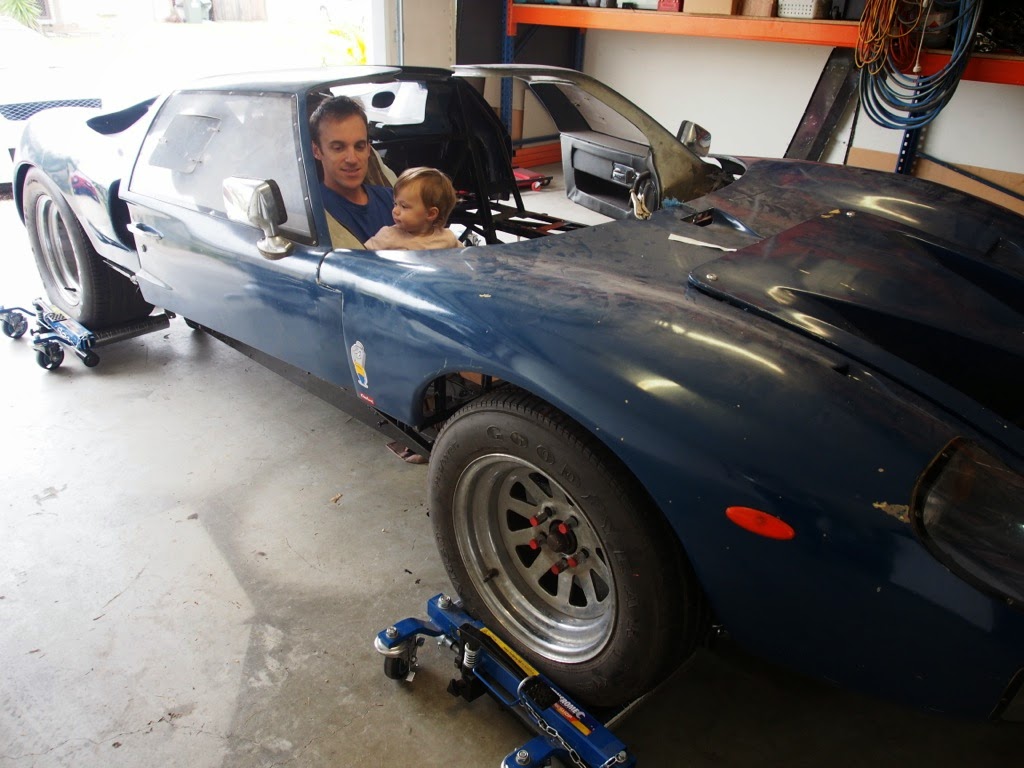
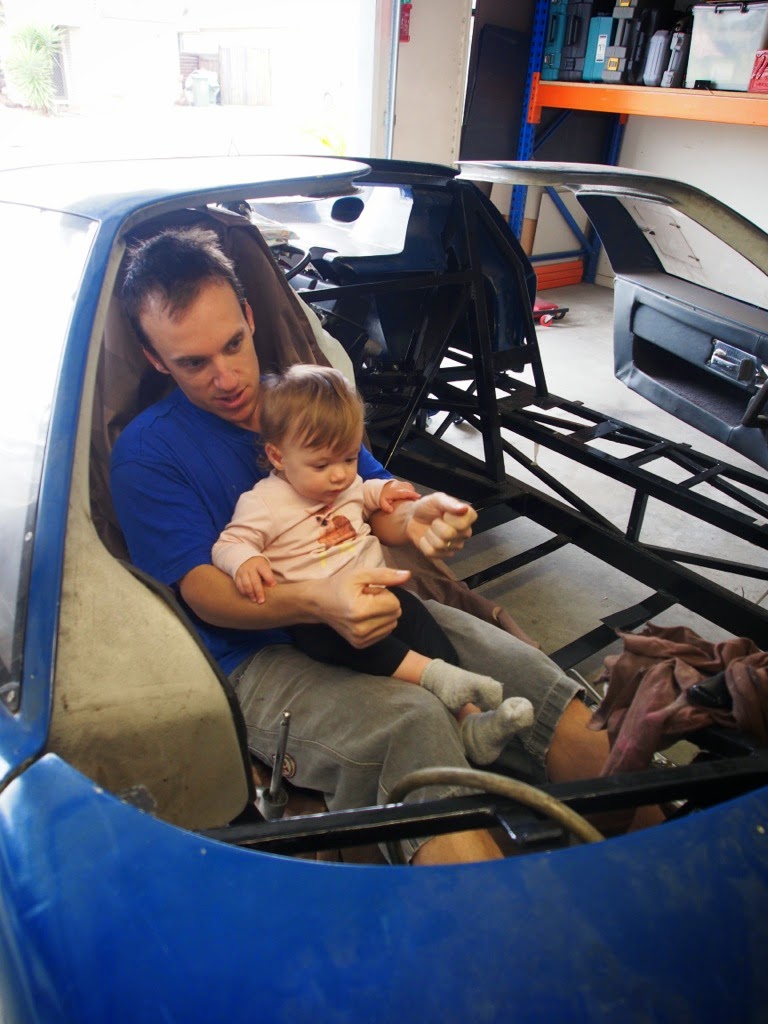
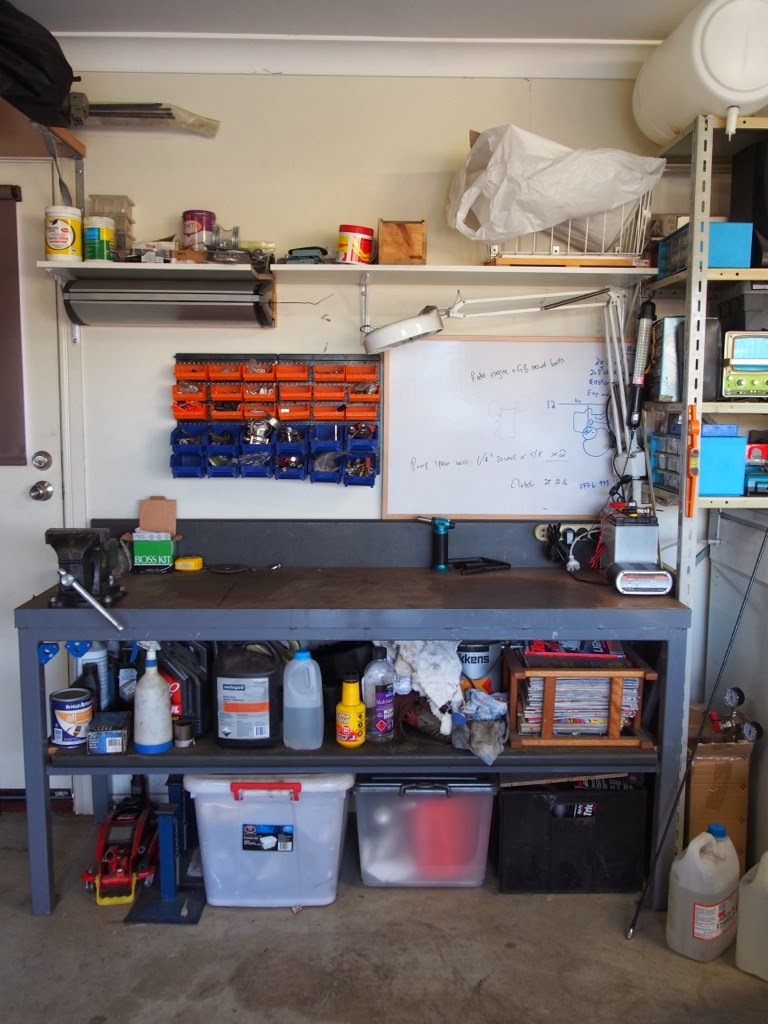
The Garage
I thought I'd take a few more pics of the garage for the guys at The Garage Journal.
This little trolley has been absolute gold. My wife picked it up from her old work. They were going to throw it out. Now it holds a lot of scrap offcuts and is perfect doing odd jobs on, welding on or for putting tools on.
The shelves had another clean-up. Still a work in progress.
I installed a new shelf above the bench to hold random stuff. It worked out well.
Brake Lines
Tim has been ticking away at this job for quite a while now. It's all coming together and will look awesome once the lines are all braced. This has been a very frustrating job for Tim, but I think he's though the bulk of it. On Saturday he was able to put fluid in the reservoir for the front callipers to check for leaks. As expected, there were a few, but he was able to fix them and see movement in the callipers
No doubt you've noticed the orange cable. This is the battery cable. We've decided that we'd like the battery at the front of car for weight distribution and tidiness. The cable is double-insulated welding cable that my mate Jason Broadhurst picked up for us. He's terminated it at the starter motor and started routing it through the chassis. However, we're not really sure where we want to run it: down the side or down the centre? For now, I think we'll leave it loose until we start panelling and can see what's going to work best.
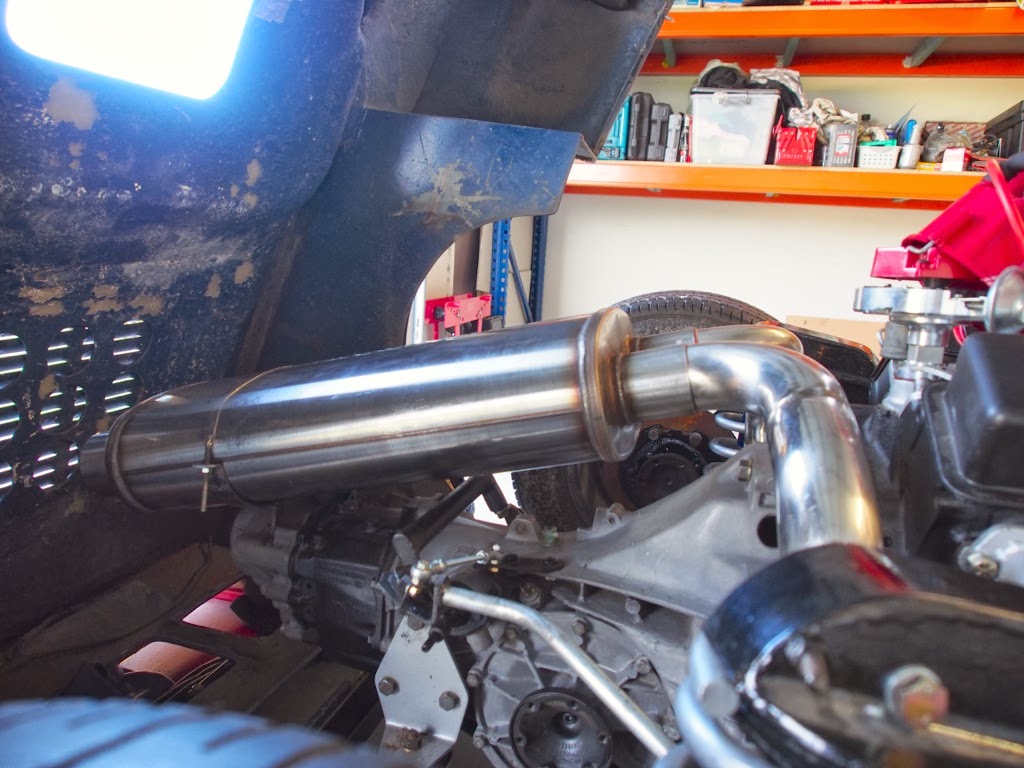
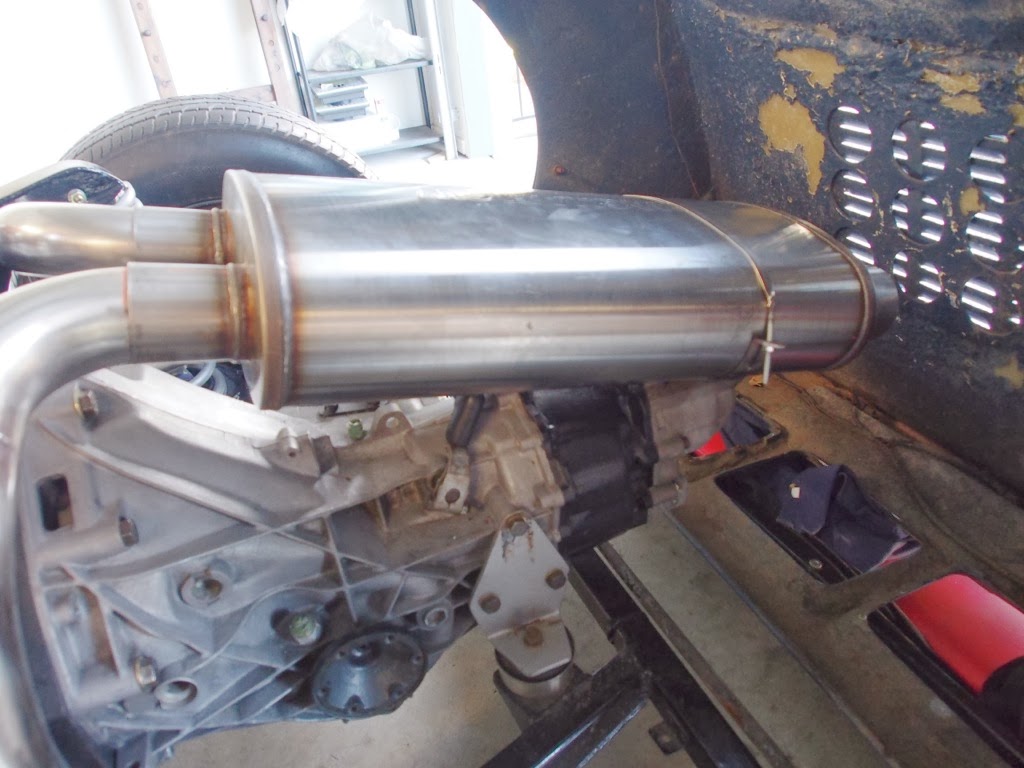
Muffler Mount
The rear muffler mount is done. It just needs painting. Last week I bent a steel flat-bar strap for the muffler to sit on. This week I spent time setting the muffler's position and then welding eyes to the flat-bar so that it bolts to the gearbox. Setting the position of the muffler took quite some time, because I wanted to get it right since the muffler is so visible from behind the car. I'm pretty happy with how it's turned out. We were originally planning to have 2 mounts, but it's very rock solid now. The pipes support the front of it very well. We're not sure if it's worth the effort to make another mount. Particularly since there aren't any easy bolts to attach a bracket to at the front of the gearbox.
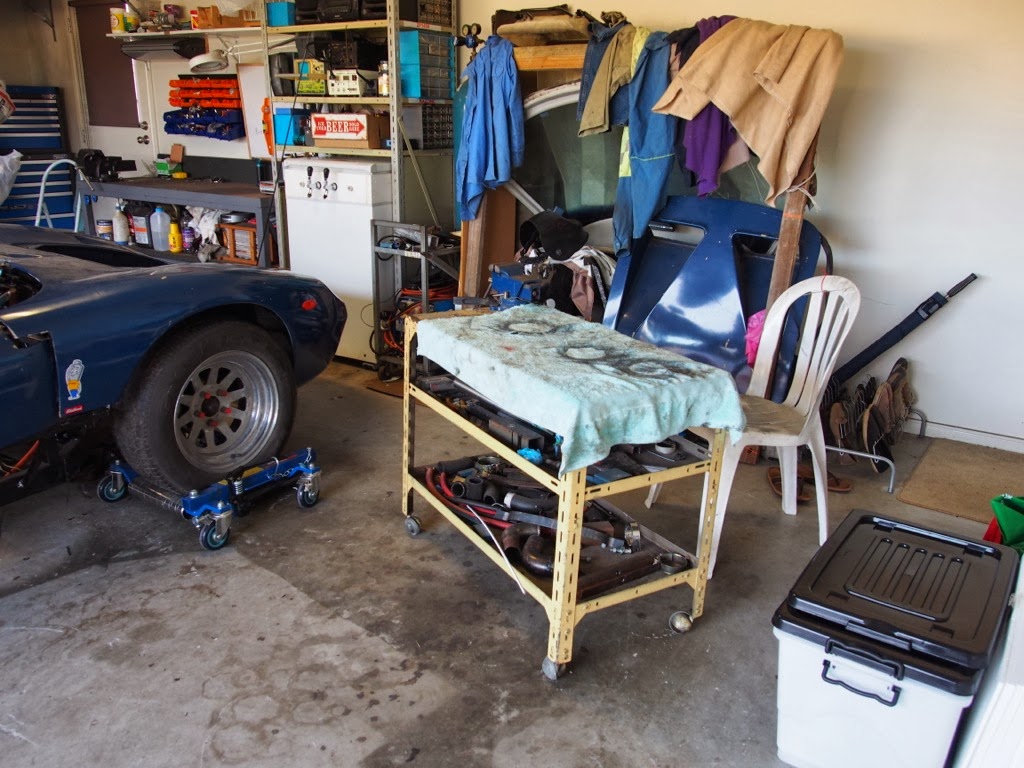
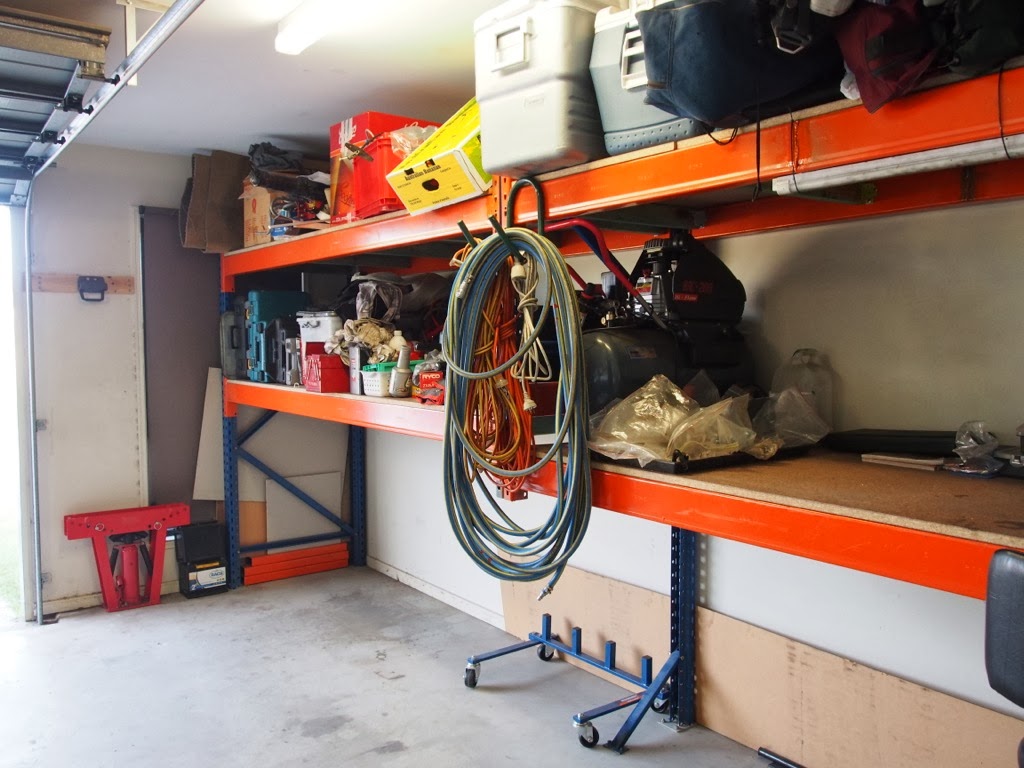
The Garage
I thought I'd take a few more pics of the garage for the guys at The Garage Journal.
This little trolley has been absolute gold. My wife picked it up from her old work. They were going to throw it out. Now it holds a lot of scrap offcuts and is perfect doing odd jobs on, welding on or for putting tools on.
The shelves had another clean-up. Still a work in progress.
I installed a new shelf above the bench to hold random stuff. It worked out well.