Thanks Rob. The pictures really don't give a feel for how it looks in person. I'm getting pretty excited to start glassing over it all. Still won't have the dang wheels for another 2 weeks though. Need them mounted first since i may need to flare a touch.

You are using an out of date browser. It may not display this or other websites correctly.
You should upgrade or use an alternative browser.
You should upgrade or use an alternative browser.
Scotts build thread
- Thread starter Scott R.
- Start date

More of the good flare.
Hopefully not the explosive kind or the one that makes it so you can't sit down.
Hopefully not the explosive kind or the one that makes it so you can't sit down.
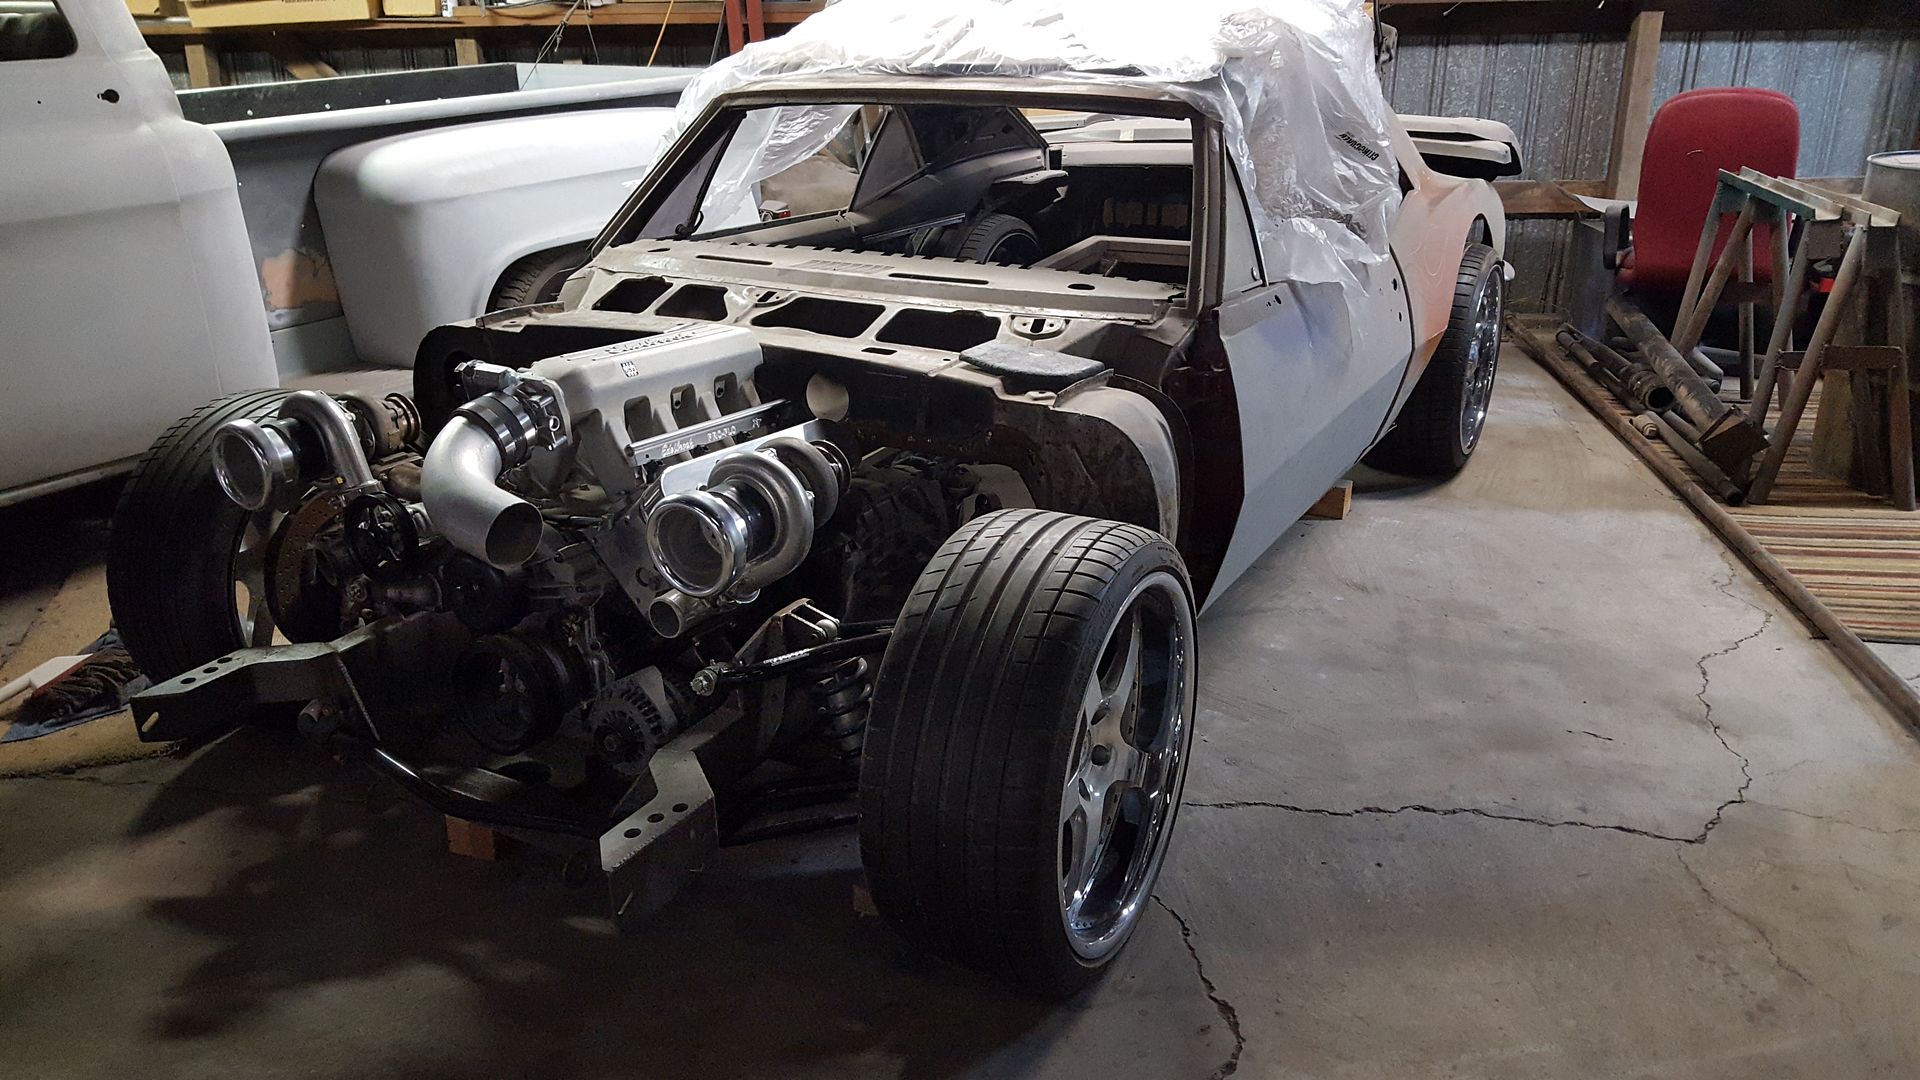
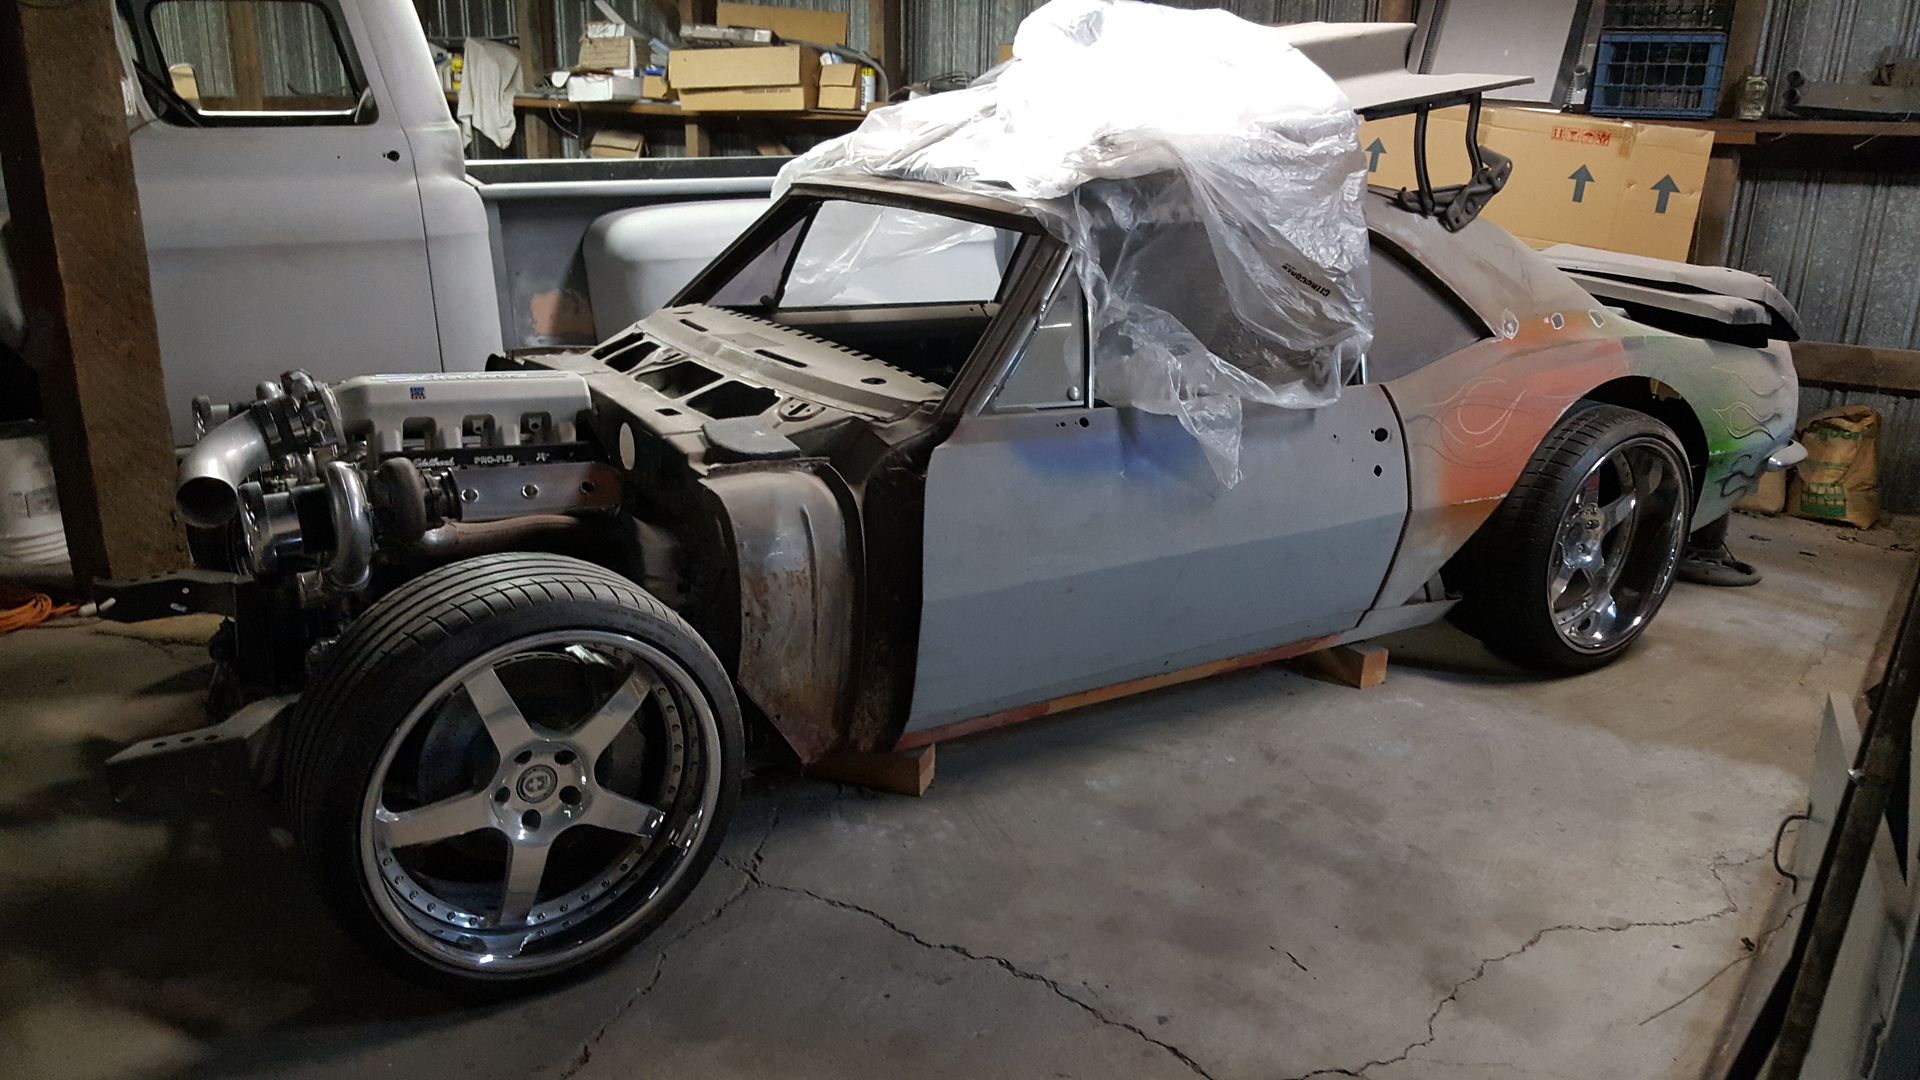
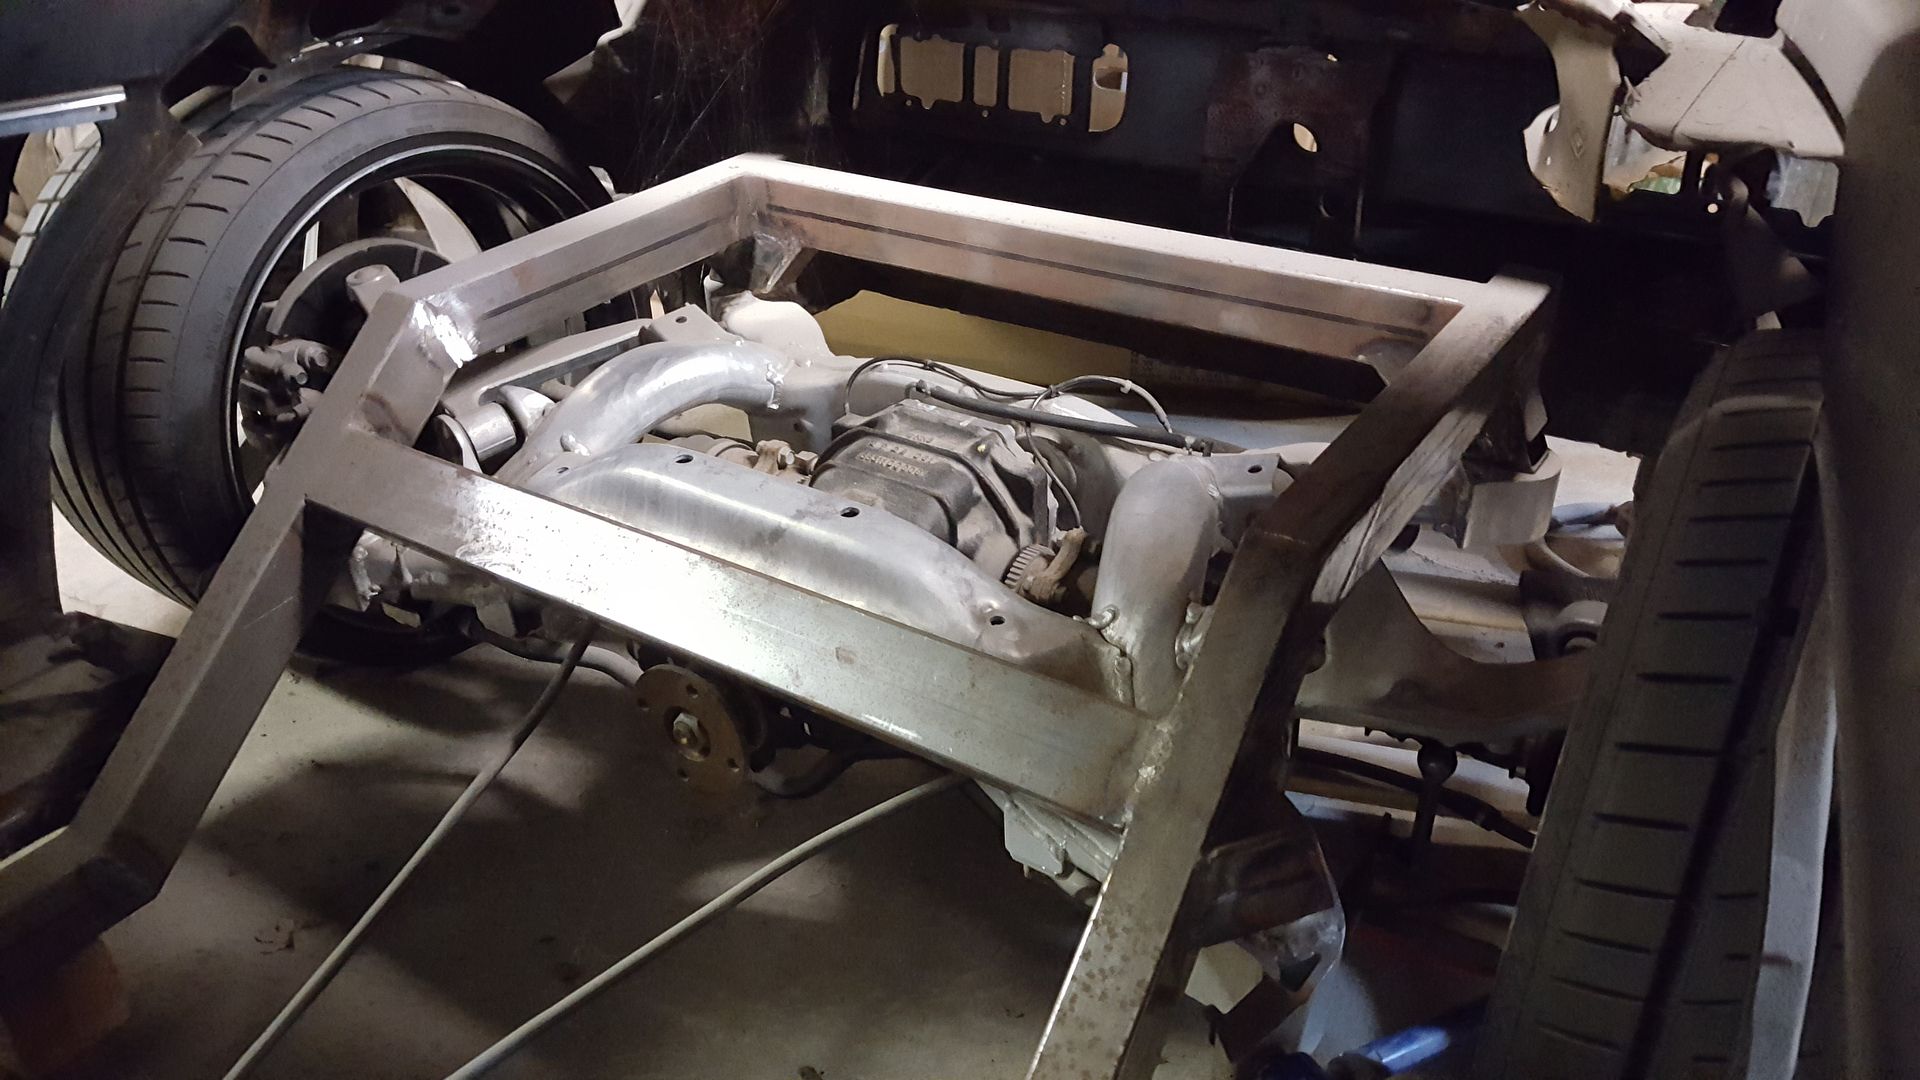
Finally went up to see my other project yesterday. My first car, a 67 Camaro. It has been an off and on project my whole life. Sworn to get back on it after the SLC!
Twin GT35 turbos on an LS2 with a Viper T56. Full Speedtech front subframe, and I made the rear frame housing a Nissan 350Z irs cradle. Front is getting widened by 6", and rear 8". Channeled over frame, so it will be a flat bottom car also.
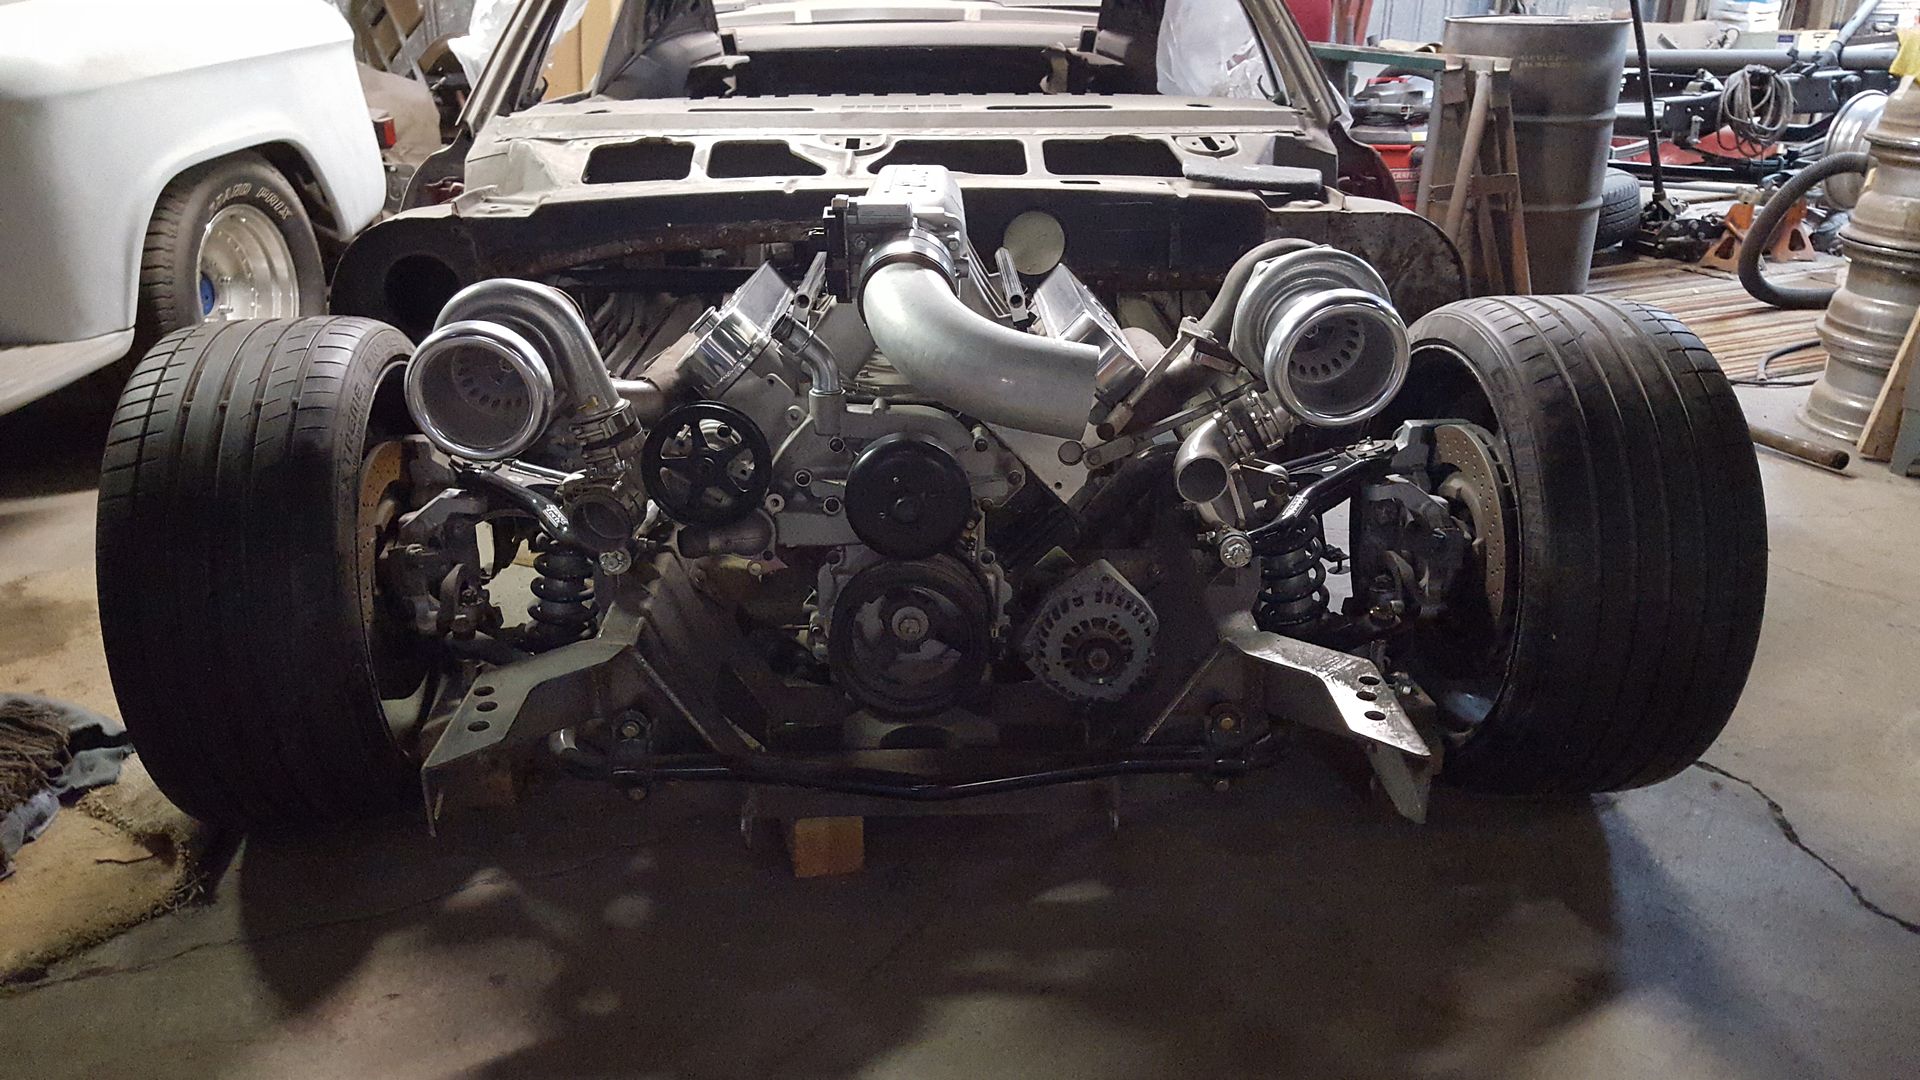
Twin GT35 turbos on an LS2 with a Viper T56. Full Speedtech front subframe, and I made the rear frame housing a Nissan 350Z irs cradle. Front is getting widened by 6", and rear 8". Channeled over frame, so it will be a flat bottom car also.


That's a bitchin Camaro Scott, we expect nothing less of you! Not to change the subject but Earl "Mitch" was just at my place for some SLC shop talk and we took some pictures of his Evora's tail lights in case you may find it useful.
Attachments


You have faaaaar too much ambition, drive and ability for one person... :lipsrsealed:
Lol. Thanks Larry. It is an addiction for sure.
That's a bitchin Camaro Scott, we expect nothing less of you! Not to change the subject but Earl "Mitch" was just at my place for some SLC shop talk and we took some pictures of his Evora's tail lights in case you may find it useful.
Thanks Mark. I just couldn't seem to find any decent deals on them. Will keep my eyes open though. Right now they would be too big, but it wouldn't be all that hard to change in future.
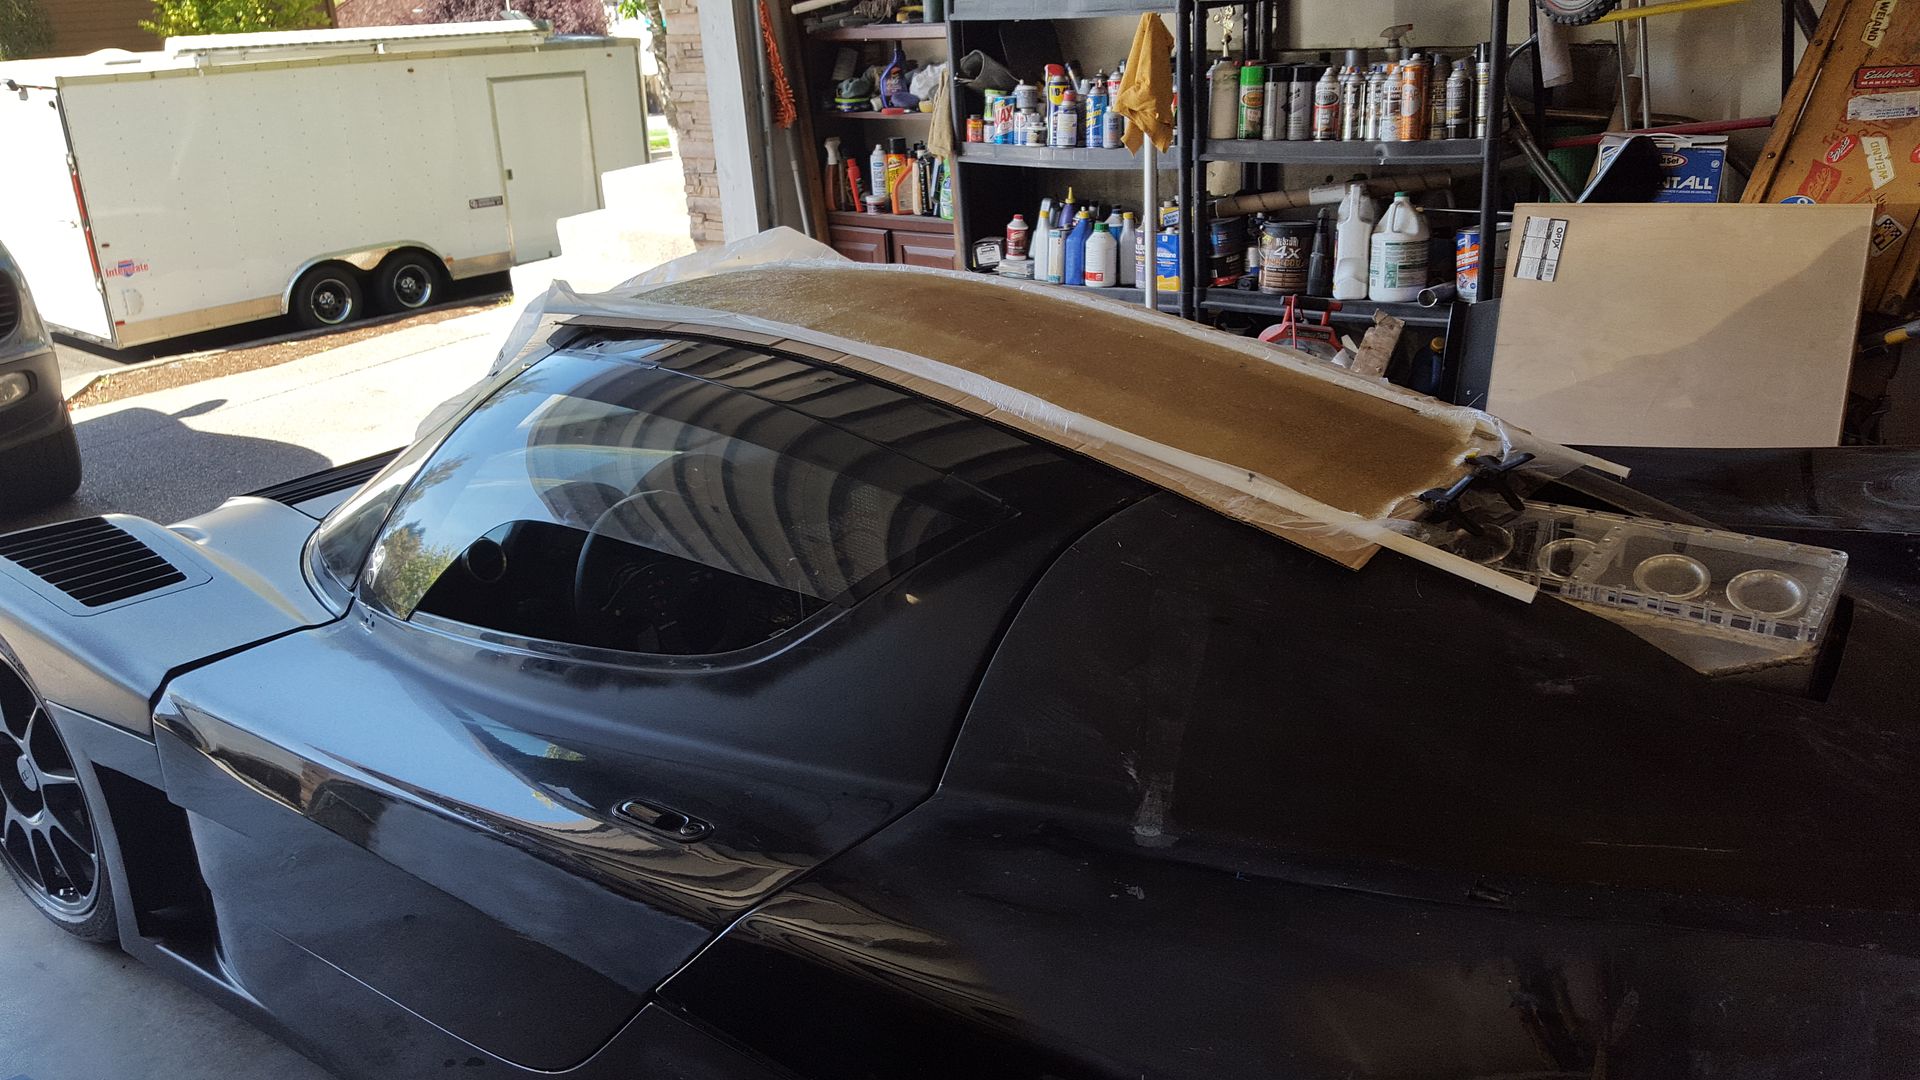
Been waiting for wheels to come before finalizing the rear, so figured I would move onto making the new roof section. A piece of cardboard worked best to get the slight hump needed in the middle, turning it into a compound curve.
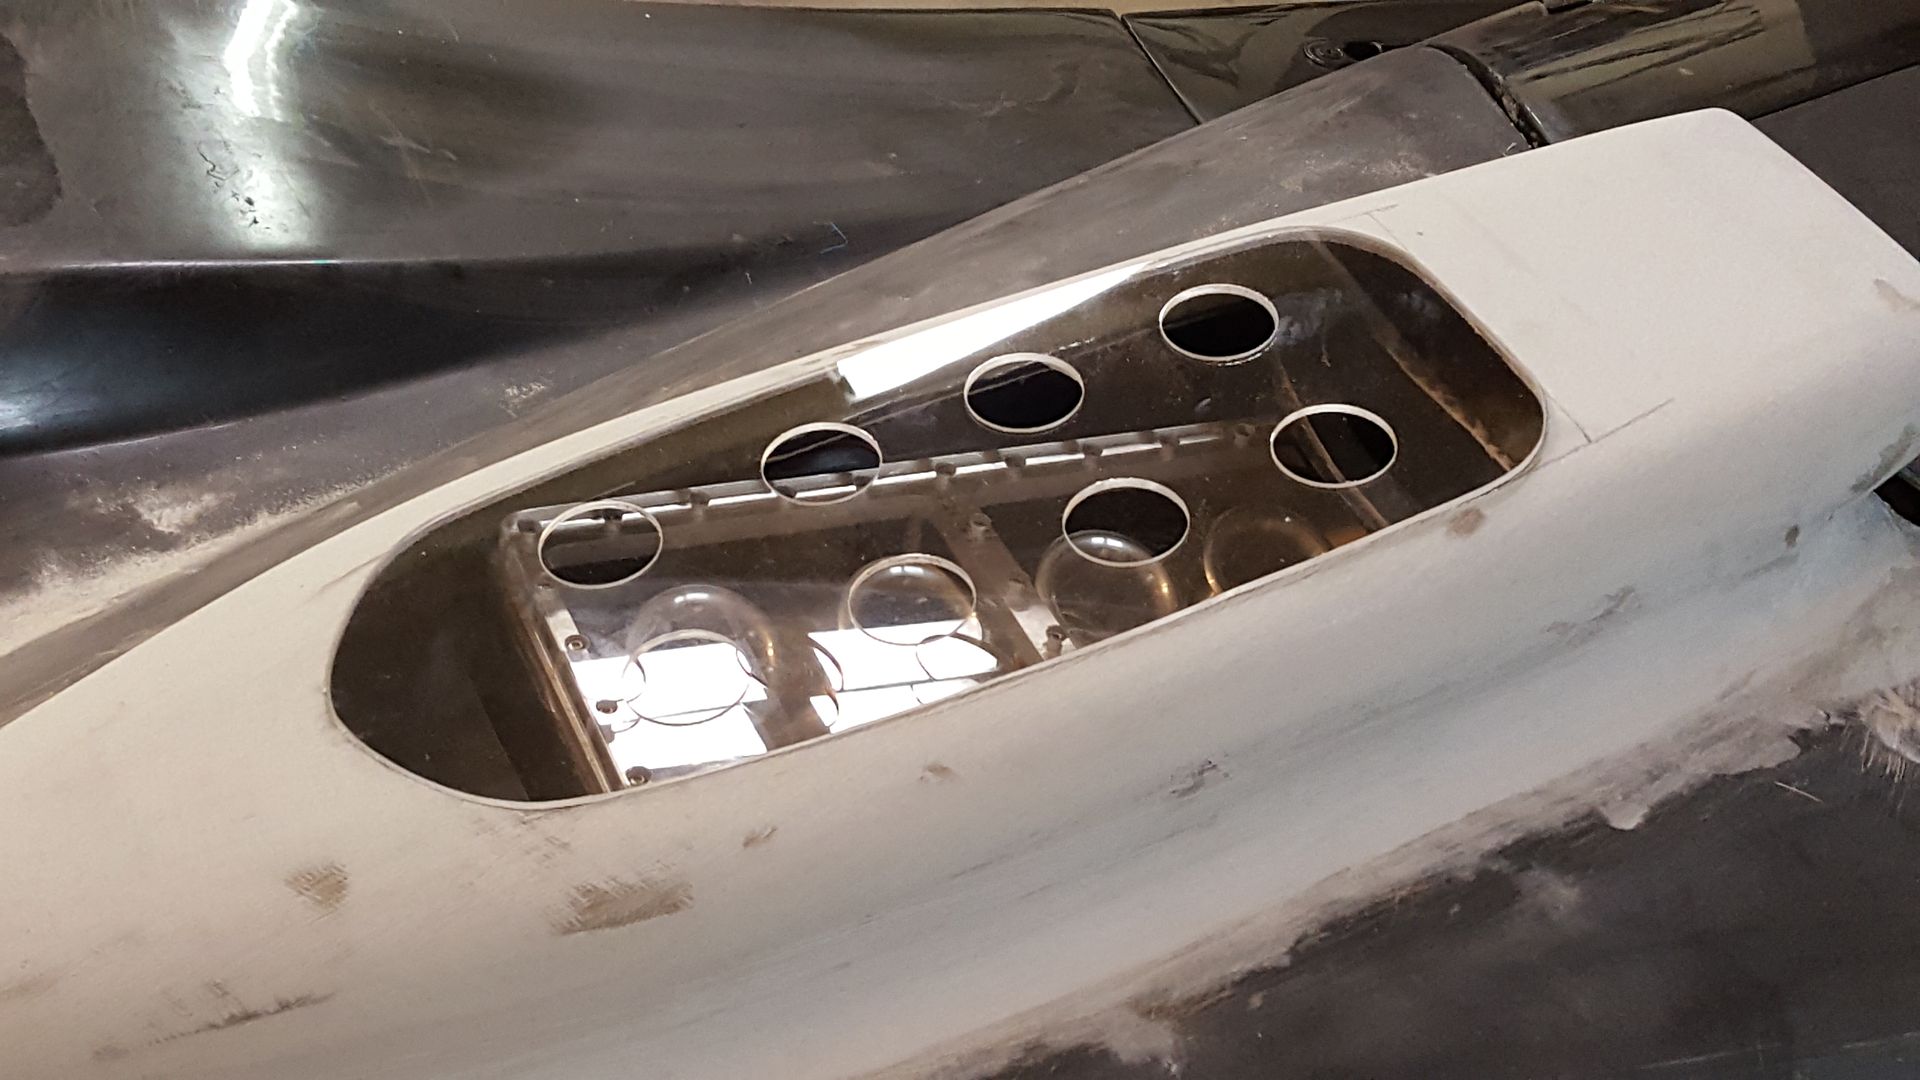
Did the engine cover/scoop yesterday. Nearly smoothed and ready to bond on and smooth out to finish.
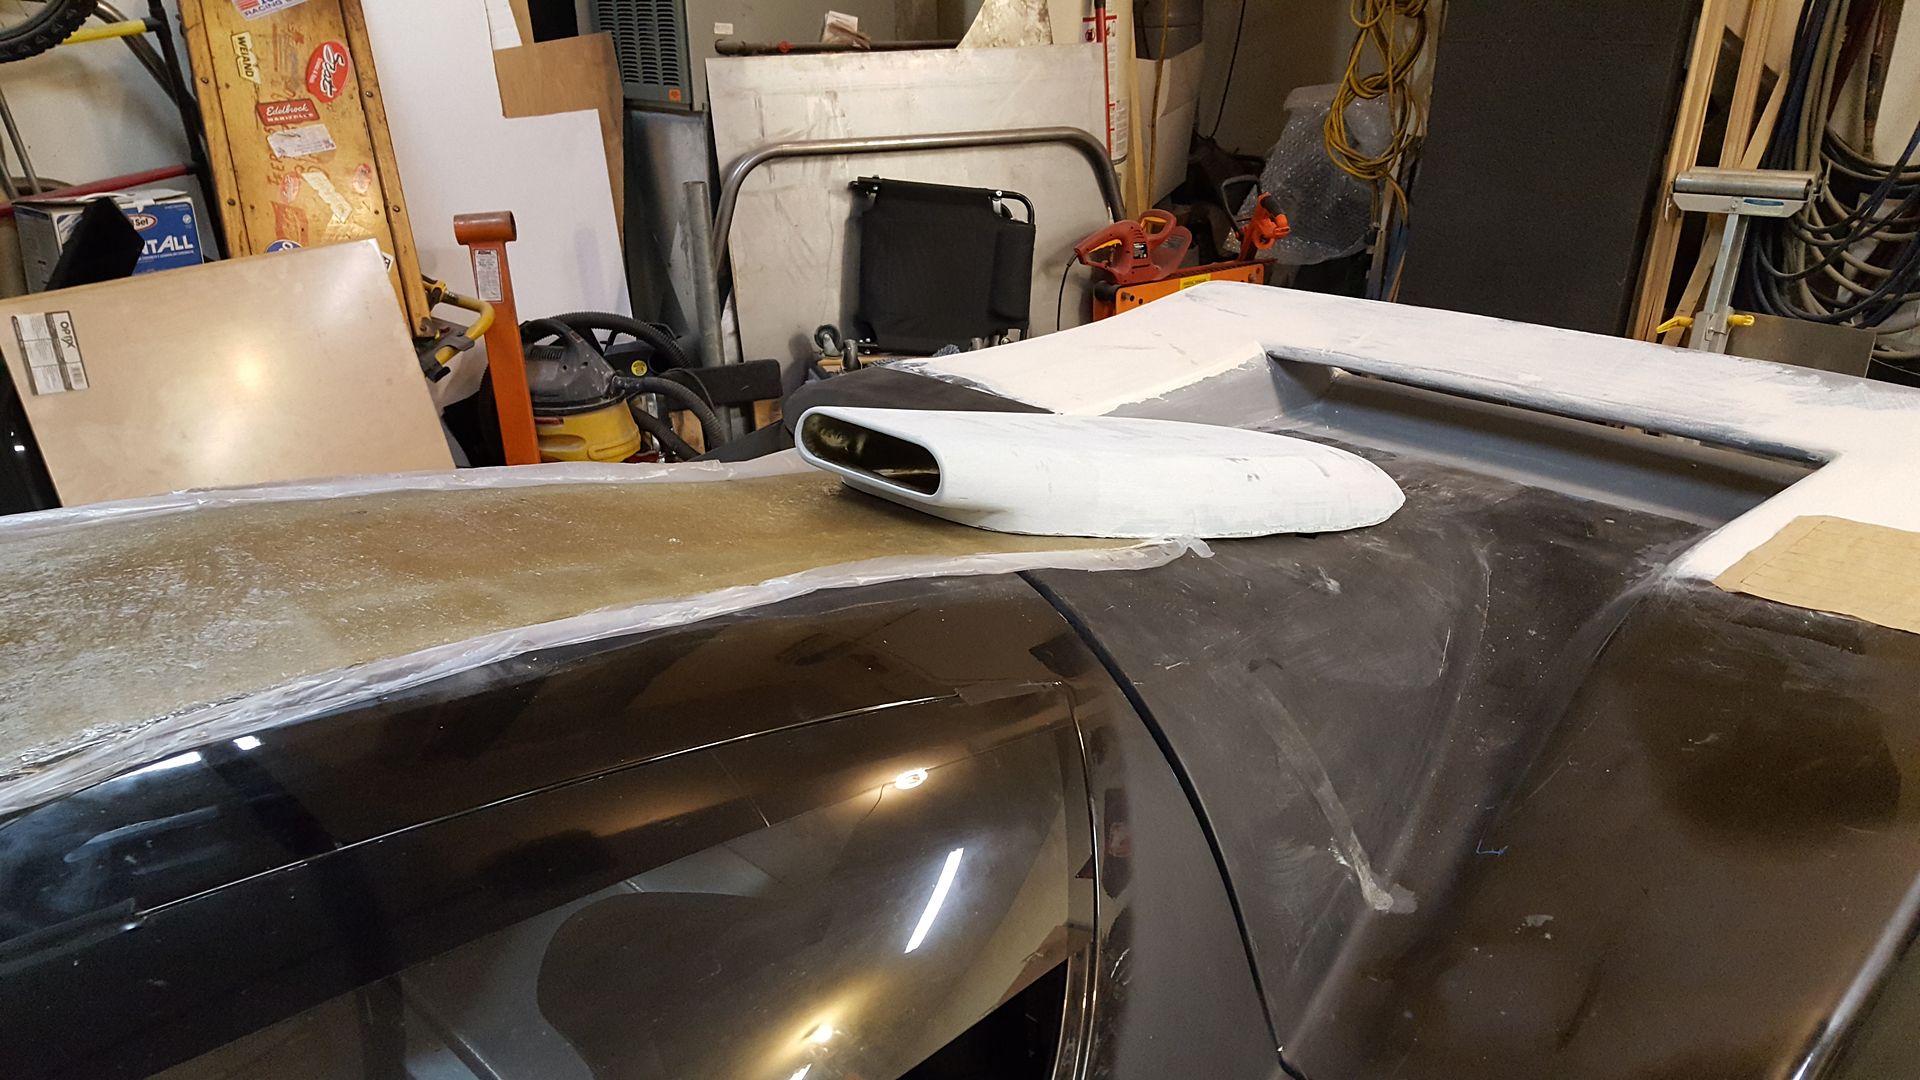
Did the engine cover/scoop yesterday. Nearly smoothed and ready to bond on and smooth out to finish.


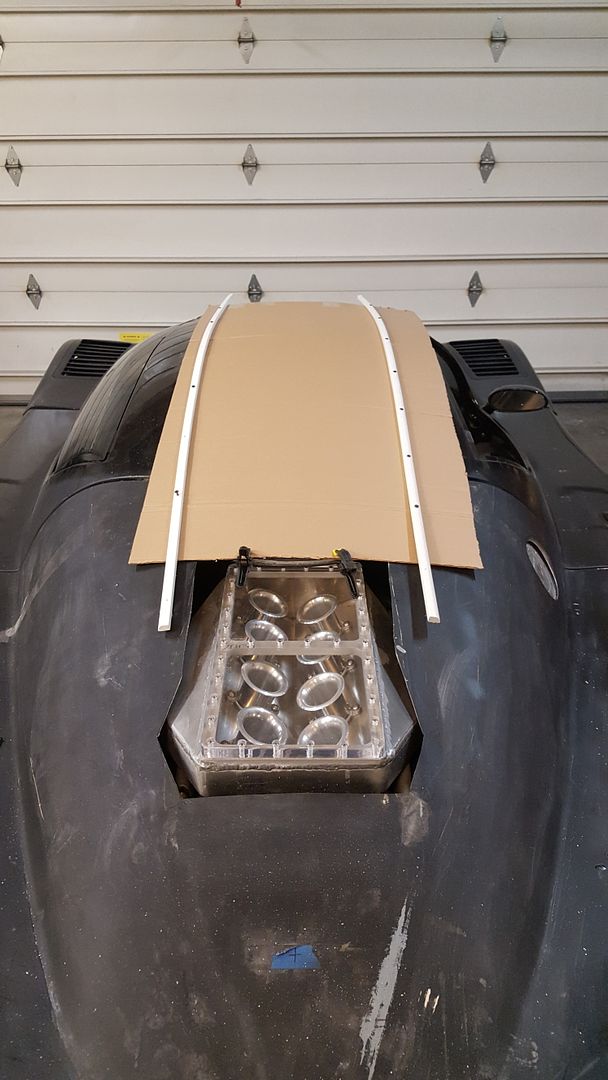
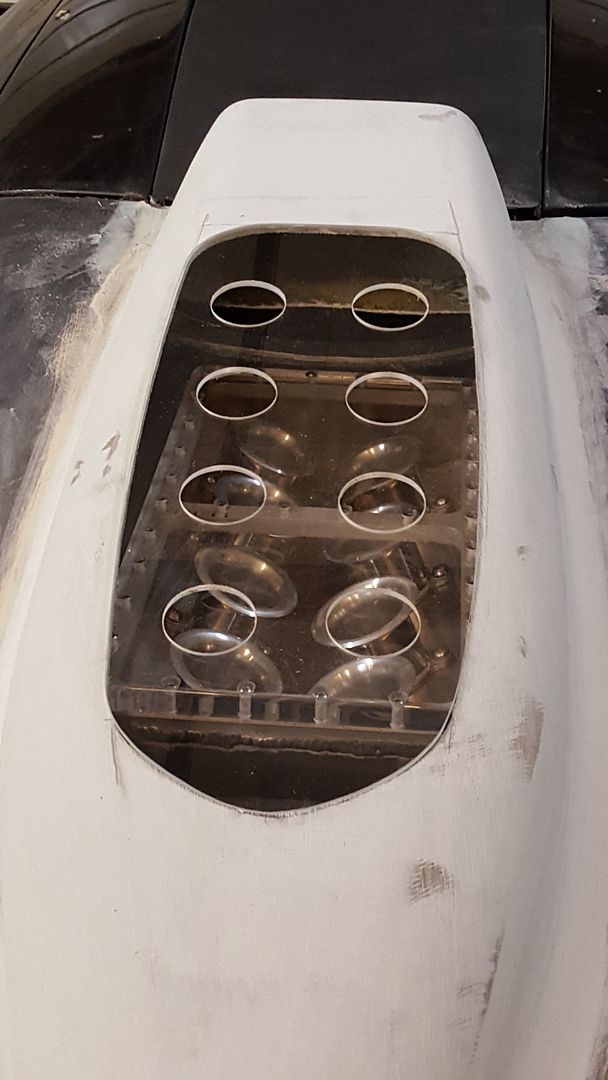
Sketch of the window design. Holes will be drilled out for vents. Should look cool over the clear top itb intake.

Pic showing the new spot that the roof will stop, compared to original. That area is directly under the scoop opening, so I will put a baffle to direct air to the horn intakes, not just open. So no, air will not be coming right in and then back out of the holes in the window. Lol.

Pic showing the new spot that the roof will stop, compared to original. That area is directly under the scoop opening, so I will put a baffle to direct air to the horn intakes, not just open. So no, air will not be coming right in and then back out of the holes in the window. Lol.

Cool scoop!
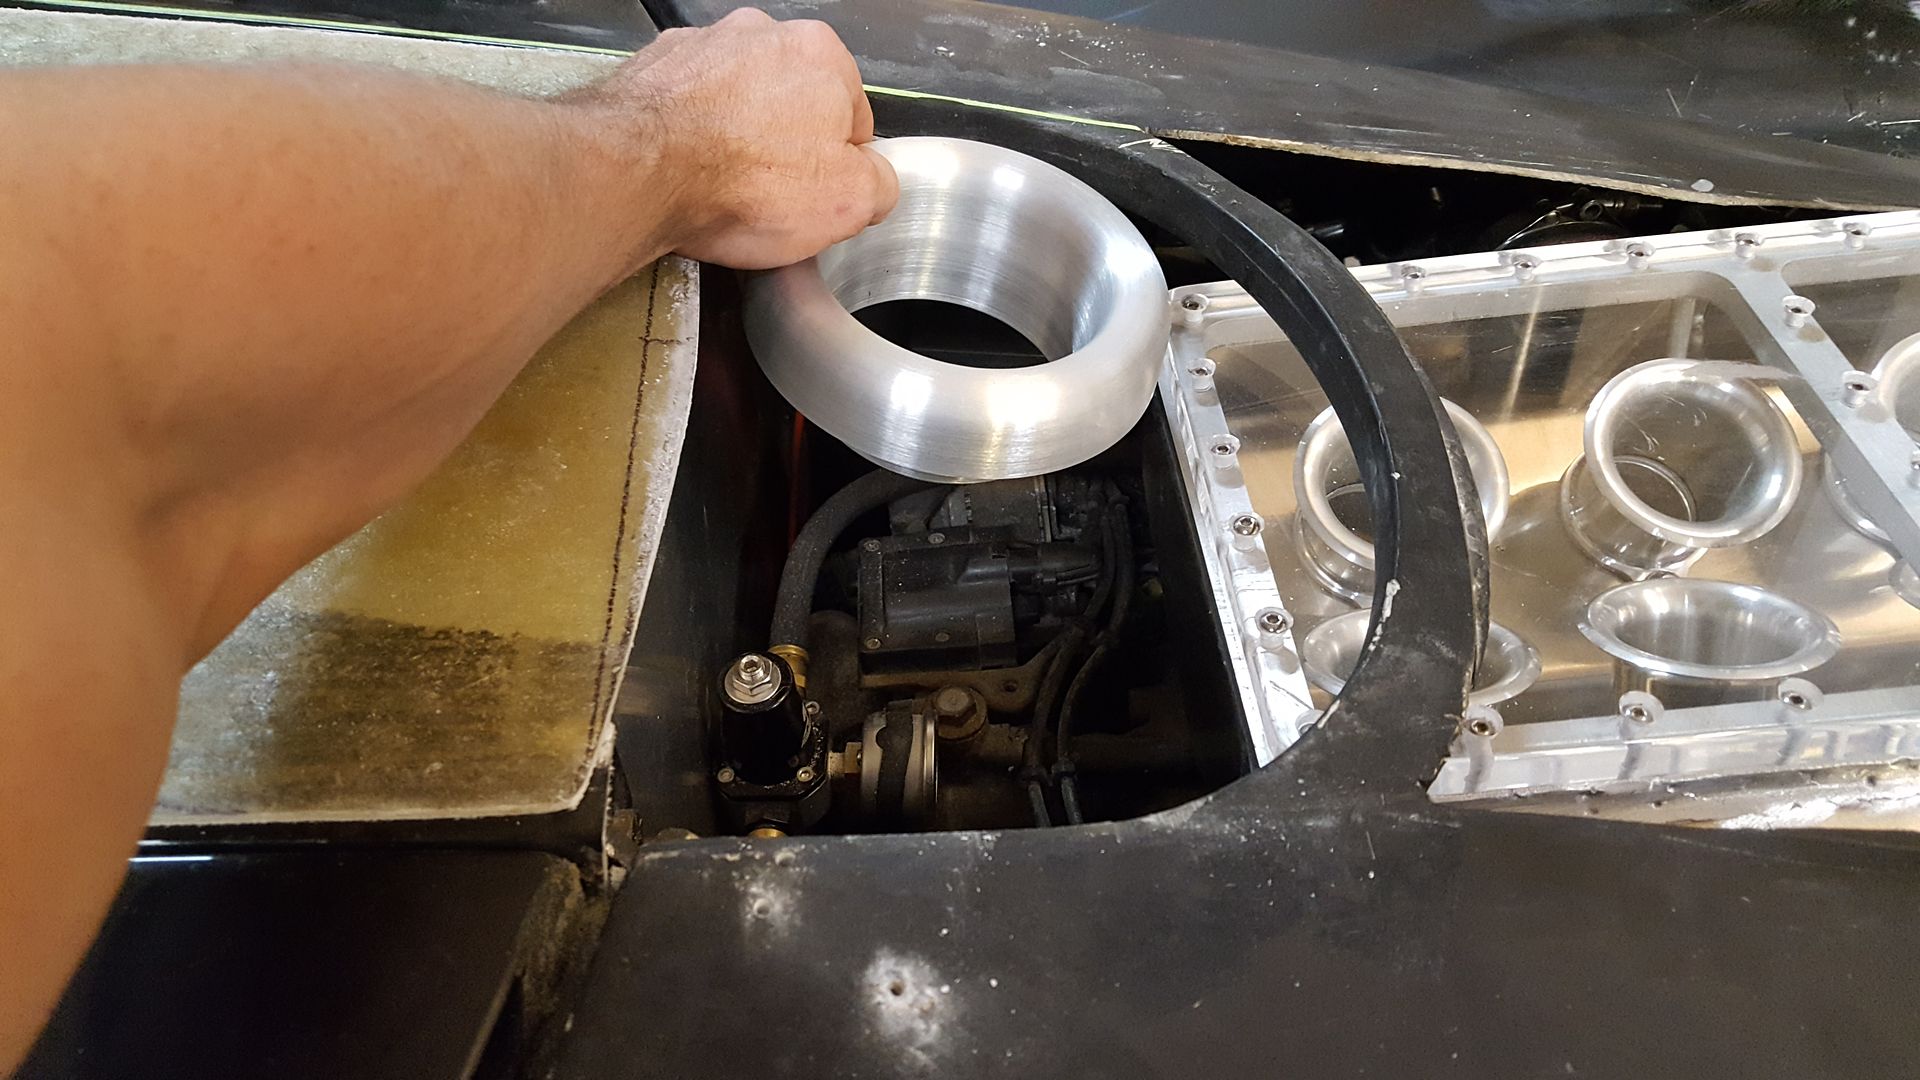
Inspiration?
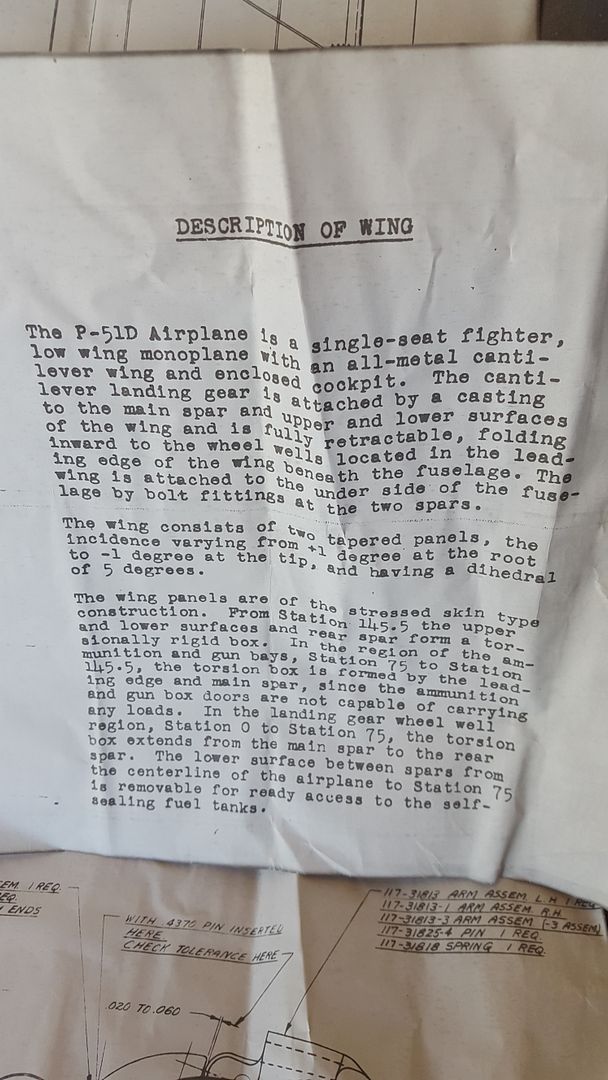
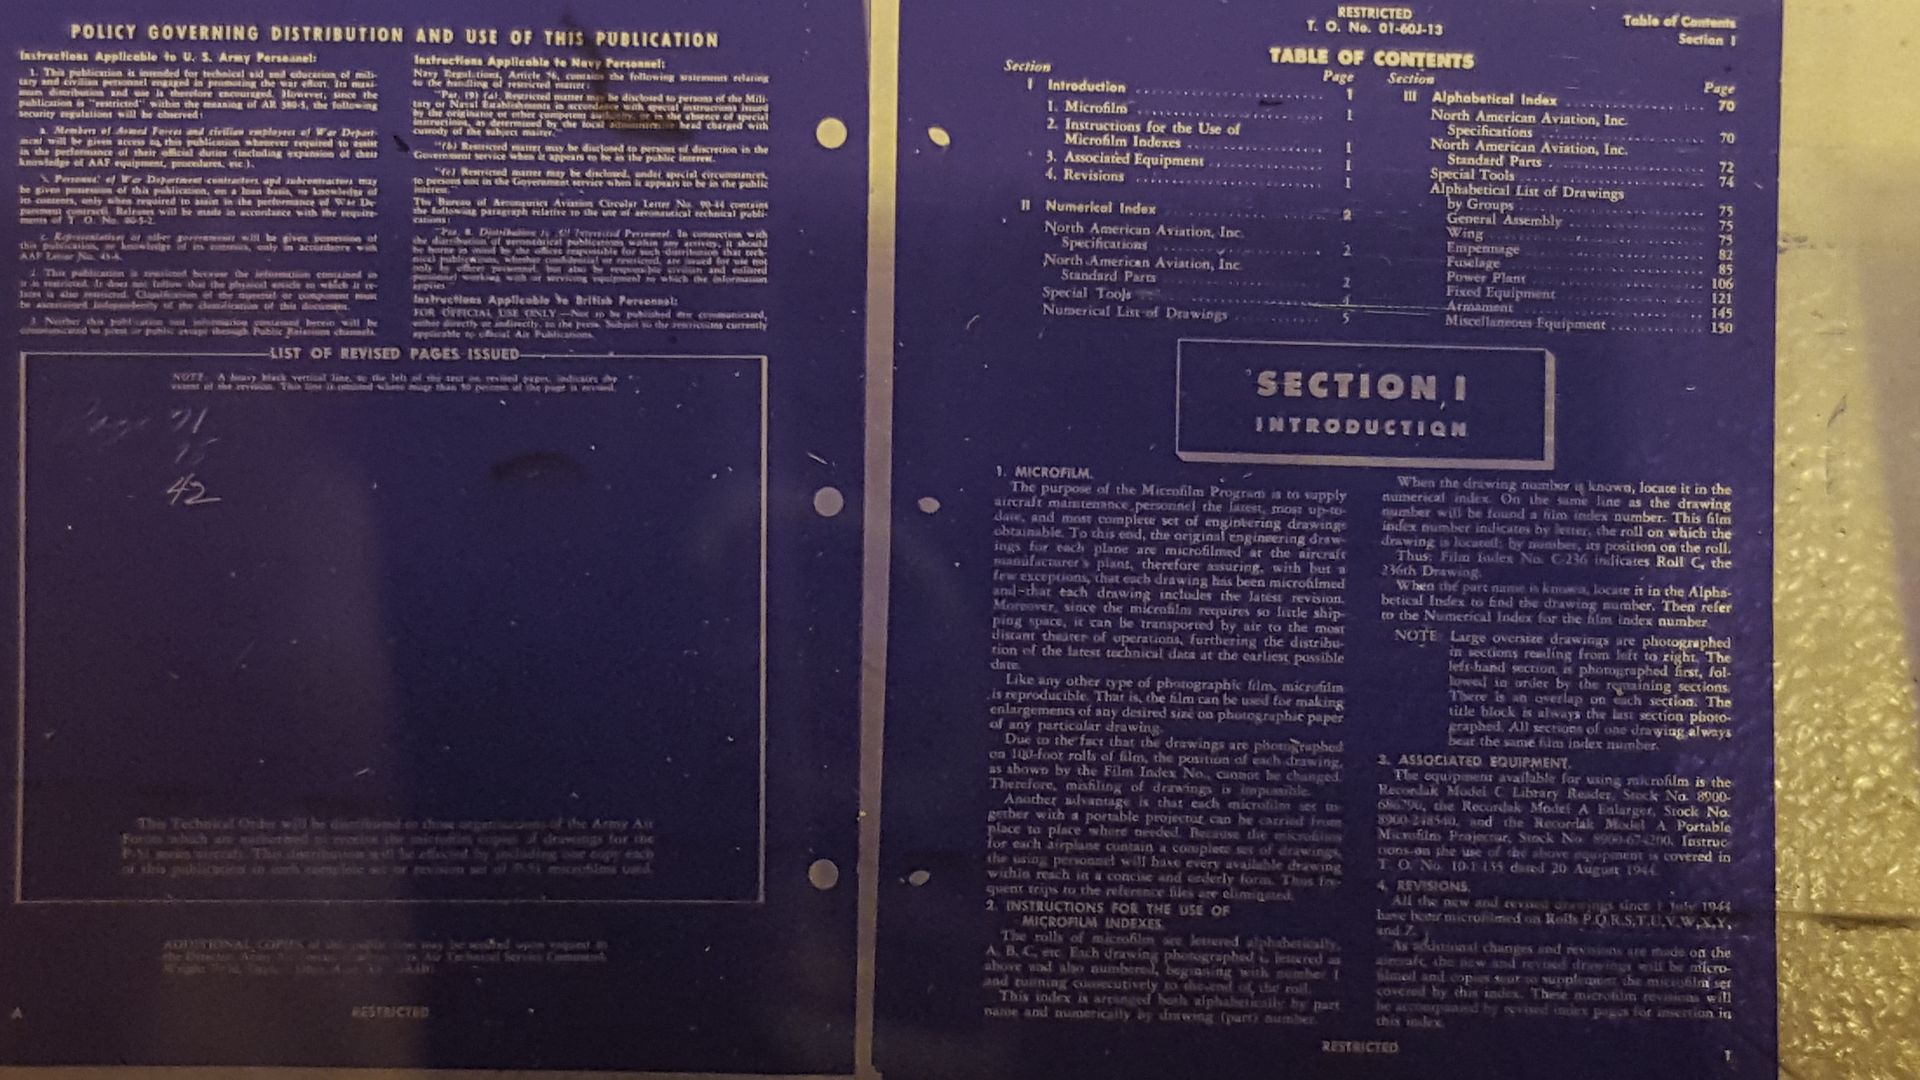
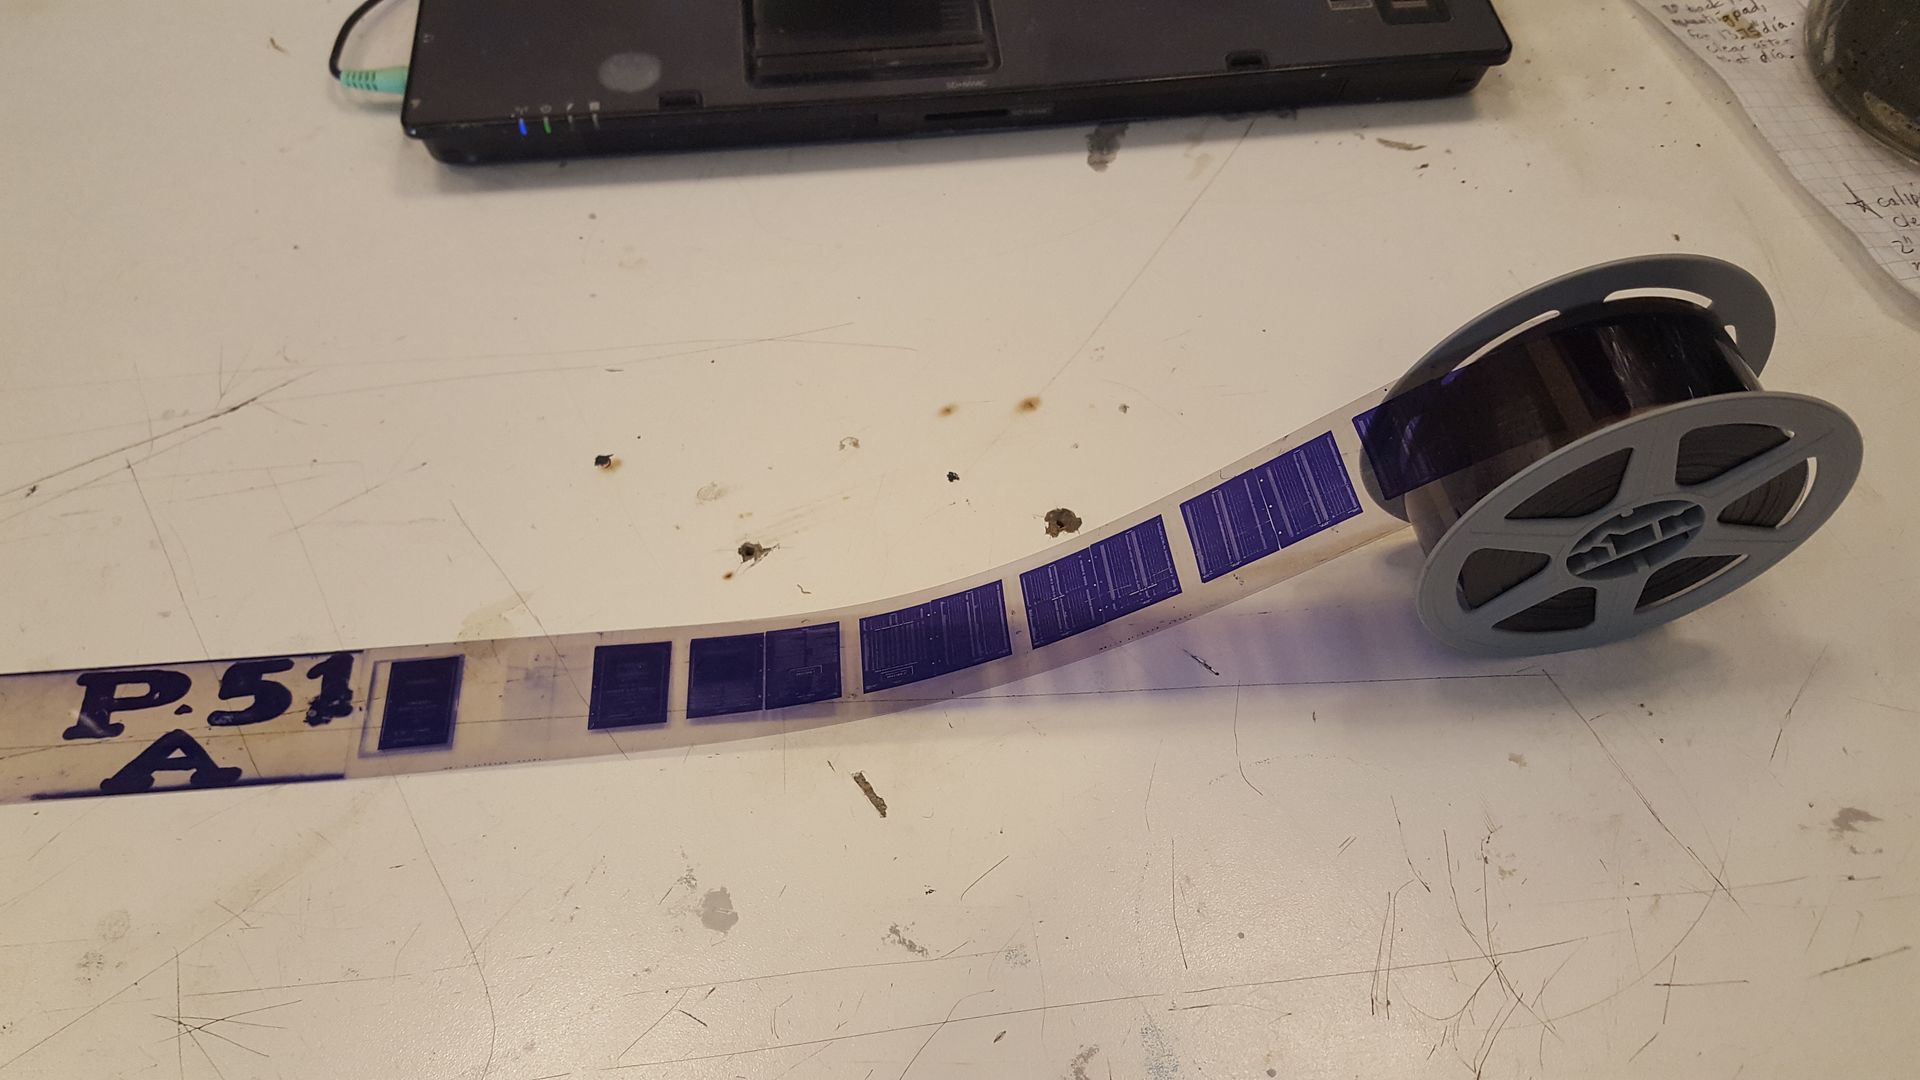
Lol. Looks pretty close. That pic reminded me, I happen to have all of the build and parts catalogs of the P-51. They are on old film. No idea if they are worth anything. I guess to someone probably.

Scott, you may want to reach out to these folks at the Commemorative Air Force (FKA Confederate Air Force) and consider donating them.. You might get some sort of tax incentive?
Commemorative Air Force
Commemorative Air Force
Scott, you may want to reach out to these folks at the Commemorative Air Force (FKA Confederate Air Force) and consider donating them.. You might get some sort of tax incentive?
Commemorative Air Force
Great. They atleast might know if it is just a box of garbage, or if it is worth anything.
I am kind of a WW2 buff. I wanted to start collecting stuff. I found a guy selling 180 piece Italian medal collection for $750 for the whole lot. Figured it was a good deal, so bought it without identifying any of them. Turns out, it is more of a WW1 collection, with many German pieces too. It was his great uncles collection that he collected during his service. I got as much info as I could about the uncle and found his eulogy placing him in Italy during the liberation of Italy from Fascism. My best guess is that during the raids of Italian officers houses, the medals were collected. That explains how he got many WW1 medals in the collection. From lower ranked military positions in WW1, that were now officers in WW2. Long story short, it ends up being one of the largest collections of Italian medals I have seen in one place (outside of an Italian Museum), and were all collected by one man, during his actual service, not an interested collector who had collected them over the years. In my eyes, it makes the value and the collection that much more special.
After roughly 100 hours in deciphering them, I have only been able to catalog 80 of them. So, the last 100 are either super rare, or were never cataloged in Italian medal books. Based on the 80 I have cataloged, the sold auction value of the pieces is roughly $18,000. I am projecting the whole collection to top over $30,000. While this sounds great, it was not the purpose to make a profit on it. More of my interest is in keeping the memories going of when we were a great nation and all of the sacrifices made around the world to get that shithead Hilter out of power.
I have had collectors ask if I would sell certain pieces, but, I refuse to break up the original collection. I catalog each piece, number it, write down the explanation, and record current sold auction values. This info gets printed out and displayed under the display of medals I have made. The display case is made by me, and has unbreakable plastic on the front, and all fasteners are tamperproof, so they cannot easily be removed from my wall. This is only the first one with 50 pieces, I will need to build 2-3 more of these. Once I can decode all of them, and have them in display cases, I will probably loan out to display in museums.
Here is a pic of the first display. One German Deathhead squad badge in there is worth $900 by itself. CIL and GIL Hitler youth badges also. Quite a few of the medals are also from the Africa campaign, where the war really started for the U.S., but that part of the war is not spoken about much. The Italians volunteered to help Germany defend Africa. Africa had to be taken from the Germans to clear the shipping lanes we would need to make it to Europe. During this time also, the U-boats were at their high point of taking out allied shipping. Also, the place where Rommel got his name for being a great tank commander.

Here is 30 more that have been cataloged, but not enough to build next display case.

One of the really cool pieces is old Italian Air Force badges. When Italy was under fascist power, there was a fascio log in the eagles talons. Once liberated, the pilots became allies and they individually ground off the fascist log in the talons. Here is 2 examples. One gold plated.

One of my favs. Appears this SS officer had a pretty bad day. On fire and all.

Sorry for the derail, but, it is a pretty cool thing to me. Can't all be about cars! (yes it can)

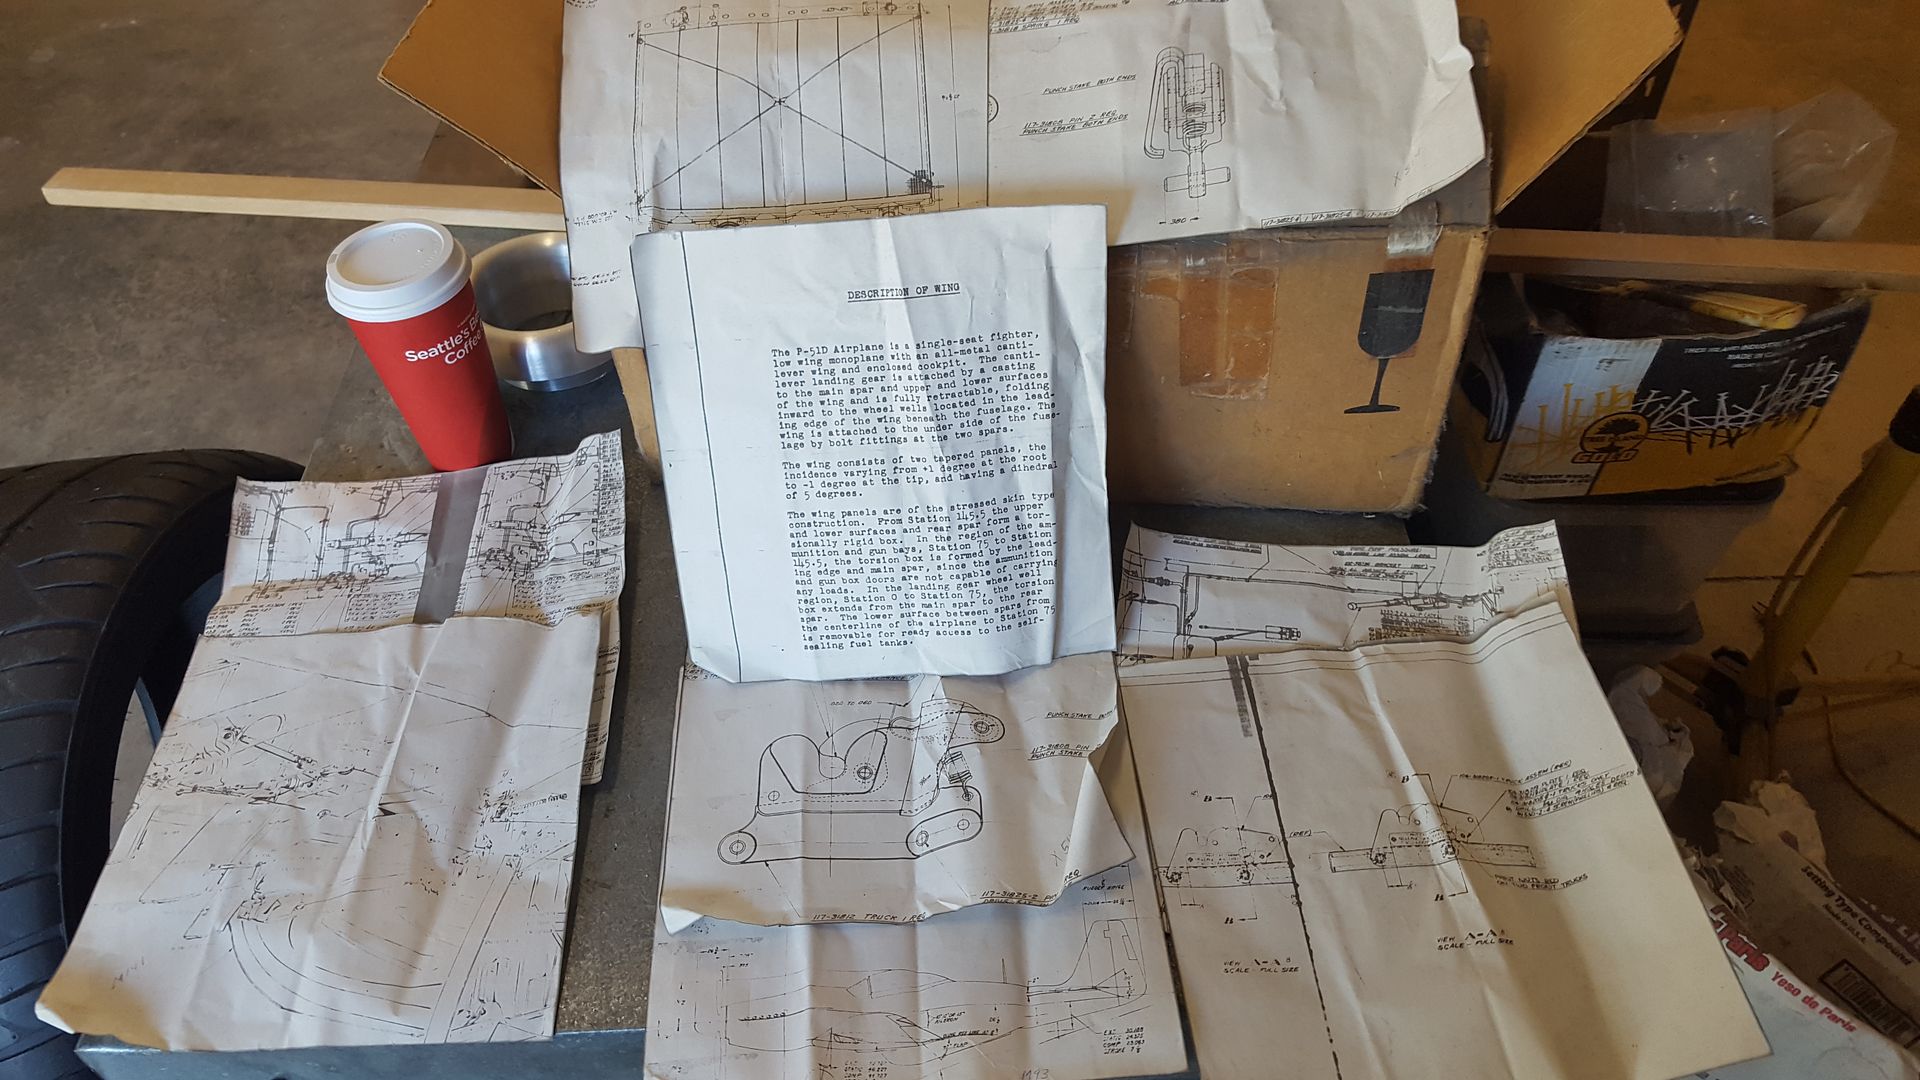
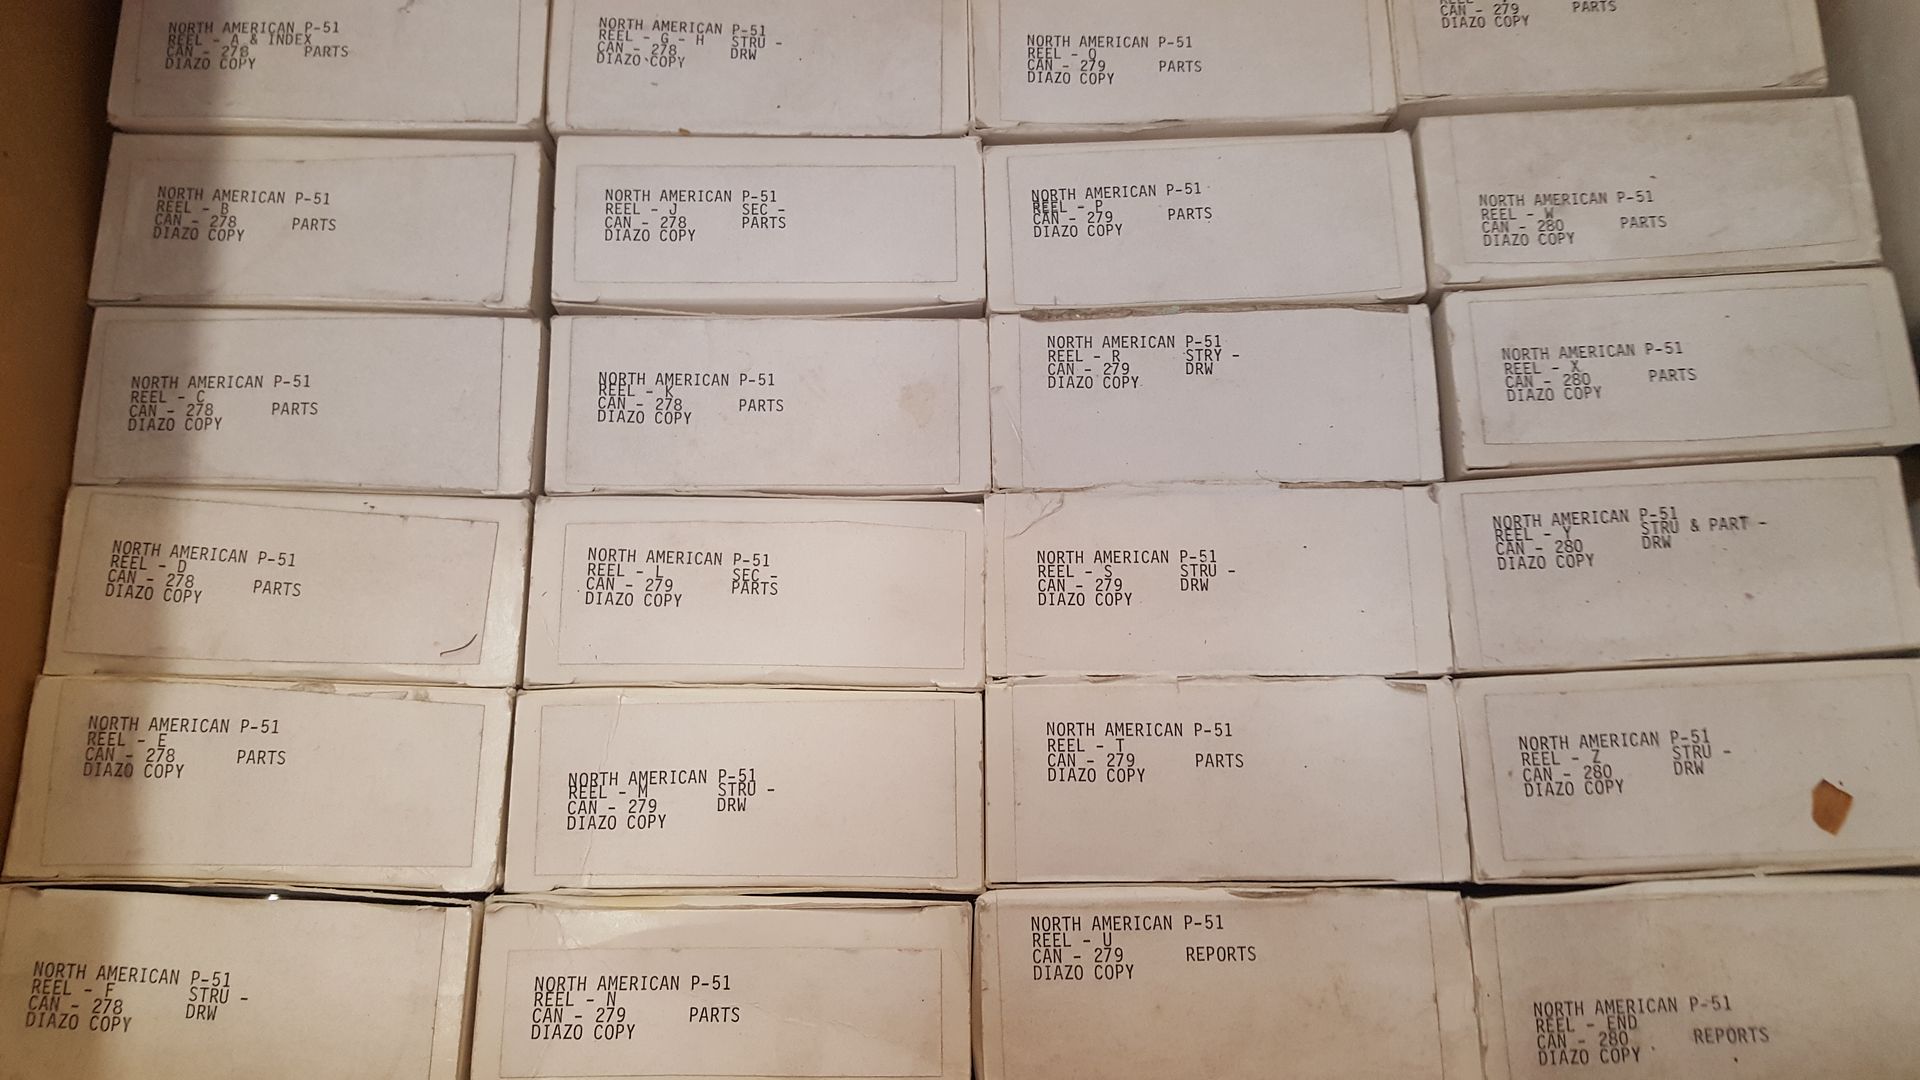
Since I had people asking about the P-51 stuff, I will just put it here of what I have. Appears it is all on microfilm. Copies of original catalog of what may be original blueprints, when they were blue. They are alphabetized, and it appears I am missing film I, and Q. Unless they put those two grouped on other rolls, which they did multiple on a couple other rolls also. There is also some printed out pages in the box.


Thanks Randy.
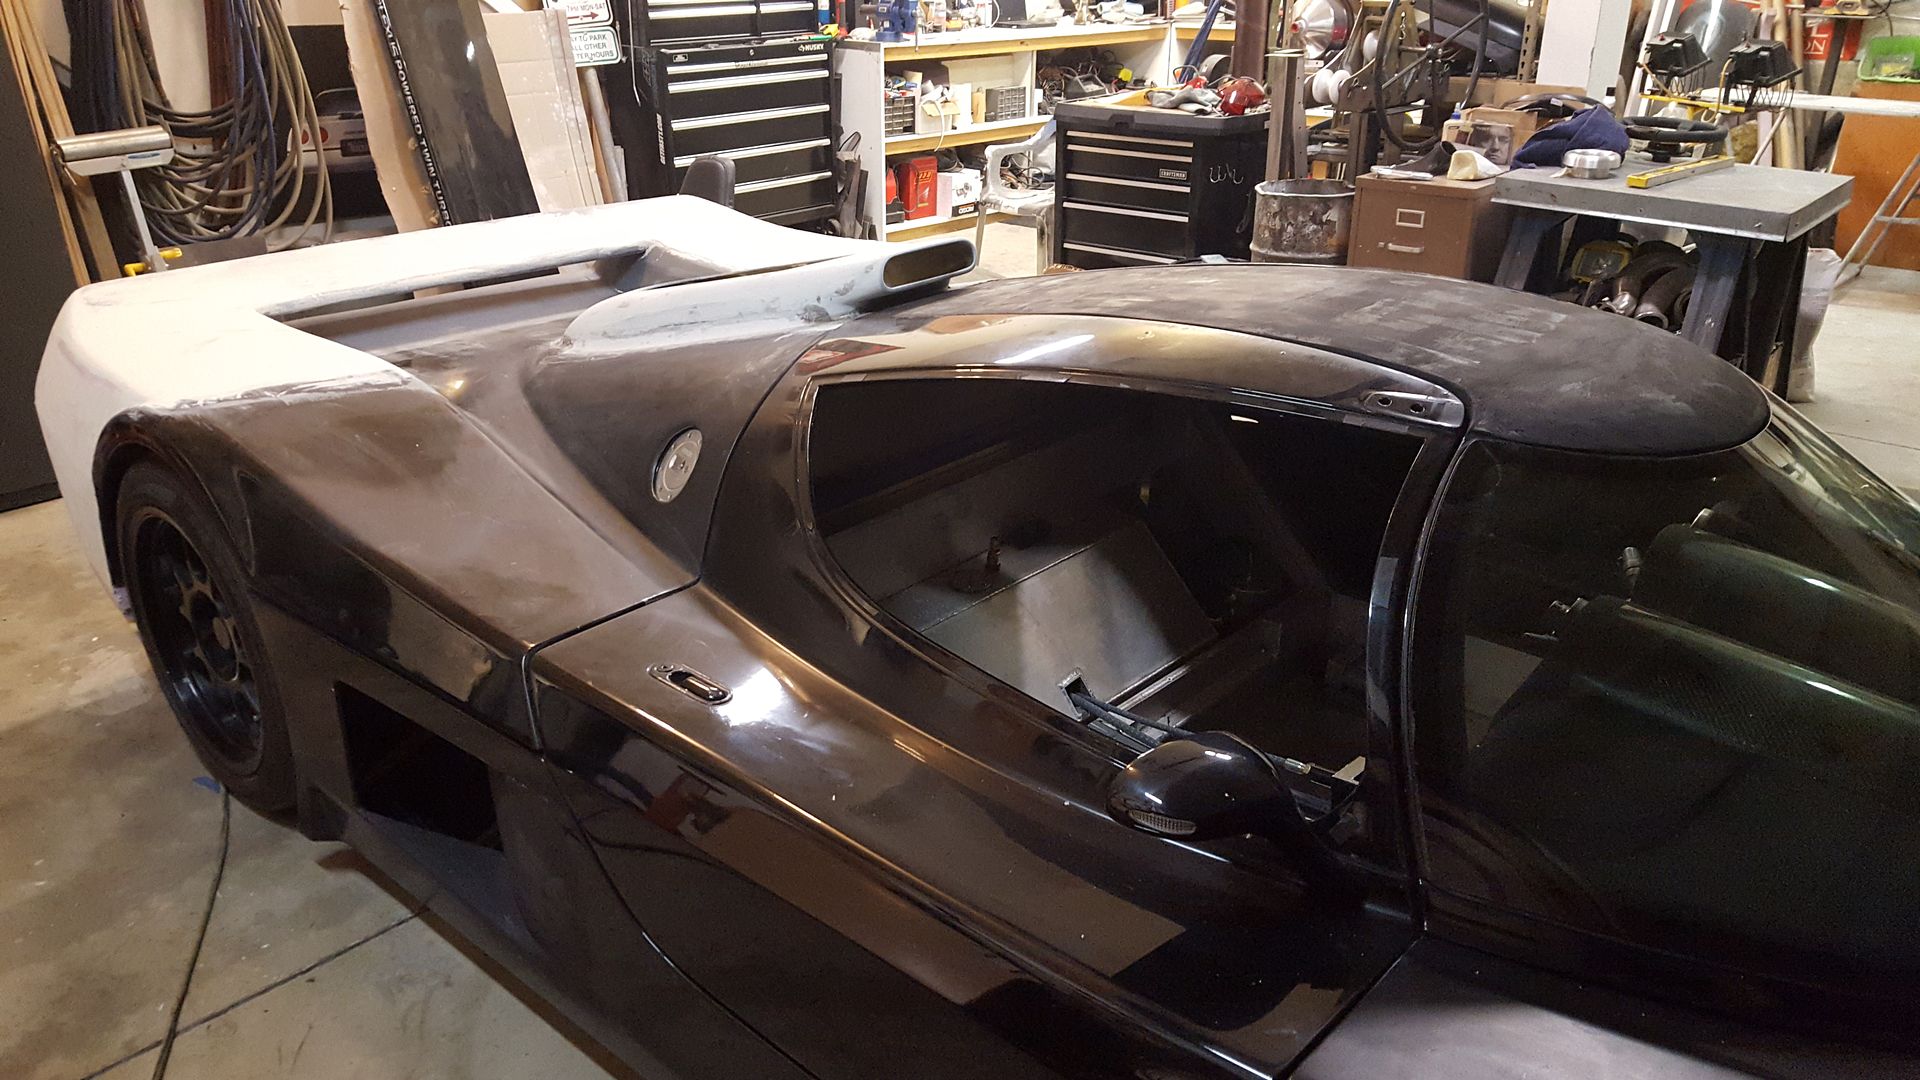
Got the word, my wheels are still ANOTHER 2 weeks out, so have been working on the roof and scoop.
Both roof panel and scoop were first epoxied on using Fusor 102, then a fill of Bondo Hair, then finished out with a coat of bondo. Once panels can be flipped over, an additional layer of fg will go inside. So, they aren't going to be going anywhere soon.
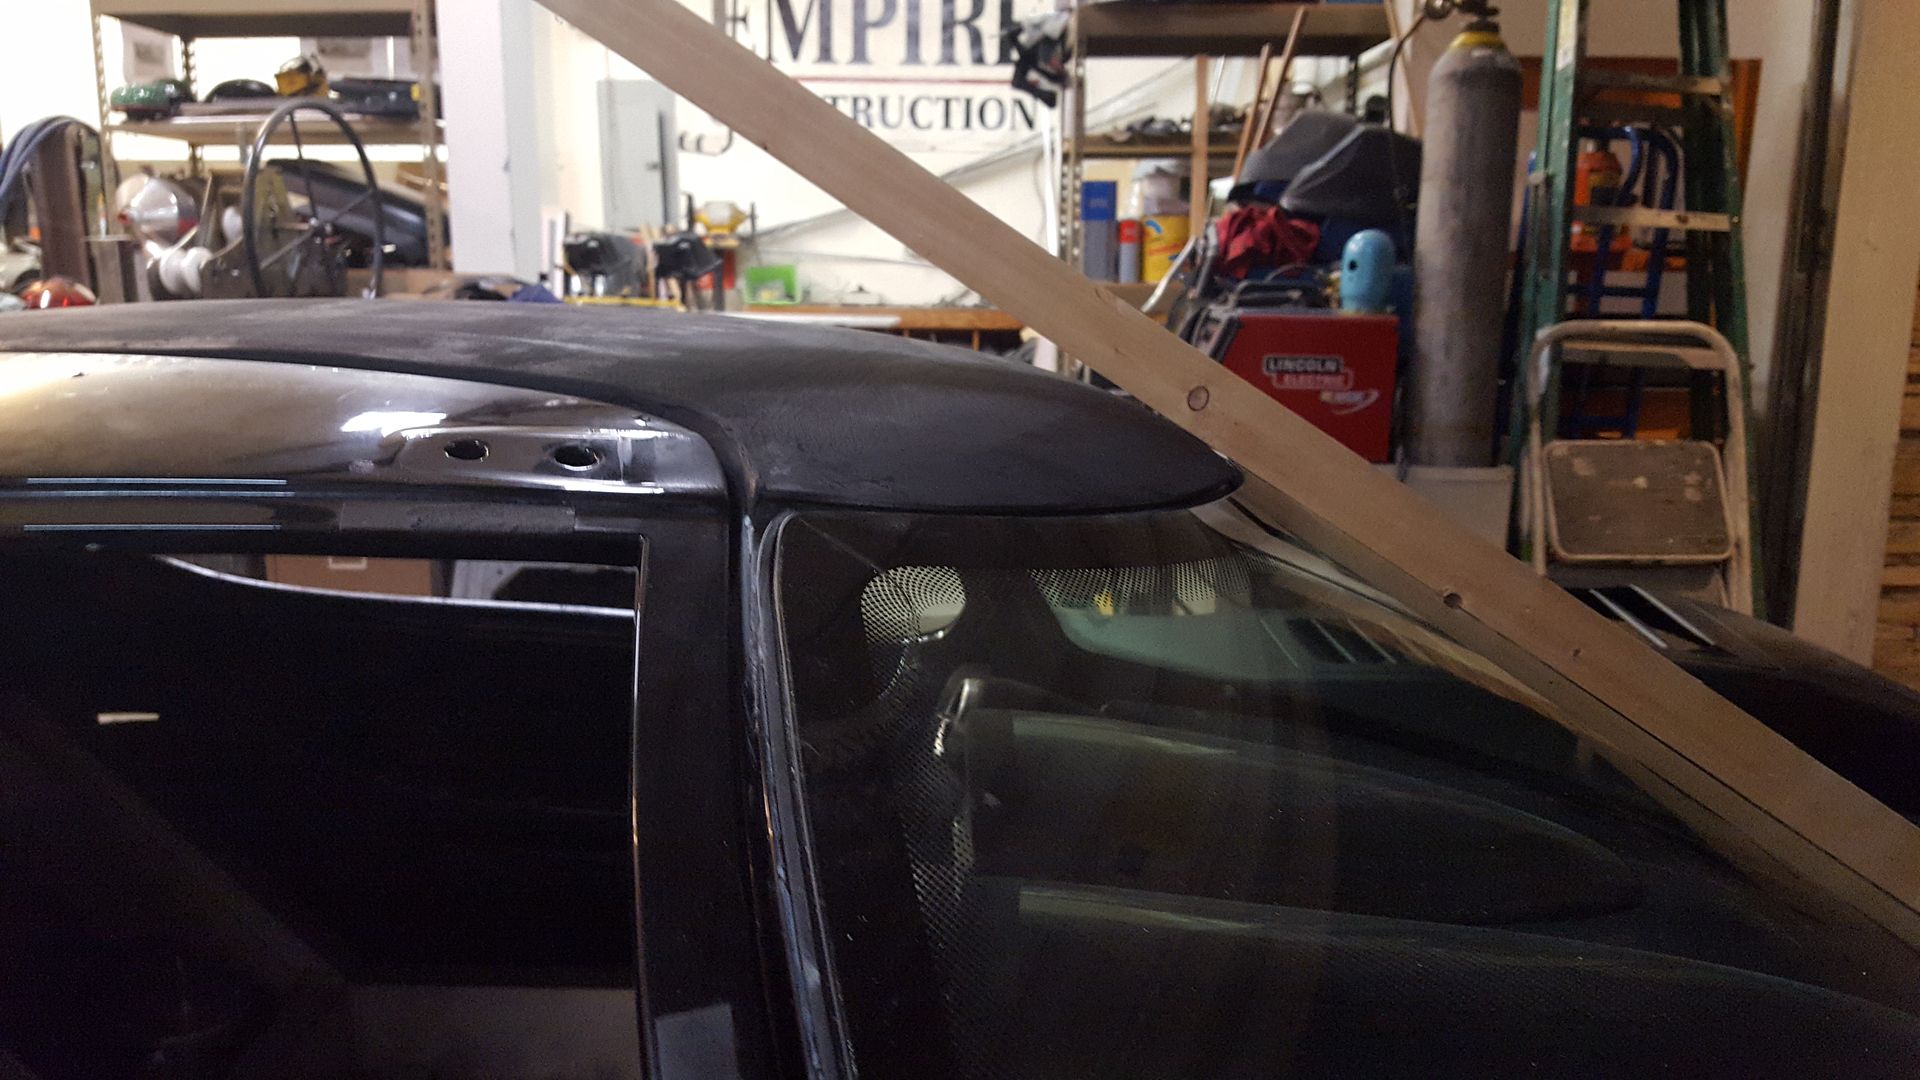
I really like the new roofline, and the window over the intake came out pretty good too. Didn't look far enough ahead to realize I needed the doors mounted with weatherstriping to set door position, to finish roof to. So, I stopped at about 80% finished and have all weatherstriping on it's way so I can wrap up that part.
The new roof panel hits the roll bar by only 1/8". So when body is removed, I need to cut a 1/4" height out of front tubes, and reweld. There is the possiblility there is room to fit the upper roll bar tubes in my bender though and slightly rebend the small amount I need.

Both roof panel and scoop were first epoxied on using Fusor 102, then a fill of Bondo Hair, then finished out with a coat of bondo. Once panels can be flipped over, an additional layer of fg will go inside. So, they aren't going to be going anywhere soon.
I really like the new roofline, and the window over the intake came out pretty good too. Didn't look far enough ahead to realize I needed the doors mounted with weatherstriping to set door position, to finish roof to. So, I stopped at about 80% finished and have all weatherstriping on it's way so I can wrap up that part.
The new roof panel hits the roll bar by only 1/8". So when body is removed, I need to cut a 1/4" height out of front tubes, and reweld. There is the possiblility there is room to fit the upper roll bar tubes in my bender though and slightly rebend the small amount I need.


Had to get doors mounted to continue on the roof. Didn't feel like making my own hinge, so, I "frenched" one of the original ones in today. The body is very thick right there, so routed out about 1/8" of the original body line, And since my roof line is higher in that area now, I could build up around it to match. Also, was able to shave about 0.10" off the bottom of the hinge and will use a thinner gasket to sit as low as possible.
Should look good painted.
From this-
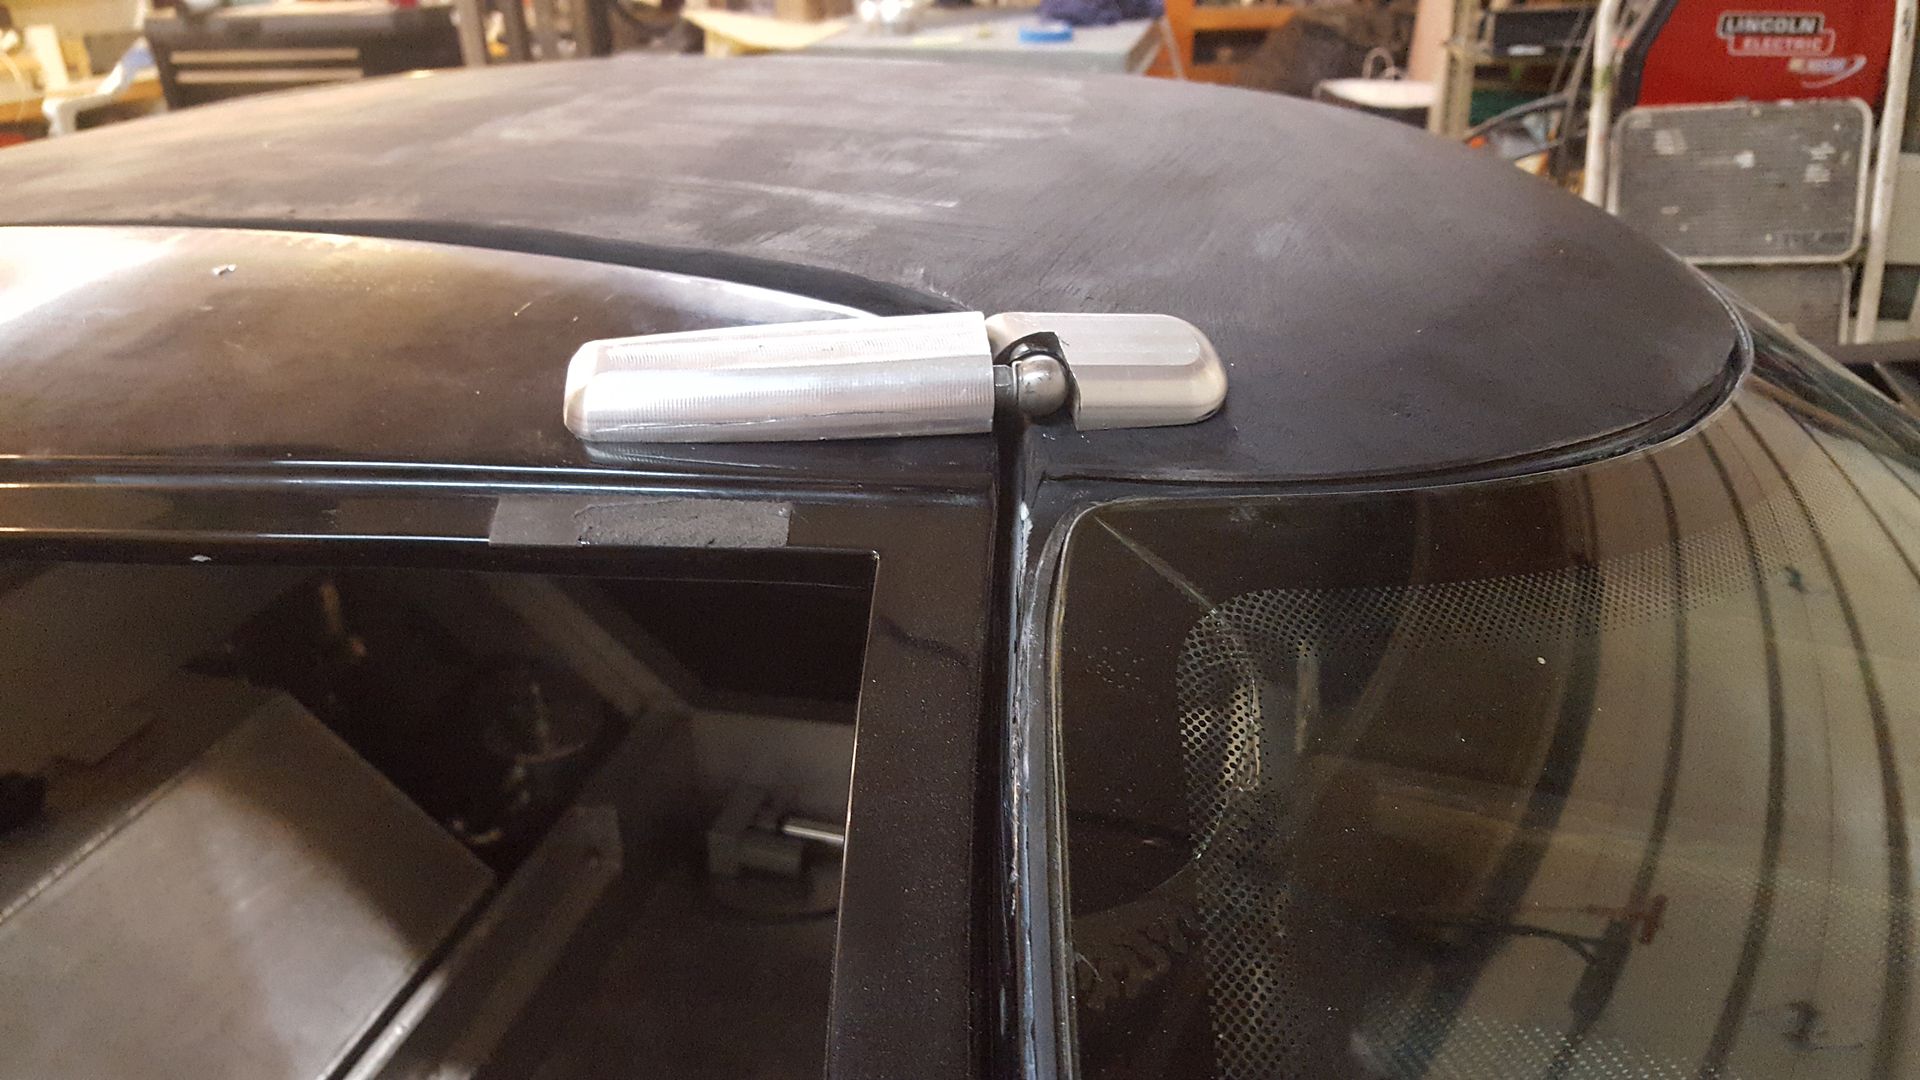
To this.
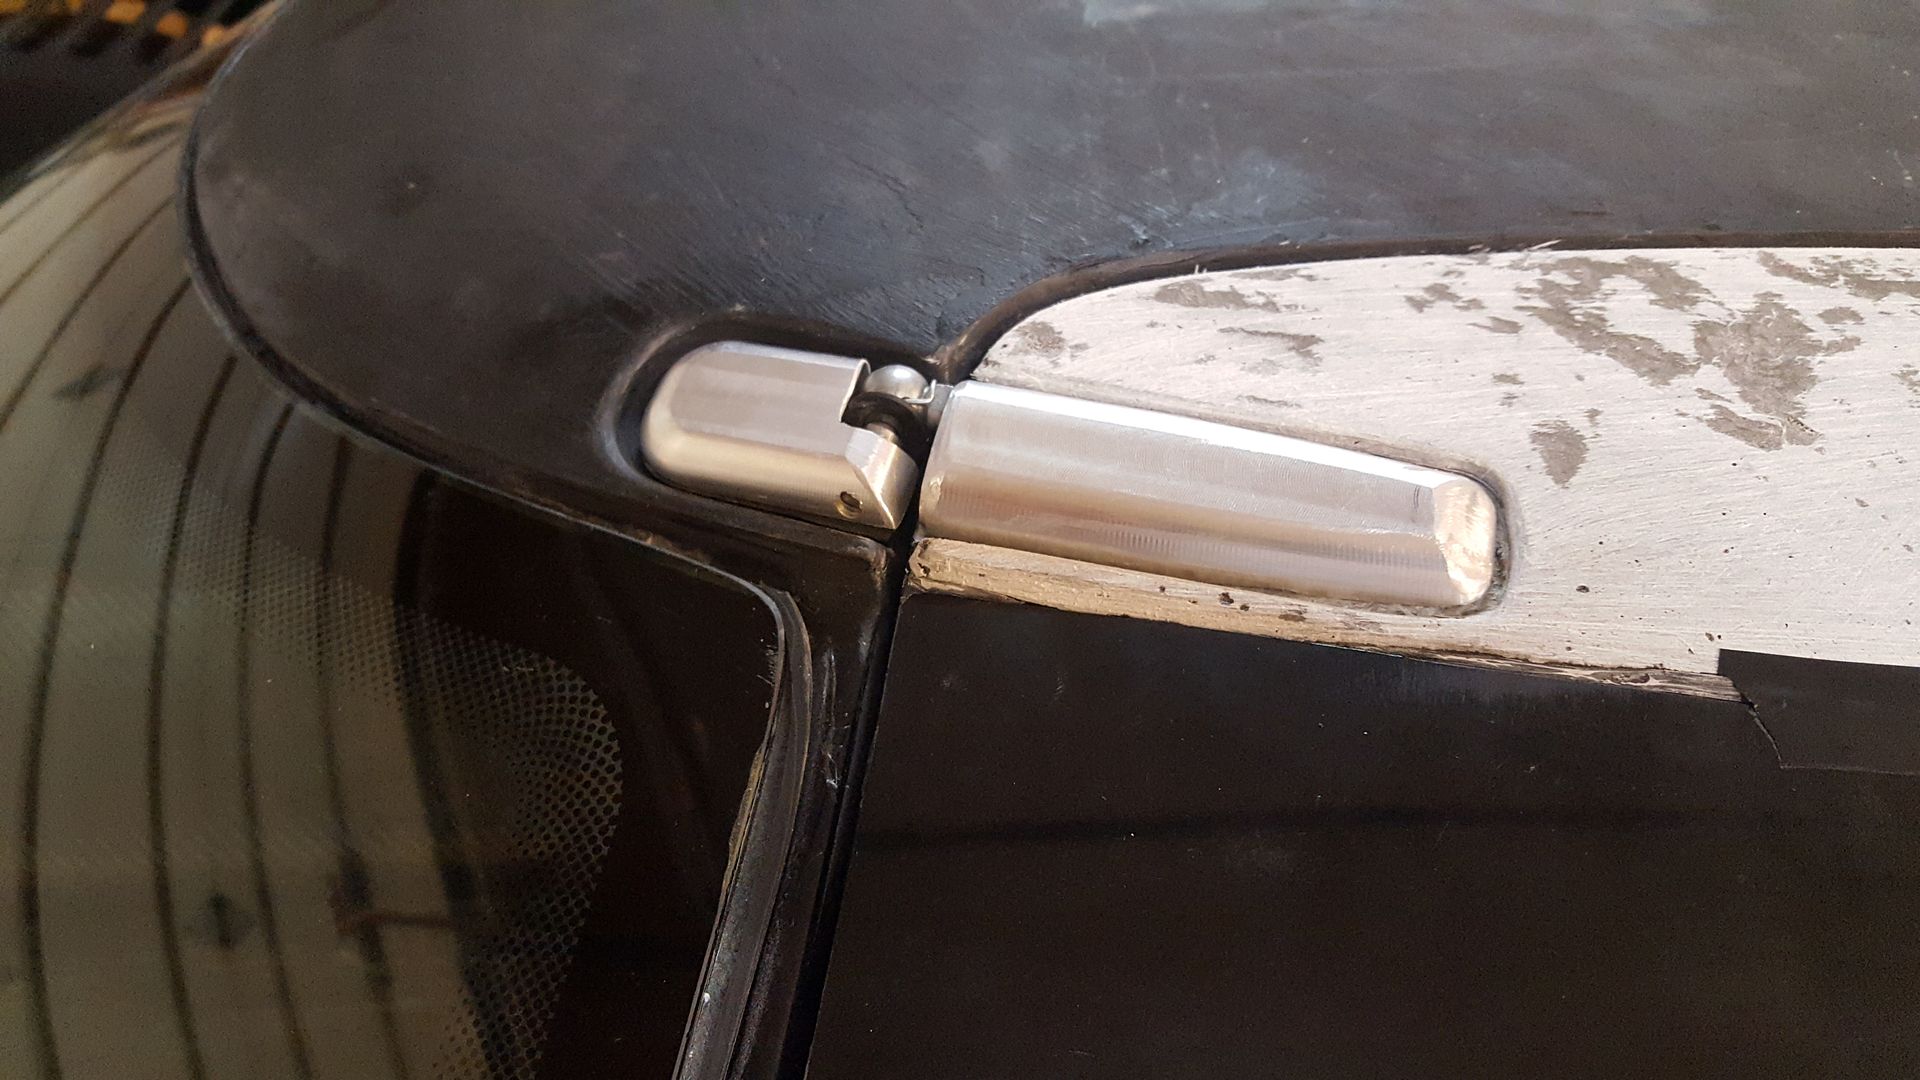
Should look good painted.
From this-

To this.

That is a great looking cleanup of the hinge......very nice.
Similar threads
- Replies
- 5
- Views
- 780