Scott- I have tried to make my car as serviceable as possible. Personally, I get nervous about placing fuel pumps, filters etc. in that small bay beside the fuel tank. There is plenty of room in the engine bay. I placed all of mine on a vertical piece that is easily accessible. Just something to chew on...

You are using an out of date browser. It may not display this or other websites correctly.
You should upgrade or use an alternative browser.
You should upgrade or use an alternative browser.
Scotts build thread
- Thread starter Scott R.
- Start date
Unfortuneately (and fortuneately too), the spot where most put there fuel systems, will be filled with hot headers and turbine housings and wastegates. I also do not want them visible. I try to be as space effective as possible in builds.
Since I am building it mostly as a street supercar, and not a race car, if it takes 4 hours to change a fuel pump, that's what it takes. I will be venting the chamber incase of fuel leaks, and creating a close off panel to protect from engine bay heat.
The placement was well thought out beforehand. I am also seriously considering moving the cooling system to the back, so plans must also make room for multiple radiators in side pods and rear sides. This will give me free reign to the front clam design.
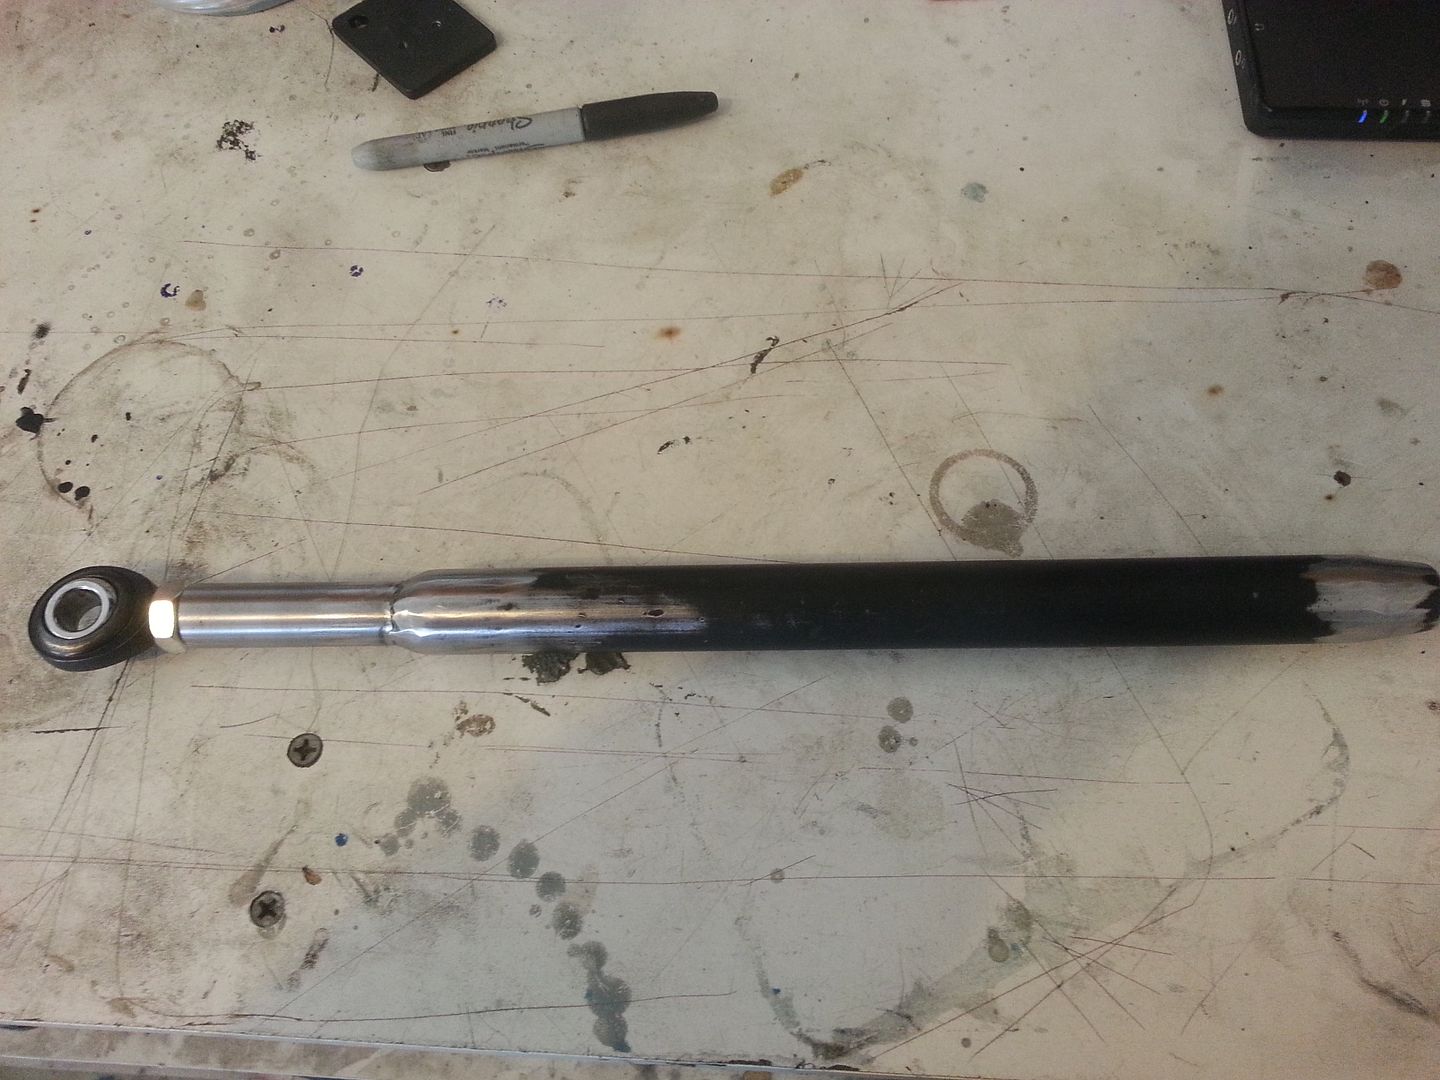
The new rear pushrods> ")
Cut last few inches off stock rod, inserted 3/4" od 3/16 wall dom. Welded up and tapped. With many other slight mods (waiting on a couple 65 degree rod ends) I now have a full 6.25" of mechanical travel top to bottom before bind, nearly full travel of shock. Now for the joy of tuning to have shock right at mid travel at ride height.
Cut last few inches off stock rod, inserted 3/4" od 3/16 wall dom. Welded up and tapped. With many other slight mods (waiting on a couple 65 degree rod ends) I now have a full 6.25" of mechanical travel top to bottom before bind, nearly full travel of shock. Now for the joy of tuning to have shock right at mid travel at ride height.

Last edited:
I am going to be selling the haltech ecu, wire harness, and intake also.
Haltech E6X ecu, new. 1UZ stand alone wire harness. Has fan relays and fuses. Looks like everything is there to run motor. I was also told there was a base map already loaded onto the ecu. Both appear to be new and only used for mock up. Only selling since I would like to get an ecu that has can communication and traction control.
Custom intake. Includes both throttle bodies, and factory lower intake that has been blasted. Justed used in mock up is all. Selling since I will be building my own intake based on itb's.
I know there is a couple other guys out there that will be running the 1uz, so this could be a chance to grab some good parts that can't be purchased off the shelf.
Putting here first, but hitting ebay in a week or two. Just pm for more pics if needed or closer up shots. Not sure what to ask, so make a reasonable offer.
Just to add, I may have a line on a datalogger to go with the Digidash pro+ dash I have too. Wire harnesses are uncut and doesn't appear it has been powered up. Will be selling it also if I can get datalogger to make it complete. Selling since I will be getting a dash that uses can communication.
The last couple days has been checking chassis/suspension squareness and alignment. A pleasure to announce I only needed to move the right front forward 3/16" (easy by changing washer stack that now can turn into solid shims) to reach a perfectly square chassis measured at the outter part of hub with suspension at right height (so basically where the wheel will mount), and all rod ends threaded in the same amount. Both front and rear perfectly centered also.
Good job Fran! Haha.
Good job Fran! Haha.
Looks like a good place for some gussets and to tie both bars together. Should add alot of strength if I end up on my lid.
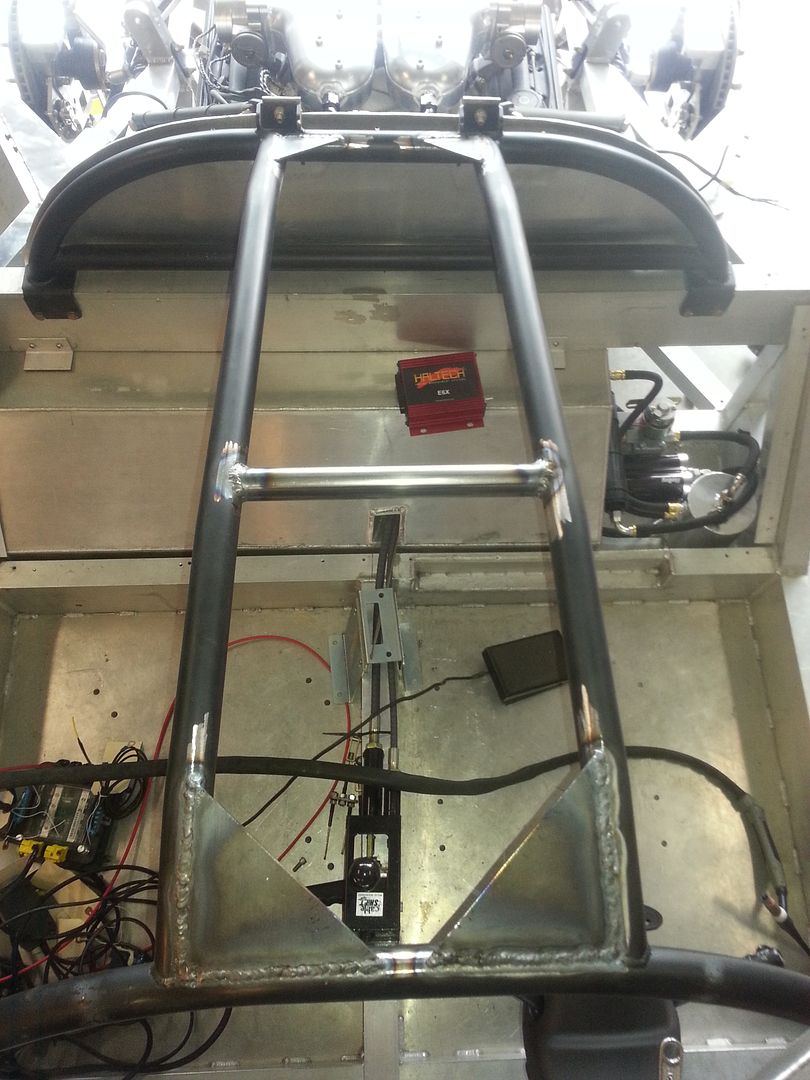

While I hear exactly what you are saying, this isn't neccesarily a part that can absorb and move too much before your head is hitting pavement. For front and rear overhangs, I completely agree with energy absorbtion. Just not so much in the bars going over your head, where alot of sanctioning bodies require gussets at intersections around the halo to strengthen it anyways.
If an object hits the single bar from the side, you are going to want both of those bars tied together, to help limit intrusion. Just my opinion, but I felt strong enough about it to take a little time to do it.
If an object hits the single bar from the side, you are going to want both of those bars tied together, to help limit intrusion. Just my opinion, but I felt strong enough about it to take a little time to do it.
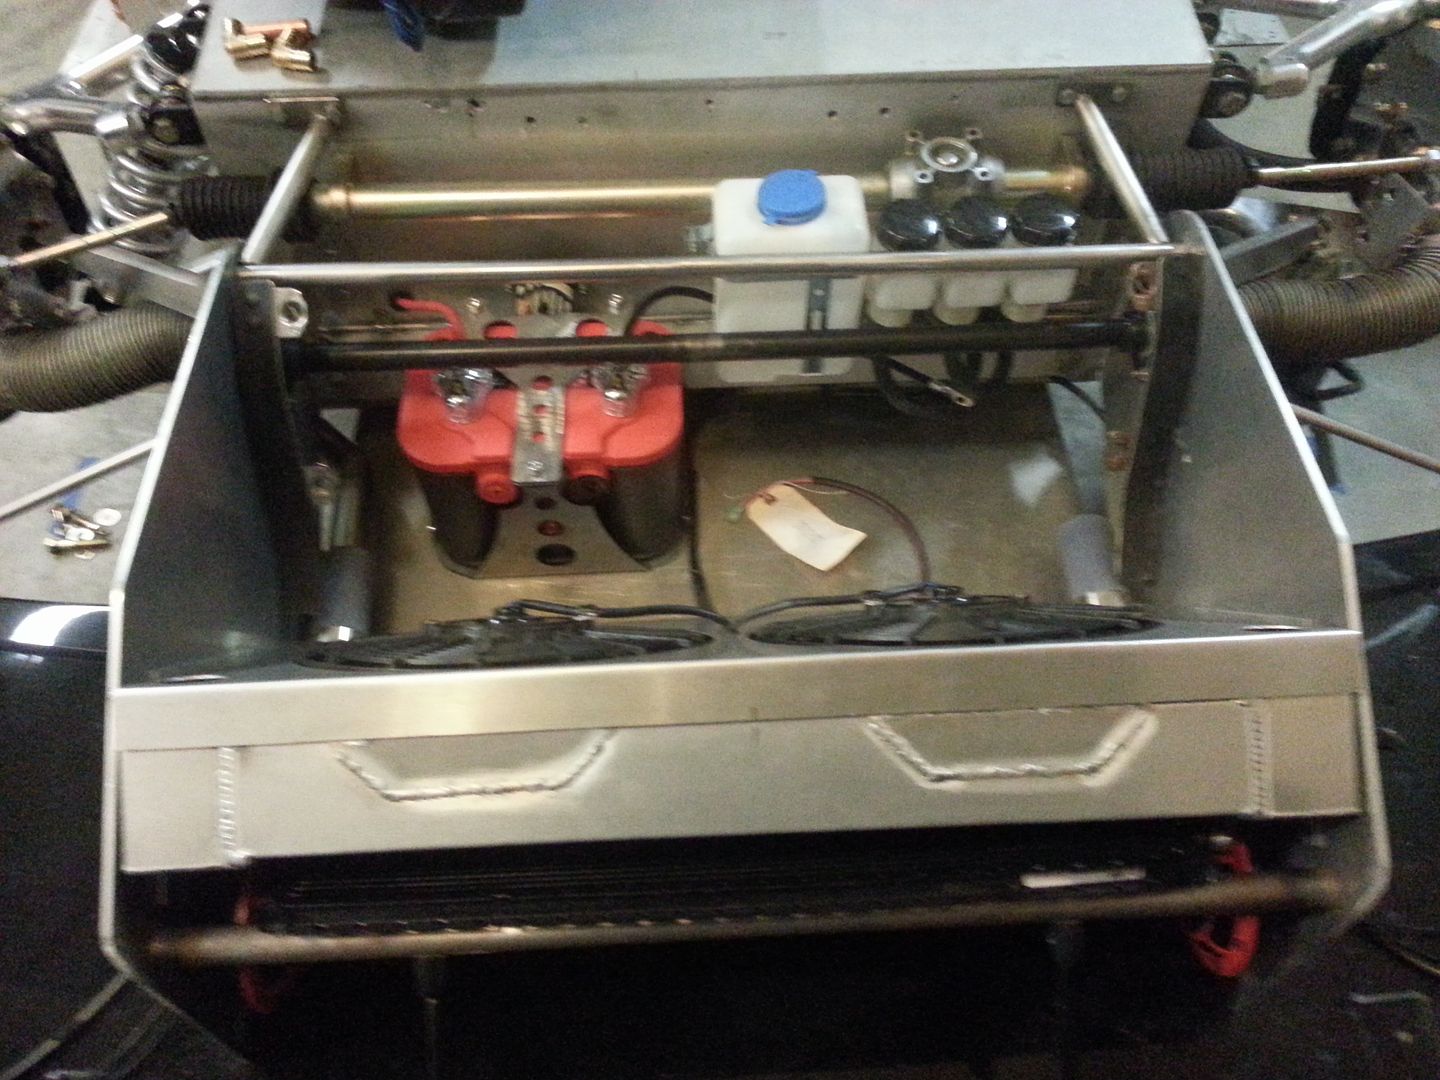
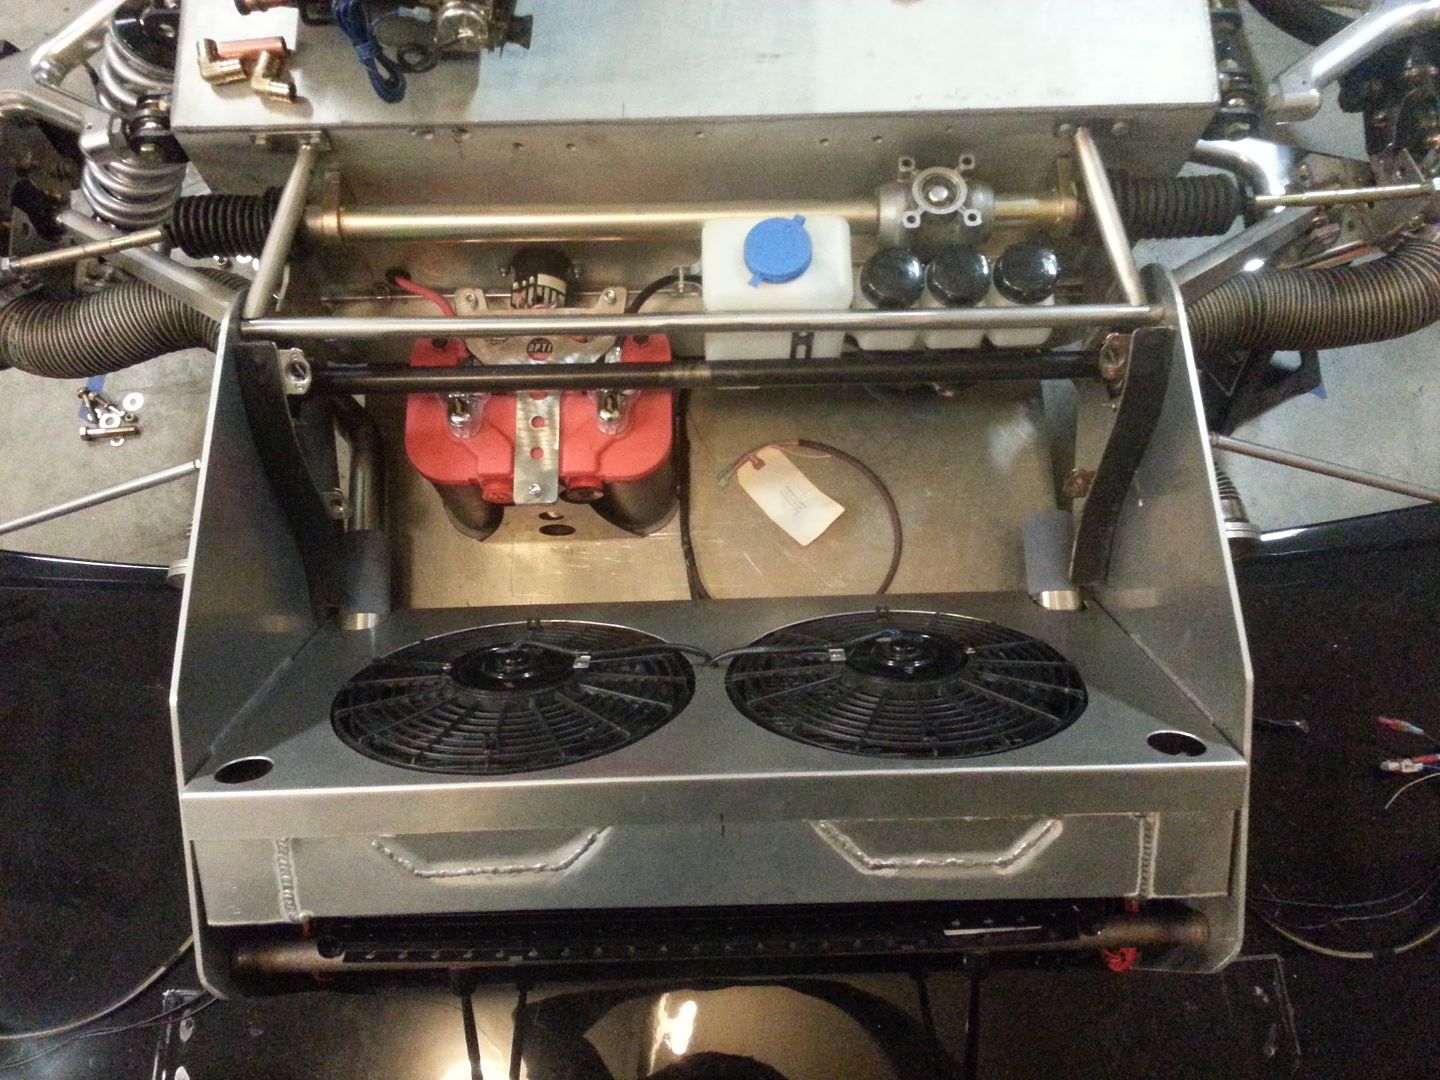
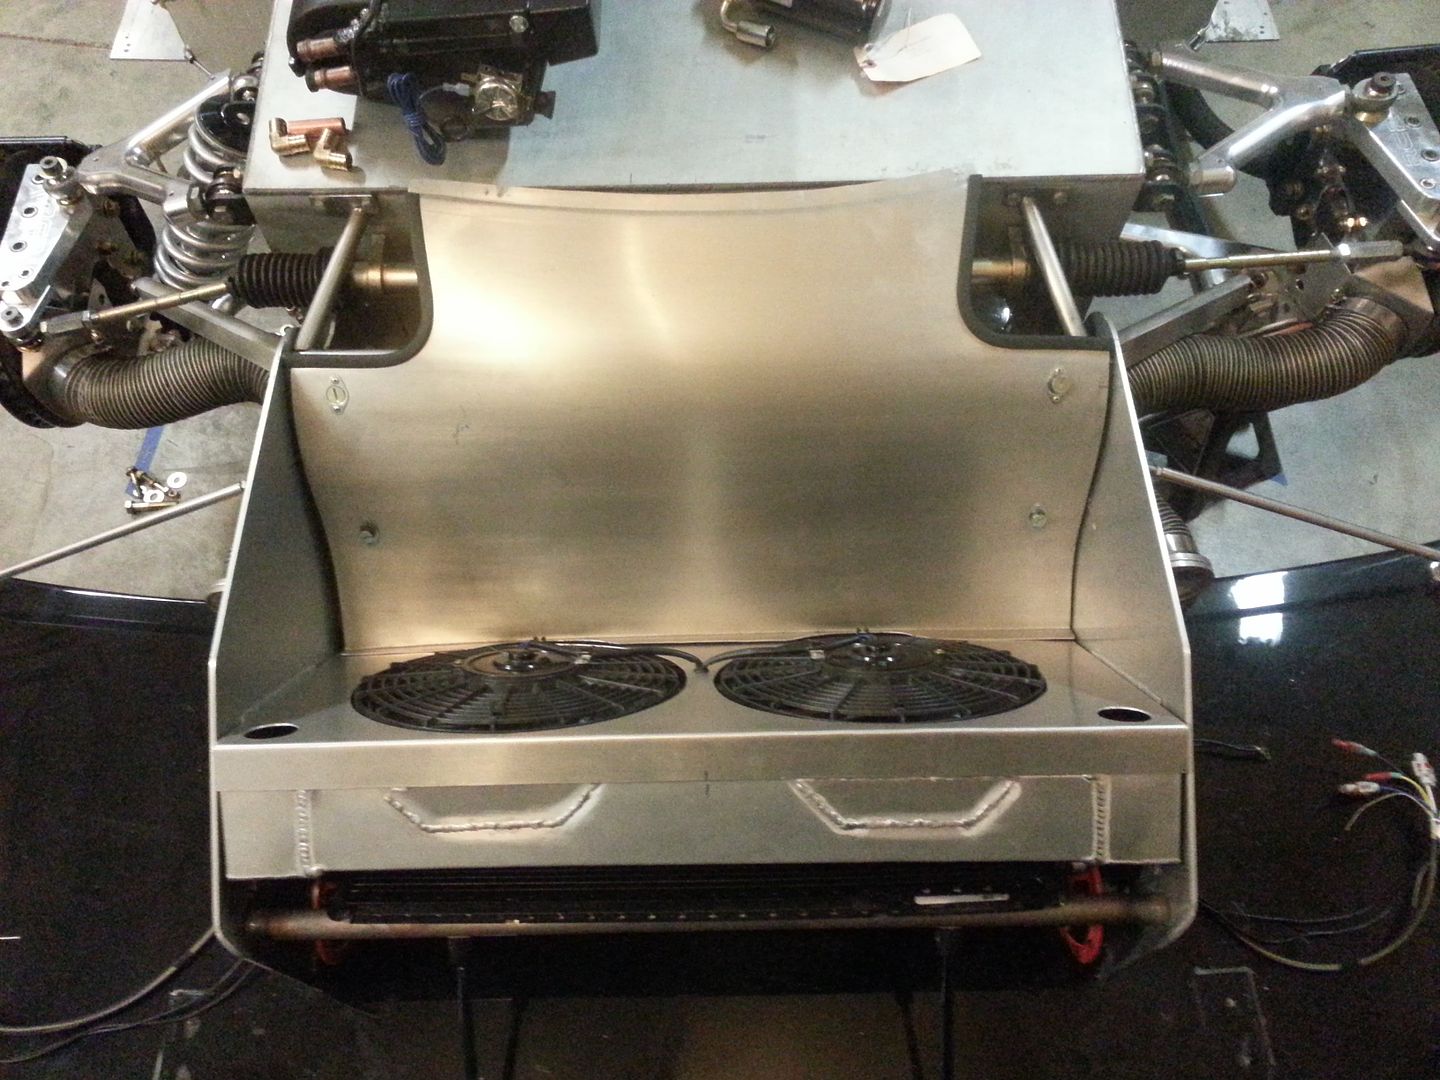
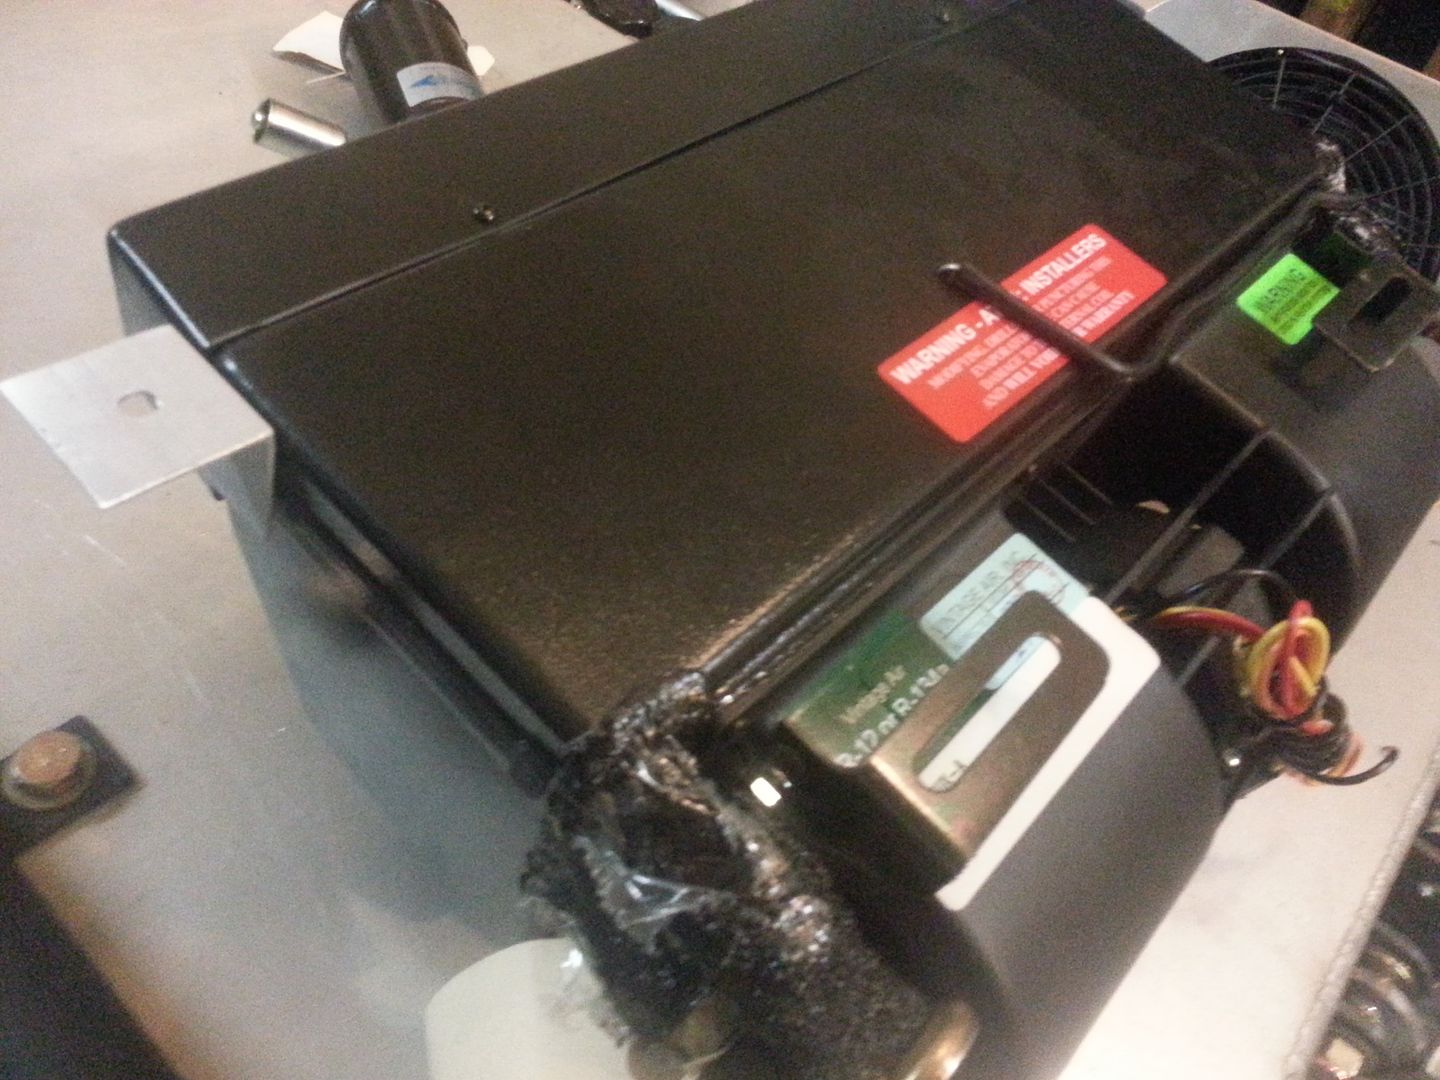
Finally able to get some stuff done today. Got all of the front and side brake lines done, and all of the wiring done. Fastened battery done in it's final resting place and added the washer tank (which still needs a bracket). Side braces need to be welded up and heater and a/c lines. Think I will hard line all of that. Pic shows location of heater, but, obviously under the dash.
Was able to get all of the wiring hidden, and more then enough room to add the ramlift. All in all, I think it is looking pretty clean.
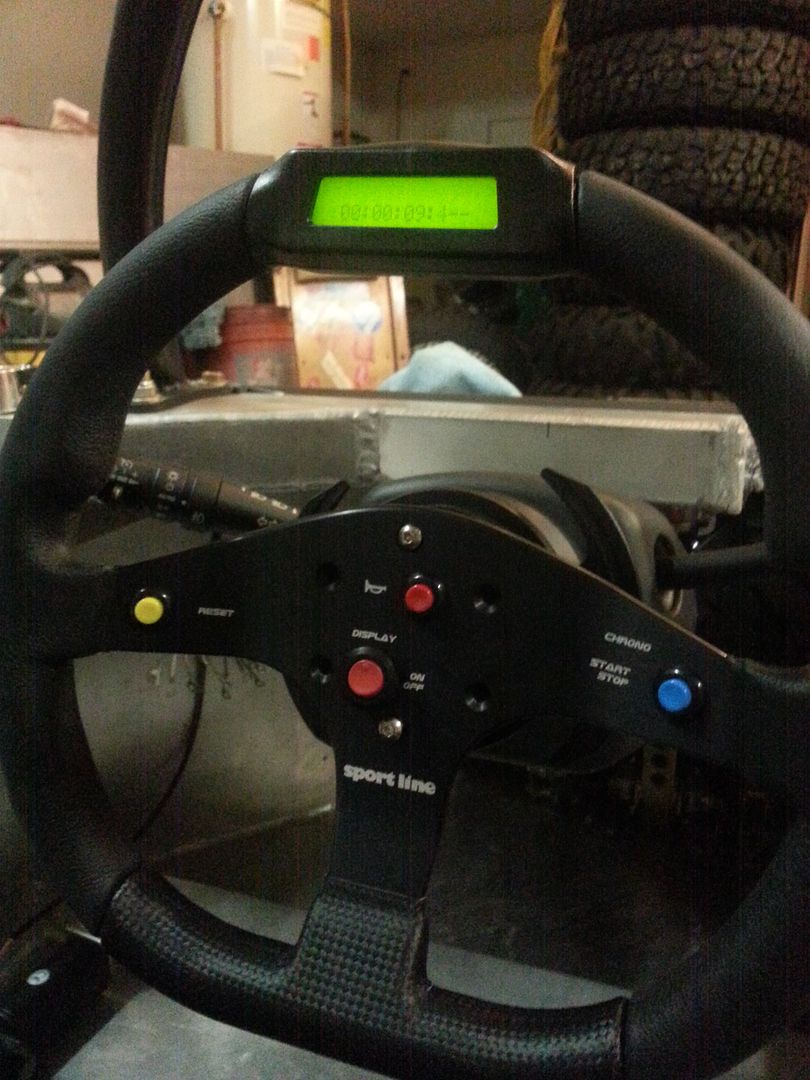
Steering wheel also came. Quality is really top notch, and the timer should be fun to play with.

Was able to get all of the wiring hidden, and more then enough room to add the ramlift. All in all, I think it is looking pretty clean.
Steering wheel also came. Quality is really top notch, and the timer should be fun to play with.


Wow! You really packed that stuff in there! That must have been a real pain ") Looks fantastic. I haven't decided if I'm going to do a shroud like that yet. It's on the "want" list, but I'll probably do it after I get the car on the street.
Looks fantastic. I haven't decided if I'm going to do a shroud like that yet. It's on the "want" list, but I'll probably do it after I get the car on the street.
Do you have any idea where the buttons on your steering wheel were sourced? I've been looking around for buttons just like that, but haven't come up with anything that stands out. My best leads right now are from people who make racing rigs for online simulators. Wow...some of those are out of this world.
Your work looks fantastic.
A.J.
Looks fantastic. I haven't decided if I'm going to do a shroud like that yet. It's on the "want" list, but I'll probably do it after I get the car on the street.Do you have any idea where the buttons on your steering wheel were sourced? I've been looking around for buttons just like that, but haven't come up with anything that stands out. My best leads right now are from people who make racing rigs for online simulators. Wow...some of those are out of this world.
Your work looks fantastic.
A.J.
Thanks A.J. I am not sure where you could find them, you might be on the right track though with the sim set ups. Ya, you can go wild with a sim set up, I have one on the drawing board to build, but figure I have my hands full right now with the SLC. Lol.
Finally got the itb set up and the water to air intercoolers on their way. Can't wait to get working on the intake part. It should be a signature piece for the car!
Special thanks to Chet at Galek Racing for helping me with the missing datalogger problem for the Digidash. We came to a deal for me sending him all the parts I did have, and giving me a great deal on a whole brand new Pro+.
Special thanks to Chet at Galek Racing for helping me with the missing datalogger problem for the Digidash. We came to a deal for me sending him all the parts I did have, and giving me a great deal on a whole brand new Pro+.
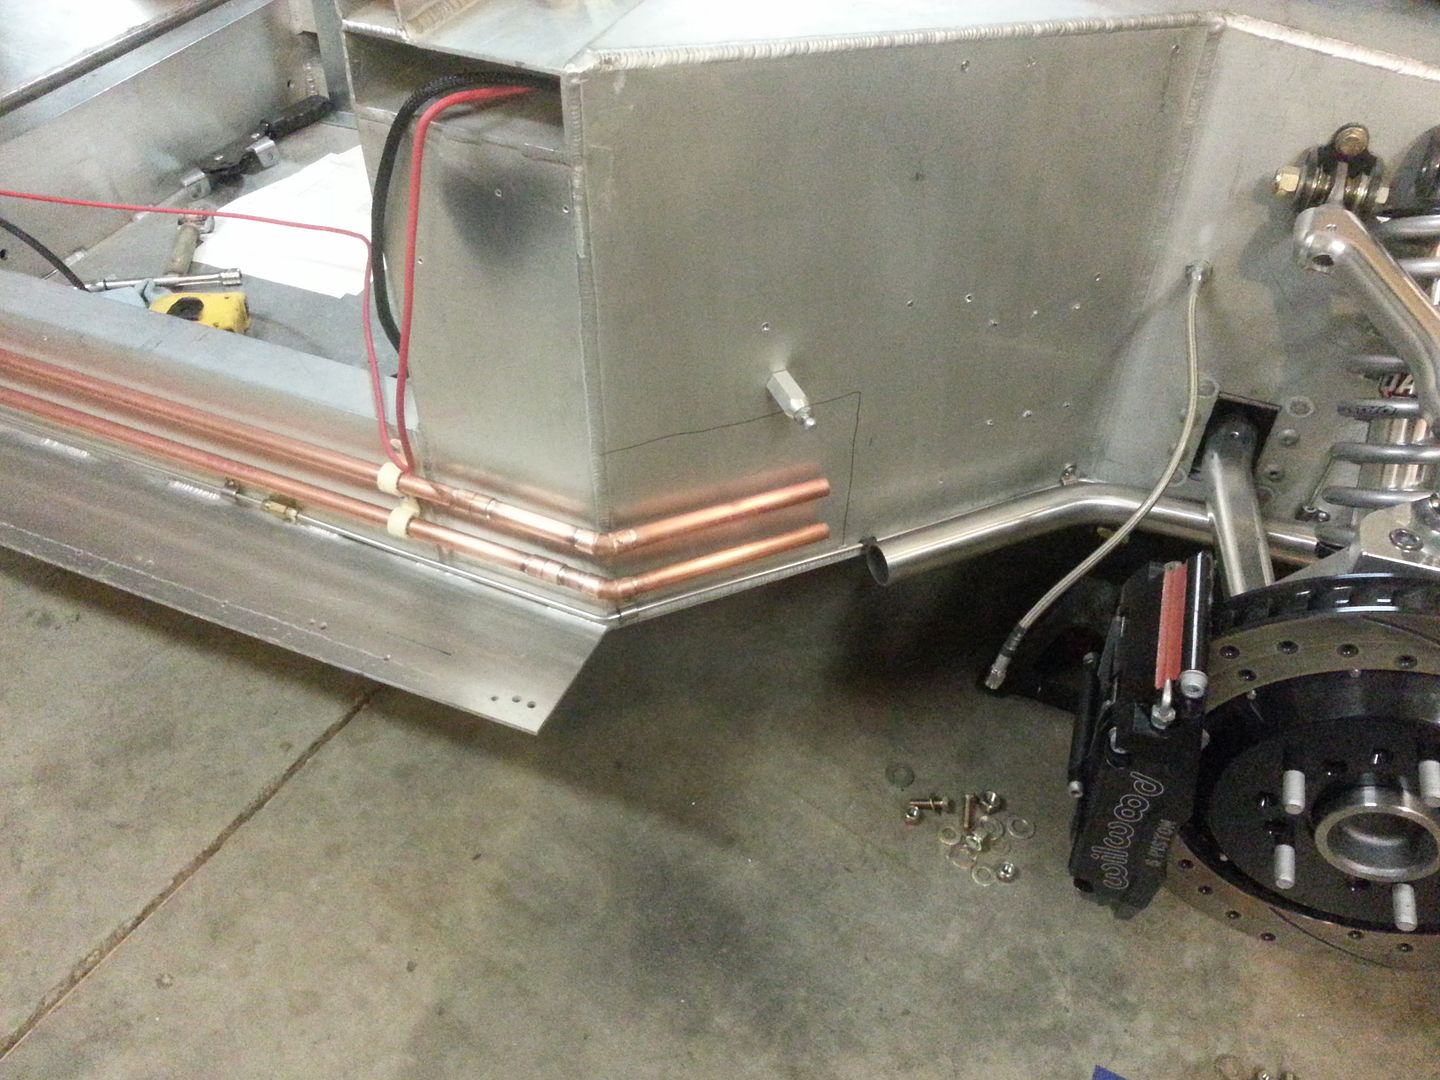
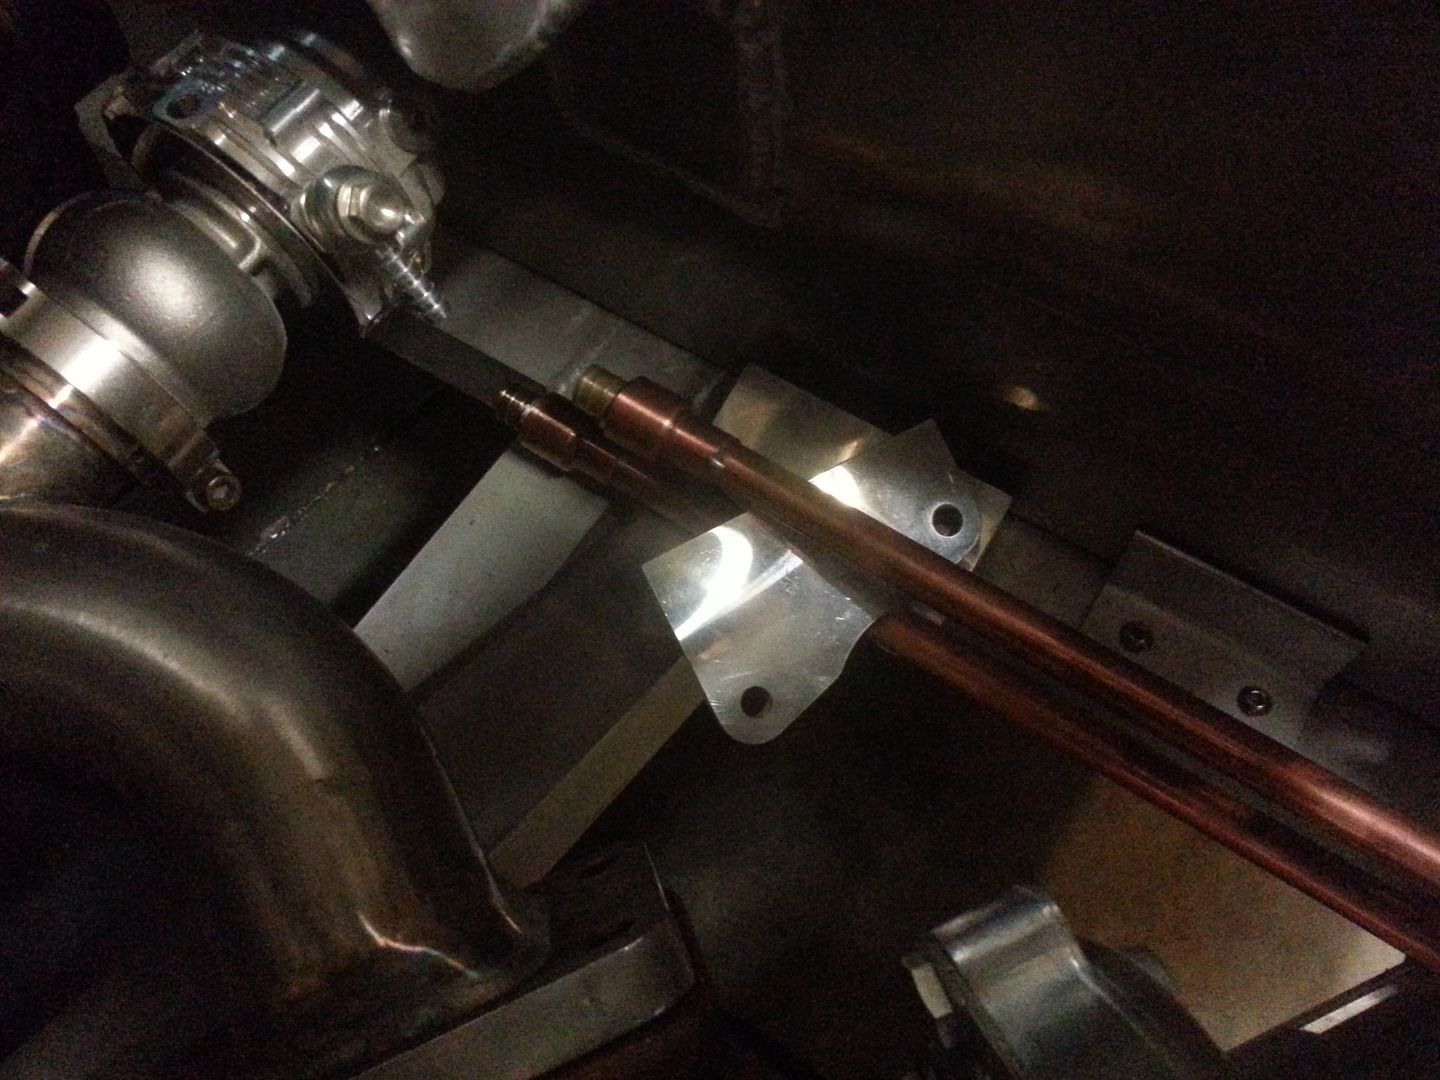
Abit more on heater today. Still trying to figure out exactly where to come into the cockpit area with the heater lines. But, it appears inside the square is about it with keeping them hidden still. Plastic mounts on heater lines are only temp until I make copper brackets for them.
Heater brackets took about 4 minutes. Used the two in the kit on back, and a couple pieces of alum angle at front.
Heater brackets took about 4 minutes. Used the two in the kit on back, and a couple pieces of alum angle at front.


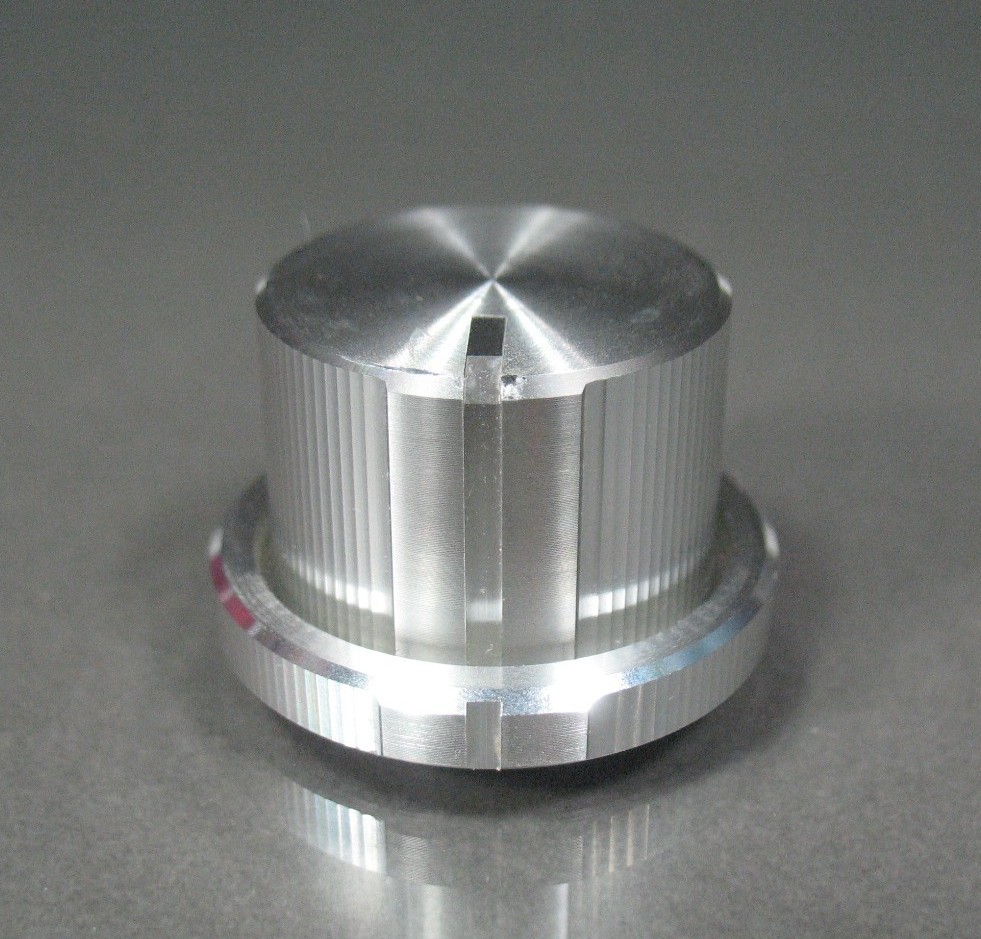
Decided to just get some new knobs for the vintage air rotary switches and make my own faceplate. The shaft is 1/4" D. I did a search on Ebay and came up with this-
1/4 shaft knob | eBay
All the knobs you can handle!
1/4 shaft knob | eBay
All the knobs you can handle!
Last edited:
I already looked there Pete. Only had a few choices, and I think you already picked the best one. If you check out that link, there is 700+ choices, most you could make work or would work right out of the box. There is some very nice solid alum ones that have indicators for guitar amps and high end audio equipment.
i probably will use that face plate company you posted about for the face plate though.
i probably will use that face plate company you posted about for the face plate though.
Ken Roberts
Supporter
Here is an oversized soft feel knob I just picked up from McMaster Carr (#60955K64). It's kinda hip and I like the larger size.


Those look good too Ken. I am going through the whole list trying to find something along these lines. This one is a dual though, where bottom moves independant of upper. A quick tack weld would cure that though.
This is a pretty sharp looking one too.

Similar threads
- Replies
- 5
- Views
- 770