Ken Roberts
Supporter
Also.....the OEM front Z06 wheels have a 40mm offset and the rear wheels have a 59mm offset.

 cncwheels.com.au
Thought I would add this to the conversation.
You can see why our wheels are sticking out compared to the Z06.
Z06 = 9.5" Width / 2 = 4.75" -> 40mm = 1.575"
This means the wheels street side face is 4.75" - 1.575" = 3.175" from the Mounting face
F14 = 9.5" Width / 2 = 4.75" -> 30mm = 1.181"
This means the wheels street side face is 4.75" - 1.181" = 3.569" from the Mounting face
With the suggested 285 tires, I bet we are almost a full 1" farther out.
I know you all have done the math and understand it and I really appreciate you just letting me document this so I don't forget.
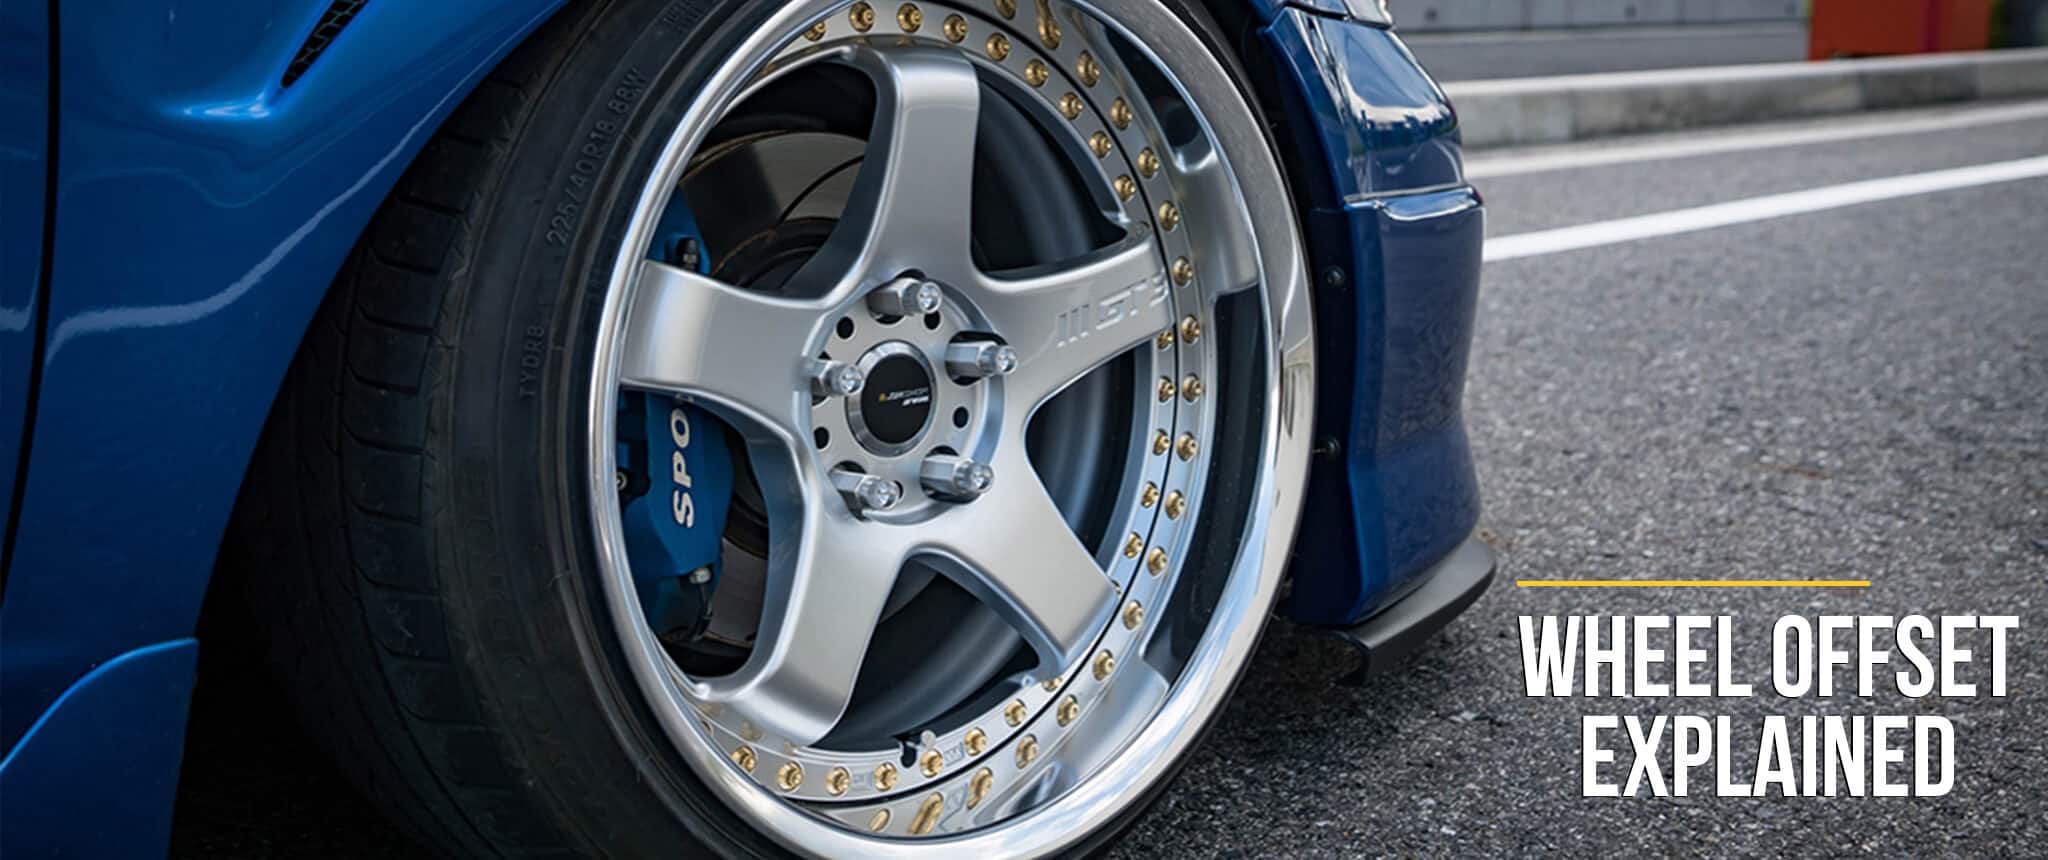
Wheel Offset Explained | Understanding Wheel Backspacing And Offset
Still not sure which offset to choose? Before you buy new wheels, get to know the importance of choosing the right rim offset and backspacing for your vehicle.
View attachment 151126
I have no idea what I was smoking when I looked up those numbers! Corrected again. At least I was right about it being an offset issueAlso.....the OEM front Z06 wheels have a 40mm offset and the rear wheels have a 59mm offset.

I kept the same tires and ordered front wheels with different offsets, it was super difficult to sell the old set, I finally sold it for $600 through ebay after several months. Yes a huge f-- up wby RCR, thay have known about it for a long time.Yeah, I wish they had a solution. I was really shocked to see so many people with the F14 wheels had the exact same problem and RCR went ahead and let me order the wrong tires. I don't feel like I have much leverage, I'm still waiting for a transaxle!!! Who knows when I'll get that.
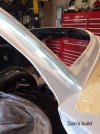
I went in between, moved it a little out, it still had a significant gap on the windshield but not as large missfit on the tub. some people have secured the body at the right fitment with the tub and then push out the fiberglass around the windshield by using spacers against the cage or at the corners of the spider, where it sits on top of the footwells. The problem with that approach is that you will have tension on the windshield if you need to remove the spider after the windshield is mounted and will likely crack. Or I guess you could remove the windshiled first.So moving on from the wheels for a bit.
I got the tub temporarily mounted. I had to notch around my brake lines that are running inside.
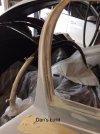
We got the chassis sitting on blocks so it is level all the way around. I made 5" blocks. The body is now level on all four corners by the wheels. I am sitting at 5.25", which makes sense.
The B pillars are sitting on top of the cross brace (on top of the tub so up ~0.125") The A pillars are flat and solid on the dash cross brace. And the front corners where the foot well is, it is up about 0.3125". I will make a couple of spacers for that.
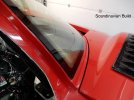
Overall I am happy with where it is sitting. So I went and grabbed the windshield. And it is way off!
View attachment 151133
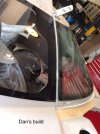
I tried to widen the base of the A posts by using a 2x2. It worked but messed up the alignment of the spider to the pan, like a lot.
View attachment 151135
What are your thoughts? I have searched a lot today on the forums trying to see what people have done and I really haven't had a lot of success. Can you point me in the right direction?


His proposed new front wheels will be a "semi" concave. I assume his current front wheels are a "deep" concave.
Definitely do not modify the lower A arm.
Did I misread what Shane said in post #152? He claims Logan said it would be a semi concave.