Hi All
Introductions first - names' Mark and have been a member and been lurking for a while, reading up on all the info I could on GT40's... Was close a few times since mid last year to buying an unfinished project - but they where either snapped up before I could get round to see them, or needed more work than I have the skills for...
... so last week Tuesday, get a phone call - "are you still looking for a project???" "Sure - why not" I said. Thought it was a '40 "nope - it's a Lola, ex South African Historics racer..."
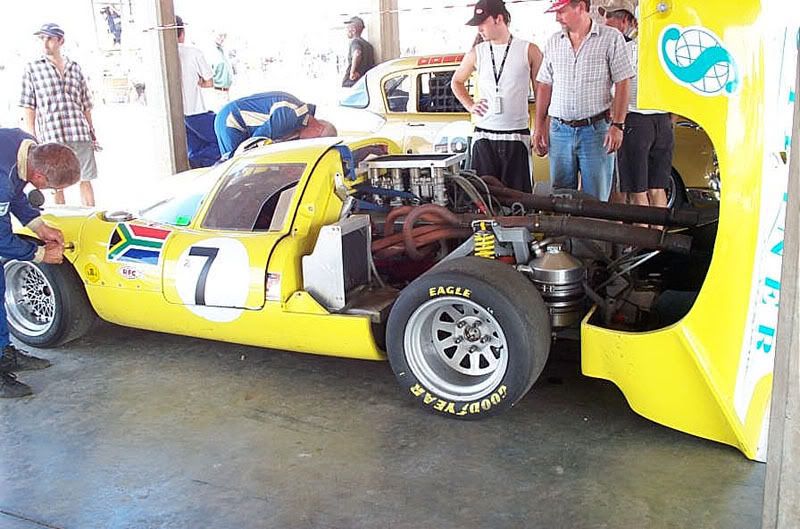
Got this off a thread in the Lola T70 Lounge - Same car... Just got a nice bit of history from one of the previous owners that I'll share later")
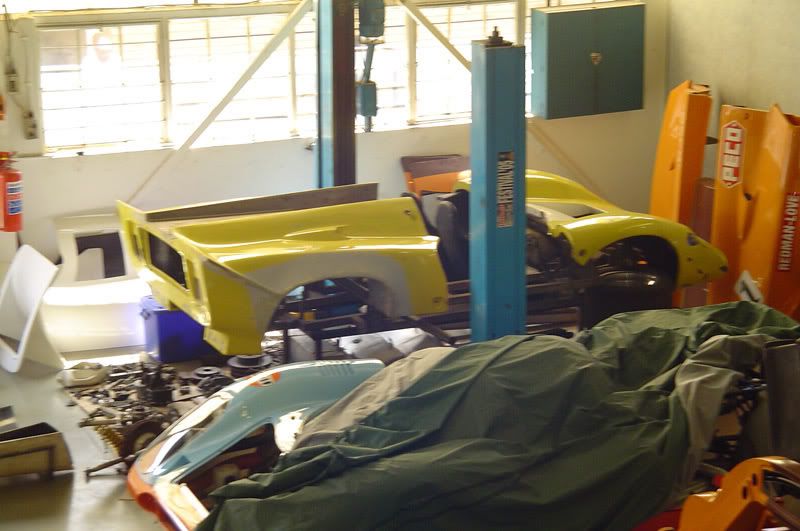
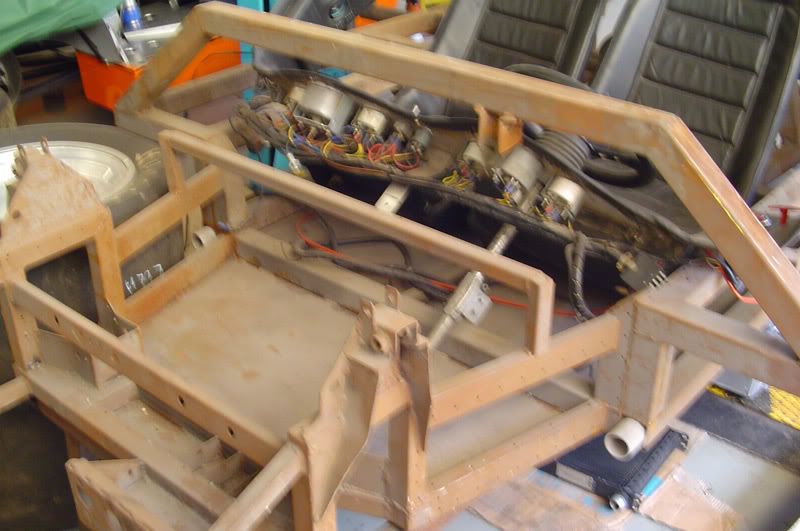
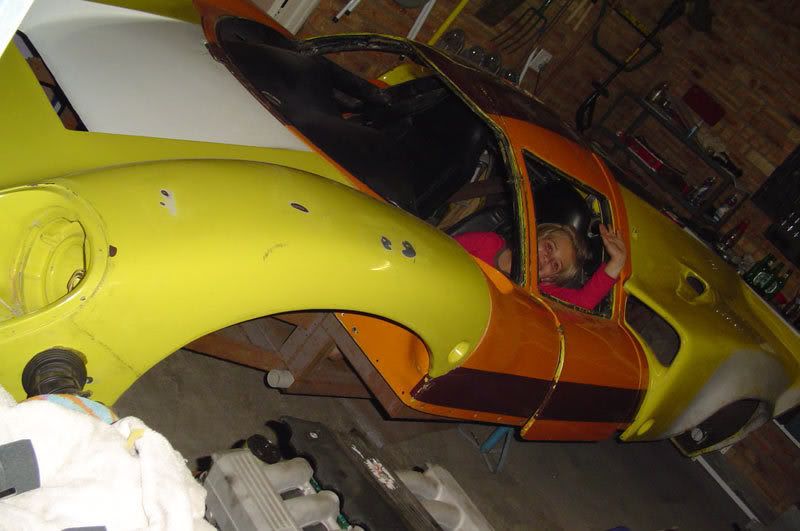
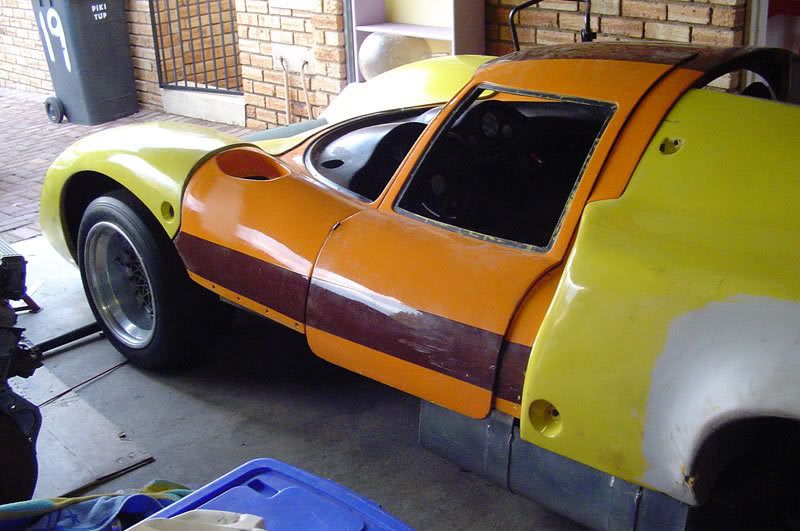
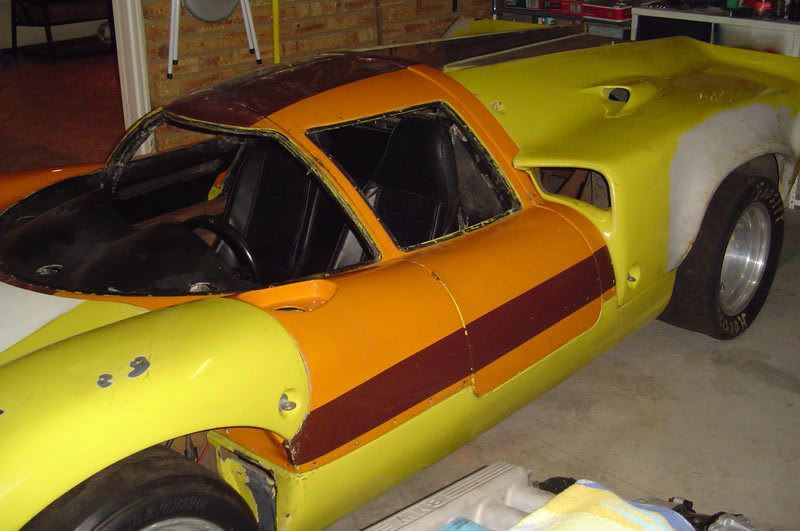
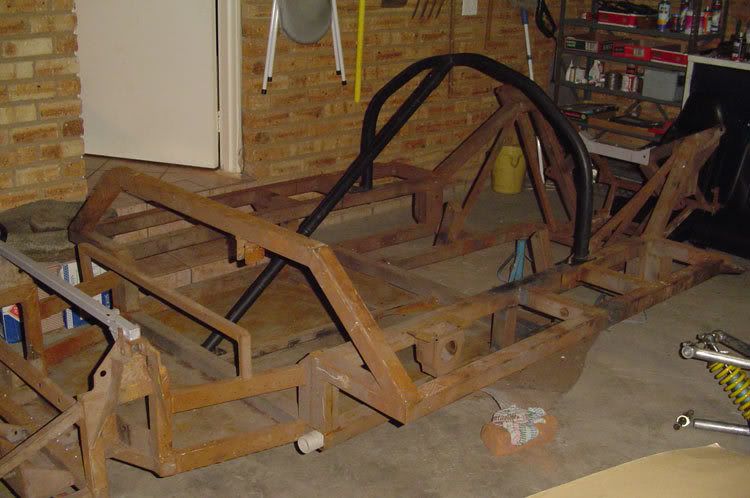
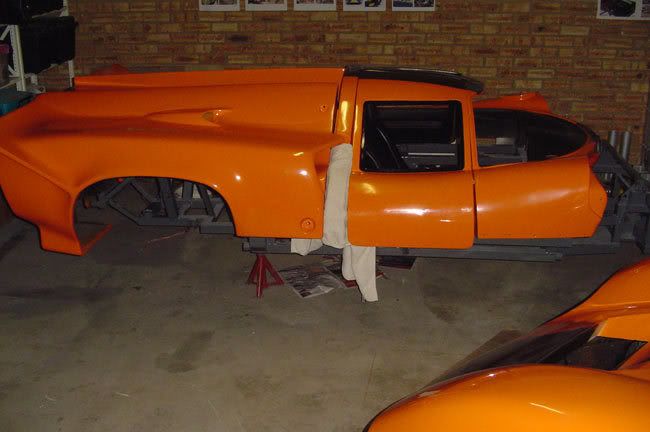
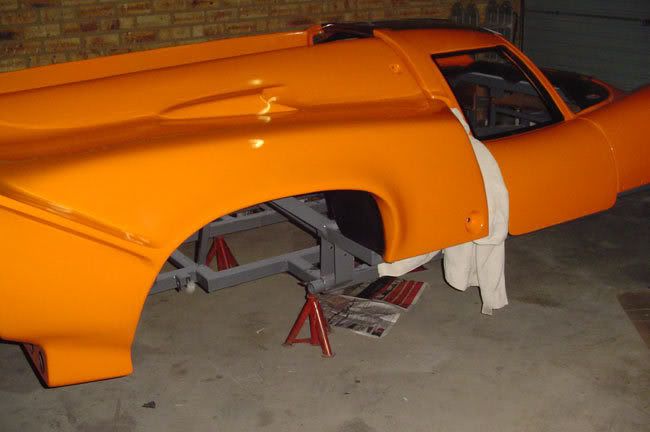
As it was when I had a look... Body has been used as a mould and lots' of bits lying around on the floor...
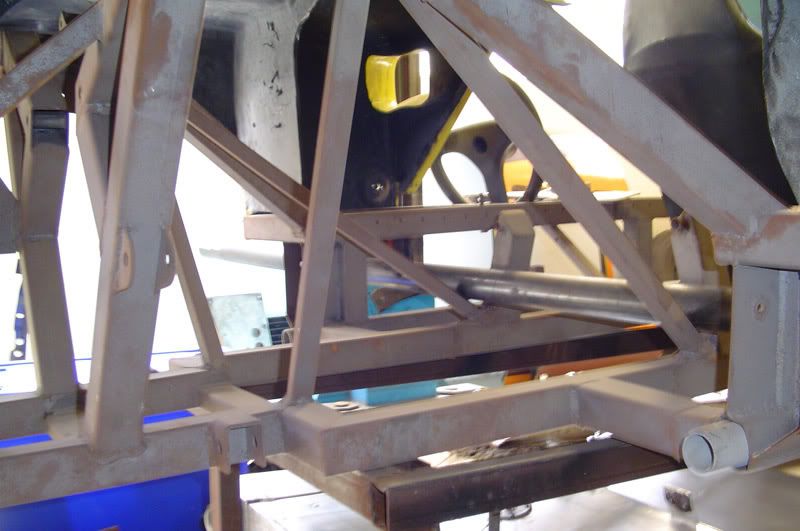
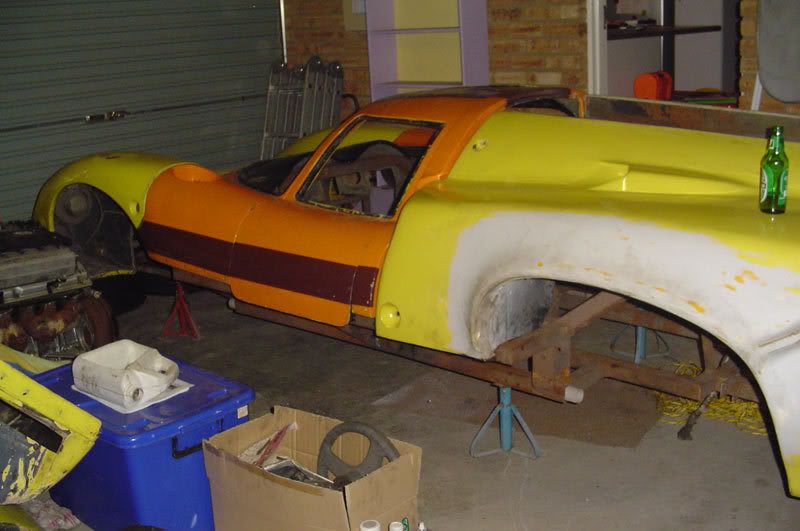
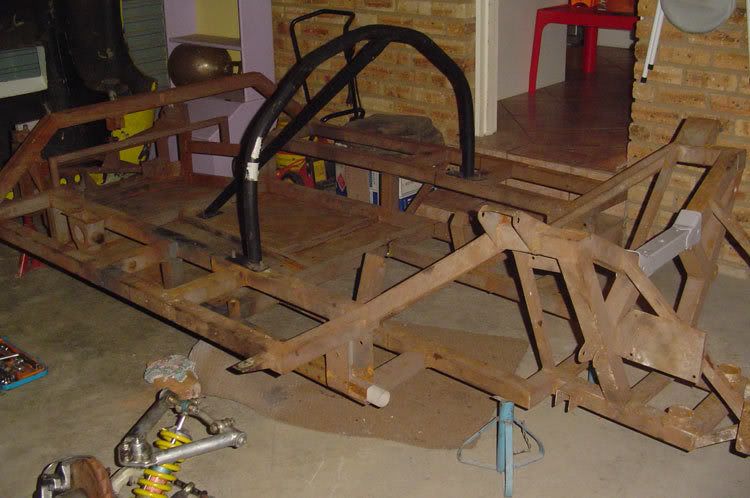
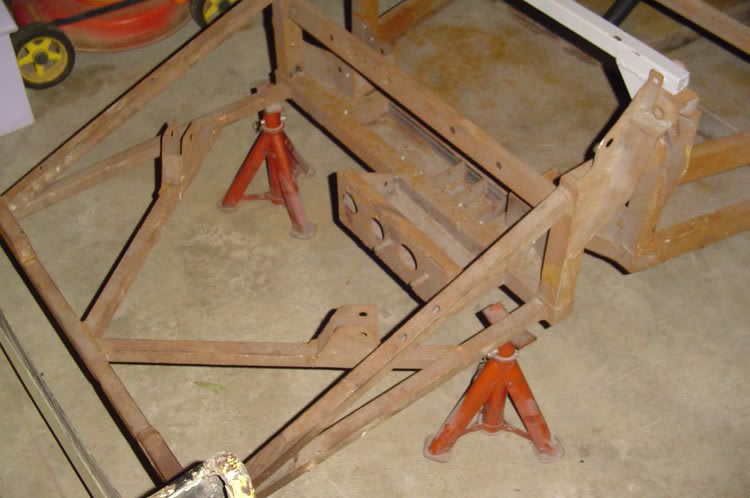
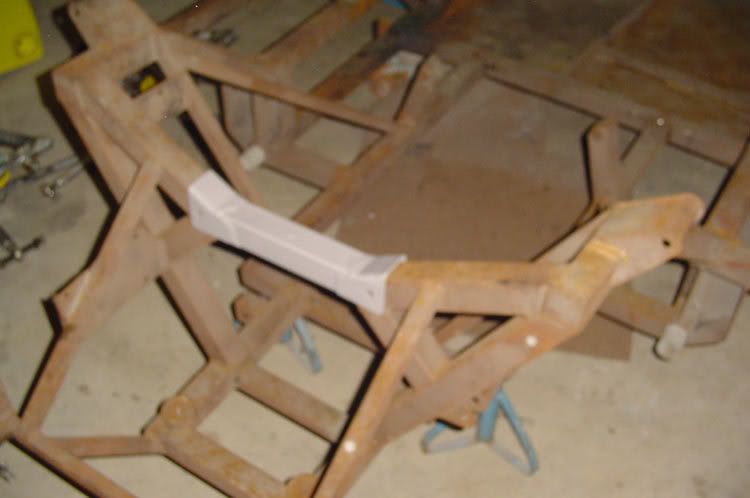
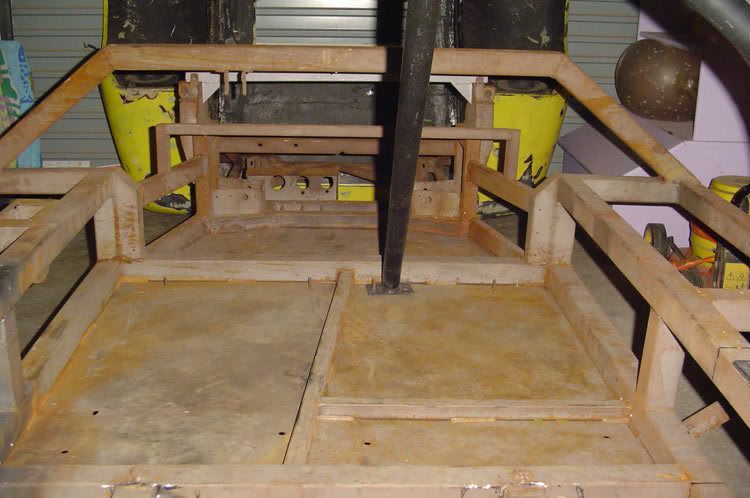
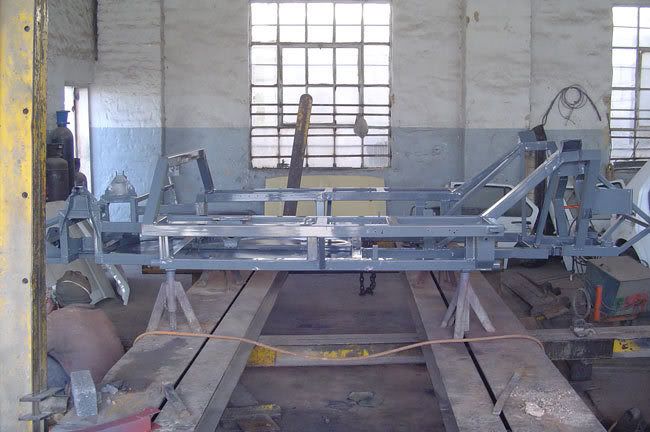
Few pics of the chassis below - Not enough room in the shop to get a full image...
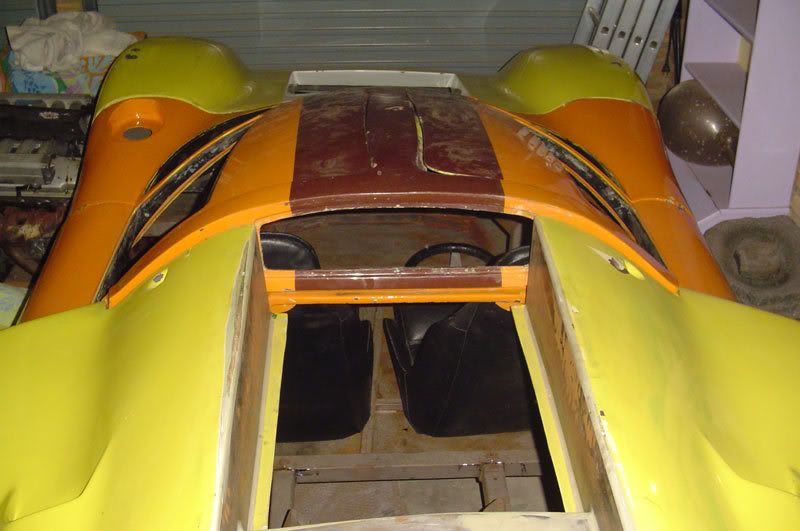
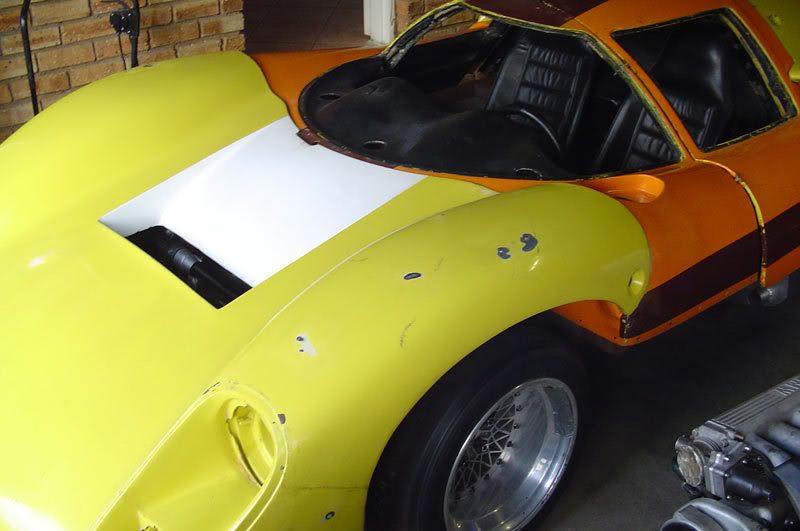
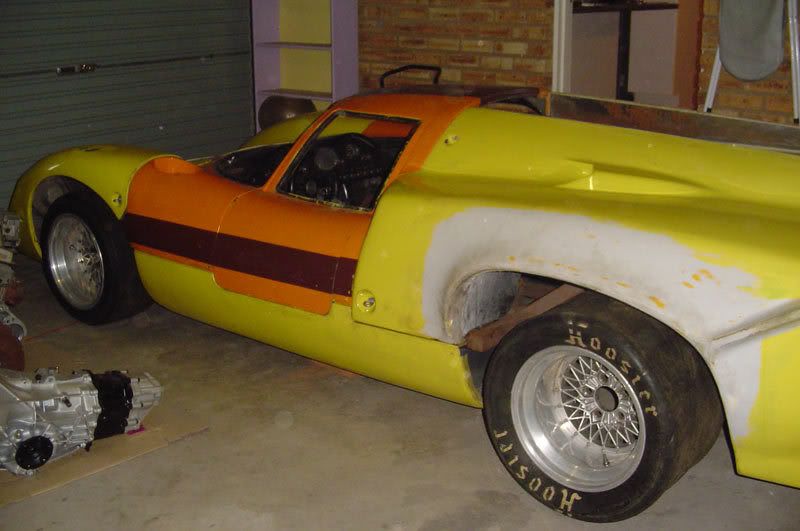
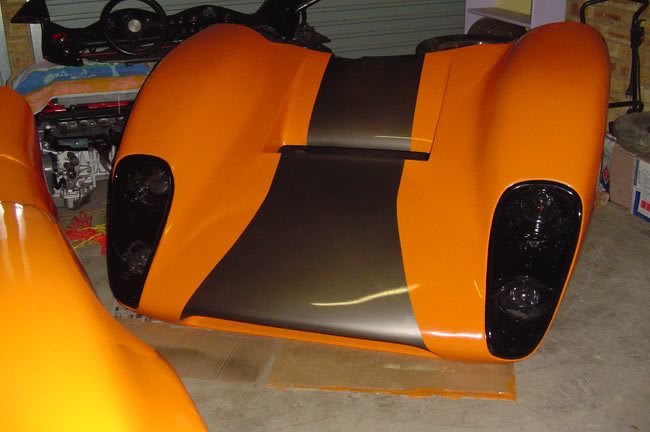
As I mentioned, this body has been used as a mould for another car...
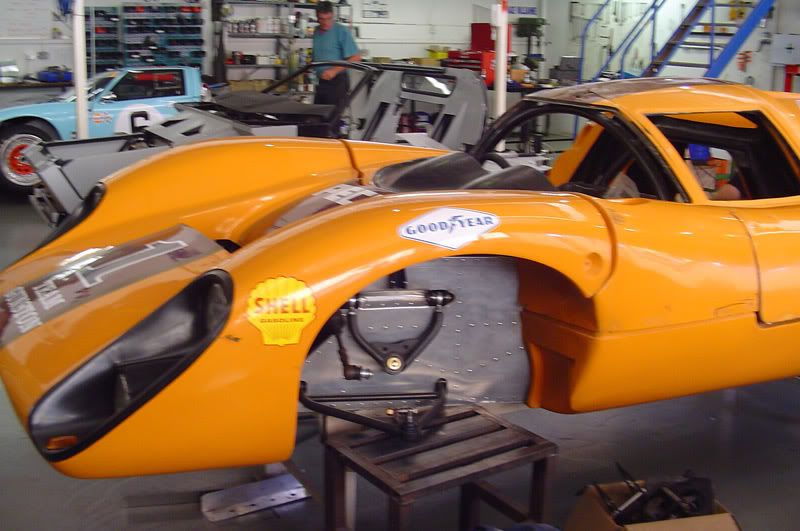
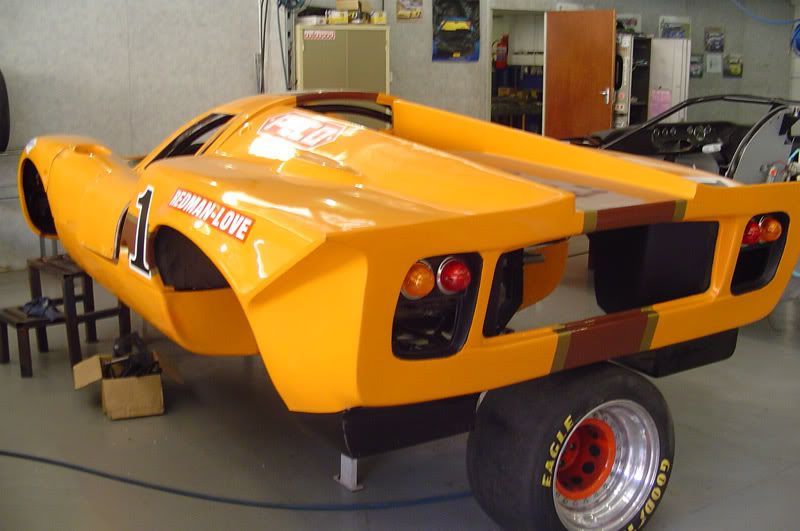
Looks pretty good IMO, and as a bonus, I'm getting a brand new body for mine as part of the deal
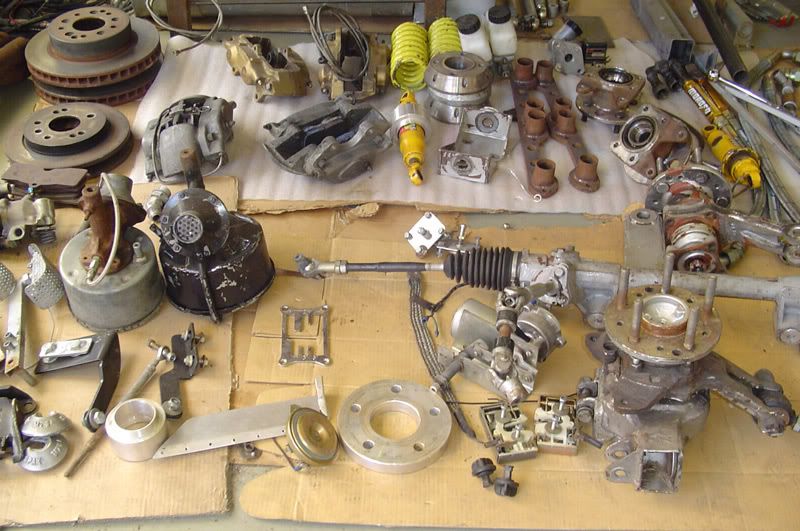
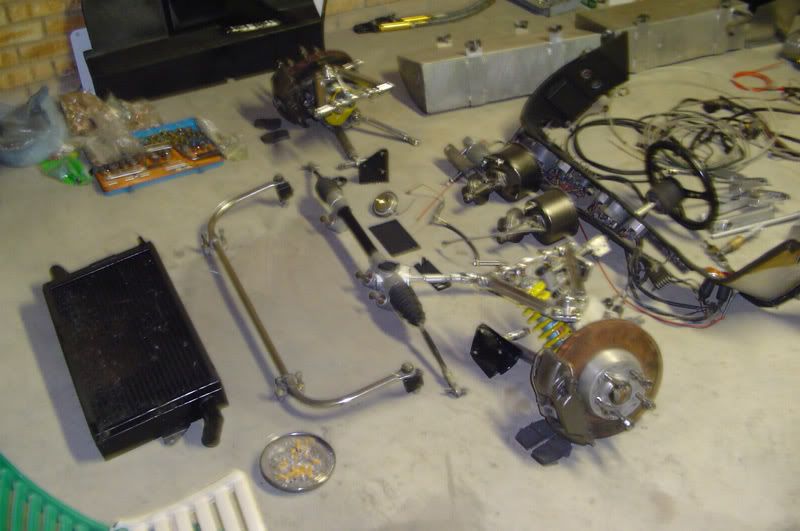
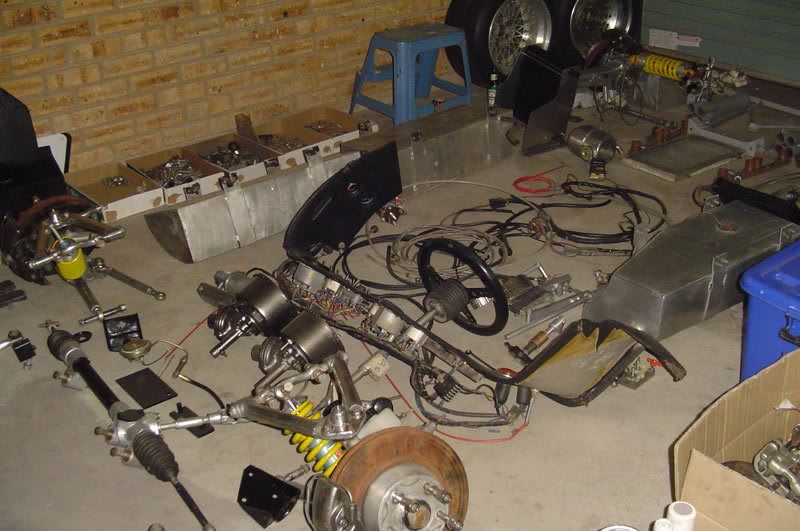
So how much Lola was there... Got all the loose bits home and started to try and make sense of everything
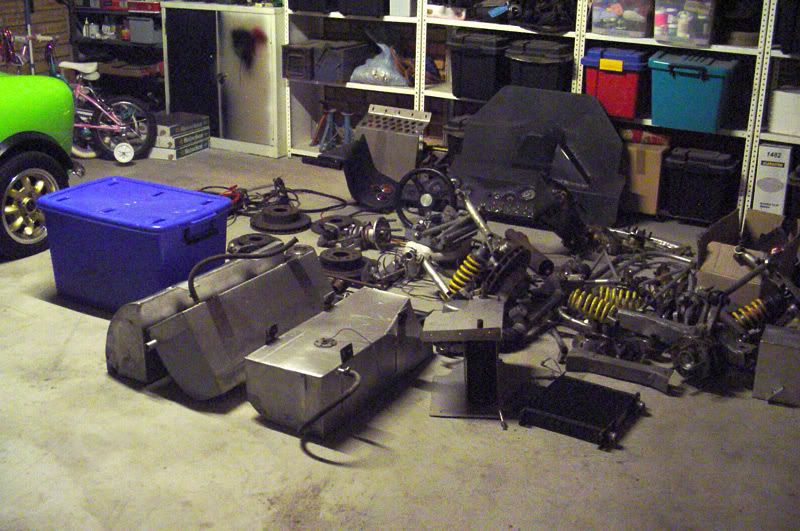
Oh No! - What have I done!!!
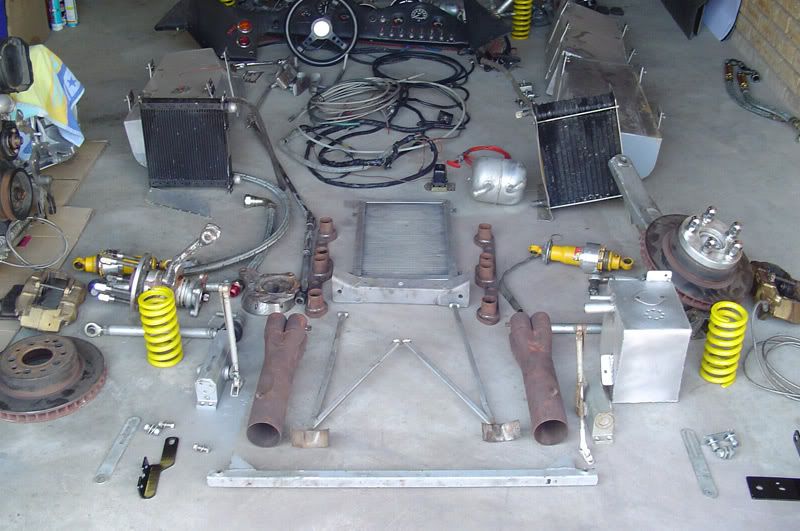
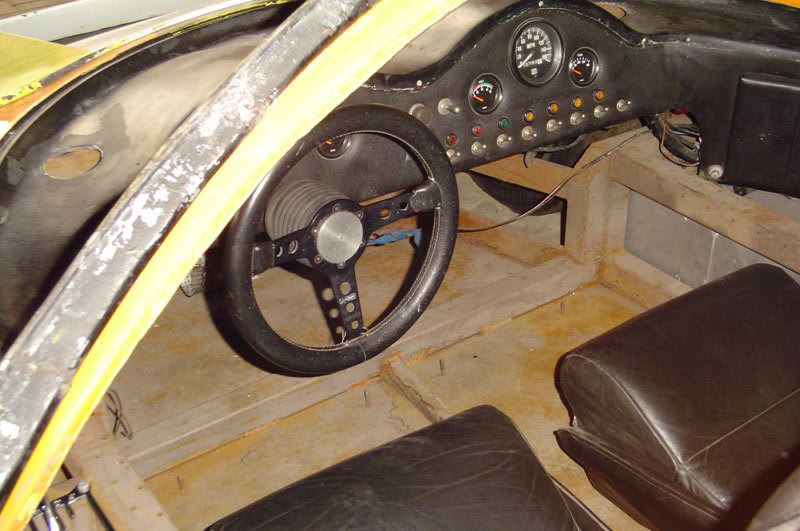
Starting to make sense...
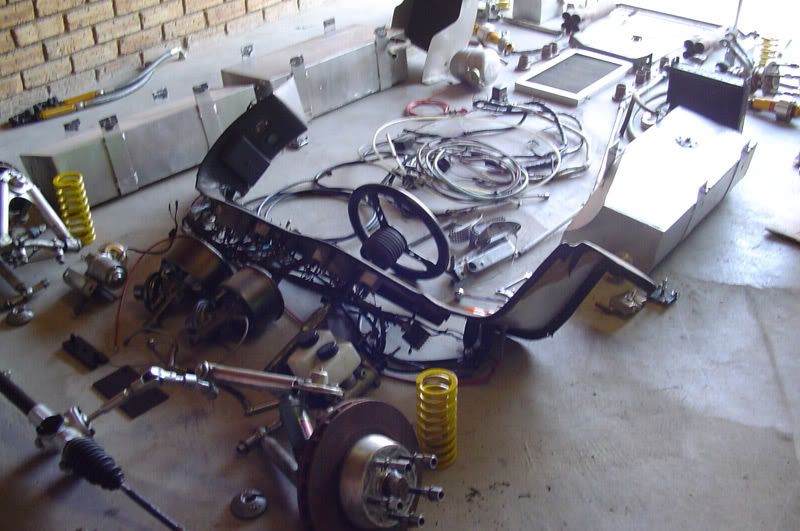
if you look quickly, it looks like a complete car...
Chassis's due back on Friday (after getting straightened), so might be an idea to get everything ready to bolt on... One Easter weekend and everything was stripped, checked, cleaned, polished or painted. Stuff is in amazing condition - no wear at all (Think I scored nicely here)
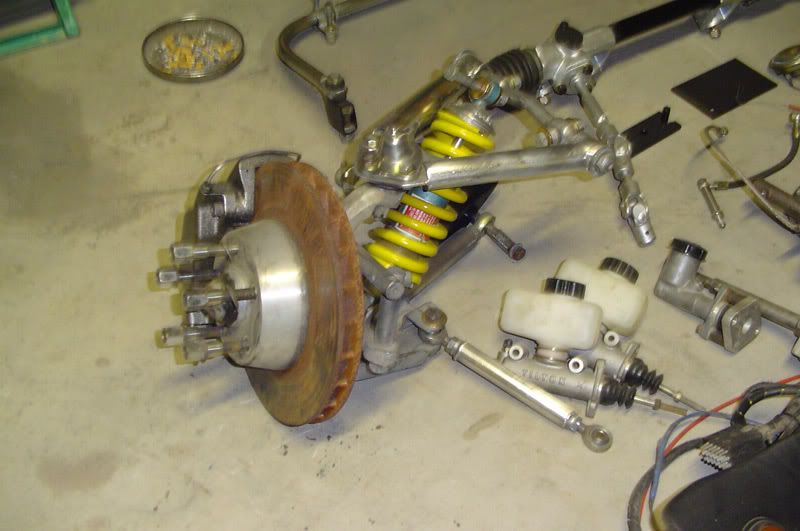
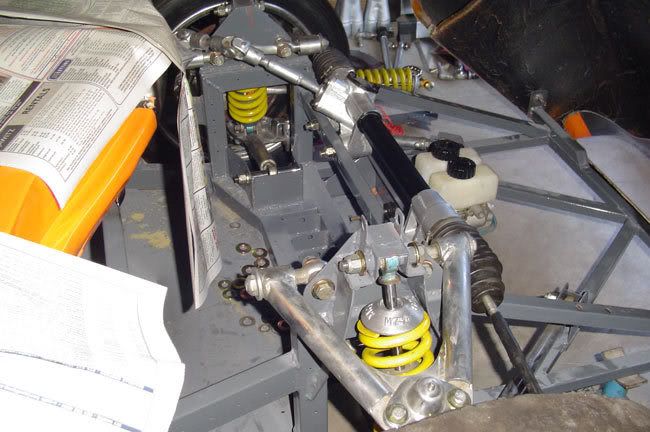
Front uprights assembled, calipers checked, overhauled assembled, shocks, suspension arms attached - ready to go!
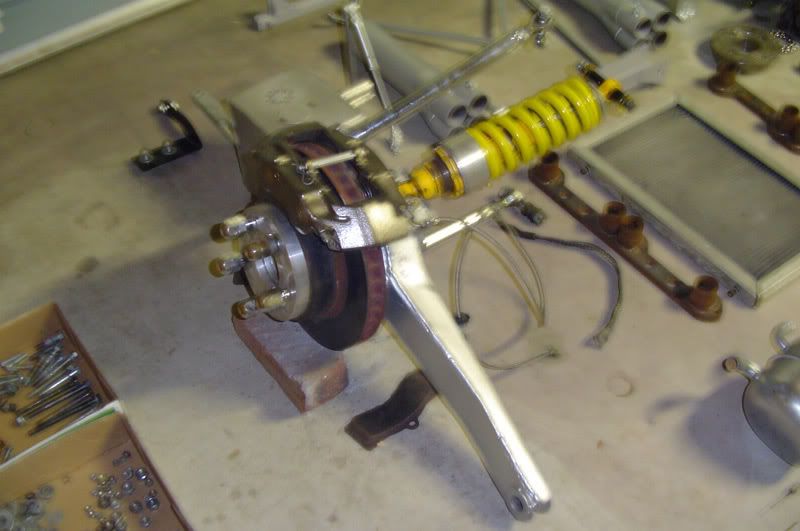
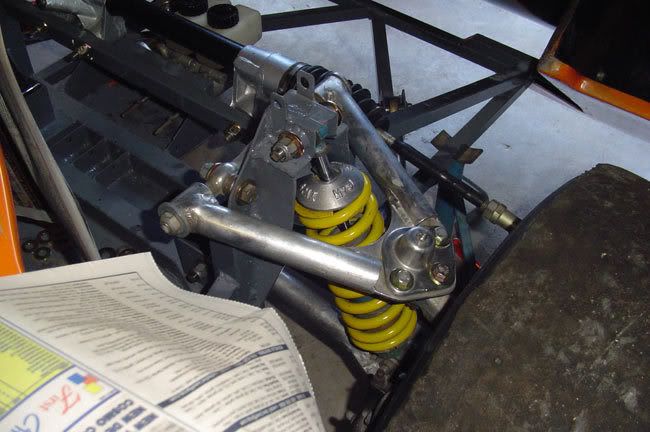
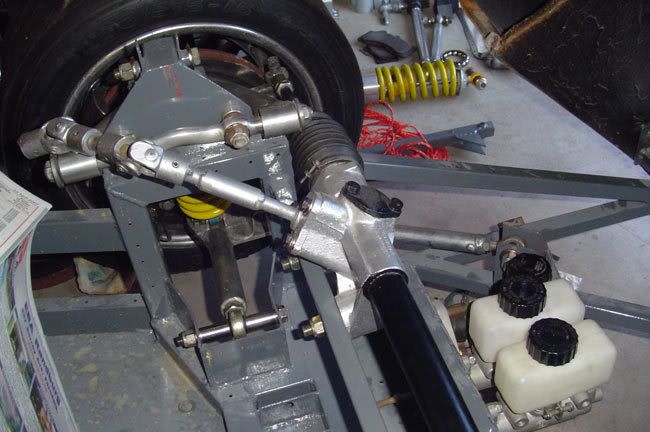
And the rear - Note swing arm arrangement - bit odd in this instance, but same sort of set-up as my Lotus Esprit
Now for the plan of action:
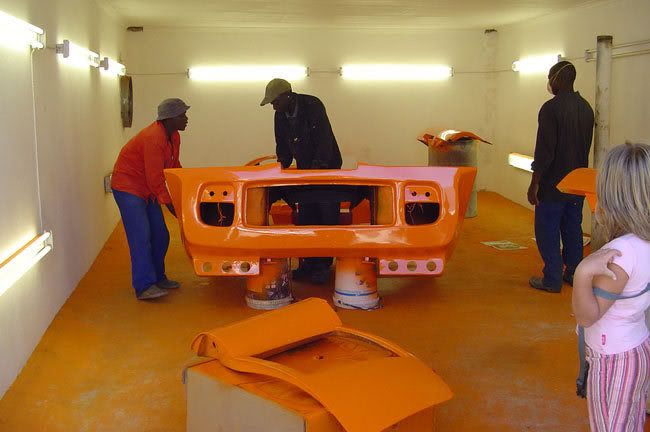
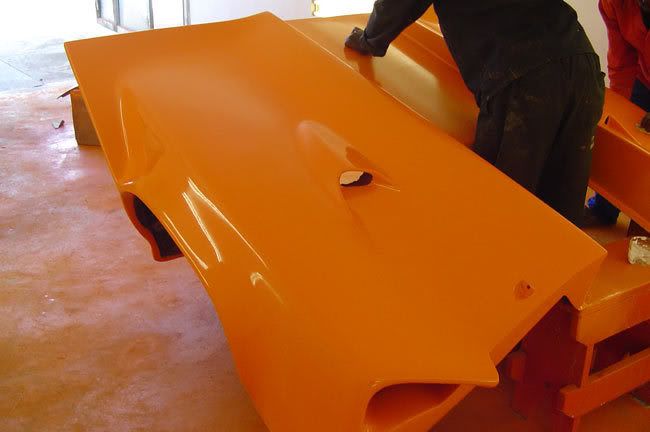
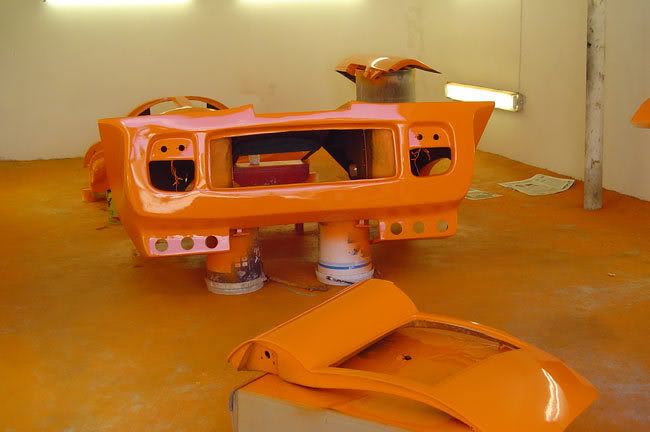
Friday: Send body panels out for paint
Saturday: Prep and spray chassis
Sunday: bolt on suspension, steering rack, rims and tires and have 1x rolling chassis
This is going to be one very quick build - six weeks maximum (depending on outside suppliers) so stay tuned for very rapid progress (I hope...)
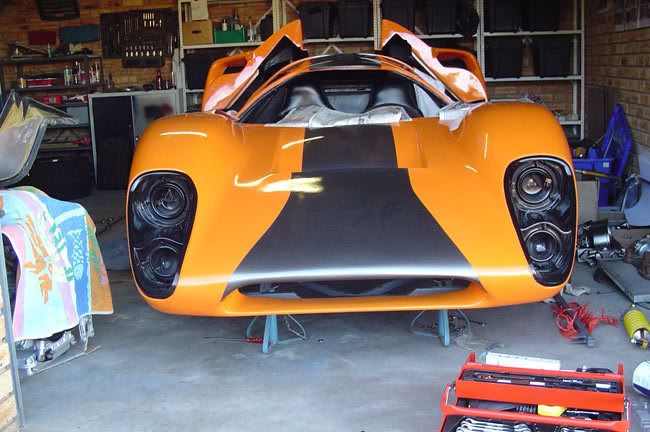
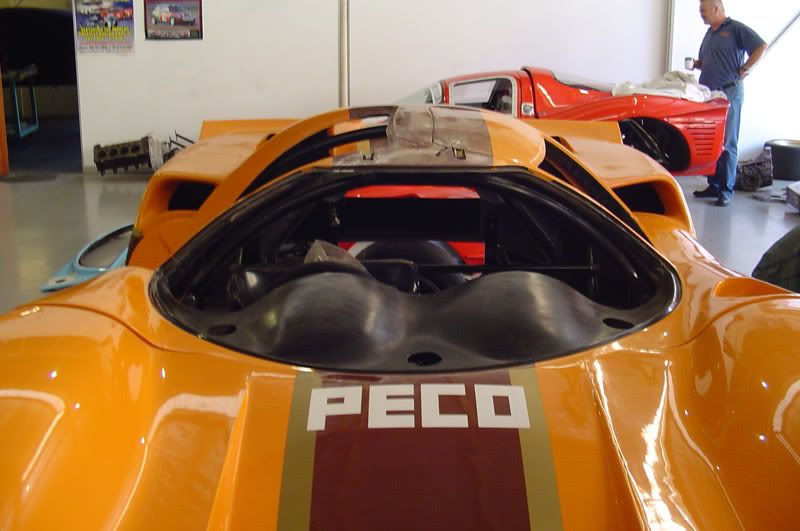
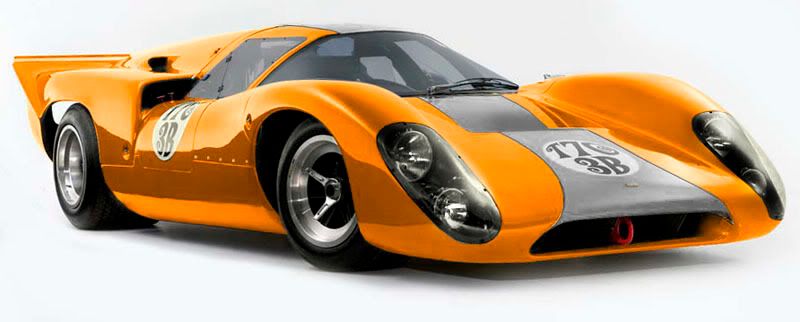
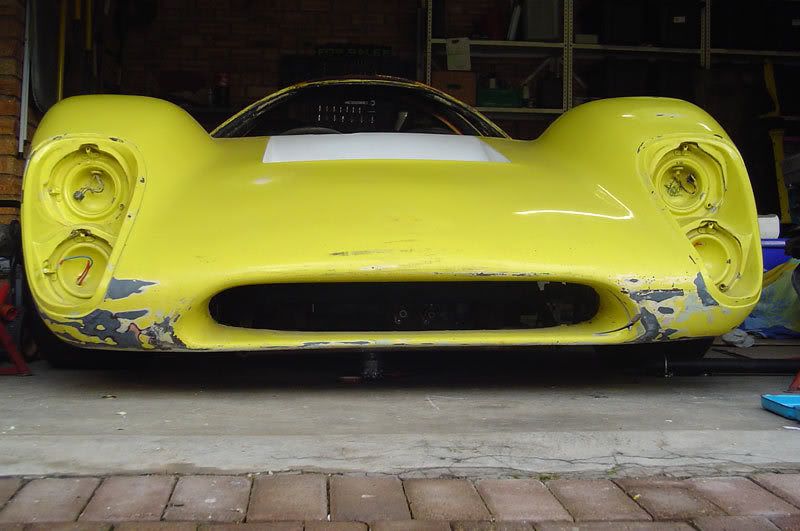
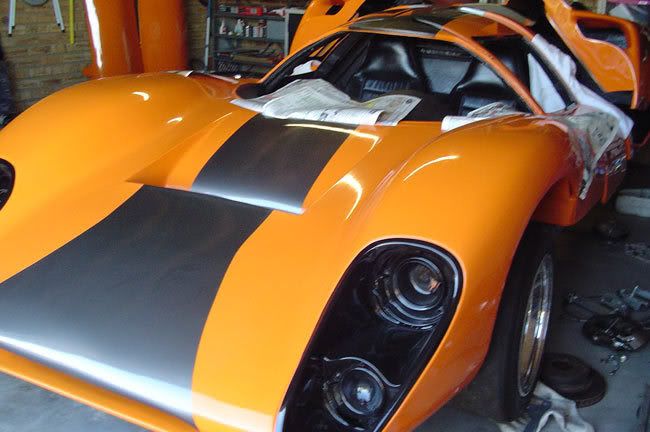
Quick teaser of what the final product should look like...
...That's it for now.
Cheers - Mark
Introductions first - names' Mark and have been a member and been lurking for a while, reading up on all the info I could on GT40's... Was close a few times since mid last year to buying an unfinished project - but they where either snapped up before I could get round to see them, or needed more work than I have the skills for...
... so last week Tuesday, get a phone call - "are you still looking for a project???" "Sure - why not" I said. Thought it was a '40 "nope - it's a Lola, ex South African Historics racer..."
Got this off a thread in the Lola T70 Lounge - Same car... Just got a nice bit of history from one of the previous owners that I'll share later
As it was when I had a look... Body has been used as a mould and lots' of bits lying around on the floor...
Few pics of the chassis below - Not enough room in the shop to get a full image...
As I mentioned, this body has been used as a mould for another car...
Looks pretty good IMO, and as a bonus, I'm getting a brand new body for mine as part of the deal
So how much Lola was there... Got all the loose bits home and started to try and make sense of everything
Oh No! - What have I done!!!
Starting to make sense...
if you look quickly, it looks like a complete car...
Chassis's due back on Friday (after getting straightened), so might be an idea to get everything ready to bolt on... One Easter weekend and everything was stripped, checked, cleaned, polished or painted. Stuff is in amazing condition - no wear at all (Think I scored nicely here)
Front uprights assembled, calipers checked, overhauled assembled, shocks, suspension arms attached - ready to go!
And the rear - Note swing arm arrangement - bit odd in this instance, but same sort of set-up as my Lotus Esprit
Now for the plan of action:
Friday: Send body panels out for paint
Saturday: Prep and spray chassis
Sunday: bolt on suspension, steering rack, rims and tires and have 1x rolling chassis
This is going to be one very quick build - six weeks maximum (depending on outside suppliers) so stay tuned for very rapid progress (I hope...)
Quick teaser of what the final product should look like...
...That's it for now.
Cheers - Mark
Attachments

Last edited:


 epper:
 )
)

 Update...
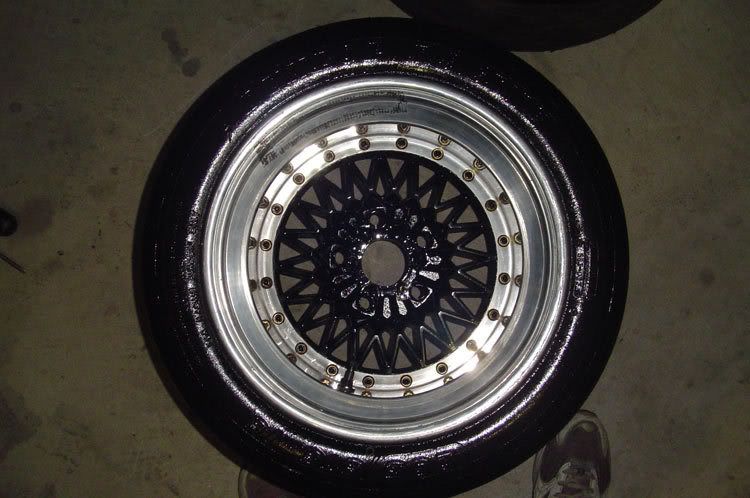
")