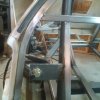
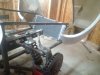
That is not a tubing bender. It is a pipe bender as can be read in your first picture. And from their website Bends 1/2 in. to 3 in. wide schedule 40 and 80 steel pipe . Pipe bends much different than tubing. A true tubing bender that is designed to bend cages and frame work costs much more than $140.00.
Regards Brian
Regards Brian