CANAMSA - SA stratch build

Sharp eyes, Paolo, on the shelf over the red tool cabinet (next to the NAD 3020B hi-fi amp I bought in 1984) is a Tamiya electric radio control M3 kit box, with the built model inside. I haven't played with it for years though.

I do have an interest in car models, having built many plastic kits in my teens (in the 70's). I liked the 1:24 Tamiya's, and if I was really lucky I would get a 1:12 FI for my birthday or Christmas. Sadly I have not kept them.


Regards

Fred W B

100_3521.JPG
 
Last edited:
Fred

Fantastic work, I cant believe how many great ideas there are on this site !!

I might have missed it, or misunderstood, Did you Plane your wooden skewers so that they were straight? if so how do you determine that they are close enough, do you have a long straight edge of some sort to help out with this task? Do the wooden skewers bend over time?

Do you think a couple of square aluminium sections would work (in place of the skewers), with wooden spacers (in place of you white plastic blocks) in between to separate the ply wood formers?

Once again great work, keep it up and I look forward to seeing your progress

Regards, Ryan
 
Hi Ryan
Thanks for the compliments.

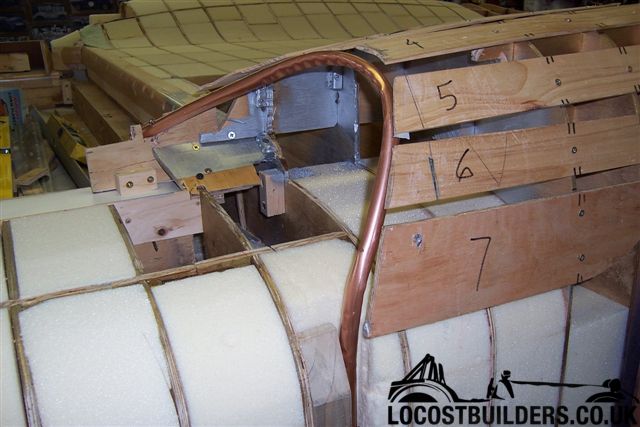
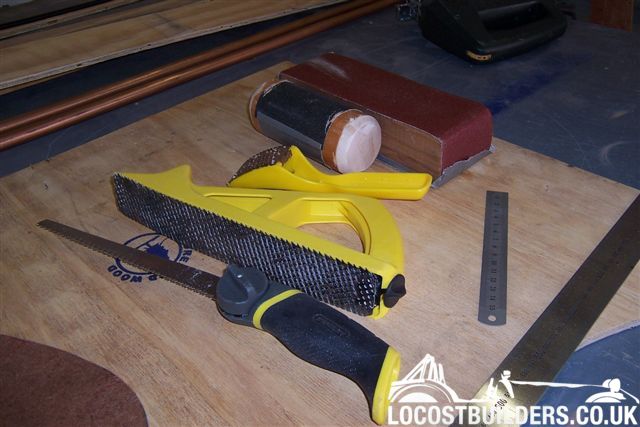
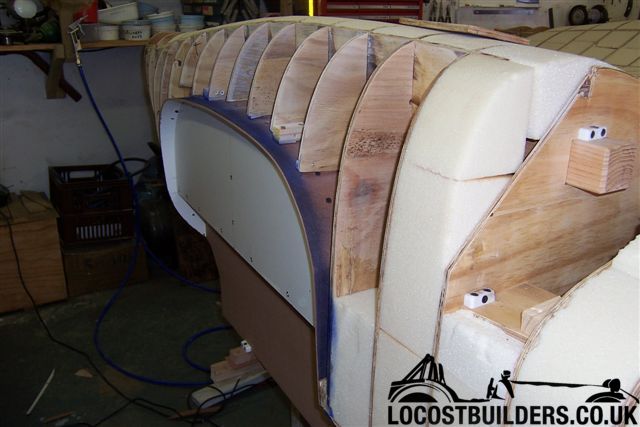
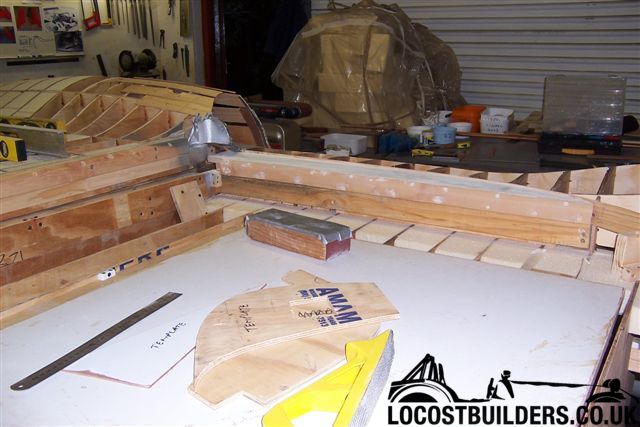
The skewers were planed straight, with the aid of a friend who has the proper woodworking machinery, and checked with a long builders ally straight edge. They were a pain to get right.

Aluminium sections would work, and in fact I originally had the holes drawn into the stations as 50 x 50 size, planning to use steel square sections as the skewers but the holes ended up slightly smaller than that.
But the wood eventually worked very well, as I could plane them slightly undersize to also accept any slight tolerances in my positioning of the stations. Being able to secure the stations to the skewers was also a big advantage, to keep them at the correct spacing and vertical.

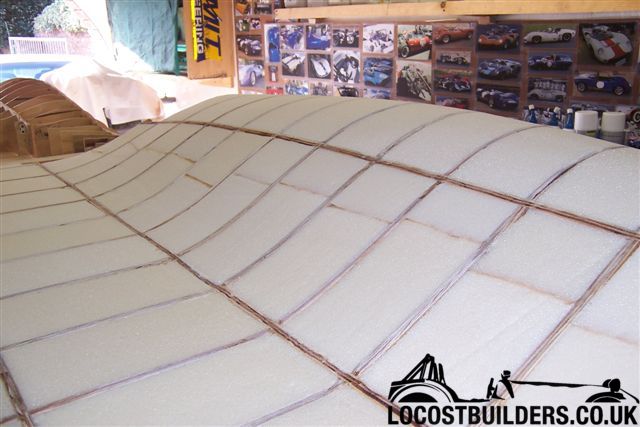
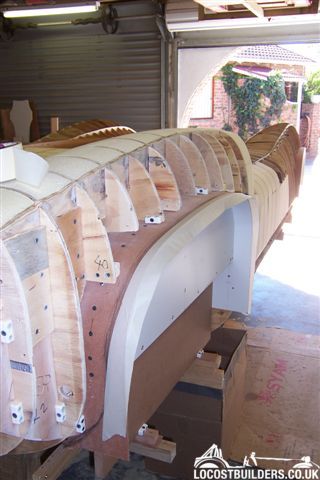
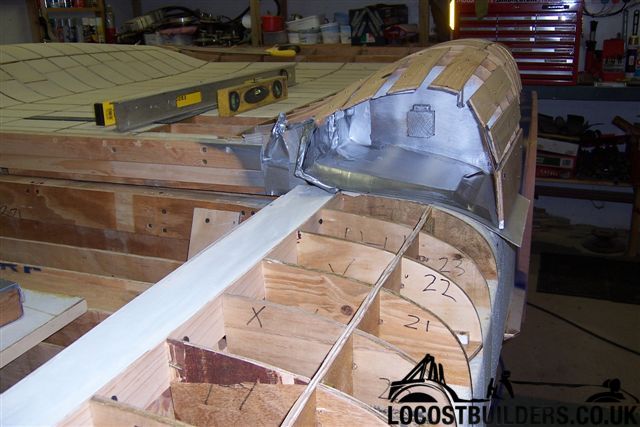
WRT bending, most of the stations are supported on the base board, and I have since added some supports under the overhanging rear bit, so not a problem.

Best thing I did was have lots of 92 mm wide planks cut, I've used them a lot to get spacing correct at various places, particularly on the base board. (my stations are at 100 centres, ply is 8 mm)

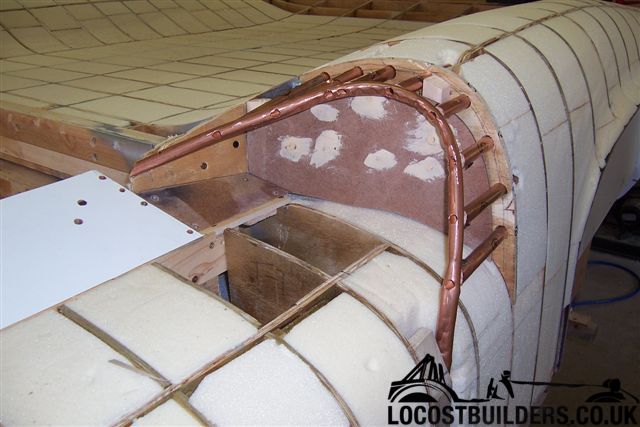
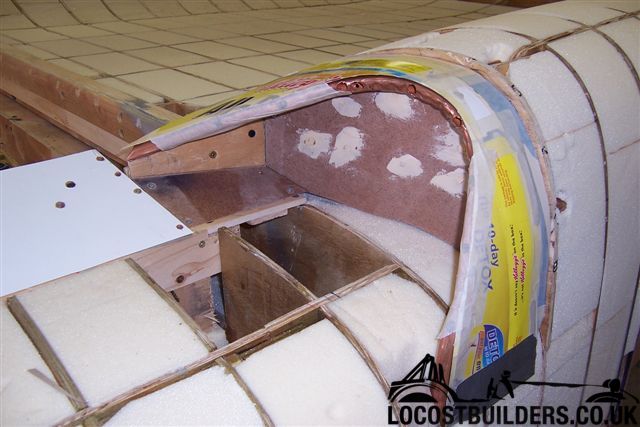
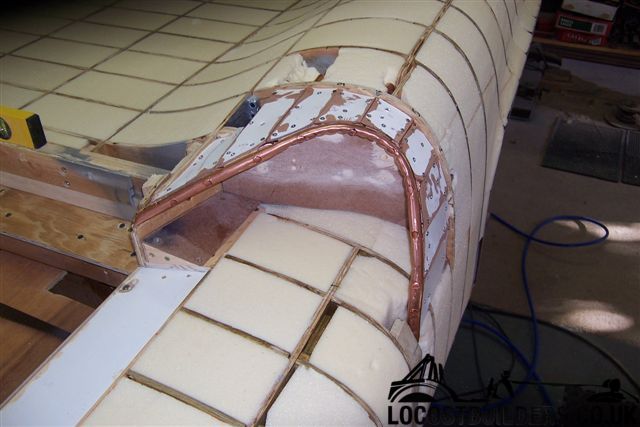
Things I would do different next time would include putting 0.5 mm clearance in the interlocking slots (I made them dead 8 mm wide, to fit over the 8 mm ply and had to hammer the longitudinals in) and I would add some stations at the extreme rear, but fitted perpendicular to the body surface, not vertical. I would also make the longitudinal ribs thickness stick into the body shape from the actual longitudinal line, and not out as I have done. I still have to finish off all these edges flush with the eventual body surface.

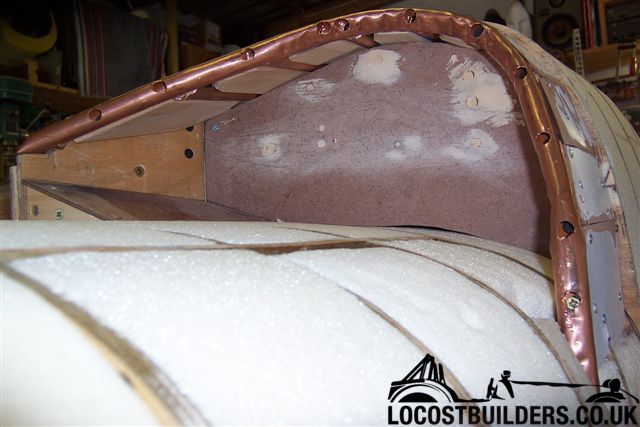
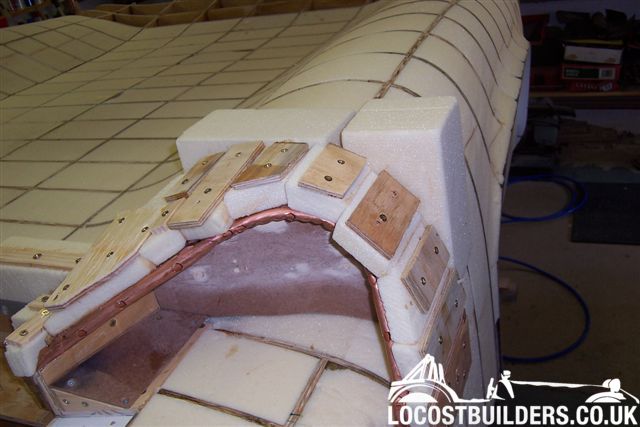
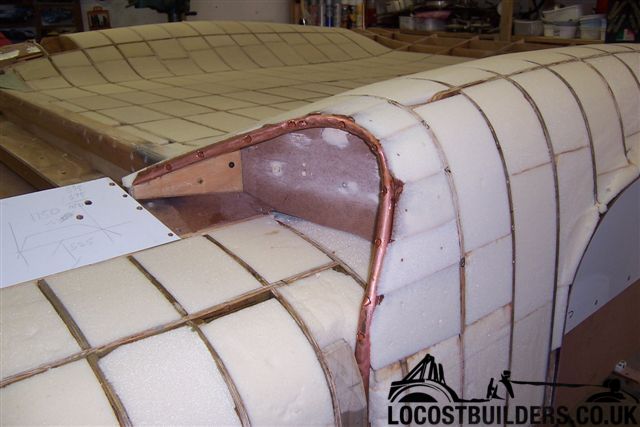
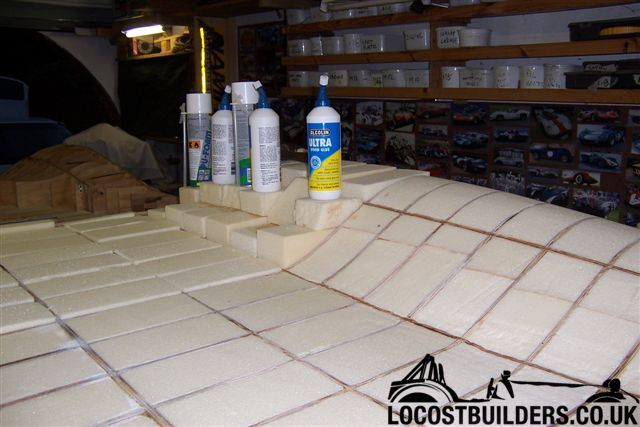
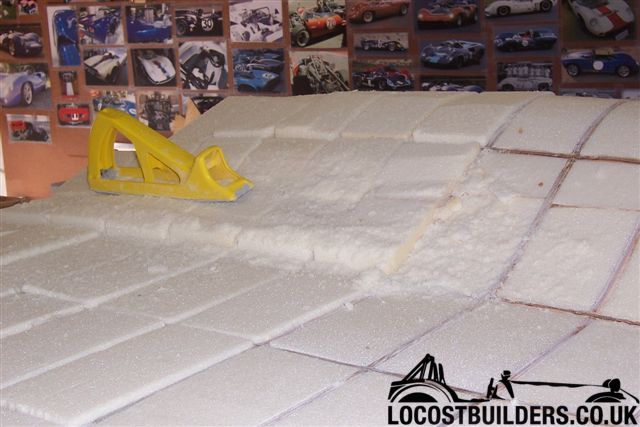
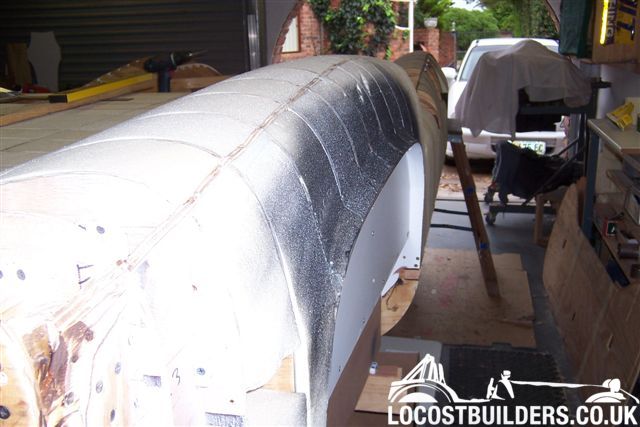
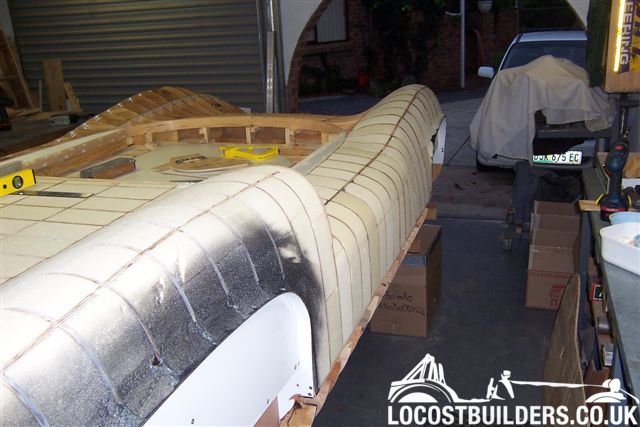
Fitting and shaping the foam is going well, will post some more pics soon.

Cheers

Fred W B
 
Hi Fred
Nice bit of progress on the body - Very time consuming and labour intensive I know...
Cheers - Mark
 
Man, I'm so glad I am past the body buck building stage! These things sure are lots of work...

Looking spectacular!
 
complements on having the stones to build something from scratch! surprised with the method you chose tho, cutting and gluing all those little foam pieces is pain in the ass.
 
Still plugging along, and have finally managed to wrestle the shape of the rear air intake ducts into submission. This has been the worst bit to get right so far, and one I have been working on a bit, leaving to do something else, and then going back to. We didn't get this area right in our computer model, so I had to go back to old fashioned first principles, shaping by eye from the model and photo references, and using wood and cardboard templates to get the left and right sides to match. It's still not quite finished, still pending the application of the hard skin.

Trust you will find the attached photos self explanatory. I bent the conduit to shape by hand in a vice and with lots of trial and error.

Cheers

Fred W B

nos1.jpg


2nos2.jpg


nos3.jpg
 
Wow Fred
Appreciate the effort you are going through.
That's a novel way of doing the intake edges.
Obviously I am not there to see any subtle bits.
I would have gone the way of cutting a pair of curved shapes from MDF and adding MDF ribs where you have used copper and then some added shaping at the edge itself.
The foam infill method is something I was not aware of.
I think I prefer the mesh even if it does bite like hell when you catch youself on the cut edges.
How far are you from skinning it.
Looking fwd to seeing the finished product.
Des
 
Thanks Des, I'm just making the fiddly bits up as I go along by trial and error.

Won't be skinning for quite a while yet, as I still have to get the contours of the extreme rear face of the rear clip done. I am also not happy with the contours we did along the top of the doors, into the top of the front wheel arches, so I have some reworking to do there as well.

I want to get rid of most of the foam dust before I get the sticky stuff into the workshop.:)

WRT your use of mesh, I would think you need to be carefull to make sure that the final skin you make is thick and rigid enough to not deflect at all when you work out to the final finish polish stage. The very experienced pattern maker who explained the ribs/foams method to me was very insistent on this point. Maybe you could consider back filling your mesh shapes with expanding foam once complete. This would also help avoid "print through" of the mesh as you put the first layers of the skin on?

That said, maybe you are planning to use some demon skinning material I am not aware of?

Cheers

Fred W B
 
Last edited:
Wonderful work in progress ! I wonder if you would showcase this build on the Lola Heritage website as well?
Very well done.
Let me know if I can help as the blue car above is mine. It does not look like you need help though !
 
Back
Top