Thanks to all for the feed back and comments.
Peter,
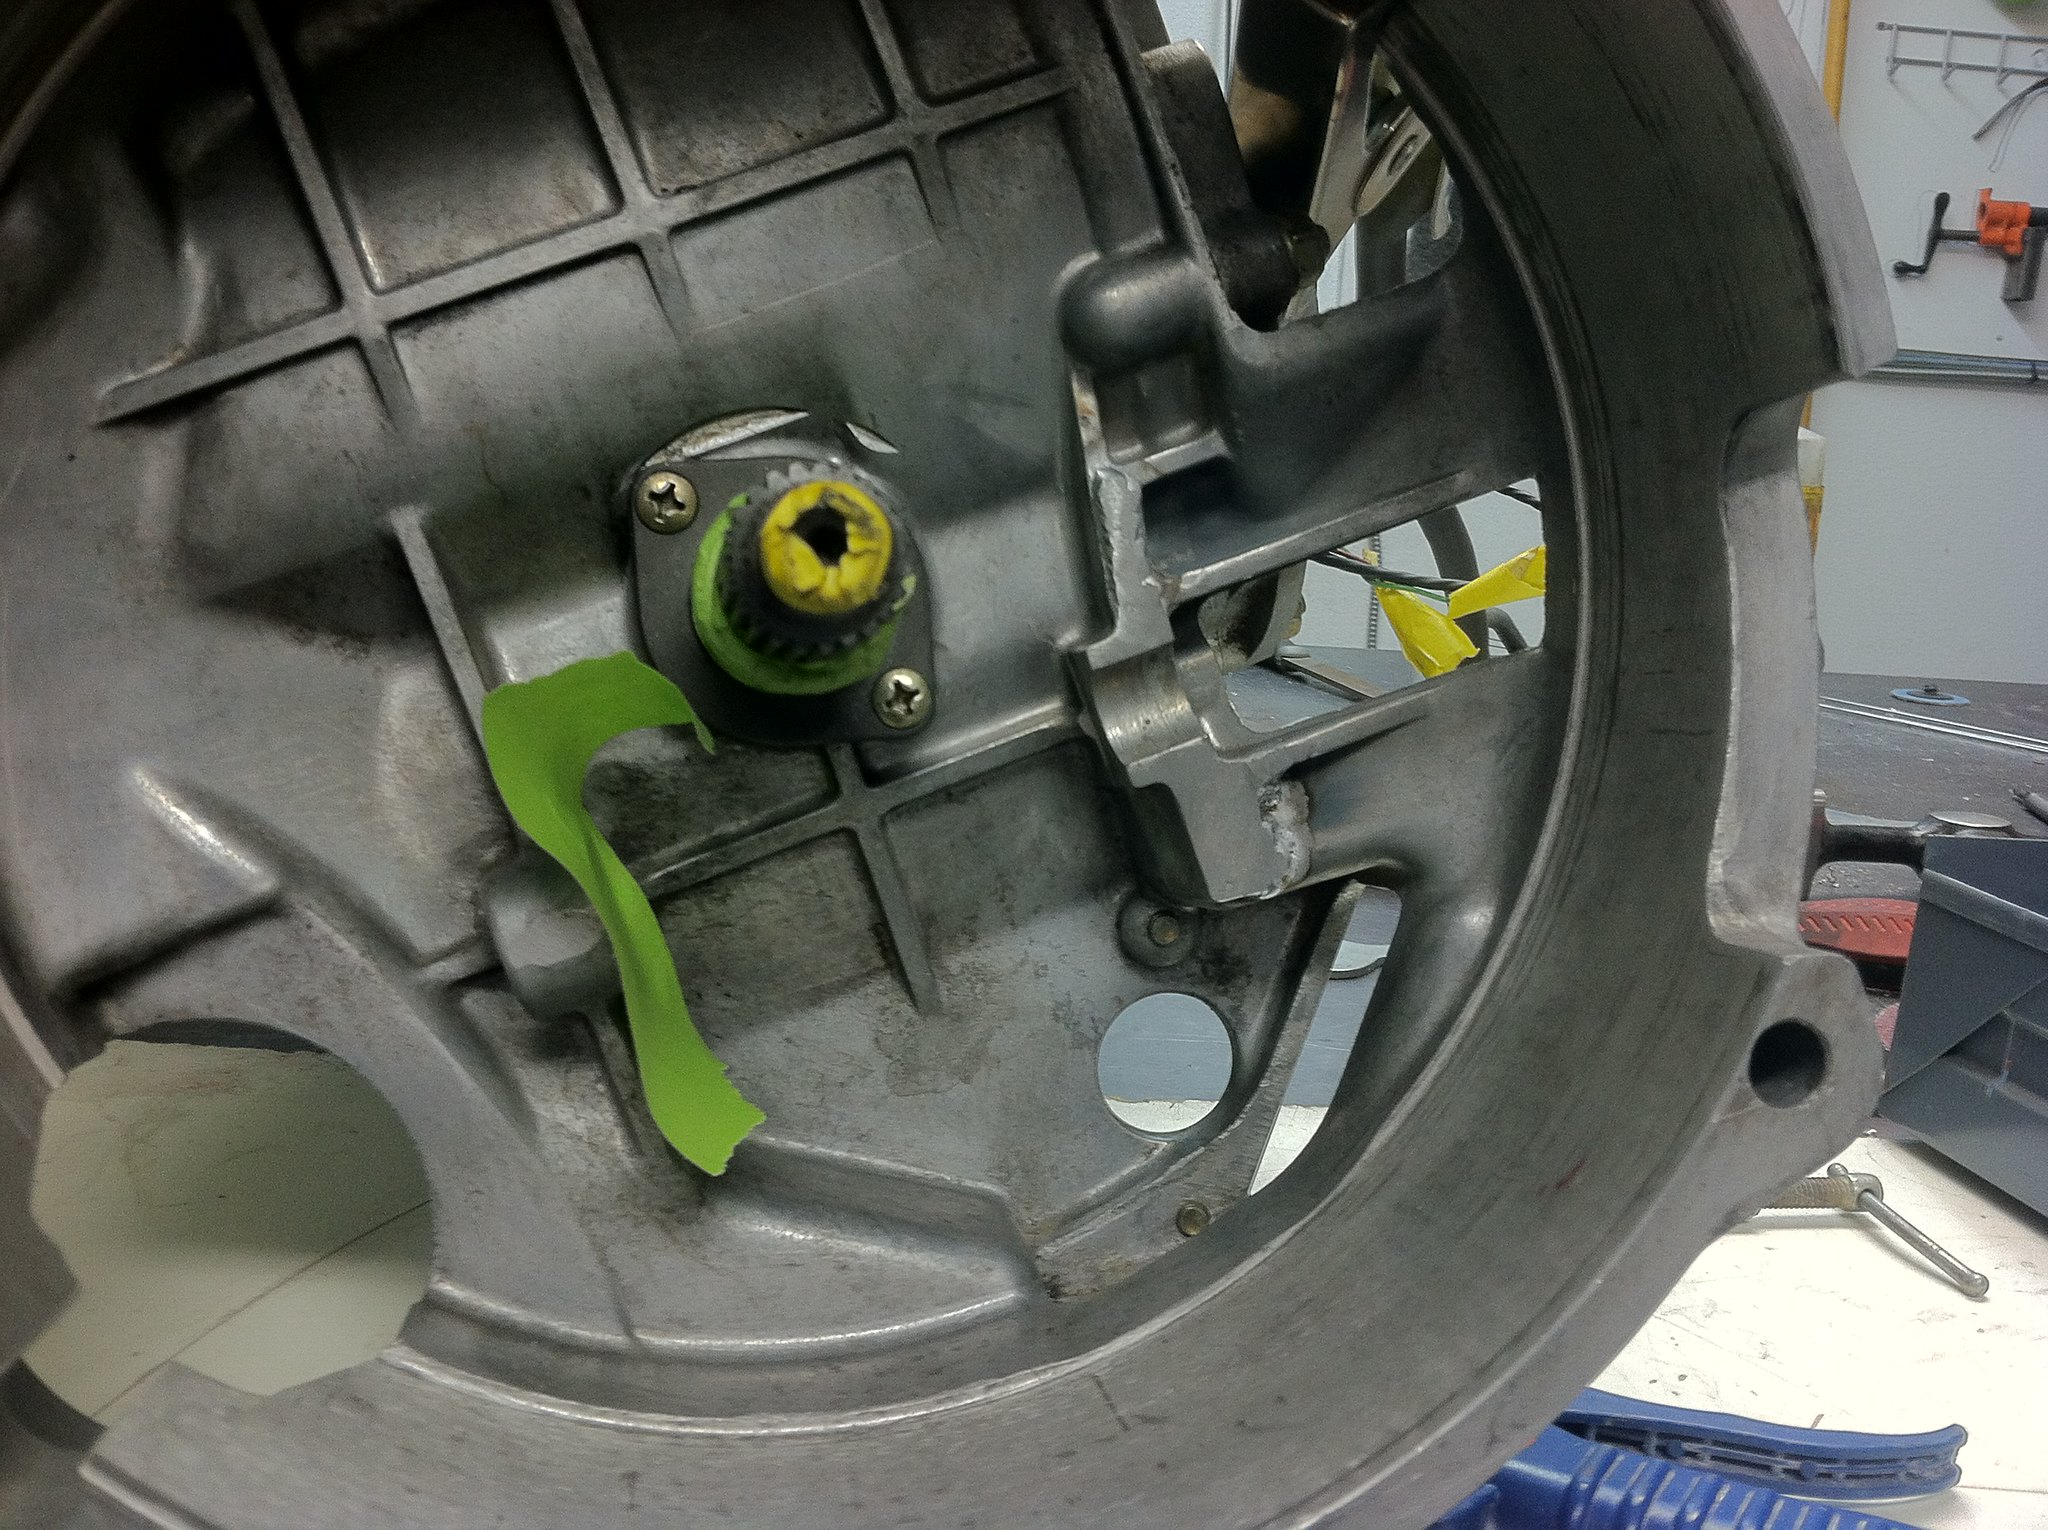
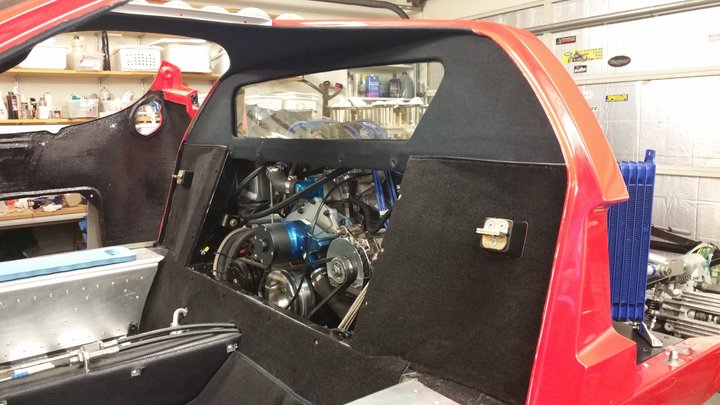
I will watch the belt tension on AC and see if I need to add a bracket. Heat shield.....my collectors are directly below the top stainless vent panel, so I am not too worried about that yet.... but will keep an eye on it. Maybe do a temp check with a laser thermometer while idling hot.
DRB #49... excellent...I will surely have future questions.
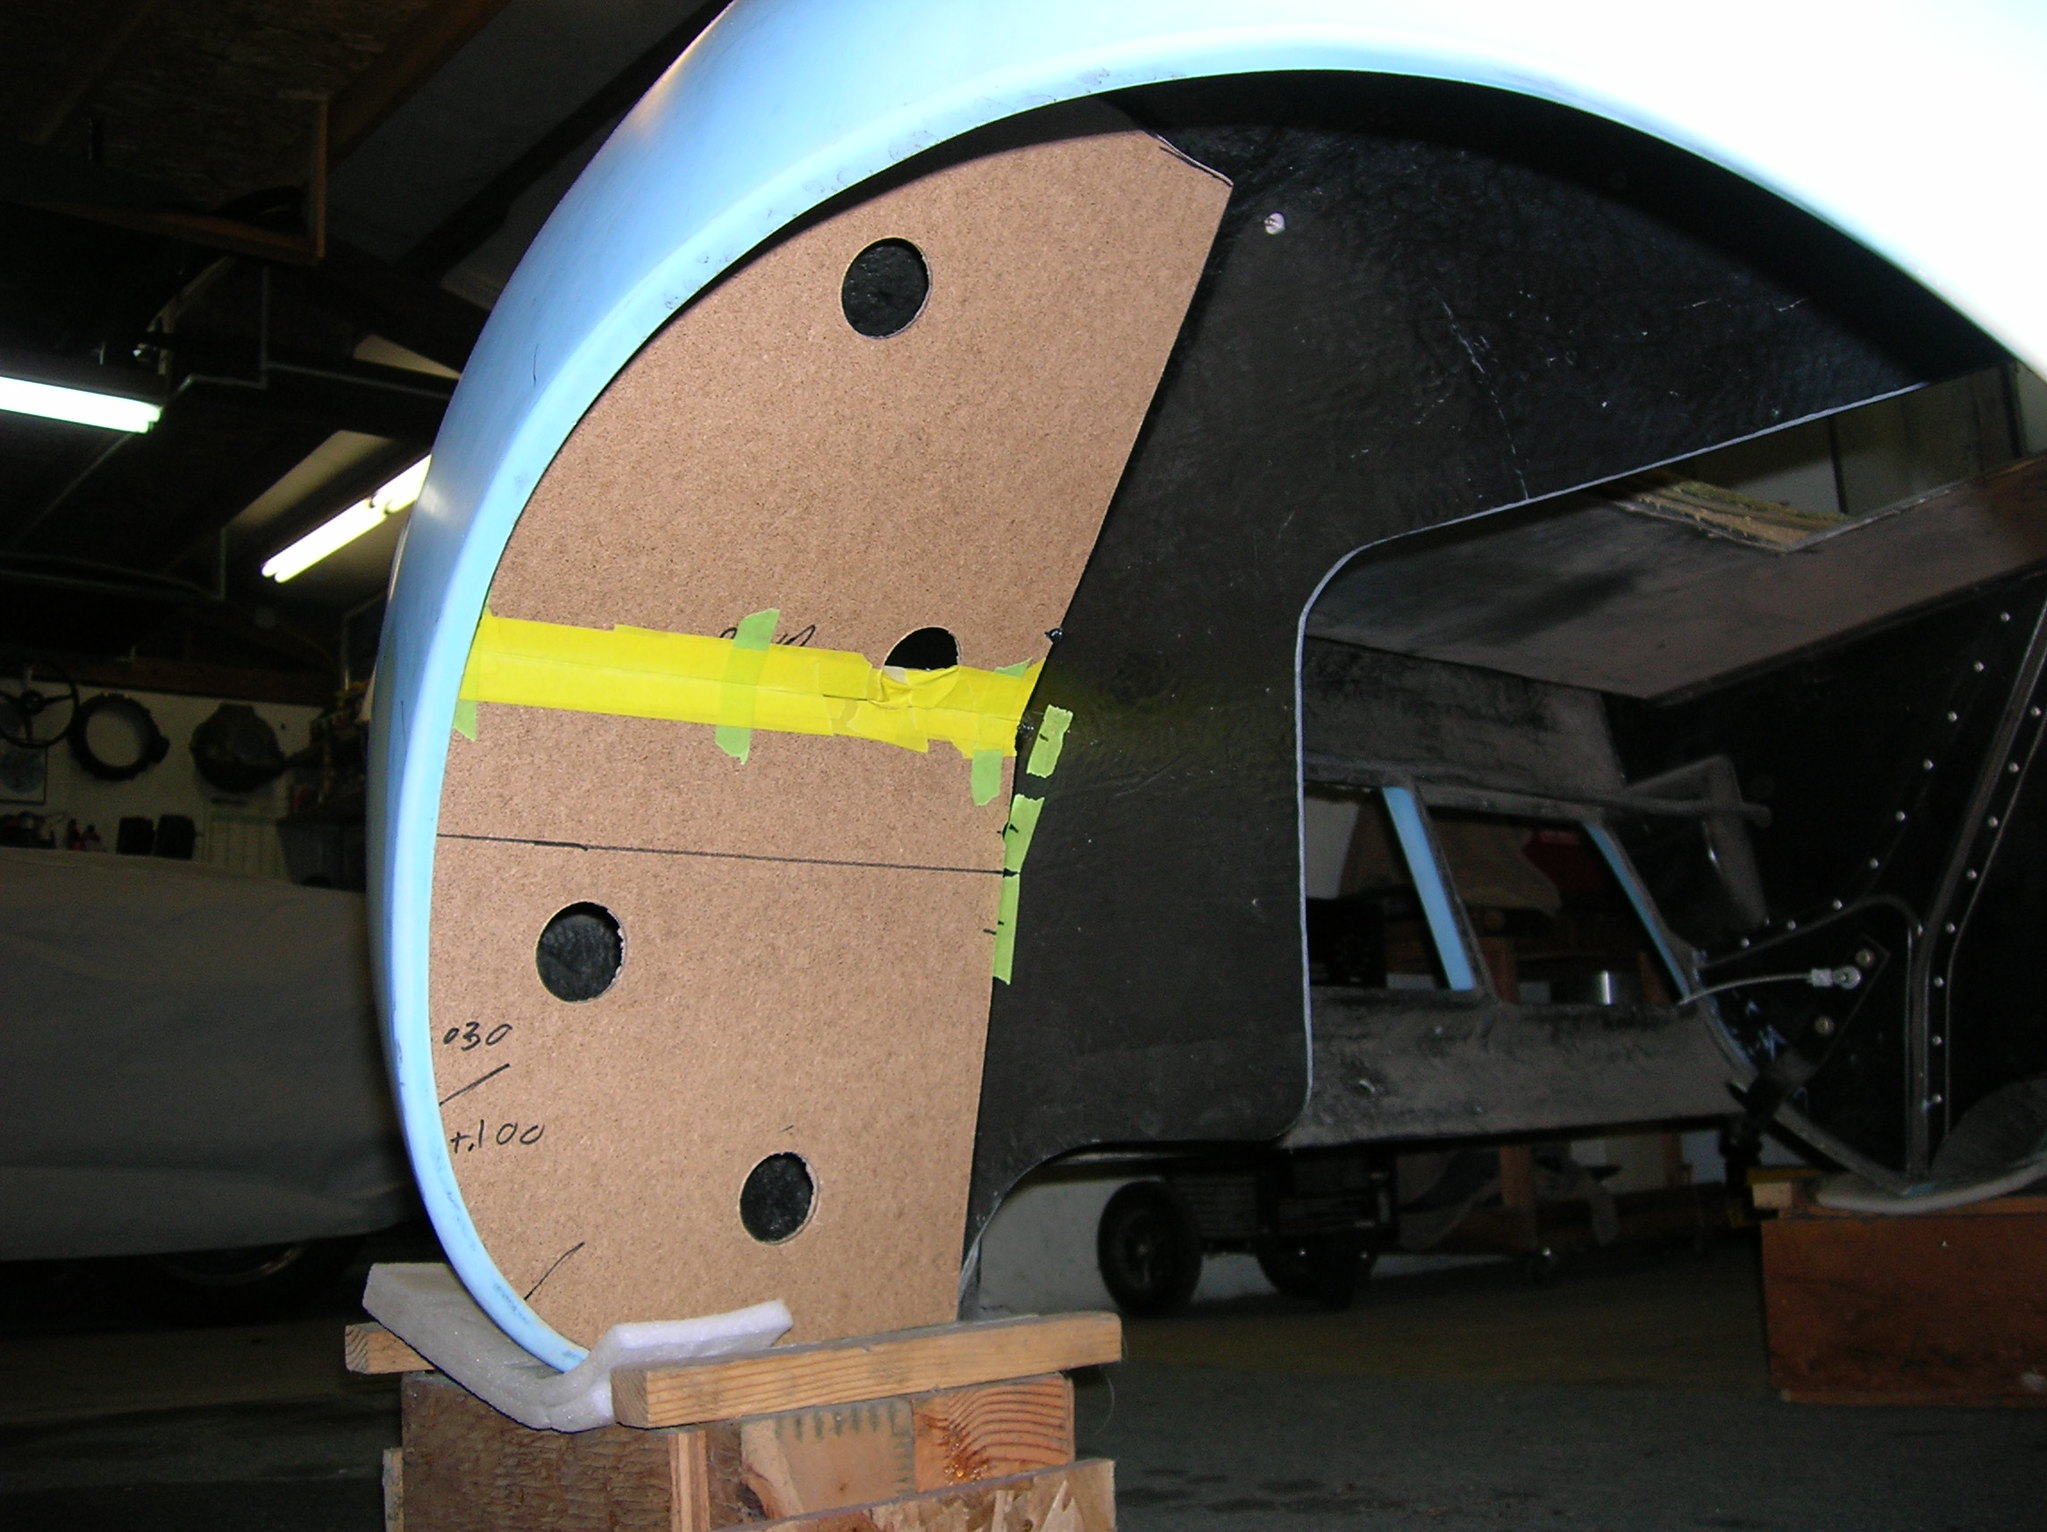
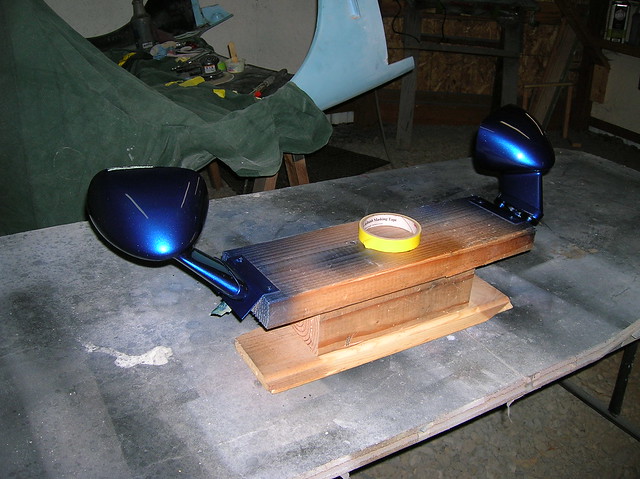
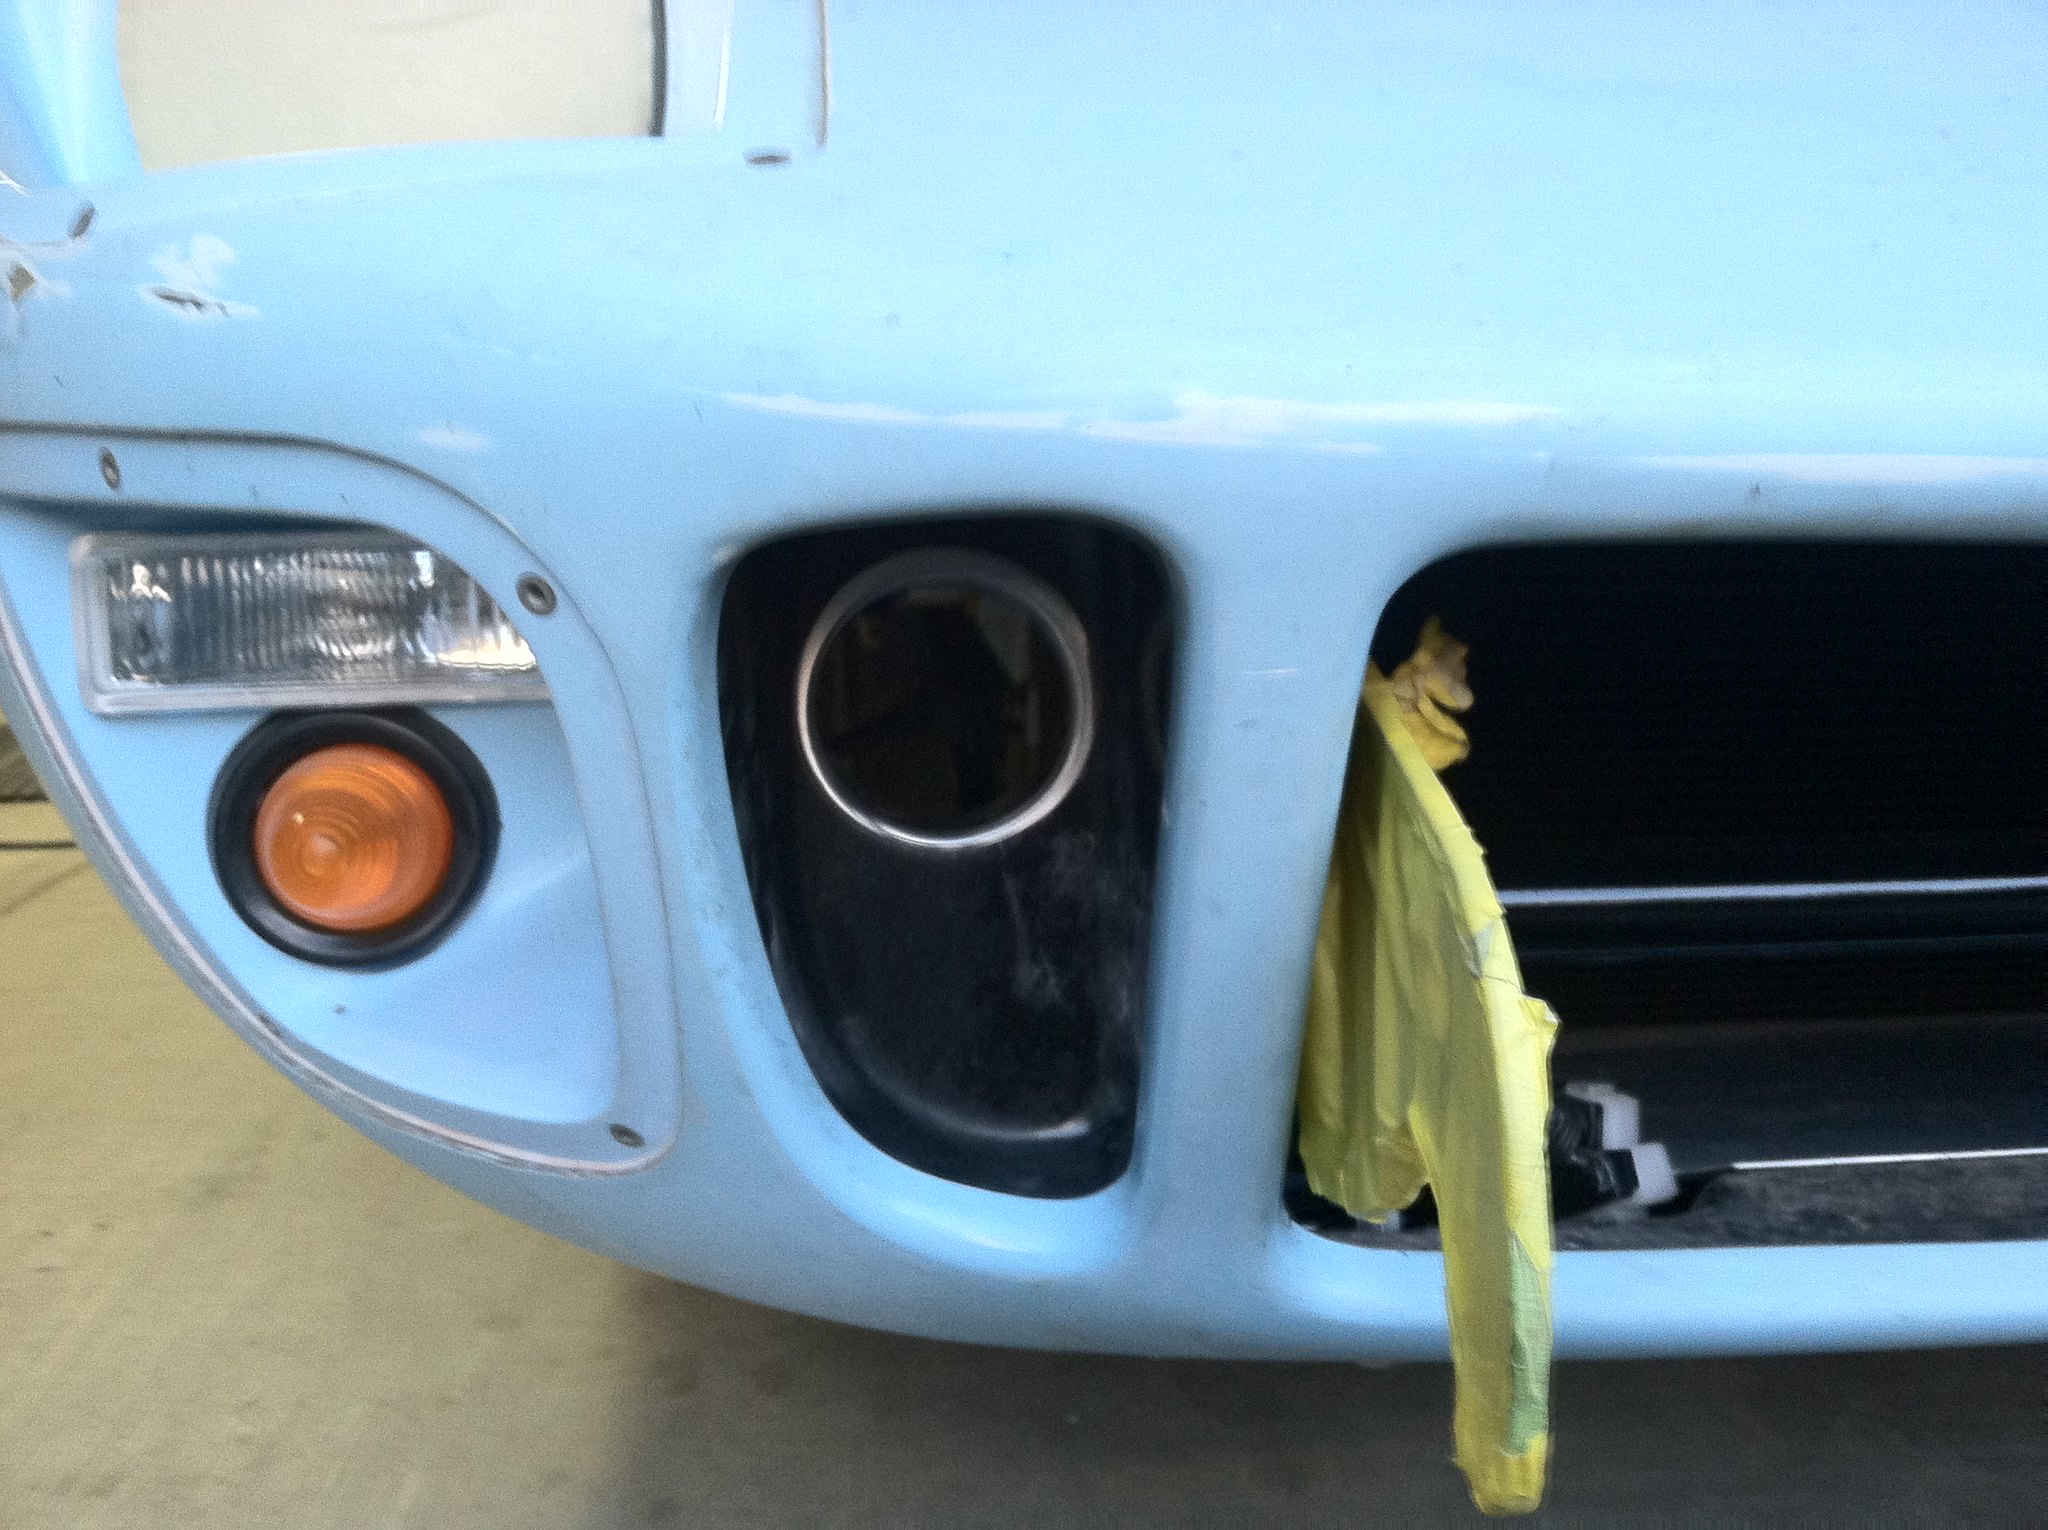
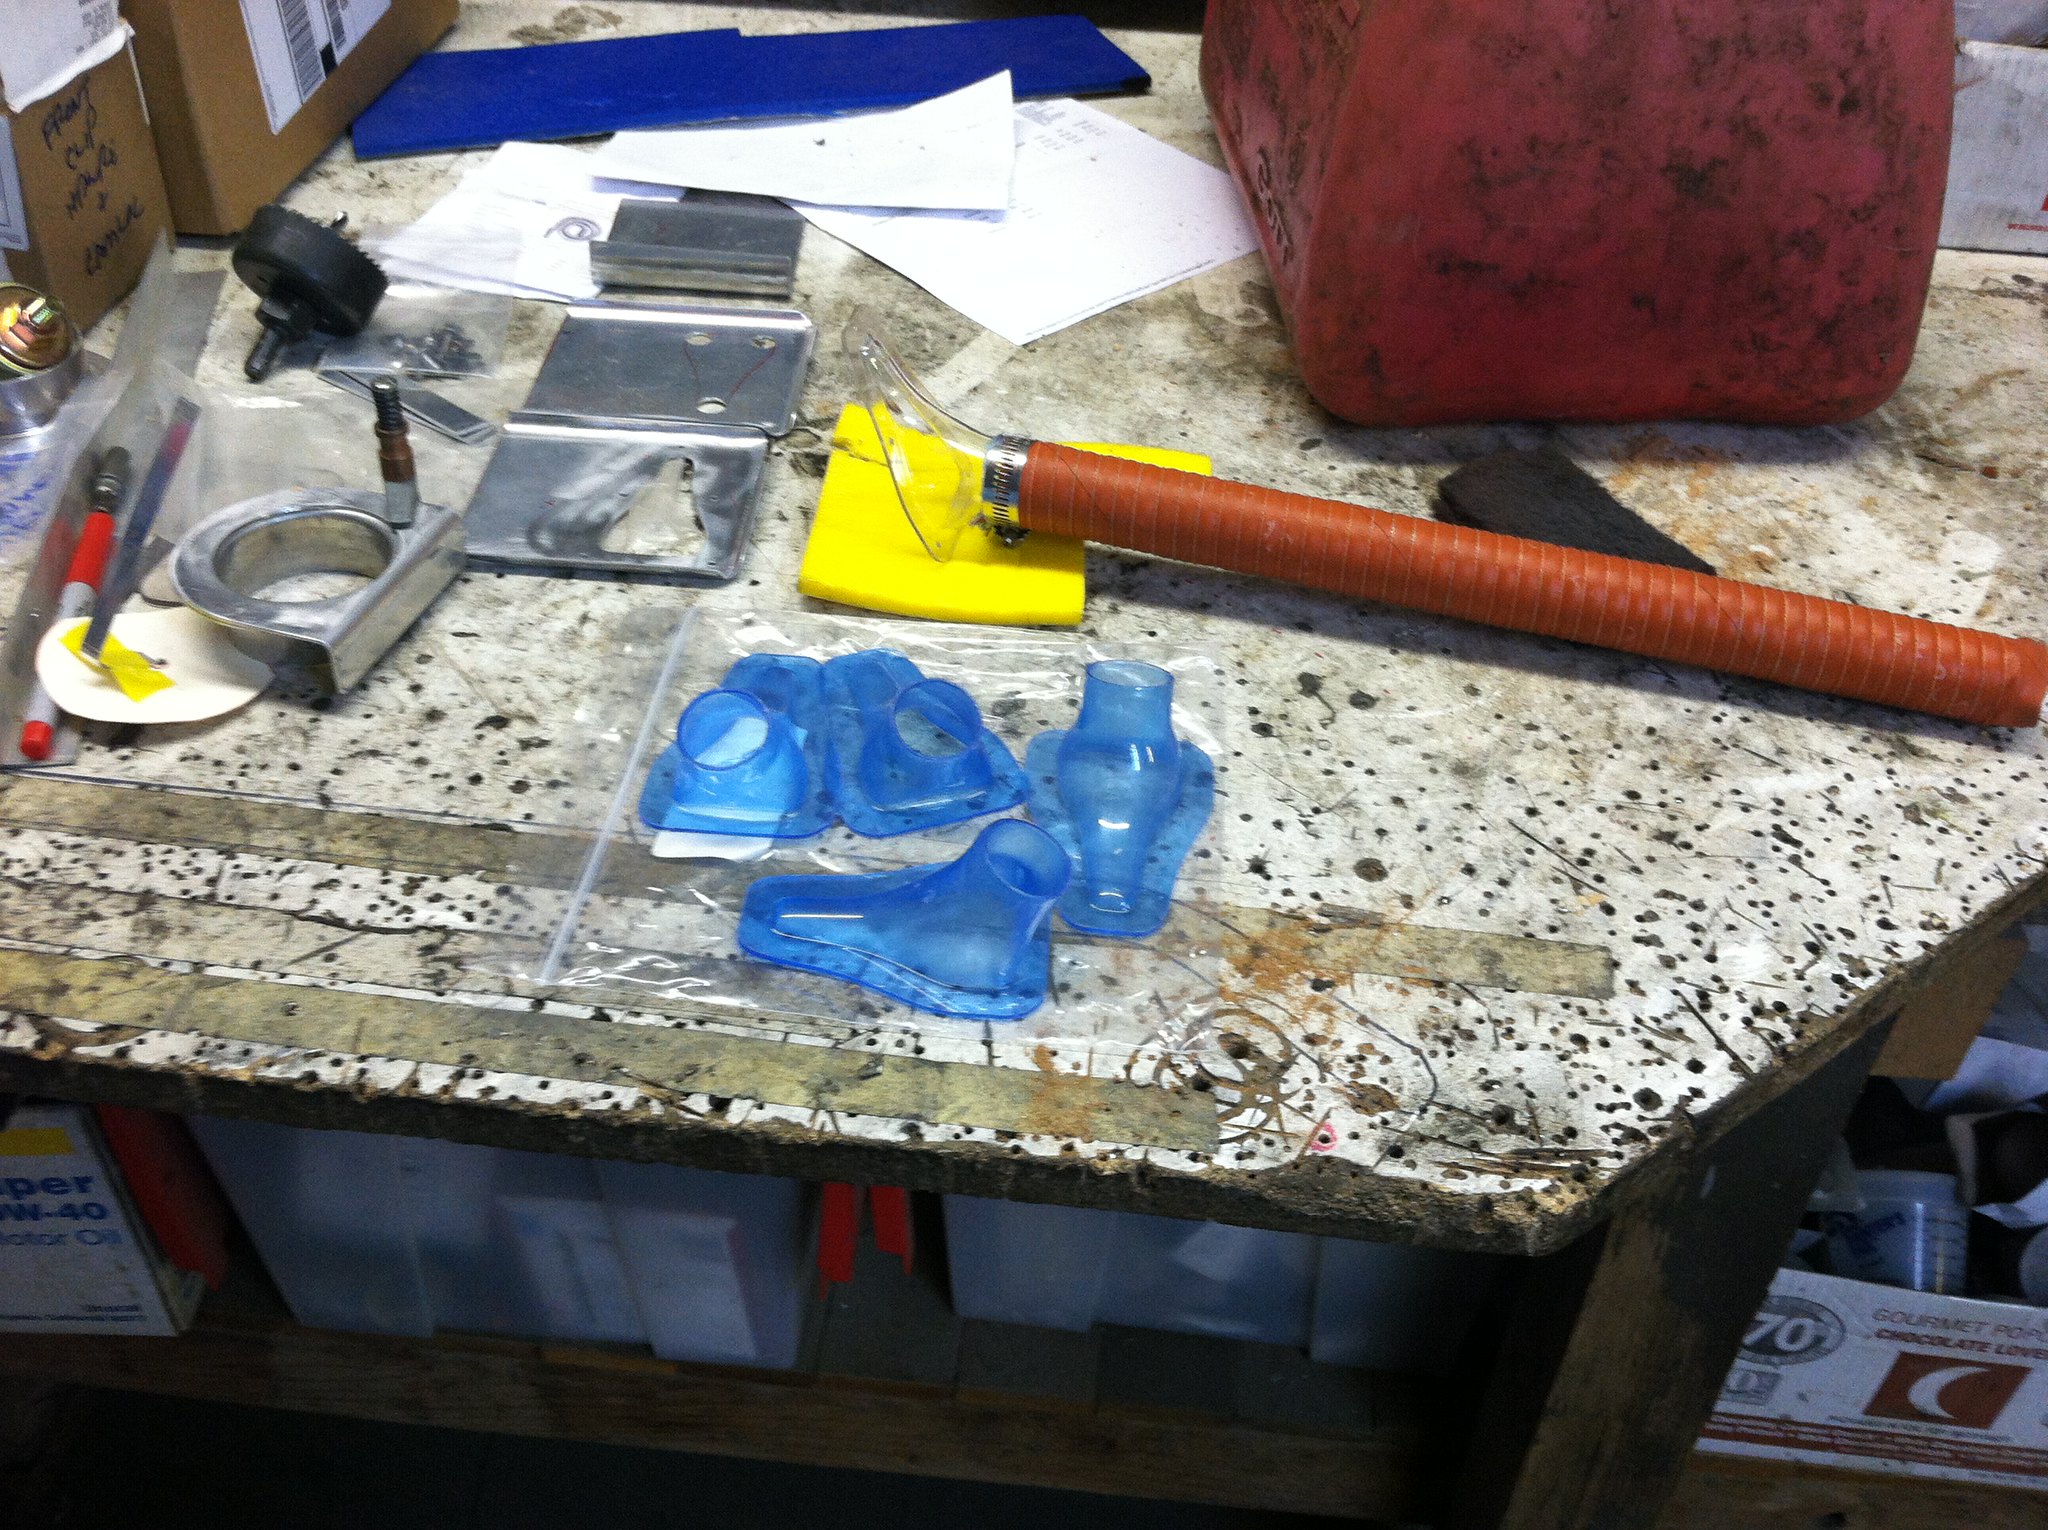
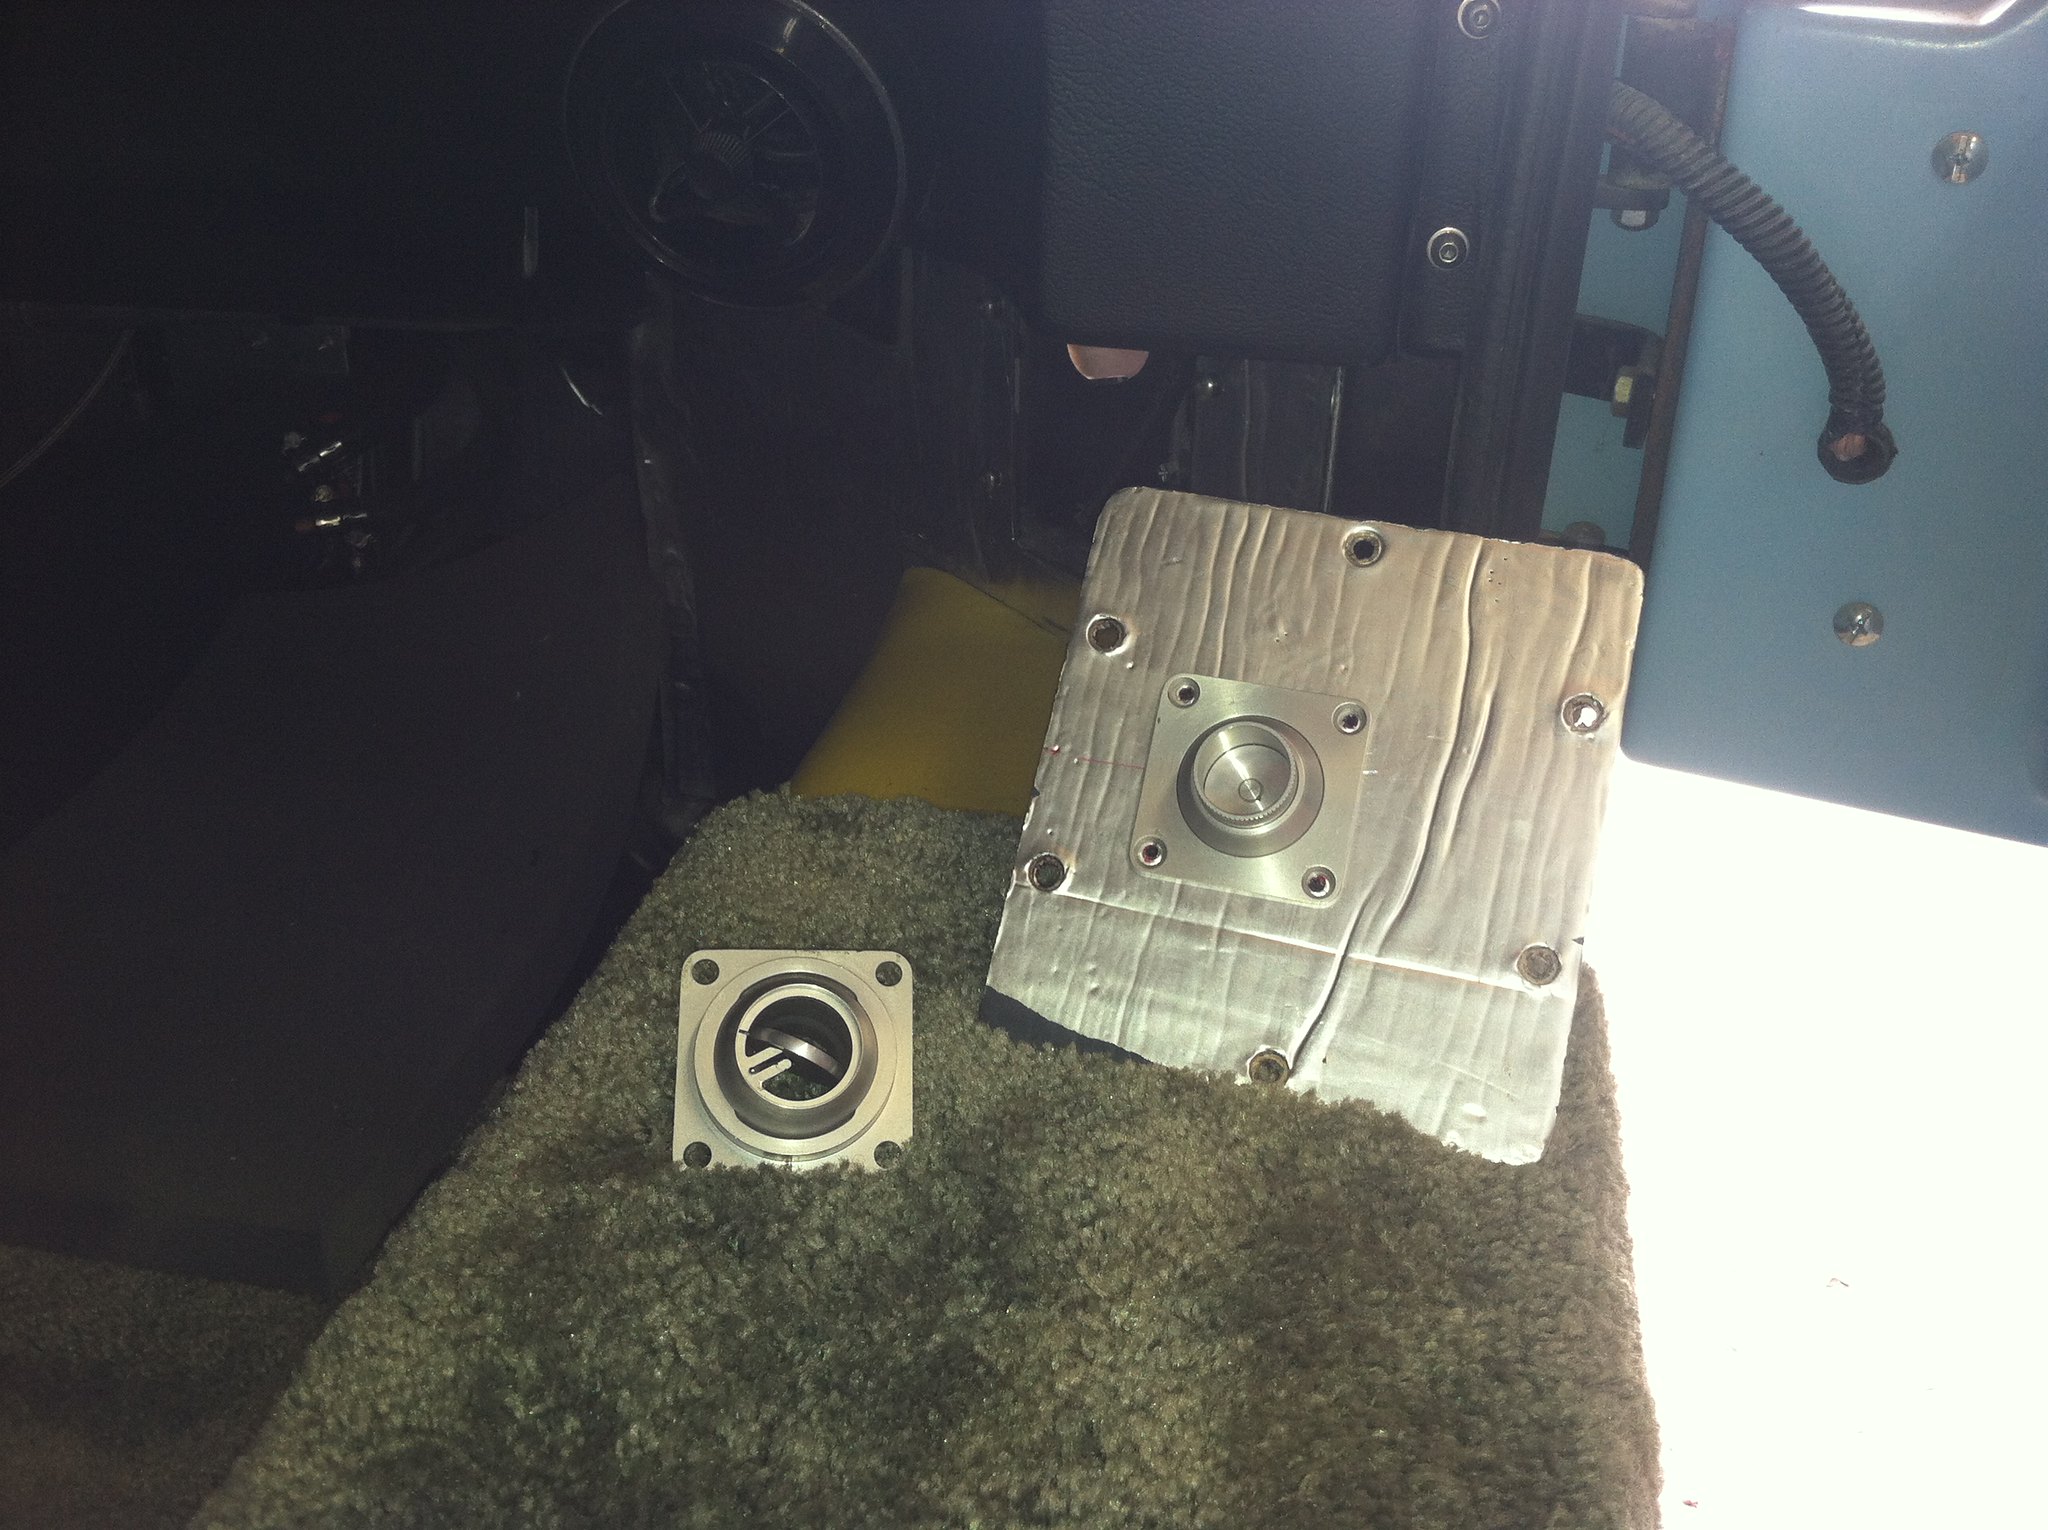
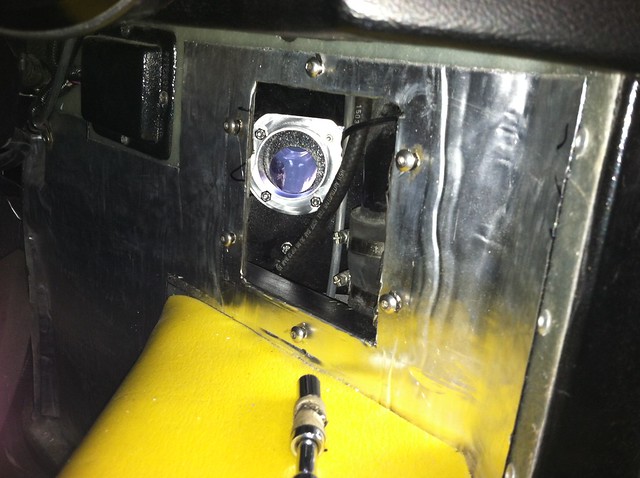
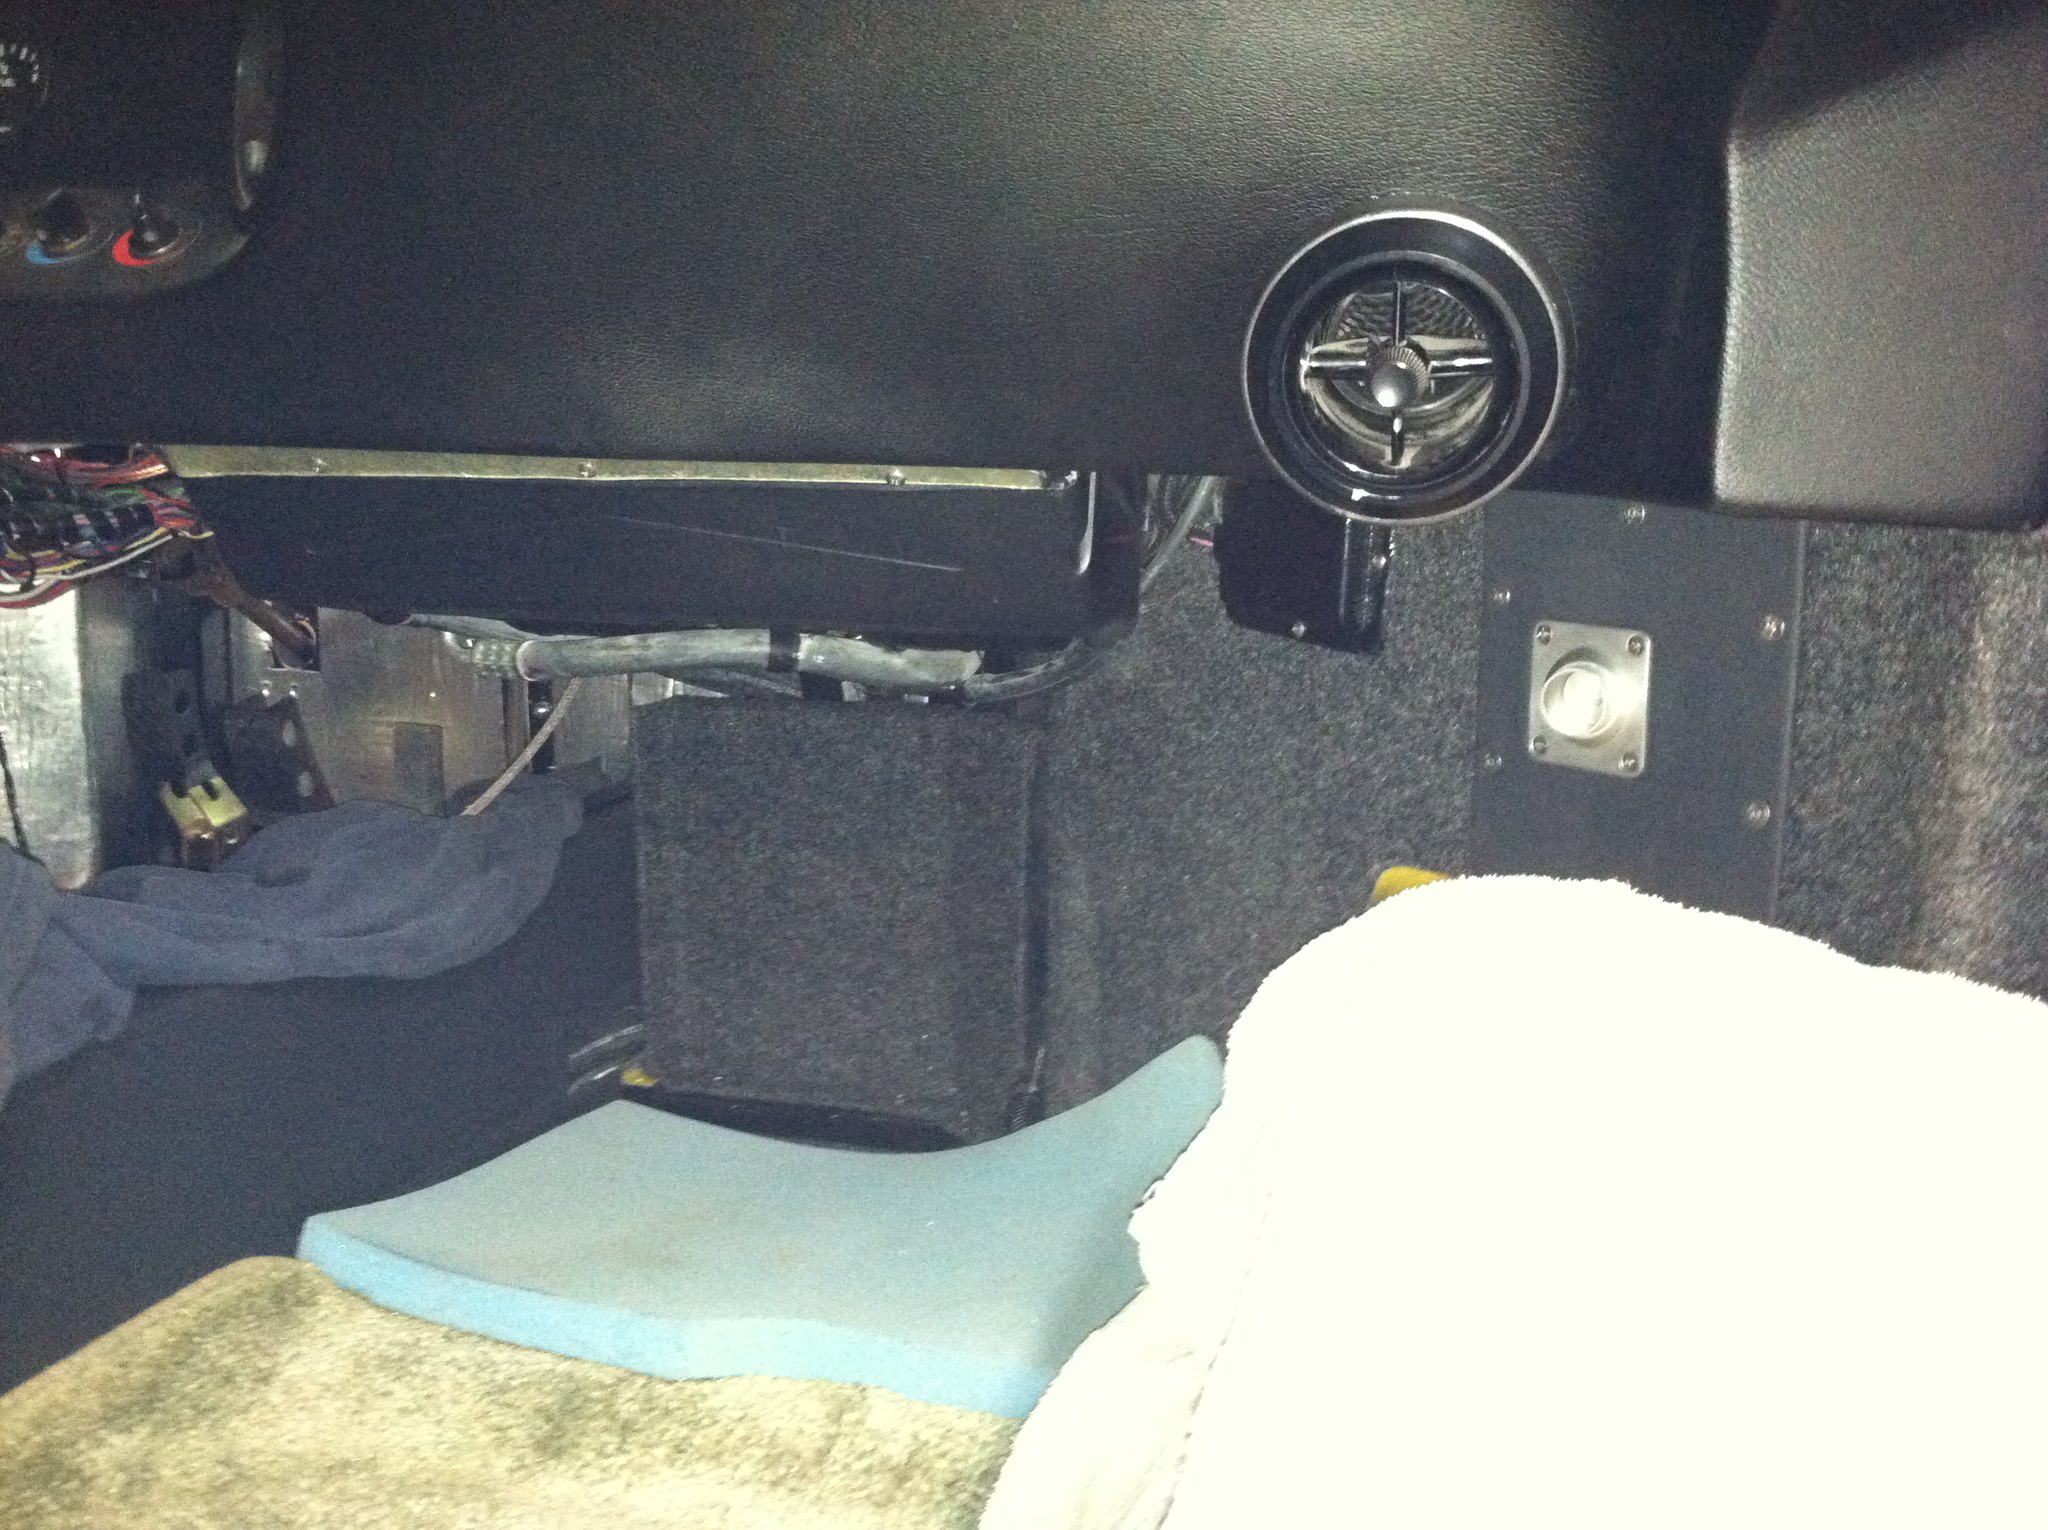
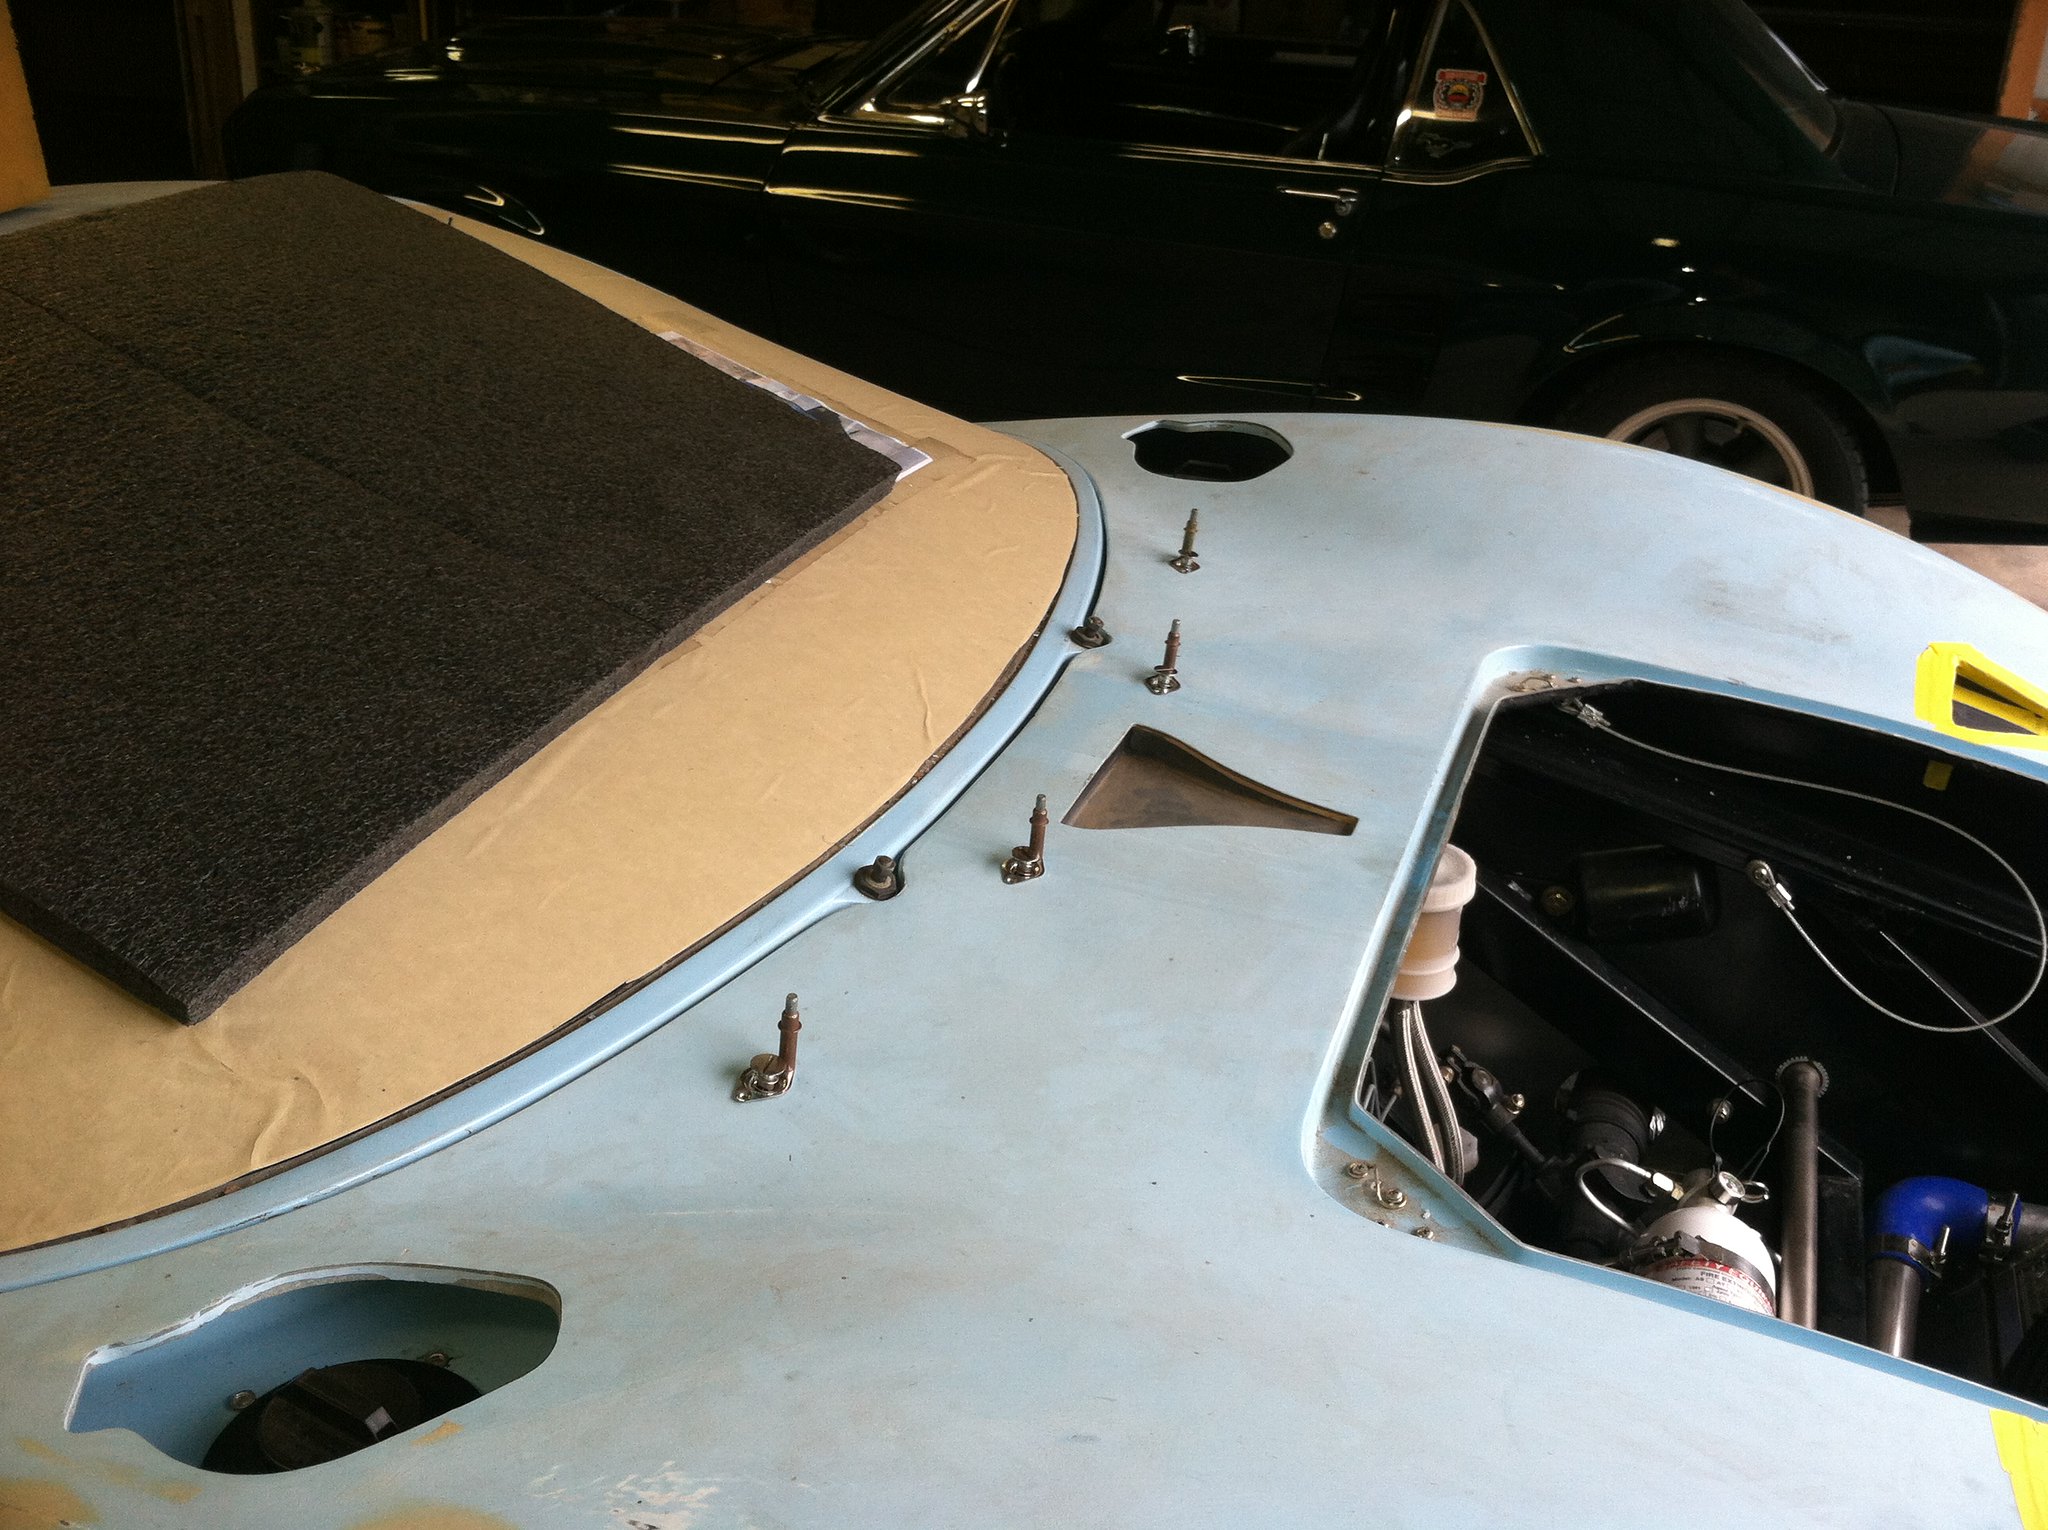
Can you comment on your AC system??? I need to connect the transverse air plenum box outlets(fiberglass ovals) to the eyeball vent... or elect to run fresh air to the eyeballs from NACA ducts....
Current news.
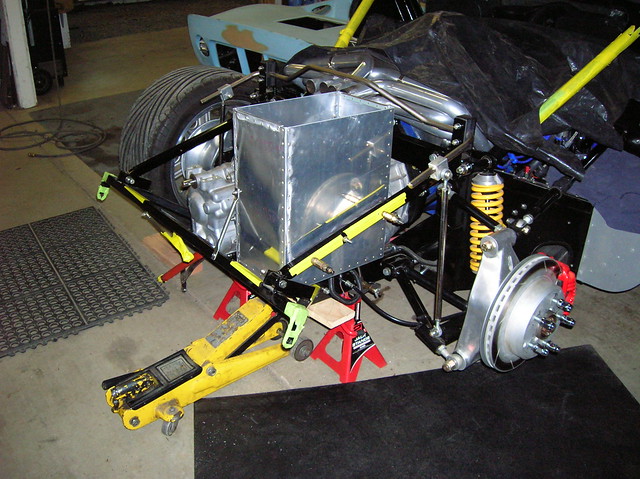
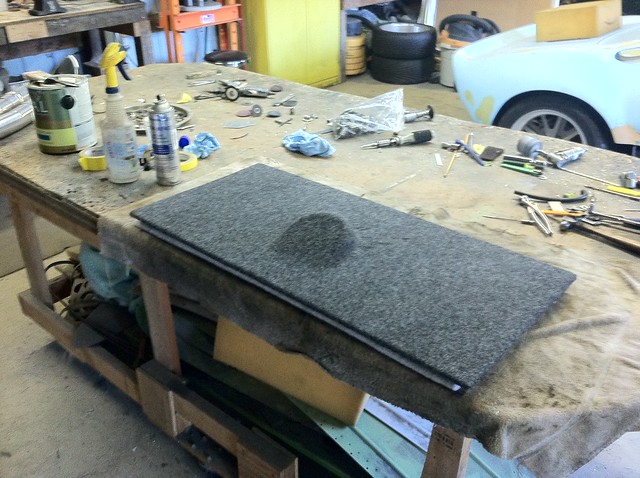
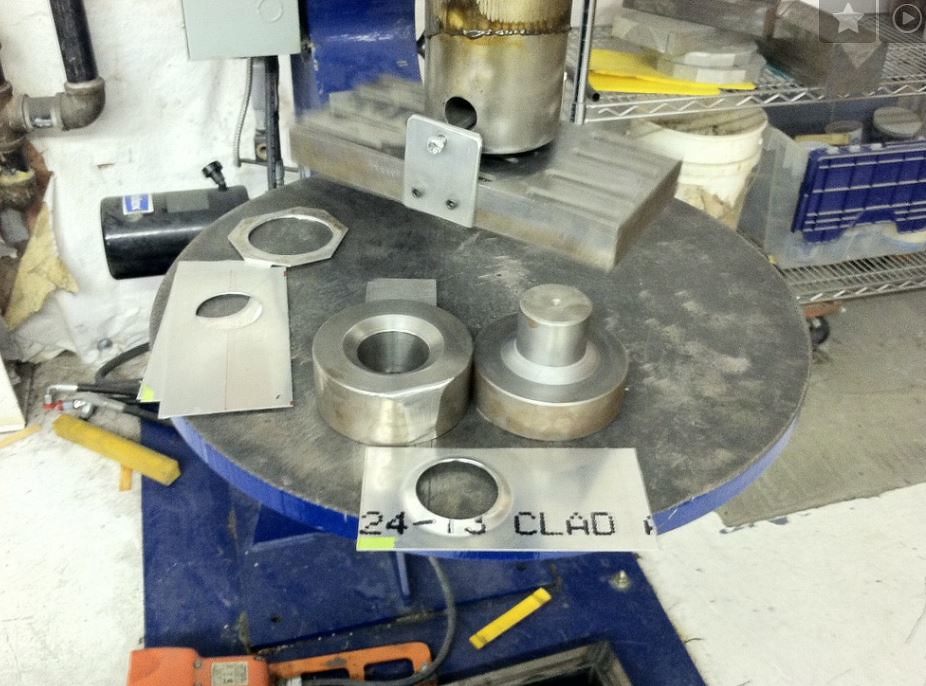
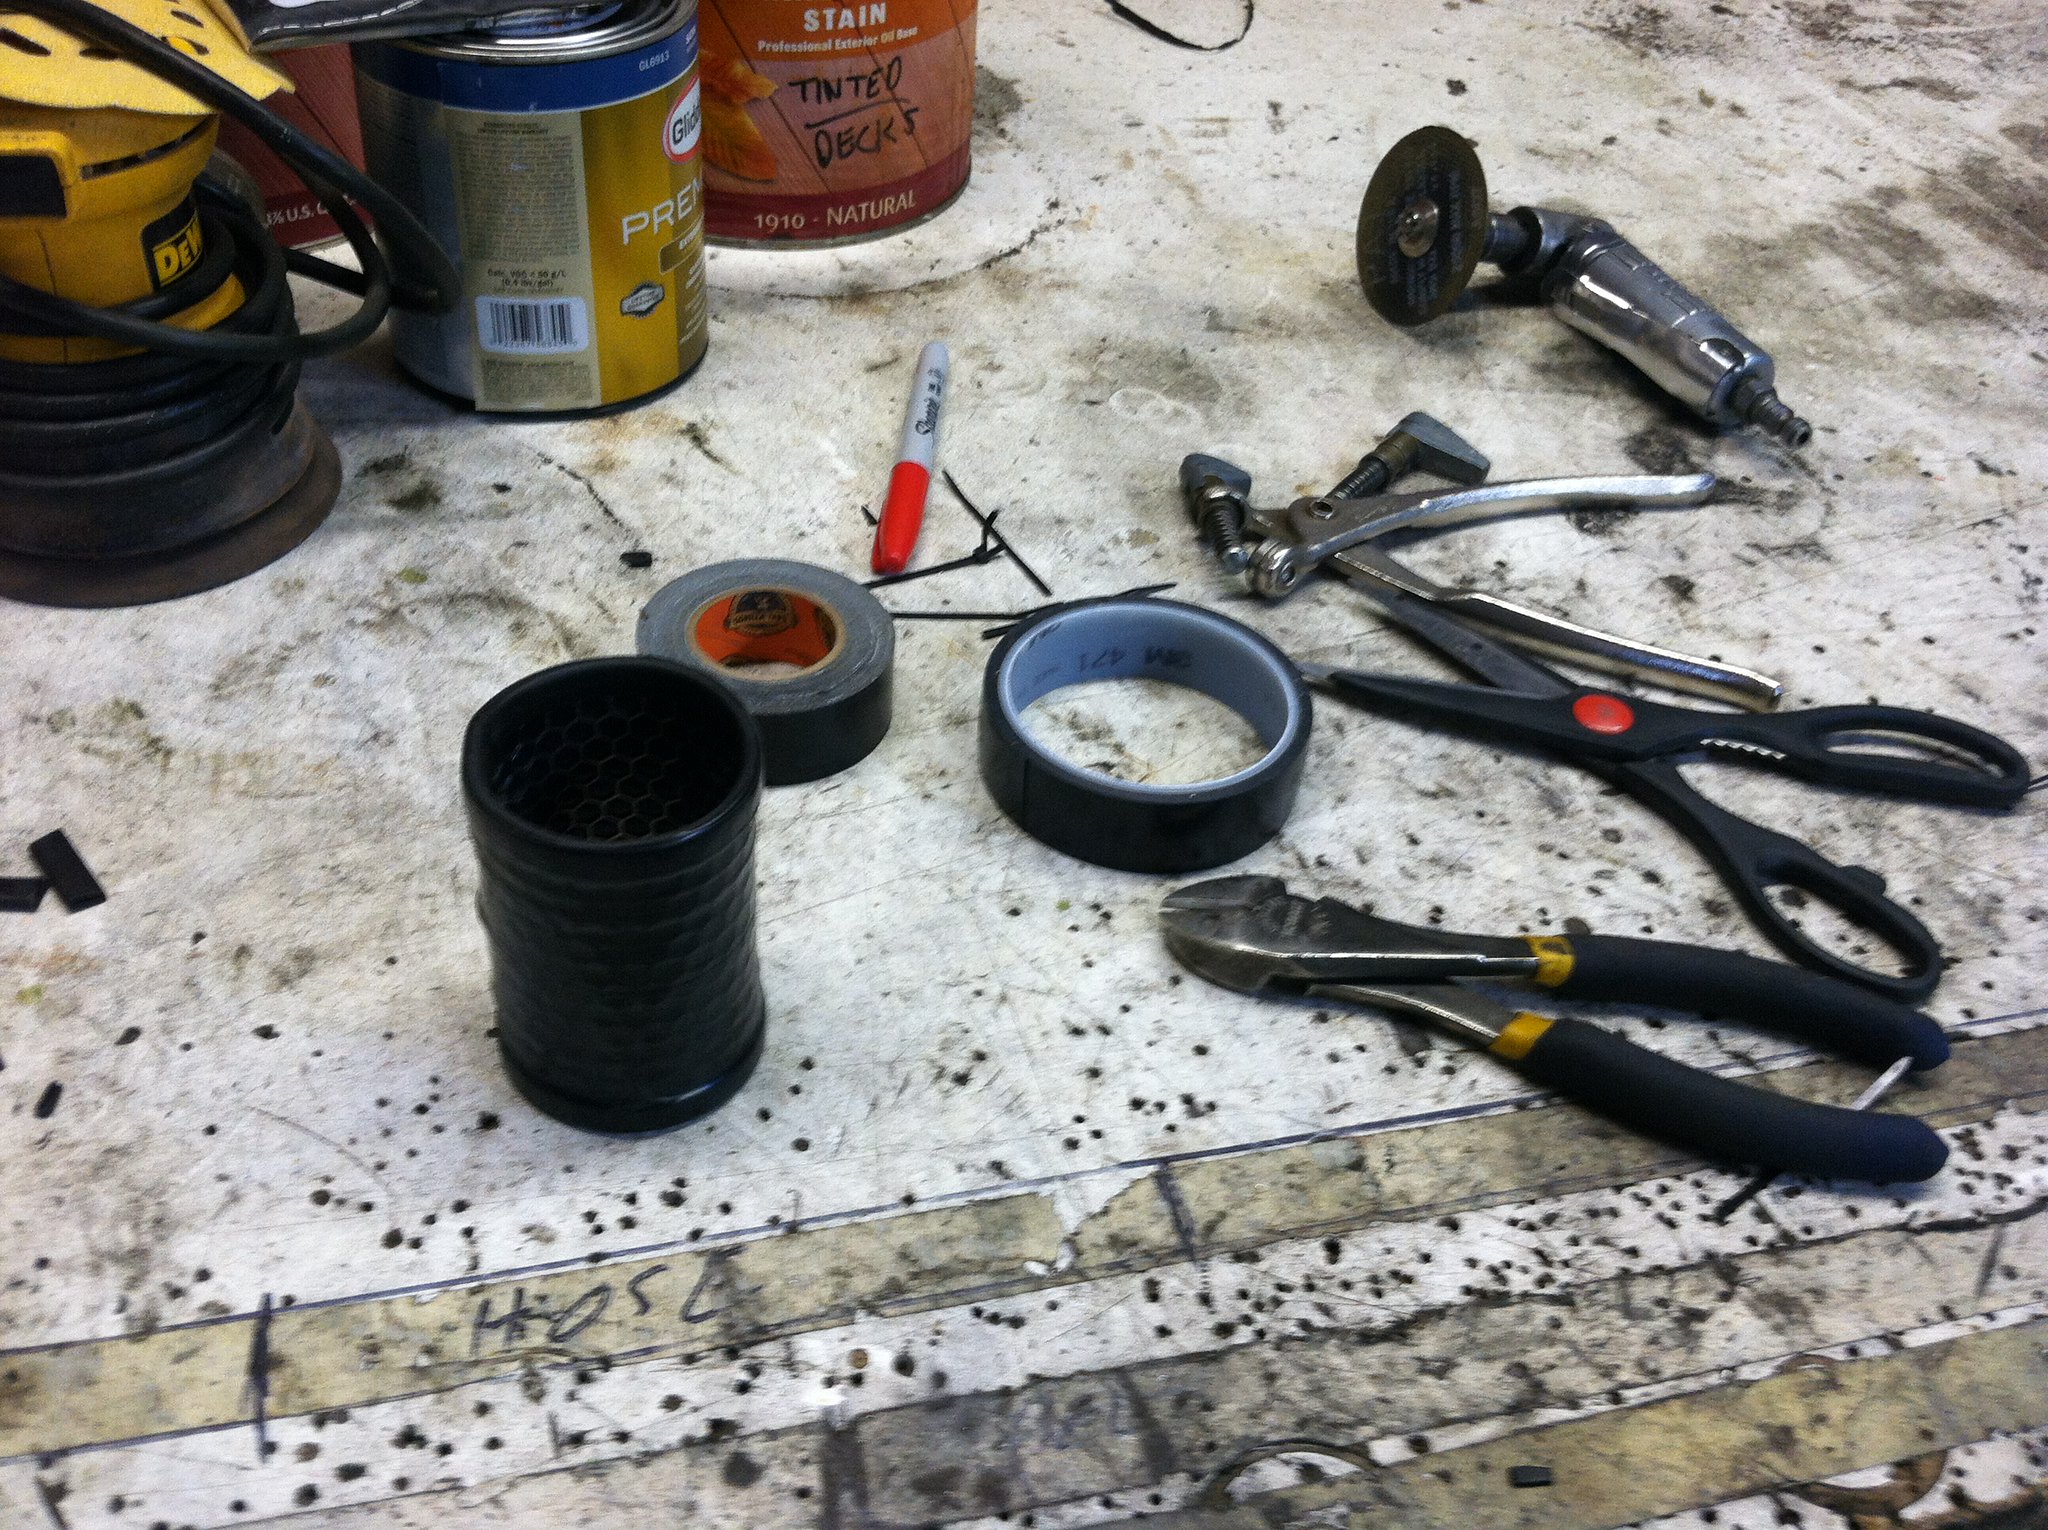
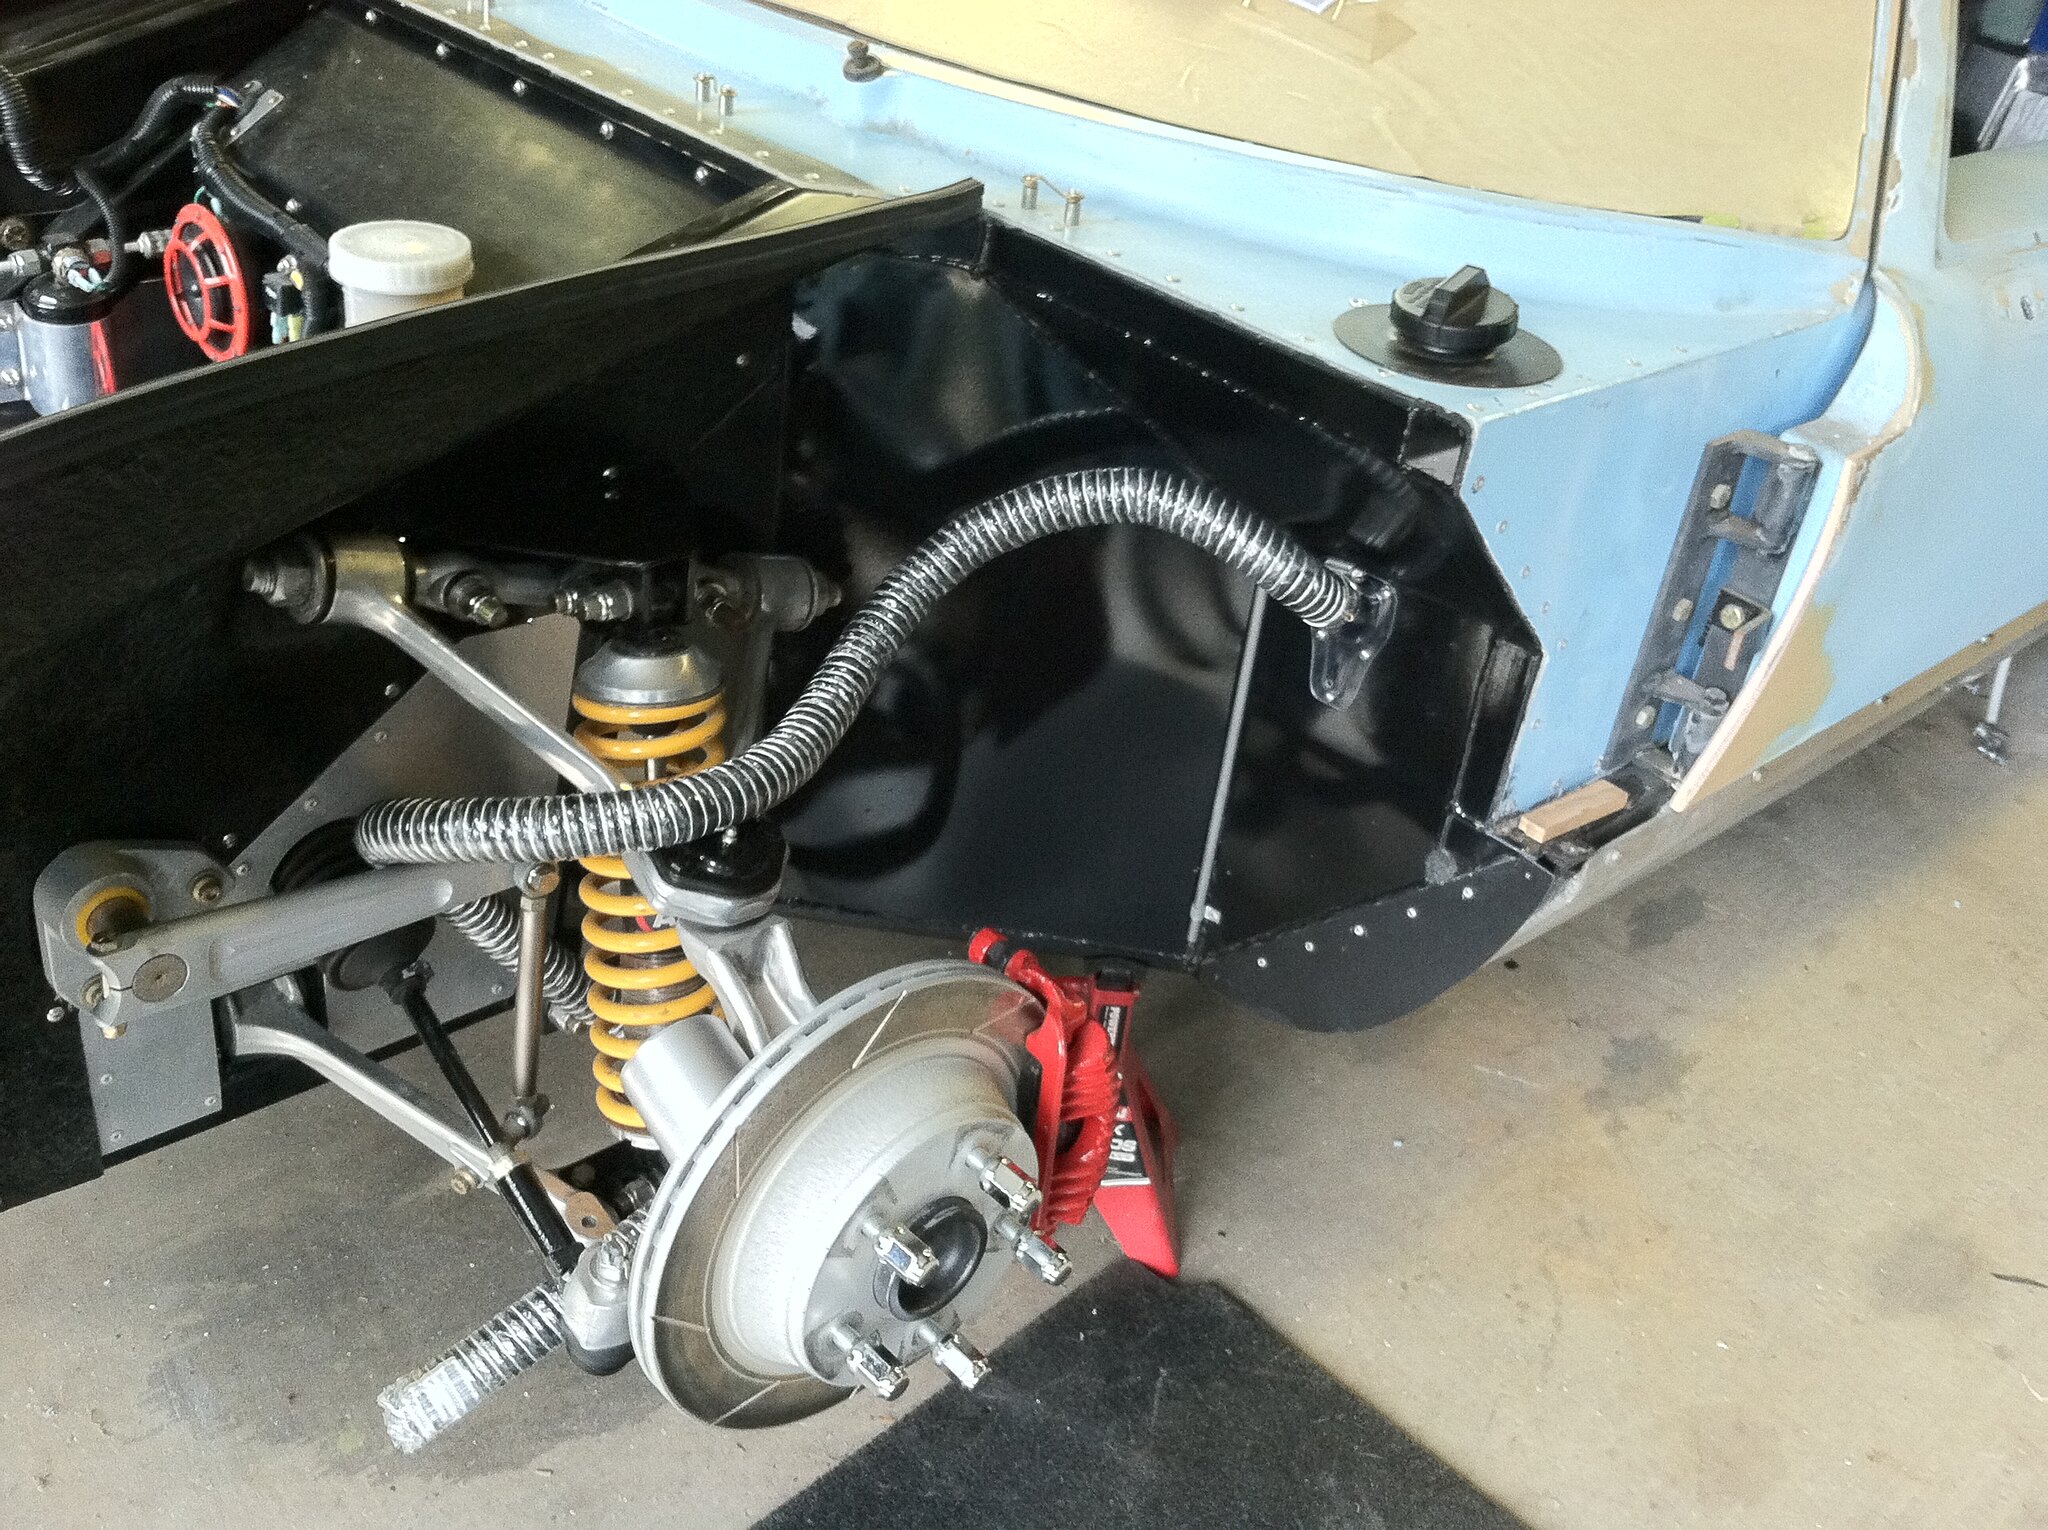
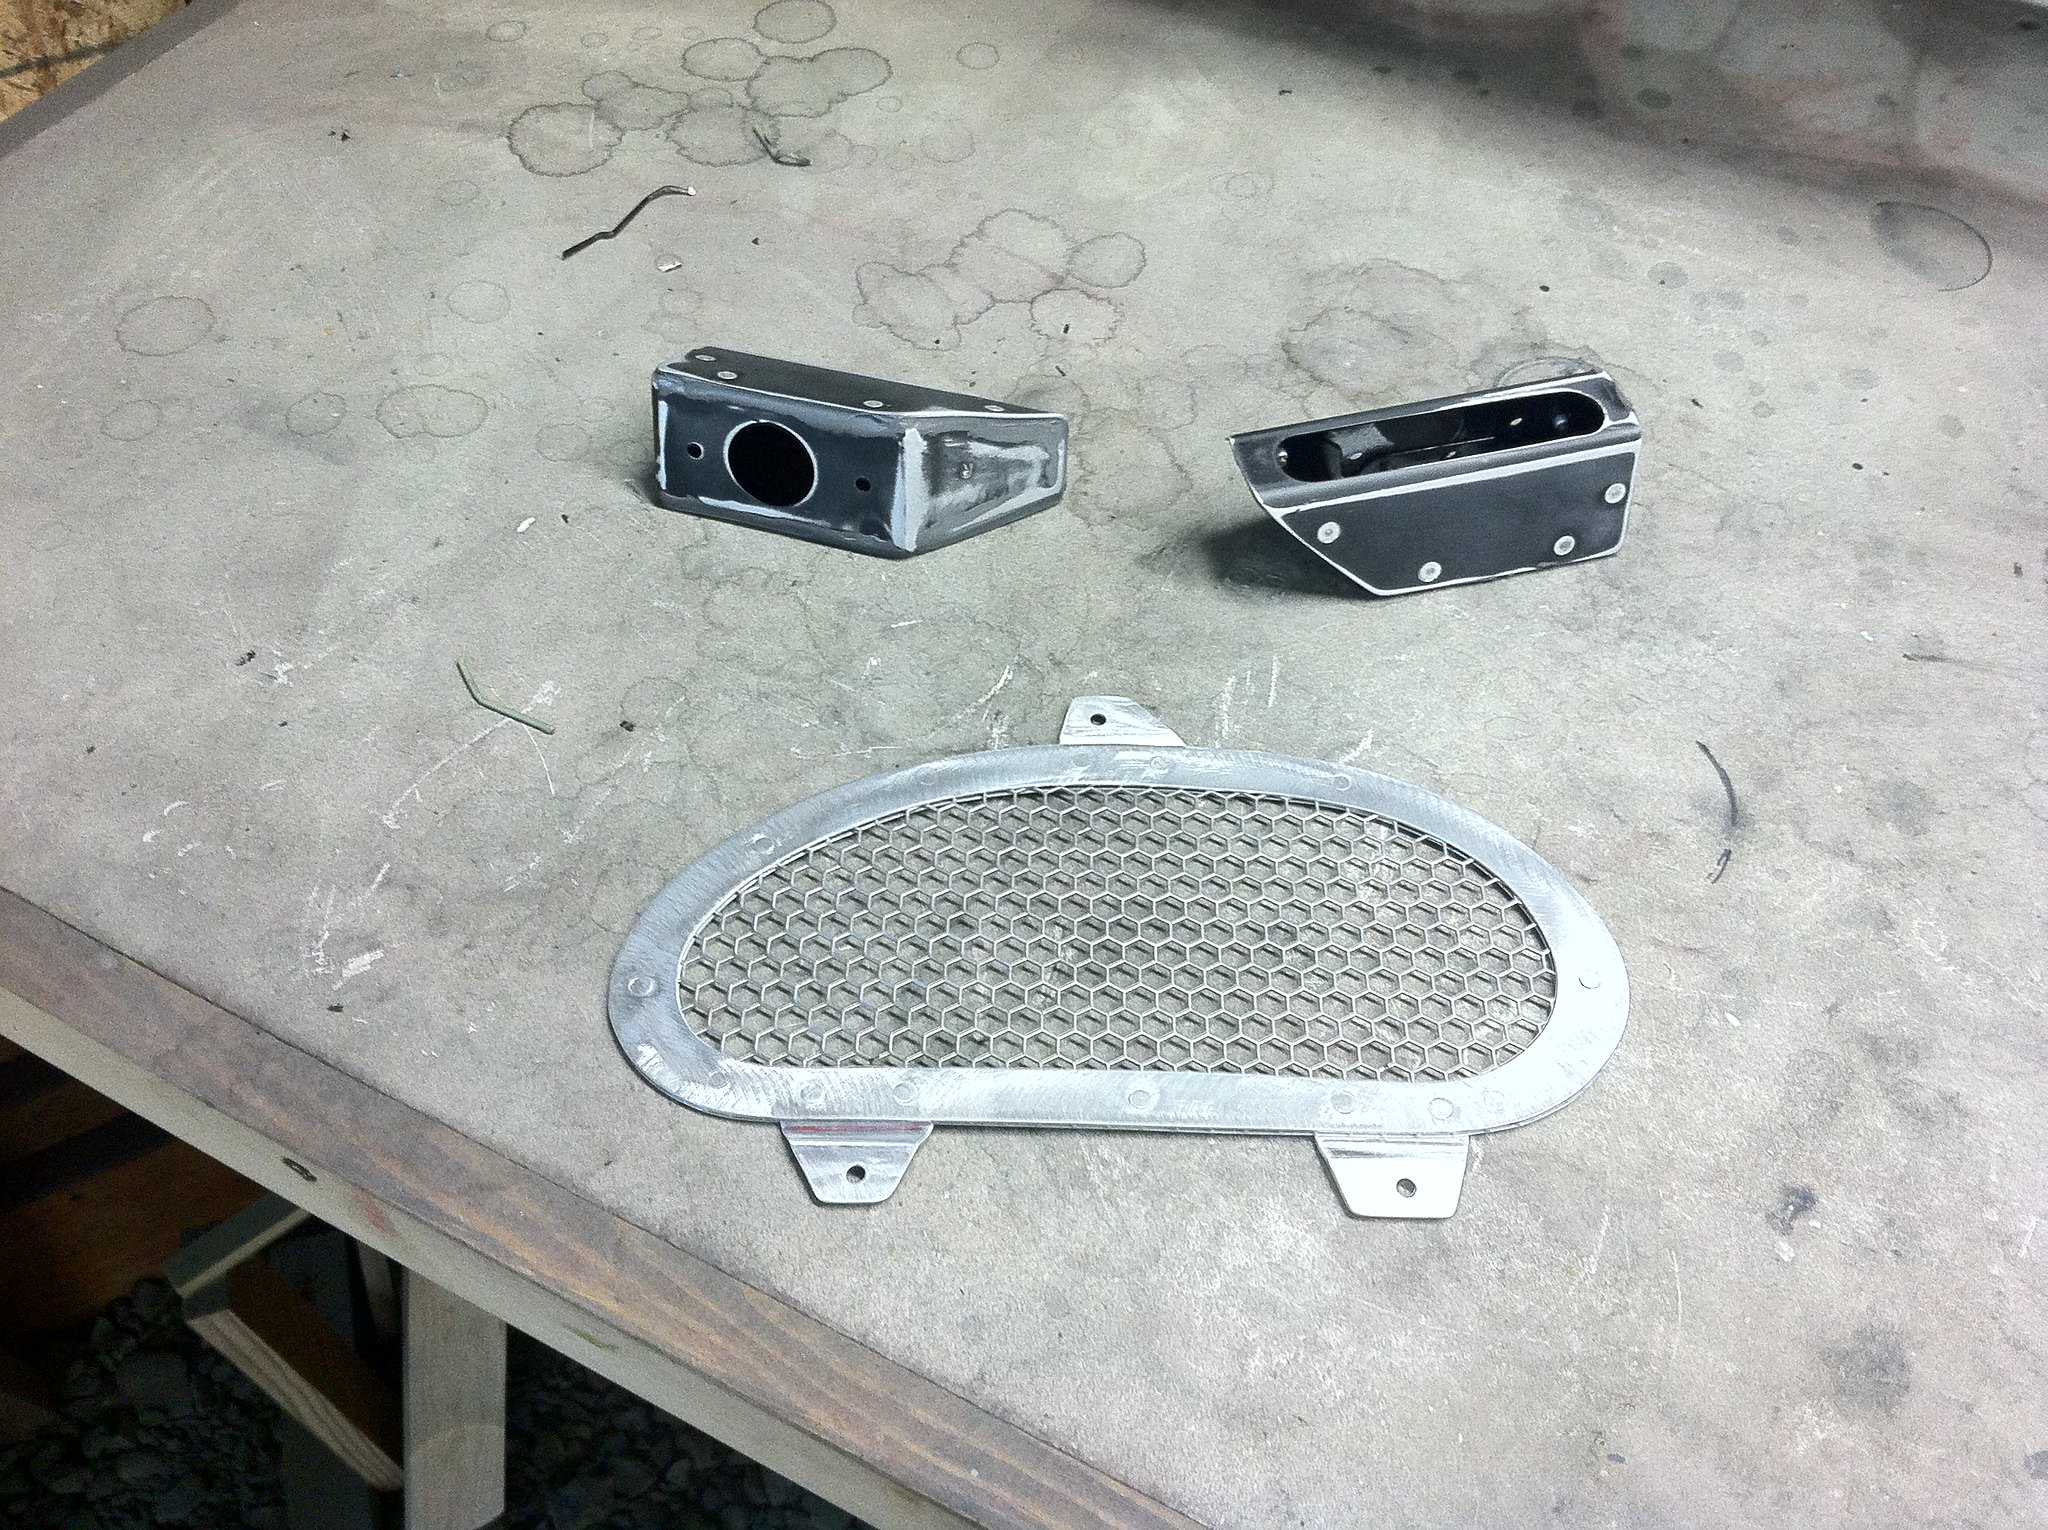
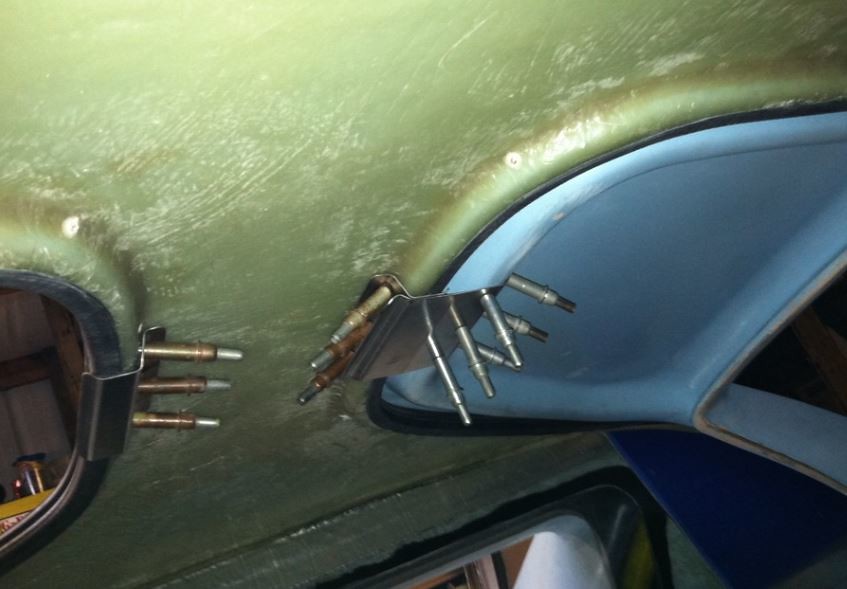
Spent time fabbing front tow hooks and grille panel. Looked at a number of grille options on the blogs/gallery....my preference is for a grille that "seals " the front opening.
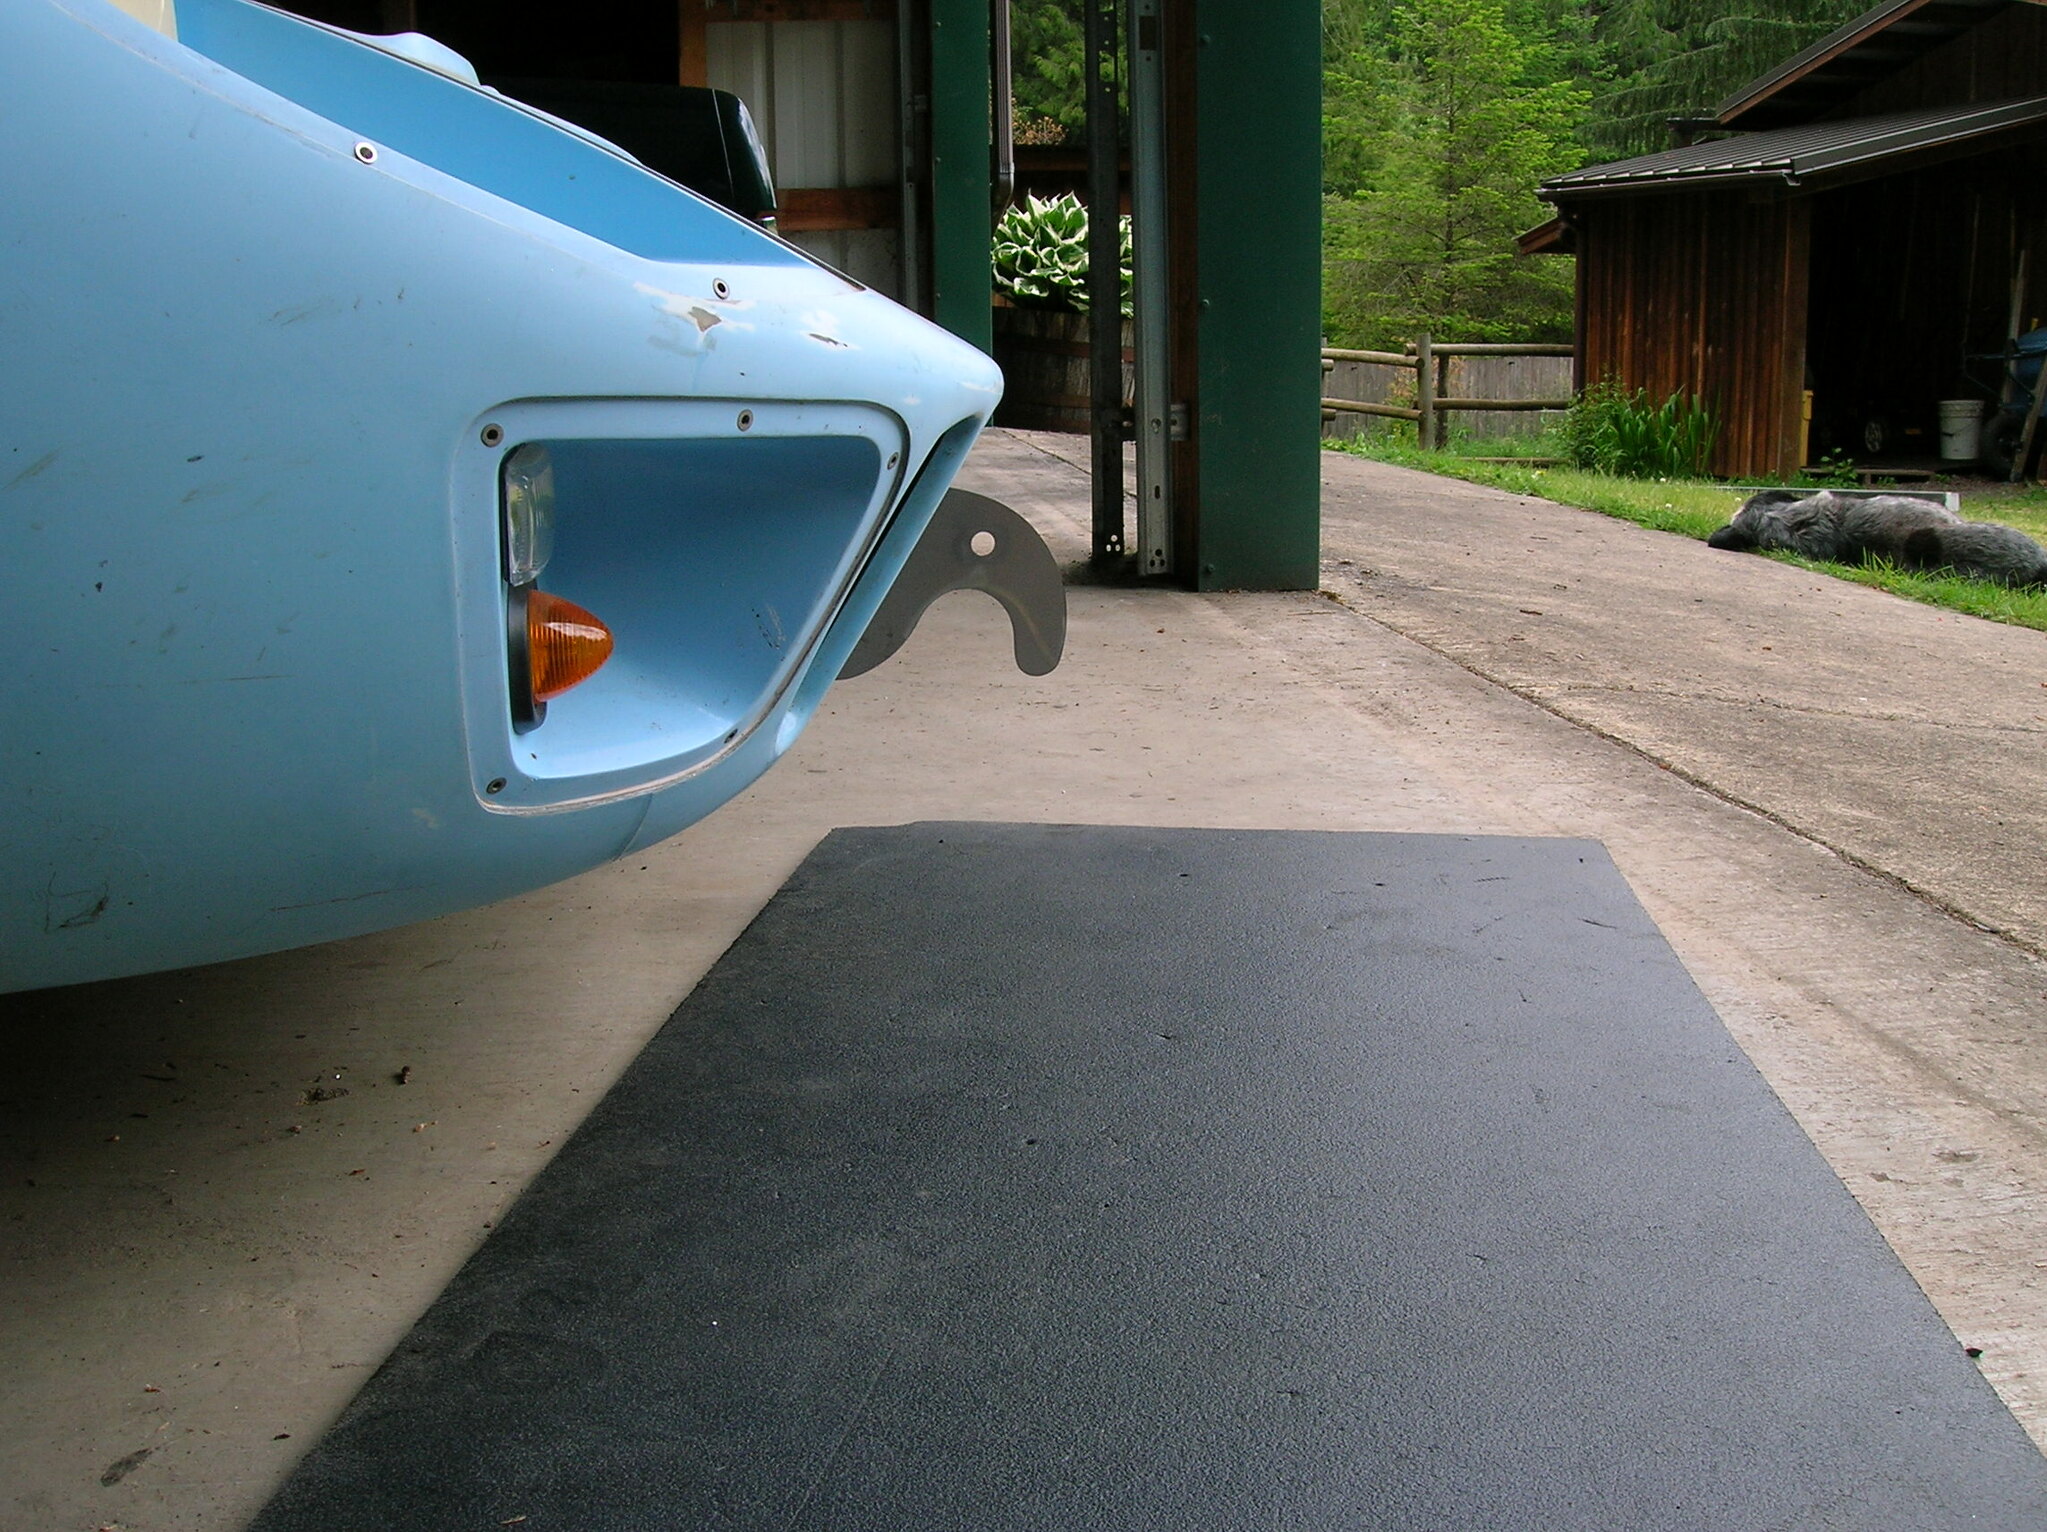
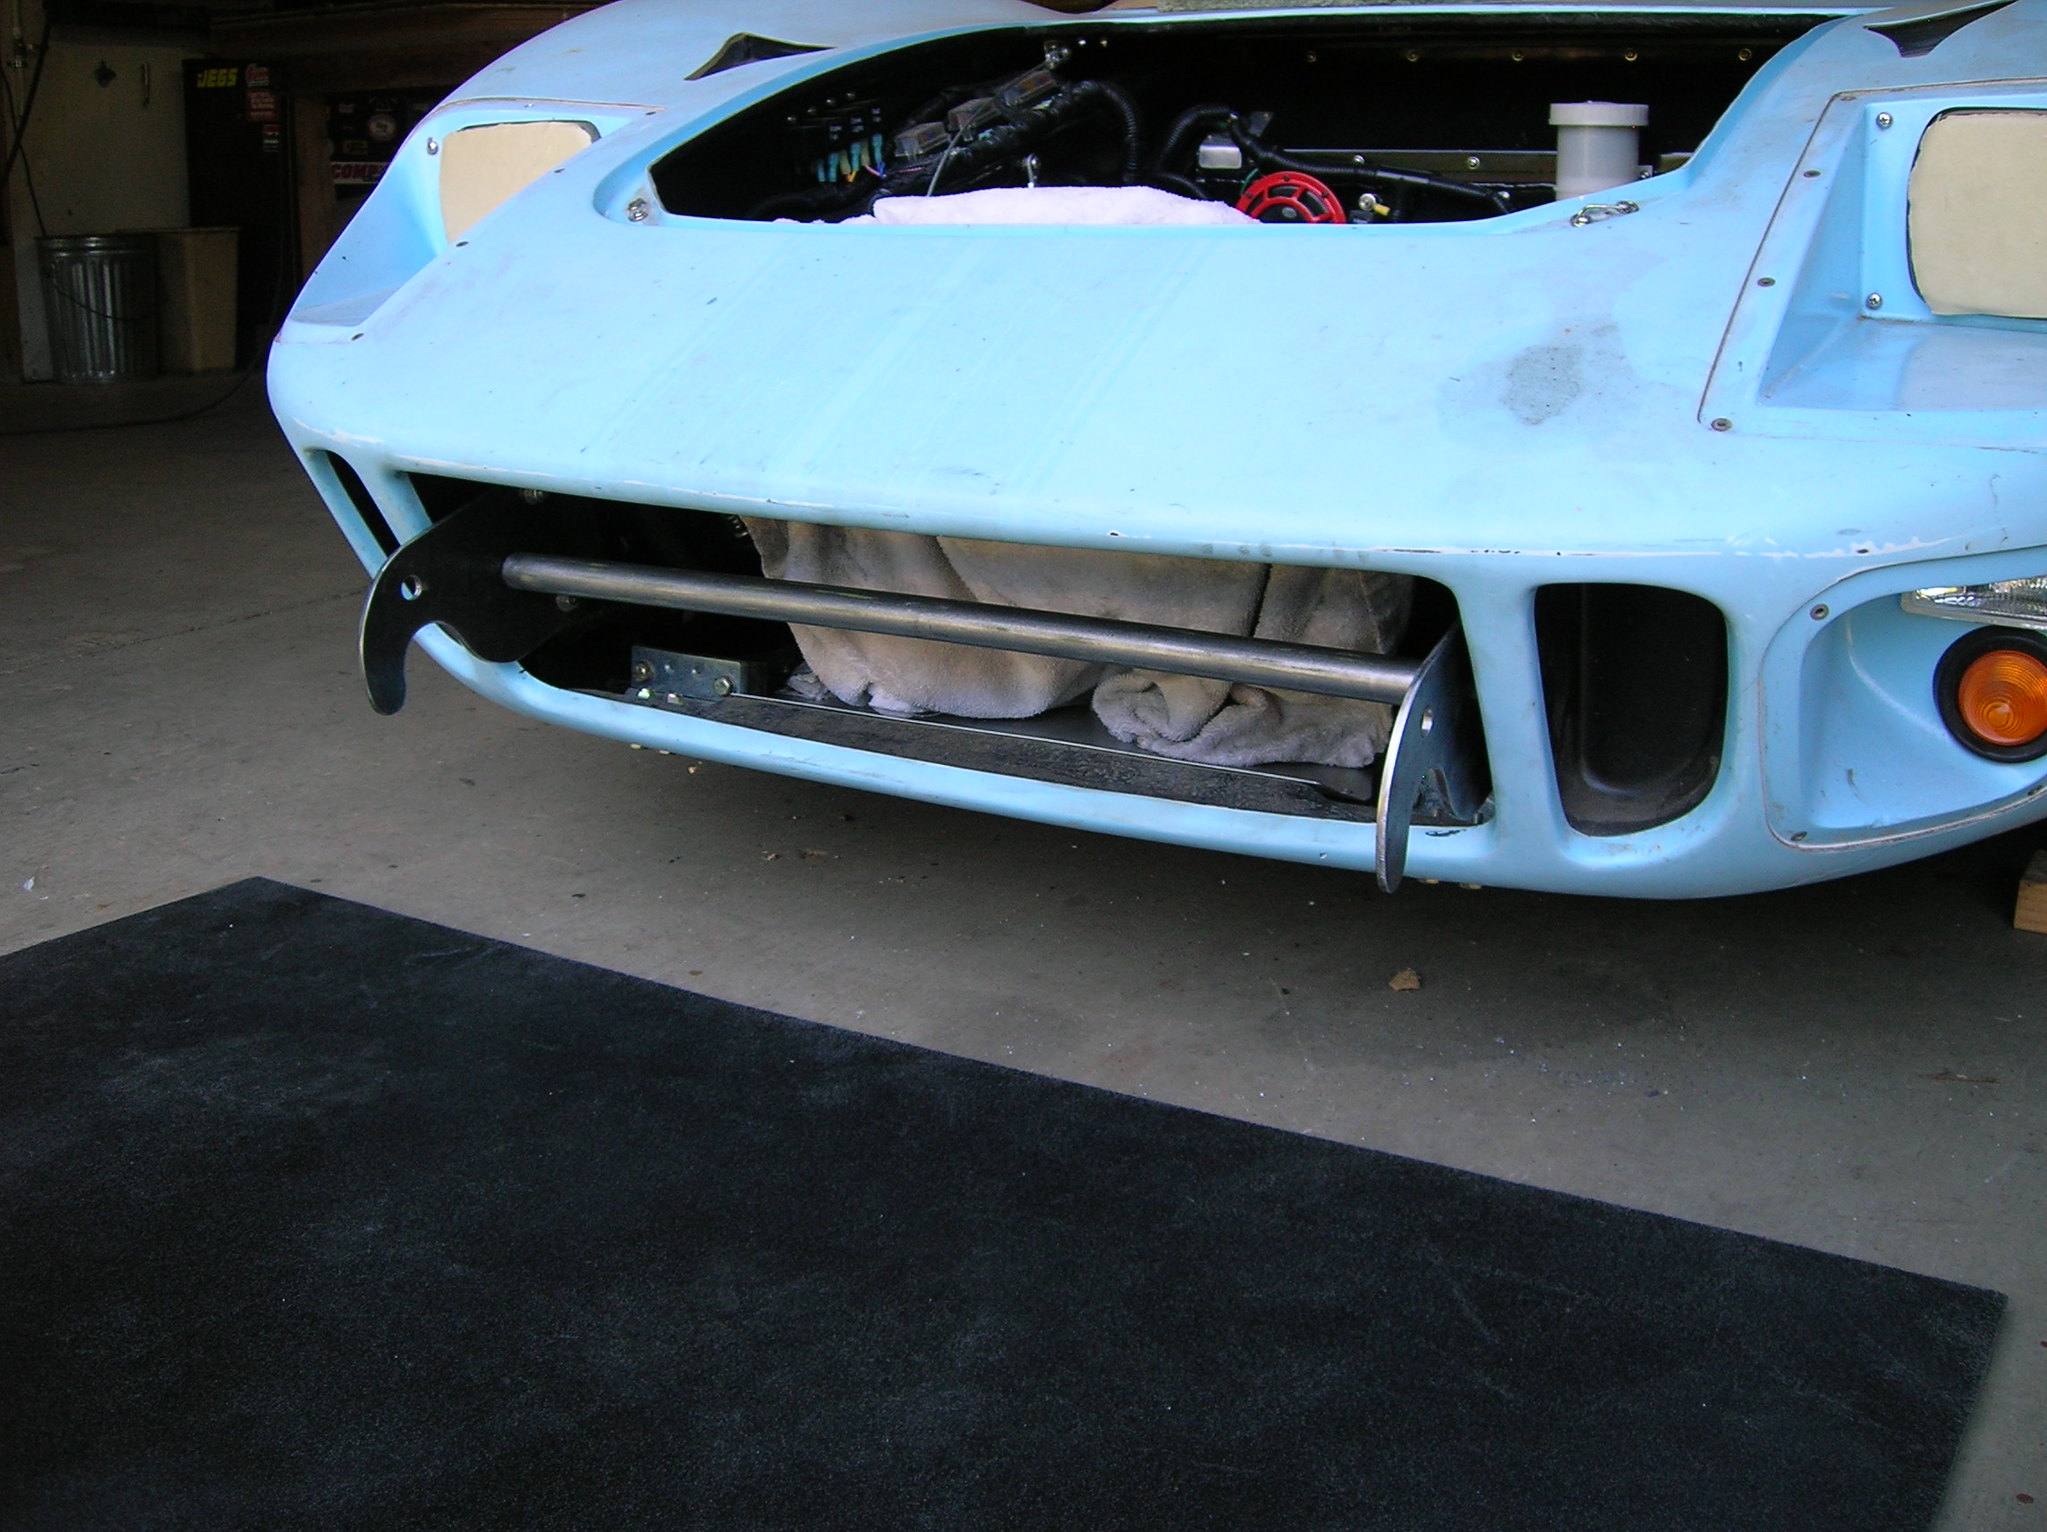
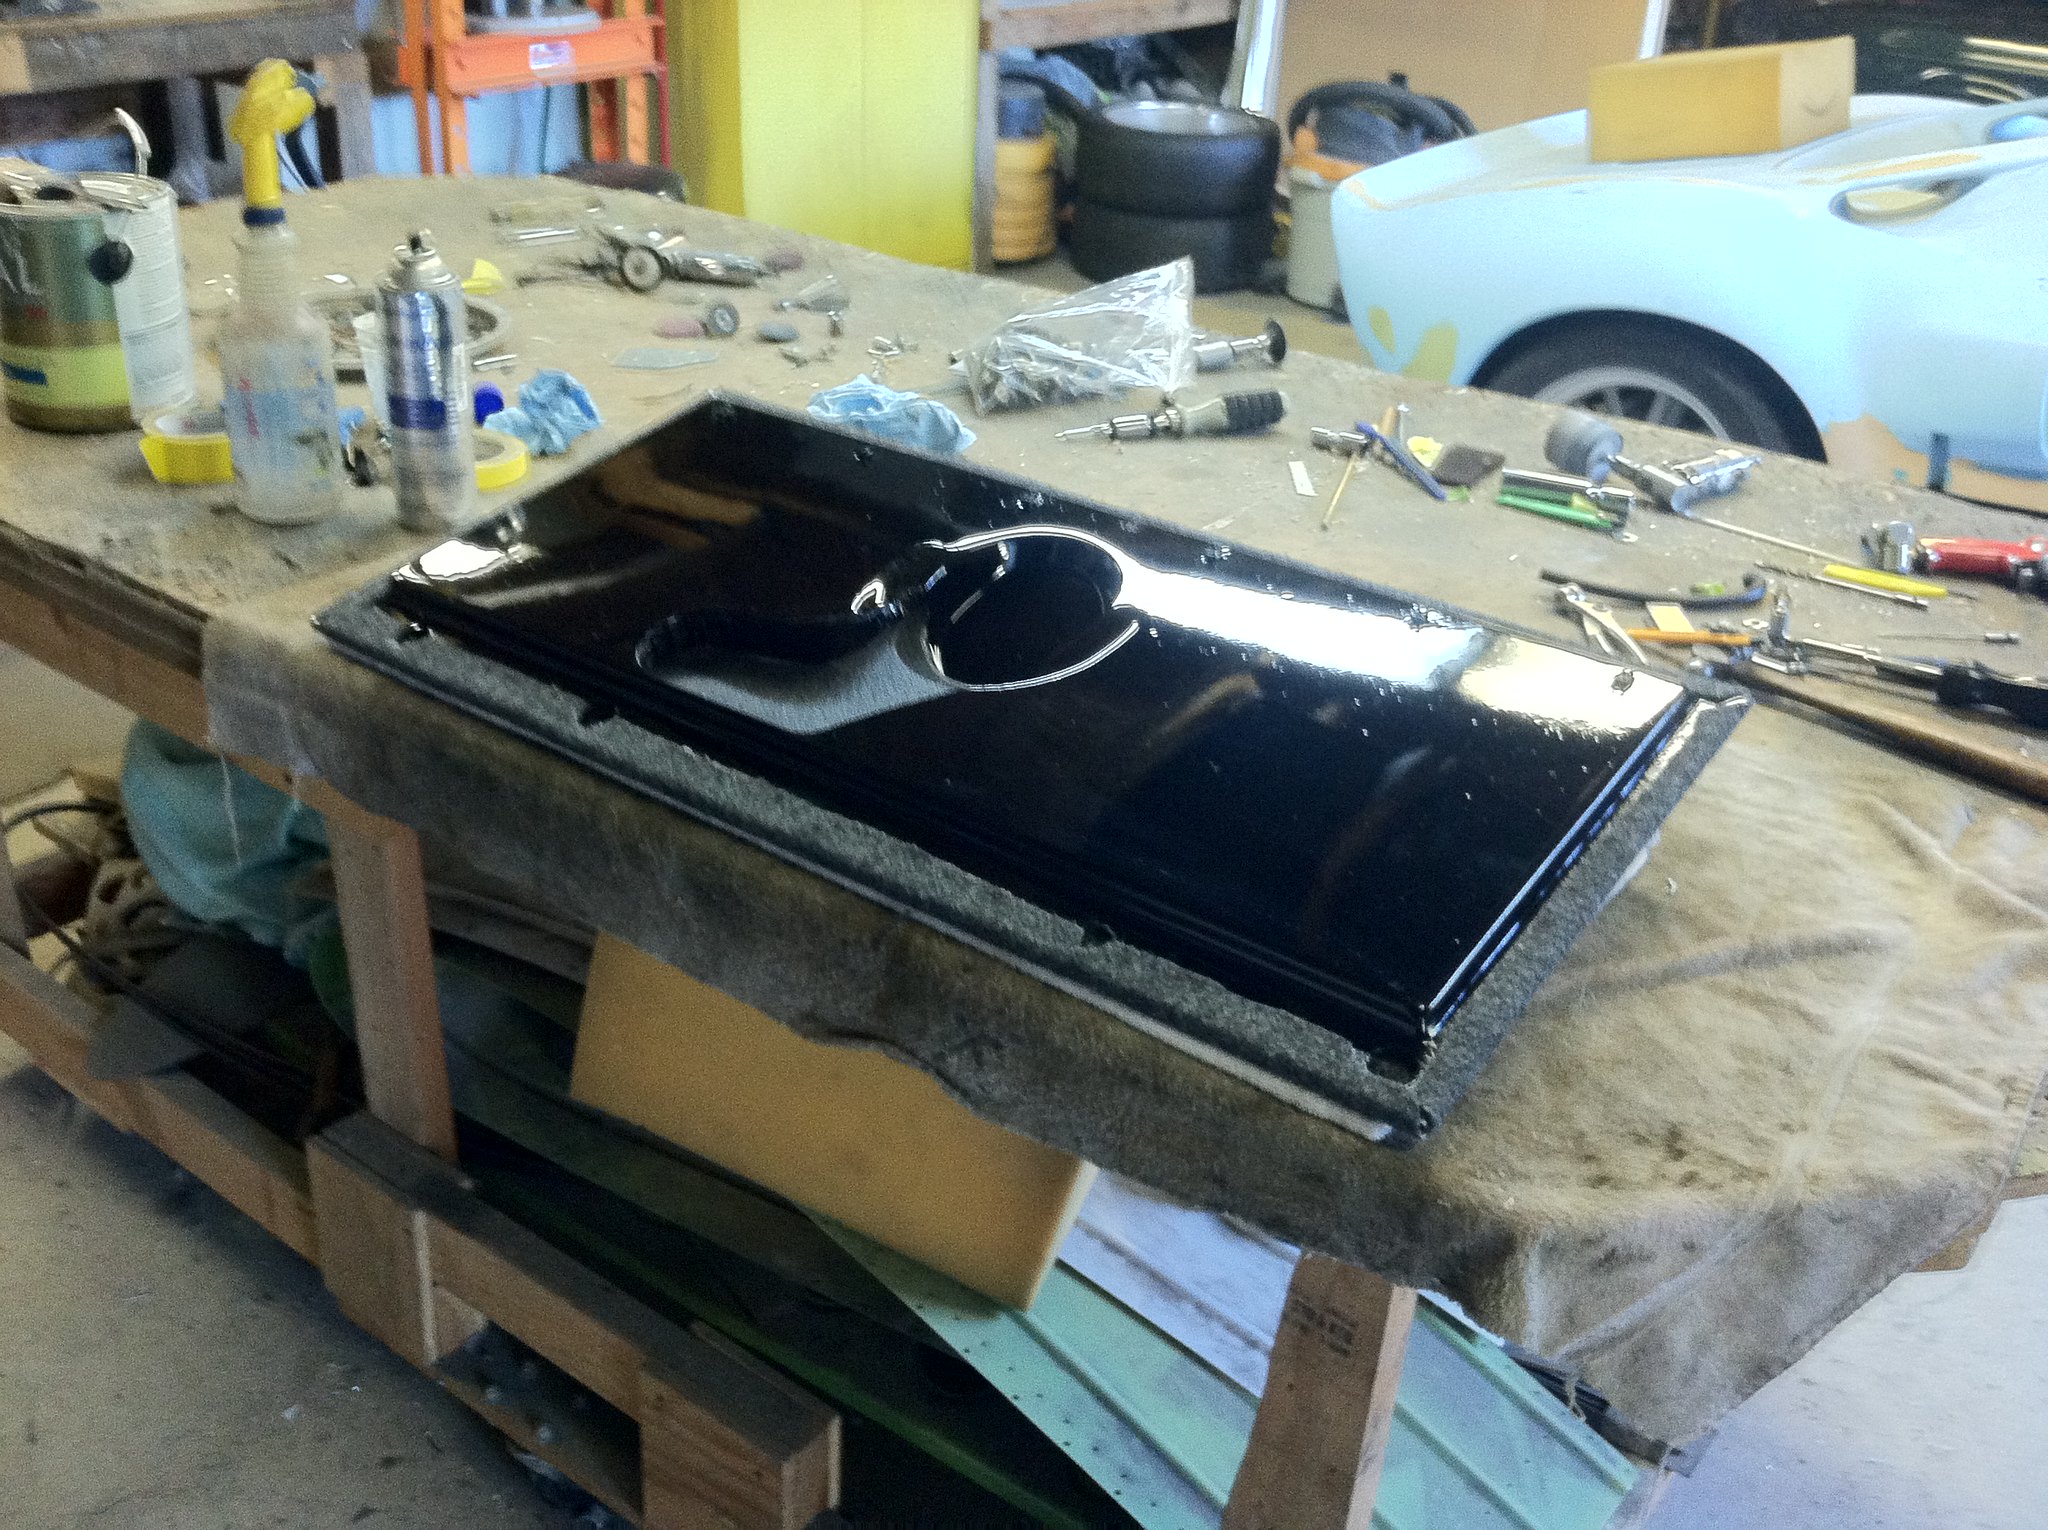
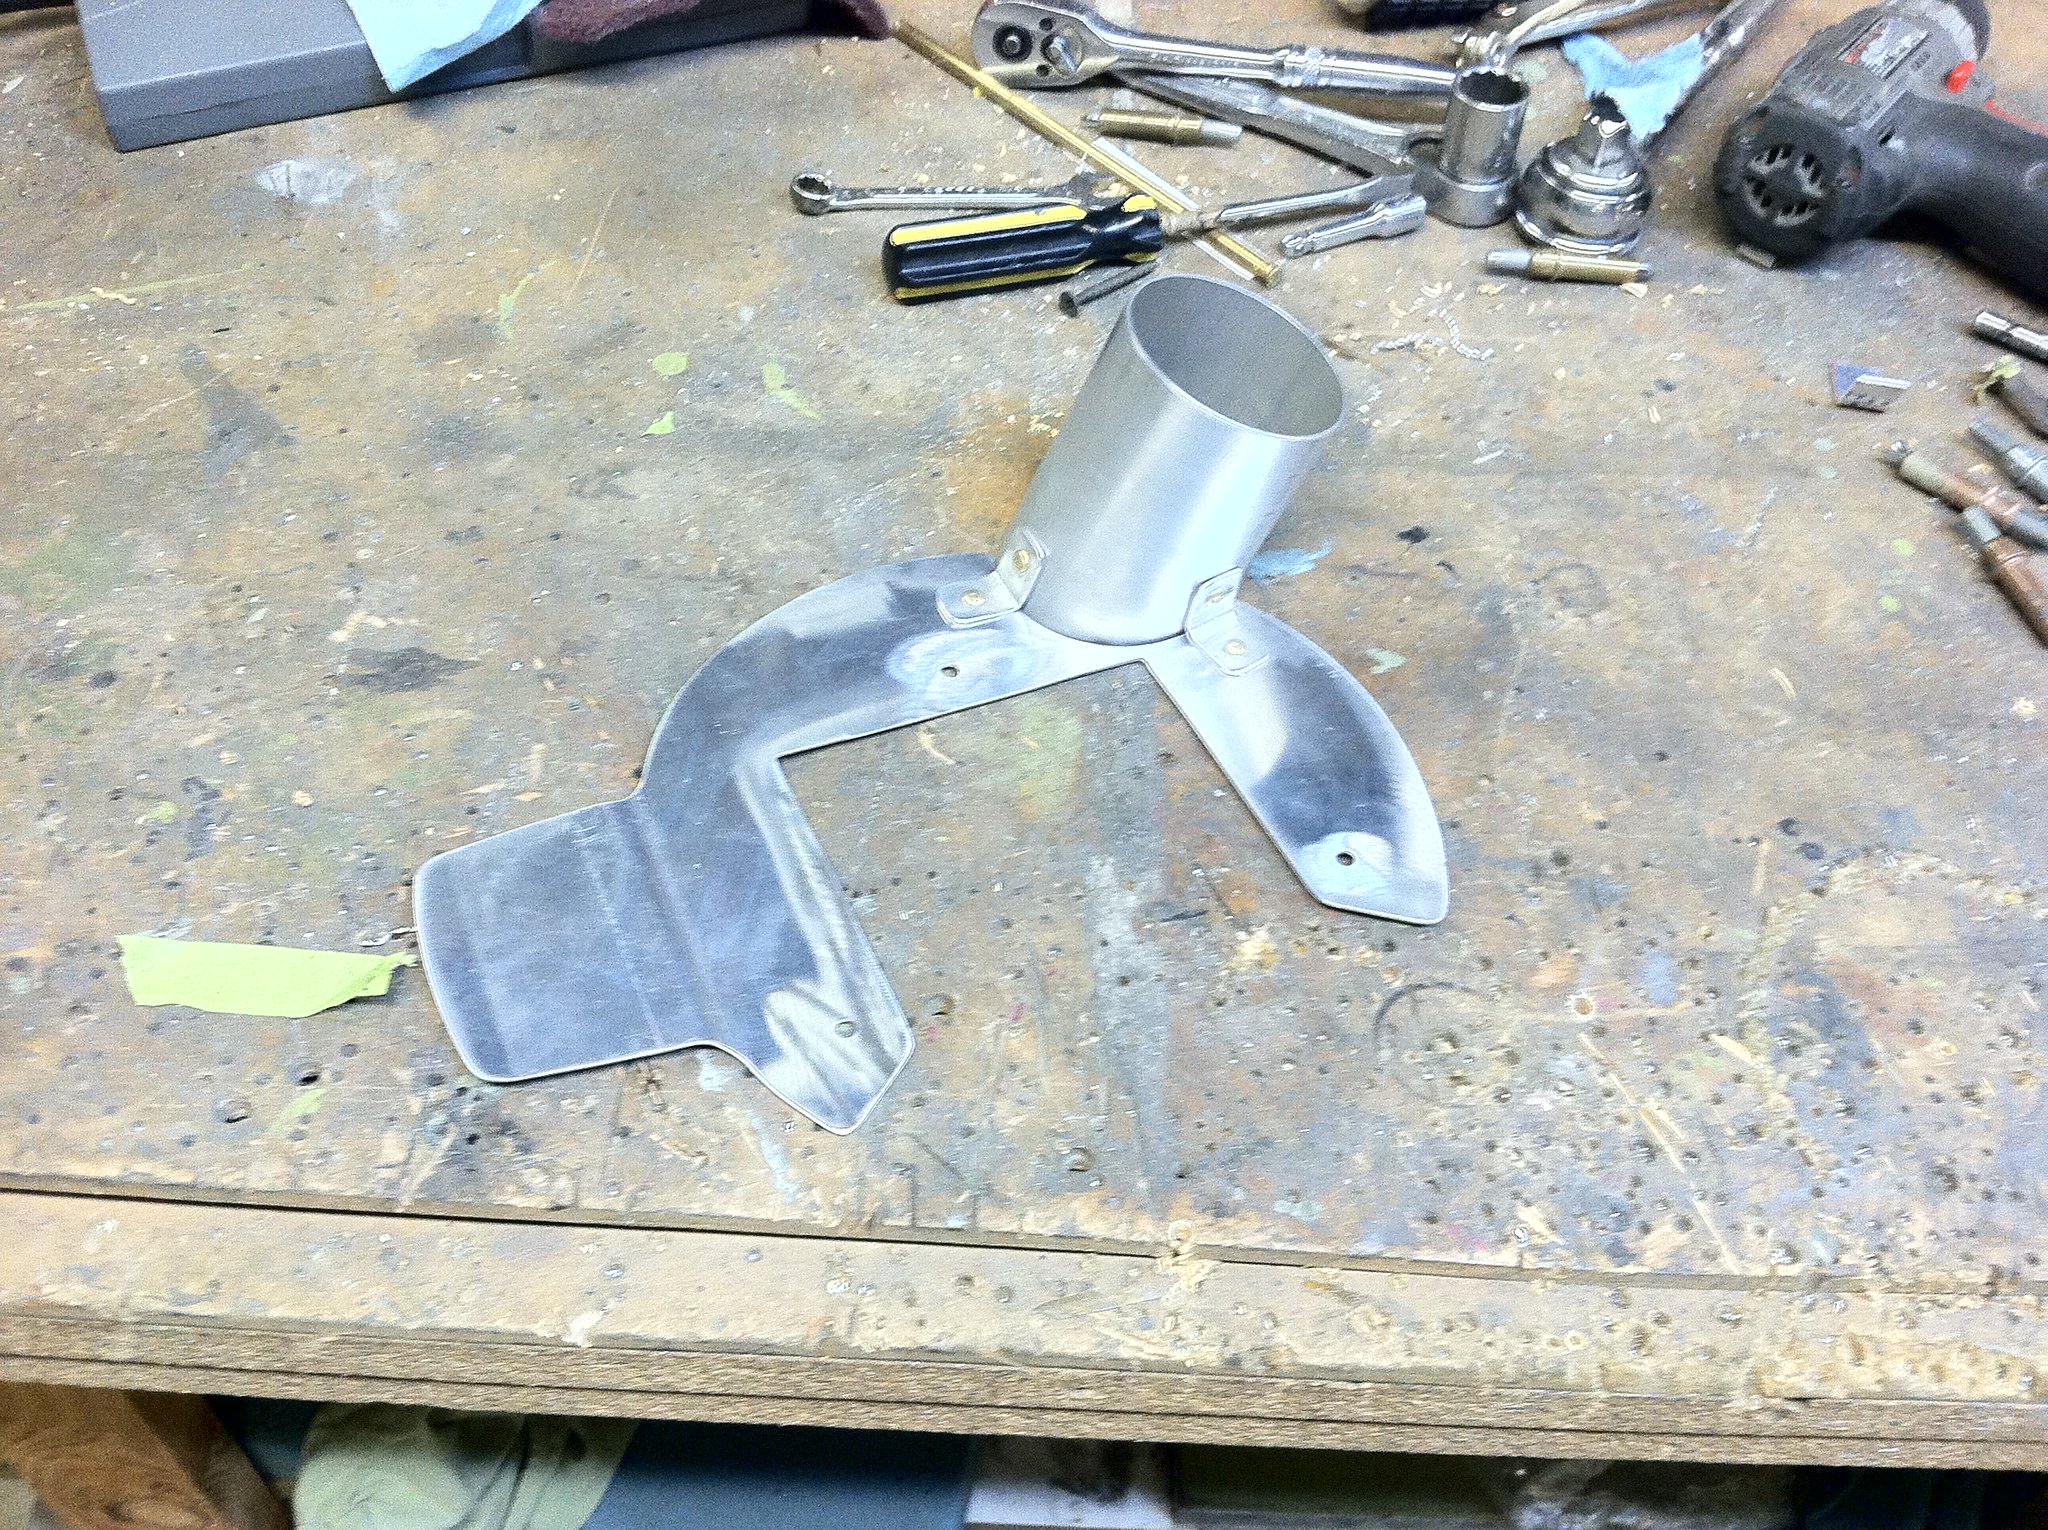
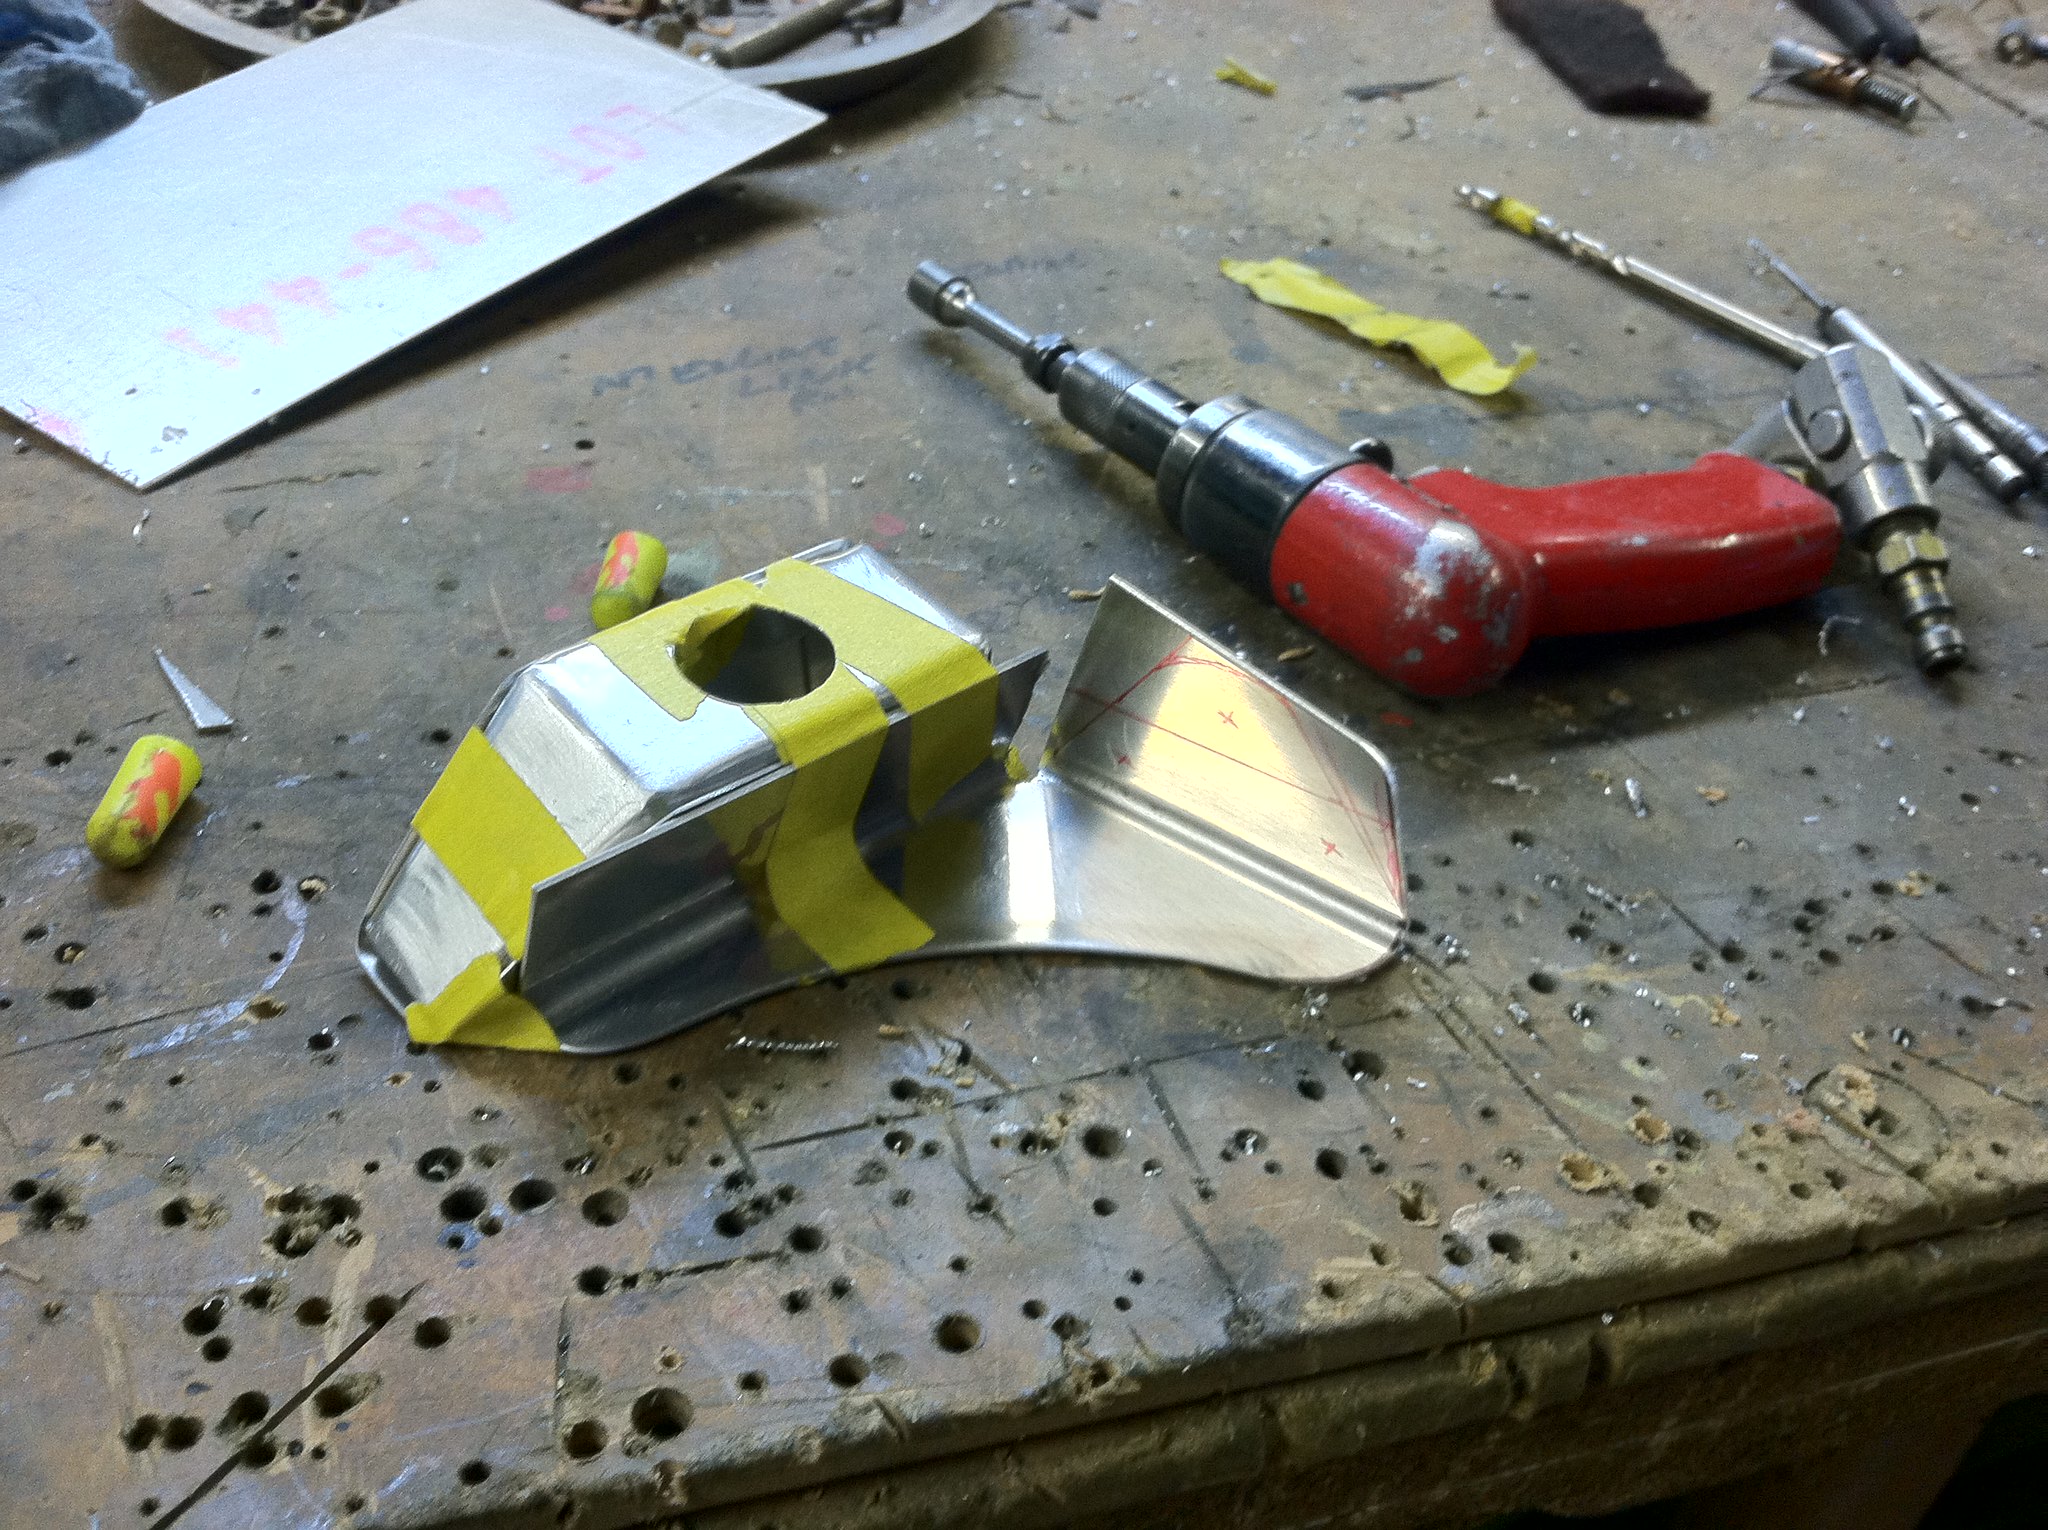
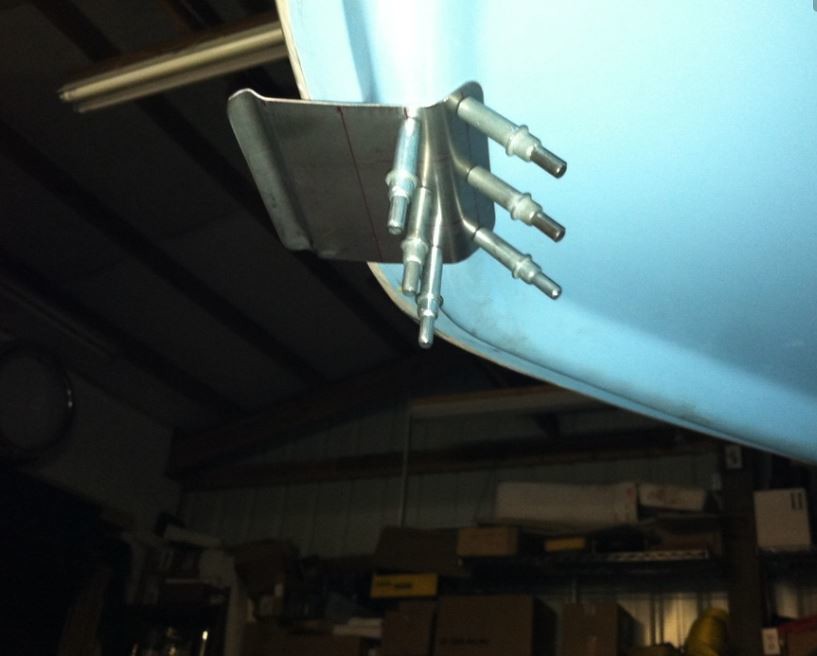
Tow hooks first...Using some steel plate and angle...was pretty easy build to fwd tube frame. Aluminum template first to get the hook look and position right.
 DSCN8833 - Copy by Mike Sirr, on Flickr
 DSCN8835 - Copy by Mike Sirr, on Flickr
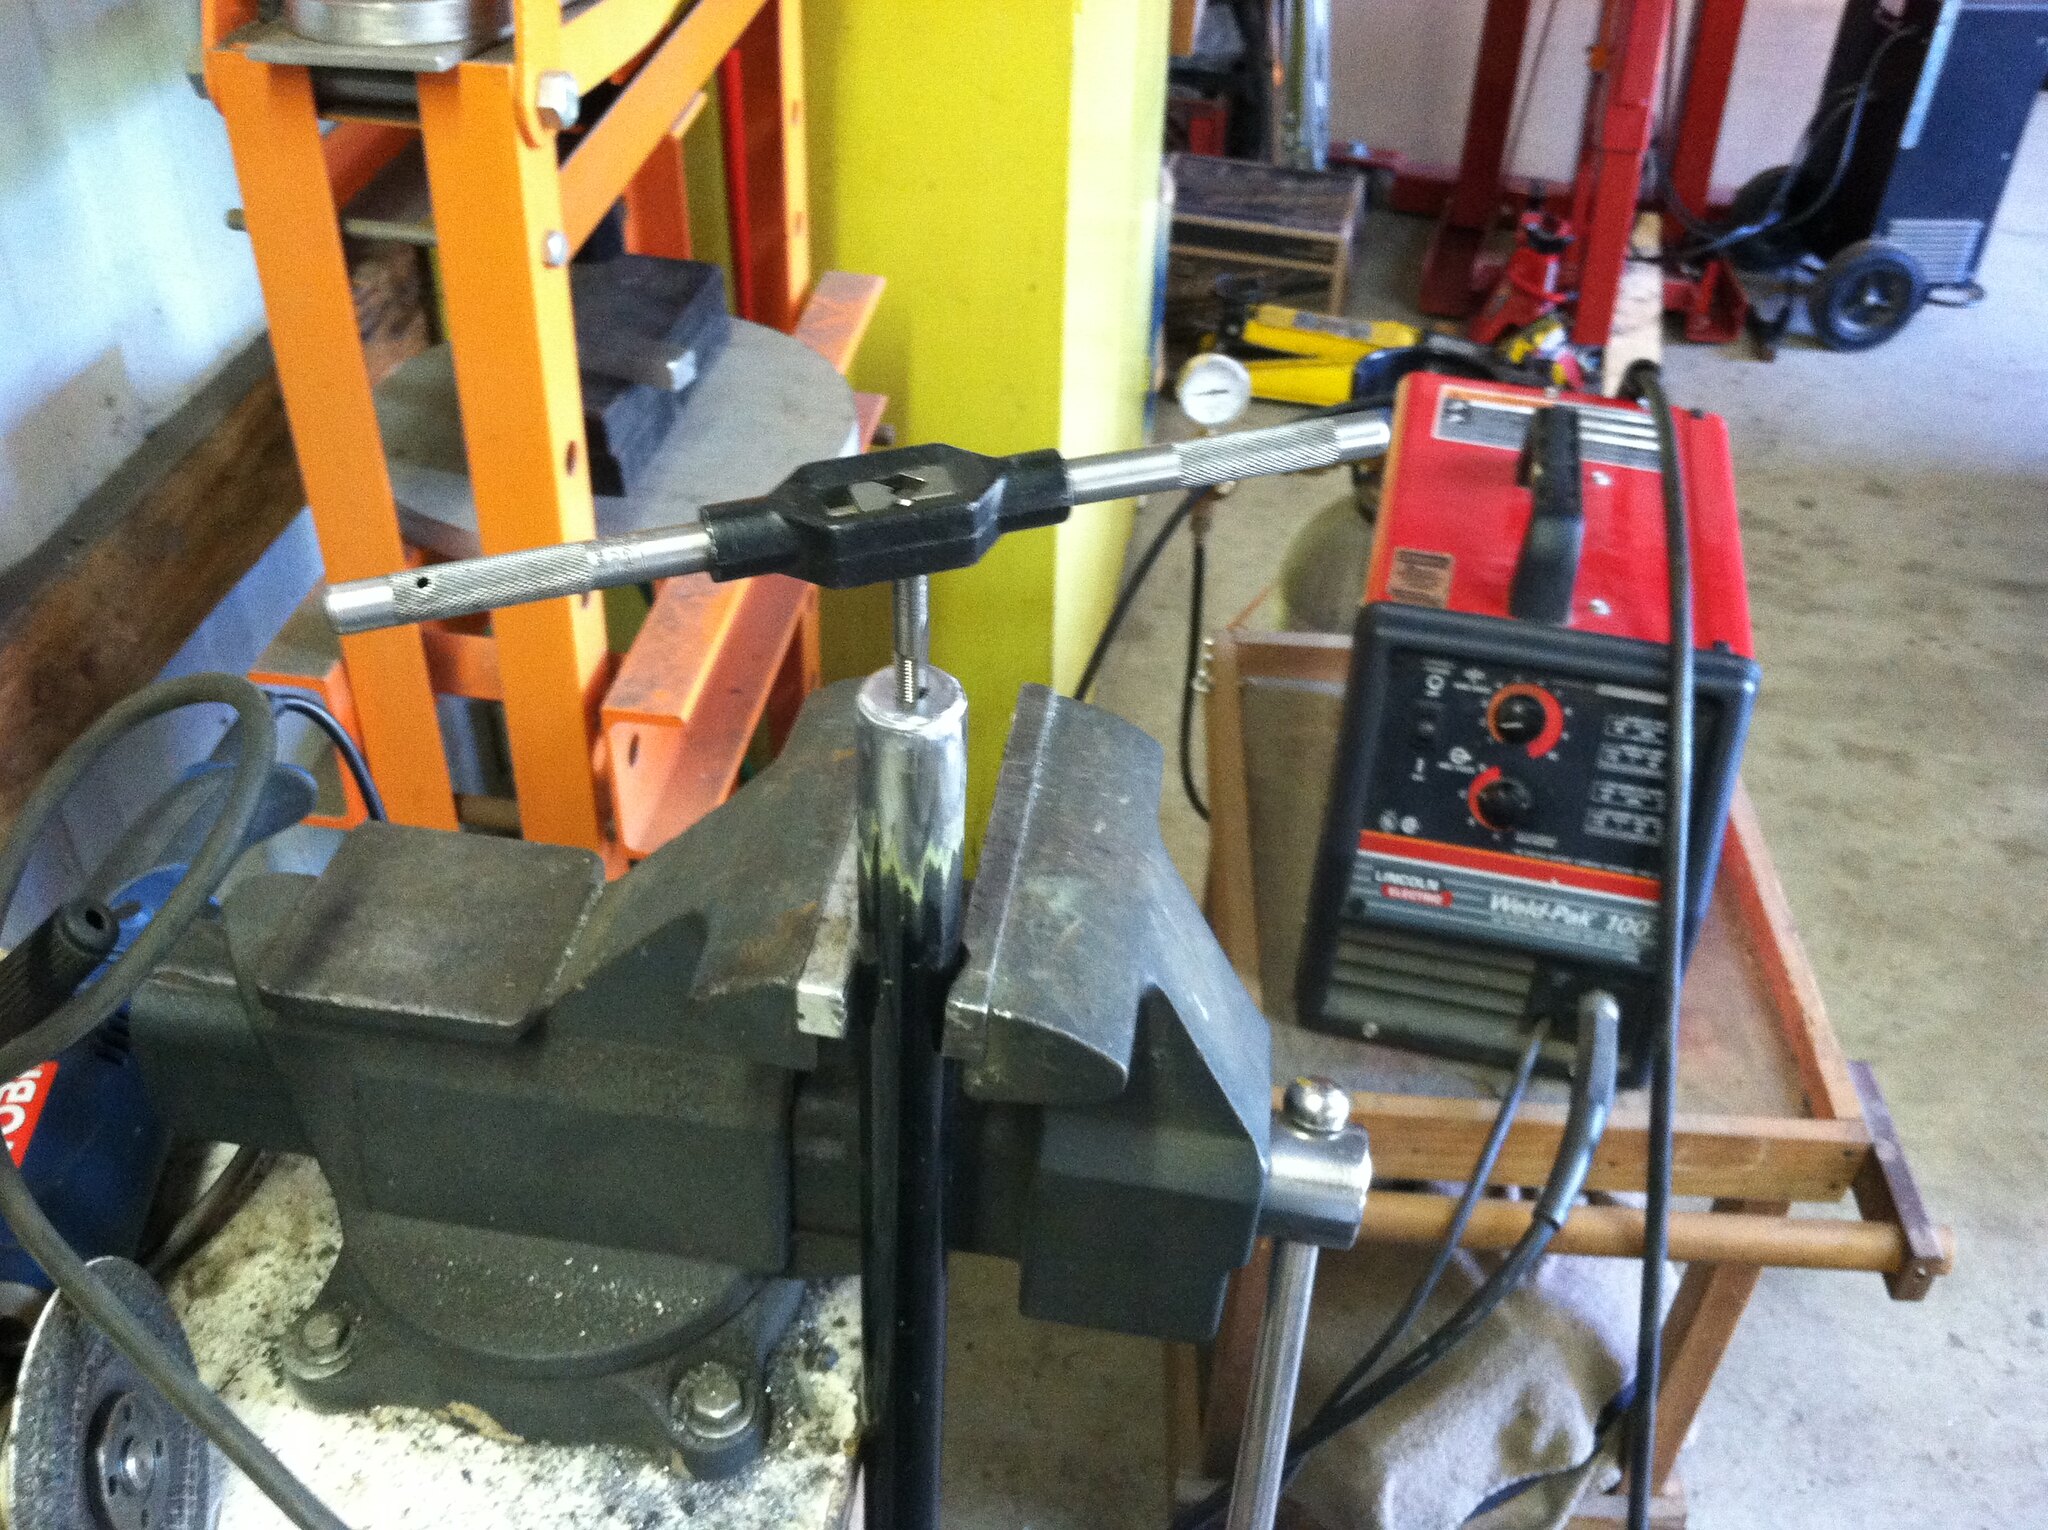
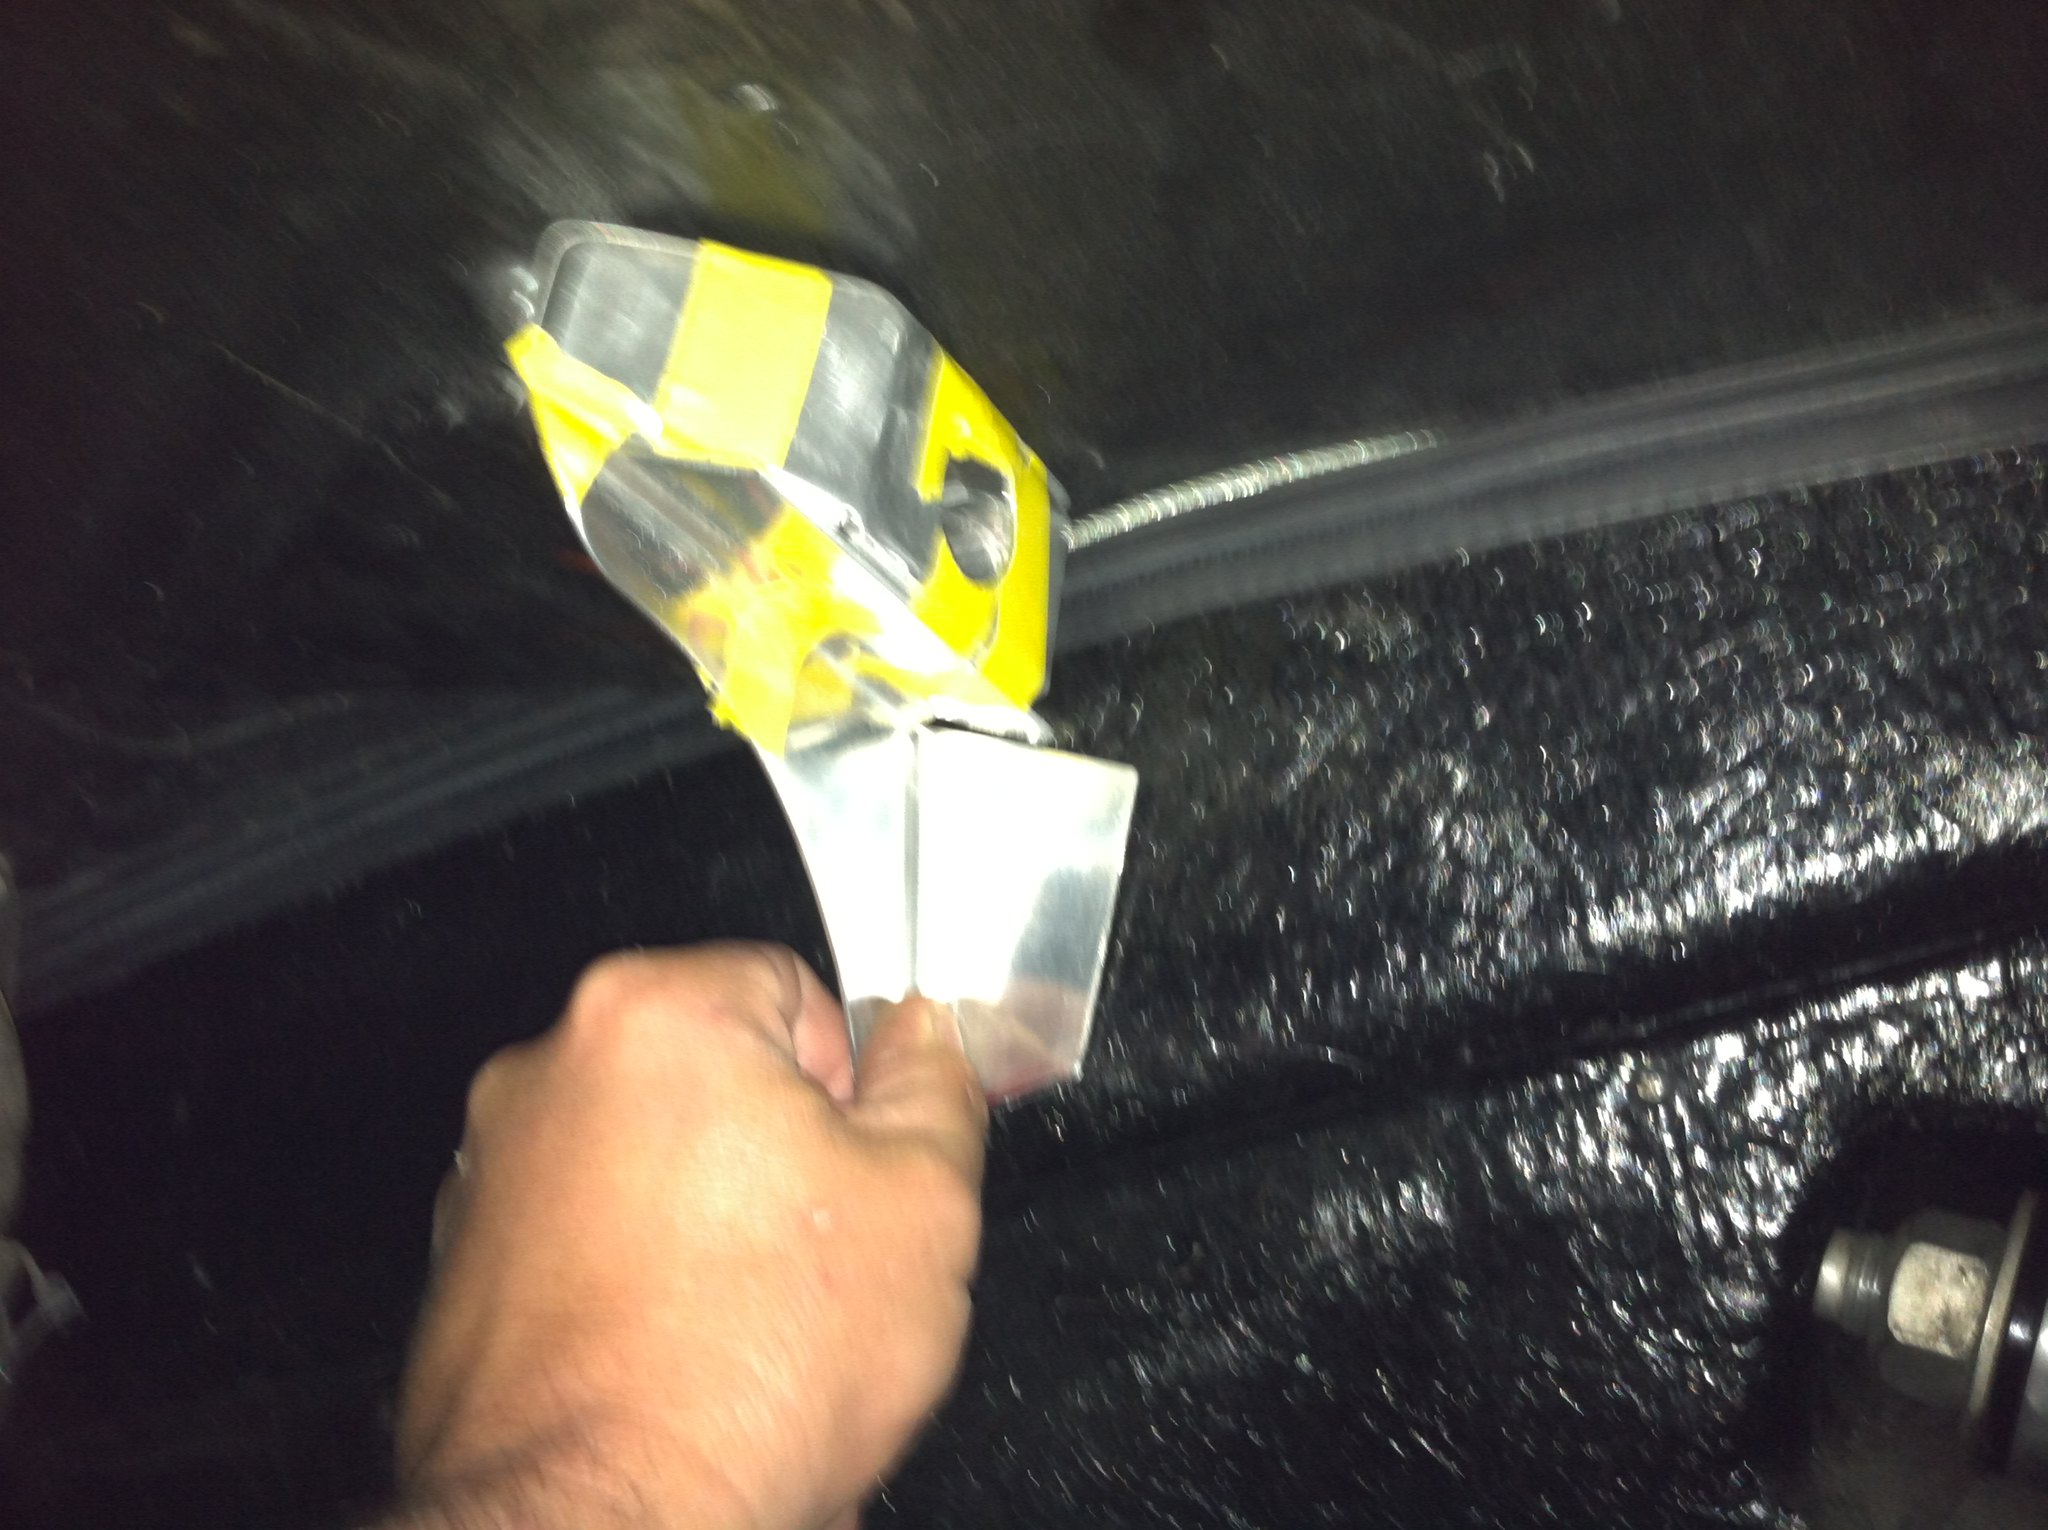
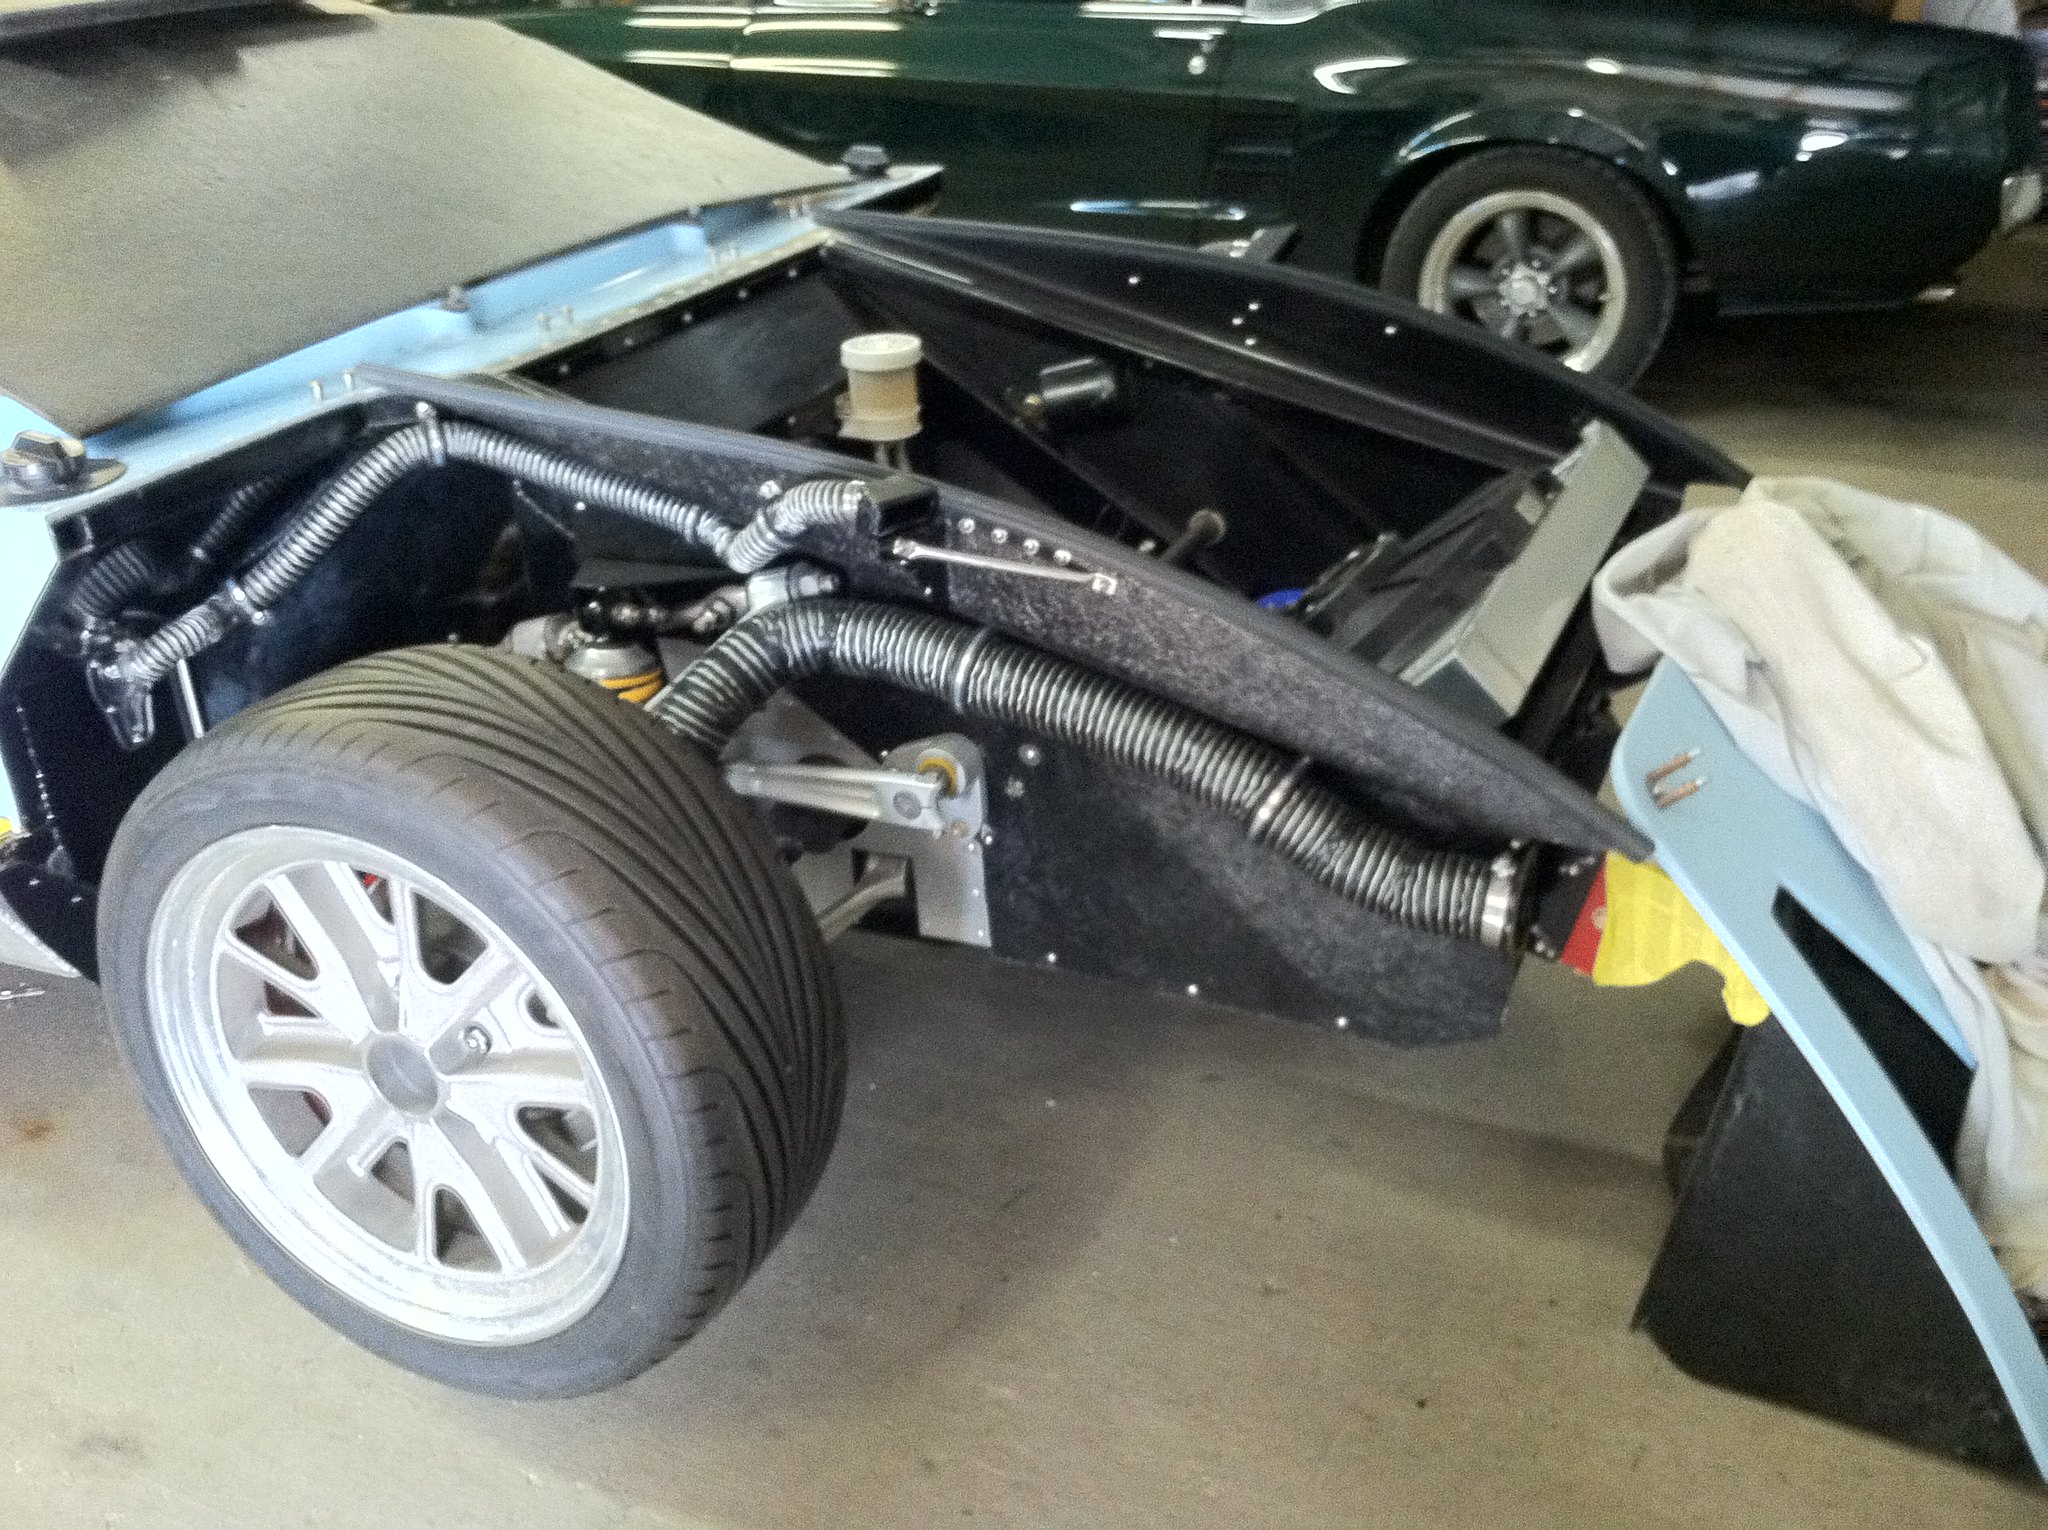
Each side was fairly stiff, but I though a spreader bar would be beneficial. Once fabbed and installed, it made a big difference. Capped and tapped some 4130 tubing.....
 IMG_4521 by Mike Sirr, on Flickr
 DSCN8838 - Copy by Mike Sirr, on Flickr
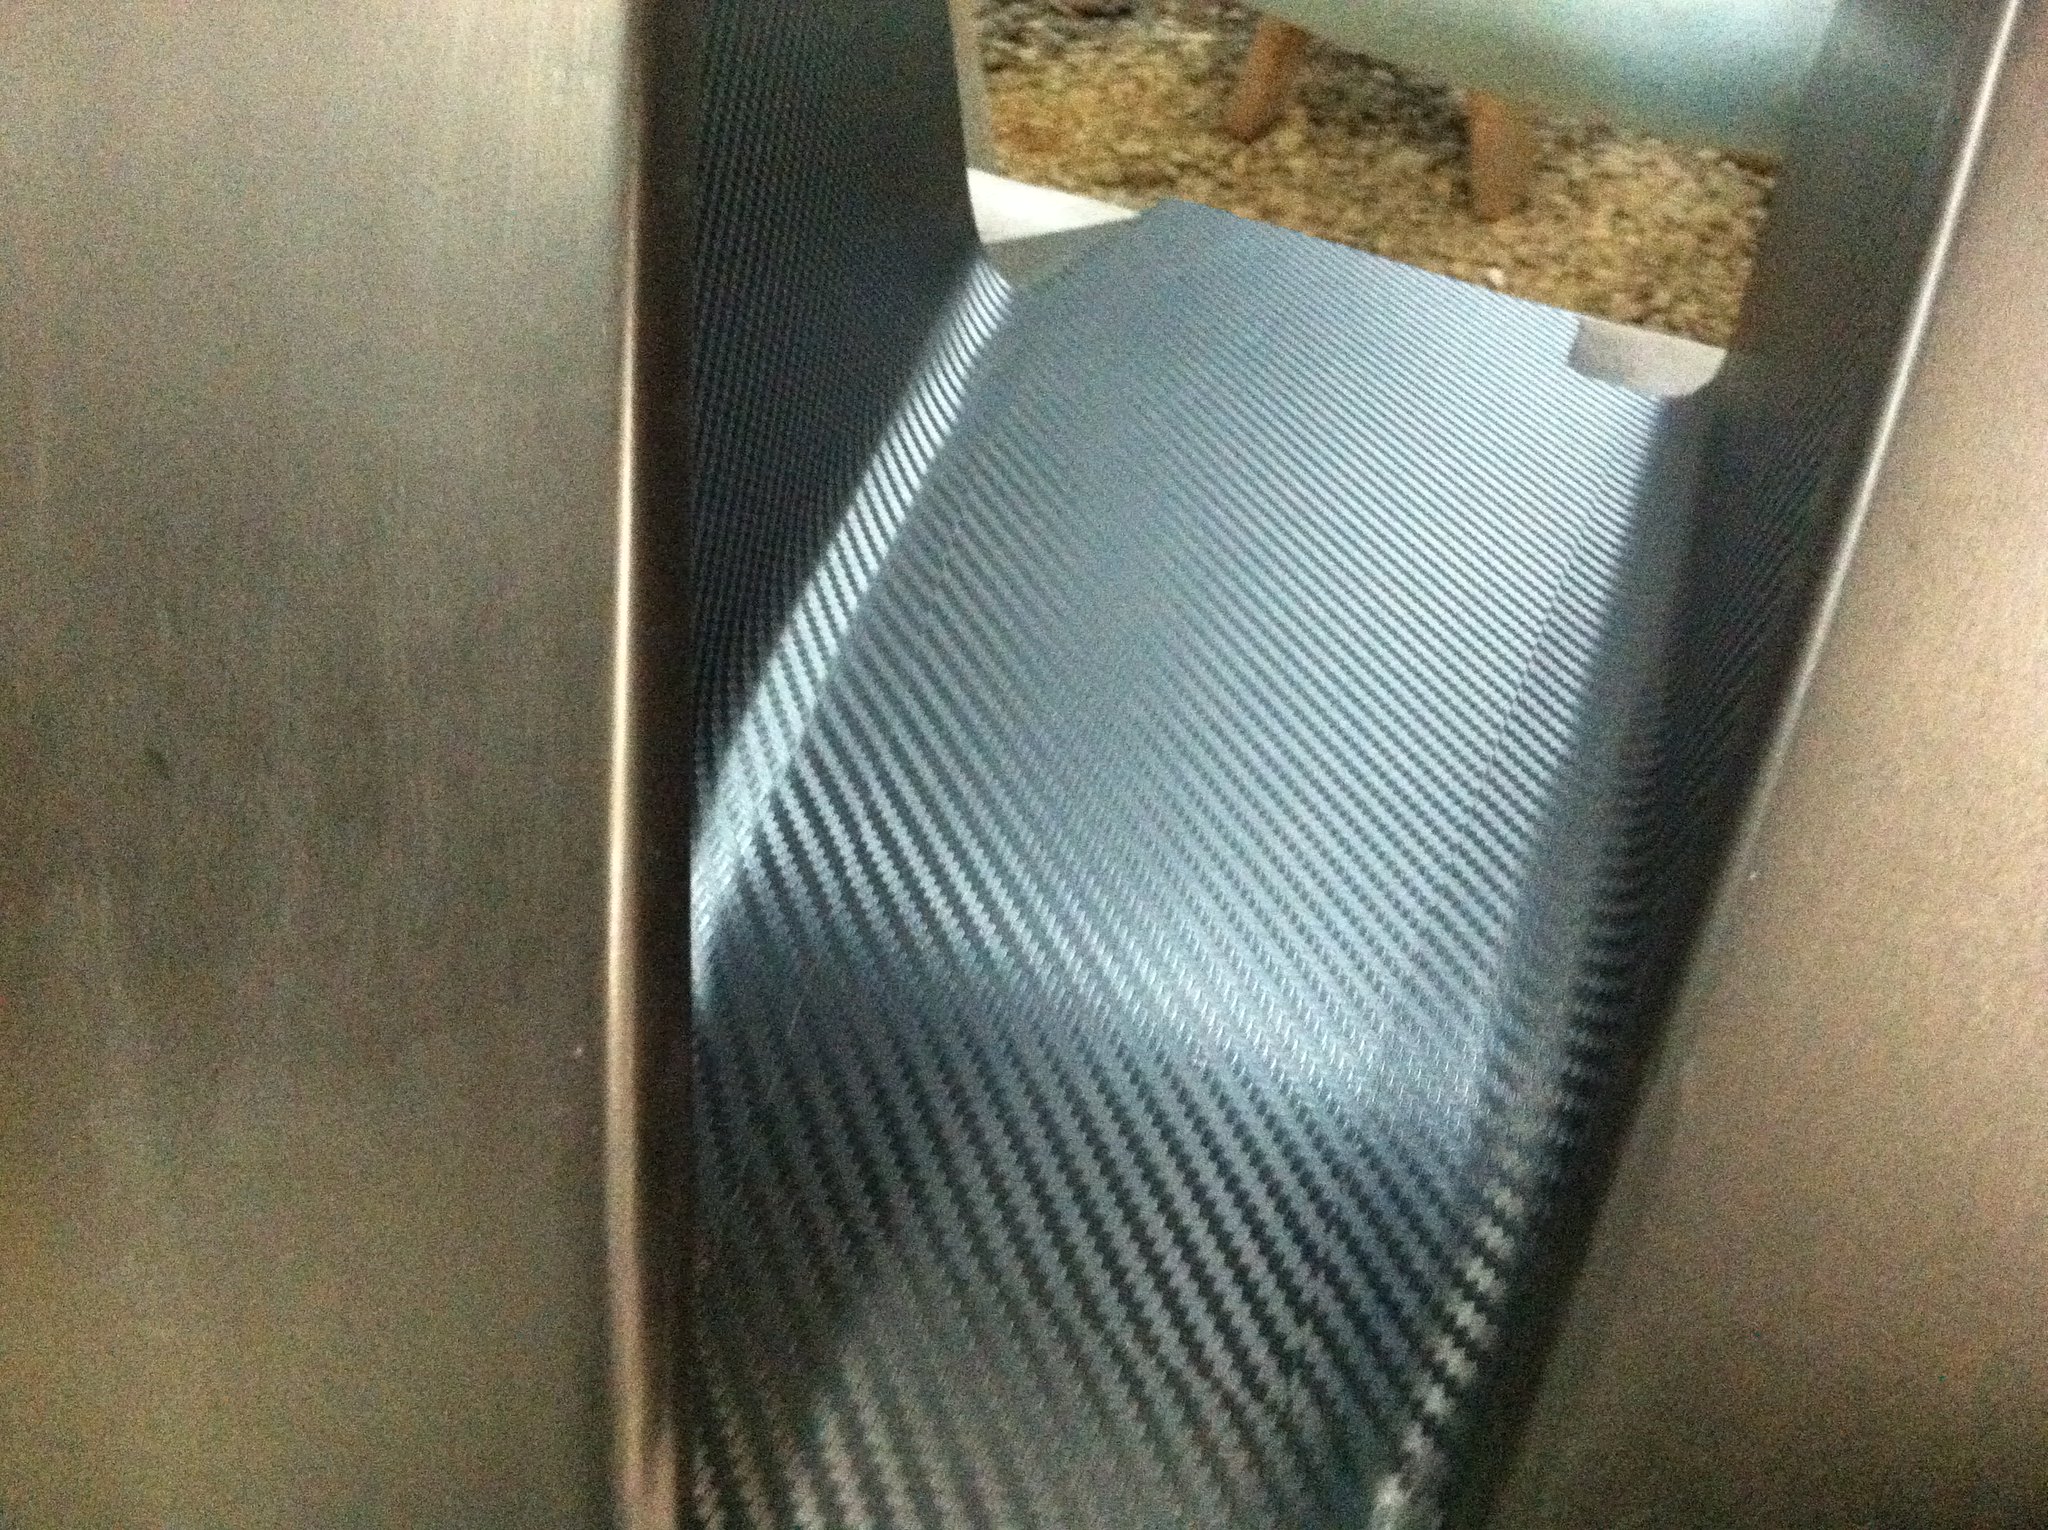
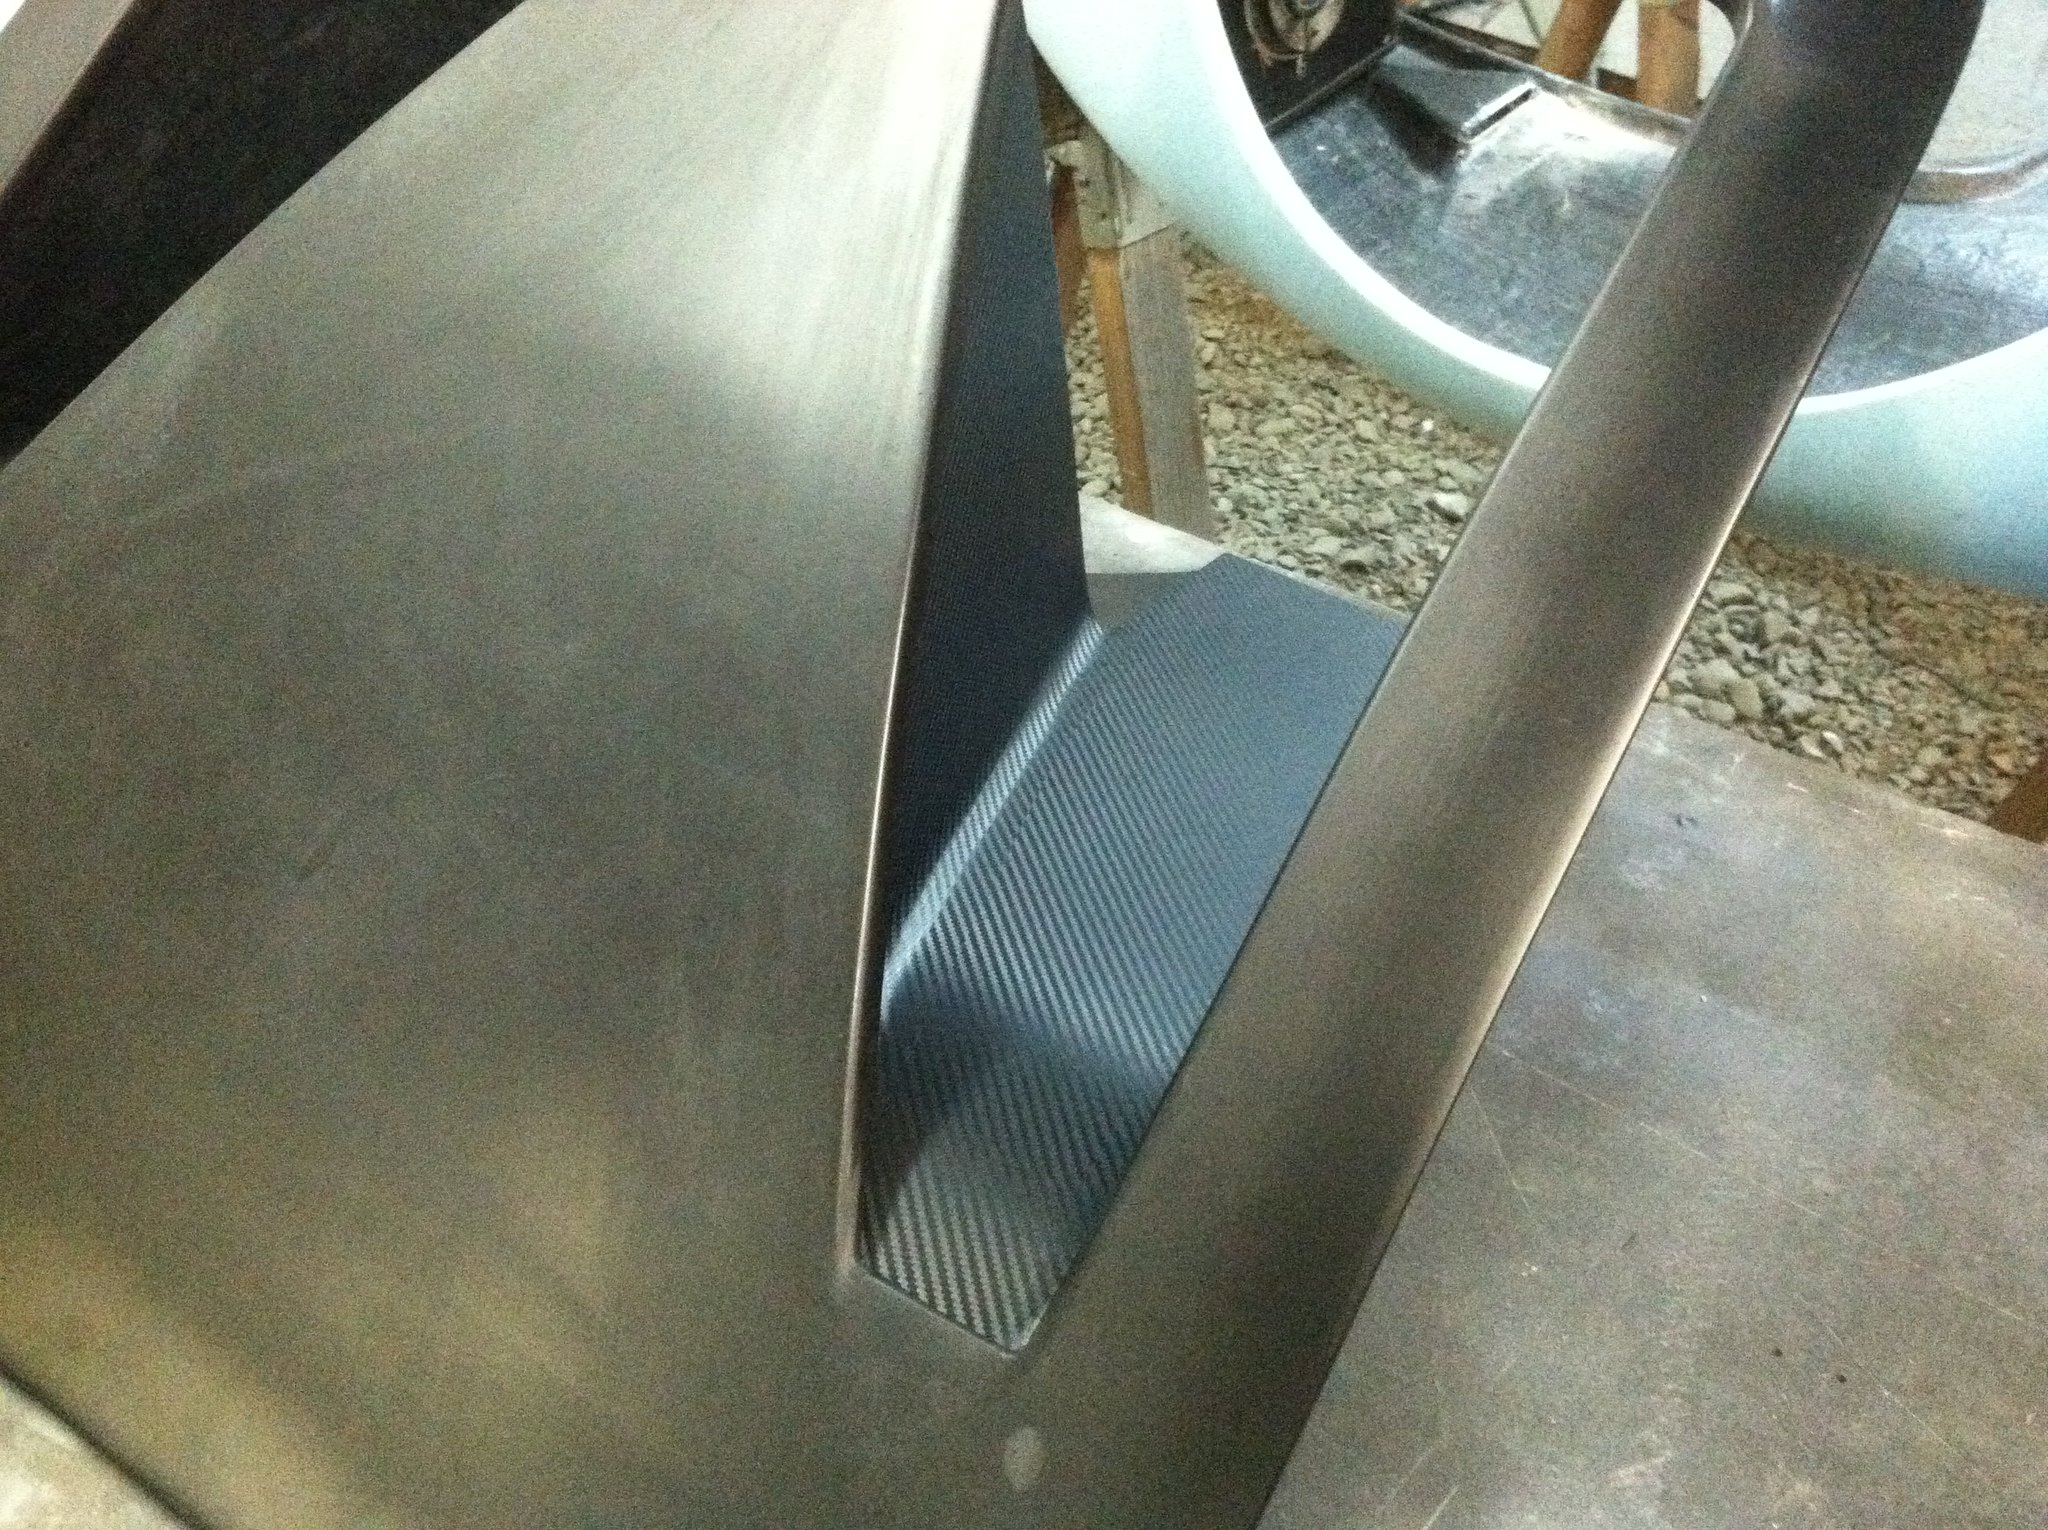
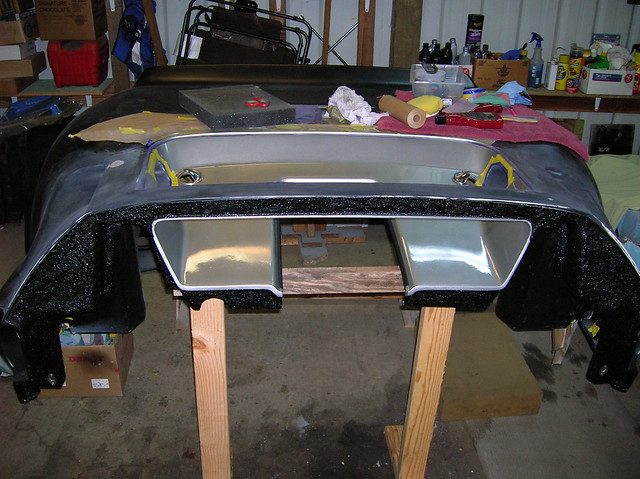
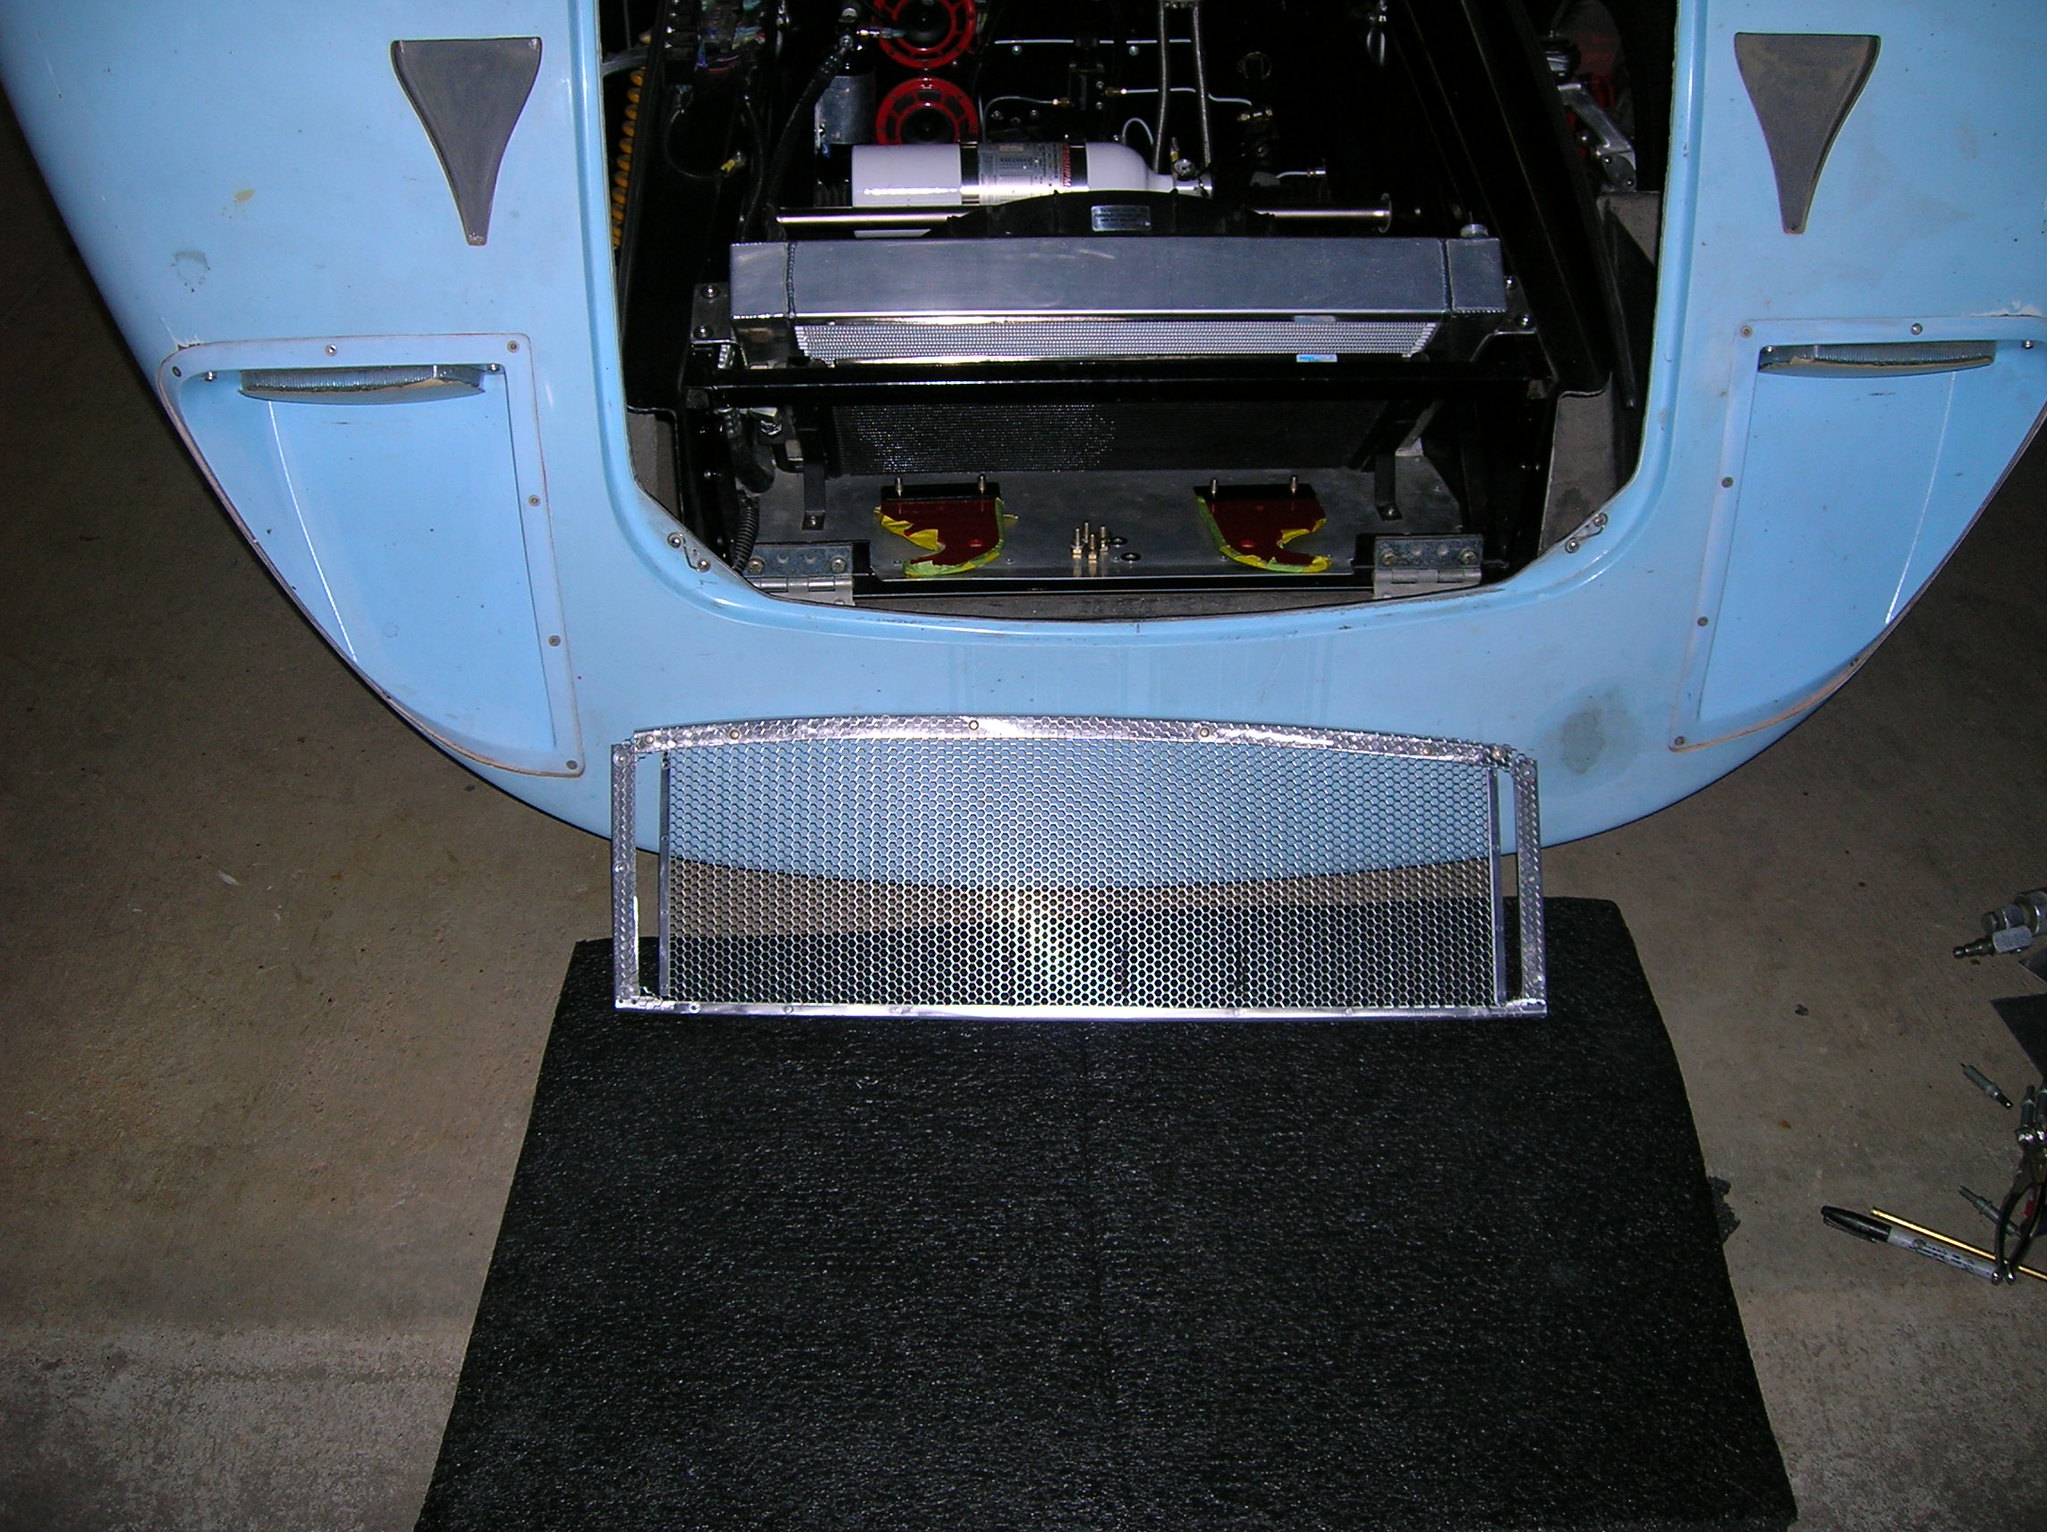
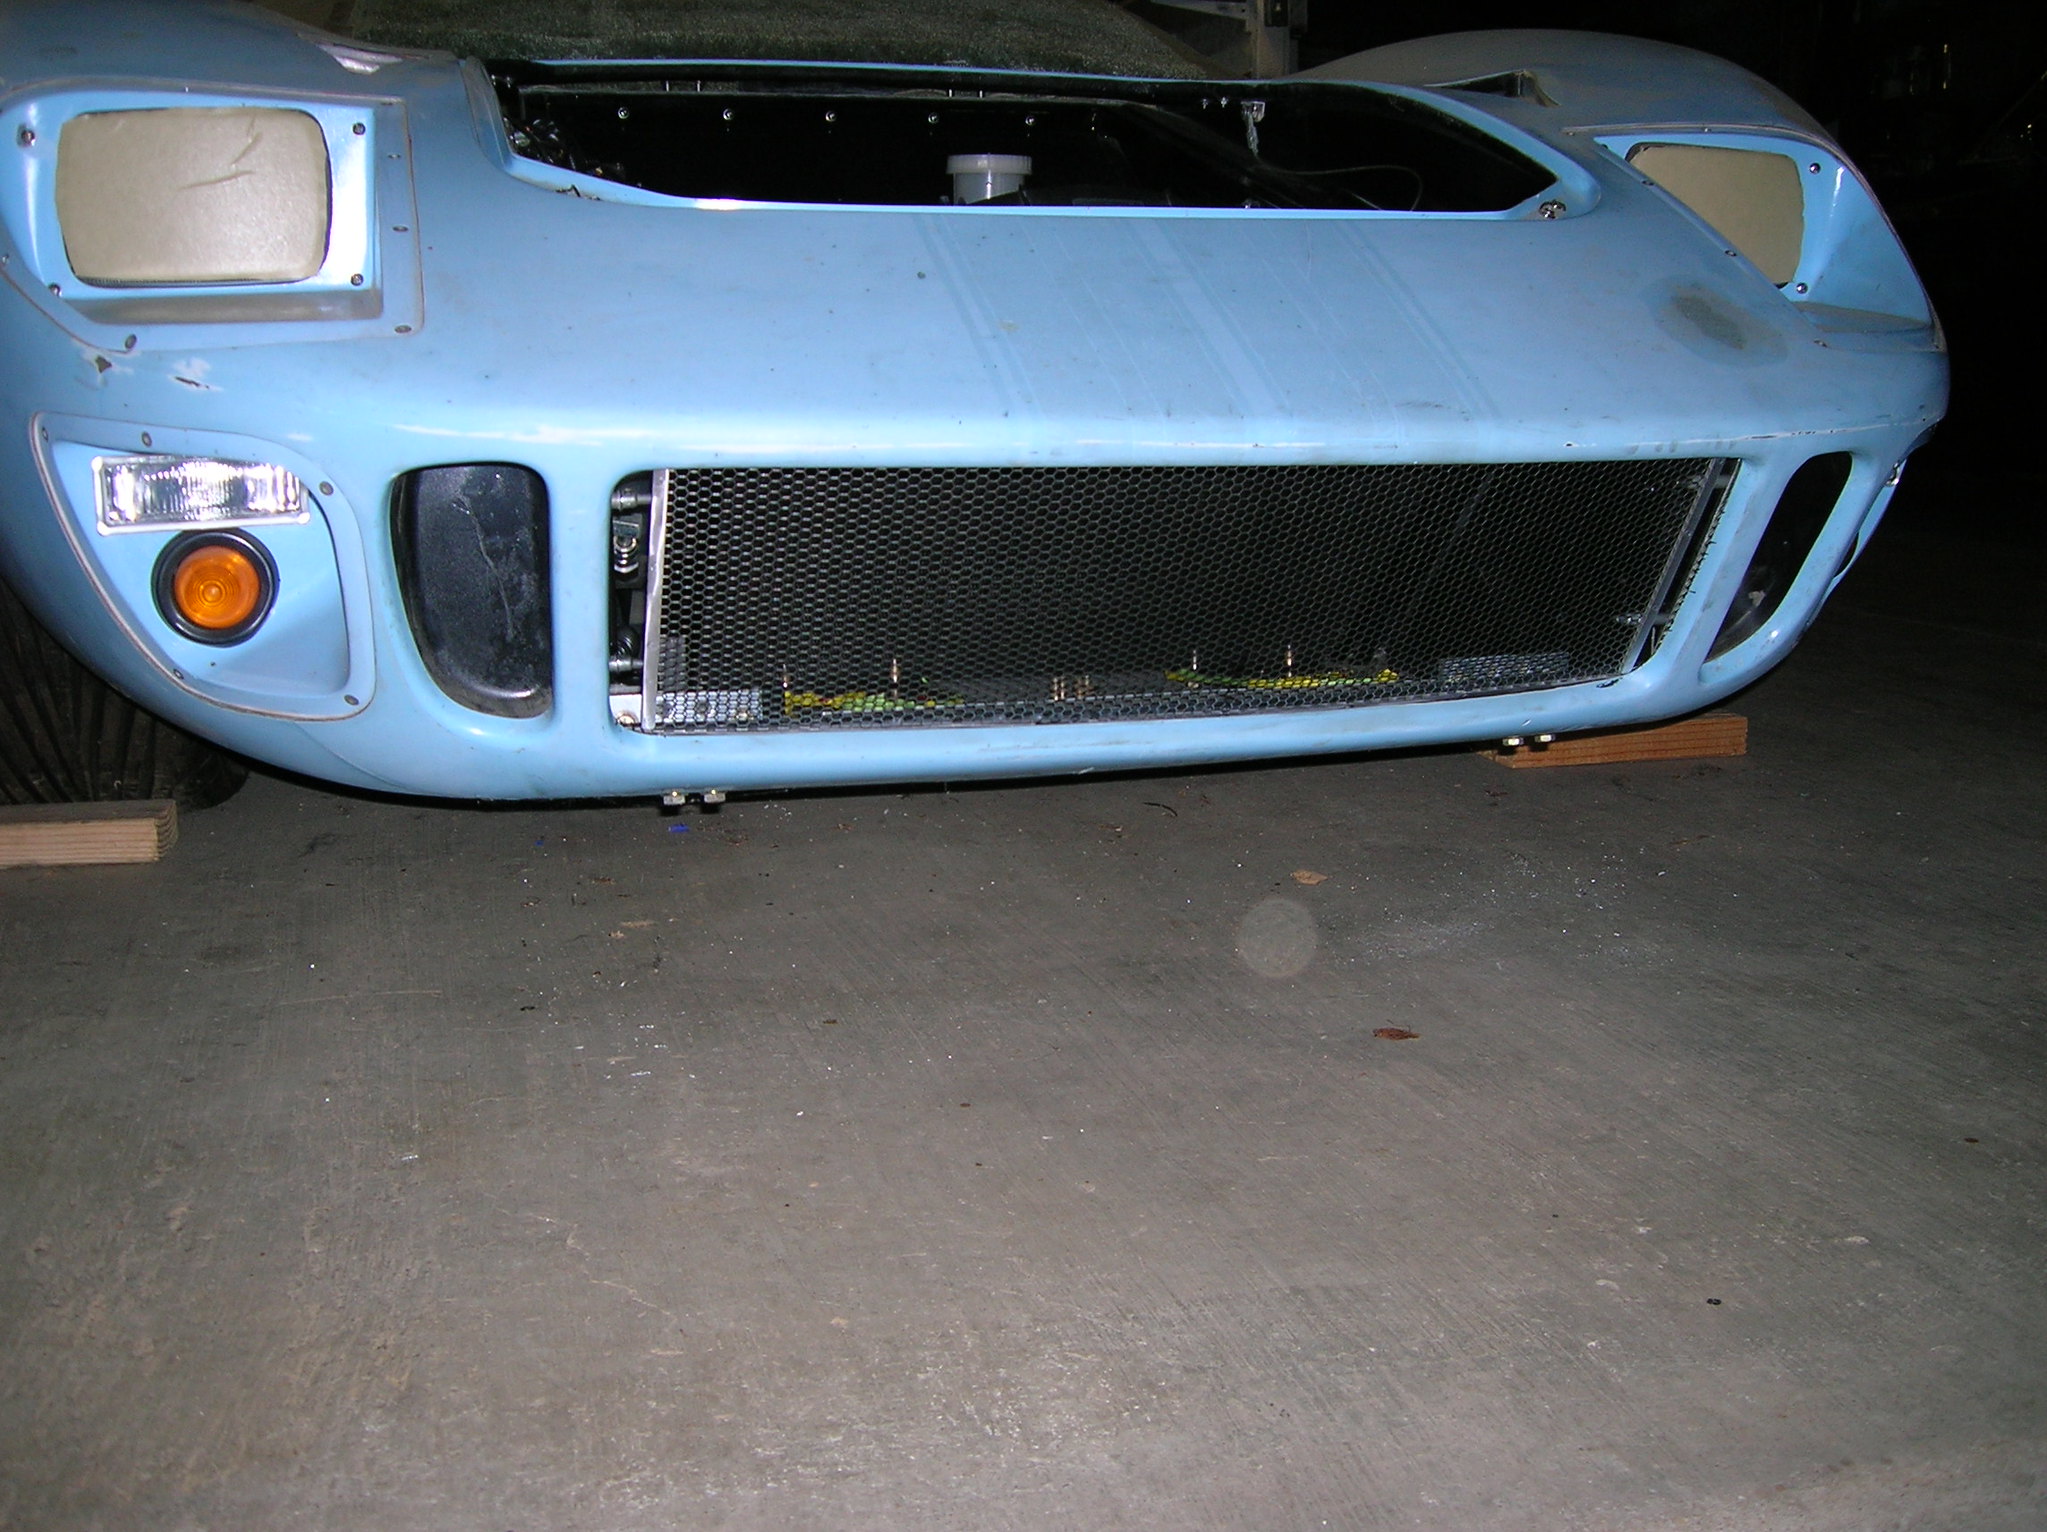
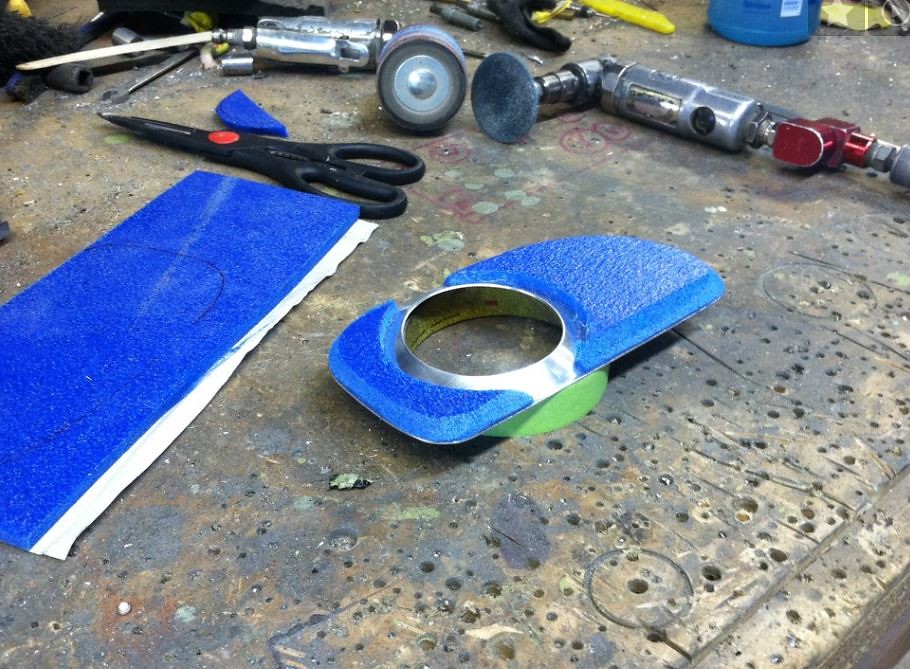
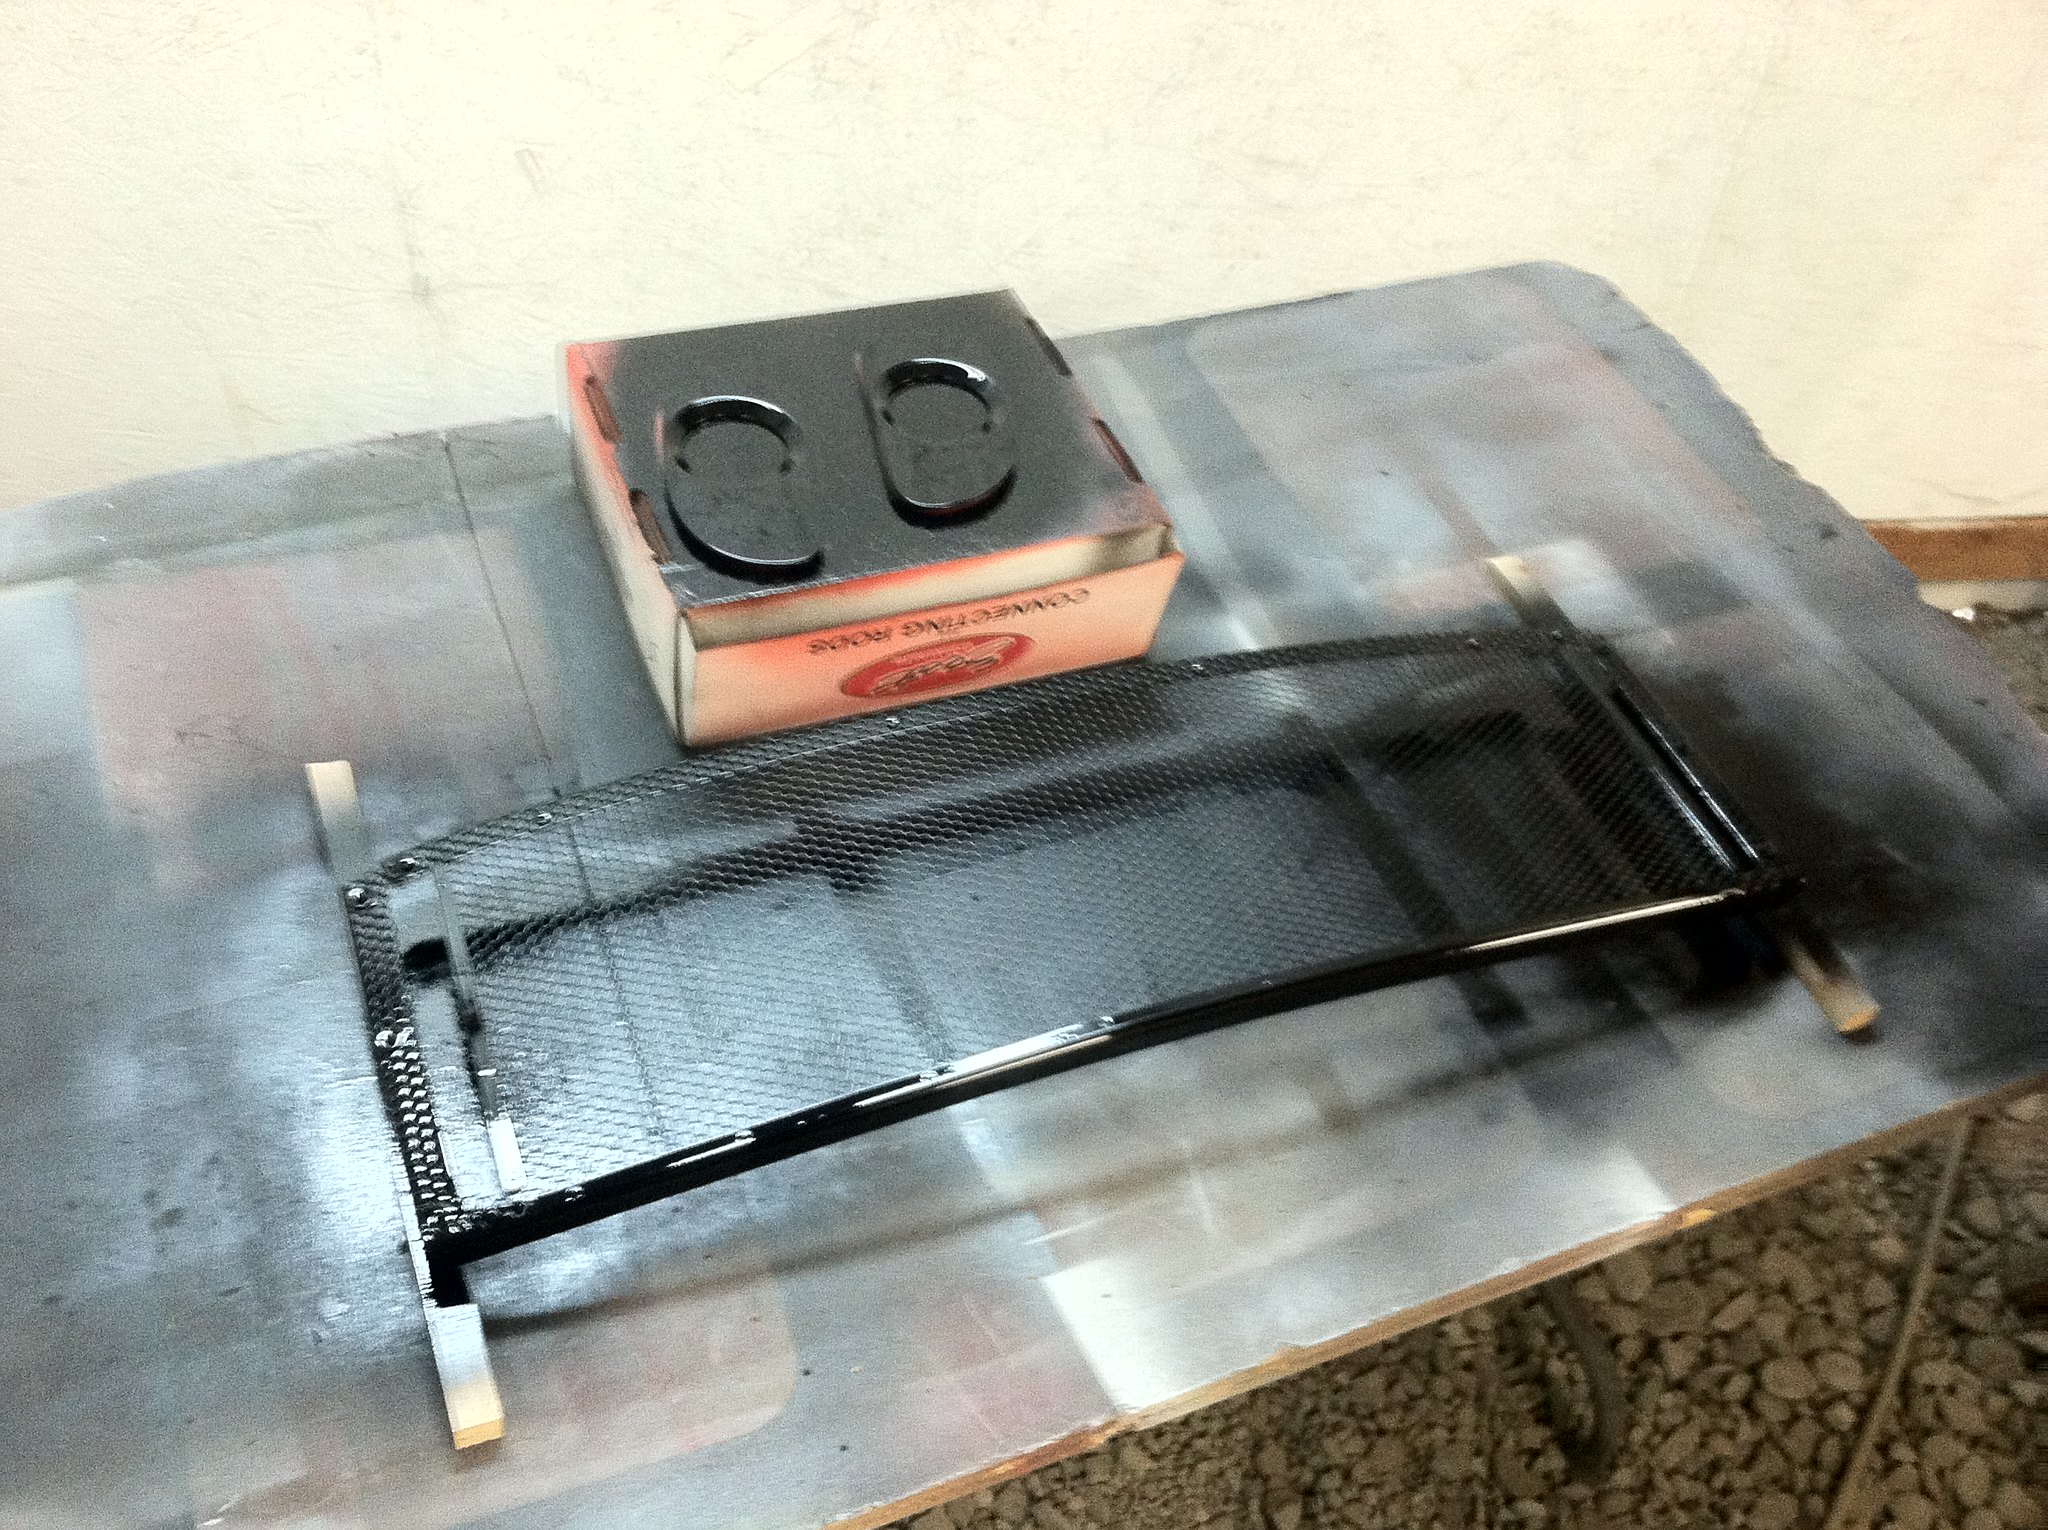
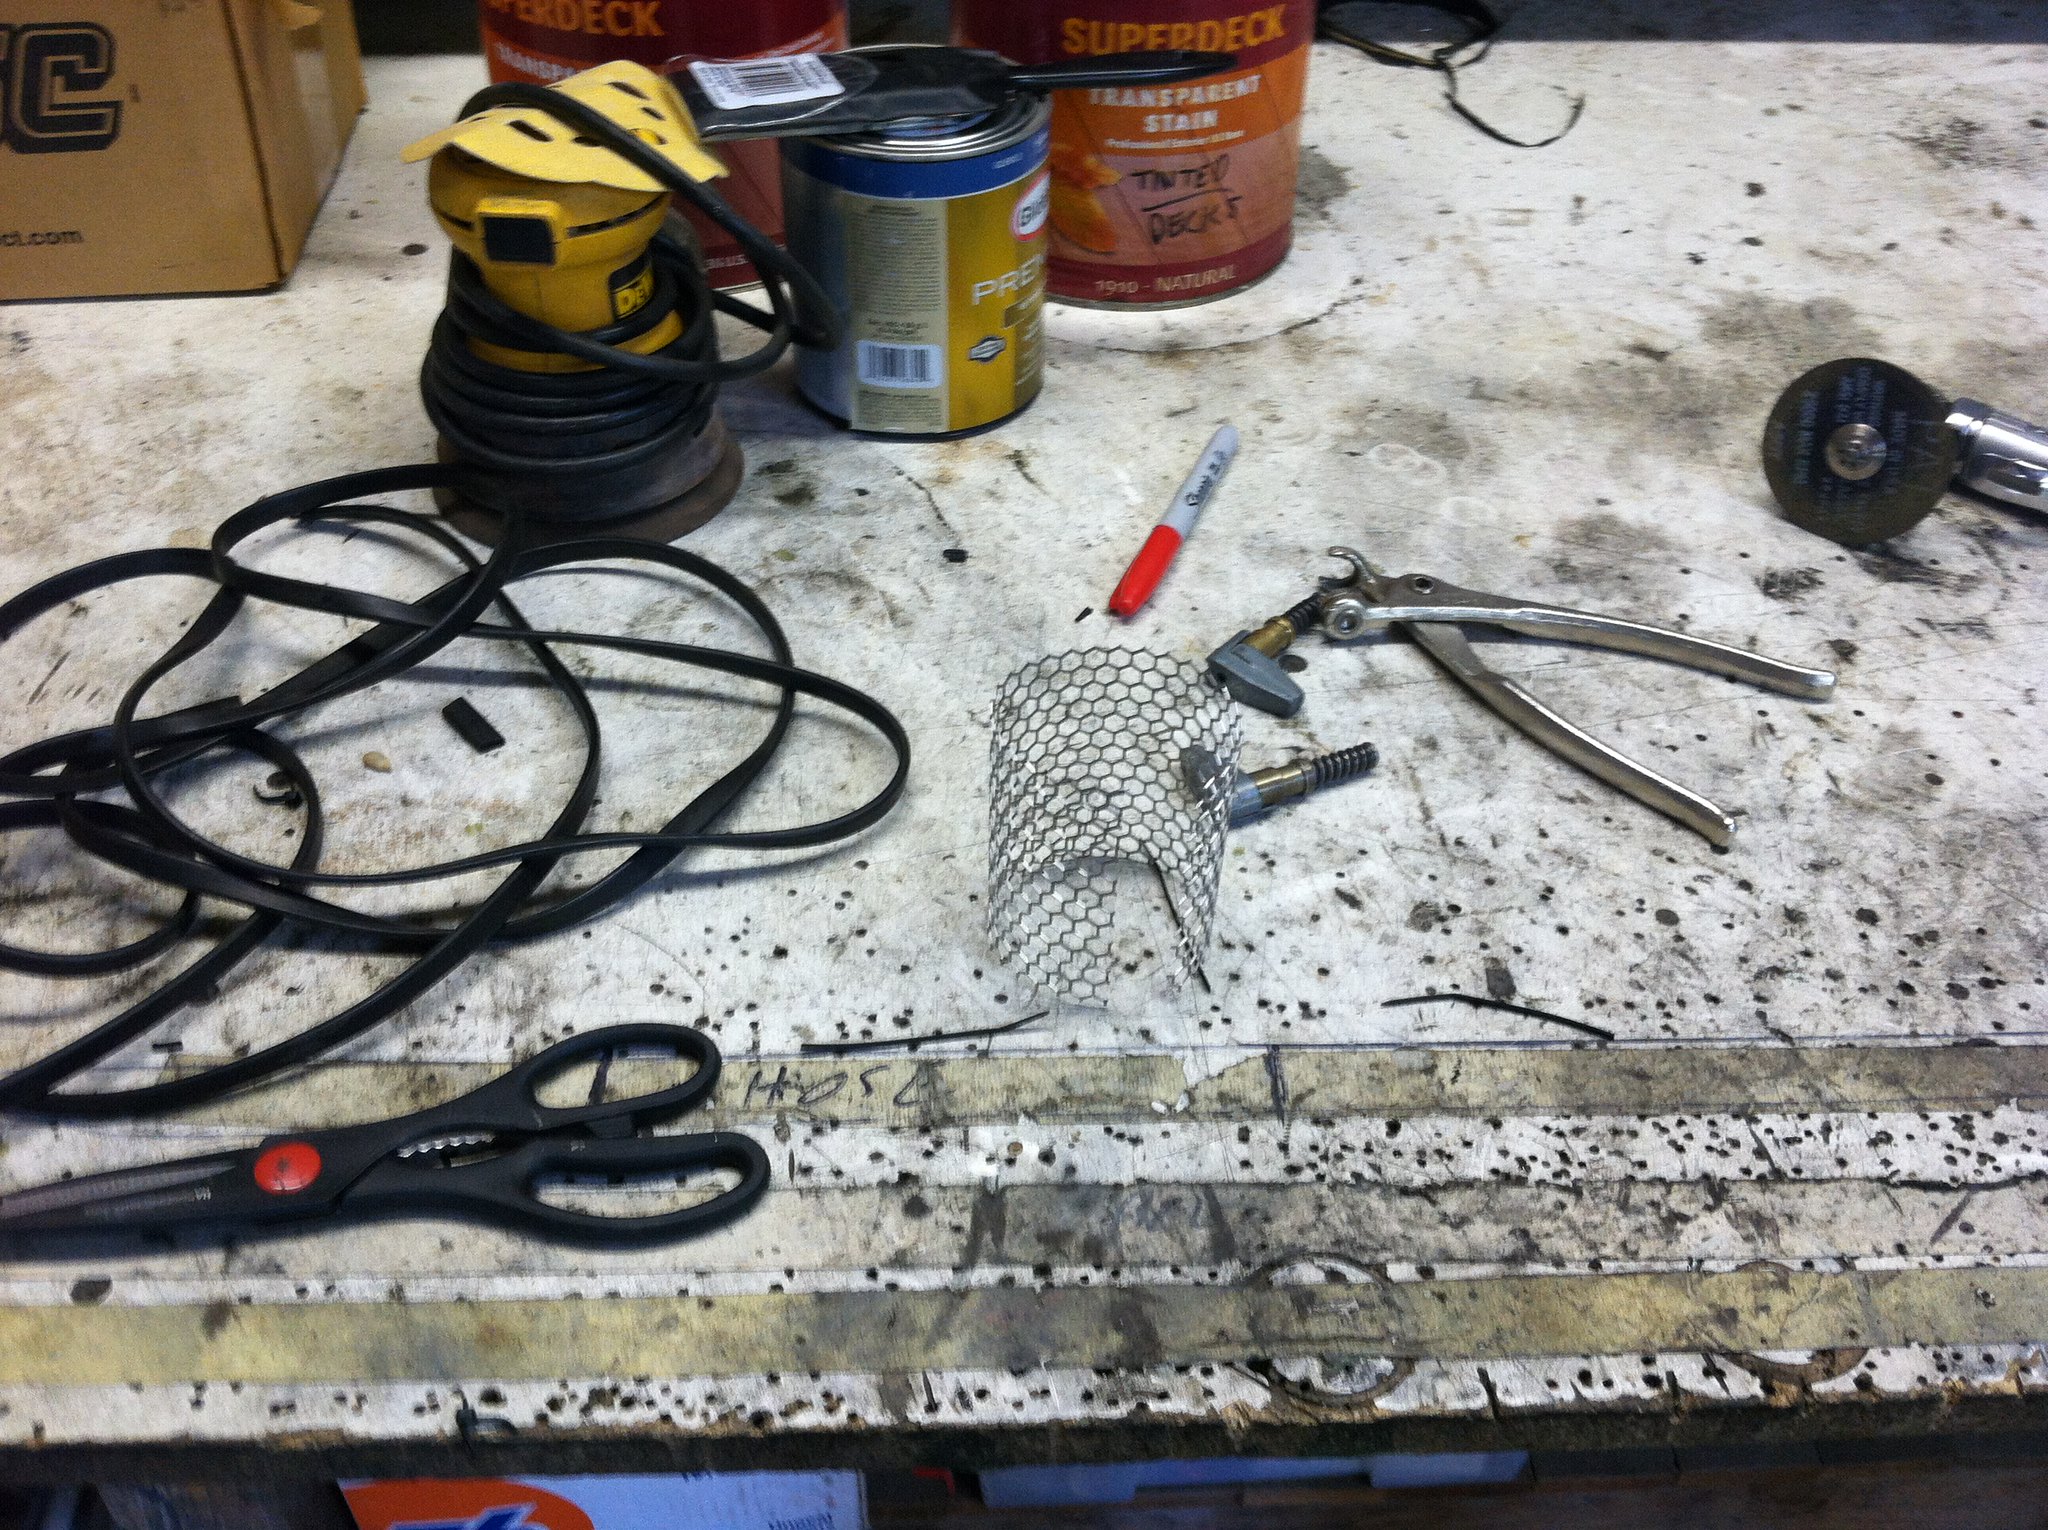
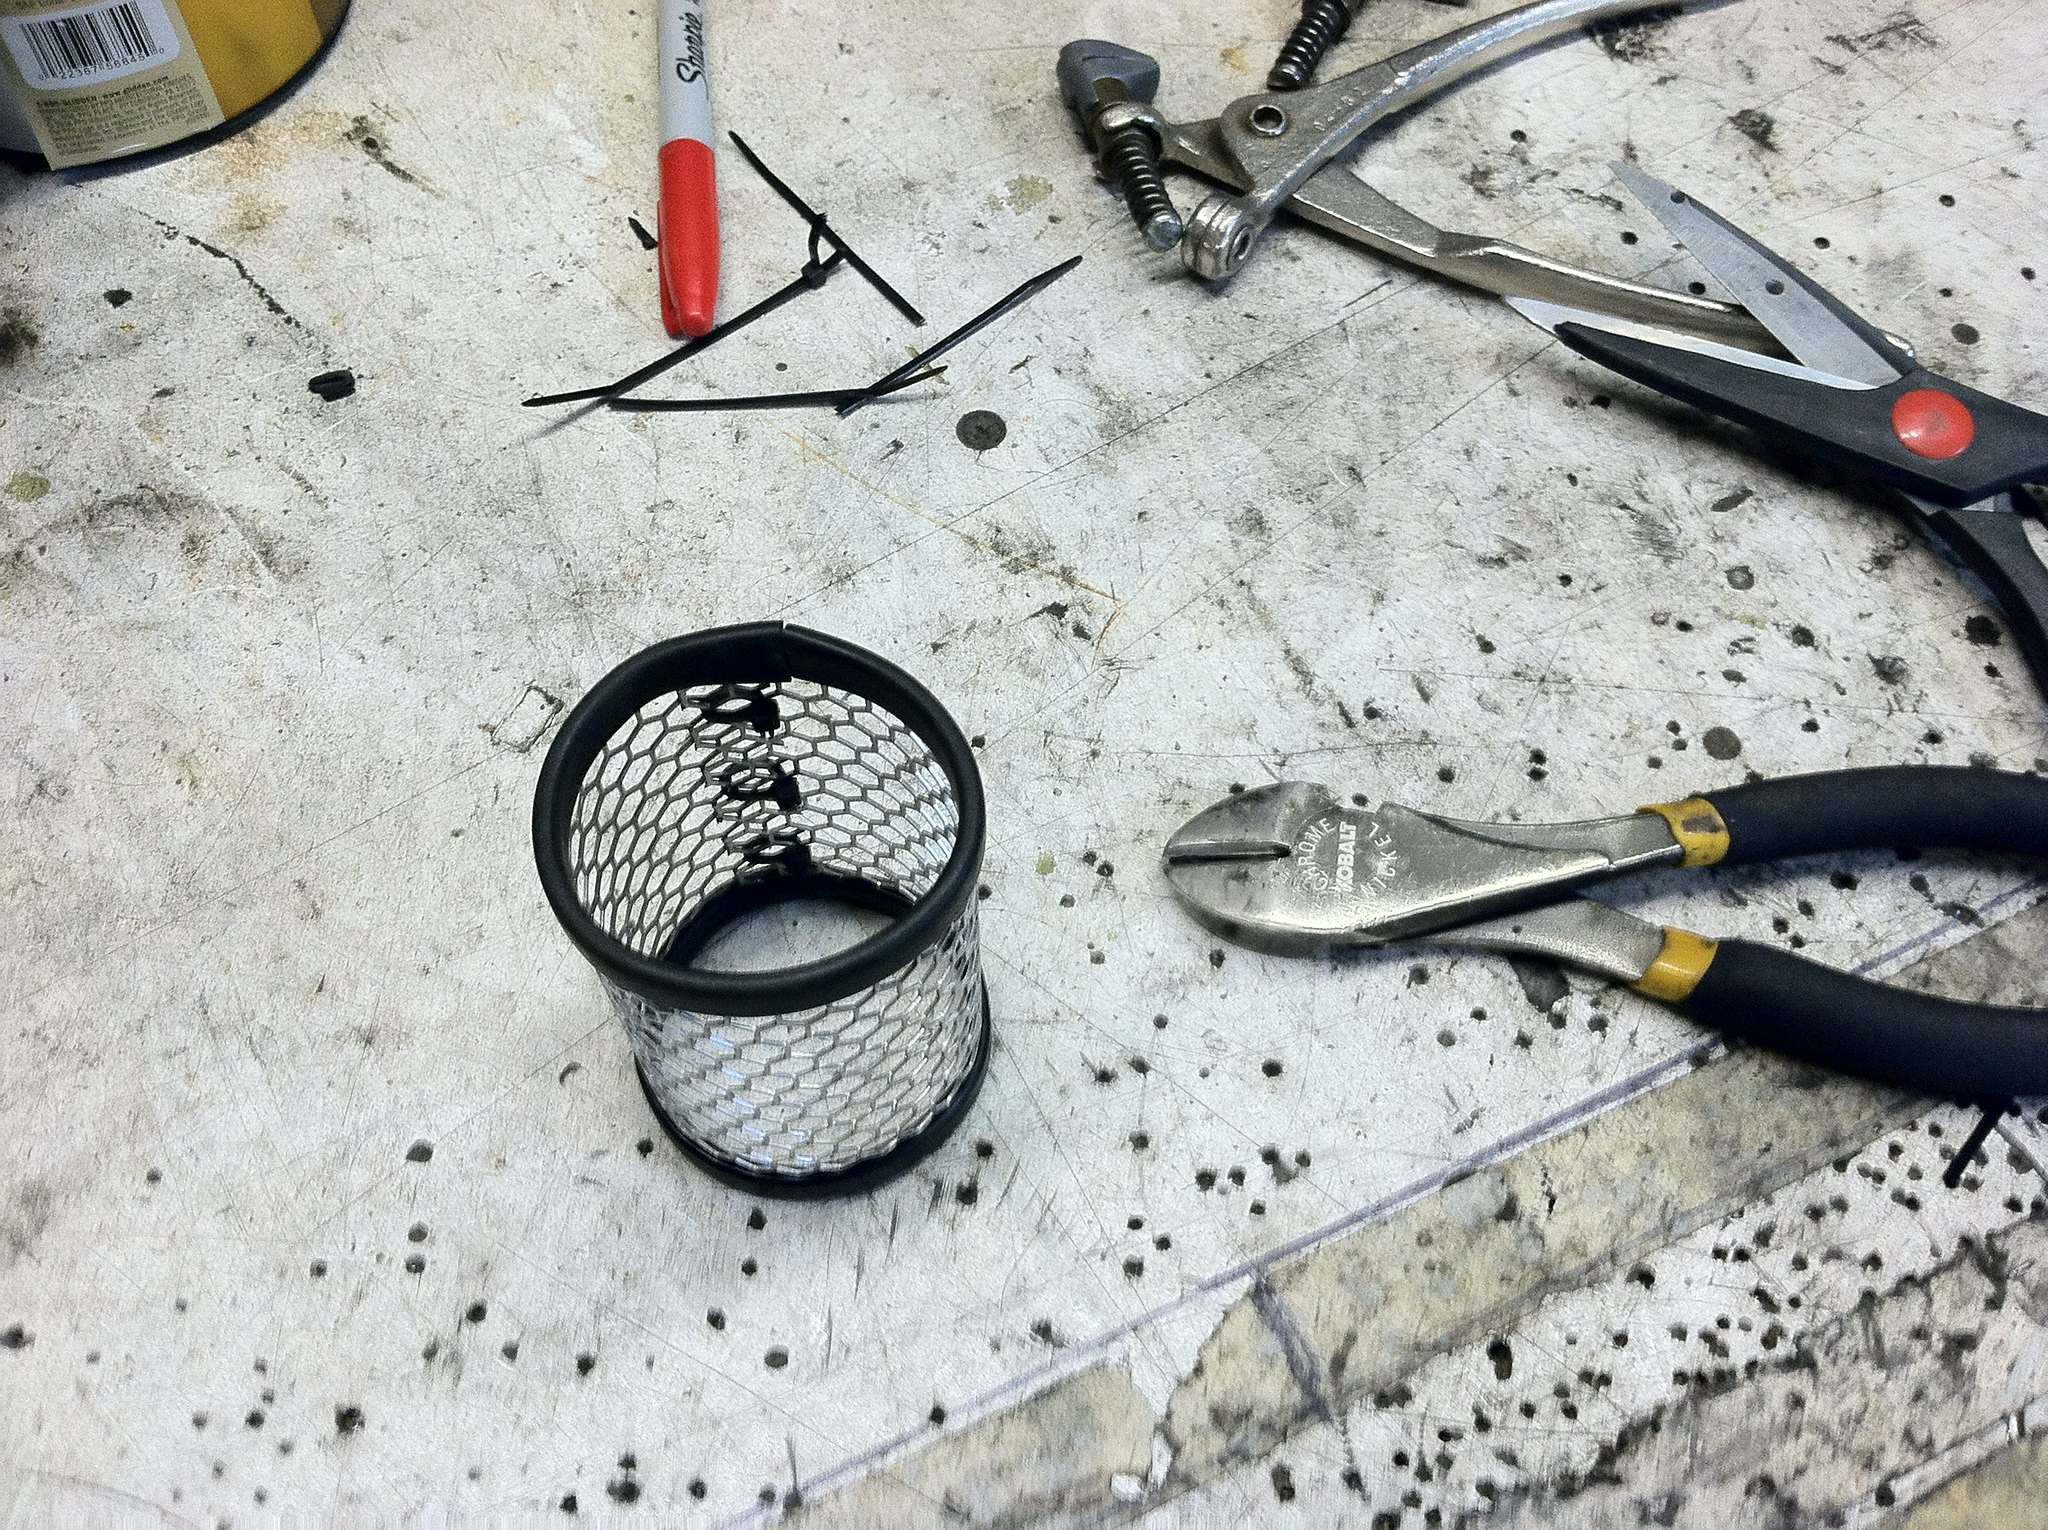
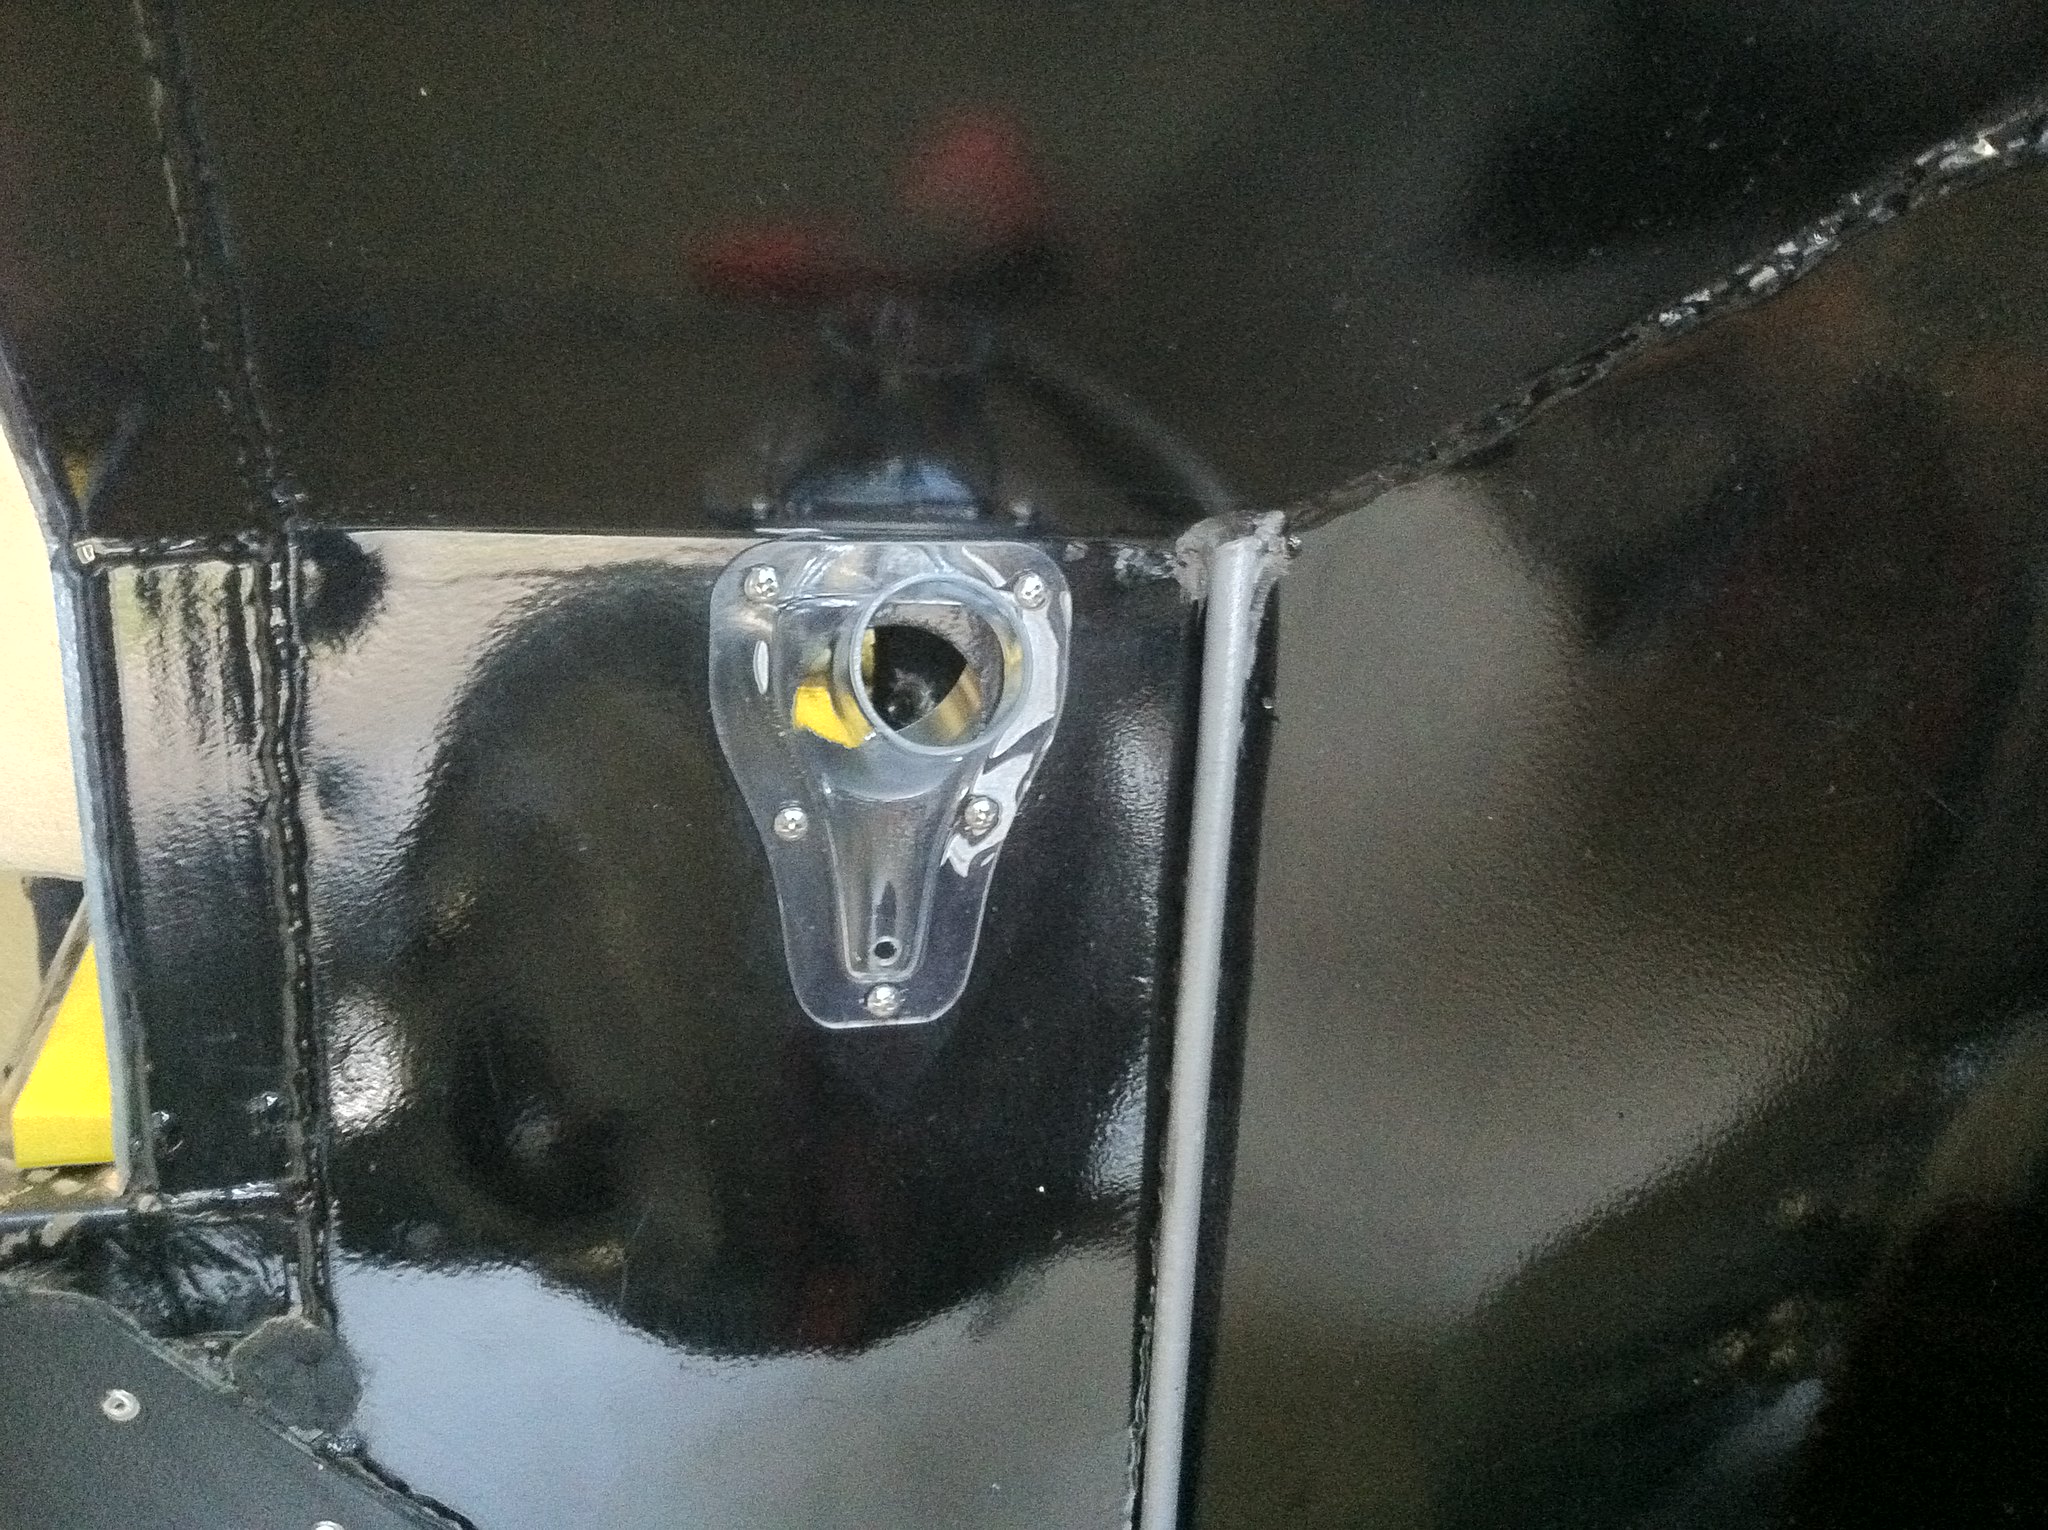
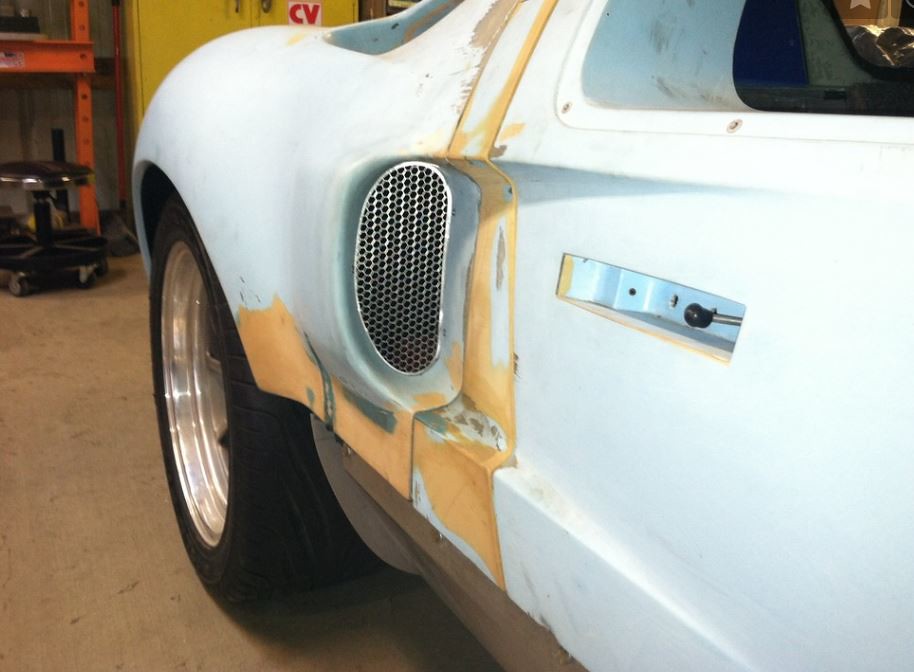
The grill took a little more thinking, but so far so good. 2 machine screws per side to secure it... various parts are riveted together. I used a shrinker/stretcher to curve the aluminum L-angles and match the opening contour. The Grille mesh is steel.
 DSCN8843 - Copy by Mike Sirr, on Flickr
 DSCN8845 - Copy by Mike Sirr, on Flickr
 DSCN8847 - Copy by Mike Sirr, on Flickr
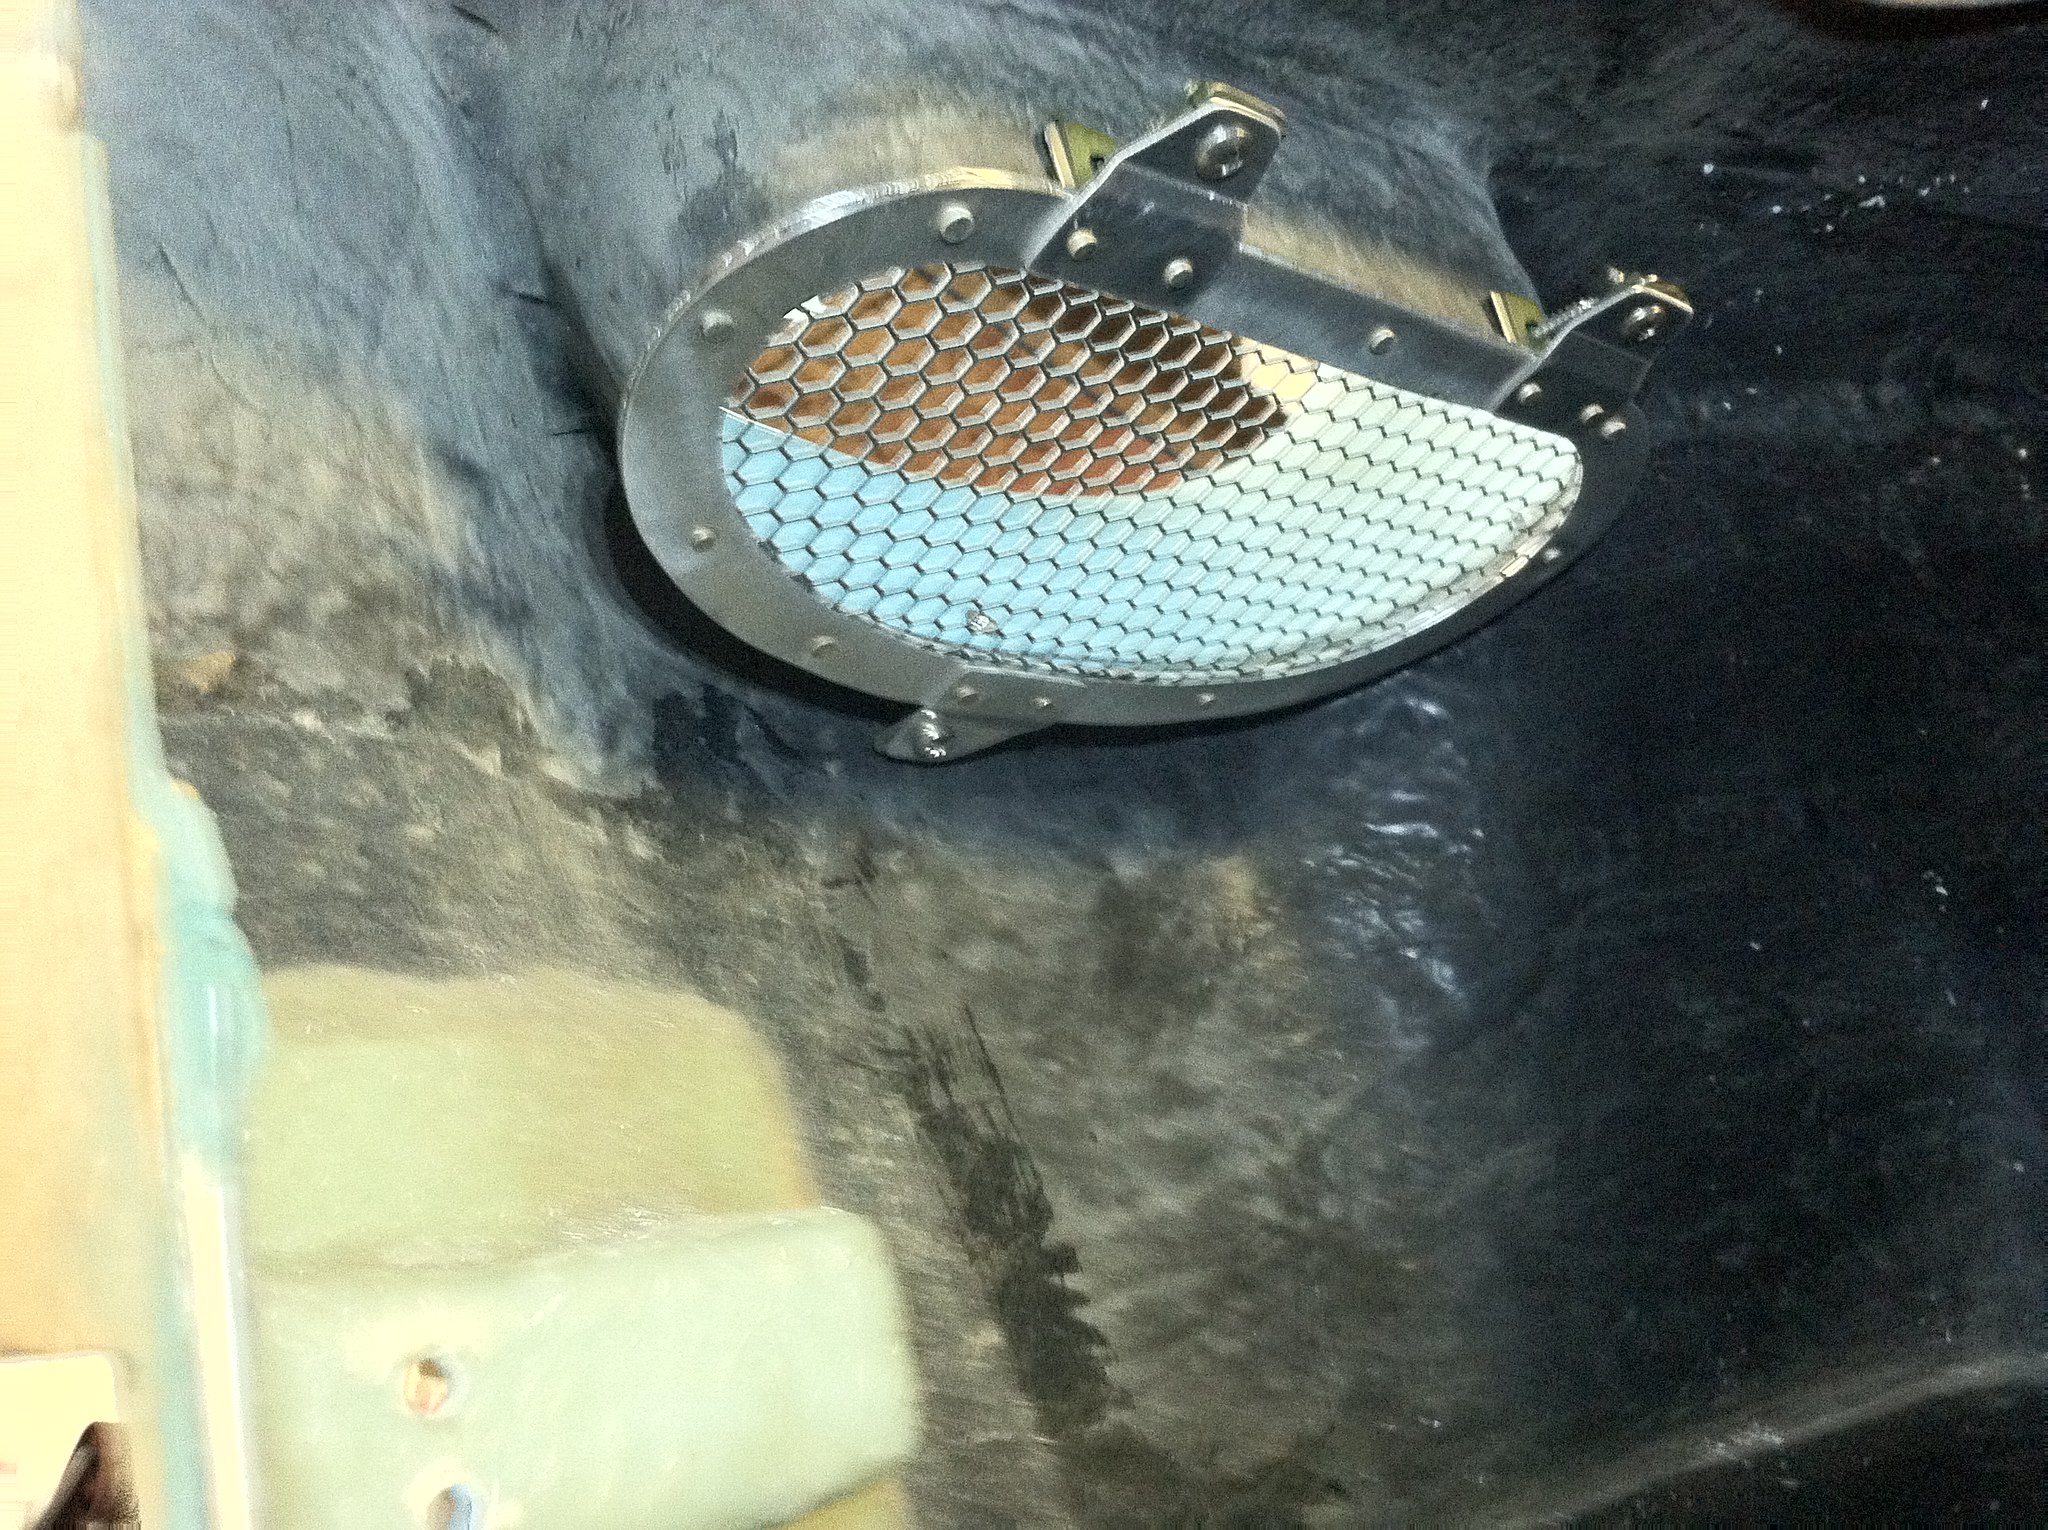
It needs some minor tuning, but otherwise not a bad first effort. I would likely make a few mfg changes on a version 2.0....might do a second one later for a shelf spare.
Still have some grill material left, so moving to aft air intakes.
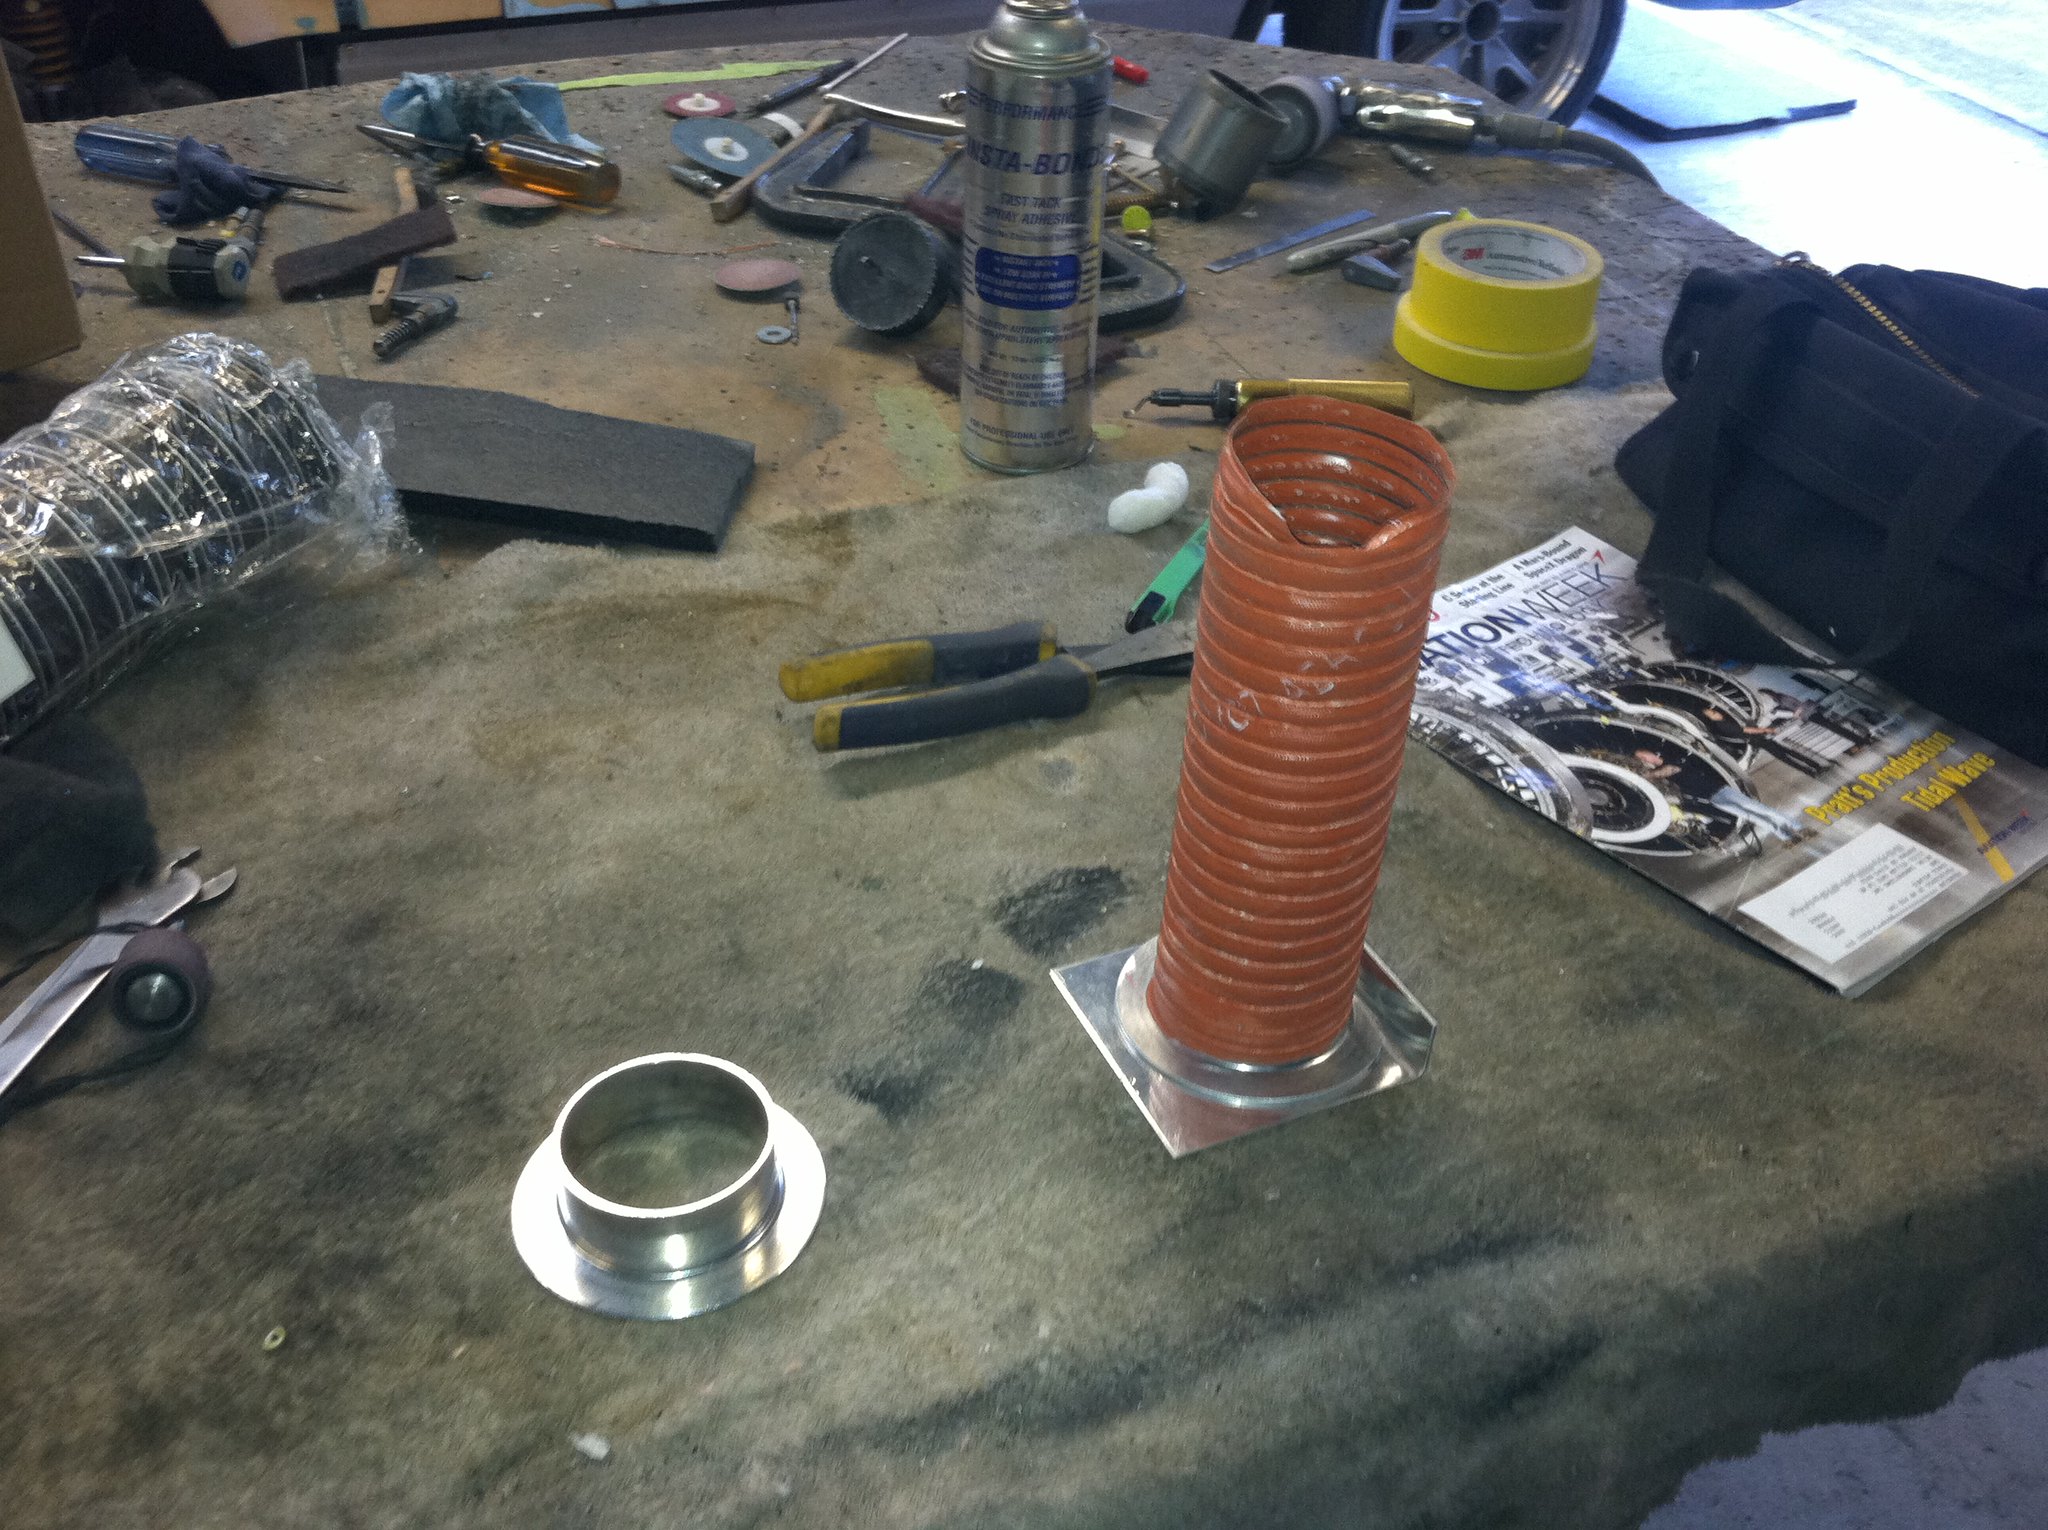
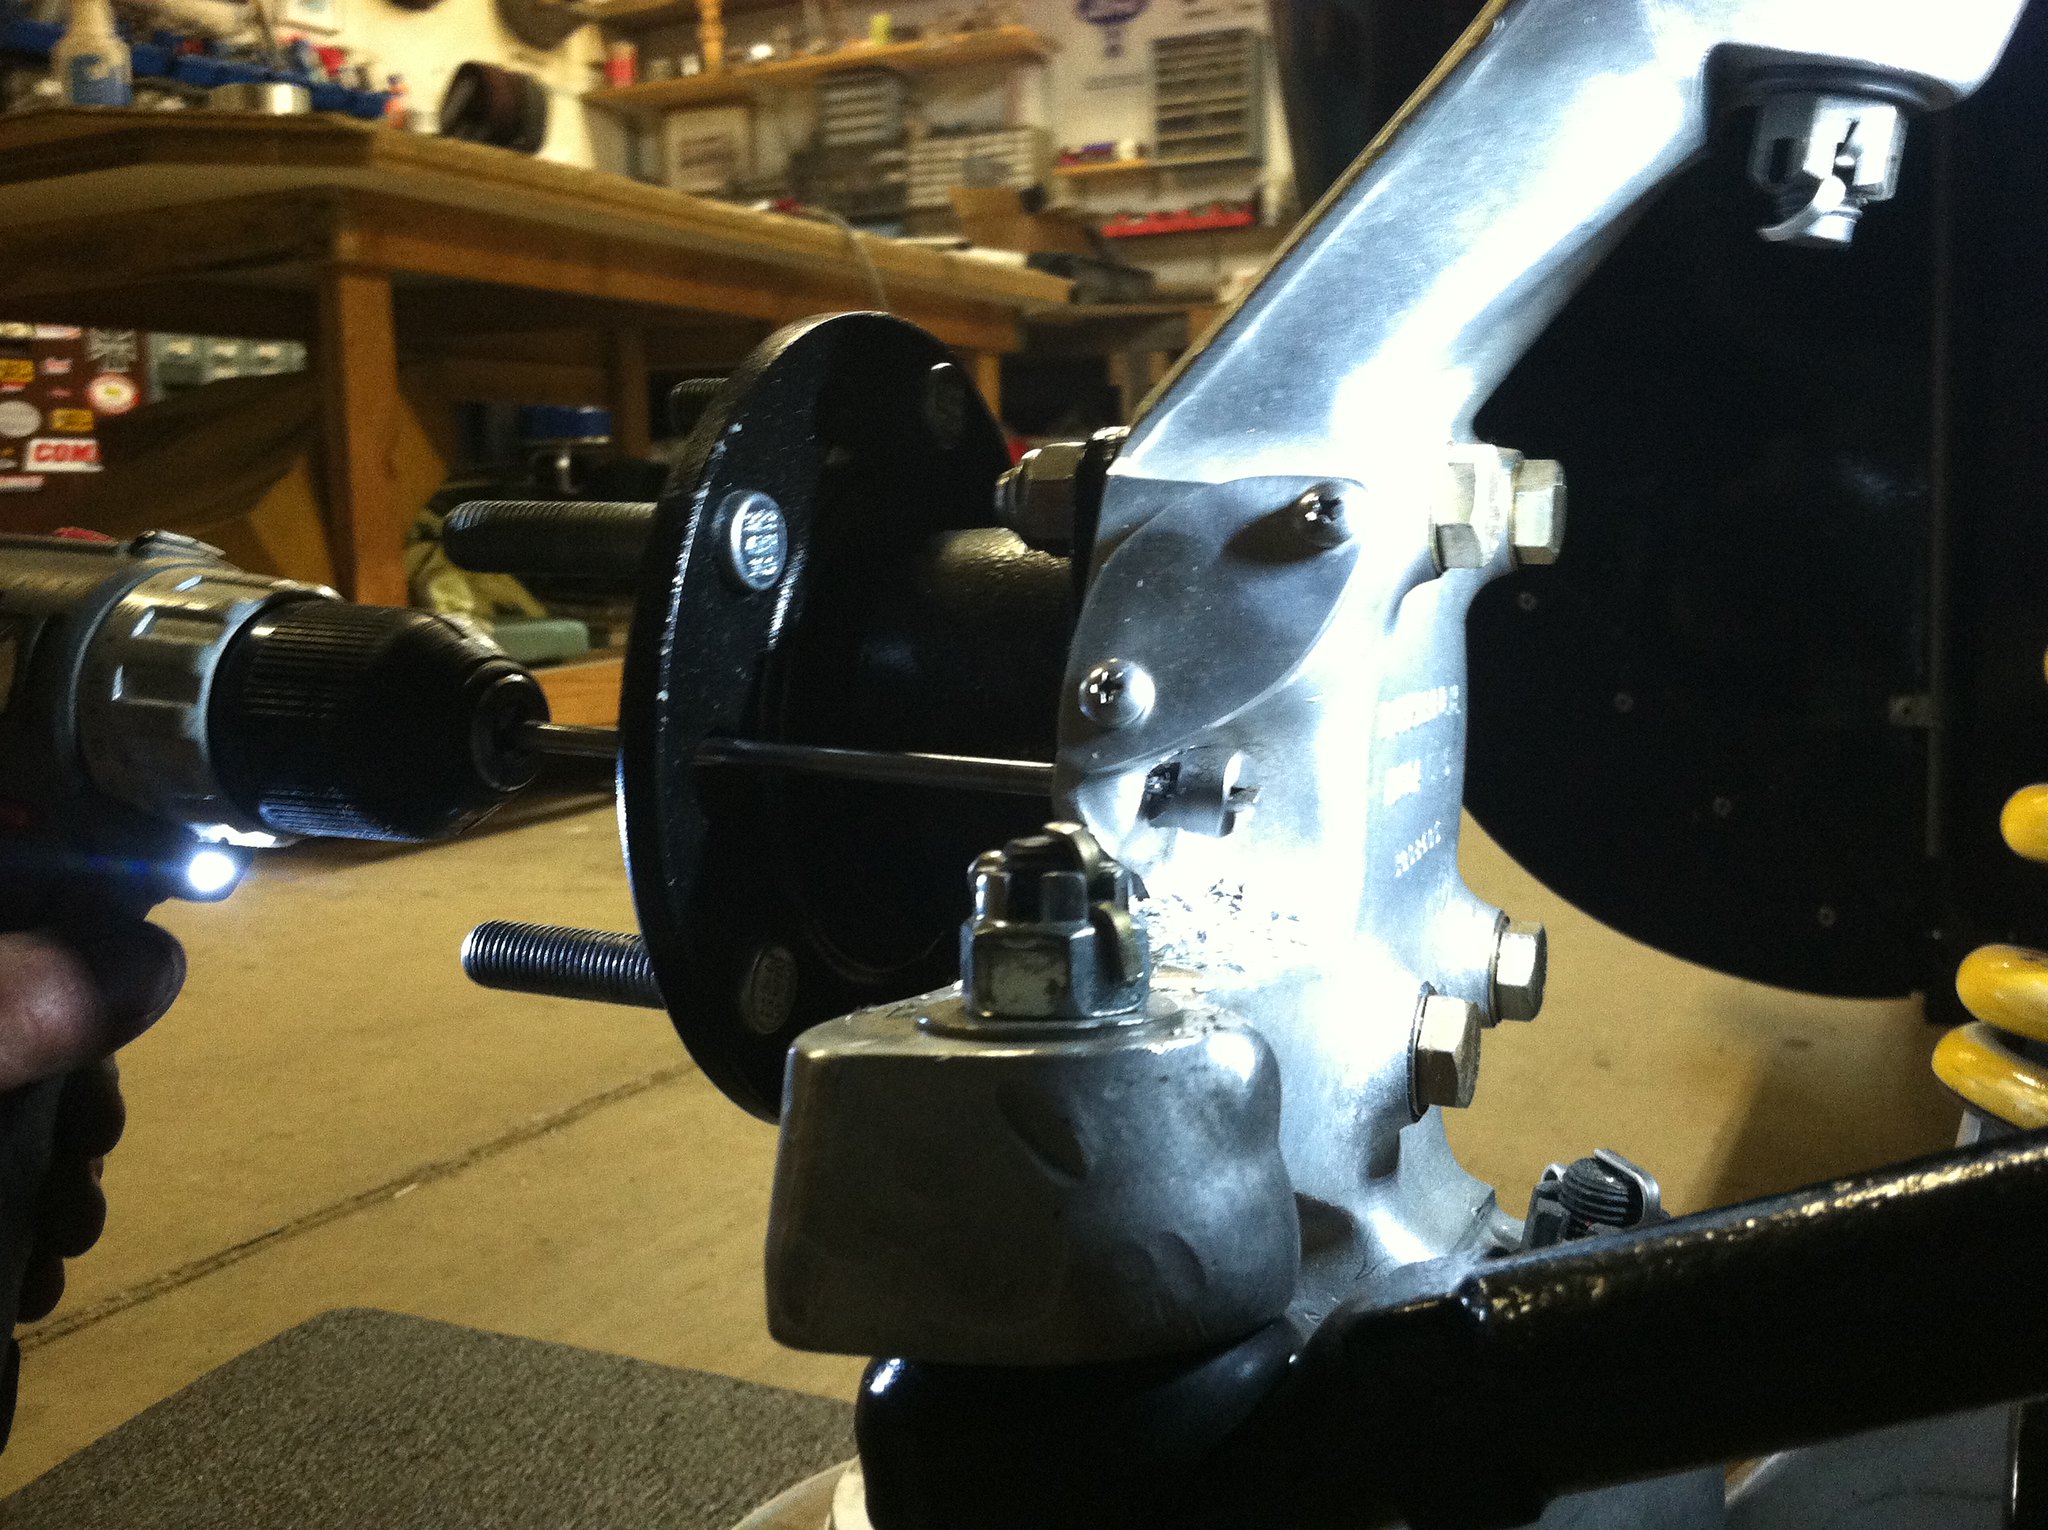
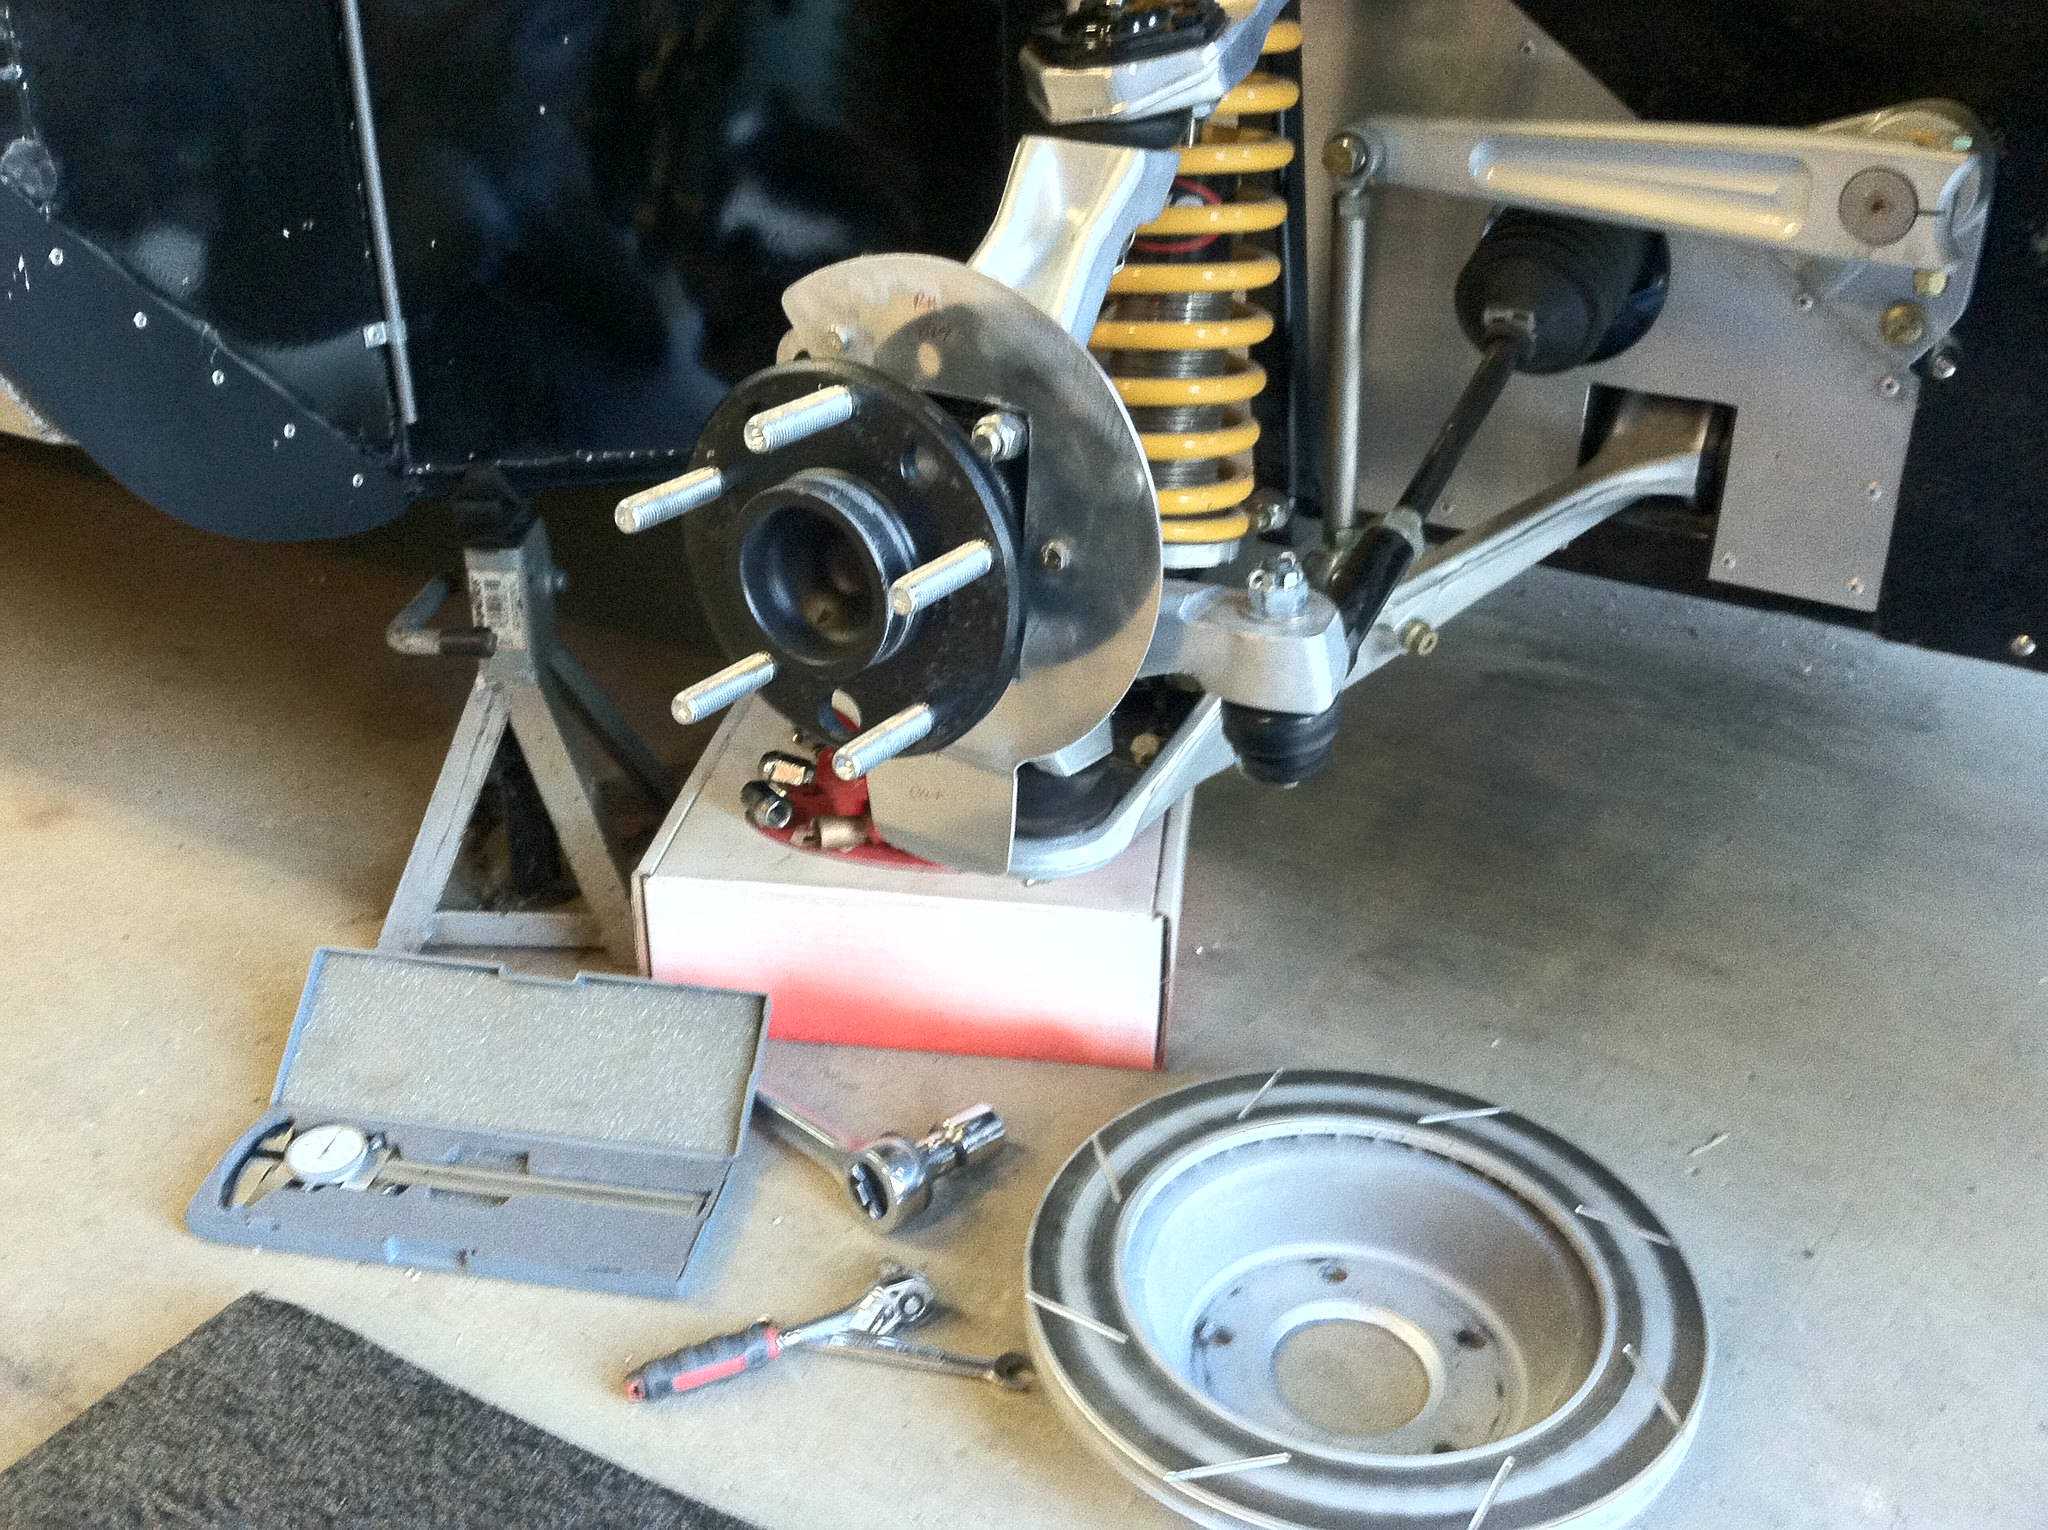
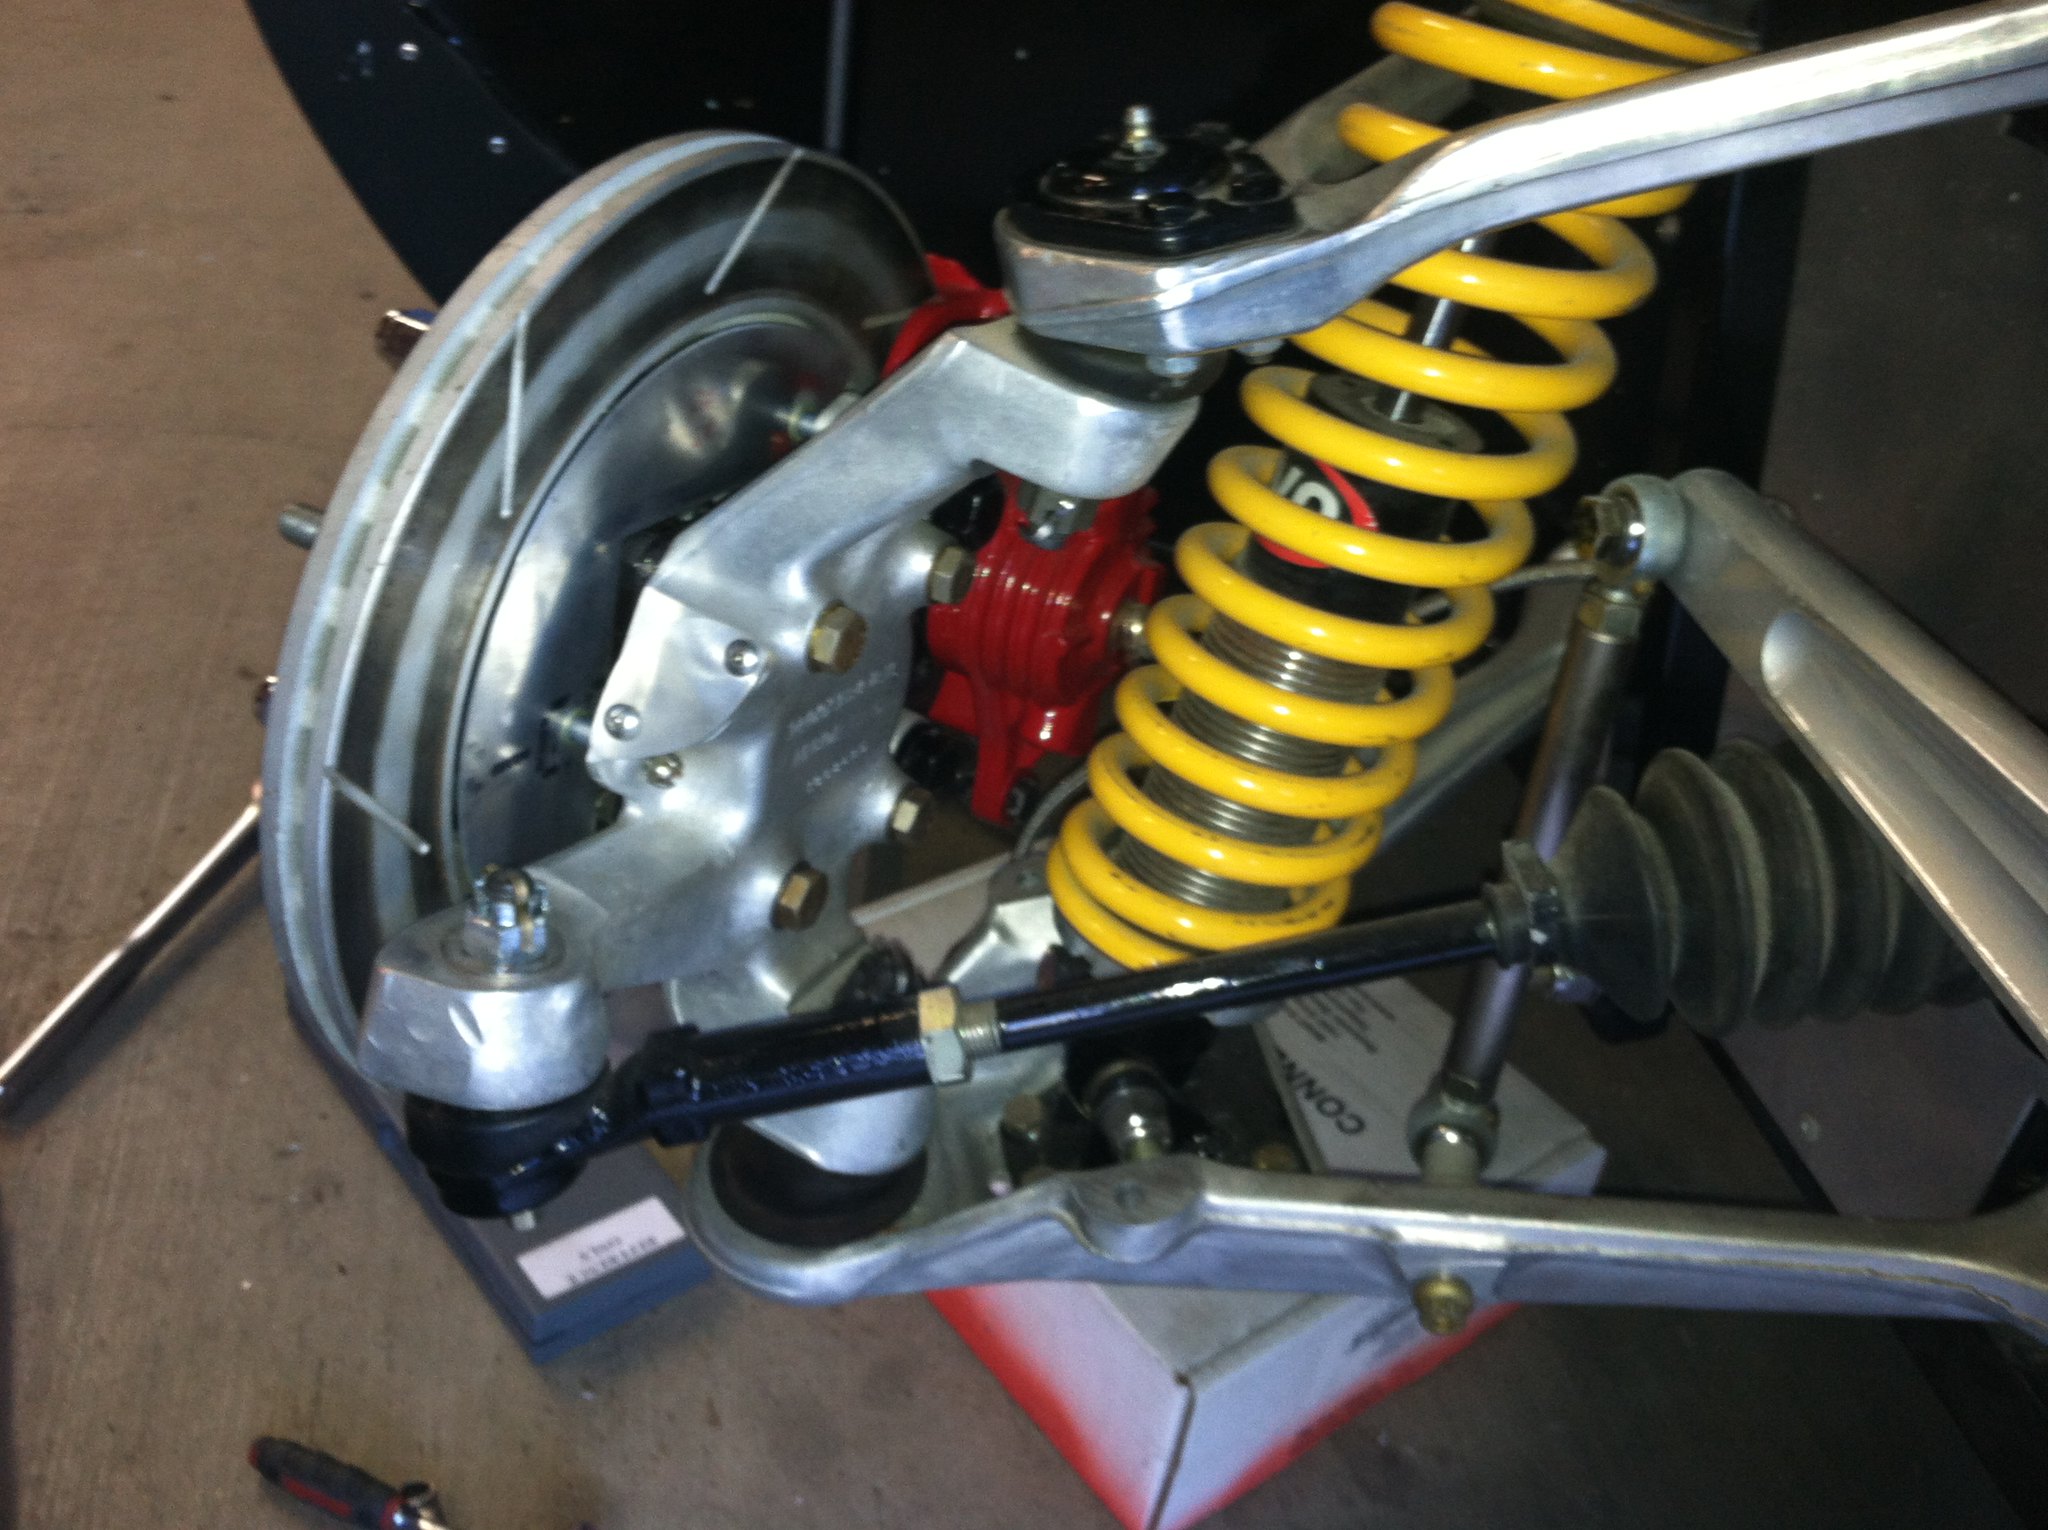
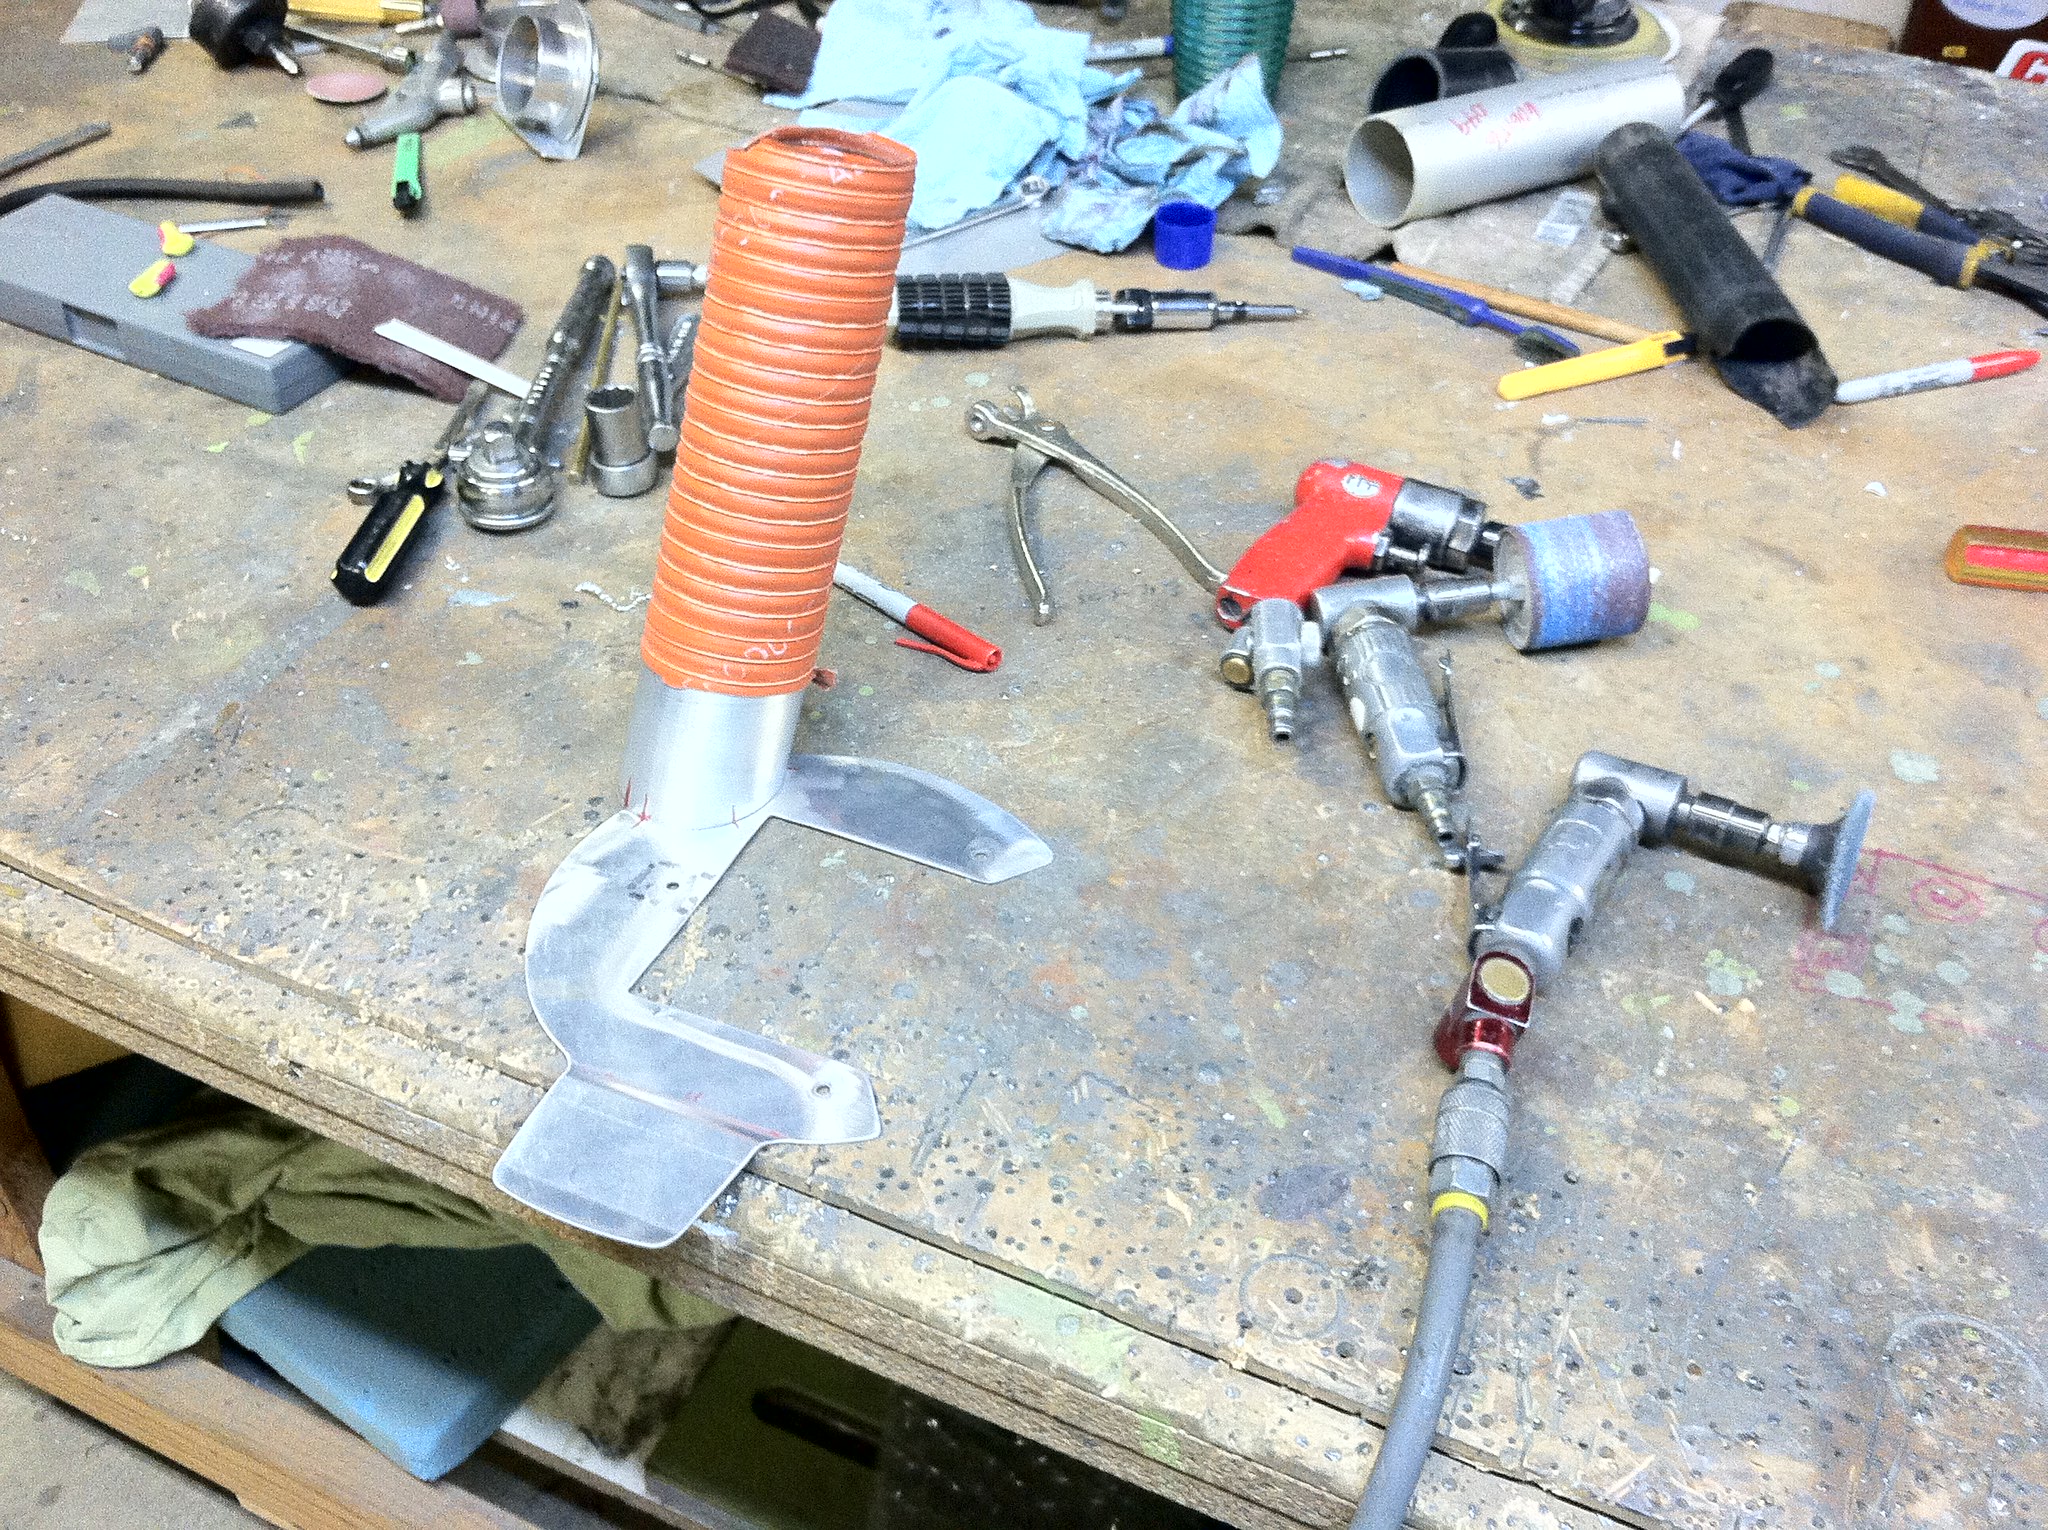
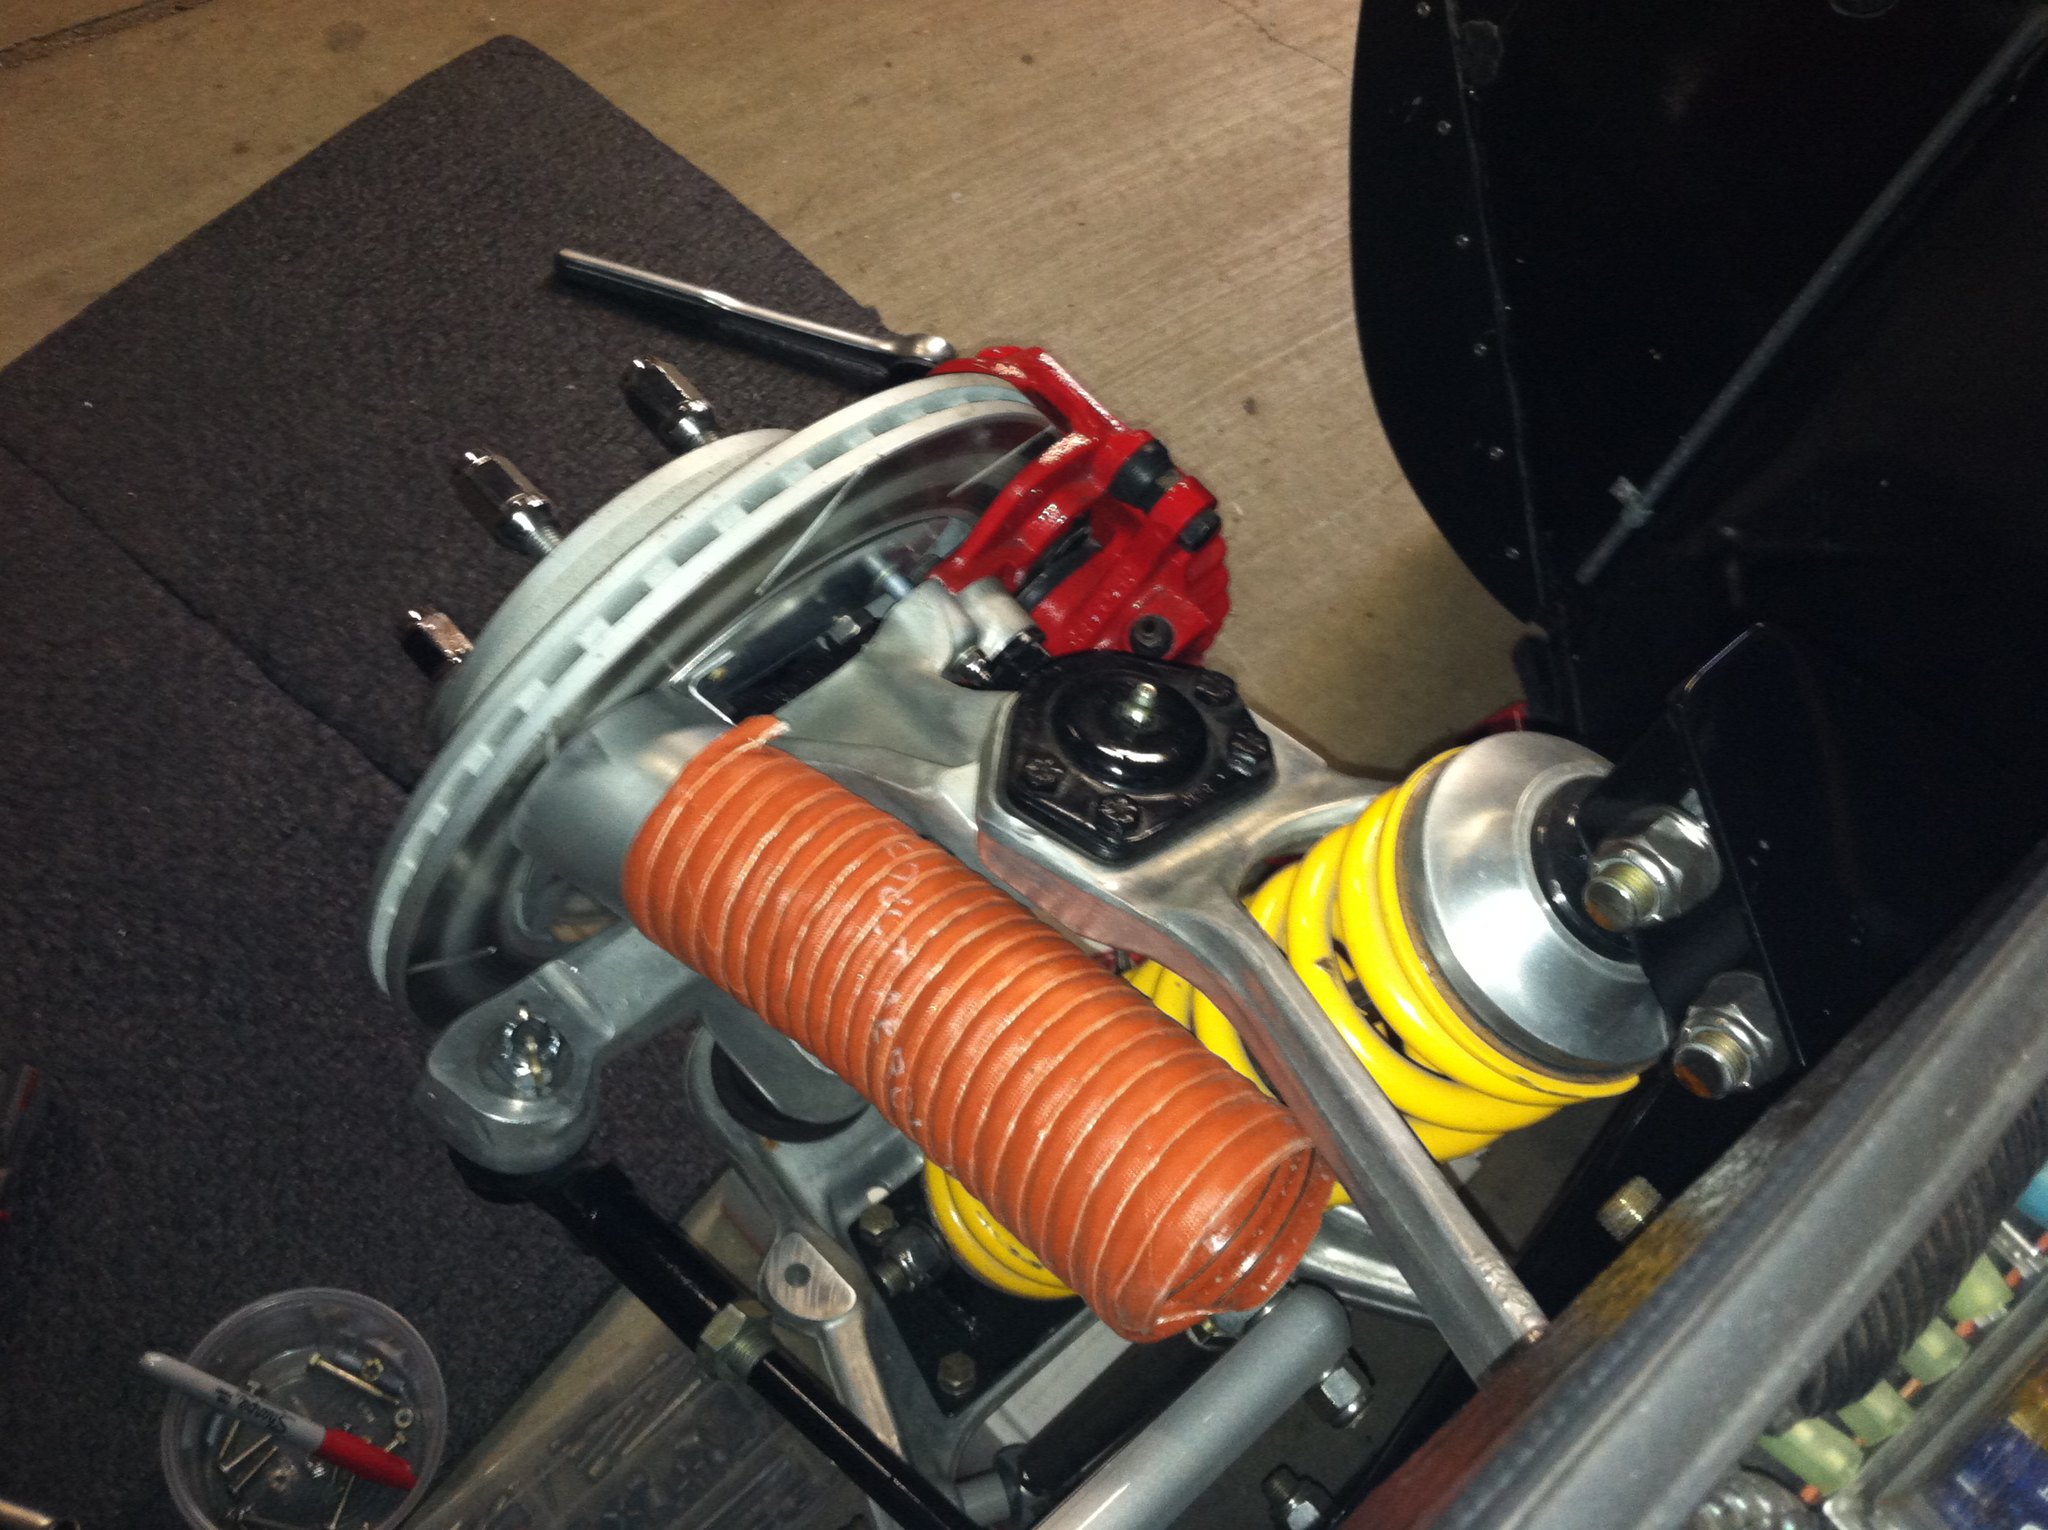
I also have some parts coming for front brakes ducting...hats, scat ducting, etc....
Next update in the works...Later.
Peter,
I will watch the belt tension on AC and see if I need to add a bracket. Heat shield.....my collectors are directly below the top stainless vent panel, so I am not too worried about that yet.... but will keep an eye on it. Maybe do a temp check with a laser thermometer while idling hot.
DRB #49... excellent...I will surely have future questions.
Can you comment on your AC system??? I need to connect the transverse air plenum box outlets(fiberglass ovals) to the eyeball vent... or elect to run fresh air to the eyeballs from NACA ducts....
Current news.
Spent time fabbing front tow hooks and grille panel. Looked at a number of grille options on the blogs/gallery....my preference is for a grille that "seals " the front opening.
Tow hooks first...Using some steel plate and angle...was pretty easy build to fwd tube frame. Aluminum template first to get the hook look and position right.
DSCN8833 - Copy by Mike Sirr, on FlickrDSCN8835 - Copy by Mike Sirr, on FlickrEach side was fairly stiff, but I though a spreader bar would be beneficial. Once fabbed and installed, it made a big difference. Capped and tapped some 4130 tubing.....
IMG_4521 by Mike Sirr, on FlickrDSCN8838 - Copy by Mike Sirr, on FlickrThe grill took a little more thinking, but so far so good. 2 machine screws per side to secure it... various parts are riveted together. I used a shrinker/stretcher to curve the aluminum L-angles and match the opening contour. The Grille mesh is steel.
DSCN8843 - Copy by Mike Sirr, on FlickrDSCN8845 - Copy by Mike Sirr, on FlickrDSCN8847 - Copy by Mike Sirr, on FlickrIt needs some minor tuning, but otherwise not a bad first effort. I would likely make a few mfg changes on a version 2.0....might do a second one later for a shelf spare.
Still have some grill material left, so moving to aft air intakes.
I also have some parts coming for front brakes ducting...hats, scat ducting, etc....
Next update in the works...Later.
Last edited:


")