Mitch Krause's RCR GT40 Build

Mitch Krause

Supporter
Phil,

I have actually only had the car for a number of months. I purchased it from Randy V. who had originally purchased it from RCR. I have far fewer hours in it so far than he did, so am not really qualified to answer your question well. Others who have finished or gotten farther would have better answers.

Mitch
 
Last edited by a moderator:
OK thanks. Sounds like it's a real labor of love. Do you find it a complicated process or pretty straight forward, just a lot of things?
 
Mitch,

Yes, I gave Randy some. I have some more.

I don't think epoxy will work. I tried silver solder but my coil was too thick. I think they make a smaller diameter silver solder. Of course the best is a precise micro welder such as a laser welder like I used. It makes a very strong bond. You should be able to find a laser welder or some sort of micro welder around you. Let me know if you can't find one.

Bob Woods
GT40 in Texas
 

Mitch Krause

Supporter
Phil,

I would have to agree with the "it's a labor of love" statement. I have done work on many cars over the years, so it is something I enjoy doing. I don't think it is that complicated, but might be a poor judge of that. Grew up on a farm and with all the vehicle work over the years, I am much more mechanically adept than the average joe. I think you will probably find that same statement to be true of everyone on this board. If the concept of figuring something out and then fabricating a little brace or bracket or something like that is not something you enjoy or are particular adept at, you would likely get frustrated. It is not an "insert tab A into Slot B" sort of a thing. More of here is a thing A. It goes somewhere on B. You look at it for a while and decide that if you fasten a Tab to A, and cut a slot in B at a certain location, you can make them fit together and work properly.
 
That's what I really like about this hobby. People are always willing to help out a fellow member. Even at the race track I've seen this between two drivers that were going to be going up against each other.

Well done Rod.

Say, could you weld together a chassis for me real quick? :)
 
I crewed for vintage race guys and the late Vern Moats(drag racer) and we all help out our competitors. I will help out most anyone as many people have helped me.
 

Mitch Krause

Supporter
Rod,

Thank you, I might take you up on that. My neighbor is a welder for a local company, I asked him about them the other day. He was leery of doing it, as the fastener is plated steel and the wing is stainless steel. He said he thought that without sanding down the plating off the wing (and making it look less than optimal), it would be a difficult weld that would leave some white sorta burnt edges on the top.

So any thoughts along the same lines from you, or do you just have a better welder? (he does more heavy duty sorts of things, like I have had him do some long braces and such before).

I did order the other fasteners I need for the back of the front clip yesterday from mil-spec products. They match the front ones but have a different depth, so as soon as I get them and get set, I would be ready to do all.

Thanks,

Mitch
 
I have a very nice tig I can put a bead around a fly's wing.the zinc will be burnt away for 1/16 to possibly 1/8 past weld bead. I can get them related for you here in town. Do they make them out of stainless?
 

Mitch Krause

Supporter
They have some stainless products, but not in the self-ejecting ones. Those are all described as "Clear Zinc Plated Steel (Silver)" Might be worth a shot trying it. I will await the other ones and fitting before moving. Thanks.
 

Mitch Krause

Supporter
First, Rod, unfortunately, can't take them apart and recombine. (the fasteners).

Made some progress on the rear clip. First picture is the before, note the oak boards that are glassed in in a square shape. Then the second picture, which really doesn't do great justice to the what it will look likely at final is a sheet of 20 gauge polished stainless steel. I am leaving the plastic cover on until final. I cut and fitted that into the space and will then screw it to the oak boards to hold it in place. It is slightly torqued underneath (slight bow) the inset of the license plate area also. Tricky to get this piece in, as it is wider at the back and the front (across the clip). So you angle it from the back to get it close to where it is located, and then slightly bow the sides near the front while you move it down. It will be affixed with #10 by 3/4 stainless wood screws. Viola, you have a shiny heat shield for the rear clip.
 

Attachments

  • Rear_Clip_Bare.JPG
    Rear_Clip_Bare.JPG
    315.6 KB · Views: 335
  • Rear_Clip_Heat_Shield.JPG
    Rear_Clip_Heat_Shield.JPG
    326.4 KB · Views: 375

Mitch Krause

Supporter
Got the DSUZ fasteners installed at the back of the front clip. All is well. 7/16 hole through everything. That works for the mil-spec products MSEHF6-50 fasteners (pictured) that have the grip length of 1/2 inch that I need for these two spots. Then 3/4 hole through the top fiberglass and a tiny little bit of countersink added with a file removing just a little from the top of the hole and we have success. Yet to tap into the fiberglass with some screws to hold the plates, that is next, then take apart until after paint.

I am going to go with the Loctite metal epoxy to hold the wings on. Pictured below is a little prototype of that. Could do a little bit better with the bead perhaps, but it holds really strong. I epoxied a washer to the top of the fastener about 4 hours ago. Put the fastener in the vice and I can't break the washer free turning as hard as I can with my hands. The fasteners on the hood and snorkel turn much easier than that, so I think it will hold just fine. Picture of the prototype on the second picture.
 

Attachments

  • Front_Clip_Dsuz.JPG
    Front_Clip_Dsuz.JPG
    218.4 KB · Views: 335
  • Metal_Epoxy.JPG
    Metal_Epoxy.JPG
    679.4 KB · Views: 281
Let me start off by saying that, that is an innovative approach to heat shielding.
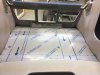
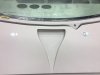
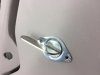
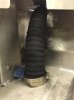
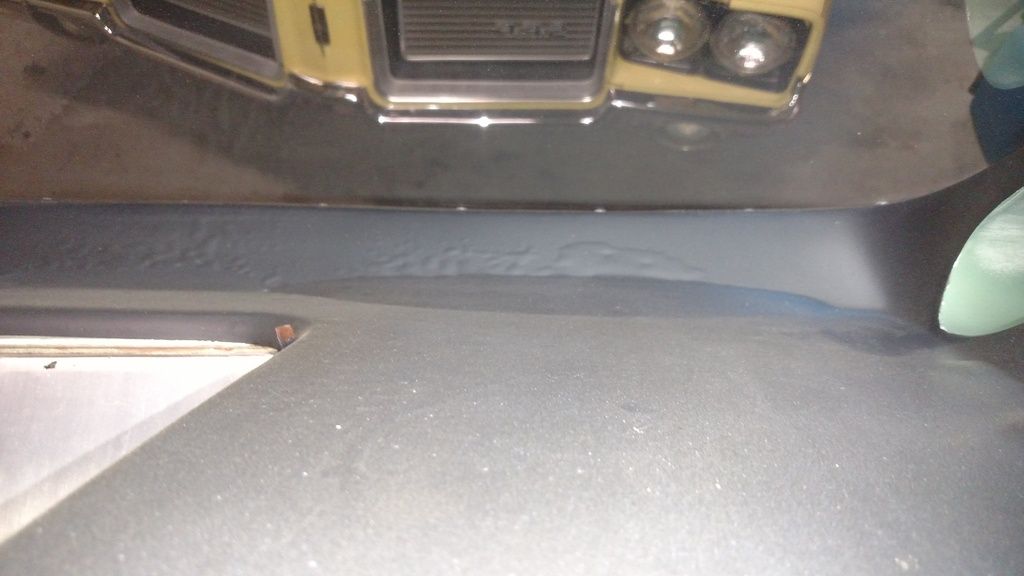
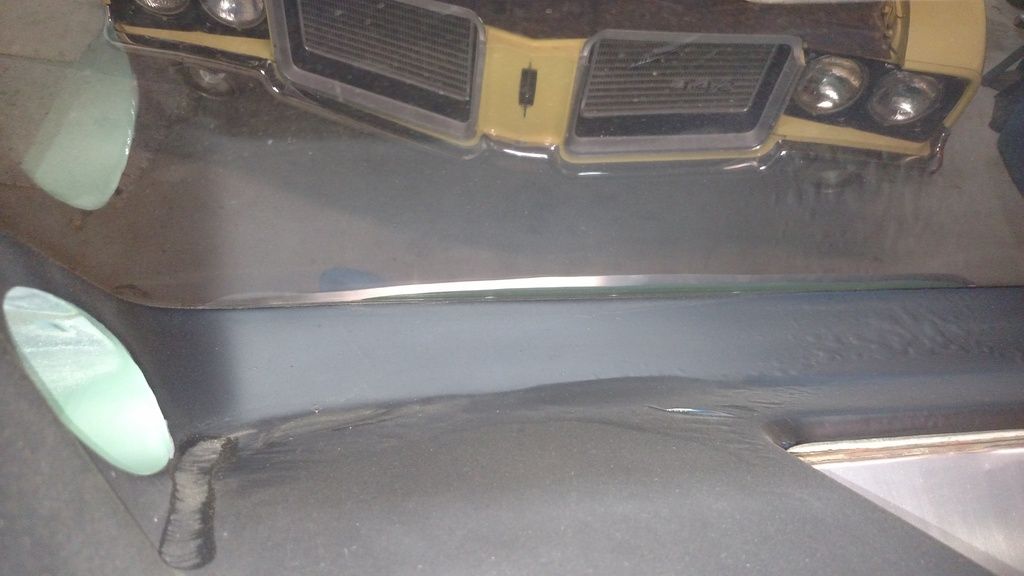
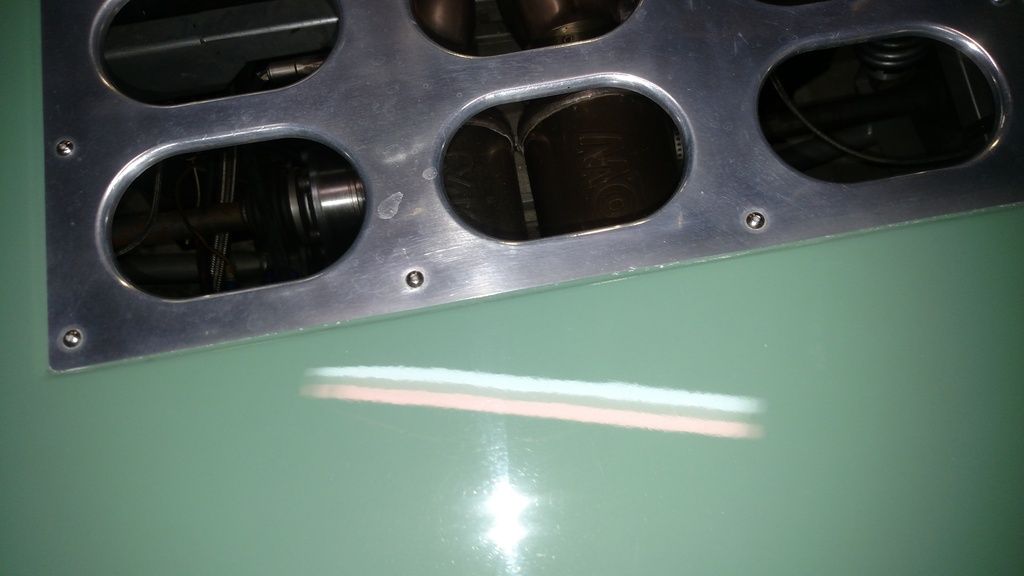
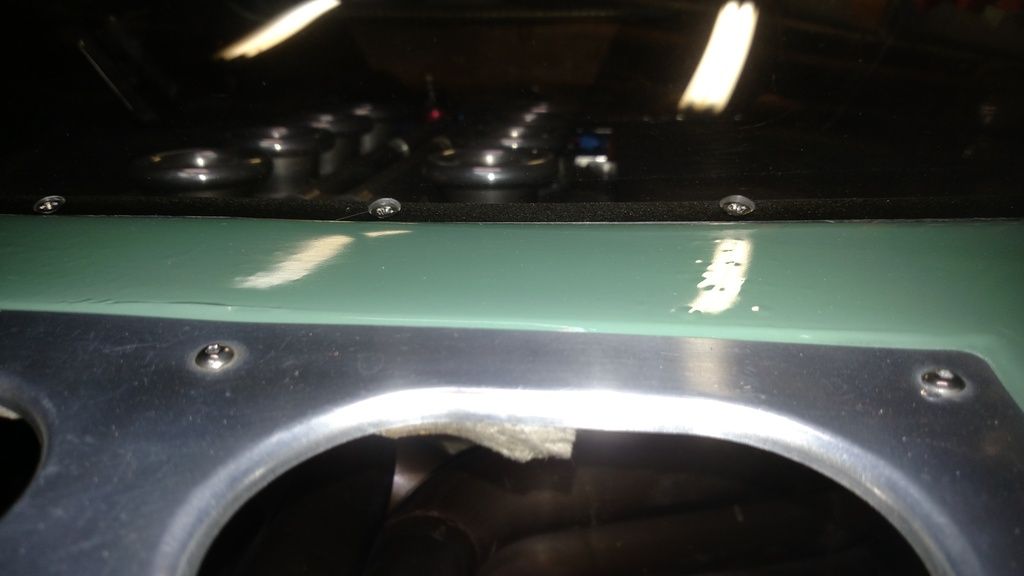
That being said. I think you will find that the area that needs shielding the most is the decking around the carb/efi area. the exhaust curls around the edge of the motor and rises up as it meets the other side and crosses over. This puts the thinner tray and the first part of the rear section of the clip in harms way. You can see from my pics those areas are the ones that bake the paint and causes small to large bubbles in the paint if there is A. no insulation or B. not enough insulation. You can see from the third pic there is no bubbling of the paint.This is at the rear of the exhaust vent. I have absolutely no insulation in that area
IMG_20170804_152148725_zps1lpuwdkl.jpg

IMG_20170804_152042330_zpsuer4nbnj.jpg

IMG_20170804_152421796_zpsfbroda2x.jpg

IMG_20170804_152401080_zps1hagudl7.jpg

IMG_20170804_152322096_zpsxaw3ok8d.jpg


Mine is from not enough. and actually got this way with a previous paint job. The fiberglass is weakened(my idea) and the heat is transferred more easily and will affect the second paint job. BTW I did the second paint job and the clip at repaint was taken down to the fiberglass, and was very smooth at that time. Actually had to take it down that far because I had stripes on the first job and they had a tendency to show through if any was left at all. That paint job was done by a professional and there was no unevenness in the transition to the stripes.
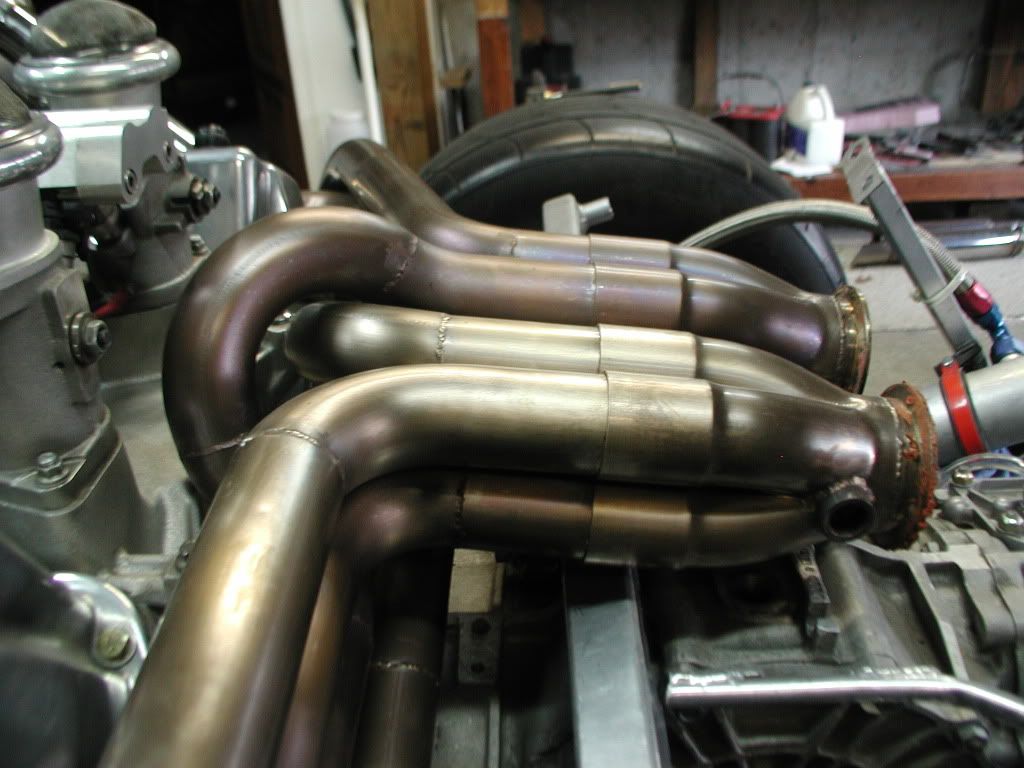
Take a look at how Chuck andRyan did their insulation and you will see some innovation with how they accomplished theirs. The amount of space between the exhaust and the fiberglass gets pretty close in that area.
P1010143.jpg


Ryan and I added accessory fans in the front of the engine bay to try and help with the movement of air across this area. It didn't help mine much. I used to turn those fans on when I was in stop and go traffic, and it still blistered.
You may find yourself at the end of a ride when you turn the engine off the off delay fans that we added will help move the heat along, but I always opened the rear clip to help dissipate the heat. It's too bad we can't do that at every stop light.:idea:
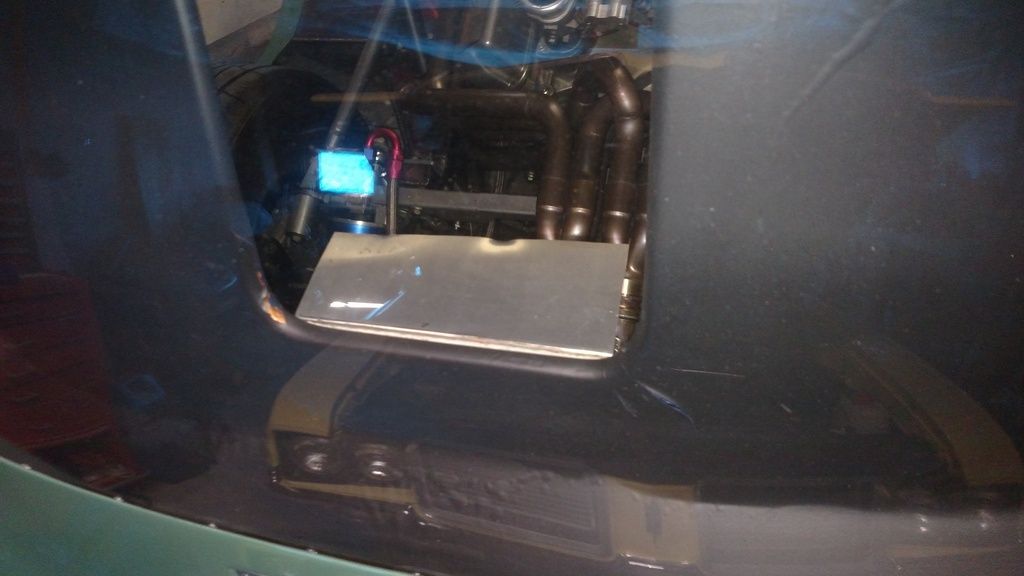
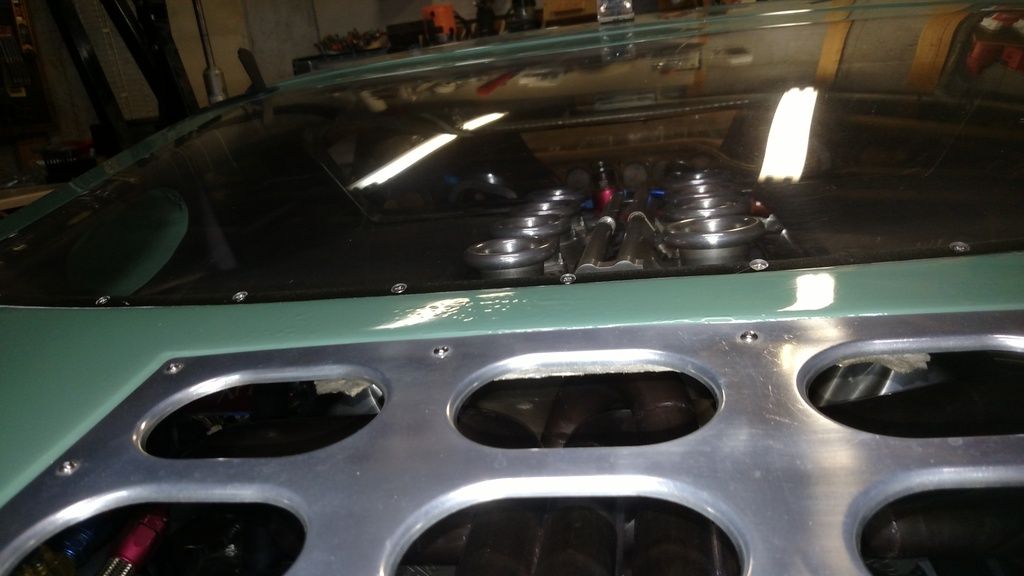
One last note. I built a deflector panel that attaches to the rear tray area and when the clip is closed it goes between the exhaust and the EFI. The goal is to get as cool an air flow to the injectors as possible.The angle I came up with was > than 45. Its just a thin piece of aluminum that is the width of the opening.
deflector%20panel_zpszmxsyzpm.jpg


I have been toying for some time now with building a Lexan housing for the injectors and filters.

Bill
 
Last edited:

Mitch Krause

Supporter
Bill,

Thanks for the notes and advice. I can't take credit for the innovation, it was Randy's idea, I just carried through, will be interesting to see how it works. I do have other plans for the area you mention, I have some Lava Shield heat mat that is sorta a carbon fiber look, flexible and adhesive. My intent is to finish the rest of the area of the inside of the rear clip in that once I have it painted. Basically that will cover the inside of the top of the clip from the front to where it will butt up against the stainless steel shield. That is advertised and seems to have pretty good reviews on doing a nice job of heat insulation.

Mitch
 

Mitch Krause

Supporter
Maybe Final DSUZ Note.

I am going ahead with the epoxy solution for the wings. I did a real one and am satisfied with the results. The epoxy is gray in color when mixed and dried and matches the fasteners pretty good. It is very strong, and the bead is not very noticeable. A close up picture is shown.
 

Attachments

  • DSUZ_Epoxy.jpg
    DSUZ_Epoxy.jpg
    216.1 KB · Views: 324

Mitch Krause

Supporter
Fuel Hose.

So, I did a bunch of searching on the forum for fuel hose recommendations. Certainly heeded the advice about making sure it was Fuel hose and not radiator, and looking for flexible.

I did find recommendations for things like Bob Drake Fuel Filler hose, and a ultra flexible one from car builder solutions. One our of stock with no projected date, one link can't be found.

So when I did an order at Summit, I needed something else to get me to free shipping, so I ordered their part number TNK-GH-2-FT. Described as Fuel Tank Transfer Hose, Black, Steel/Rubber, Flexible, Straight. I did chat with them on the phone and got an assurance that it was very flexible.

It arrived, not as flexible as I hoped. I did put it in last night (pictures attached). It will work, however when I have to mount the top filler neck, I am going to have to put a considerable amount of pressure on the neck to get the bend in the hose and affix the bolts. I am concerned that it is too much (the hose is not flexible enough).

So I am probably looking for another direction, if anyone has some specific suggestions of what they have used, I am open to those.
 

Attachments

  • Fuel_Hose_Bottom_View.jpg
    Fuel_Hose_Bottom_View.jpg
    183.7 KB · Views: 322
  • Fuel_Hose_Top_View.jpg
    Fuel_Hose_Top_View.jpg
    228.4 KB · Views: 322
Back
Top