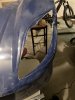
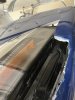
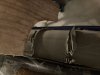
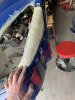
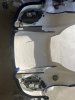
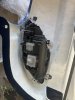
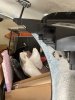
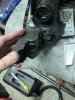
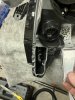
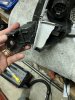
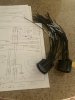
And finally you guys are completely updated on my progress. this weekend Miguel and I spent mapping out the jaguar F type 2014-17 pigtails. I have a wiring diagram, but I could not find the pig tail wire order anywhere , it took a while but Miguel figured out the correct numbering of the pig tail vs the wiring diagram. they are adaptive and have a motor that turns them when you turn , so there are 16 wires to figure out .
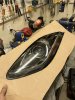
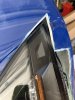
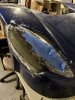
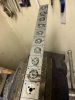
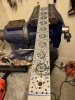
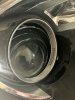
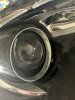
Scott did extensive work on these headlights and the bottom line was that the lights point much lower mounted on the SLC than on the jaguar .
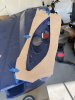
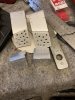
However I figured out that the interior assembly has a massive amount of adjustment (I have a cheap broken one that I took apart ) and I think I can make it work, it will be at the limits though, fingers crossed

 www.youtube.com
 www.youtube.com
 www.youtube.com
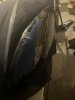
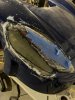
Scott did extensive work on these headlights and the bottom line was that the lights point much lower mounted on the SLC than on the jaguar .
However I figured out that the interior assembly has a massive amount of adjustment (I have a cheap broken one that I took apart ) and I think I can make it work, it will be at the limits though, fingers crossed
jaguar F type 1014-17 high beam operation
Enjoy the videos and music you love, upload original content, and share it all with friends, family, and the world on YouTube.
www.youtube.com
jaguar F type 2014-17 headlight mechanism
Enjoy the videos and music you love, upload original content, and share it all with friends, family, and the world on YouTube.
www.youtube.com
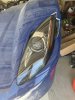
Superlite SLC will get Jaguar F type 204-17 headlights
Enjoy the videos and music you love, upload original content, and share it all with friends, family, and the world on YouTube.
www.youtube.com
Attachments
Last edited:

 yes, not soon enough!!! working on it every day , slowly but surely .
") . Do or do not, there is no try -Yoda
. Do or do not, there is no try -Yoda